
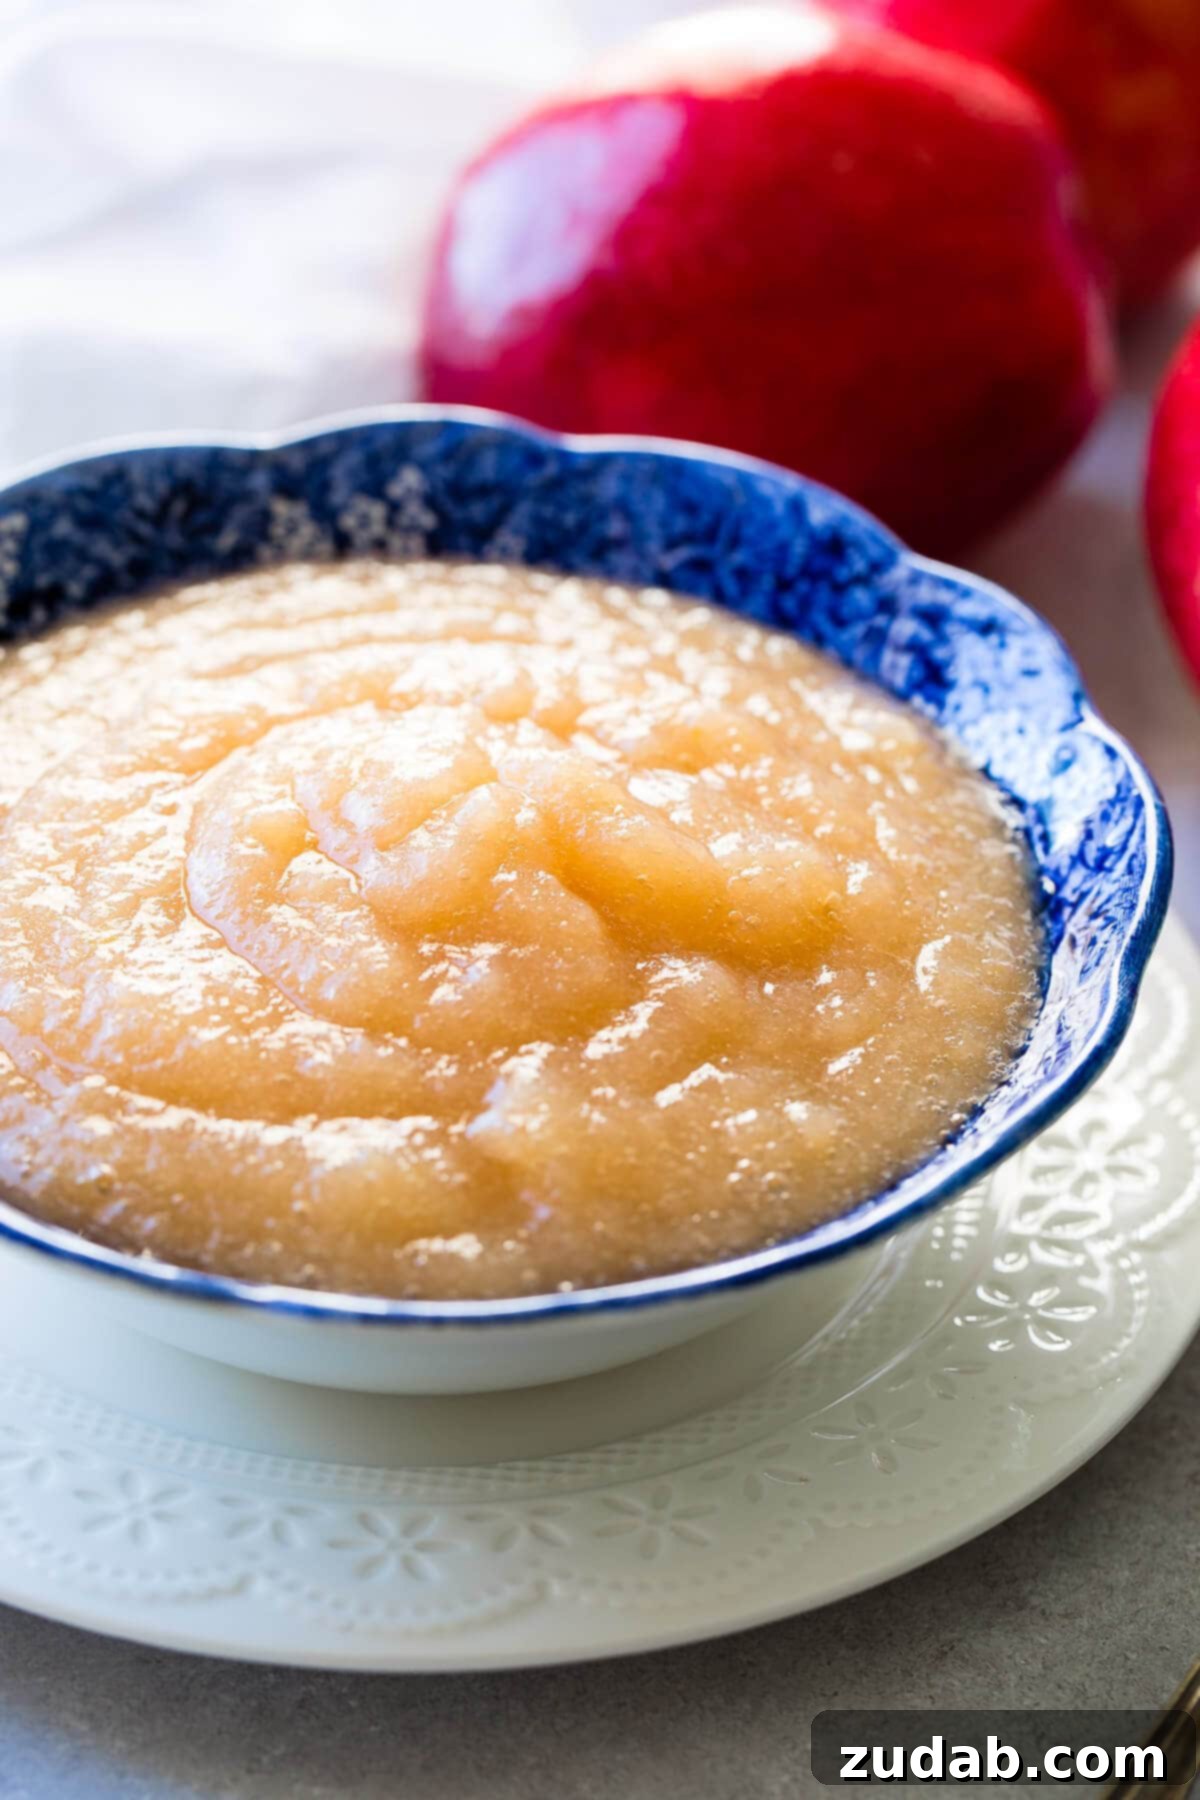
There’s a special kind of satisfaction that comes from making homemade applesauce. It’s a simple pleasure, yet it delivers rich, comforting flavors that store-bought versions often lack. We’ve long cherished our **two-ingredient Instant Pot applesauce recipe**, and now we’re thrilled to share it with you, complete with comprehensive instructions on **how to can applesauce** for long-term enjoyment. Whether you’re a seasoned home cook or just starting your culinary journey, this guide will help you create delicious, wholesome applesauce with ease.
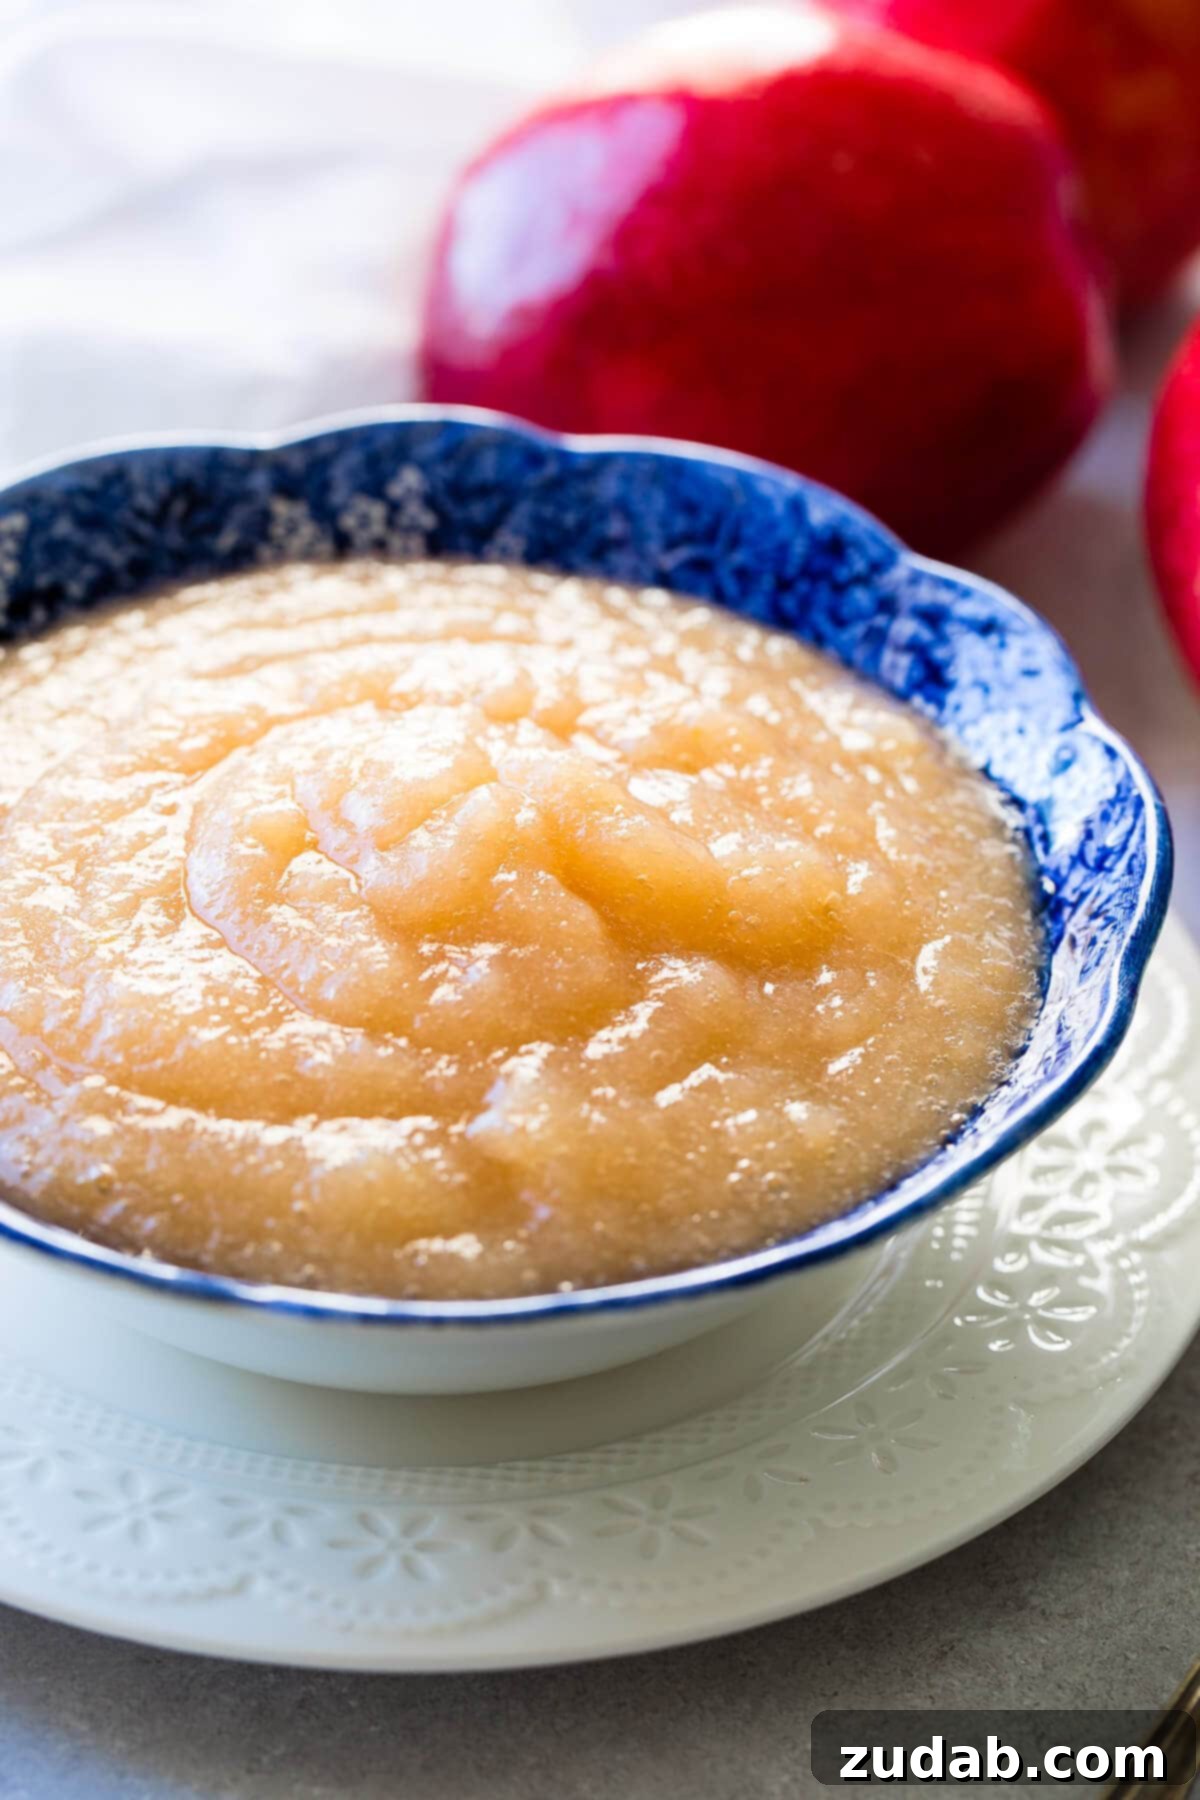
Mastering Easy Instant Pot Applesauce
The Instant Pot has revolutionized kitchens worldwide, and for good reason. What might seem like a fleeting kitchen fad is, in our experience, a truly indispensable appliance. We’ve put it through its paces with numerous recipes, and its ability to drastically cut down cooking time while delivering consistent results is simply unmatched. Our **Instant Pot applesauce recipe** is a perfect example of its efficiency, transforming a process that typically requires significant stove-top patience into a quick, hands-off task.
Imagine, perfectly softened apples ready for blending in a mere 8 minutes! This speed not only saves you time but also helps preserve the apples’ natural flavors and nutrients. My only regret? Not investing in a quality apple peeler and corer sooner. After extensive research and countless hours of manual peeling, I can confidently say a good one is a game-changer, making prep work almost effortless. Look for one with strong suction and positive reviews; it’s an investment that truly pays off!
Read more: If you’re eager to unlock the full potential of your Instant Pot beyond applesauce, be sure to visit our Instant Pot Cheat Sheet. It’s packed with all the essential details for mastering fundamental recipes and making the most of this incredible kitchen tool!
The Benefits of Homemade Applesauce
Beyond the sheer deliciousness, making your own applesauce offers a host of advantages. Firstly, you have complete control over the ingredients, meaning no added sugars, preservatives, or artificial flavors unless you choose to include them. This makes it an ideal healthy snack for adults and a perfect first food for babies and toddlers.
Homemade applesauce is also incredibly versatile. Enjoy it plain as a snack, serve it as a side dish with savory meals like pork chops or roast chicken, or incorporate it into your baking as a natural sweetener and moistening agent, often replacing oil or butter. It’s a cost-effective way to utilize an abundance of apples, especially when they’re in season or on sale.
Why the Instant Pot Excels for Applesauce
While traditional stovetop methods involve simmering apples for a good 20-30 minutes, requiring frequent stirring to prevent sticking, the Instant Pot streamlines this entirely. The pressurized environment cooks the apples much faster and more evenly, resulting in a consistent texture without the need for constant attention. This hands-off approach frees you up to tackle other kitchen tasks or simply relax while your applesauce practically makes itself.
The Simplicity of Two Ingredients: Instant Pot Applesauce Essentials
One of the most appealing aspects of this **easy applesauce recipe** is its minimalist approach. You truly need just two core ingredients: fresh apples and water. That’s it! Our preference is always for making unsweetened applesauce. This allows the natural sweetness and tartness of the apples to shine through, and it offers greater versatility if you plan to use it in baking or as a healthy snack. However, if your chosen apples are particularly tart, or if you simply prefer a sweeter profile, feel free to add a tablespoon or two of sugar after cooking to taste. Maple syrup or honey are also excellent natural alternatives.
Choosing the Best Apples for Homemade Applesauce
The type of apple you choose significantly influences the final flavor and texture of your homemade applesauce. While many traditionally favor varieties like Golden Delicious or Gala for their sweet and soft cooking qualities, I’m personally a devoted fan of Honeycrisp and Sweet Tango. These varieties boast an incredible natural sweetness and complex flavor that often eliminates the need for any added sugar, though a touch of sweetener can enhance them further if desired.
Granny Smith apples, with their distinct tartness, can be a bit too sharp for some palates when eaten plain. However, they are fantastic for balancing sweeter apple varieties or for use in recipes where a tart applesauce is desired. For the best value and flavor, keep an eye out for sales at local orchards, especially during harvest season. Otherwise, simply choose whatever apple varieties are most affordable and readily available at your grocery store. A blend of sweet and tart apples often creates the most balanced and flavorful applesauce.
Pre-Cooking Preparation: Peeling, Coring, and Chopping
While the Instant Pot handles the cooking, a little pre-work ensures the best results. Peeling the apples is generally recommended for a smoother applesauce. If you prefer a more rustic texture or want to retain extra nutrients, you can leave the peels on (especially if using organic apples). Just be aware that the skins might slightly alter the color and add a subtle texture. Coring the apples removes the tough center and seeds. For larger batches, an apple peeler and corer machine is a fantastic time-saver. Finally, chop your apples into large, roughly uniform chunks. This helps them cook evenly; if pieces are too small, they might overcook and turn mushy before larger ones are tender.
A Step-by-Step Guide: How to Make Applesauce in an Instant Pot
Making homemade applesauce is inherently simple, but the Instant Pot elevates the process to a whole new level of ease and speed. Here’s how to create perfectly delicious **pressure cooker applesauce** every time:
- **Prepare Your Apples:** Begin by peeling and coring your fresh apples. While peeling is optional for a more rustic, skin-on applesauce (which adds nutrients and a slightly pink hue), most prefer a smoother texture, so peeling is recommended. Chop the apples into relatively large, uniform chunks. This ensures even cooking and prevents smaller pieces from becoming mushy too quickly.
- **Load the Instant Pot:** Place the chopped apples directly into the inner pot of your Instant Pot. Add 1 1/4 cups of water. This small amount of liquid is crucial for building steam and pressure within the pot, preventing scorching, and ensuring the apples soften beautifully.
- **Seal and Cook:** Secure the lid onto the Instant Pot, ensuring it’s properly aligned. Crucially, turn the steam release valve to the “Sealing” position (not “Venting”). Select the “Manual” or “Pressure Cook” setting and set the cooking time to 8 minutes on high pressure. Once you set it, you can truly walk away and let the Instant Pot work its magic!
- **Release Pressure and Clean Up:** After the 8-minute cooking cycle is complete, carefully perform a quick release of pressure by turning the steam release valve to “Venting.” Be cautious as steam will rapidly escape. Once the float valve drops, indicating all pressure has been released, carefully open the lid. You might notice a bit of sticky residue from the steam on the lid and surrounding counter, which is normal and easily wiped away.
- **Achieve Desired Consistency:** At this point, your apples will be incredibly soft and fragrant. Transfer them to a blender or use an immersion blender directly in the Instant Pot. Pulse or blend until you reach your desired consistency – from a chunky, rustic sauce to a silky-smooth puree.
- **Taste and Adjust:** Taste your freshly made applesauce. If your apples were on the tart side or you simply prefer a sweeter applesauce, now is the time to stir in a tablespoon or two of sugar, honey, or maple syrup until it reaches your perfect balance. Adding sweeteners after cooking allows you to precisely adjust to your taste, as the natural sweetness of apples can vary.
- **Store or Preserve:** Your homemade Instant Pot applesauce is now ready to be enjoyed immediately or prepared for storage.
Storing Your Homemade Instant Pot Applesauce for Maximum Freshness
Proper storage is key to enjoying your delicious **homemade applesauce** for as long as possible. Here’s how to keep it fresh, whether in the fridge, freezer, or pantry.
Refrigeration
For short-term storage, this unsweetened applesauce should be kept in airtight containers in the refrigerator. Glass jars are excellent for this, but it’s vital to allow the homemade applesauce to cool completely to room temperature before transferring it to glass jars and placing them in a cold fridge. Putting hot food directly into cold glass can cause the jars to crack, leading to waste and potential mess. Properly stored, applesauce will last for up to 10-14 days in the refrigerator. Always check for any off-smells or mold before consuming, although this is rare with proper storage.
Freezing Applesauce
Yes, **Instant Pot applesauce freezes exceptionally well**, making it a fantastic option for longer-term storage without the commitment of canning. Once the applesauce has been pureed and cooled completely, divide it into freezer-safe containers. Glass jars designed for freezing (with ample headspace to allow for expansion) work wonderfully, as do rigid plastic containers or heavy-duty freezer bags. For convenient portion control, you can even freeze smaller amounts in ice cube trays. Once frozen solid, pop the applesauce cubes out and transfer them to a labeled freezer bag for easy access.
When you’re ready to enjoy your frozen applesauce, simply transfer it from the freezer to your refrigerator and let it thaw overnight. For quicker thawing, you can place a sealed container in a bowl of cold water. Avoid refreezing applesauce once it has been thawed, as this can compromise its texture and quality. Frozen applesauce maintains its best quality for up to 6-8 months.
FAQs About Canning Applesauce: Preserving Your Harvest
Canning applesauce is a truly rewarding way to extend its shelf life, transforming it into a pantry staple you can enjoy year-round. While the process is straightforward, it does require a few specific pieces of equipment and adherence to safety guidelines. We’ve gathered our top tips for **canning Instant Pot applesauce** below. If you have any questions not covered here, please don’t hesitate to ask in the comments section!
Why Can Applesauce?
Canning allows you to preserve the season’s bounty and enjoy homemade flavors throughout the year. Canned applesauce is shelf-stable, meaning it doesn’t require refrigeration or freezing, making it perfect for stocking your pantry, gifting to friends and family, or taking on camping trips. It’s a wonderful way to ensure you always have a healthy, delicious option on hand.
Essential Equipment for Canning Applesauce
For those new to canning, investing in the right tools is crucial for both safety and success. My mom is a master canner, having preserved everything from garden vegetables and fresh fruits to savory stews and sweet jams. Growing up, store-bought canned goods were a rarity in our home, and our children are now experiencing the same tradition of wholesome, home-preserved foods.
A good **canning pot bundle deal** is an excellent starting point. These bundles typically include a large water bath canner, along with essential accessories like canning tongs, a wide-mouth funnel, and a jar lifter. These tools are designed to make the canning process safer and more efficient. The jar lifter, for instance, is invaluable for safely placing hot jars into and removing them from boiling water, preventing burns and breakage. The wide-mouth funnel minimizes spills, keeping jar rims clean for a better seal. If you already have a large pot but lack the accessories, a 6-piece canning set is an affordable and practical investment, providing you with everything from a wide-mouth funnel to various tongs and lifters, all for a minimal cost.
How to Properly Sterilize Jars for Canning
The foundation of safe canning lies in properly prepared jars. While “sterilizing” jars might sound intimidating, the process is quite simple, primarily requiring just water. To genuinely sterilize jars, they must be submerged in boiling water for a minimum of 10 minutes. However, a crucial point to remember for water bath canning: for high-acid foods like applesauce, if the processing time for the food you are canning is 10 minutes or longer (at altitudes of 0-1,000 feet above sea level), the jars will actually be sterilized *during* the processing in the canner. This means pre-sterilization is not always strictly necessary for items with longer processing times, like applesauce, but always refer to a reliable, up-to-date canning guide, such as those from the USDA, for specific recipes and altitude adjustments.
Step-by-Step Guide: How to Can Applesauce
Once your applesauce is cooked and your canning equipment is ready, the canning process itself is quite straightforward. Always ensure you are following up-to-date, tested canning recipes and guidelines for safety.
- **Prepare Jars and Lids:** Wash your canning jars and screw bands in hot, soapy water, rinse well. Keep jars hot until filling to prevent thermal shock. Place new canning lids in a small saucepan with simmering water (do not boil) according to manufacturer directions, typically for 5-10 minutes, to soften the sealing compound.
- **Fill Jars with Applesauce:** Carefully ladle the hot applesauce into your clean, hot canning jars, leaving a 1/2-inch headspace at the top. This headspace is vital for proper sealing and to allow for food expansion during processing.
- **Remove Air Bubbles:** Use a non-metallic spatula or a bubble remover tool to gently remove any air bubbles trapped in the applesauce. Press the tool down along the inside of the jar, releasing air. Add more applesauce if necessary to maintain the 1/2-inch headspace.
- **Wipe Rims and Apply Lids:** Wipe the rims of the jars clean with a damp cloth to ensure a perfect seal. Any food particles or residue can prevent a seal from forming. Place new, pre-warmed lids centrally on the jars, followed by screw bands, tightened finger-tight. Avoid overtightening, as this can prevent proper air venting and sealing during the canning process.
- **Process in Water Bath Canner:** Place the filled jars onto the rack in your canning pot, which should be half-full of hot water. Ensure the jars are completely covered by at least 1 inch of water. Cover the canner with its lid and bring the water to a rolling boil. Once boiling, process the pint jars for 20 minutes (adjust for altitude and jar size as per USDA guidelines). Make sure the water maintains a steady, rolling boil throughout the processing time.
- **Cool and Check Seals:** After the processing time, turn off the heat and carefully remove the jars from the canner using a jar lifter. Place them on a towel-lined counter, ensuring they are not touching each other, and allow them to cool completely undisturbed for 12-24 hours. This natural cooling period is essential for the seals to properly form. Do not tighten screw bands during this cooling period.
How to Tell If Your Canned Jars Have Sealed
Confirming a proper seal is the final, crucial step in canning. After the jars have cooled completely (usually 12-24 hours), remove the screw bands. Press the center of each lid with your finger. If the lid does not flex or spring up when you release your finger, it means the jar has successfully sealed. You should also hear a “ping” sound as they seal during cooling. Another indicator is that the lid should be slightly concave (curved inwards). Any lid that still flexes or pops up indicates an unsealed jar. Unsealed jars should be refrigerated and consumed within a week or reprocessed with a new lid (after inspecting the jar rim for flaws) within 24 hours.
How Long Can You Store Canned Applesauce?
When properly canned and sealed, homemade applesauce can be stored in a cool, dark place for 1 to 1 1/2 years. While this is the general guideline for optimal quality, in our household, a batch rarely lasts beyond a few months, a testament to how quickly this delicious pantry staple gets devoured! Always remember to label your jars with the contents and date of canning for easy tracking, helping you rotate your stock effectively.
Tips for Customizing and Enjoying Your Instant Pot Applesauce
One of the joys of making **homemade applesauce** is the ability to customize it to your exact preferences. Here are some ideas to make your Instant Pot applesauce truly your own:
Flavor Enhancements
While we often prefer our applesauce plain and unsweetened for maximum versatility (it makes an excellent oil substitute in baked goods!), a few additions can transform its character. Consider stirring in ground cinnamon, nutmeg, a pinch of allspice, or even a dash of vanilla extract after cooking. If you’re using it as an oil substitute, keeping it unflavored ensures it won’t interfere with the other flavors in your baked goods. For those craving spiced applesauce, it’s easy to add a sprinkle of cinnamon to individual servings, allowing everyone to customize their bowl.
For an extra boost of flavor, you can also add a squeeze of lemon juice, especially if using sweeter apples. This brightens the flavor and prevents browning. Some even enjoy a tiny hint of ginger or cardamom for a more unique spice profile. Experiment to find your favorite combination!
Achieving Your Preferred Texture
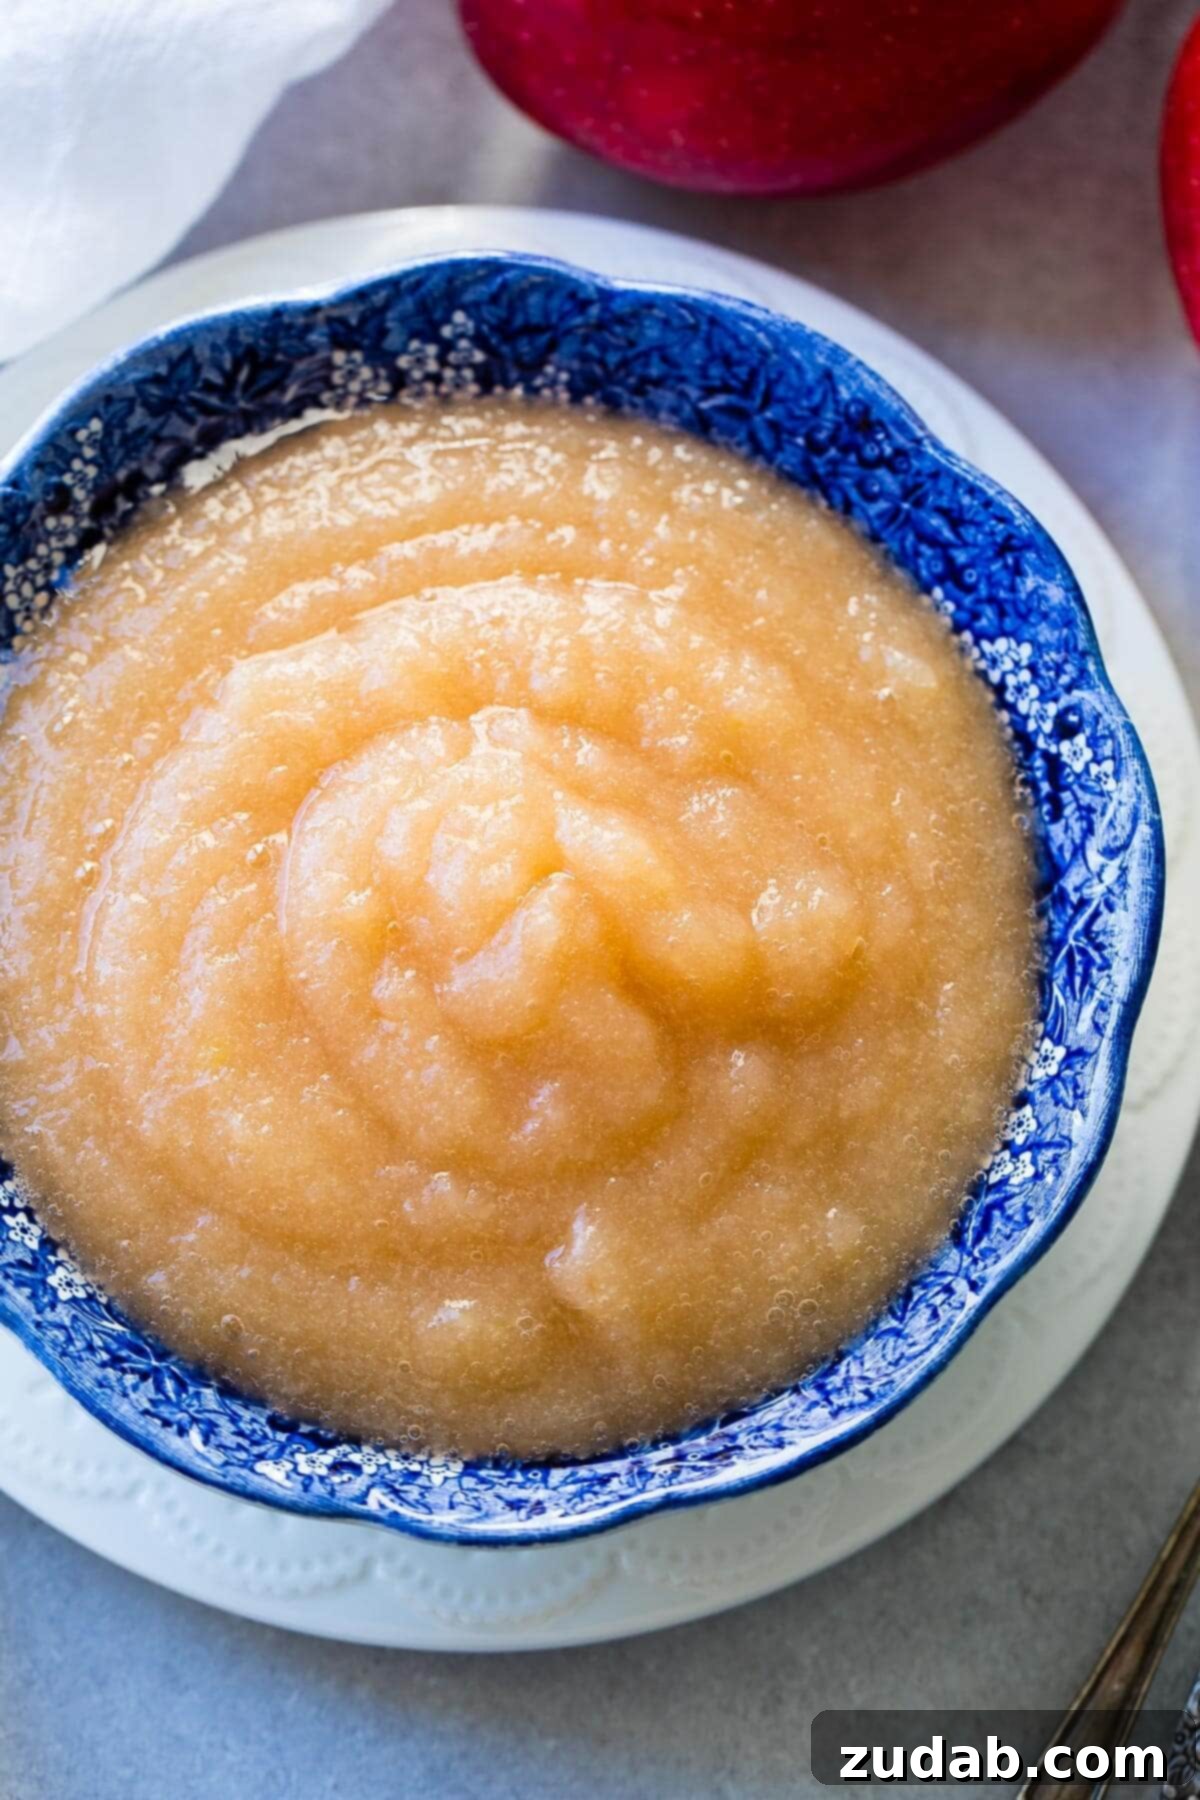
The beauty of homemade applesauce is that you control the consistency. If you adore a silky-smooth applesauce, continue to puree the Instant Pot applesauce in a high-speed blender or food processor until it’s perfectly velvety. For those who appreciate a more rustic feel, simply pulse the applesauce a few times to leave some delightful chunks. Chunky applesauce, by the way, is incredibly delicious spooned warm over pork chops or roasted chicken, adding a touch of sweet and savory flair! You can also run it through a food mill for a perfectly smooth consistency if you want to remove any tiny bits of peel that might remain.
Embracing Color Variations
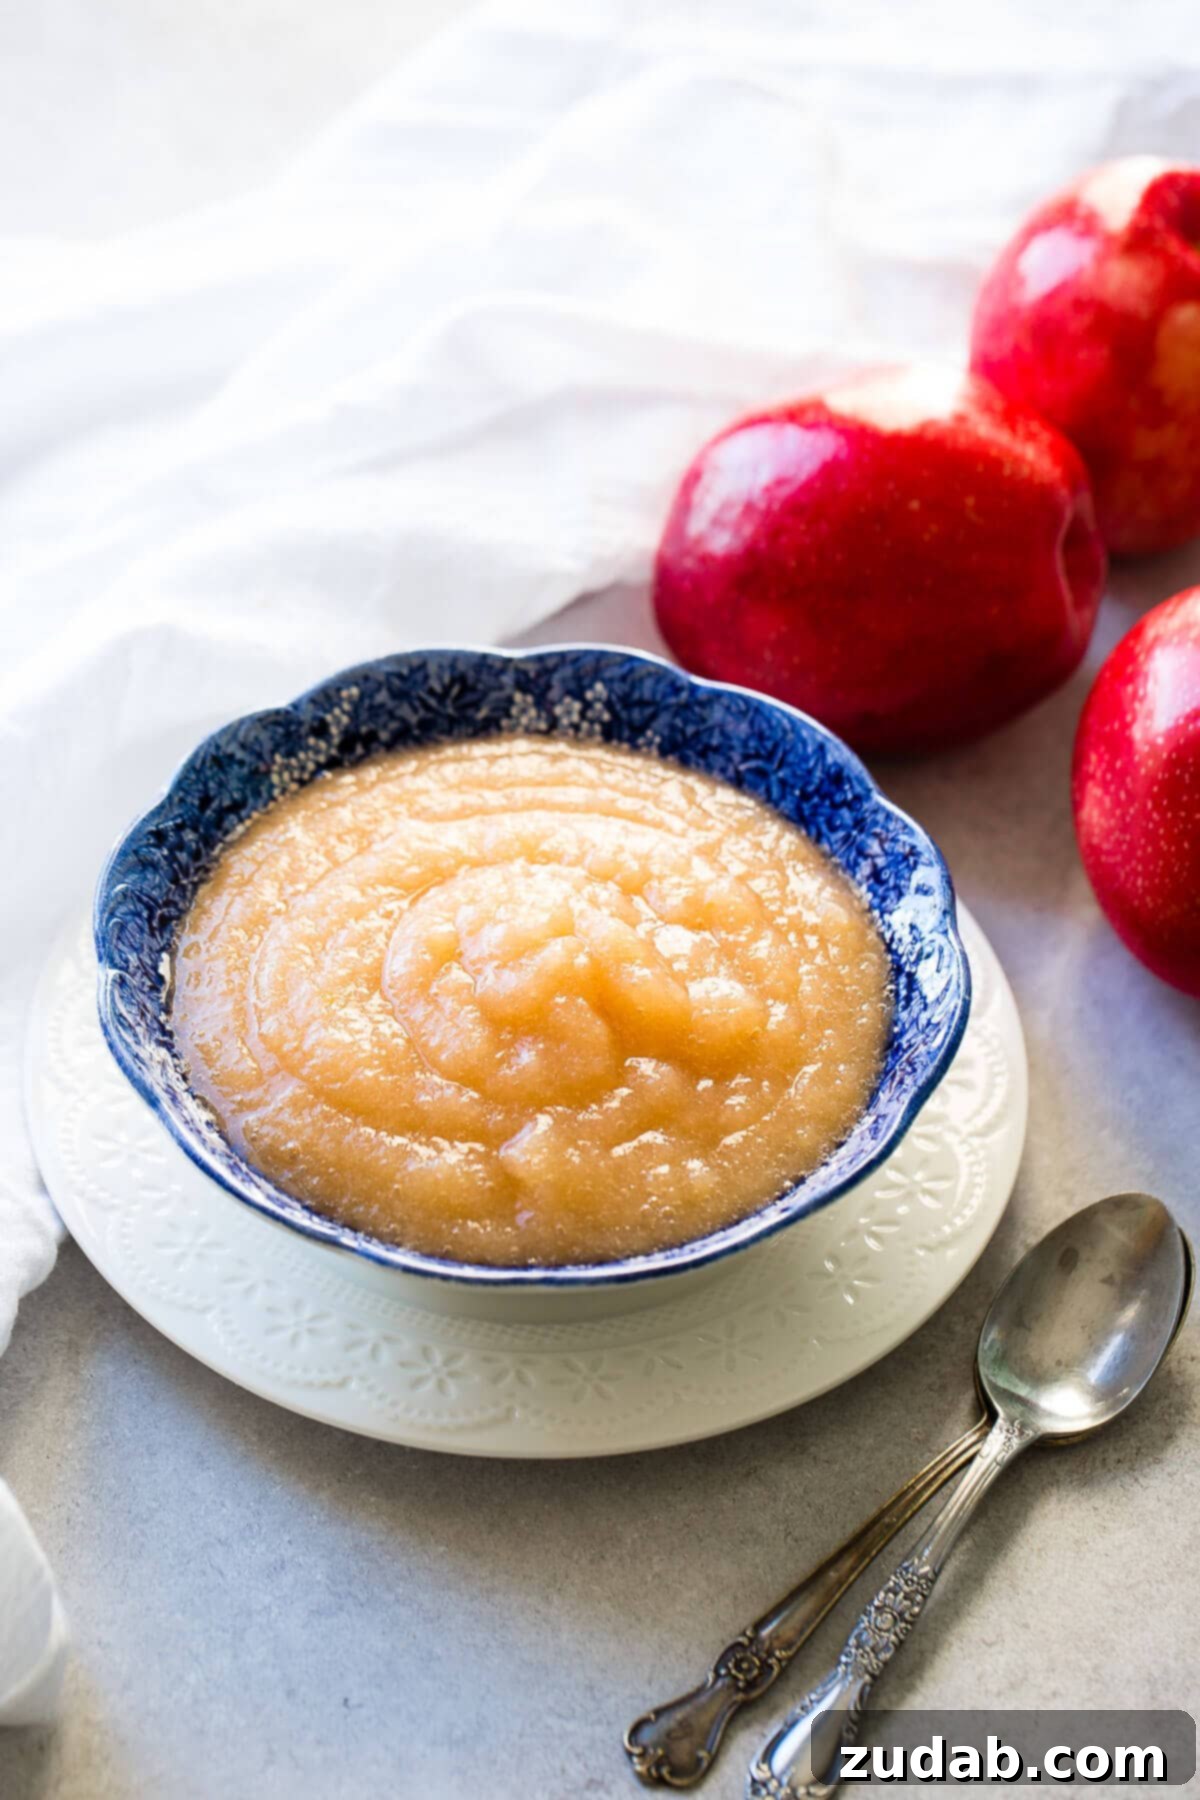
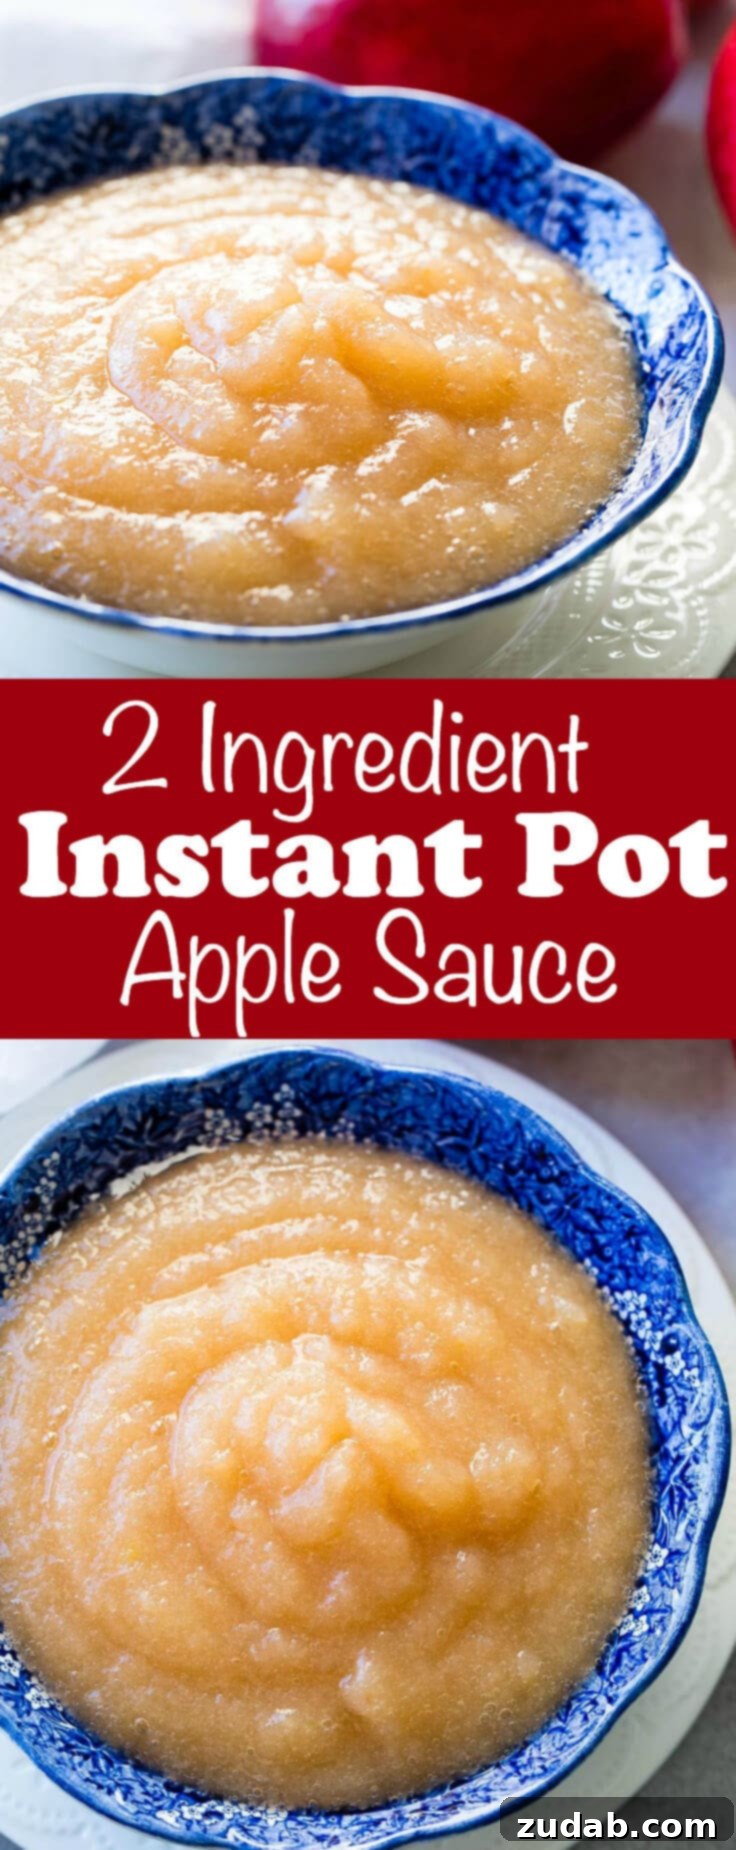
Don’t be surprised if the color of your applesauce varies from batch to batch or differs slightly from the images you see. The final hue can be influenced by several factors: the specific apple varieties you use (red-skinned apples might yield a rosier sauce), whether you choose to peel them (leaving skins on often results in a pinker shade), and any additional ingredients like sugar or spices. Rest assured, regardless of its exact color, your homemade applesauce will be bursting with fresh, delicious flavor!
More Delicious Apple Recipes to Explore
If you’ve fallen in love with the simple goodness of apples, here are some other fantastic apple-centric recipes to inspire your culinary adventures:
- The Best Apple Crisp Recipe
- Easy Apple Dumplings with Sprite
- Apple Cake with Caramel Frosting
- Easy Homemade Apple Pie Filling
- Apple Pie Bread Pudding with Vanilla Sauce
- Mini Dutch Apple Cheesecakes
- Apple Cheesecake Bars
2-Ingredient Instant Pot Applesauce
Sweet Basil
5
8
13
2 quart mason jars
Ingredients
- 11 Apples, peeled and chopped into large pieces (see note below)
- 1 1/4 Cup Water
- Sugar if needed, up to 3 tablespoons, to taste after cooking
Instructions
-
Place the peeled and chopped apples and water into the Instant Pot.
-
Secure the lid and ensure the steam release valve is set to the “Sealing” position.
-
Set the Instant Pot to “Manual” or “Pressure Cook” on high pressure for 8 minutes. Allow the apples to cook.
-
Once cooking is complete, perform a quick release of pressure by carefully turning the valve to “Venting” until all steam stops and the float valve drops.
-
Transfer the cooked apples to a blender or use an immersion blender directly in the pot. Pulse until your desired consistency is reached.
-
Taste the applesauce. If desired, add 1-3 tablespoons of sugar (or other sweetener) and stir until dissolved. We often don’t add any, but it depends on the apple varieties and personal preference.
Recipe Notes
Homemade applesauce can be refrigerated in an airtight container for up to 10-14 days.
For longer storage, follow the canning or freezing instructions provided in the article.
Nutrition
Calories: 521 kcal,
Carbohydrates: 138 g,
Protein: 3 g,
Fat: 2 g,
Saturated Fat: 1 g,
Polyunsaturated Fat: 1 g,
Monounsaturated Fat: 1 g,
Sodium: 17 mg,
Potassium: 1071 mg,
Fiber: 24 g,
Sugar: 104 g,
Vitamin A: 541 IU,
Vitamin C: 46 mg,
Calcium: 64 mg,
Iron: 1 mg
Nutrition information is automatically calculated, so should only be used as an approximation.
Enjoyed this recipe? Leave a comment below!