
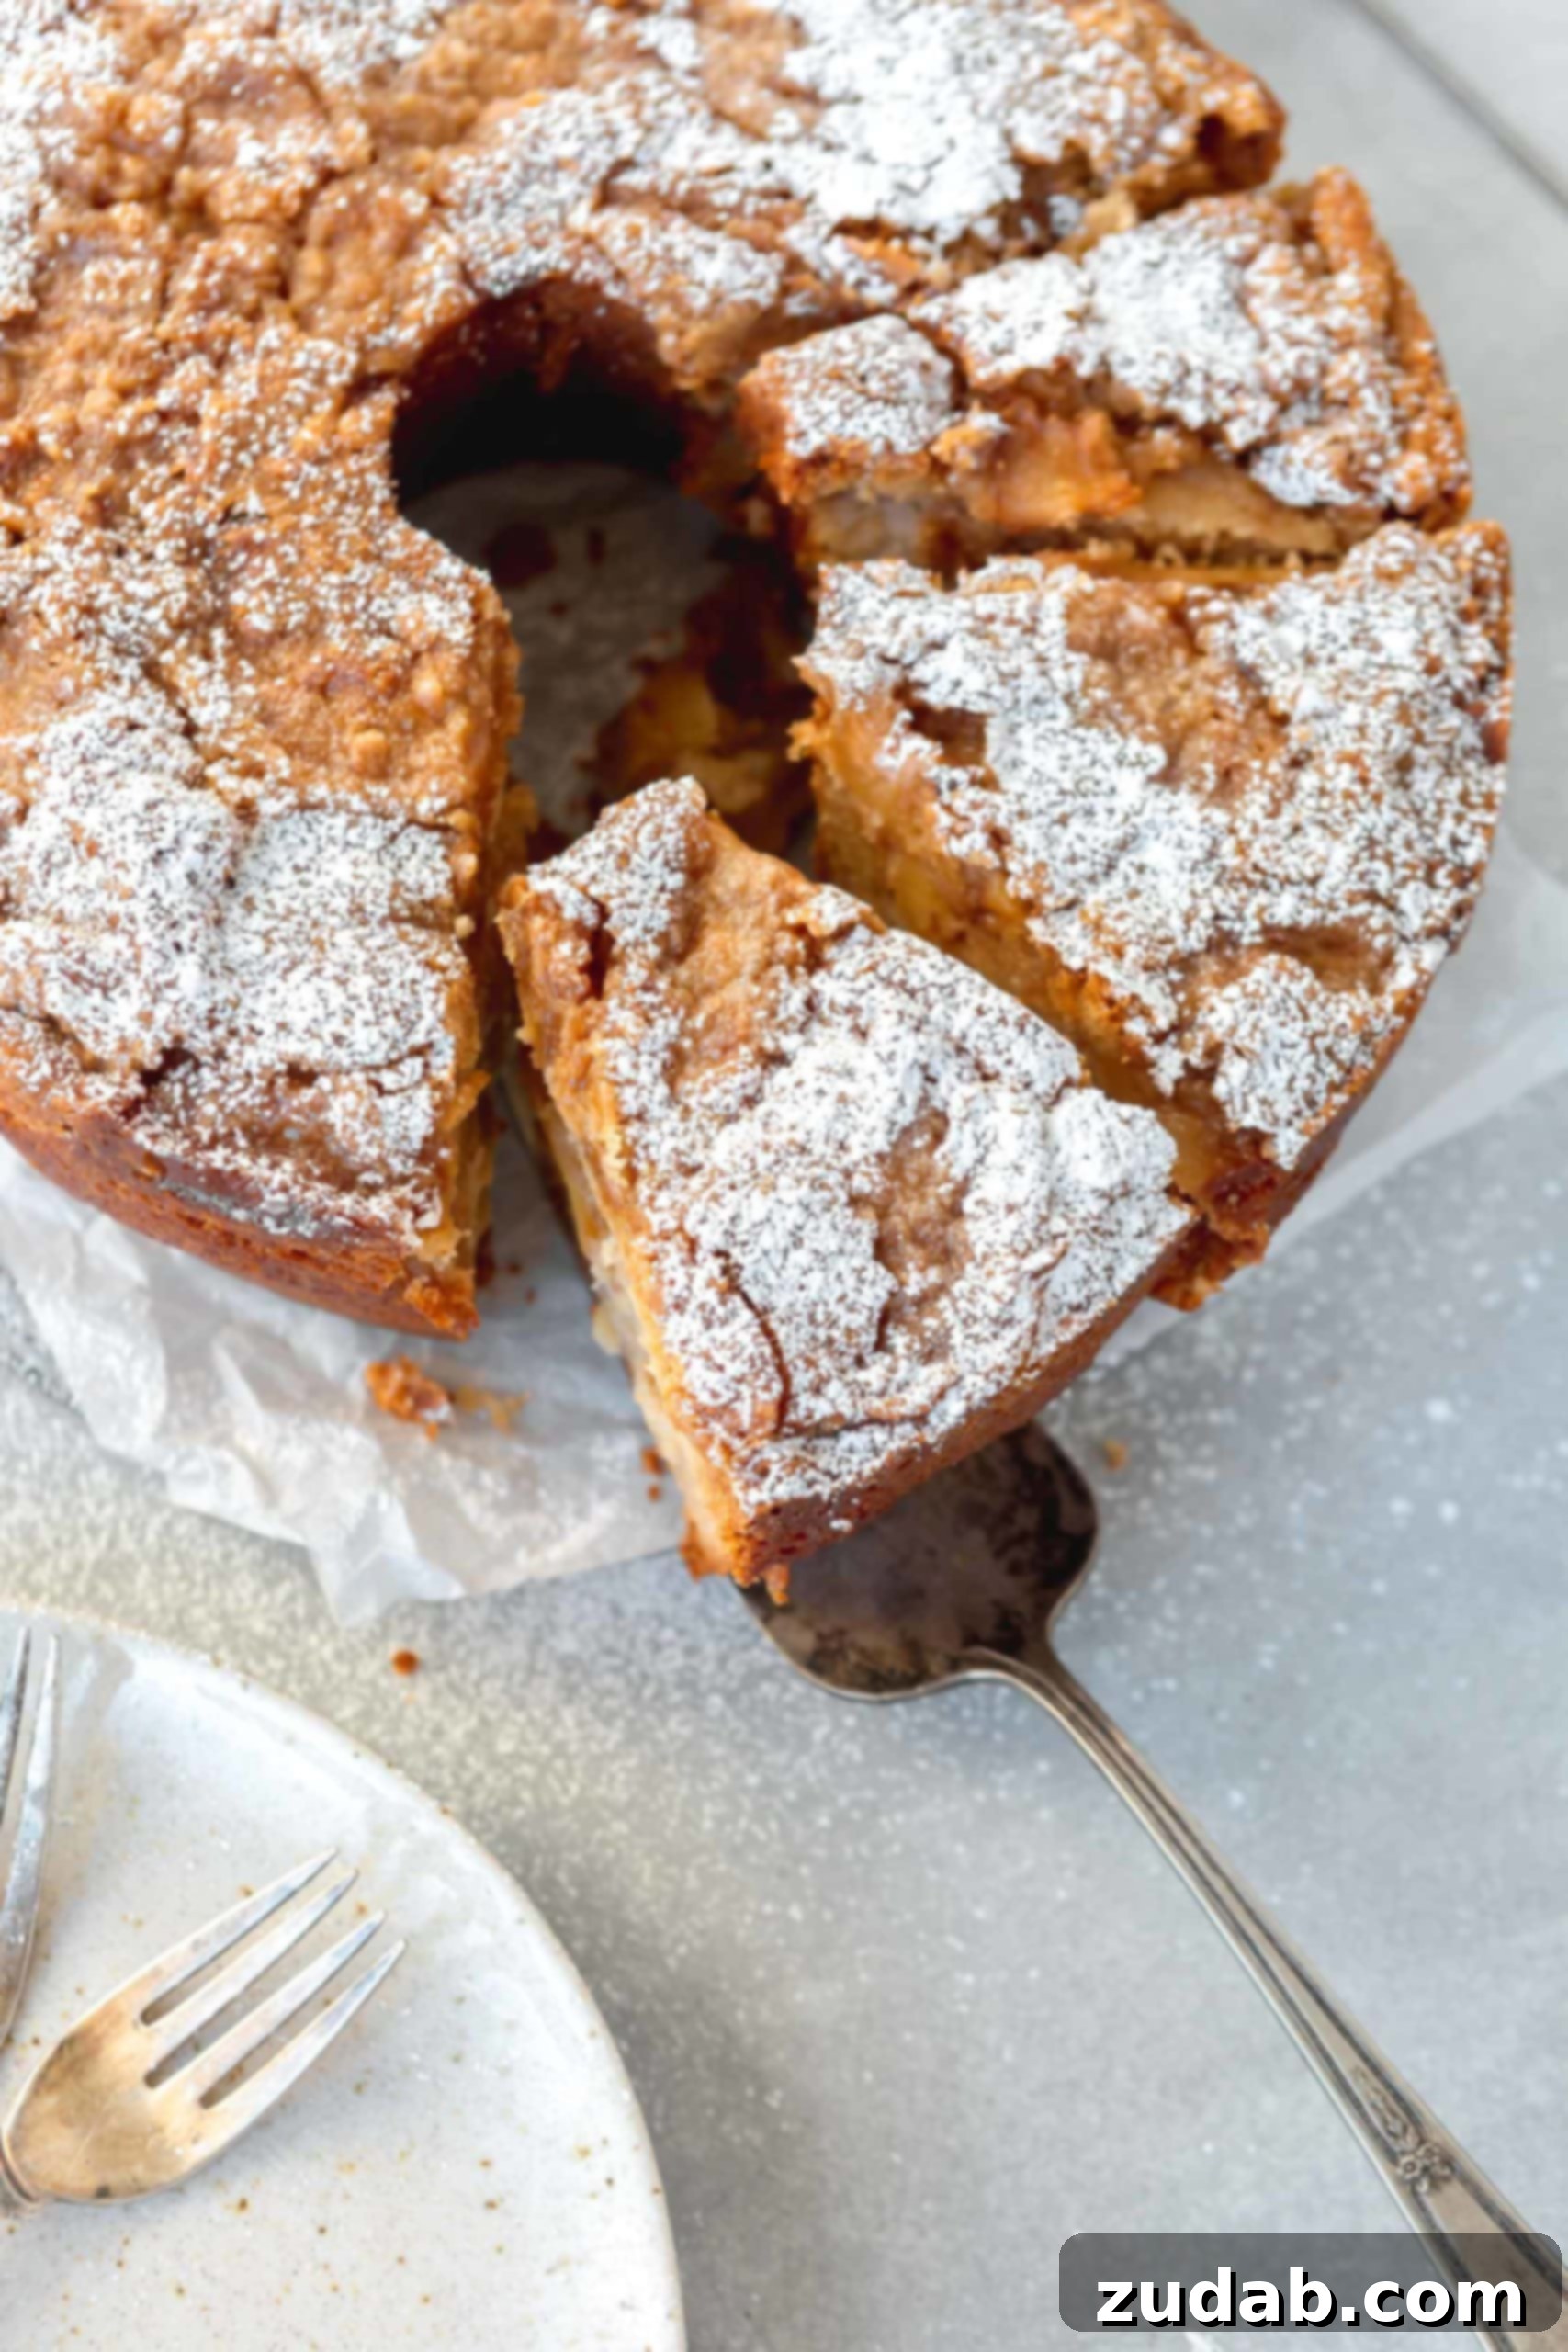
Indulge in the Timeless Delight of Jewish Apple Cake: Your Ultimate Fall Dessert Recipe
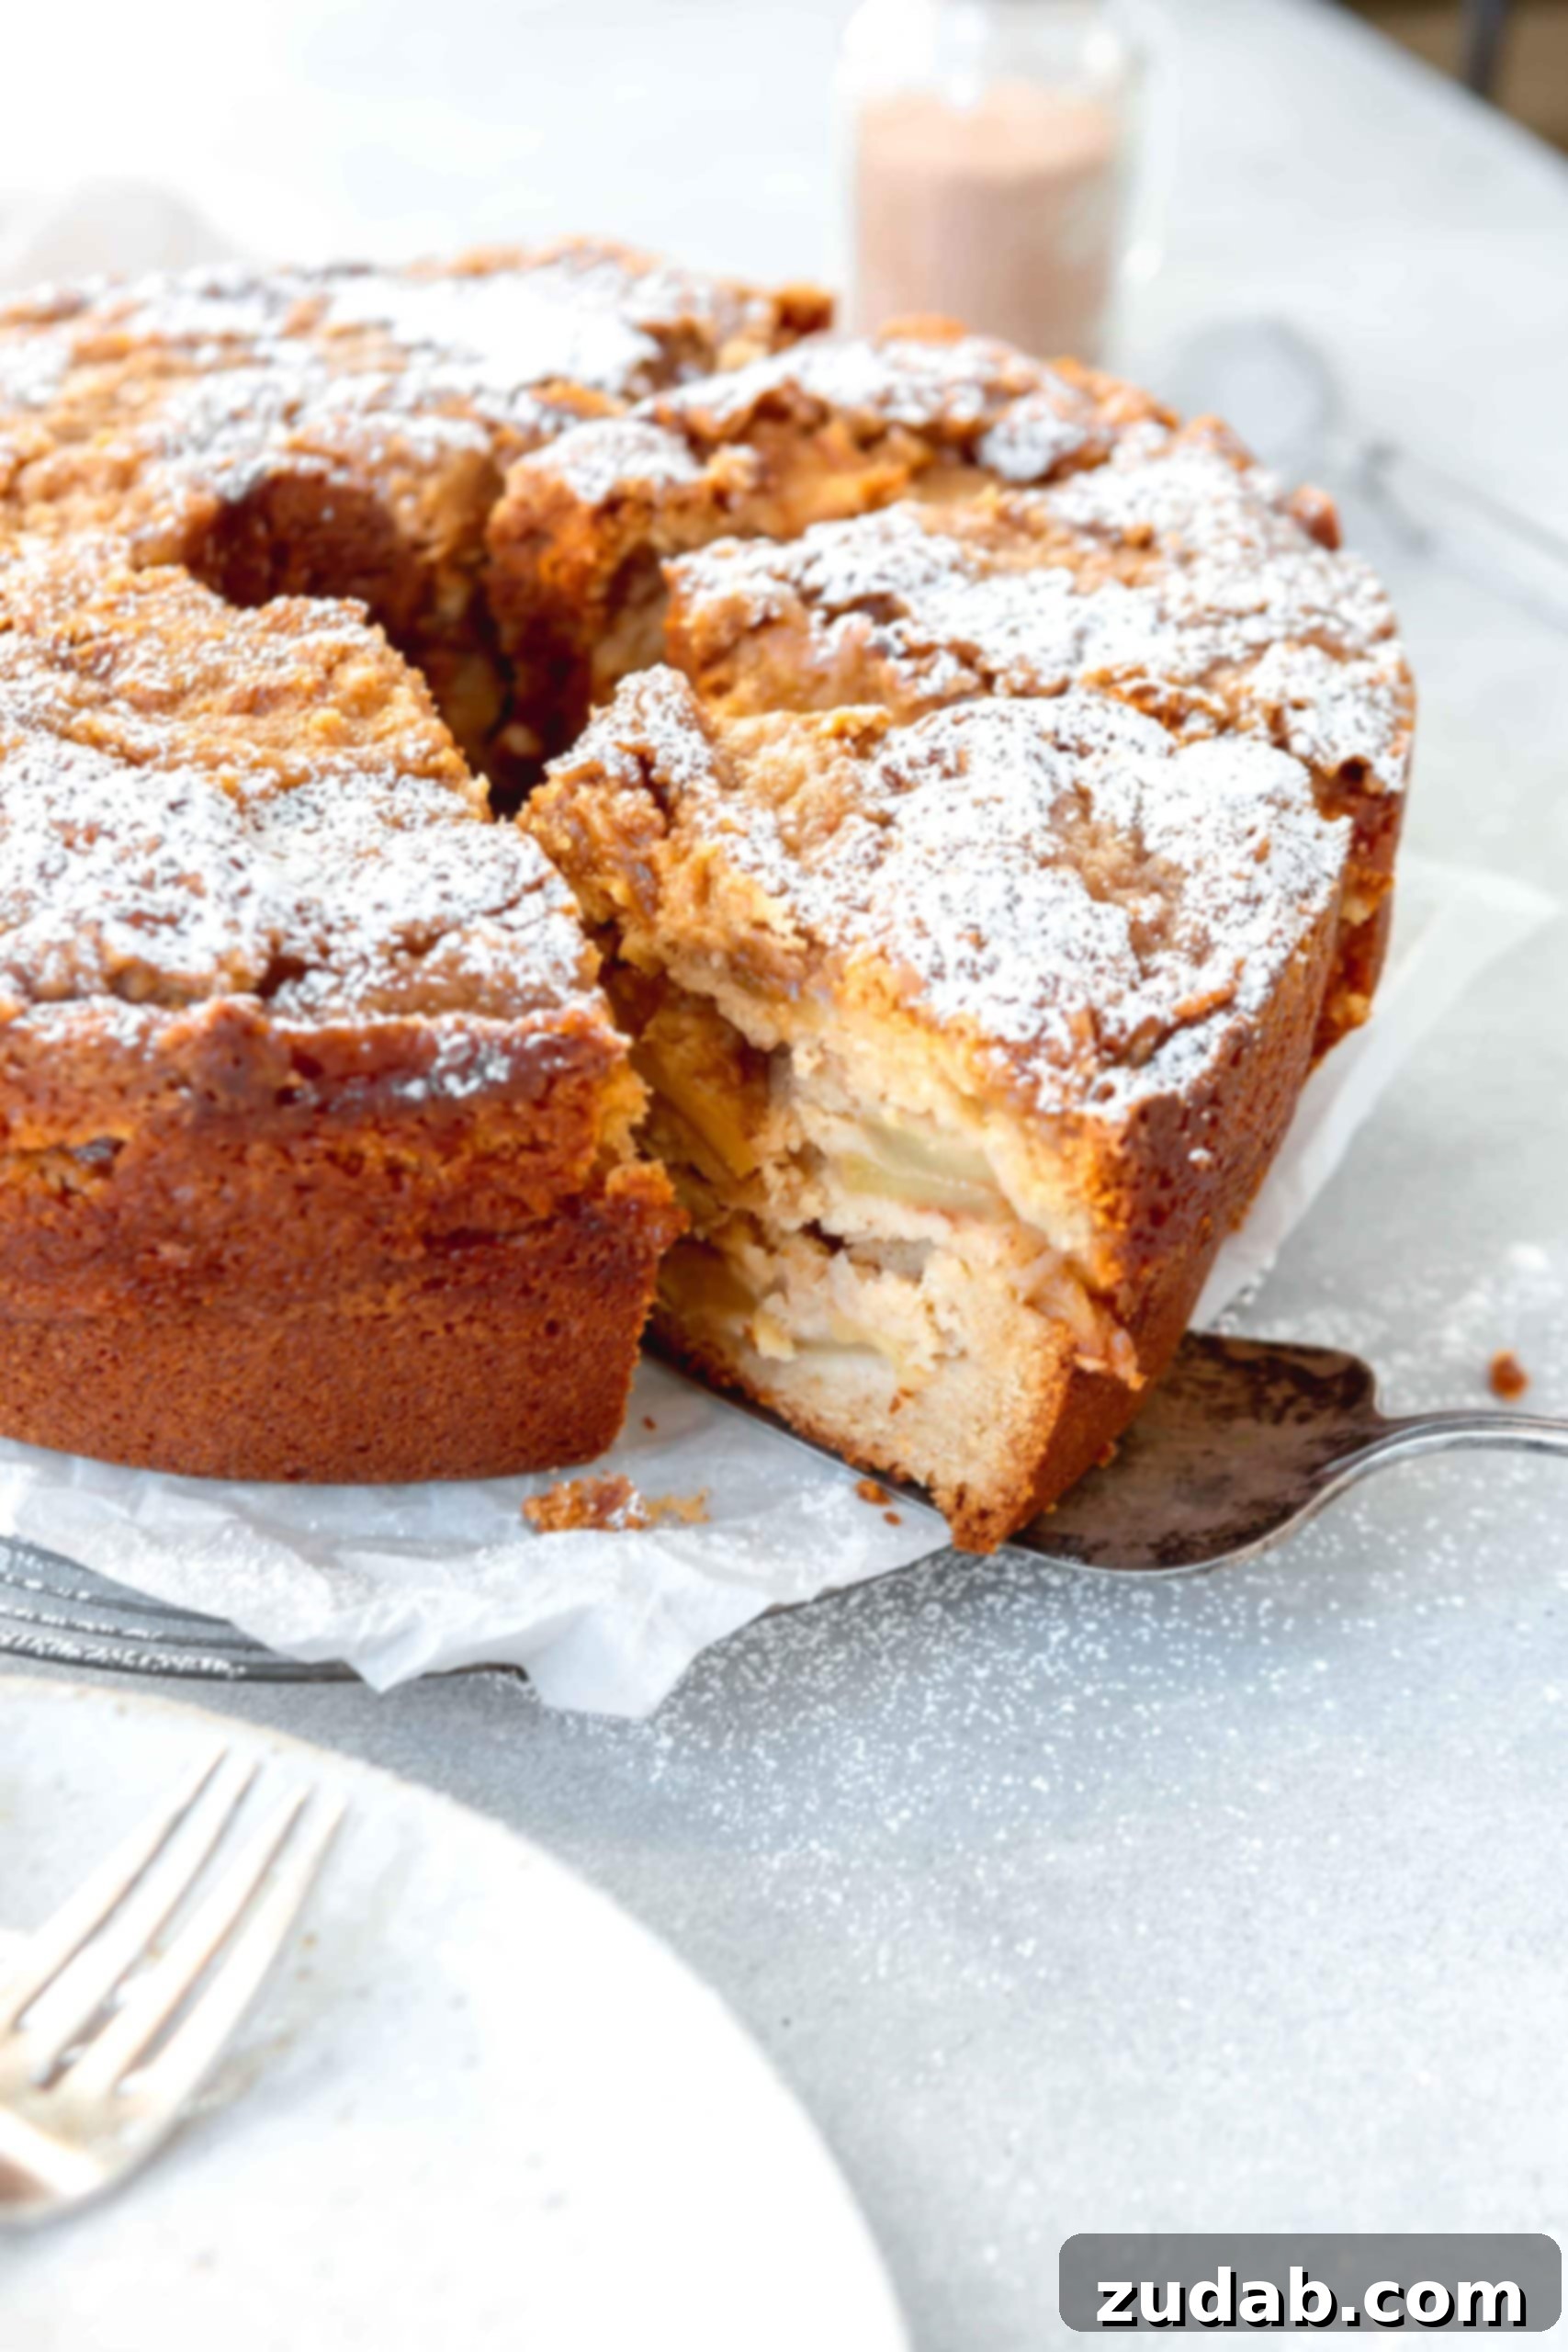
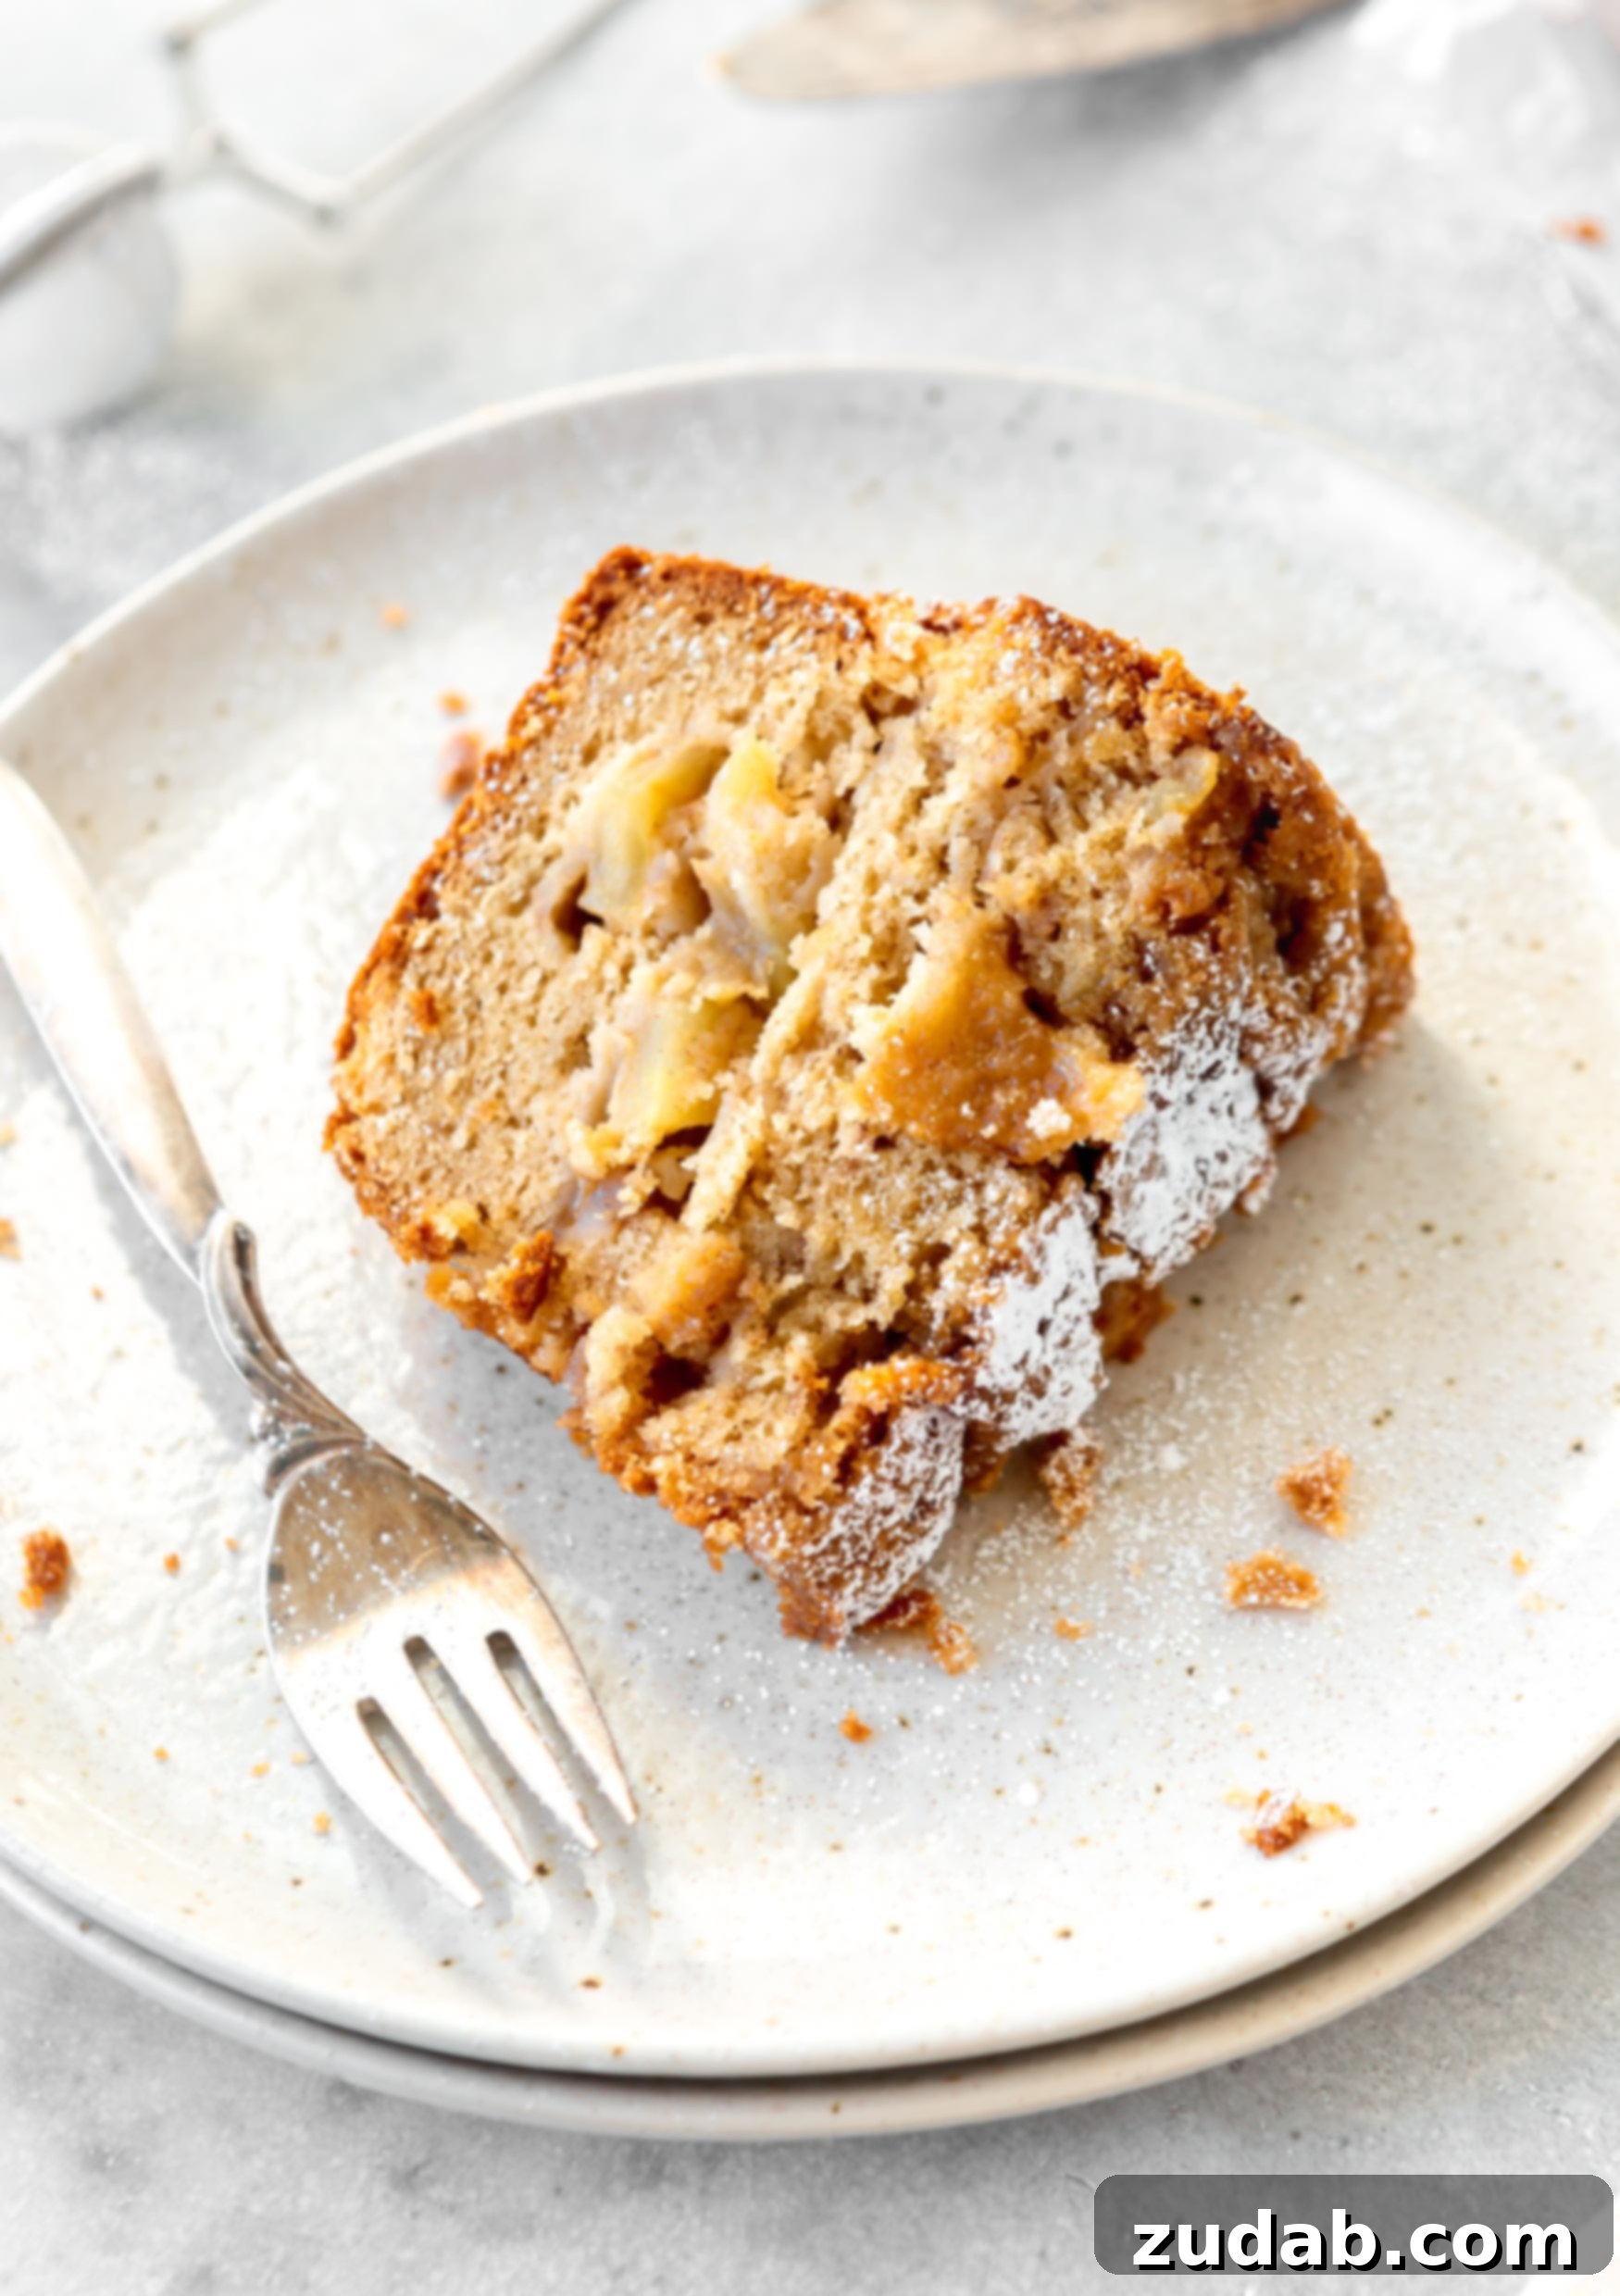
Discover the warm, comforting embrace of Jewish Apple Cake, a truly remarkable dessert that captures the essence of autumn with every delightful bite. This isn’t just any apple cake; it’s a moist, dense, and utterly delectable creation generously studded with cinnamon-sugar coated apple chunks. Perfect for family gatherings, holiday celebrations, or simply a cozy evening treat, this pareve cake stands out with its rich flavor and unique frosting-free charm. Its simplicity and incredible taste make it a cherished classic, especially as the leaves begin to turn and the air grows crisp.
For years, my social media feeds would fill with stunning images of apple and honey cakes, particularly around Jewish holidays like Rosh Hashanah. My curiosity was undeniably piqued. What was this glorious dessert, and could I, too, recreate its magic in my kitchen? After countless attempts and rigorous testing, I can confidently say that a cake filled with bountiful layers of tender, spiced apples is an absolute must-have in your life. It’s a beautifully sweet and straightforward cake that hits all the right notes – moist, flavorful, and incredibly satisfying. Its uniqueness lies in its ability to stand proudly on its own, without a need for elaborate frostings, allowing the natural goodness of the apples to truly shine.
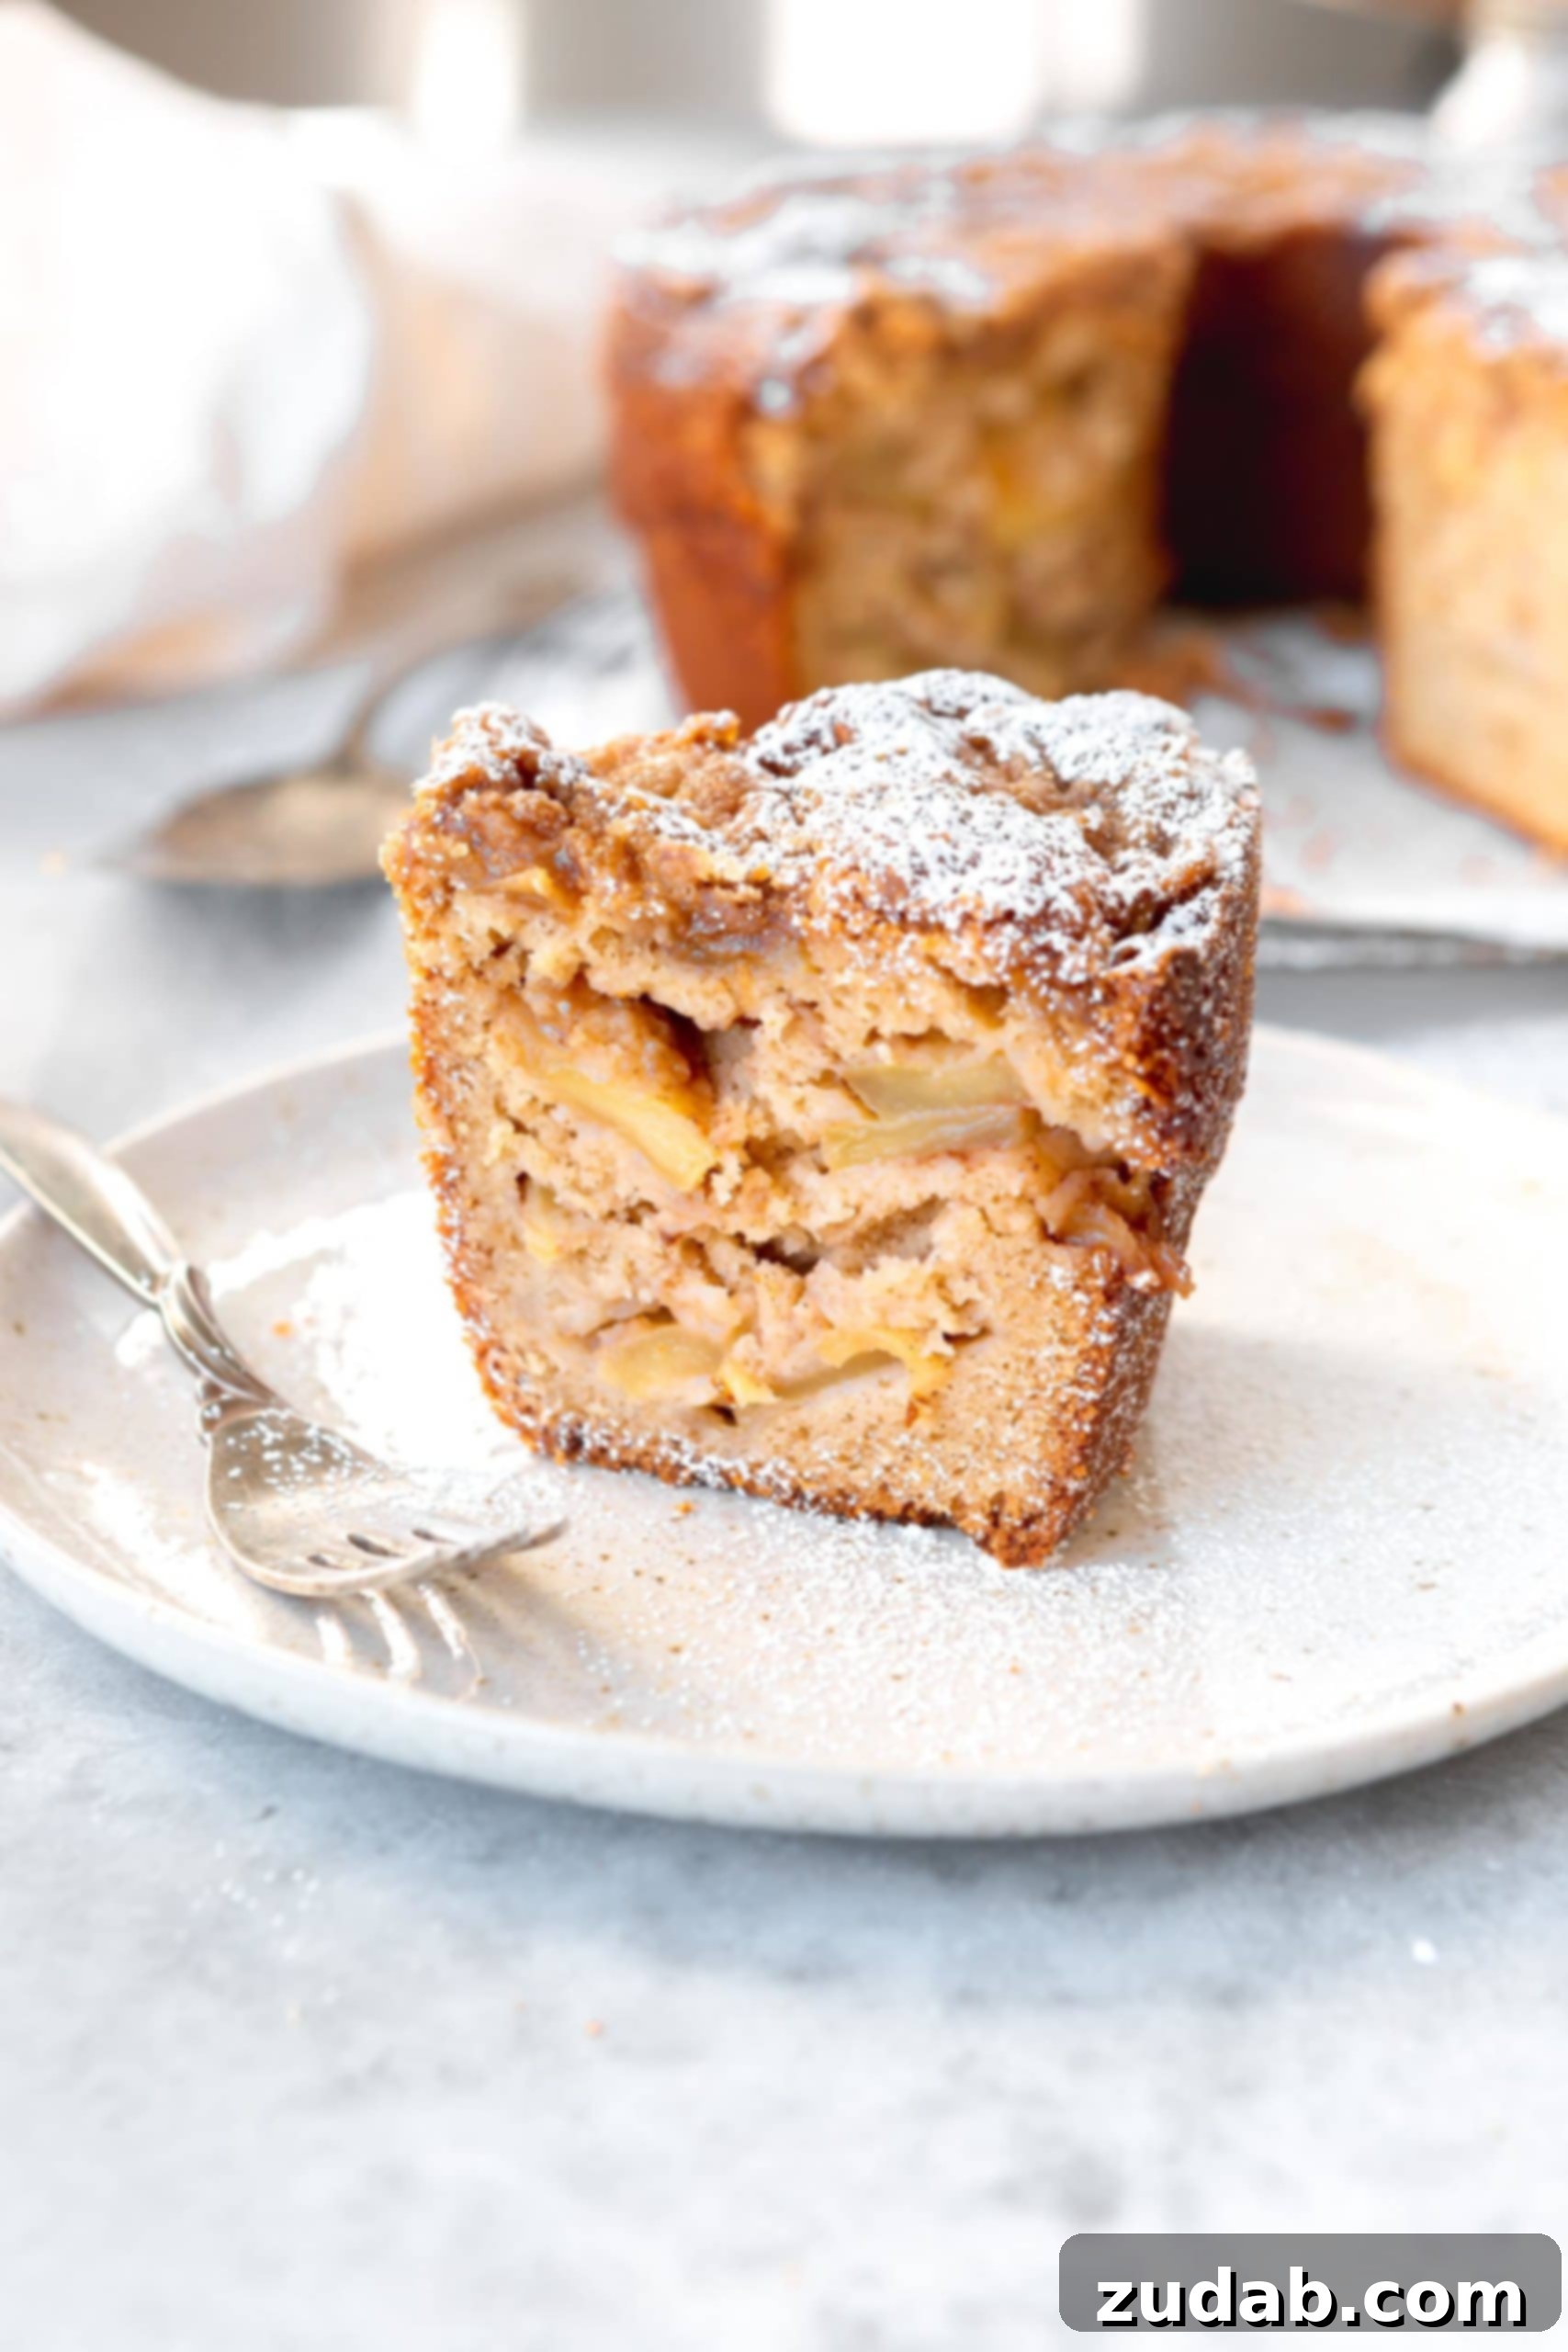
What is Jewish Apple Cake? A Glimpse into its Delicious Heritage
Jewish Apple Cake, a beloved staple in many households, is a simple yet profoundly flavorful dessert believed to have originated in Eastern Europe, particularly Poland. Its name often refers to its traditional composition: a dairy-free (pareve) cake. This means it contains no dairy products, making it suitable to be served alongside meat meals according to kosher dietary laws, which forbid mixing meat and dairy. Unlike many classic American cakes that rely on butter, Jewish Apple Cake is typically made with oil, contributing to its incredibly moist, dense, and tender crumb. This use of oil ensures a rich texture and a cake that remains fresh for days, making it an ideal choice for celebrations and everyday enjoyment alike. It’s a testament to how simple, quality ingredients can create something truly extraordinary.
Why This Jewish Apple Cake Recipe Will Become Your Favorite
After extensive testing and refining, we’ve perfected a Jewish Apple Cake recipe that is destined to become a cherished family favorite. Its undeniable appeal lies in its inherent simplicity – using everyday pantry ingredients to create an extraordinary dessert. Imagine biting into layers of soft, sweet apples infused with warm cinnamon, all nestled within a rich, moist cake batter that truly melts in your mouth. This cake is so incredibly flavorful and satisfying, it genuinely doesn’t need a frosting, allowing the natural sweetness of the apples and the comforting spices to take center stage. It’s an easy-to-make, crowd-pleasing dessert that brings comfort and joy, especially during the crisp autumn months when apples are at their peak. It’s a versatile cake, perfect for a cozy breakfast, a delightful afternoon snack with coffee, or a heartwarming dessert after dinner.
Essential Ingredients for Your Perfect Jewish Apple Cake
One of the many reasons to adore this Jewish Apple Cake is its reliance on readily available ingredients you likely already have on hand. No special trips to specialty stores are needed! Here’s what you’ll need to create this comforting masterpiece:
For the Cake Batter:
- Apples: The star of the show! You’ll need about 6 medium-sized apples, peeled and sliced. We’ll discuss the best varieties below.
- Granulated Sugar: Provides sweetness and helps achieve a tender crumb.
- Ground Cinnamon: The quintessential spice for apple desserts, offering warmth and aromatic depth.
- All-Purpose Flour: The structural base of our cake.
- Baking Powder: Our primary leavening agent, ensuring a light and airy texture.
- Salt: A pinch enhances all the other flavors.
- Brown Sugar: Adds a deeper, molasses-rich sweetness and extra moisture.
- Canola Oil: The secret to its incredible moisture and dairy-free nature. Vegetable oil can also be used.
- Vanilla Extract: A crucial flavor enhancer, bringing warmth and depth.
- Large Eggs: Bind the ingredients and add richness to the cake.
- Orange Juice: A surprising but wonderful addition that brightens the flavor profile and adds moisture.
For the Crumb Topping:
- Brown Sugar: Forms the sweet, caramelized base of the topping.
- All-Purpose Flour: Gives the topping its crumbly texture.
- Unsalted Butter: Cut into cubes, it binds the topping ingredients and adds richness.
- Powdered Sugar: For dusting the cooled cake, adding a final touch of sweetness and elegance.
The precise measurements for each ingredient, along with detailed instructions, can be found in the comprehensive recipe card below. This combination of simple ingredients yields a cake that is anything but ordinary.
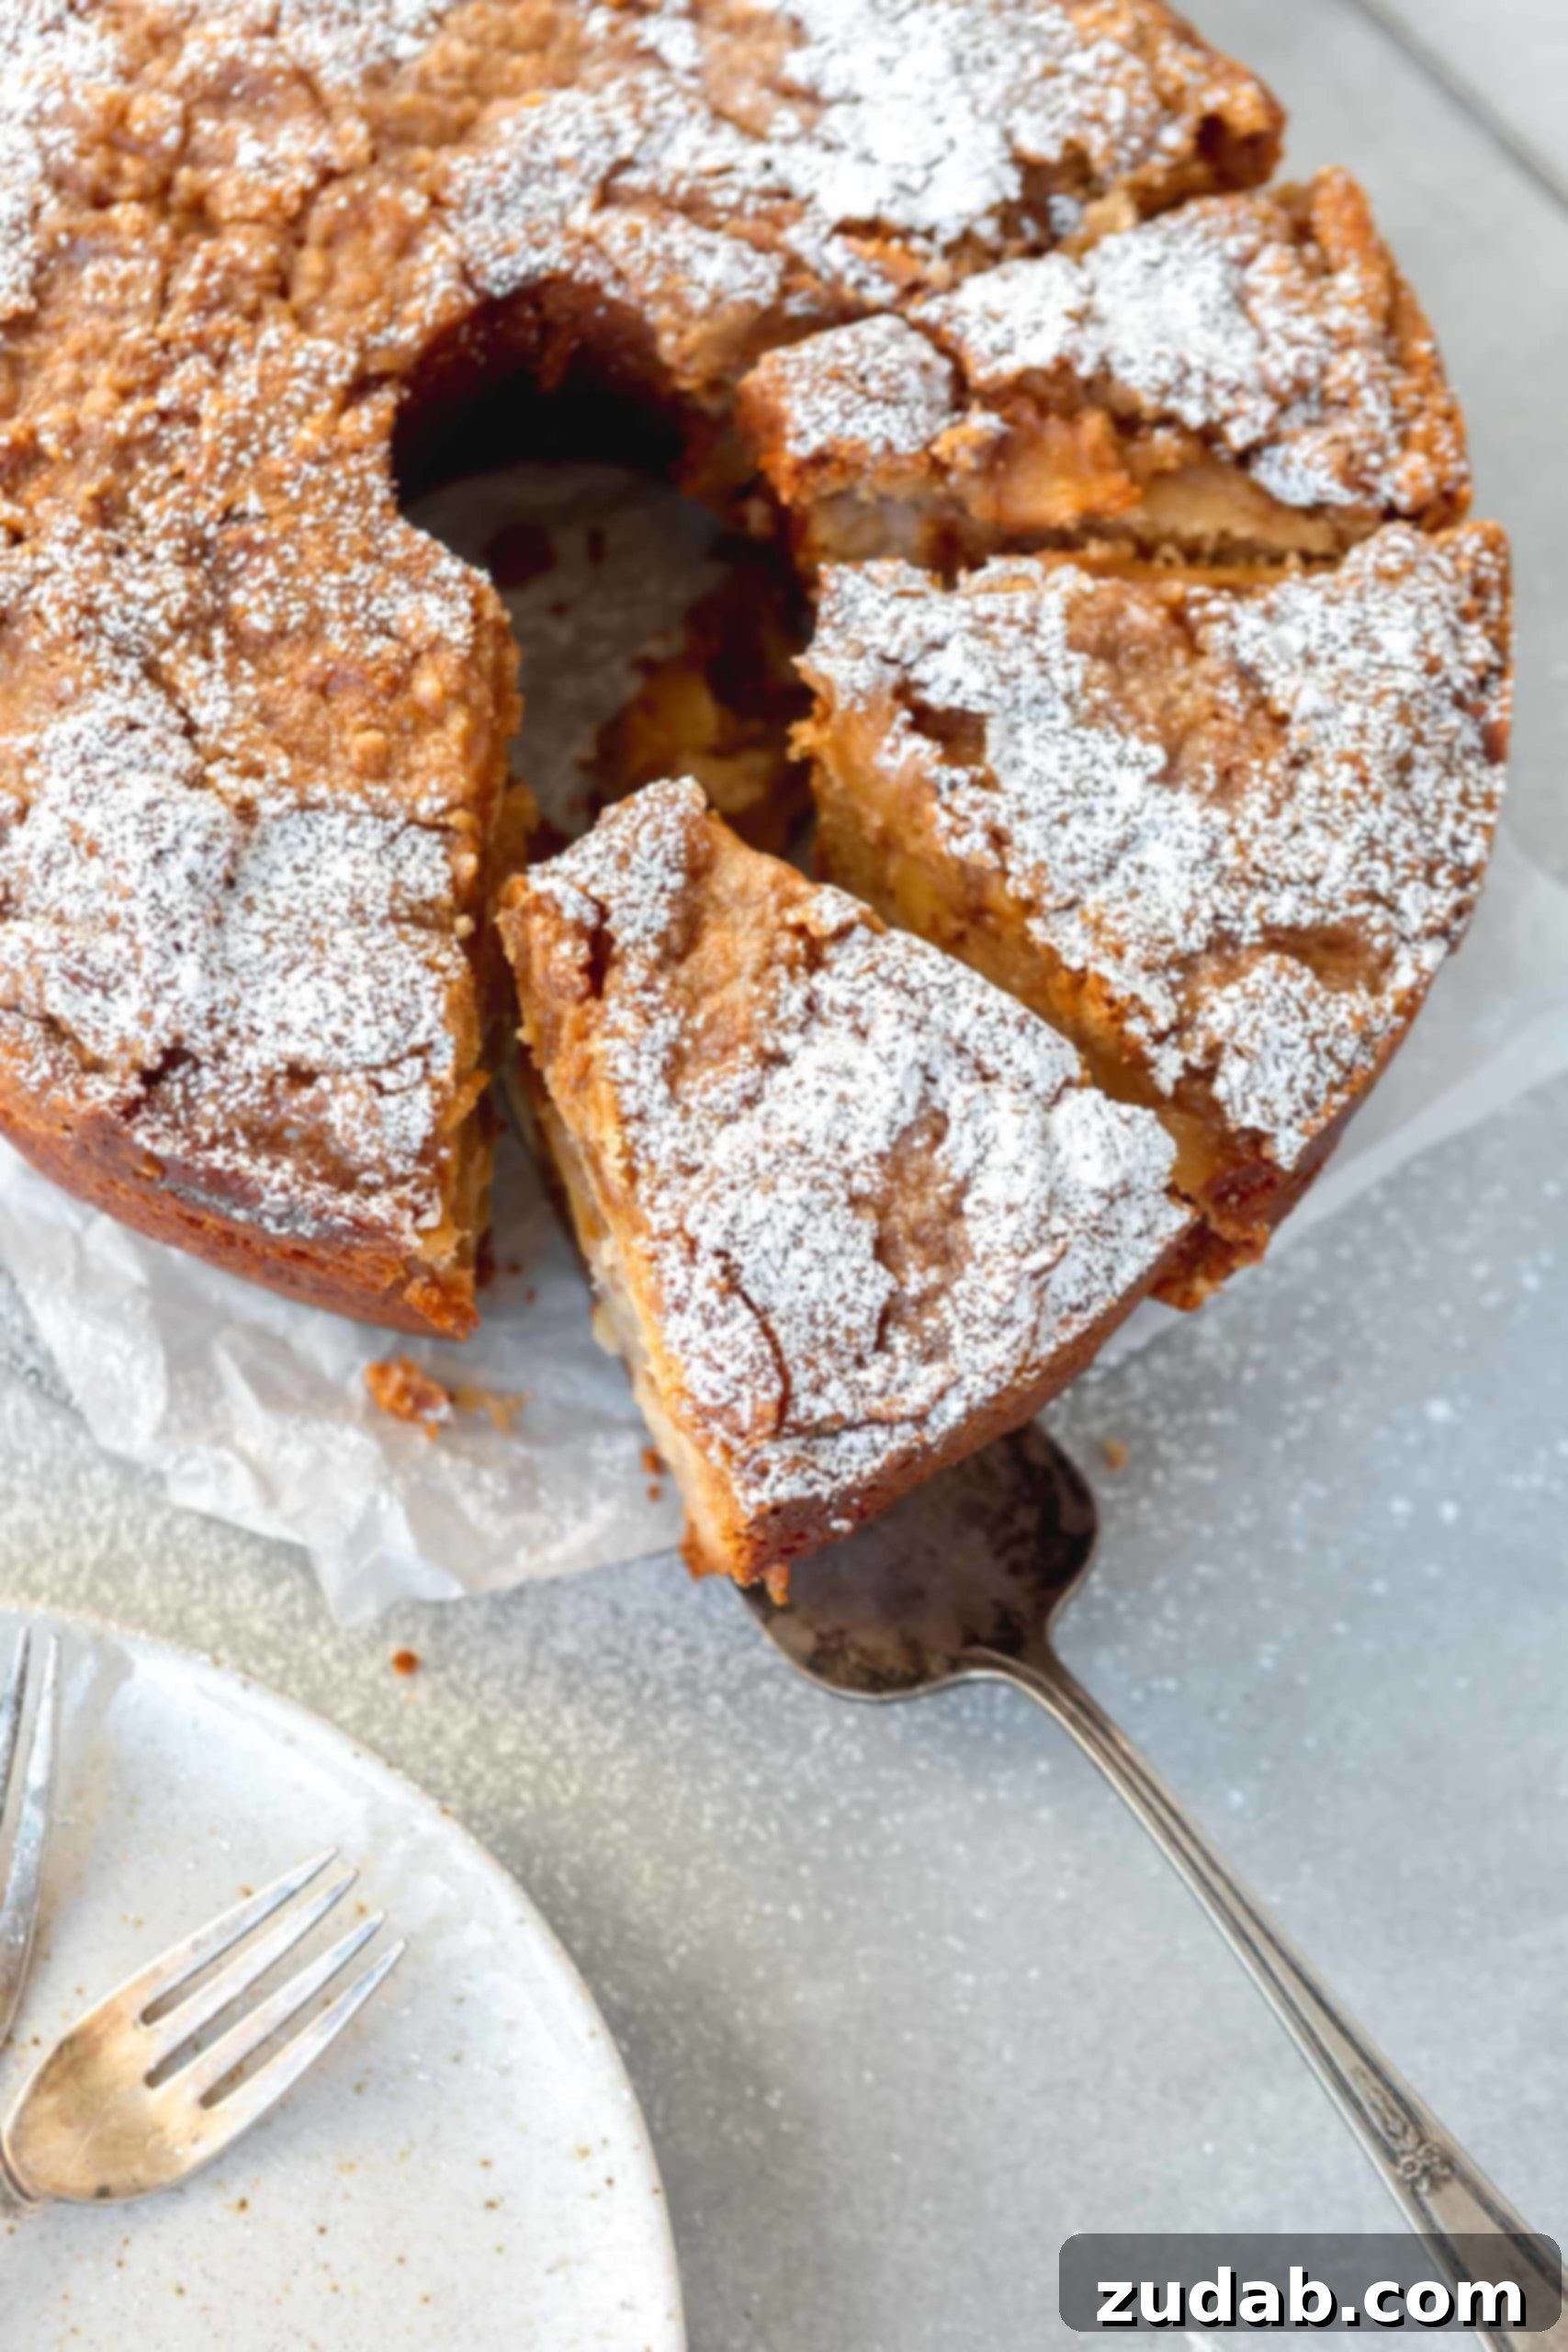
How to Master the Art of Jewish Apple Cake: Step-by-Step Instructions
The beauty of simple ingredients often translates into simple steps, and this Jewish Apple Cake recipe is no exception. Follow these straightforward instructions to create a show-stopping dessert that tastes like a labor of love:
- Prepare Your Oven and Pan: Begin by preheating your oven to 350°F (175°C). Thoroughly grease and flour an angel food cake pan or a bundt pan. This crucial step ensures your cake releases easily after baking.
- Season Your Apples: In a medium bowl, combine the granulated sugar and 3 teaspoons of cinnamon. Set aside 1/2 cup of this fragrant mixture. Add your peeled and sliced apples to the remaining cinnamon-sugar mixture, tossing gently to coat them evenly. This infuses the apples with flavor right from the start.
- Whisk Dry Ingredients: In a separate large bowl, sift together the all-purpose flour, baking powder, salt, and the remaining 1/2 teaspoon of cinnamon. Sifting helps to aerate the flour and remove any lumps, resulting in a lighter cake texture. Set this bowl aside.
- Combine Wet Ingredients: In another bowl, whisk together the brown sugar, canola oil, vanilla extract, large eggs, and orange juice. Ensure all ingredients are well combined and smooth, creating a homogeneous liquid mixture.
- Gently Combine Wet and Dry: Create a well in the center of your dry ingredients. Pour the wet ingredients into this well. Using a wooden spoon or a spatula, gently fold the wet and dry ingredients together until just combined. Be careful not to overmix, as this can lead to a tough cake. A few streaks of flour are acceptable.
- Layer the Batter and Apples: This is where the magic happens! Pour approximately one-third of your cake batter into the prepared pan, spreading it evenly. Then, arrange one-third of the cinnamon-coated apple slices over the batter. Sprinkle 1 tablespoon of the reserved cinnamon-sugar mixture over the apples. Repeat this layering process two more times, ending with a final layer of apples and a sprinkle of cinnamon sugar on top.
- Prepare and Add the Topping: In a small bowl, combine the brown sugar and flour for the topping. Cut in the cubed unsalted butter using your fingertips or a pastry blender until the mixture resembles coarse crumbs. Evenly sprinkle this crumbly topping over the top of the cake batter.
- Bake to Golden Perfection: Place the cake in the preheated oven and bake for 70-85 minutes. The baking time can vary depending on your oven and pan size. To check for doneness, insert a wooden skewer or toothpick into the center of the cake; it should come out clean.
- Cool and Serve: Once baked, remove the cake from the oven and let it cool in the pan on a wire rack for about 15-20 minutes. This allows the cake to set before attempting to remove it. Carefully invert the cake onto a serving plate. Once completely cooled, lightly dust it with powdered sugar for a beautiful finish. Slice and serve!
For more detailed instructions and helpful tips, refer to the recipe card below.
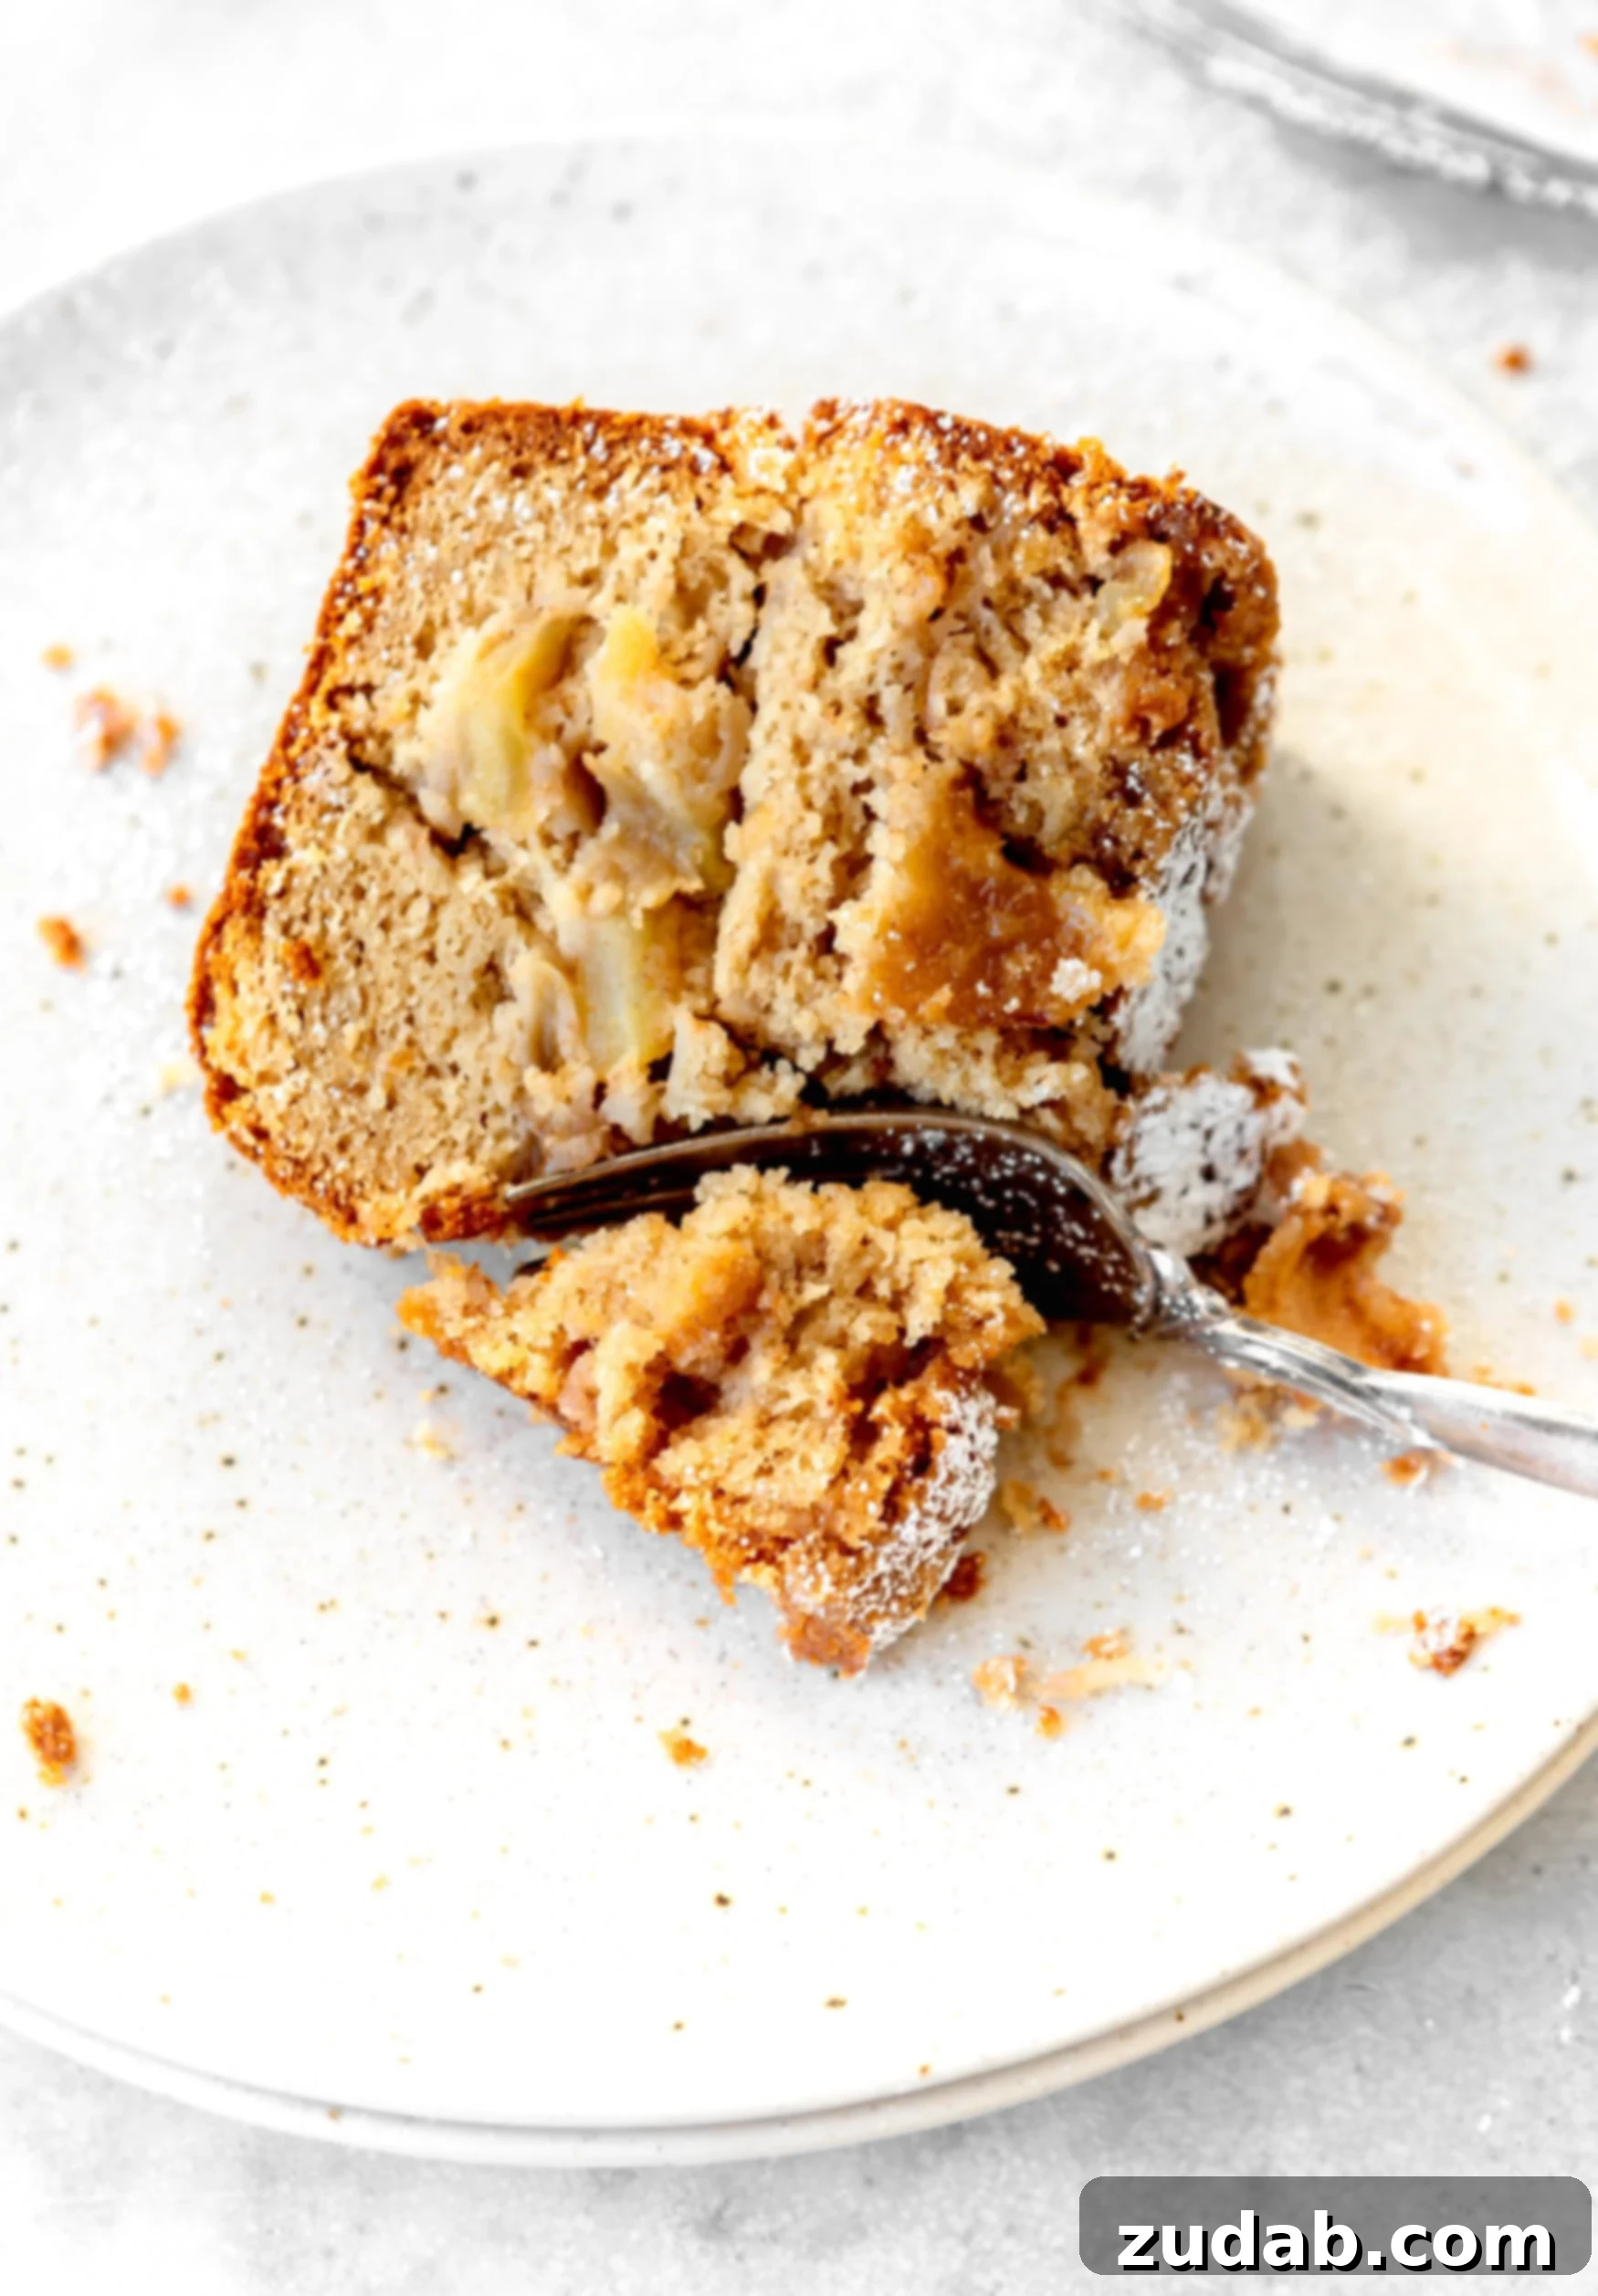
Choosing the Best Apples for Your Jewish Apple Cake
The type of apples you choose can significantly impact the final texture and flavor of your Jewish Apple Cake. While you can certainly use any combination of your favorite apples, I highly recommend a mix of both sweet and tart varieties for a balanced profile and varied texture. My personal preference for this recipe is a combination of Honeycrisp and Granny Smith apples.
- Honeycrisp apples are wonderfully sweet with a crisp texture that holds up well during baking, providing delightful bursts of sweetness.
- Granny Smith apples offer a tart counterpoint, cutting through the richness of the cake and adding a vibrant zing. Their firm flesh also ensures they don’t turn mushy in the oven.
Other excellent choices include Fuji, Gala, Braeburn, or even Jonagold. Experiment to find your perfect blend! Just ensure they are firm apples that won’t completely disintegrate when baked.
Storage and Freezing Your Jewish Apple Cake
Proper storage ensures your delicious Jewish Apple Cake remains fresh and enjoyable for as long as possible.
Does Jewish Apple Cake Need To Be Refrigerated?
Yes, due to its moist nature and the fresh apples, this cake should be kept in the refrigerator. Store it in an airtight container to prevent it from drying out and to maintain its delightful texture.
How Long Will Apple Cake Keep?
When stored correctly in the refrigerator in an airtight container, your Jewish Apple Cake will keep for 4-5 days. It often tastes even better the day after baking as the flavors meld together beautifully.
Can This Cake be Frozen?
Absolutely! Jewish Apple Cake freezes amazingly well, making it perfect for meal prep or enjoying a slice whenever a craving strikes. Let the cake cool completely to room temperature before freezing. You can freeze it either whole or in individual slices. To do so, wrap it tightly first in plastic wrap, ensuring no air can get in, and then follow with a layer of aluminum foil. When you’re ready to enjoy it, simply pull it out of the freezer and let it thaw on the counter at room temperature for a few hours. Freezing helps preserve its moistness and flavor.
Expert Tips for Effortlessly Removing Your Cake from the Pan
Unmolding a bundt or angel food cake can sometimes be daunting, but with a few simple tricks, it can be a breeze, ensuring your beautiful Jewish Apple Cake remains intact:
- Grease and Flour Thoroughly: Before pouring in your batter, ensure every crevice of your pan is generously greased (with butter, shortening, or baking spray) and then lightly floured. Tap out any excess flour. This creates a non-stick barrier.
- Cool Properly: Allow the cake to cool in the pan on a wire rack for about 15-20 minutes after baking. This crucial cooling period allows the cake to firm up and naturally contract, pulling away from the sides of the pan. Trying to remove it too soon can cause it to break apart.
- Invert with Confidence: Place a serving plate or wire rack on top of the pan, with the serving side against the pan. Using pot holders for grip, hold the cake plate and pan firmly together. In one swift, confident motion, carefully turn the cake upside down onto the cake plate.
- Gentle Release: If the cake doesn’t immediately release, give the pan a gentle jiggle or a light tap on the counter. You may need to run a thin, flat-bladed knife (or an offset spatula) around the edges of the pan and the inner core to loosen any stubborn spots. Be gentle to avoid damaging the cake.
- Patience is Key: Sometimes, cakes just need a little more time to cool and release naturally. Don’t rush the process!
An Apple for Every Craving: Exploring More Delightful Apple Cake Recipes
In my humble opinion, one can truly never have too many apple cake recipes! While this Jewish Apple Cake holds a special place, there’s a whole world of apple-infused delights to explore. We adore our apple cake with luscious caramel frosting, and our apple cake generously drizzled with rich caramel sauce. For those who love a bit of nutty crunch, the pecan apple bundt cake is an absolute dream. But there was a missing piece in our collection, and this glorious Jewish Apple Cake has filled that void beautifully. I simply love, love, love it!
More Easy Apple Desserts to Savor:
If you’re an apple enthusiast like us, you’ll want to try these other fantastic apple desserts:
- Apple Brown Betty
- Apple Cake with Caramel Frosting
- Easy Apple Dumplings with Sprite
- Apple Pie Bread Pudding with Vanilla Sauce
- Mini Dutch Apple Cheesecakes
- Apple Cheesecake Bars
- Apple Pie Bombs a la Mode
- Caramel Apple Sweet Rolls
- Apple Pie Pull-Apart Bread
- Apple Cake with Caramel Sauce
- Best Apple Crisp
- Apple Cider Cupcakes with Cinnamon Frosting
- Apple Pie Fried Ice Cream
Jewish Apple Cake
15 mins
1 hr 25 mins
1 hr 40 mins
12
Ingredients
Cake
- 1 Cup White Sugar, divided
- 3 1/2 teaspoons Cinnamon, divided
- 6 Apples, peeled and sliced
- 3 Cups Flour
- 1 Tablespoon Baking Powder
- 1 teaspoon Salt
- 1 Cup Brown Sugar
- 1 Cup Canola Oil
- 2 teaspoons Vanilla
- 4 Large Eggs
- 1/4 Cup Orange Juice, plus 1 Tablespoon
Topping
- 1/2 Cup Brown Sugar
- 1/4 Cup Flour
- 4 Tablespoons Butter, unsalted, cut in cubes
- Powdered Sugar for serving
Instructions
- Preheat the oven to 350 degrees and grease an angel food or bundt pan.
- Mix together 1 Cup White Sugar and 3 teaspoons of Cinnamon. Remove 1/2 cup of the mixture and toss with 6 Apples, peeled and sliced, and set aside.
- In a bowl, sift together 3 Cups Flour, 1 Tablespoon Baking Powder, 1 teaspoon Salt and the remaining 1/2 teaspoon Cinnamon. Set aside.
- In another bowl, stir together the remaining cinnamon sugar (except the 2 tablespoons for layering), 1 Cup Brown Sugar, 1 Cup Canola Oil, 2 teaspoons Vanilla, 4 Large Eggs and 1/4 Cup Orange Juice.
- Make a well in the center of the dry ingredients and add the wet ingredients. Use a wooden spoon to gently fold everything together until just combined.
- Pour 1/3 of the batter into the greased pan and then add 1/3 of the apples evenly over the batter. Sprinkle with 1 tablespoon of the reserved cinnamon sugar.
- Gently pour out another 1/3 of the batter and top with another 1/3 of the apples and then sprinkle with the final tablespoon of reserved cinnamon sugar.
- Top the cake off with the last of the batter and remaining apples.
- In a bowl, combine the topping: 1/2 Cup Brown Sugar and 1/4 Cup Flour. Sprinkle evenly over the cake. Dot with 4 Tablespoons Unsalted Butter, cut in cubes.
- Bake for 70-85 minutes or until a toothpick inserted into the center comes out clean. Allow to cool completely and dust with Powdered Sugar for serving, then slice and serve.
Recipe Notes
This cake should be kept in the refrigerator.
Nutrition
Serving: 1 piece, Calories: 566 kcal, Carbohydrates: 84g, Protein: 6g, Fat: 24g, Saturated Fat: 4g, Cholesterol: 65mg, Sodium: 258mg, Potassium: 299mg, Fiber: 3g, Sugar: 53g, Vitamin A: 255IU, Vitamin C: 7mg, Calcium: 91mg, Iron: 2mg
Nutrition information is automatically calculated, so should only be used as an approximation.
REMEMBER TO SUBSCRIBE TO our FREE Oh Sweet Basil NEWSLETTER AND RECEIVE EASY RECIPES DELIVERED INTO YOUR INBOX EVERY DAY!
When you try a recipe, please use the hashtag #ohsweetbasil on INSTAGRAM for a chance to be featured in our stories! FOLLOW OH, SWEET BASIL ON FACEBOOK | INSTAGRAM | PINTEREST | TWITTER FOR ALL OF OUR LATEST CONTENT, RECIPES AND STORIES.