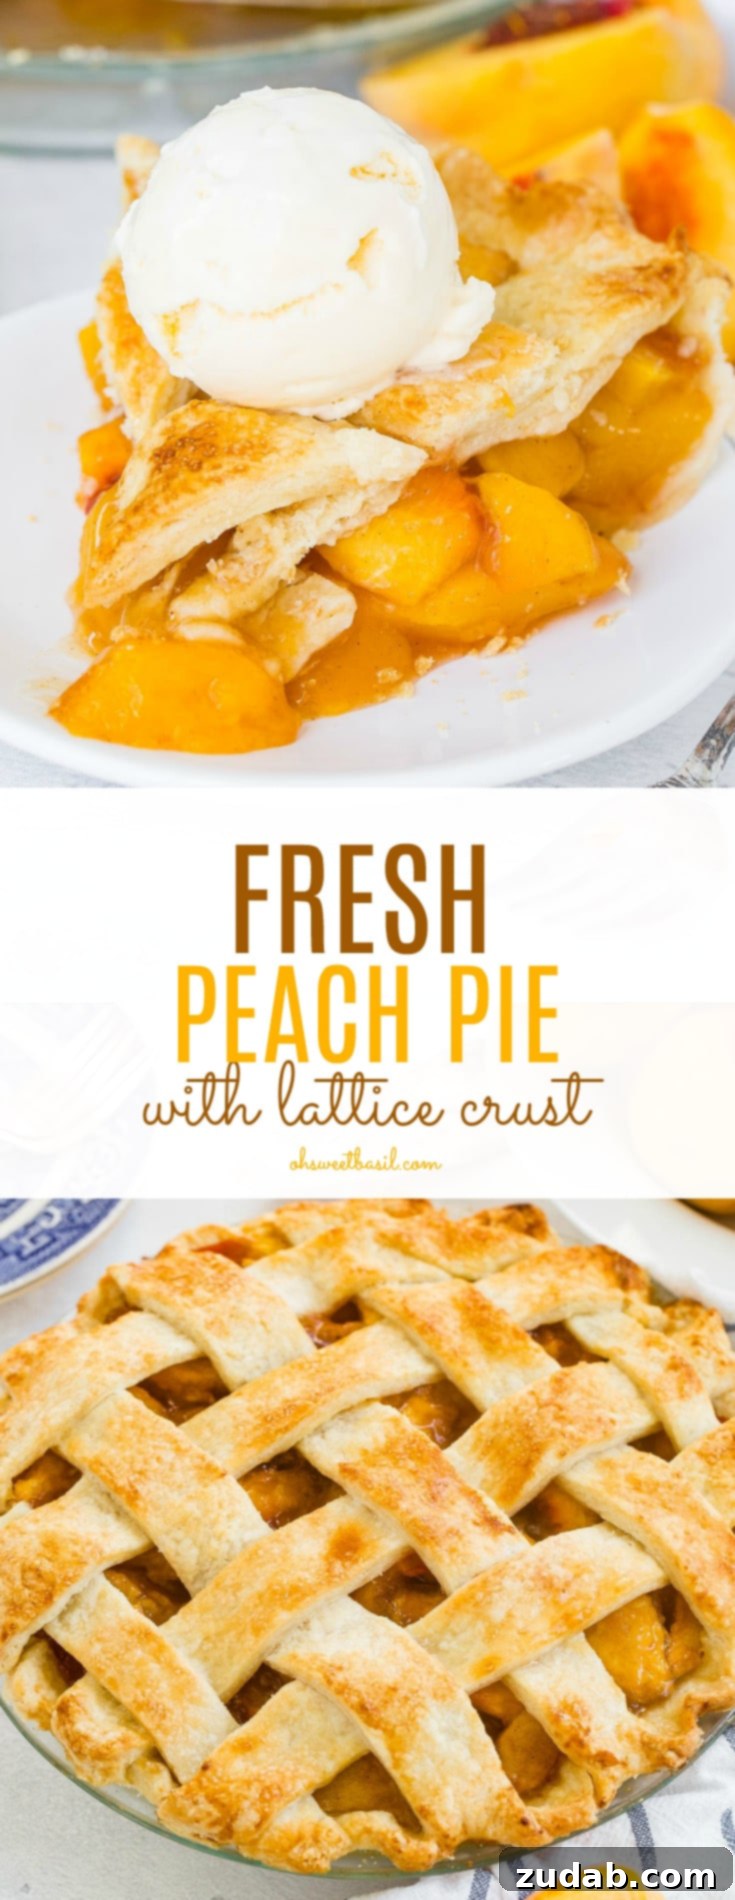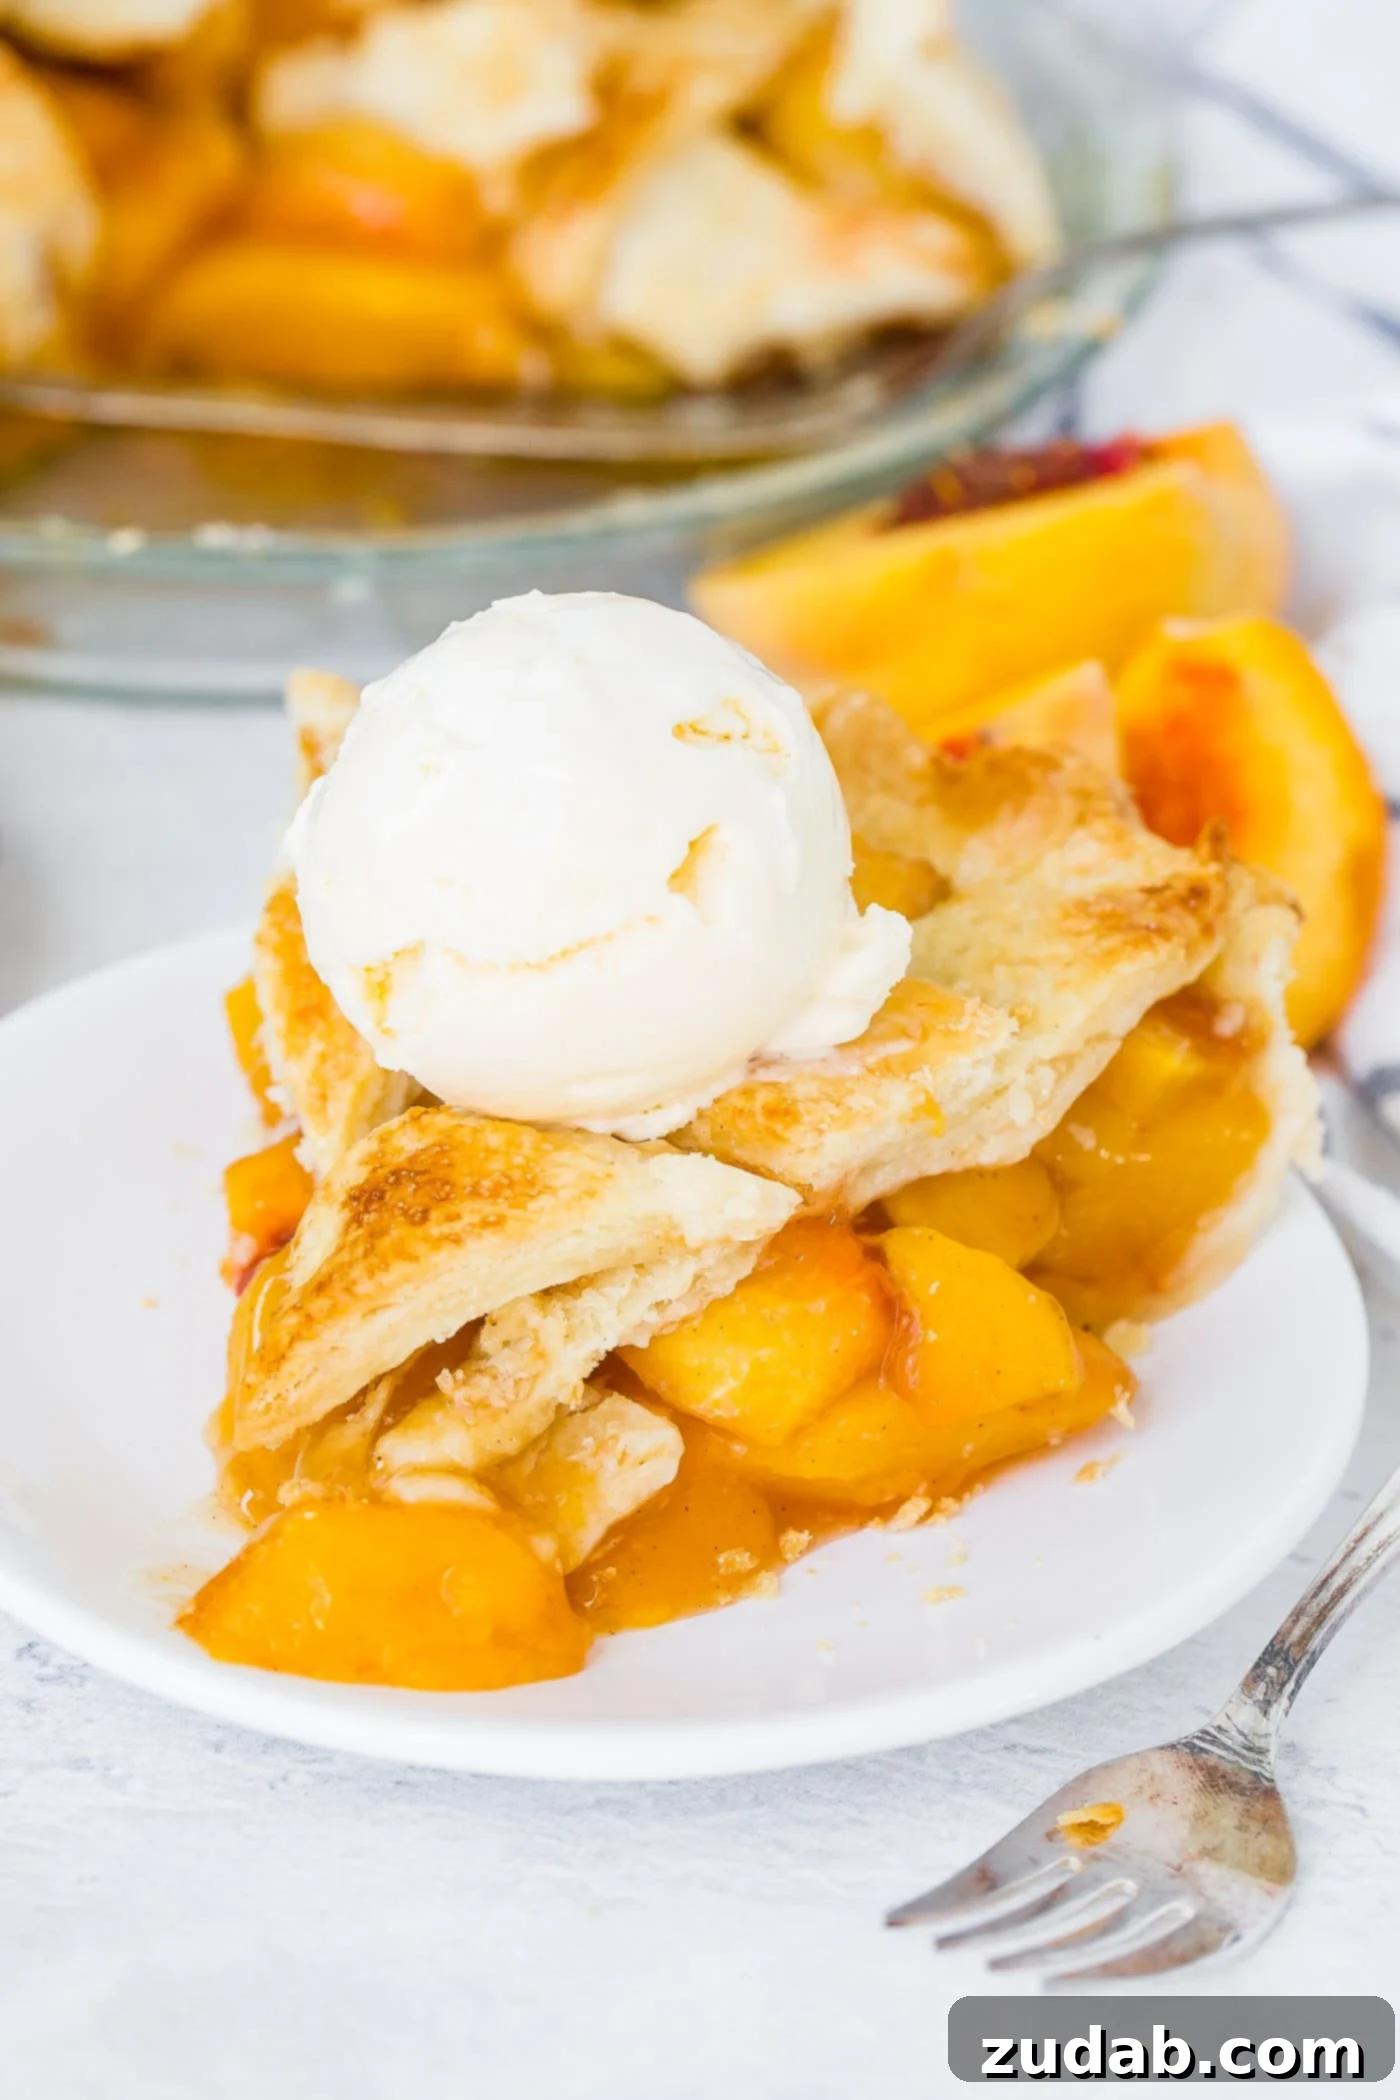
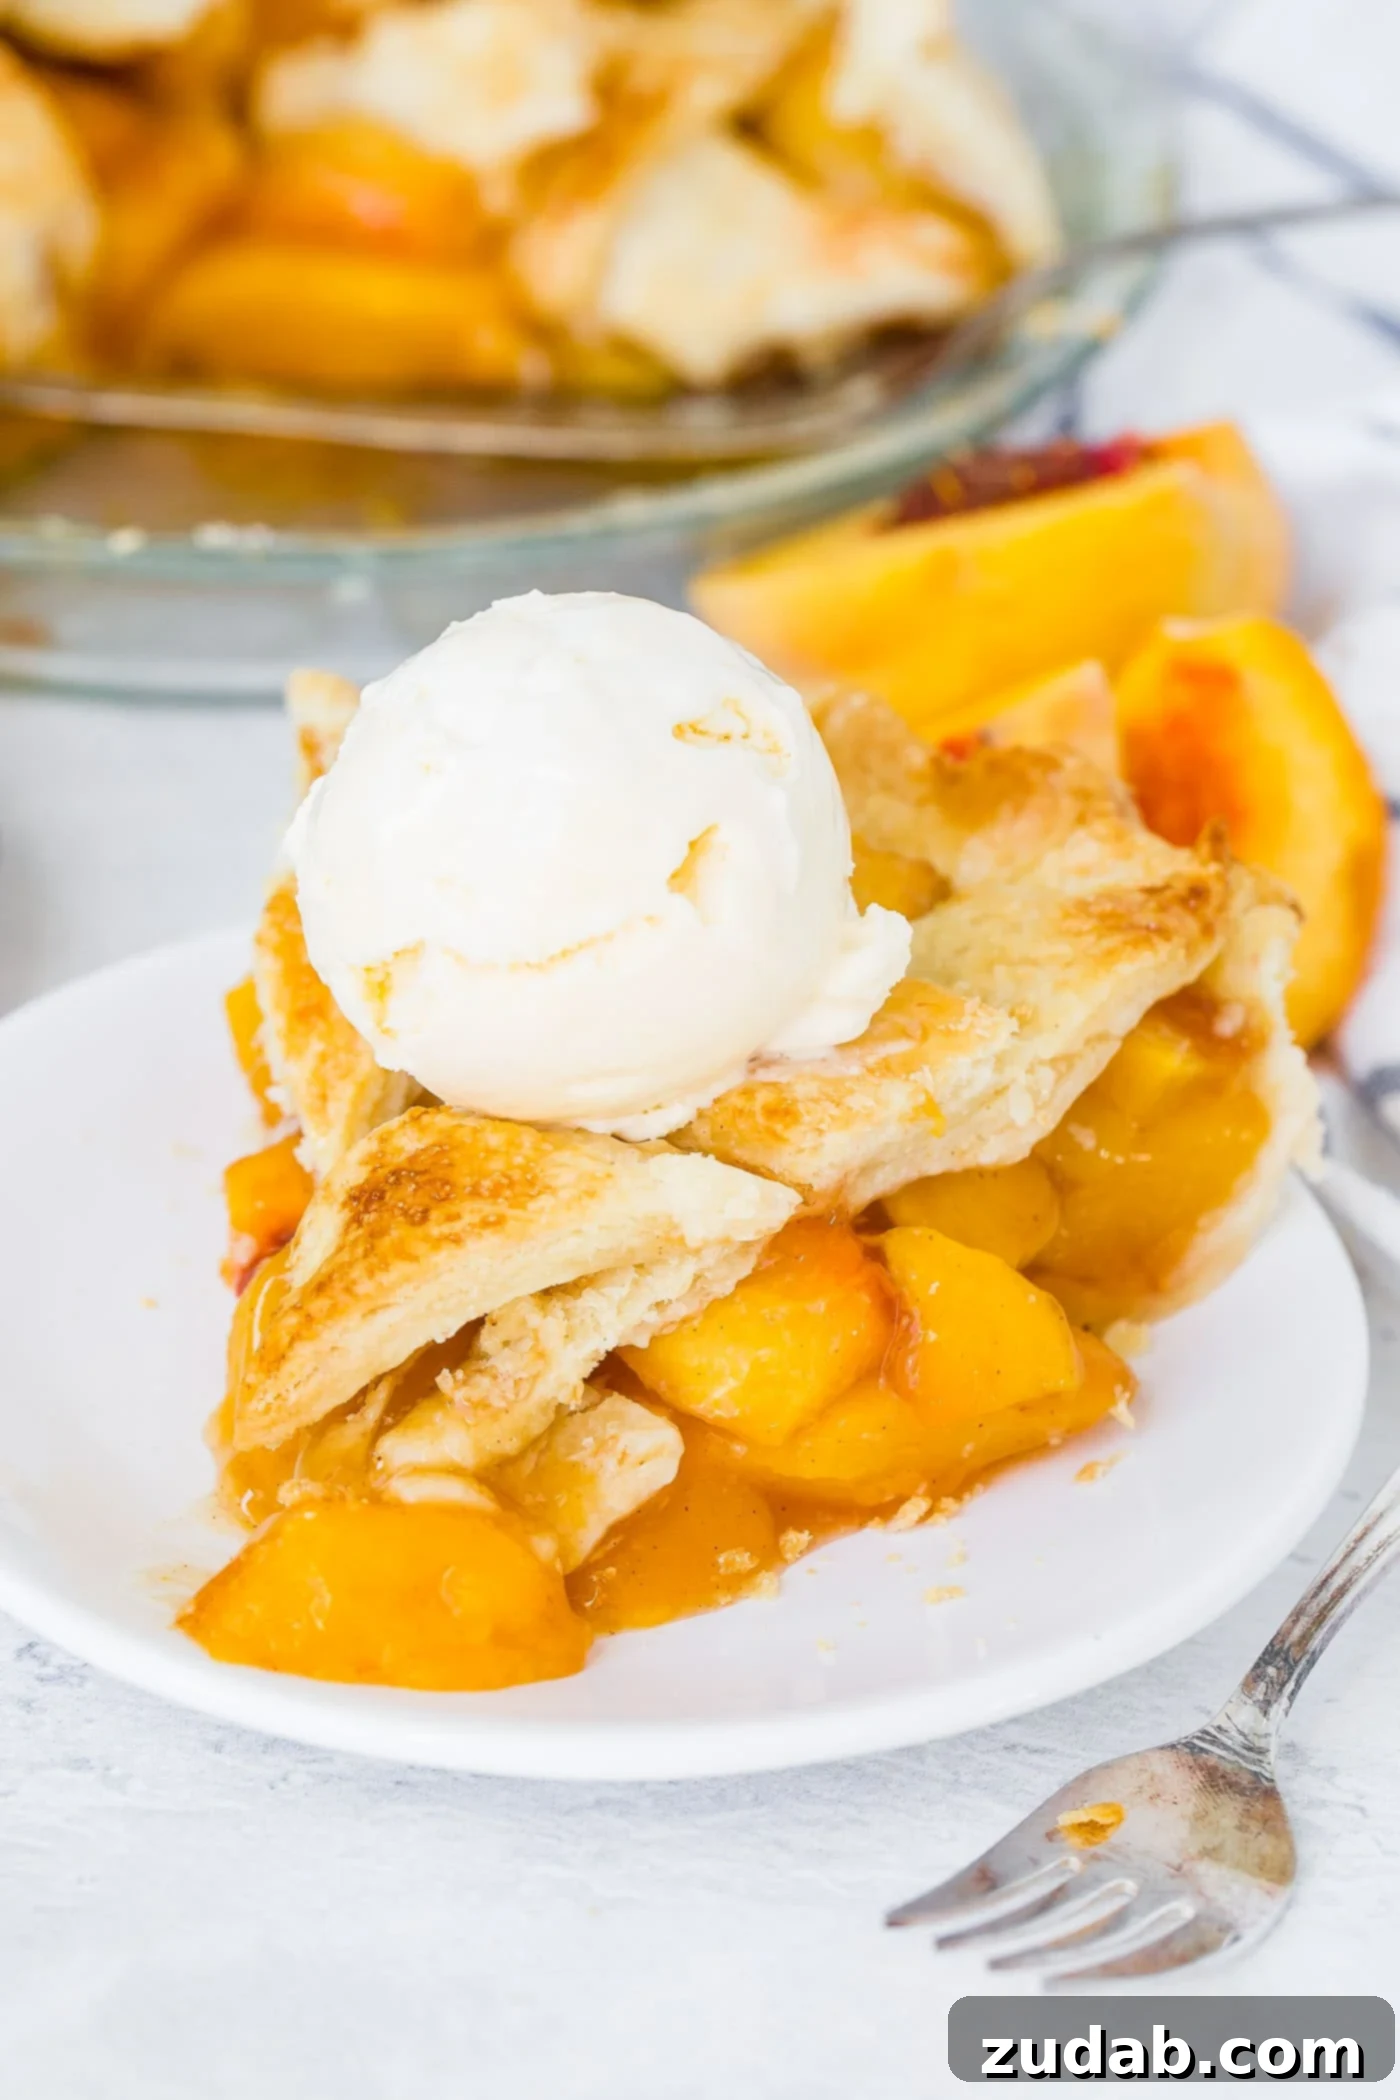
There’s simply nothing that compares to the irresistible charm of a **fresh peach pie** straight from the oven. It’s a quintessential **summer dessert** that instantly evokes warmth, comfort, and cherished memories. Imagine sweet, sun-ripened peaches, their juices perfectly thickened and infused with warm spices, all cradled within a wonderfully **flaky, golden crust**. This isn’t just any pie; it’s a labor of love, crafted with **real ingredients** and a whole lot of heart, making it the perfect centerpiece for family gatherings and special occasions. The best **summer memories** often begin, or end, with a slice of this homemade delight.
Baking the Perfect Homemade Peach Pie
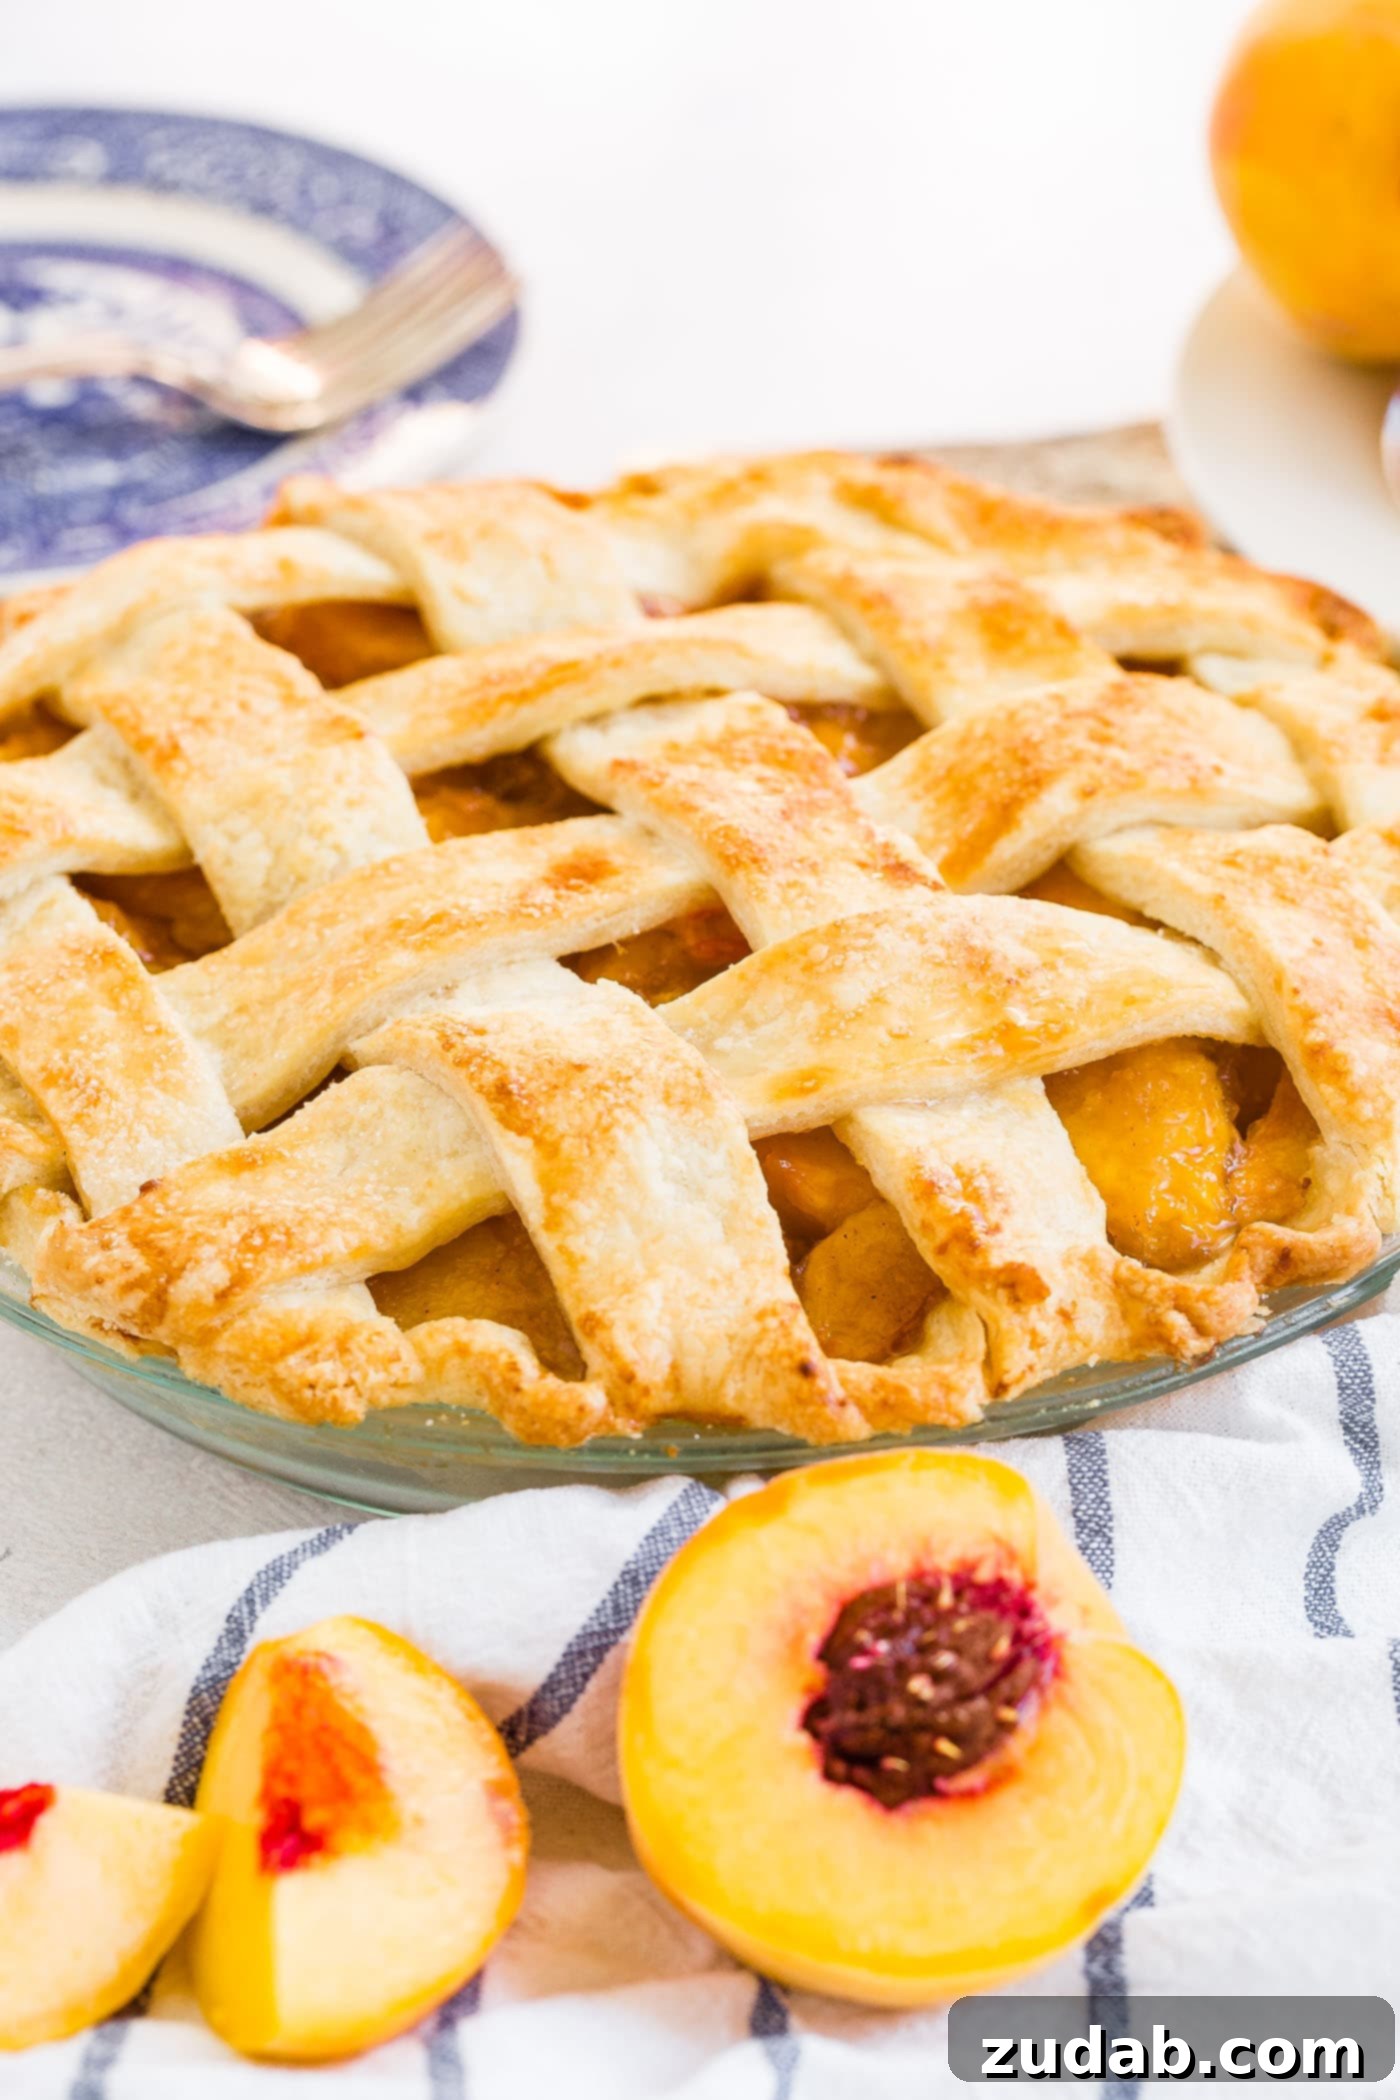
There’s a reason why a **homemade peach pie** holds such a special place in our hearts – it’s a taste of tradition, pure and simple. Our recipe features a tender, **flaky pie crust** generously filled with a vibrant, flavorful **fresh peach pie filling**. We enhance this classic with a delicate dash of cinnamon and nutmeg, making this **fresh peach pie with lattice crust** an absolute favorite for closing out those beautiful warm summer days. For those of us in regions like Utah, where peaches ripen a little later, this pie becomes a delicious way to savor the last lingering moments of summer, extending that joyful feeling just a little longer. This isn’t just a recipe; it’s a timeless classic, the kind your grandma used to bake, filled with wholesome goodness and comforting flavors.
Essential Ingredients for Your Easy Peach Pie
Crafting this incredible **easy peach pie** begins with a truly exceptional crust. For this recipe, we highly recommend using an all-butter pie crust, known for its unparalleled flakiness and rich flavor. You’ll start by preparing your pie dough (typically a simple mix of flour, a touch of sugar, cold butter, a pinch of salt, and ice water) and allowing it to chill in the refrigerator. This crucial step ensures a tender, never tough, crust. While your dough rests, you’ll move on to creating the luscious **peach pie filling**. Here’s a detailed look at everything you’ll need to bring this pie to life:
- Peaches: The star of the show! We’ll dive into selecting the best peaches for pie in the next section, but expect sweet, juicy, ripe fruit.
- Cornaby’s EZ Gel: This is our secret weapon for achieving a perfectly set fruit pie filling every time. Unlike some traditional thickeners, EZ Gel has no discernible taste and consistently delivers a clear, thick filling without a gummy texture.
- Lemon Zest and Juice: More than just for flavor, lemon plays a dual role here. The fresh zest brightens the overall taste of the peaches, while the juice helps prevent the peaches from browning, keeping their vibrant color.
- White Granulated Sugar: This sugar helps to balance the natural acidity of the peaches, ensuring a sweet, harmonious flavor in your pie filling.
- Pro Tip: A light sprinkle of granulated sugar over the top crust before baking adds a beautiful sparkle, a delightful crunch, and an extra layer of sweetness.
- Brown Sugar: Beyond sweetness, brown sugar introduces wonderful caramel notes and a deeper, more complex flavor profile to the peach filling, complementing the fruit beautifully.
- Cinnamon: A classic pairing with peaches, cinnamon adds a warm, inviting aroma and a comforting, spicy depth that makes this pie truly irresistible.
- Nutmeg: Just a touch of nutmeg enhances the warmth of the cinnamon, creating a more rounded and sophisticated spice blend that elevates the peach flavor.
- Egg Wash: A simple mixture of egg white and a teaspoon of water, brushed over the top crust, is essential for achieving that gorgeous, glossy, and perfectly **golden crust**. It helps the crust brown evenly and provides a professional finish.
Choosing the Best Peaches for Your Pie
The success of your **fresh peach pie** hinges significantly on the quality and type of peaches you select. For that quintessential peachy flavor and ideal texture, **yellow peaches** are undoubtedly the best choice for pie. They are wonderfully sweet, incredibly juicy, and possess that classic tangy peach profile that holds up beautifully during baking. While they tend to have more acid than some other peach varieties, the carefully balanced sugar content in our recipe ensures a perfect harmony, preventing the pie from being overly tart.
Beyond color, you’ll also want to prioritize **freestone peaches**. This variety is a baker’s dream because the pit easily separates from the flesh, making peeling and slicing a breeze. Trying to bake with clingstone peaches can be a frustrating experience, as the flesh clings stubbornly to the pit, often resulting in messy, uneven slices. Some of the best freestone varieties known for their exceptional flavor and ease of preparation include **Early Amber**, **Golden Jubilee**, **Lucky 13**, **Nectar**, **September Snow**, and **July Prince**. We’ve had fantastic experiences ordering our peaches from Pearson Farm, and their quality is truly heaven-sent, producing consistently delicious pies. When selecting peaches, look for fruit that is firm but yields slightly to gentle pressure, indicating ripeness. Avoid any with green spots (underripe) or excessive bruising (overripe).
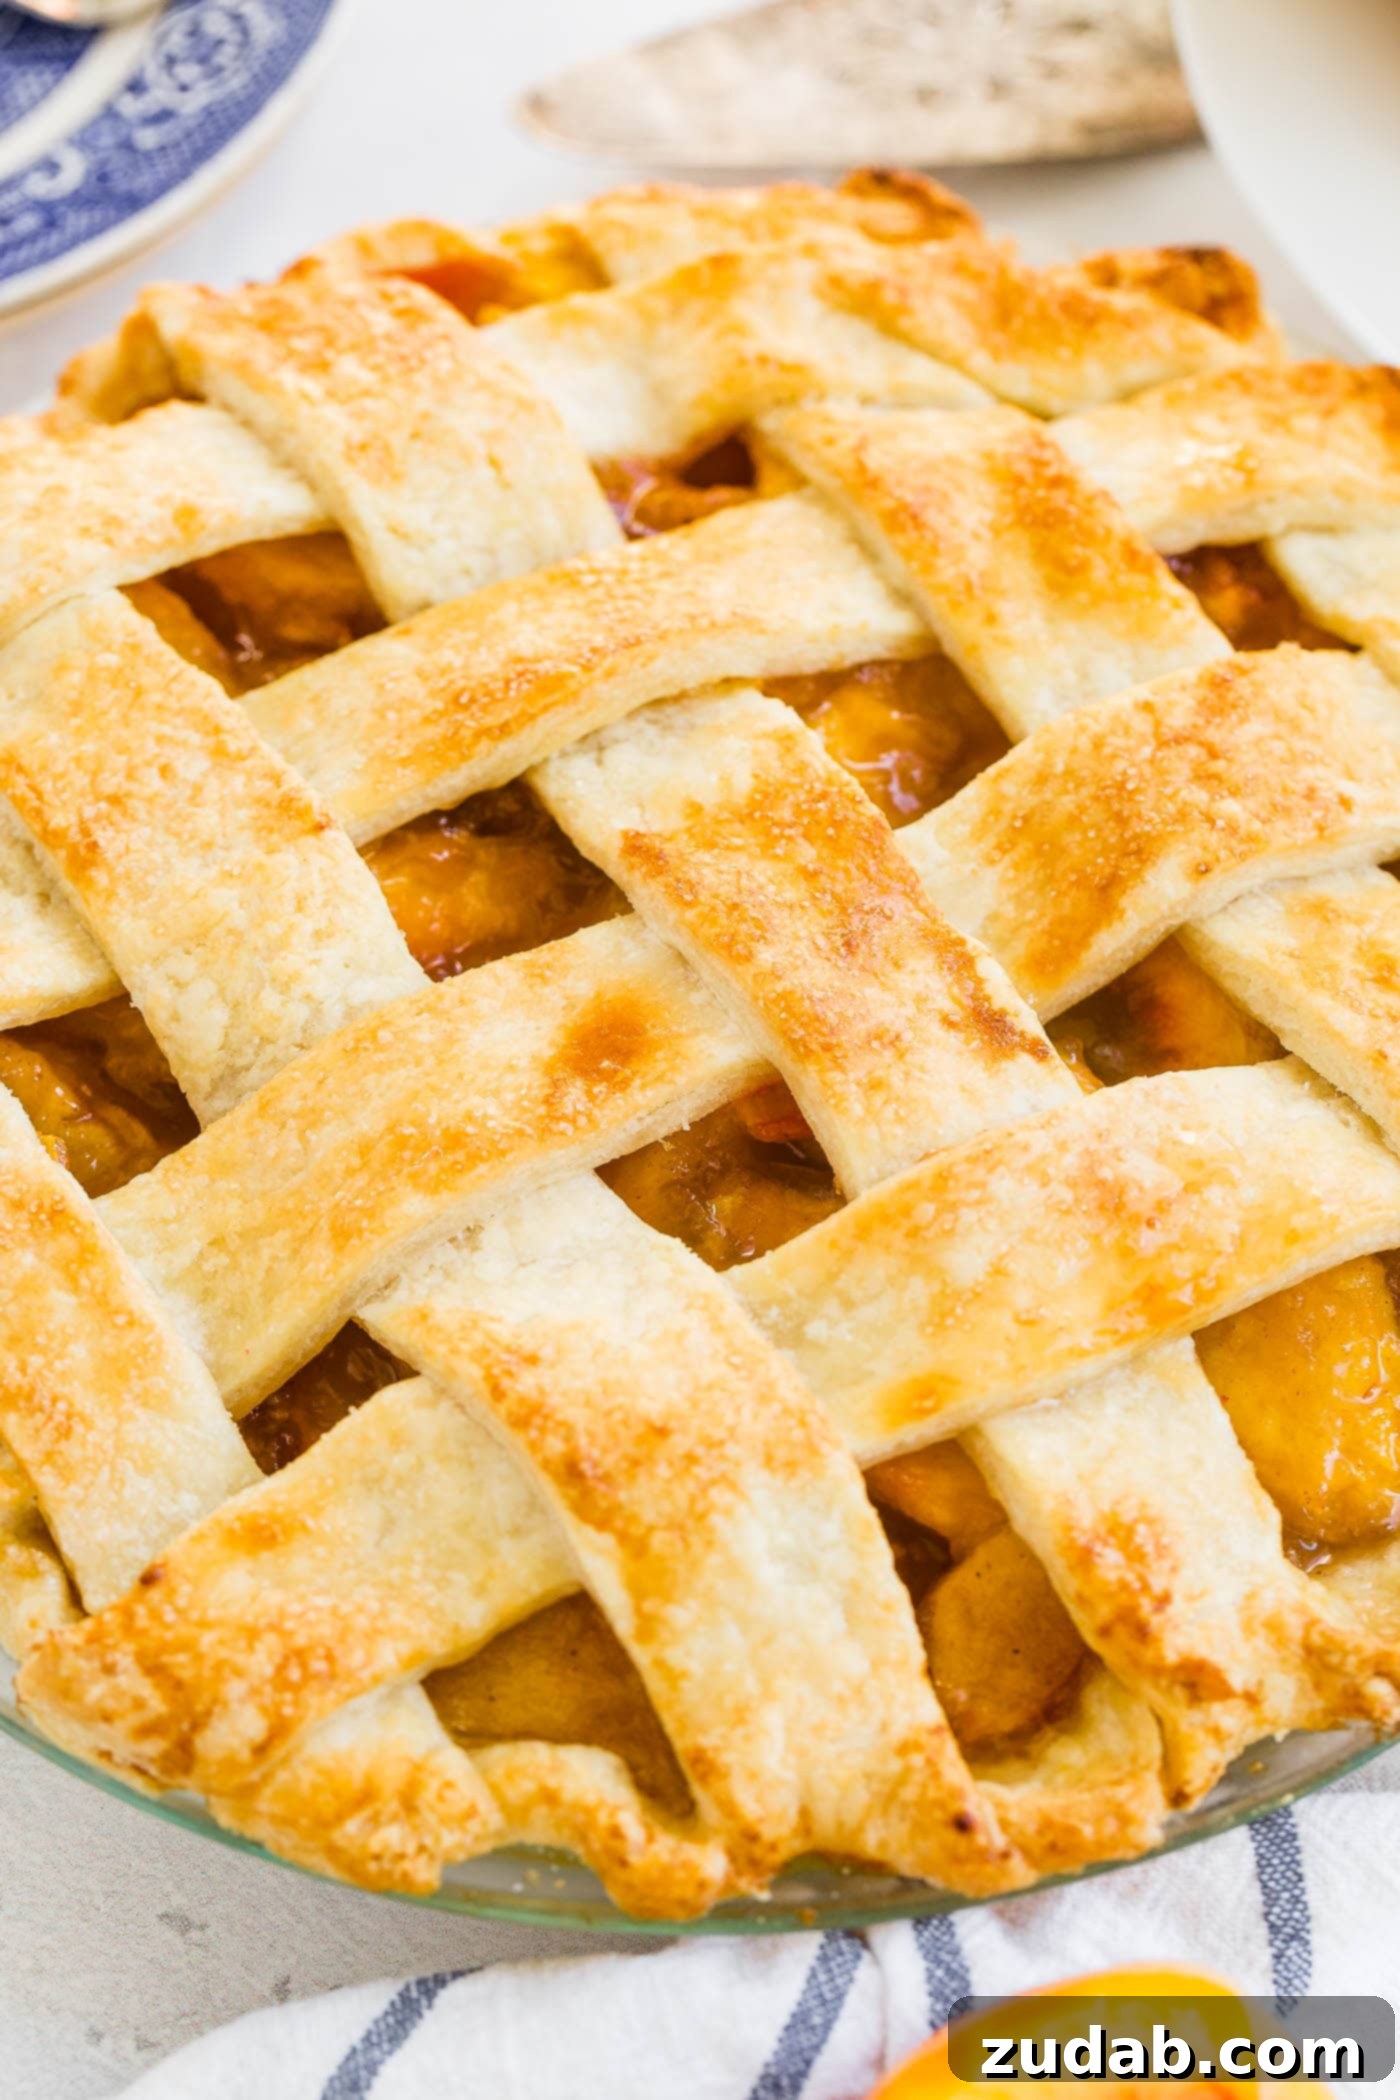
Step-by-Step Guide: How to Make Fresh Peach Pie
Once your homemade pie crust is perfectly made and chilling in the refrigerator, you’re ready to create the star of the show: the luscious peach pie filling. Following these steps will ensure a delicious and beautifully baked **fresh peach pie** every time.
Making the Perfect Peach Pie Filling
- Peel and Slice Your Peaches: This initial step is crucial for both texture and ease of eating. For a detailed guide on easily peeling peaches, especially when they’re ripe, refer to our brown sugar peach pie bars post. Once peeled, carefully slice your peaches into uniform pieces. Place all the prepared peaches into a large mixing bowl.
- Combine All Filling Ingredients: Add the remaining ingredients for the filling – that’s the EZ Gel (or cornstarch), lemon zest and juice, white granulated sugar, brown sugar, cinnamon, and nutmeg – to the bowl with the sliced peaches. Gently fold everything together using a rubber spatula or your hands until the peaches are evenly coated. Be careful not to mash the peaches; you want them to retain their shape.
Recipe Tip for Perfect Peaches
Consistency is key when slicing your peaches! Aim for slices that are roughly the same size – not too thick, not too thin. If slices are too large, they may not cook through evenly, resulting in raw pockets in your pie. Conversely, if they are too small, they risk becoming overcooked and mushy, leading to a soggy, undesirable texture. Uniform slices ensure even cooking and a delightful bite in every forkful.
Assembling Your Peach Pie Masterpiece
- Prepare for Baking: Preheat your oven to a robust 425 degrees F (220 degrees C). A little secret for a perfectly crispy bottom crust: place a baking stone or a sturdy cookie sheet in the oven during preheating. This will get it sizzling hot, ready to provide a burst of heat to the pie’s base. Ensure your pie plate is ready and greased if necessary.
- Roll Out the Pie Dough: Divide your chilled pie crust dough into two portions. Roll out one portion to about a 12-inch diameter circle, which will form your bottom crust. Roll the second portion to approximately a 10-inch diameter circle for your top crust. Carefully transfer the larger 12-inch crust into your pie plate, gently pressing it into the bottom and up the sides.
- Add the Peach Pie Filling: Pour the prepared peach filling evenly into the bottom pie crust. Distribute the peaches so they create a relatively flat surface, ensuring even baking.
- Craft the Top Crust (Lattice or Solid): If you’re opting for a beautiful **lattice crust**, use a pizza slicer or a sharp knife to cut your 10-inch top crust into approximately 1-inch wide strips. For a visual guide and step-by-step instructions on creating a stunning lattice pattern, refer to the tutorial link in the full recipe card below. If you prefer a solid top, simply place the 10-inch circle over the filling, cut a few vents, and crimp the edges. Regardless of your choice, crimp the edges of both crusts together to seal the pie.
- Apply the Egg Wash and Sugar: In a small bowl, whisk together one egg white with a teaspoon of water. Using a pastry brush, gently coat the entire top crust, especially the lattice strips, with this egg white mixture. This wash will give your pie that coveted golden sheen. Immediately sprinkle an even layer of granulated sugar over the egg-washed crust for extra sweetness and a beautiful, sparkling finish.
- Bake to Perfection: Place your assembled pie on a cookie sheet, then transfer the cookie sheet onto the preheated baking stone (or hot cookie sheet) in the oven. Bake at 425 degrees F (220 degrees C) for 20 minutes. This initial high heat helps set the crust quickly. After 20 minutes, reduce the oven temperature to 375 degrees F (190 degrees C) and continue baking for another 30-40 minutes, or until the crust is deeply golden brown and the filling is bubbling thickly. If the edges of the crust start to brown too quickly, loosely tent the pie with aluminum foil to prevent burning.
Pro Baking Tip for Flawless Fruit Pies

One of the most effective tips for baking any fruit pie, especially one with juicy fruit like peaches, is to utilize a preheated baking stone or heavy-duty cookie sheet. Before you even place your pie in the oven, let this stone or sheet heat up for at least 10-15 minutes at the initial high temperature. Then, carefully place your pie, nestled on another regular cookie sheet, directly onto that hot stone. This intense heat from below immediately begins to crisp the bottom crust, preventing it from becoming soggy – a common pitfall in fruit pies. After the initial high-temperature bake (20 minutes for this recipe), lowering the oven temperature (to 375°F for another 30-40 minutes) allows the filling to cook through completely and thicken perfectly, without over-browning or burning the top crust. This two-stage baking process ensures a truly flaky bottom crust and a beautifully set, bubbling fruit filling.
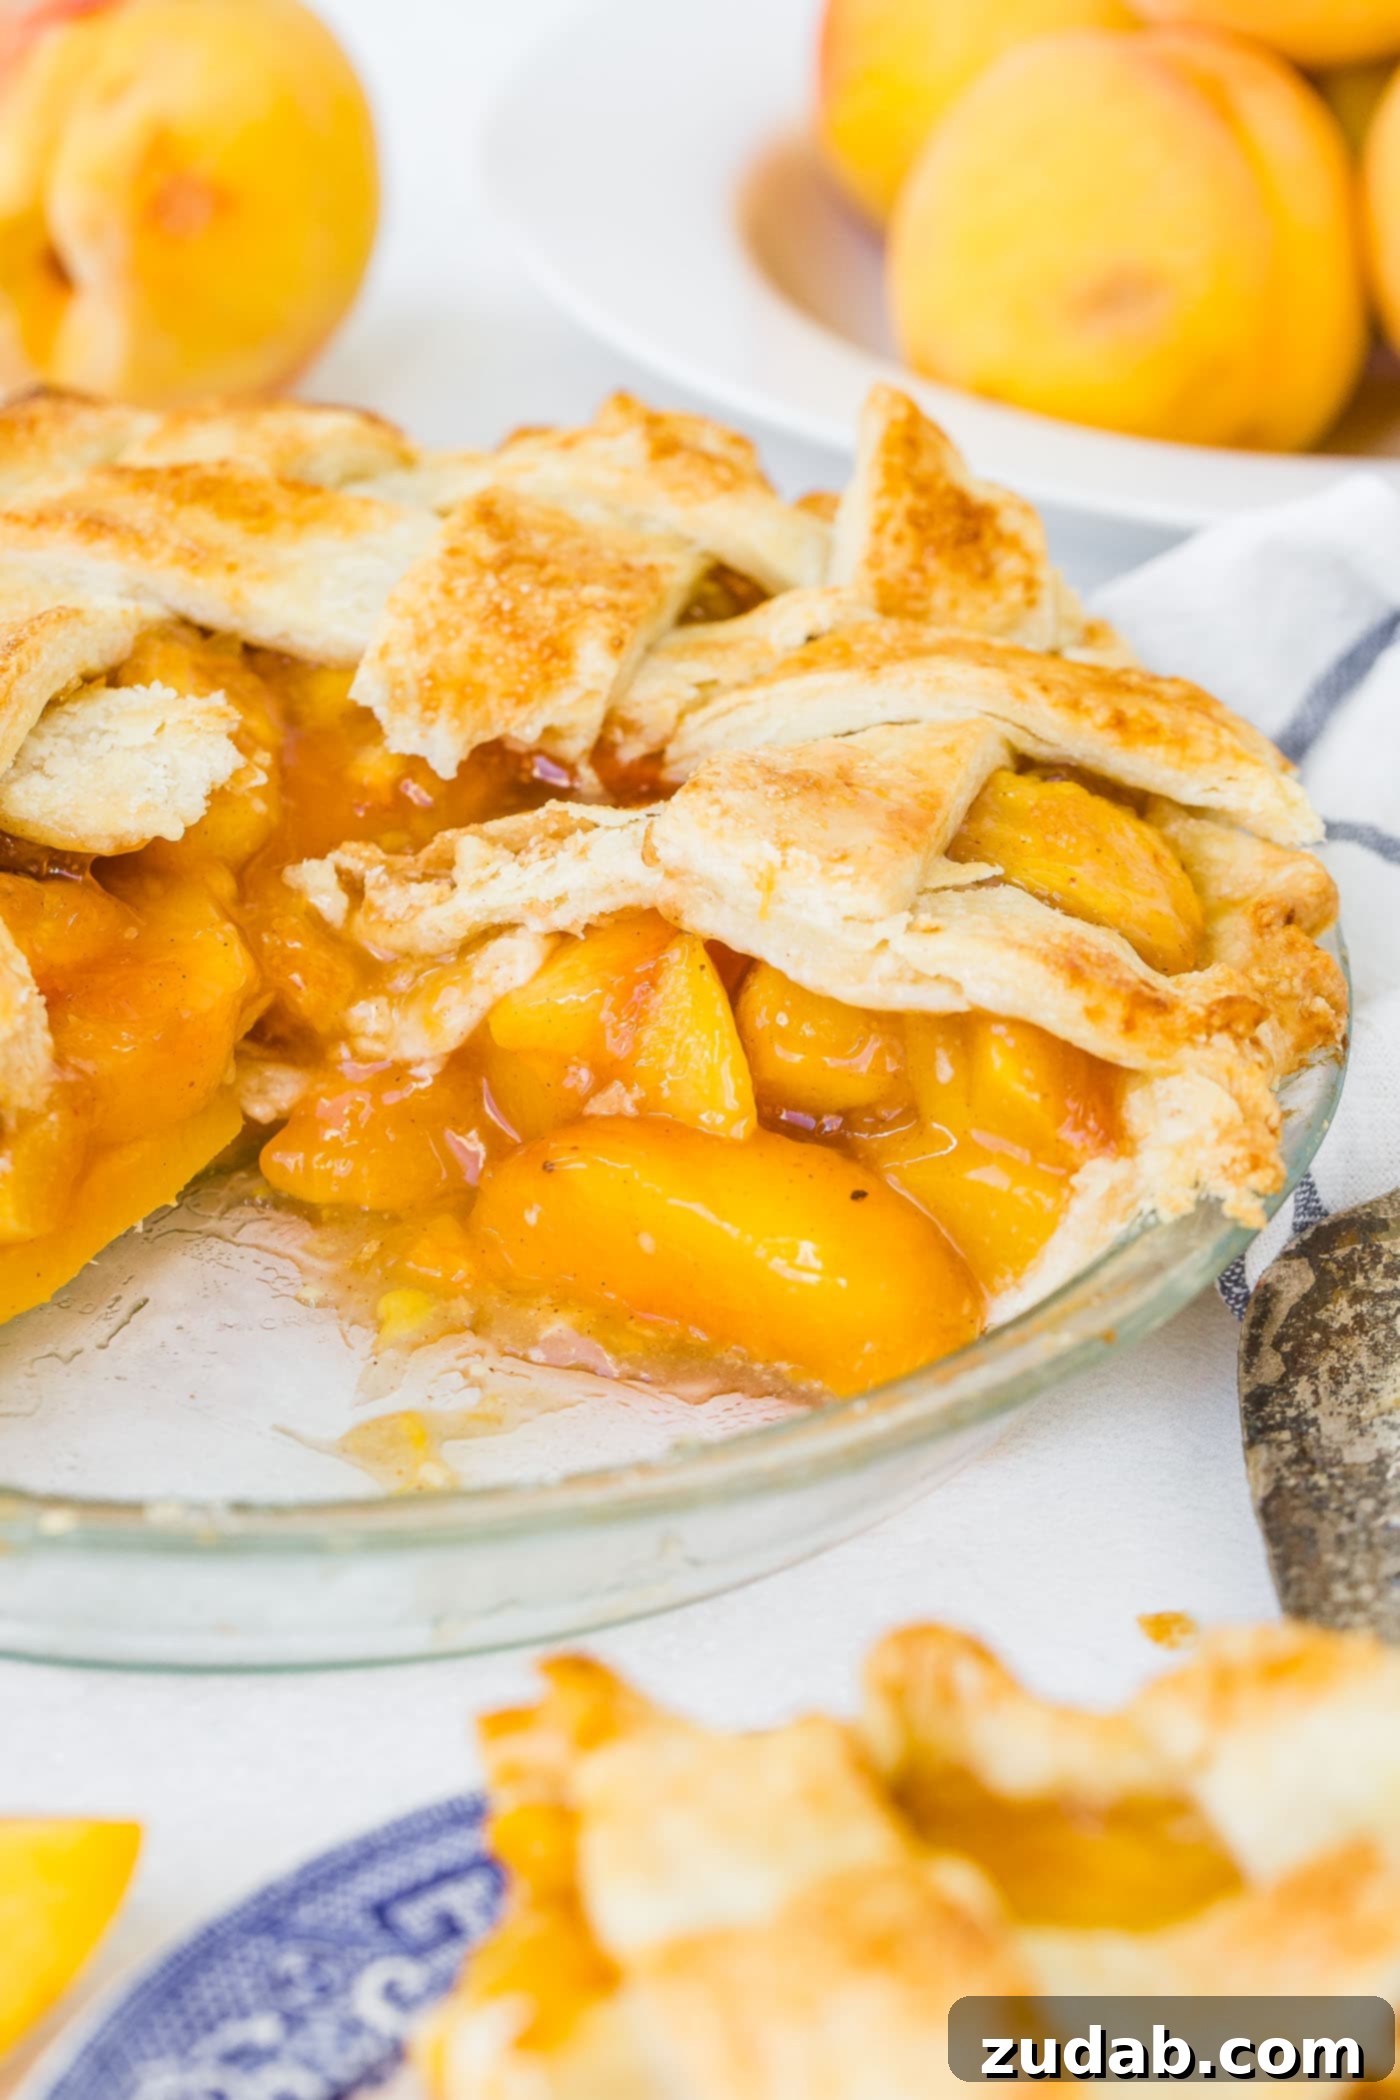
Can I Use Frozen or Canned Peaches for Peach Pie?
While this **fresh peach pie recipe** truly shines with the vibrancy of fresh, ripe peaches, we understand that they aren’t always in season or readily available. The good news is that you can absolutely make this pie using both frozen and canned peaches! However, it’s important to acknowledge that fresh peaches will always deliver the superior flavor and texture – a difference you’ll definitely taste.
- Using Frozen Peaches: If opting for frozen peaches, the key is proper preparation to avoid a watery, soggy pie. Allow the frozen peaches to thaw completely, ideally overnight in the refrigerator. Once thawed, thoroughly drain any excess liquid that has accumulated. You can also gently pat them dry with paper towels to remove even more moisture. Too much moisture will dilute your filling and prevent it from thickening properly, leading to a runny pie.
- Using Canned Peaches: When using canned peaches, thorough draining is paramount. Canned peaches are packed in syrup or juice, which contains a lot of moisture and added sugar. Drain them very well, even rinsing them gently if they are packed in heavy syrup. After draining, pat the peach slices dry with paper towels. This step is crucial for controlling the moisture content and ensuring your pie filling sets correctly. You may also want to slightly reduce the amount of added sugar in the recipe, as canned peaches often contain more sweetness.
Regardless of the peach type, the goal is always to minimize excess moisture to achieve that perfect, thick, and flavorful filling.
How to Thicken a Fruit Pie Filling Effectively
Achieving a perfectly set fruit pie filling – one that isn’t too runny or too gummy – is an art, and the choice of thickener plays a pivotal role. This is a topic that could spark a lengthy discussion among bakers, as there are typically four main options: flour, cornstarch, tapioca, or ultra gel. Each has its own characteristics, pros, and cons. For a comprehensive dive into all our thoughts and detailed instructions on each of these thickeners, we encourage you to visit our post on our perfect razzleberry pie. There, we break down the science and application of each.
However, for the short story and our top recommendation: **ultra gel** is truly the best thickener for fruit pies, and it’s what we consistently use. It creates a beautiful, clear, and glossy filling with a wonderfully smooth texture that holds up well without becoming cloudy or glue-like, even when chilled. If ultra gel isn’t available to you, the next best option is **cornstarch**. You can substitute 5 tablespoons of cornstarch for the 1/4 cup of ultra gel specified in this recipe. While cornstarch works well, it can sometimes produce a slightly cloudier finish and may break down a bit if the pie is frozen and thawed repeatedly.
Must-Have Pie Baking Equipment
While a delicious pie can be made with basic tools, we’ve discovered that a few key pieces of equipment can significantly streamline the pie-making process and elevate your results from good to truly exceptional. Investing in these items can make your baking experience much easier and more enjoyable:
- JK French Rolling Pin: A good rolling pin is indispensable. We particularly love the French-style rolling pin for its tapered design, which allows for greater control and helps you roll out dough to an even thickness without excess pressure. It’s fantastic for achieving that perfectly uniform pie crust.
- Emile Henry Pie Plate: This ceramic pie plate is a favorite for a reason. Its even heat distribution promotes a beautifully baked, crispy crust all around, including the often-tricky bottom crust. It’s a worthy investment for serious pie bakers.
- Pyrex Pie Plate: If you’re looking for a more budget-friendly yet highly effective option, a classic Pyrex glass pie plate is an excellent choice. Glass allows you to visually monitor the browning of the bottom crust, helping you avoid undercooked or soggy bottoms.
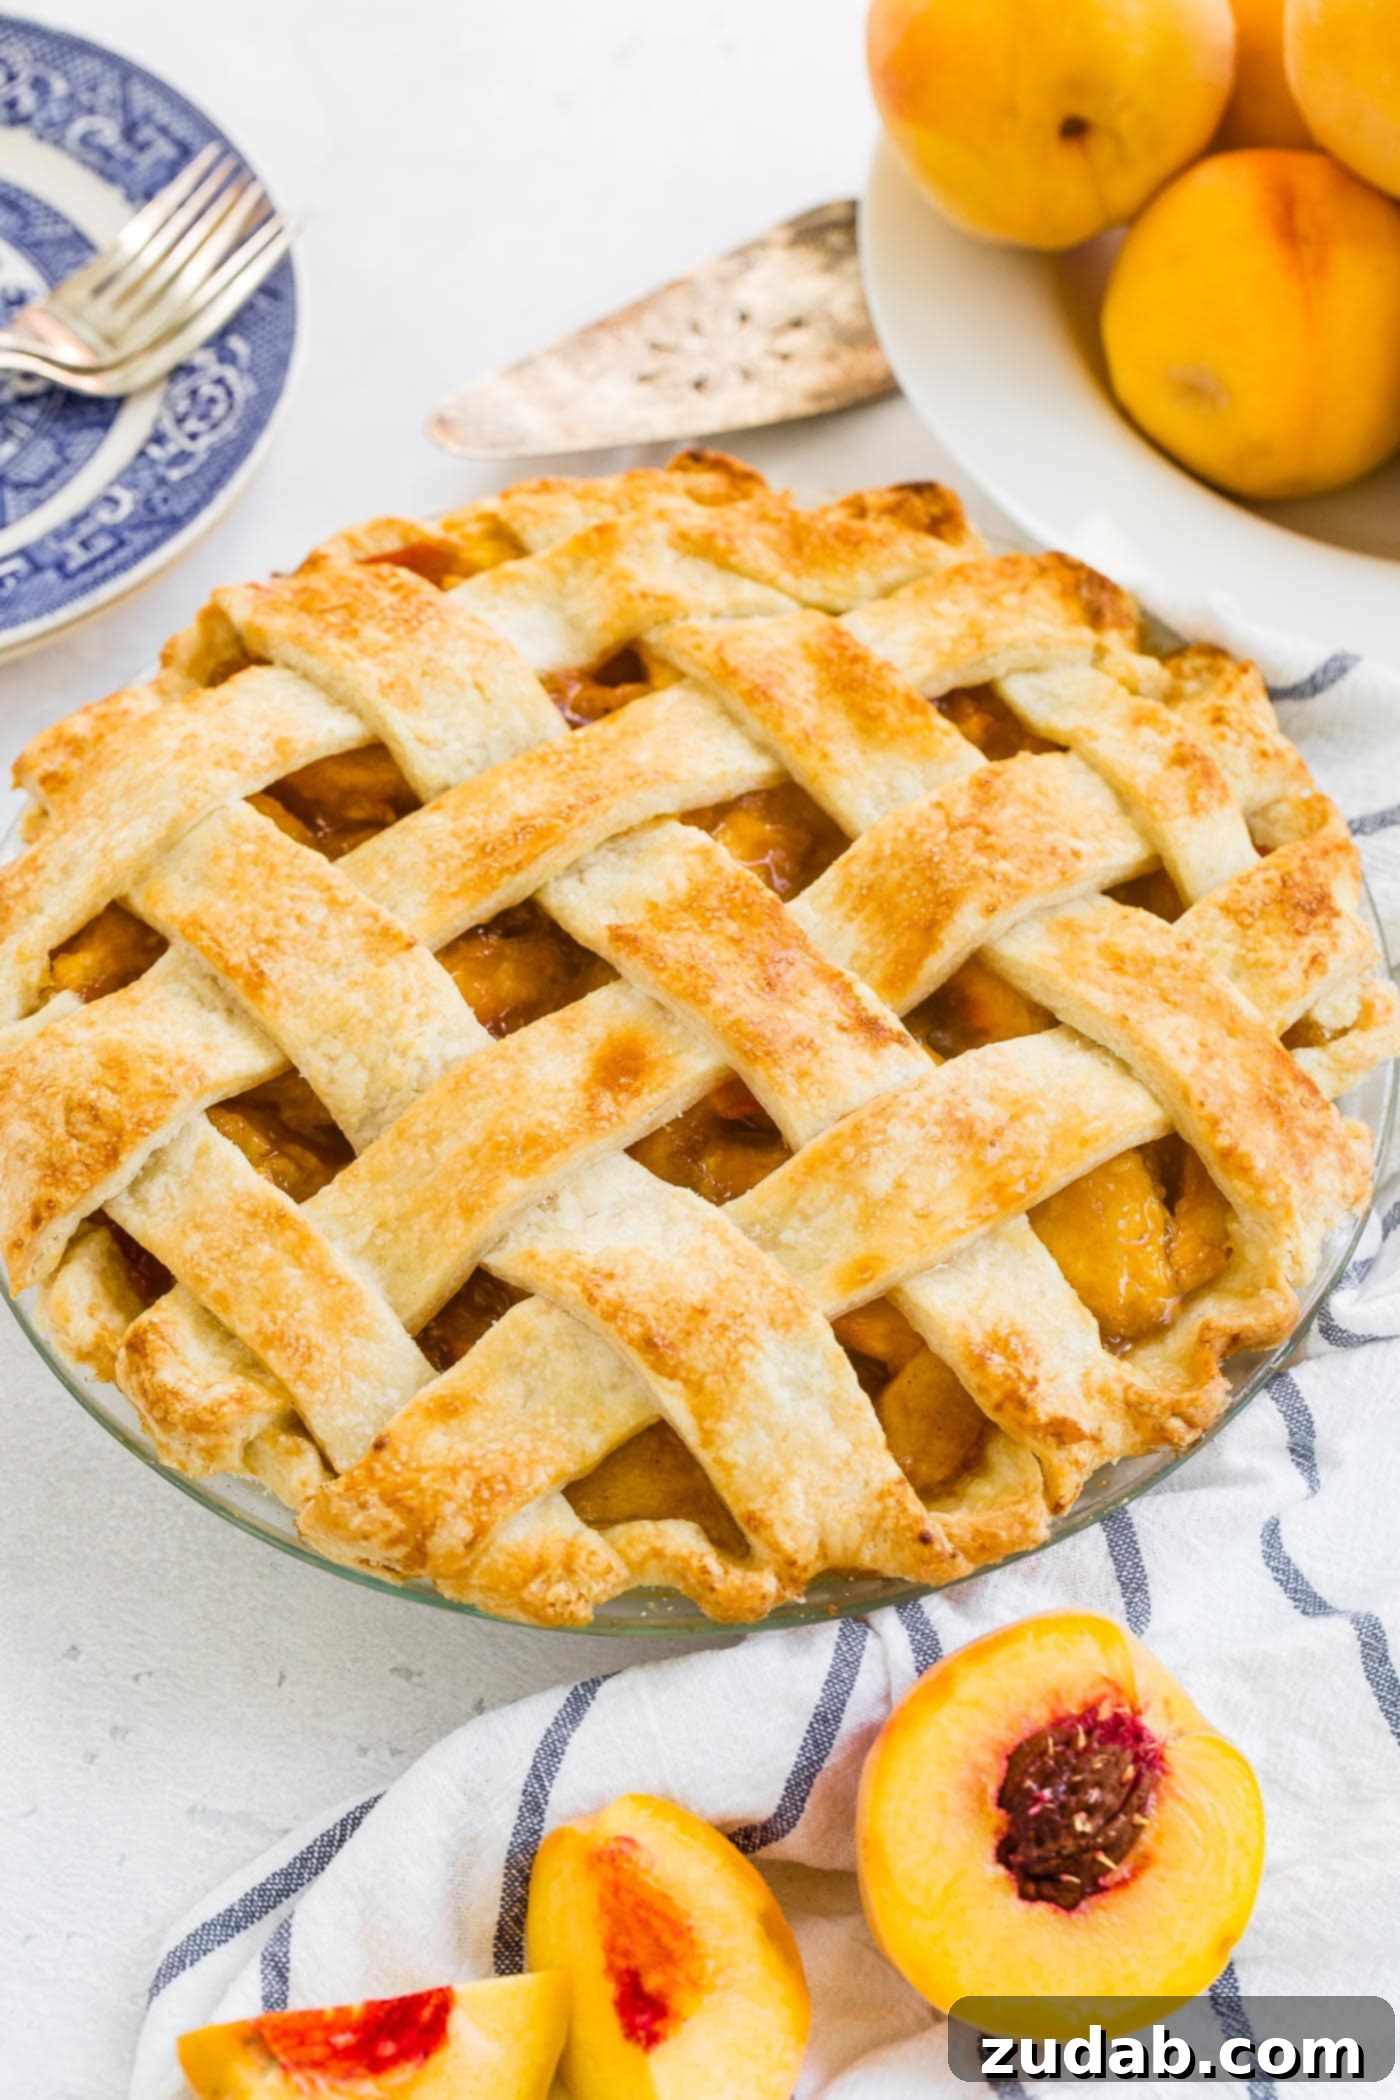
Oh, **peach pie**, how I adore you! There’s truly nothing quite like a warm, generous piece of this **fresh peach pie** served with a melting scoop of premium vanilla ice cream. It’s pure euphoria! The contrast of the warm, juicy, sweet peaches with the cold, creamy vanilla ice cream, all punctuated by bites of that perfectly **golden and flaky crust**—it’s a symphony of textures and flavors. This **homemade pie** isn’t just a dessert; it’s a moment of pure bliss. Come to momma, sweet pie!
More Delicious Fruit Pies You’re Sure to Love:
- Perfect Razzleberry Pie
- Dutch Mixed Berry Pie
- Fresh Strawberry Pie
- Homemade Apple Pie
- Dulce de Leche Banana Cream Pie
- Dutch Apple Pie
Fresh Peach Pie
By Carrian Cheney
Prep Time: 15 mins
Cook Time: 45 mins
Total Time: 1 hr
Servings: 8
Ingredients
- 8 Peaches, Peeled and sliced in 8 pieces each
- 1/4 Cup Cornaby’s EZ Gel (or 5 Tablespoons cornstarch)
- 1/2 Zest of Lemon
- 2 teaspoons Lemon Juice
- 1/3 Cup White Sugar
- 1/3 Cup Brown Sugar
- 1/4 teaspoon Cinnamon
- 1/8 teaspoon Nutmeg
- 1 Pie Crust (for double crust) – Kristin’s Magic Pie Crust
- 1 Egg White
- 1 teaspoon Water
- White Sugar (for sprinkling)
Instructions
- Preheat the oven to 425℉ (220°C). For a crispy bottom crust, place a baking stone or a heavy-duty cookie sheet in the oven for 10 minutes to preheat before baking.
- In a large bowl, gently fold together the peeled and sliced peaches with all the filling ingredients (Cornaby’s EZ Gel, lemon zest, lemon juice, white sugar, brown sugar, cinnamon, and nutmeg) until the peaches are evenly coated.
- Roll out your pie dough into two circles: one about 12 inches in diameter for the bottom crust, and the other about 9-10 inches for the top crust (depending on whether you’re making a solid or lattice top). Carefully place the 12-inch crust into your pie dish. Pour the peach filling evenly into the bottom crust.
- If creating a lattice top, cut the smaller pie dough circle into 1-inch wide strips. Lay half of the strips in one direction across the pie, folding back alternating strips at the halfway point. Then, begin weaving another strip of dough perpendicularly, folding back pieces as you go to create the lattice pattern. Repeat until the lattice is complete. For a visual guide, see this tutorial. Crimp the edges of the crust to seal the pie.
- Mix the egg white with 1 teaspoon of water to create an egg wash. Brush this mixture over the entire top crust (especially the lattice). Sprinkle evenly with white sugar for a beautiful golden finish and added crunch.
- Place the pie on a cookie sheet, and then carefully place the cookie sheet onto the hot baking stone (or preheated cookie sheet) in the oven. Bake at 425℉ (220°C) for 20 minutes. After 20 minutes, lower the temperature to 375℉ (190°C) and continue baking for another 30-40 minutes, or until the crust is golden brown and the filling is bubbling. If the edges begin to brown too quickly, loosely cover them with aluminum foil.
- Allow the pie to cool completely on the counter before placing it in the refrigerator until the filling is fully set. This step is crucial for achieving clean slices and a perfectly gelled filling.
Recipe Notes
Peach pie can be frozen before or after baking. It will keep well in the freezer for 3 or more months. Thaw frozen baked pie in the refrigerator overnight and reheat gently if desired.
Nutrition
Serving: 1 slice, Calories: 200kcal, Carbohydrates: 38g, Protein: 2g, Fat: 5g, Saturated Fat: 2g, Sodium: 80mg, Potassium: 291mg, Fiber: 3g, Sugar: 27g, Vitamin A: 435IU, Vitamin C: 12mg, Calcium: 20mg, Iron: 1mg
Nutrition information is automatically calculated, so should only be used as an approximation.