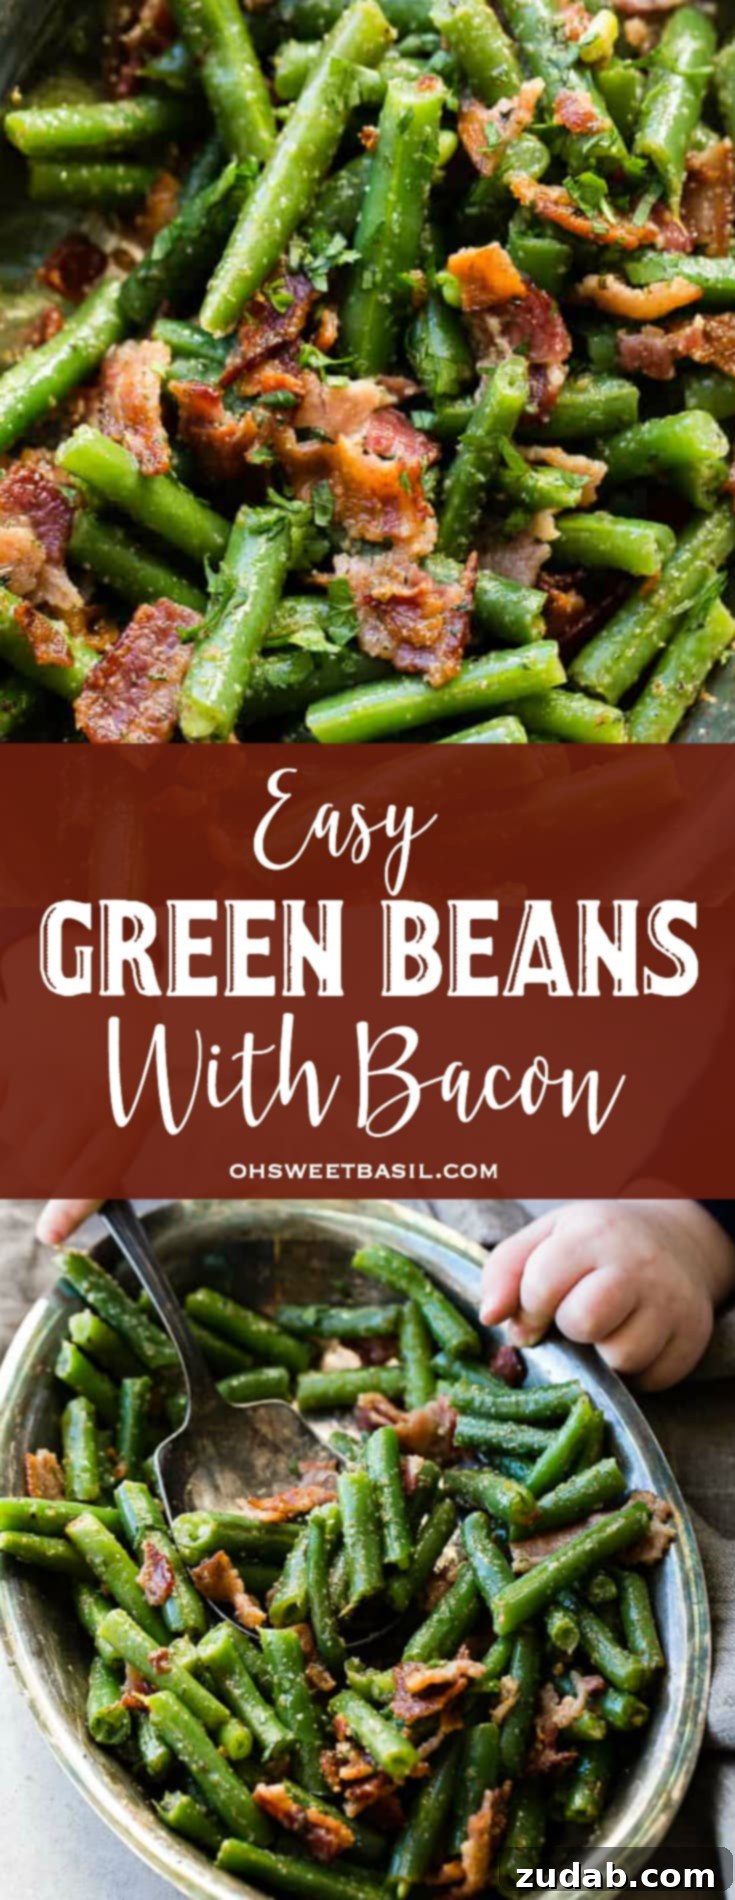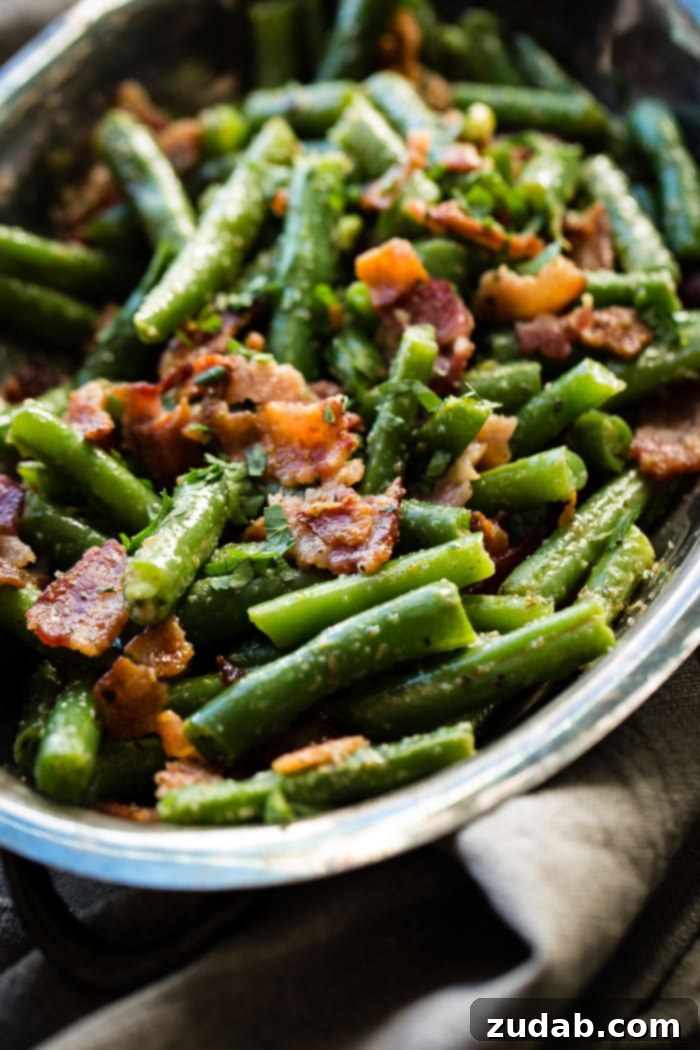
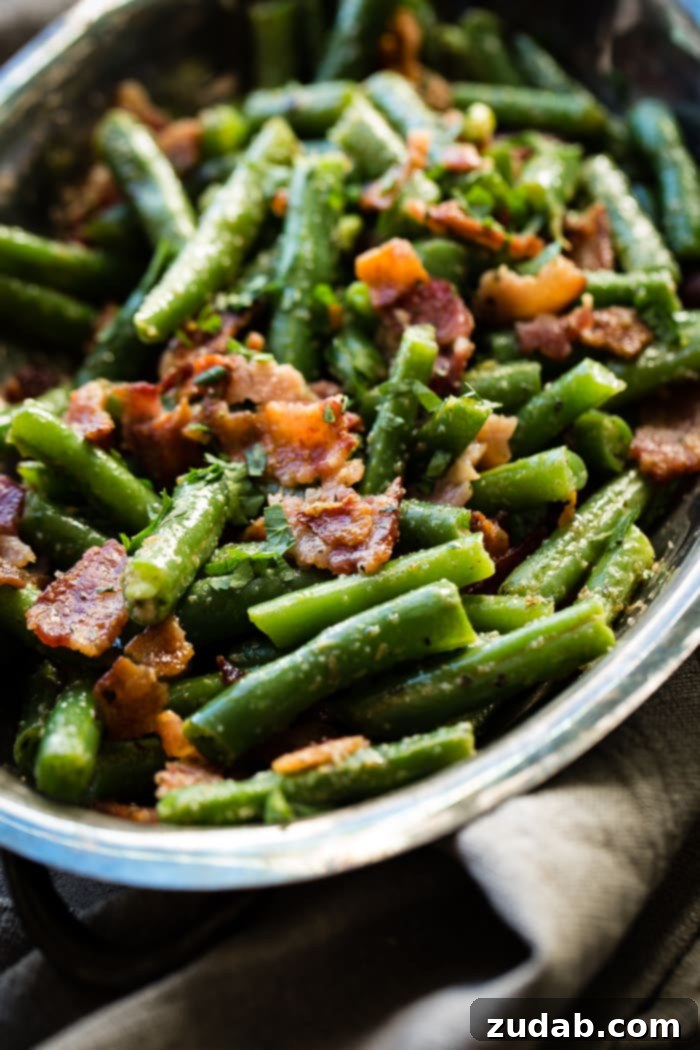
Transform your dinner table with a truly effortless and incredibly flavorful side dish: Fresh Green Beans with Crispy Bacon. This delightful combination perfectly complements almost any meal, from a hearty weeknight roast chicken to a light summer grill. Best of all, this recipe is designed for simplicity and speed, allowing you to prepare and cook a vibrant, savory side in under 15 minutes, making it an ideal choice for busy evenings.
An Irresistible Green Bean Recipe: A Family Favorite
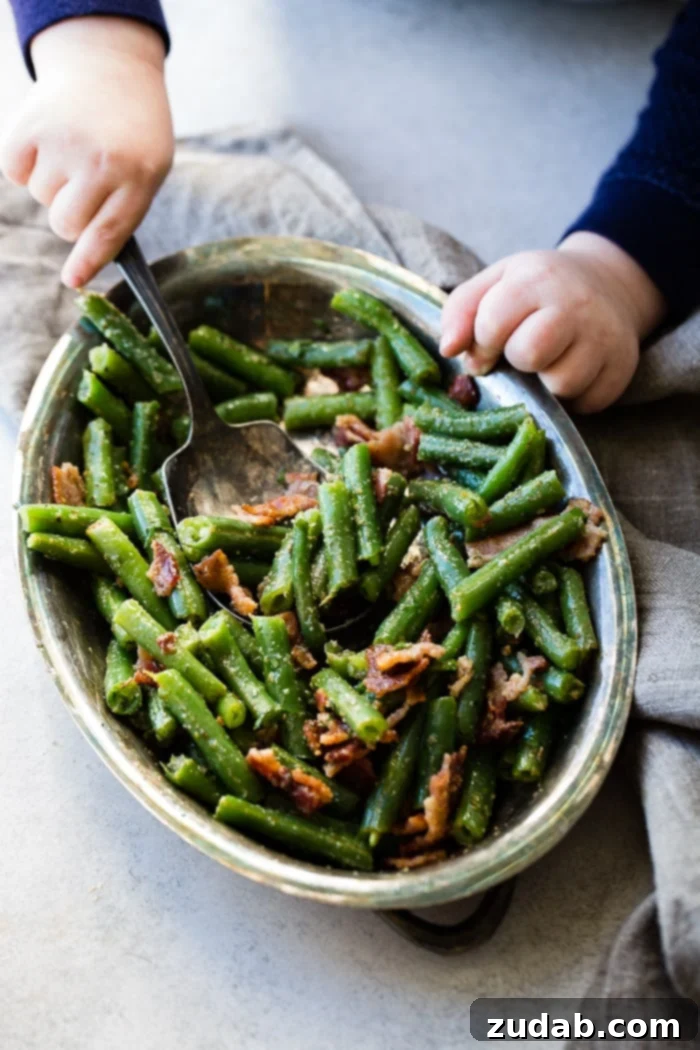
For me, green beans evoke a strong sense of home and cherished childhood memories. I grew up savoring these versatile legumes, though our garden offered a unique twist: purple beans! These beautiful beans, slightly sweeter than their green counterparts, possessed the same delightful texture and flavor, magically transforming into a vibrant green hue once cooked. Helping Grandma pick these colorful treasures from the vine each summer was always an exciting adventure, especially for our little one, who couldn’t resist munching on them raw straight from the garden. My biggest challenge now is inspiring that same level of enthusiasm for all the other greens!
Those long summer days spent tending the garden with my family, our hands stained purple from picking and canning beans, are etched in my memory. We worked tirelessly, but never as tirelessly as my mother, a true superwoman. It’s funny how things you might have grumbled about as a child – like scrubbing purple stains off your hands after a day of canning – become the very memories you cherish and long for. One day, I’ll undoubtedly miss those chubby little hands reaching for beans in the garden, just as I now miss those simpler times. Until then, I’ll keep capturing these precious moments, knowing they’ll become treasured reminders.
Looking for more easy and delicious side dishes? Don’t miss our Classic Baked Beans with Bacon for another crowd-pleasing option!
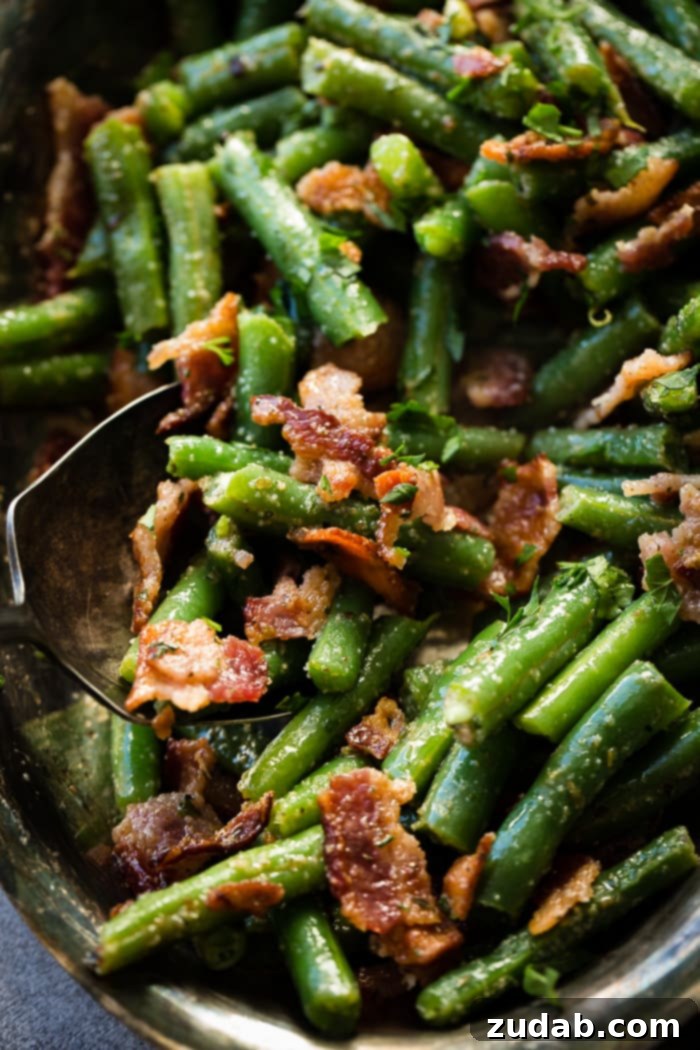
Essential Ingredients for Sautéed Green Beans and Bacon
Crafting this incredibly simple yet flavorful green bean dish requires only a handful of readily available ingredients. You’ll be amazed at how such basic components can create such a satisfying and memorable side.
- Fresh Green Beans: The star of the show! Look for crisp, vibrant green beans without any blemishes.
- Olive Oil: A drizzle of good quality olive oil adds a rich base for sautéing.
- Butter: For an extra layer of richness and flavor that complements the garlic beautifully.
- Garlic Spread Seasoning: This provides a fantastic aromatic punch. If you don’t have a spread, garlic powder or minced fresh garlic can be used.
- Brown Sugar (Optional): A small touch of brown sugar can add a subtle sweetness that balances the savory bacon and garlic, elevating the overall flavor profile.
- Bacon: The crispy, salty counterpoint to the tender green beans. Any type of bacon works well, but thick-cut offers a delightful texture.
Can I Use Canned Green Beans Instead of Fresh?
Absolutely! This recipe is wonderfully adaptable, allowing you to use either fresh or canned green beans, depending on your preference and what you have on hand. If you opt for canned string beans, there’s a slight adjustment in the cooking method to ensure they retain their texture and don’t turn mushy. When using canned beans, make sure to use a larger pan for sautéing. This provides ample space for the beans to spread out and prevents them from steaming and becoming overly soft. You can completely skip the initial boiling and ice bath steps when working with canned green beans, as they are already pre-cooked.
How to Prepare Fresh Green Beans for Cooking
Proper preparation is key to achieving perfectly cooked, tender-crisp green beans. If you’re using fresh beans, the first step is to “snap” off the ends. As you snap, you’ll often notice a fibrous “string” running along the side of the bean; gently pull this string off with the stem end, much like peeling strings from celery. This ensures a more pleasant eating experience.
While some prefer to leave green beans long, I personally find them much easier to eat if they’re snapped into smaller, bite-sized pieces, usually once or twice. This also helps them cook more evenly and absorb more of the delicious bacon and garlic flavors.
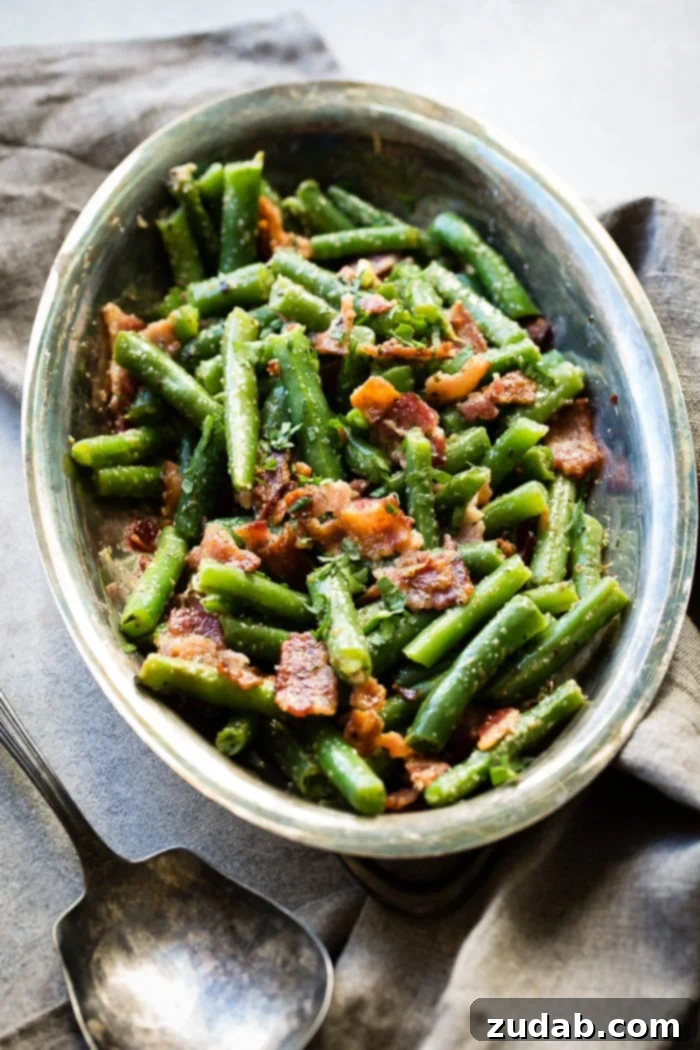
Step-by-Step Guide: How to Cook Green Beans with Crispy Bacon
Follow these simple steps to create a show-stopping side dish that’s bursting with flavor and delightful textures.
- Prepare an Ice Bath: Before you start cooking, fill a large bowl with ice and water. This ice bath will be crucial for stopping the cooking process of your green beans and preserving their vibrant green color.
- Boil the Green Beans: Wash your trimmed and snapped green beans thoroughly. Bring a pot of water to a rolling boil. It’s essential for the water to be fully boiling before adding the beans; adding them too early will extend their cooking time and can result in dull, mushy beans.
- Cook to Tender-Crisp: Let the green beans boil for 4 to 5 minutes, or until they are bright green and tender-crisp. They should still have a slight bite to them.
- Shock in Ice Bath: Immediately use a stainless steel spider strainer (a highly recommended tool for this task!) to lift the cooked green beans directly from the boiling water and plunge them into the prepared ice bath. This rapidly halts the cooking, ensuring they remain perfectly tender-crisp and maintain their vibrant hue.
- Cook the Bacon: While the green beans are chilling, cook the bacon slices in a large skillet over medium heat until they are deliciously crispy. Once cooked, transfer the bacon to a paper towel-lined plate to drain excess grease. Reserve the bacon grease in the skillet for added flavor. Once the bacon is cool enough to handle, crumble it into small pieces.
- Sauté the Green Beans: Add the blanched and drained green beans to the same skillet that contains the reserved bacon grease. If needed, add a little extra olive oil or butter (a combination of both works wonderfully for depth of flavor). Sauté the beans over medium heat until they are heated through and have absorbed the rich flavors from the pan.
- Season and Serve: Stir in your garlic spread seasoning and optional brown sugar. Continue to sauté for another minute or two, ensuring all the flavors are well combined. Finally, garnish generously with the crumbled crispy bacon and serve immediately to enjoy this fantastic side dish!
How Long to Boil Fresh Green Beans for Perfect Texture?
Achieving the perfect texture for your green beans is paramount – nobody wants undercooked, crunchy beans or overcooked, mushy ones. For this simple and effective recipe, the ideal boiling time for fresh green beans is precisely 4 to 5 minutes in vigorously boiling water. This duration ensures they become tender-crisp, holding their shape and a slight bite. Immediately after boiling, it’s crucial to drain the beans and submerge them in an ice bath. This critical step prevents them from continuing to cook from residual heat, locking in their vibrant green color and crisp texture.
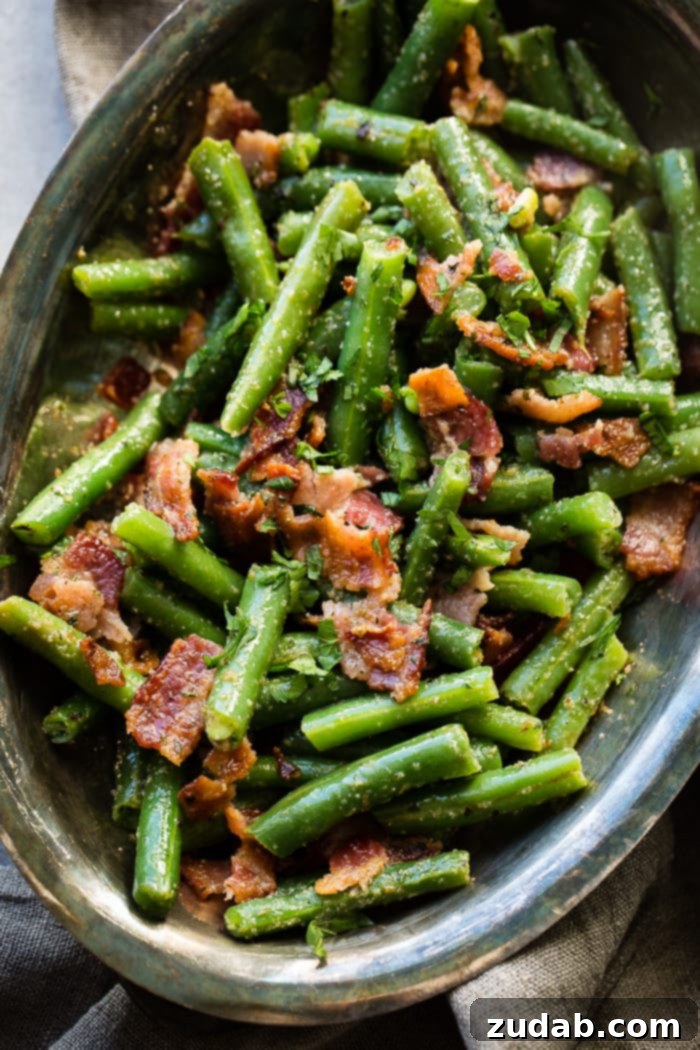
What Exactly is an Ice Bath in Cooking and Why is it Essential?
An ice bath is a culinary technique involving submerging cooked food, typically vegetables, into a bowl of ice water. Its primary purpose is to rapidly stop the cooking process. For green beans, skipping the ice bath means they will continue to cook from their own heat, leading to an overcooked, less appealing texture. Beyond texture, an ice bath is instrumental in preserving the vibrant green color of the beans. Without it, overcooked beans tend to lose their brightness, becoming dull and often tinged with an unappetizing brown hue. It’s a simple step that makes a significant difference in the final quality of your dish.
Can Fresh Green Beans and Bacon Be Made Ahead?
Yes, you can absolutely prepare fresh green beans ahead of time, which is a fantastic time-saver for entertaining or busy weekdays. Here’s how to do it:
- Par-Boil the Green Beans: Boil the green beans as you normally would, but reduce the cooking time slightly to about 3 minutes. This ensures they are still firm and won’t overcook when reheated.
- Ice Bath and Dry: Drain the beans and immediately transfer them to an ice bath. Once they are thoroughly cooled, remove them from the ice bath, spread them on a layer of paper towels, and blot them dry. Excess moisture can lead to sogginess.
- Store Properly: Store these partially cooked and dried beans in a zip-top bag or an airtight container in the refrigerator for up to 2 days.
- Finish Cooking: When you’re ready to serve, simply proceed with cooking the bacon and sautéing the green beans as instructed in the main recipe, adding the pre-cooked beans to the skillet.
How Long Do Fresh Green Beans Last?
Fresh green beans, when stored properly in the refrigerator, typically maintain their quality for about 5 to 7 days. It’s perfectly normal to observe a few small brown spots on green beans; these generally don’t indicate spoilage, and the beans are still safe to eat, though they might not look “picture perfect.” However, be vigilant for signs of true spoilage. If your green beans become wet or slimy to the touch, or develop a foul odor, it means they have gone bad and should be discarded immediately.
Can Green Beans Be Frozen for Longer Storage?
Freezing is an excellent way to extend the shelf life of fresh green beans, allowing you to enjoy them long after harvest season. To freeze green beans effectively, you must blanch them first. Prepare the green beans exactly as you would for the make-ahead method: trim, snap, boil for about 3 minutes, then immediately plunge into an ice bath and blot dry. Once completely dry, place them in freezer-safe bags, ensuring to press out as much air as possible before sealing. Lay the bags flat in the freezer to freeze them evenly.
Properly blanched and frozen green beans can last in the freezer for up to 1 year. For optimal flavor and texture, we generally prefer to consume ours within 6 months, especially if not using a Food Saver. Seriously, we talk about our Food Saver so much, we should probably be their ambassadors!
Expert Tips for Making Sautéed Green Beans and Bacon Unforgettable
Elevate your green beans with bacon from good to extraordinary with these additional tips:
- Seasoning Adaptability: If you don’t have garlic spread seasoning readily available, feel free to use your favorite seasoning blend. Simple garlic powder, onion powder, or a pinch of red pepper flakes for a kick can work wonders. Remember to adjust quantities; you won’t need 2 teaspoons of plain garlic powder, for example.
- Bacon Variety: While we’ve used classic pork bacon for this recipe, don’t hesitate to experiment! Turkey bacon or even plant-based bacon alternatives can be used, though cooking times and fat rendering might vary. The key is to get it nice and crispy.
- Optimal Serving and Reheating: These fresh green beans with bacon are truly at their best when enjoyed immediately, while the bacon is still wonderfully crisp and the beans are perfectly tender-crisp. However, if you have leftovers, they can be reheated successfully in a skillet on the stovetop over medium heat. This method helps the bacon regain some of its crispiness and prevents the beans from becoming soggy, unlike microwave reheating.
- Adding a Touch of Freshness: A sprinkle of fresh parsley or chives just before serving can add a beautiful pop of color and a fresh, herbaceous note.
- Nutty Crunch: For an extra layer of texture and flavor, consider adding a handful of toasted slivered almonds or chopped pecans to the skillet during the last few minutes of sautéing.
More Easy and Delicious Side Dish Recipes to Explore:
- Sheet Pan Potatoes, Green Beans, & Carrots
- Instant Pot Green Beans and Potatoes
- Feta Green Bean Casserole
- How to Make Oven Baked Potatoes with Crispy Skin
- Classic Green Bean Casserole
- Roasted Root Vegetable Side Dish
- The Best Creamy Mashed Potatoes
- Cheesy Broccoli Bake with Bacon
- Simple Roasted Garlic Veggies
- Cheesy Potato Casserole
- Lemon Roasted Broccoli
- Discover all our fantastic side dish recipes!
Easy Green Beans with Bacon
Print Recipe
Finding an easy side dish for dinner every night can take a lot of work, but these Fresh Green Beans with Bacon pair perfectly with any meal!
Ingredients
- 1 Pound Green Beans, ends trimmed and broken into pieces
- 3-4 Slices Bacon
- 1 teaspoon Olive Oil
- 2 teaspoons Butter
- 1 teaspoon Brown Sugar (optional)
- 2 teaspoons Garlic Spread Seasoning with parsley
Instructions
- Prepare an ice bath by placing ice and water in a large bowl.
- Wash the beans, snap the ends, and break them into pieces. Drop them into a pot of boiling water.
- Cook for 4-5 minutes and then immediately place the green beans in the ice bath.
- Cook the bacon until crispy and remove it to a paper towel-lined plate, reserving the bacon grease in the pan.
- To the skillet with the bacon grease, add a drizzle of olive oil if needed and the butter.
- Bring the skillet to medium heat and add the green beans, brown sugar (if using), and garlic seasoning, stirring to coat evenly.
- Crumble the crispy bacon and return it to the frying pan (you can sop up extra grease or leave a little for added flavor).
- Serve immediately and enjoy!
Recipe Notes
- If using canned green beans: Skip the boiling and add the beans directly into a frying pan after the bacon has cooked. Proceed with sautéing as normal.
- Refer to the comprehensive tips and FAQs in the post above for more detailed information about green beans.
- Leftovers may be stored in a covered container in the refrigerator for 4-5 days.
Nutrition Information
Calories: 127kcal,
Carbohydrates: 11g,
Protein: 6g,
Fat: 7g,
Saturated Fat: 3g,
Polyunsaturated Fat: 4g,
Cholesterol: 16mg,
Sodium: 306mg,
Fiber: 4g,
Sugar: 5g
Nutrition information is automatically calculated and should only be used as an approximation.
Enjoyed this recipe? Leave a comment below!