
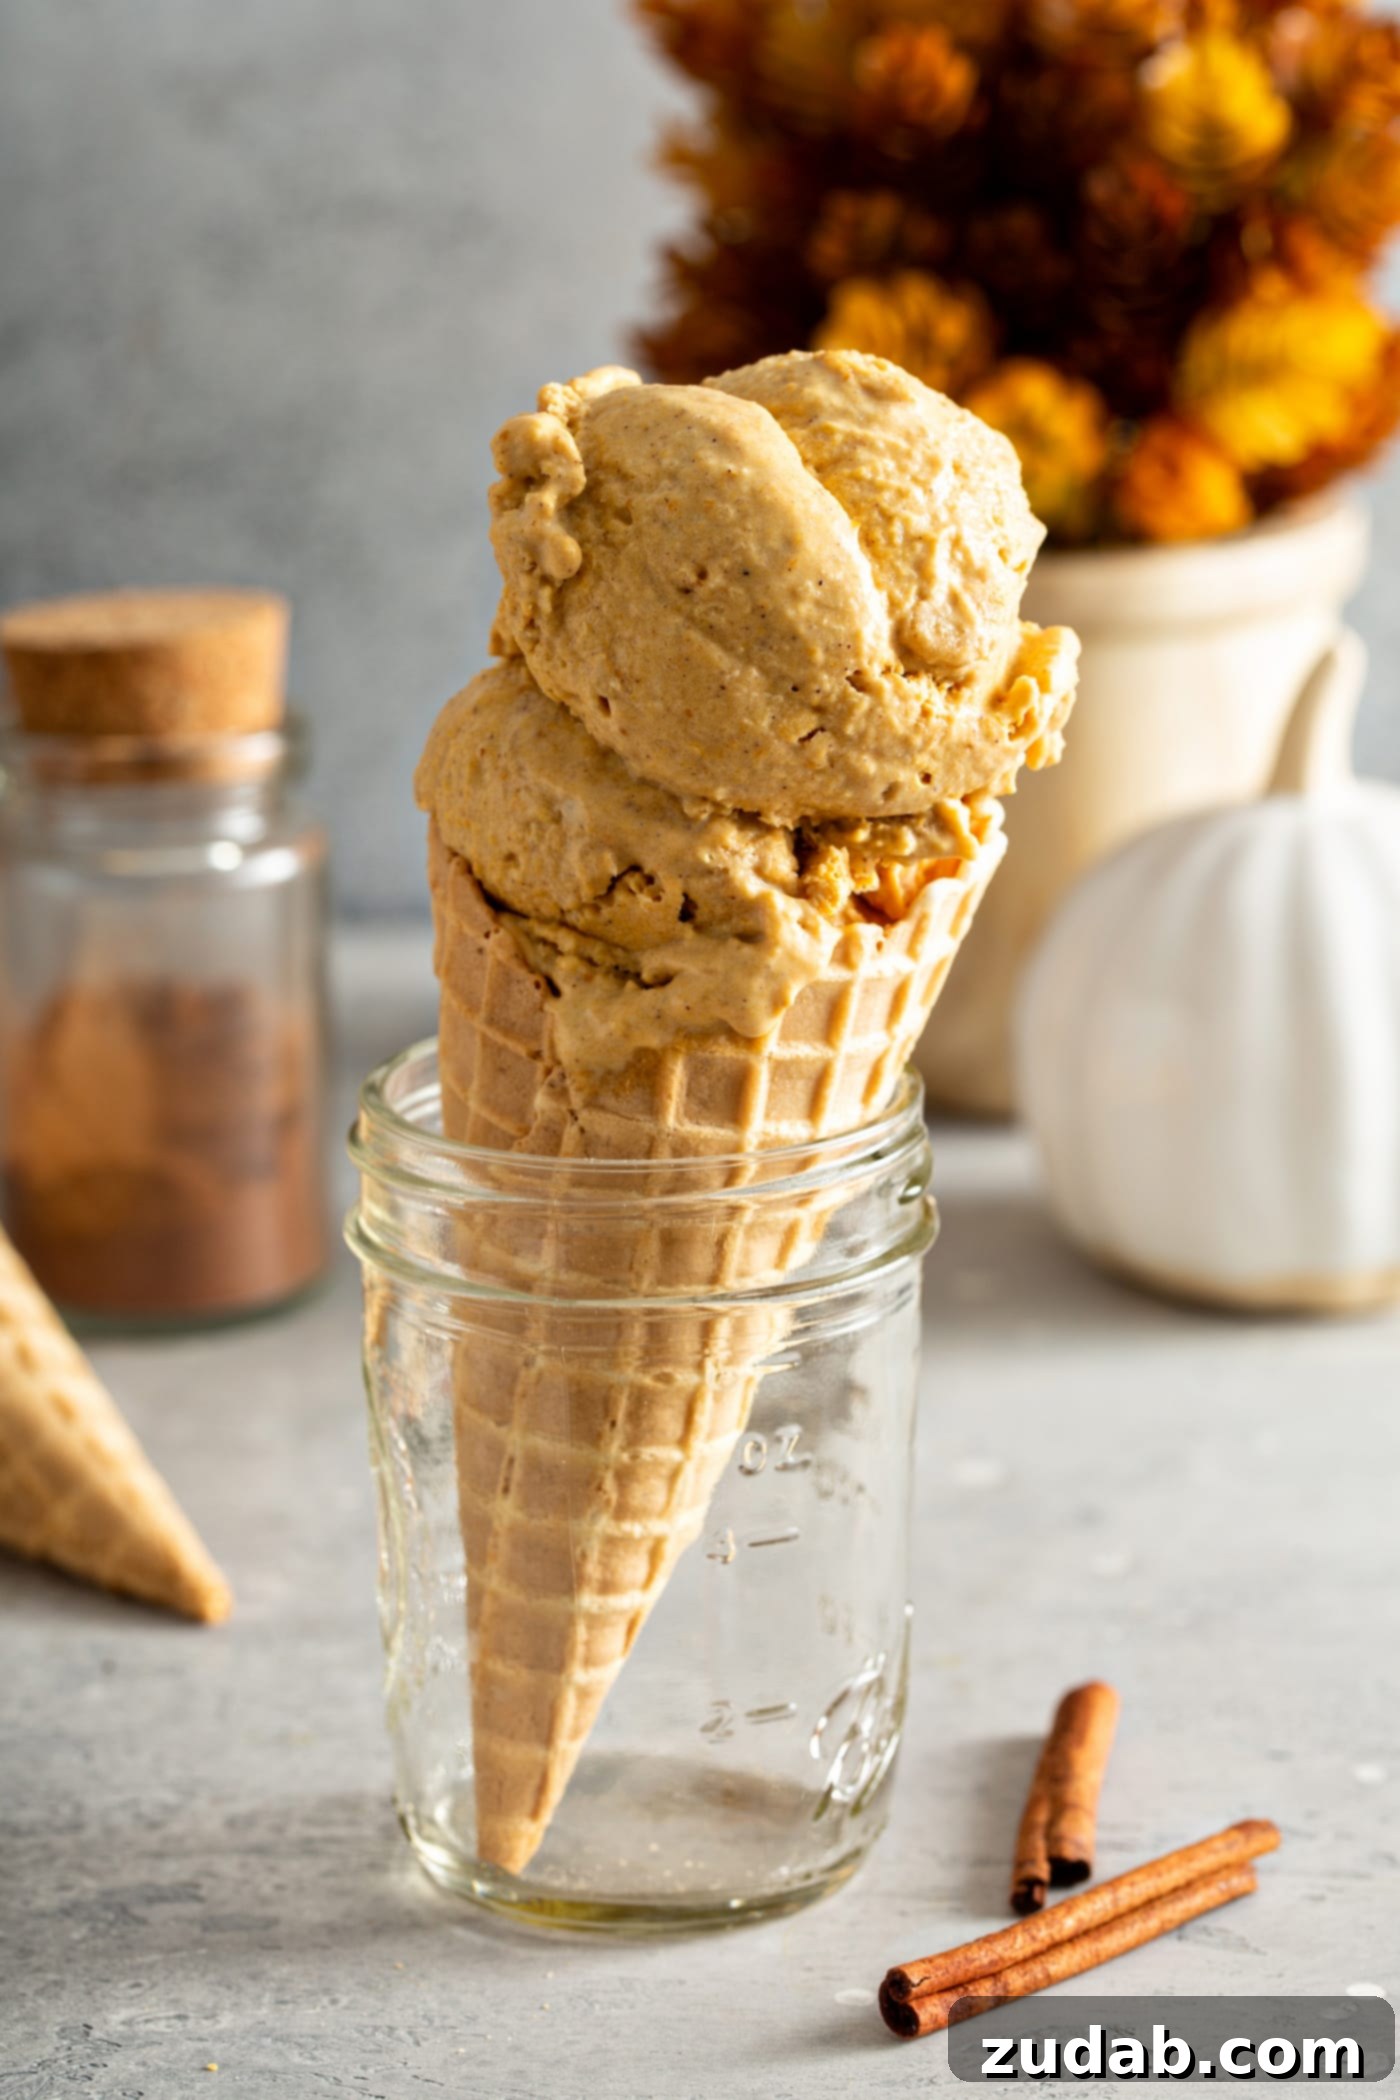
Indulge in the Ultimate Fall Treat: The Creamiest Homemade Pumpkin Ice Cream Recipe
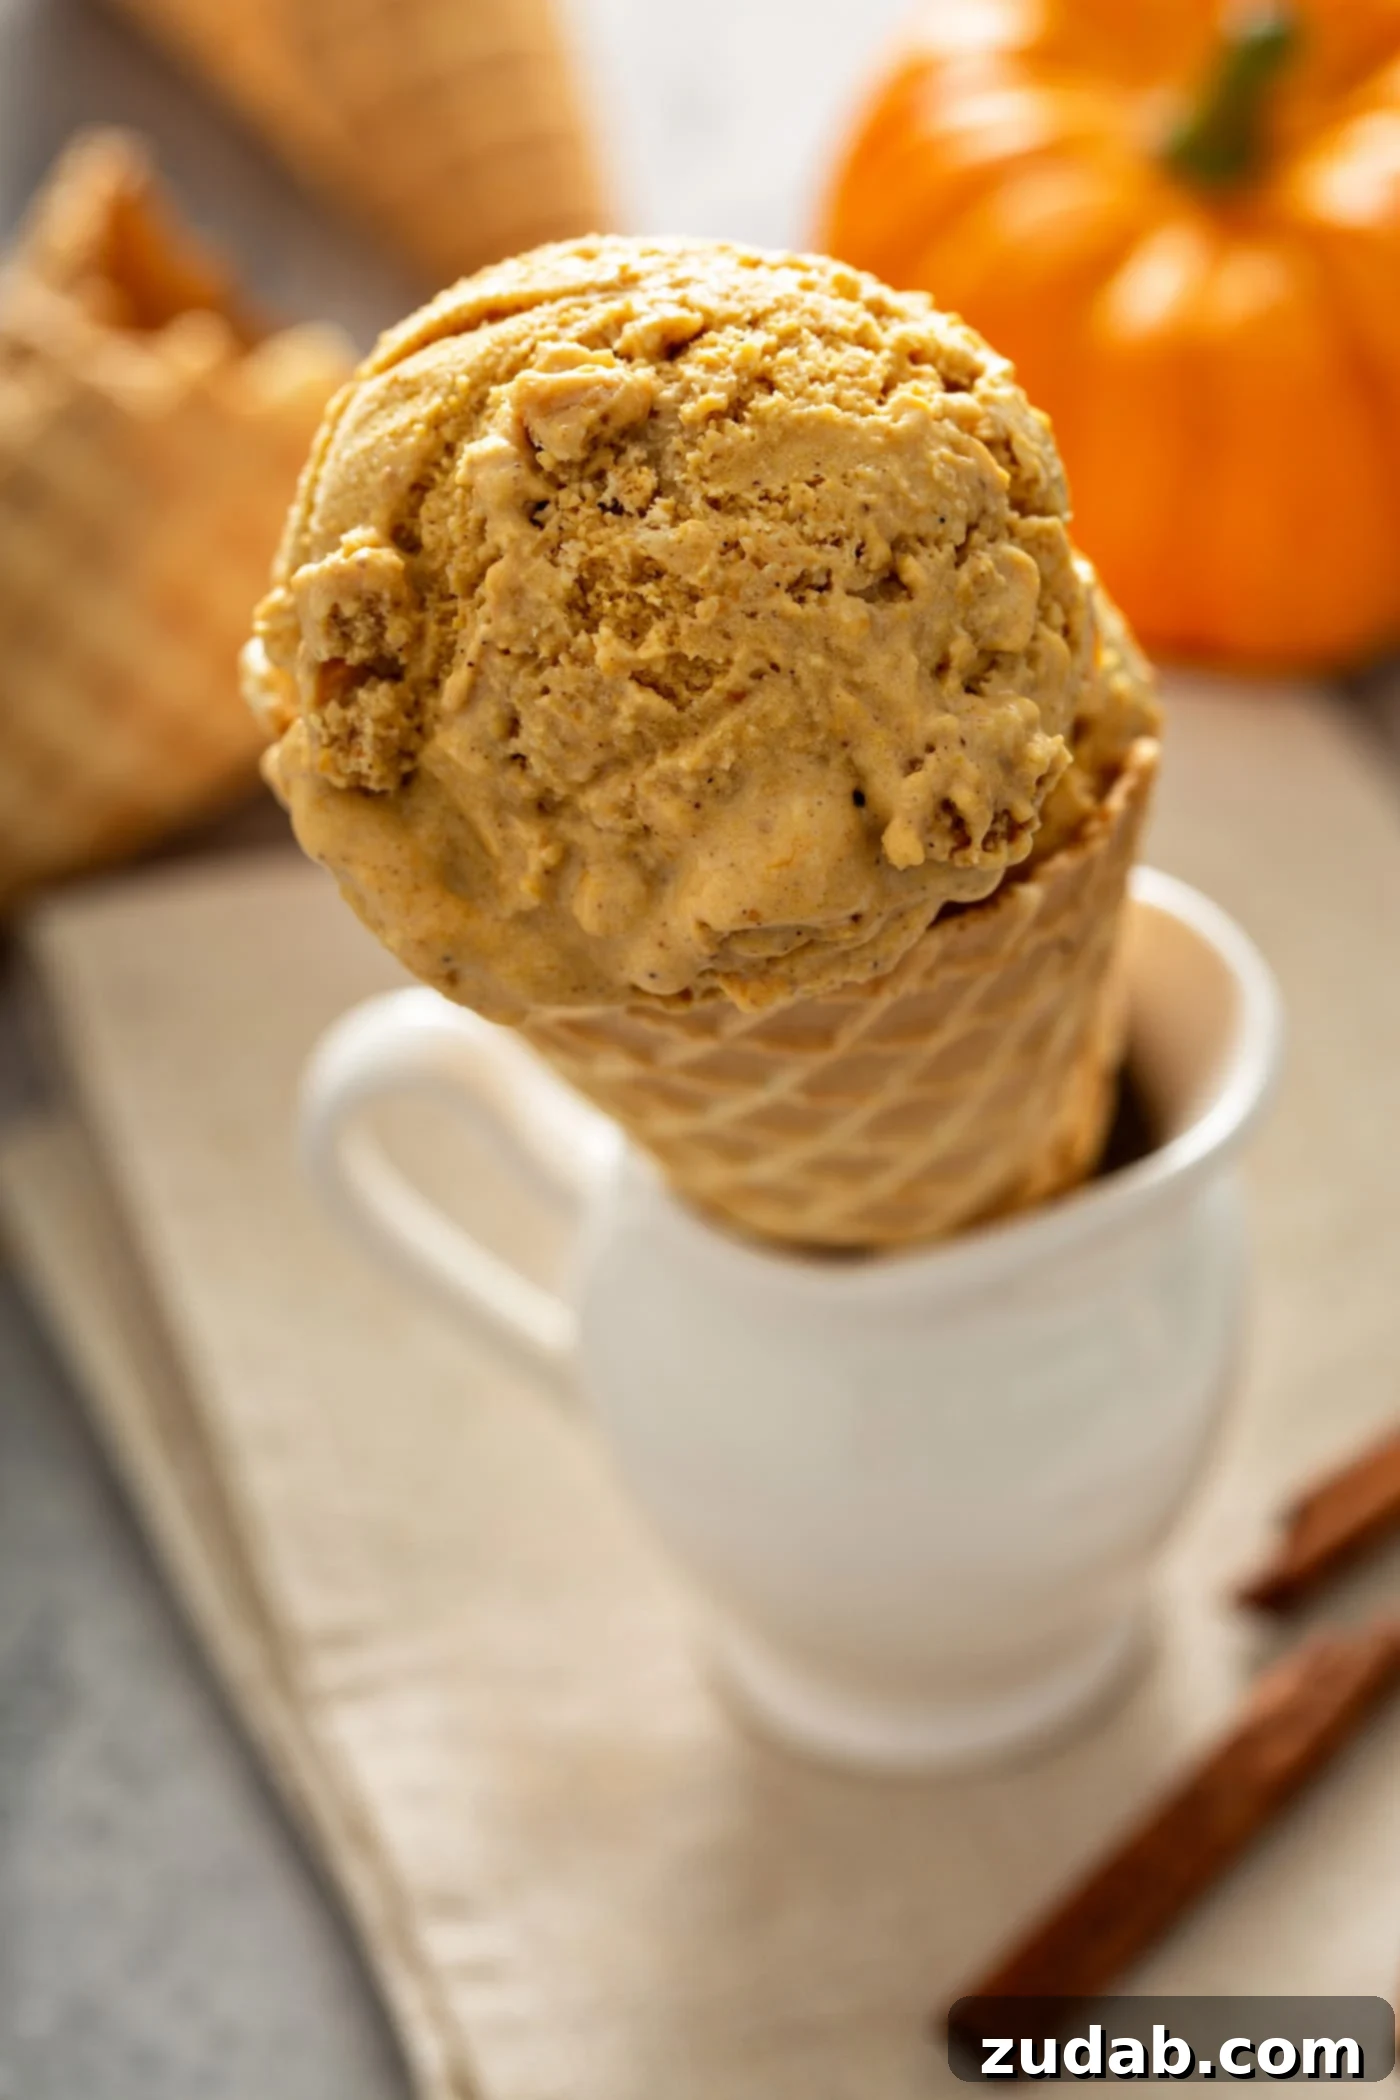
There’s nothing quite like the rich, comforting flavors of fall, and this **Creamiest Pumpkin Ice Cream** brings them to life in a way that will tantalize your taste buds. Forget bland, watery imitations; this isn’t just any homemade ice cream. Crafted with a luxurious custard base featuring egg yolks and heavy cream, it achieves a remarkable density and smoothness that rivals the finest artisanal frozen custards. Prepare yourself for an unforgettable dessert experience that will have you craving autumn all year long.
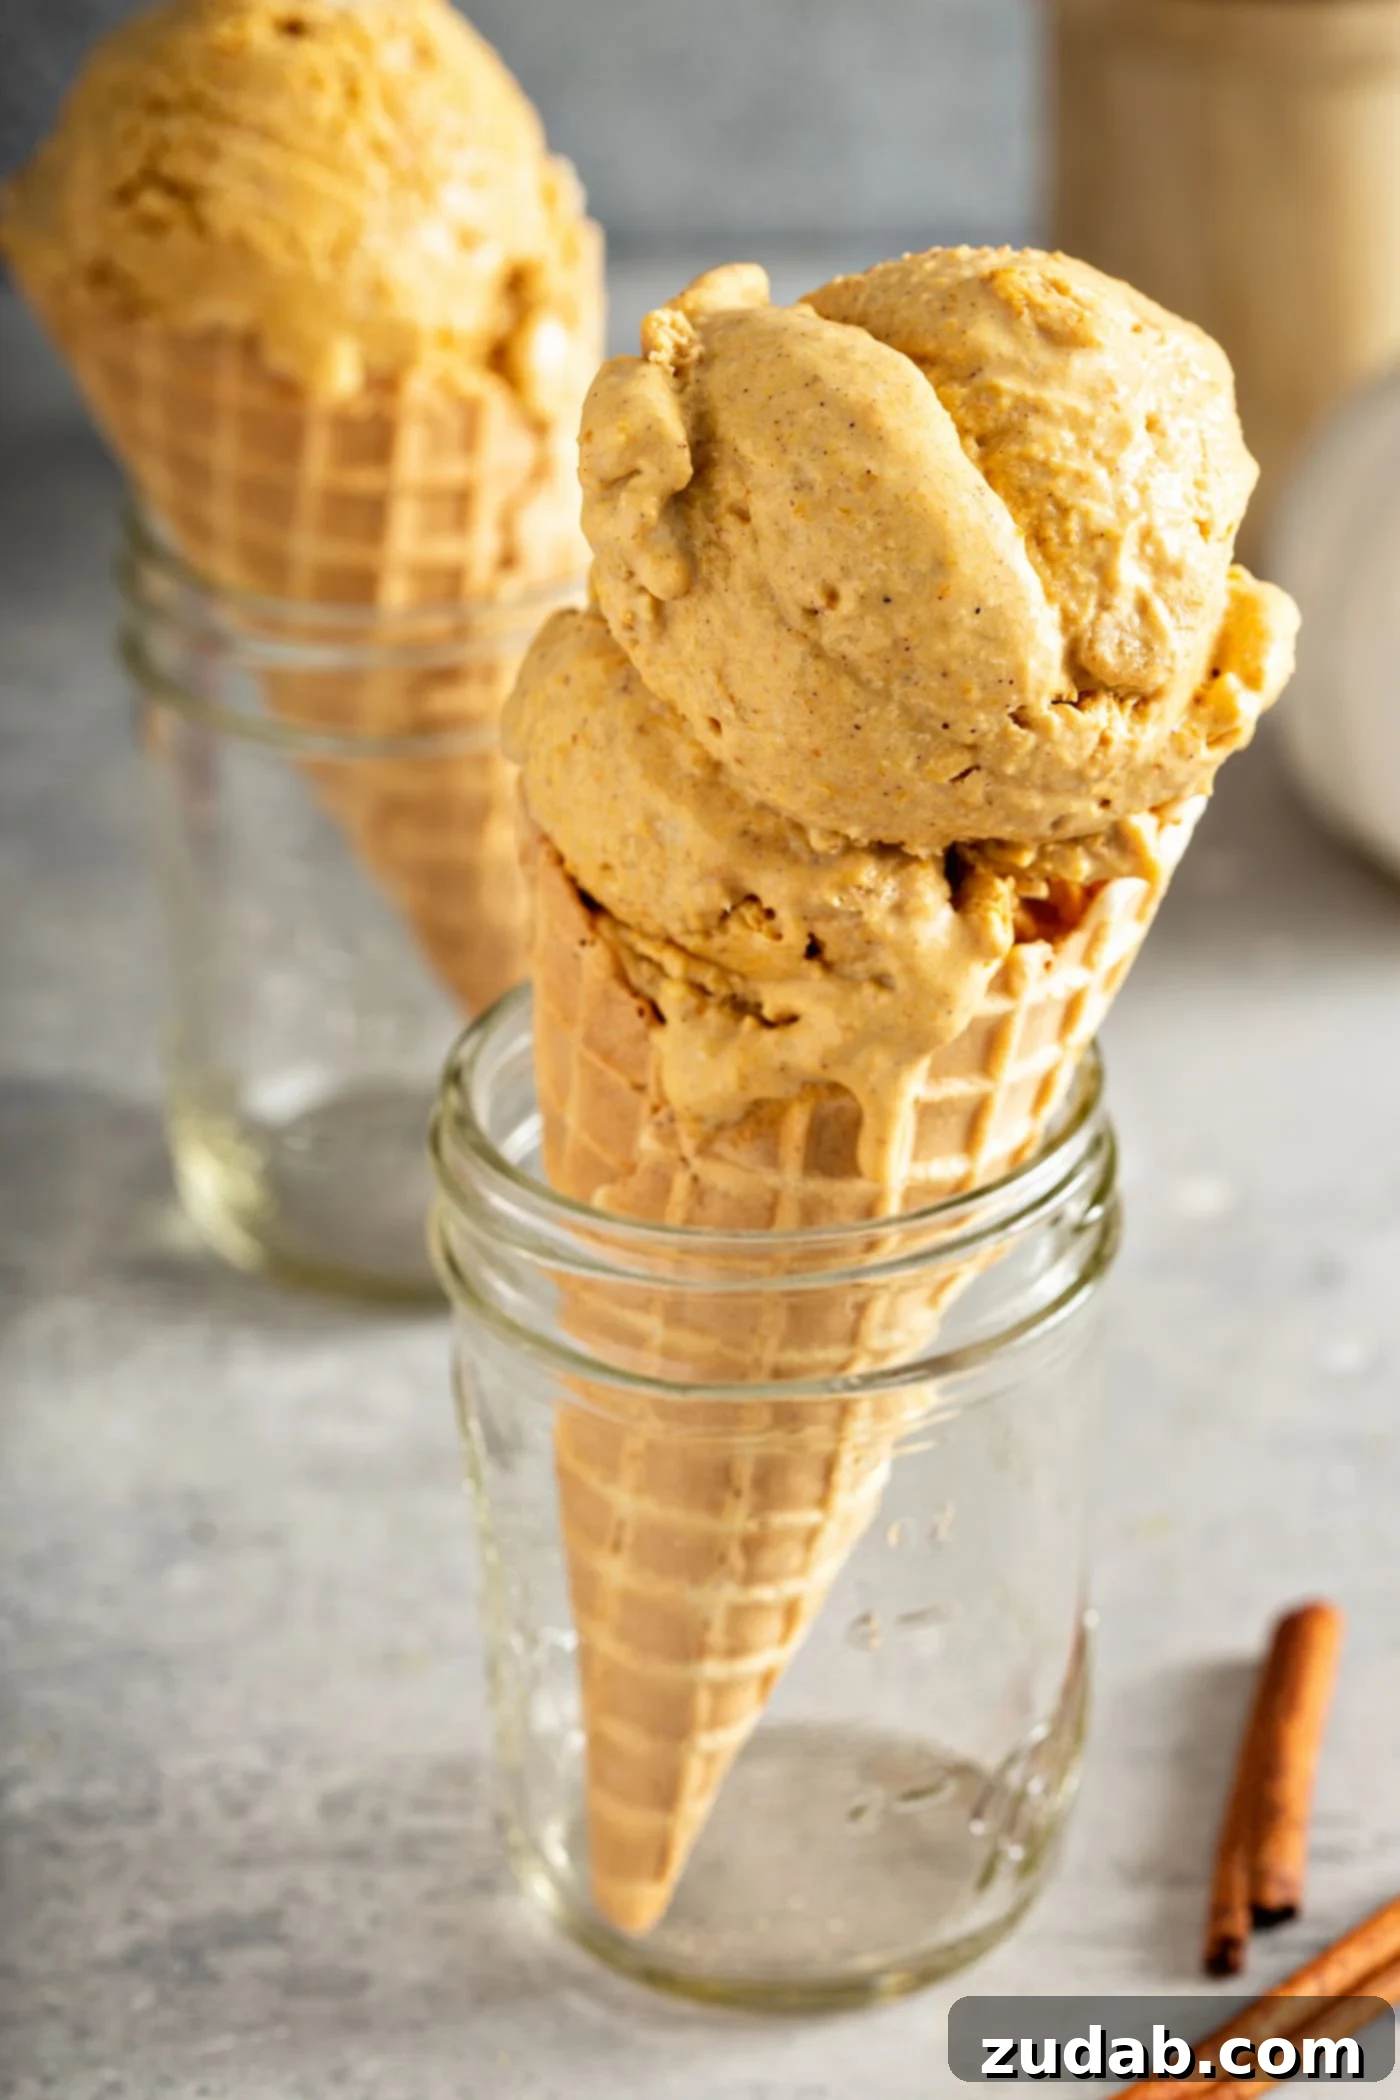
While classic flavors like vanilla and strawberry certainly have their place, homemade ice cream offers a canvas for endless creativity. Imagine delighting your guests with a seasonally inspired treat that captures the essence of autumn in every spoonful. Pumpkin ice cream is not just a dessert; it’s an experience, a cozy hug in a bowl that perfectly complements crisp fall evenings or festive holiday gatherings.
Essential Tools for Crafting the Best Homemade Ice Cream
Making exceptional ice cream at home is not just about the ingredients; it’s also about having the right equipment. Investing in a few key tools can elevate your homemade treats from good to truly gourmet. These are our top recommendations to ensure your pumpkin ice cream achieves that perfect, creamy consistency every time:
- Top-Rated Freezer Bowl Ice Cream Machine: An affordable and reliable choice for most home cooks, these machines require you to pre-freeze the bowl, but deliver fantastic results.
- Premium Compressor Ice Cream Maker (No Pre-Freezing Needed): For those who make ice cream frequently or desire ultimate convenience, a compressor model eliminates the need to freeze a bowl ahead of time.
- Accurate Candy Thermometer: Crucial for perfecting the custard base, ensuring it reaches the ideal temperature for thickening without curdling.
- Fine Mesh Sieve: Essential for straining your custard to remove any small bits of cooked egg, guaranteeing a silky-smooth texture.
- High-Quality Ice Cream Scoop: A sturdy, ergonomic scoop makes serving your perfectly creamy ice cream a breeze.
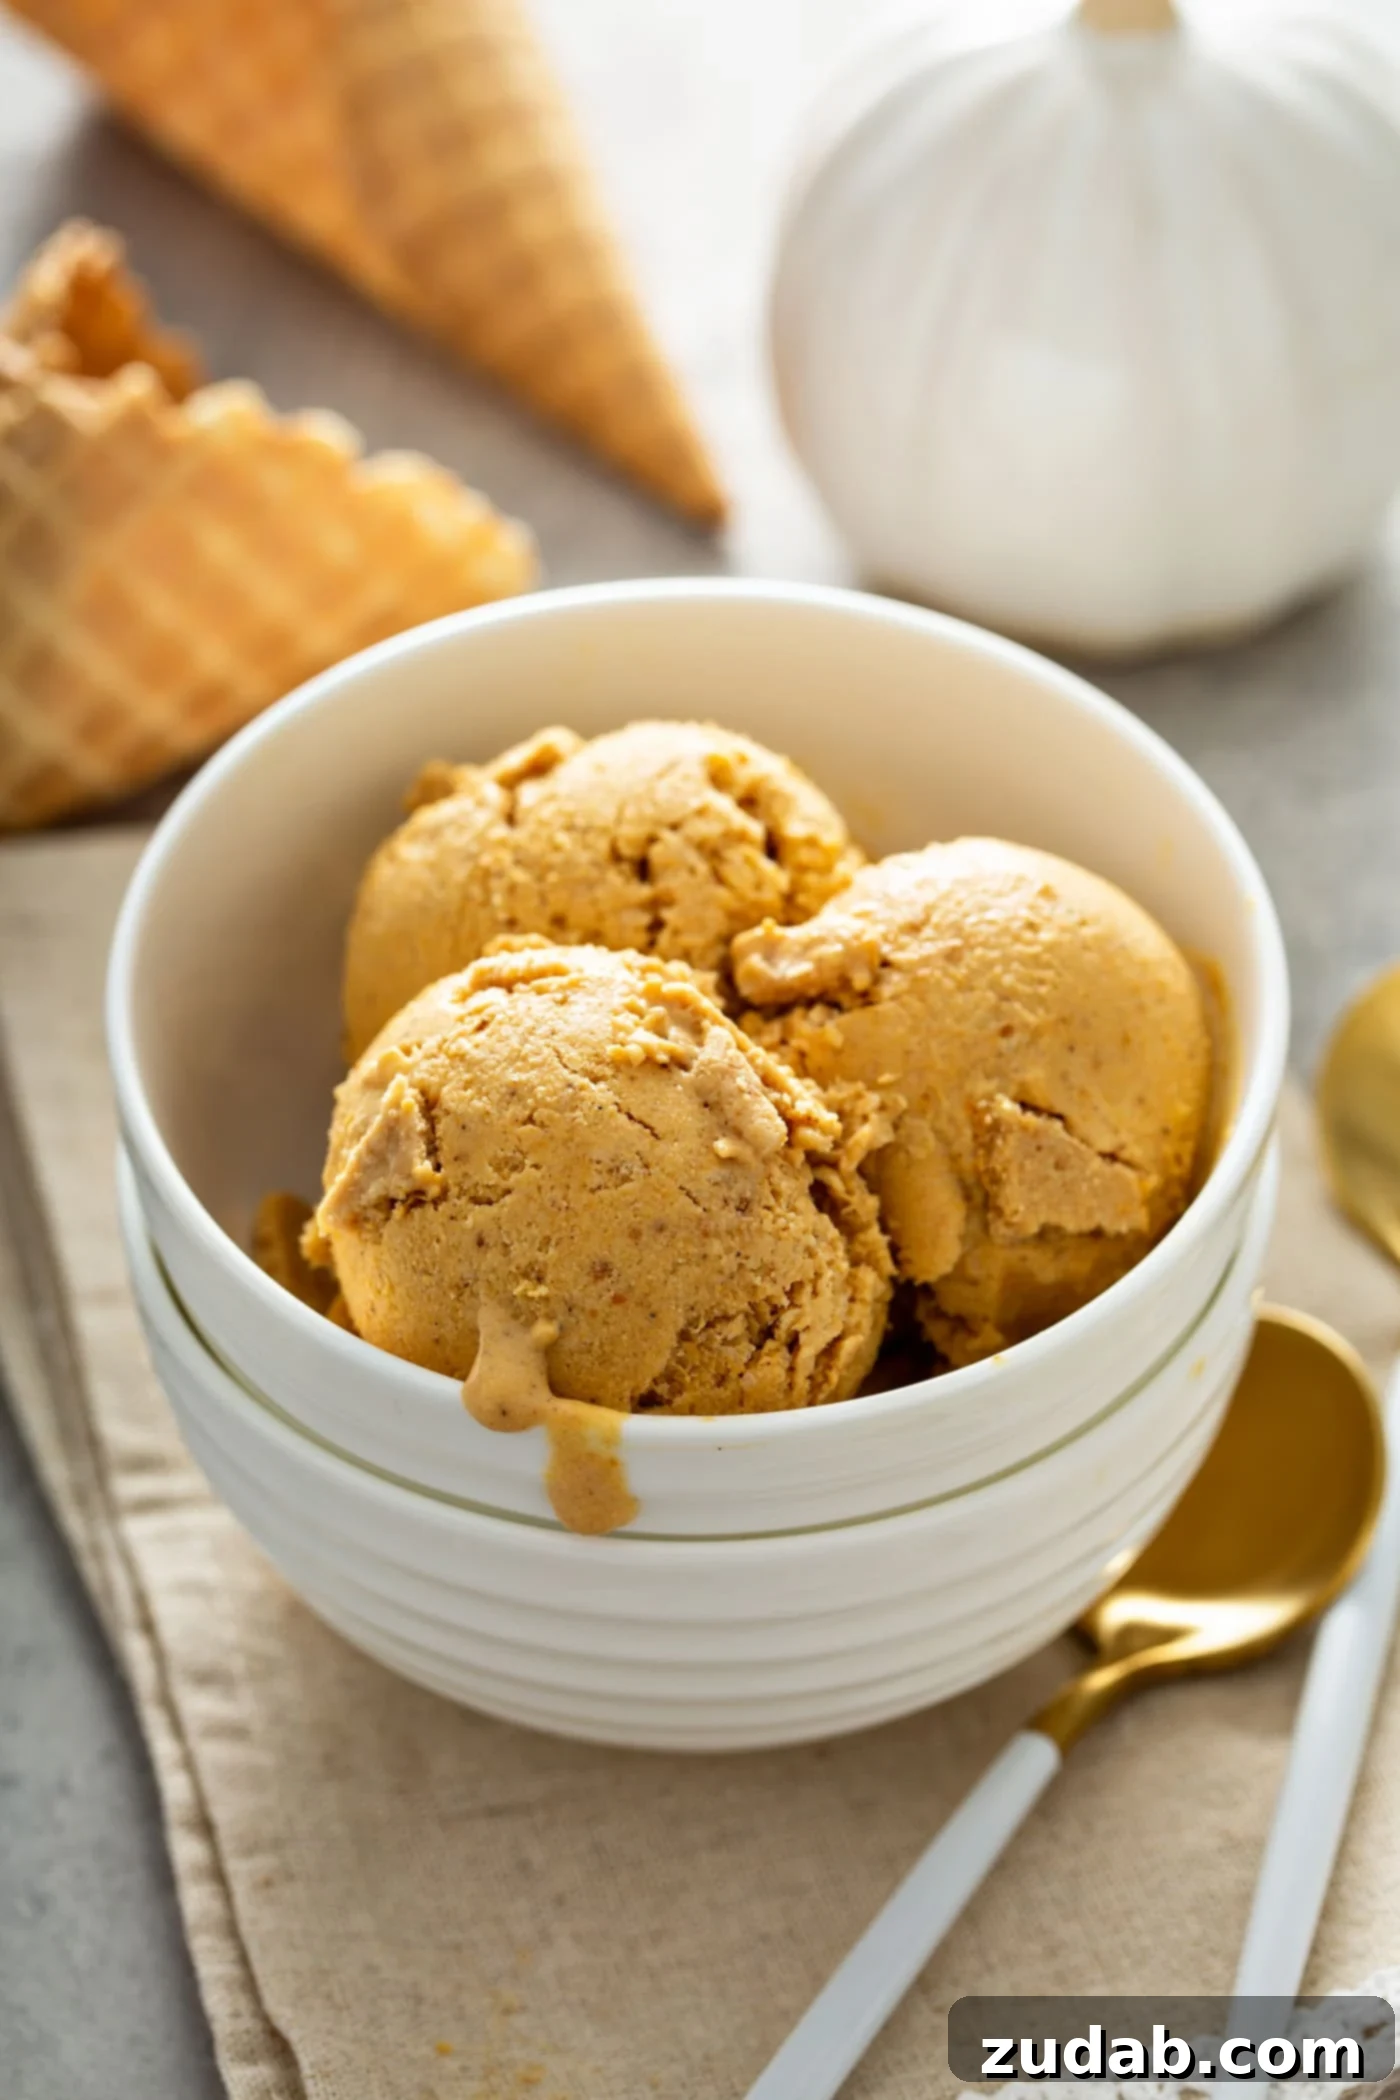
The Inspiration Behind This Irresistibly Creamy Pumpkin Ice Cream
Have you ever tasted something so incredibly delicious that it forever changed your standards? That’s precisely what happened to me with a pumpkin ice cream shake. It was October, and the crisp autumn air called for something warm and comforting, yet delightfully sweet. I opted for a pumpkin ice cream shake, and from the very first sip, I was hooked. It was extraordinarily rich, thick, and bursting with authentic pumpkin flavor – an absolute revelation.
That transcendent experience sparked a culinary quest: to recreate that magical creaminess in a homemade pumpkin ice cream. After much experimentation and dedication, I believe I’ve finally perfected the recipe, capturing that luxurious texture and deep, autumnal spice profile that made that initial milkshake so unforgettable. This recipe isn’t just about making ice cream; it’s about bringing that moment of pure delight into your own kitchen.
The Art of Crafting Creamy Homemade Ice Cream: A Custard Base
The secret to truly rich and creamy homemade ice cream, especially a flavor as robust as pumpkin, lies in its foundation: a meticulously prepared custard base. Unlike simpler ice cream recipes that combine cream and sugar directly, a custard-based ice cream (also known as French-style ice cream or frozen custard) involves cooking egg yolks with milk and sugar on the stovetop. This process creates a thicker, more stable base that results in an incredibly smooth, dense, and luxurious final product.
The inclusion of egg yolks is paramount. Egg yolks act as an emulsifier and contribute significant fat content without adding excess water, which can lead to undesirable ice crystals. This fat-rich foundation is what gives the ice cream its signature ultra-smooth, velvety texture, reminiscent of a premium frozen custard. Once your custard has been cooked and thoroughly chilled, it’s ready to be churned in a quality ice cream machine. We’ve had great success with Cuisinart models, known for their efficiency and ability to produce consistently creamy ice cream.
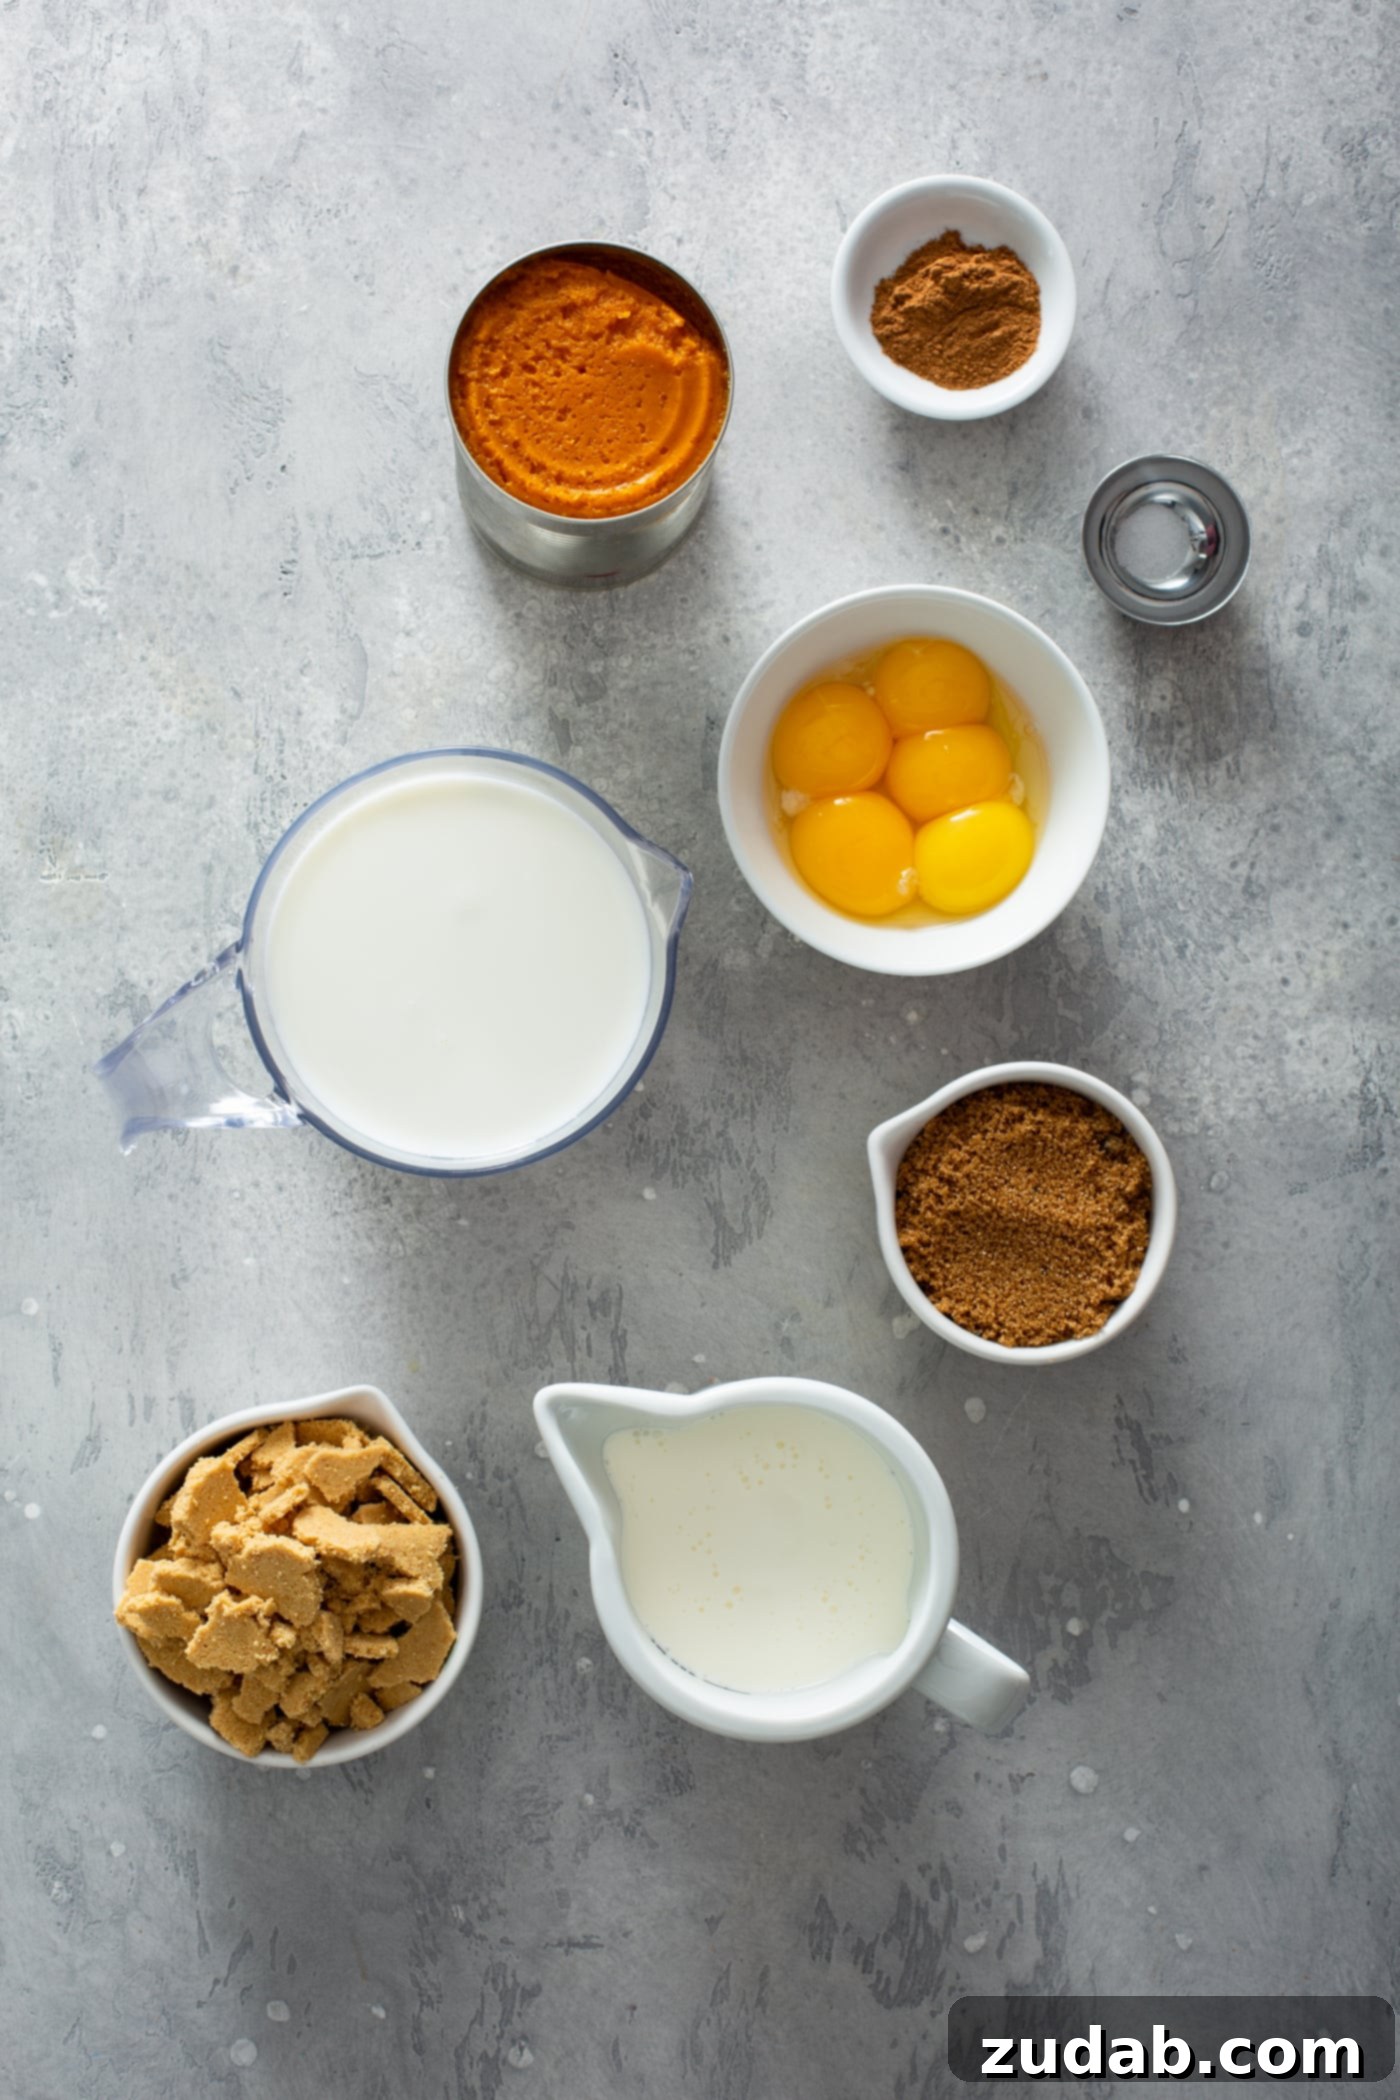
Delectable Homemade Pumpkin Ice Cream Ingredients
Achieving the perfect pumpkin ice cream requires a thoughtful selection of ingredients that contribute to both its rich flavor and unparalleled creaminess. Here’s what you’ll need for this truly indulgent recipe:
- Canned Pumpkin: The star of the show, providing that unmistakable fall flavor and a beautiful orange hue. Ensure you’re using plain pumpkin puree, not pumpkin pie filling.
- Brown Sugar: Adds a deep, molasses-rich sweetness that complements the pumpkin and spices perfectly, enhancing the overall warmth of the flavor profile.
- Pumpkin Pie Spice: A blend of cinnamon, nutmeg, ginger, cloves, and sometimes allspice, it delivers the quintessential autumnal aroma and taste.
- Heavy Cream: Crucial for the luxurious, high-fat content that guarantees a super creamy texture and prevents ice crystal formation.
- Whole Milk: Balances the richness of the heavy cream and helps create the ideal custard consistency.
- Egg Yolks: The cornerstone of our custard base, providing richness, body, and emulsification for that incredibly smooth, dense texture.
- Dash of Salt: A pinch of salt enhances all the other flavors, making the pumpkin and spices truly pop.
- Graham Cracker Pie Crust (broken into pieces): An optional but highly recommended addition, adding a delightful textural contrast and a hint of classic pumpkin pie flavor.
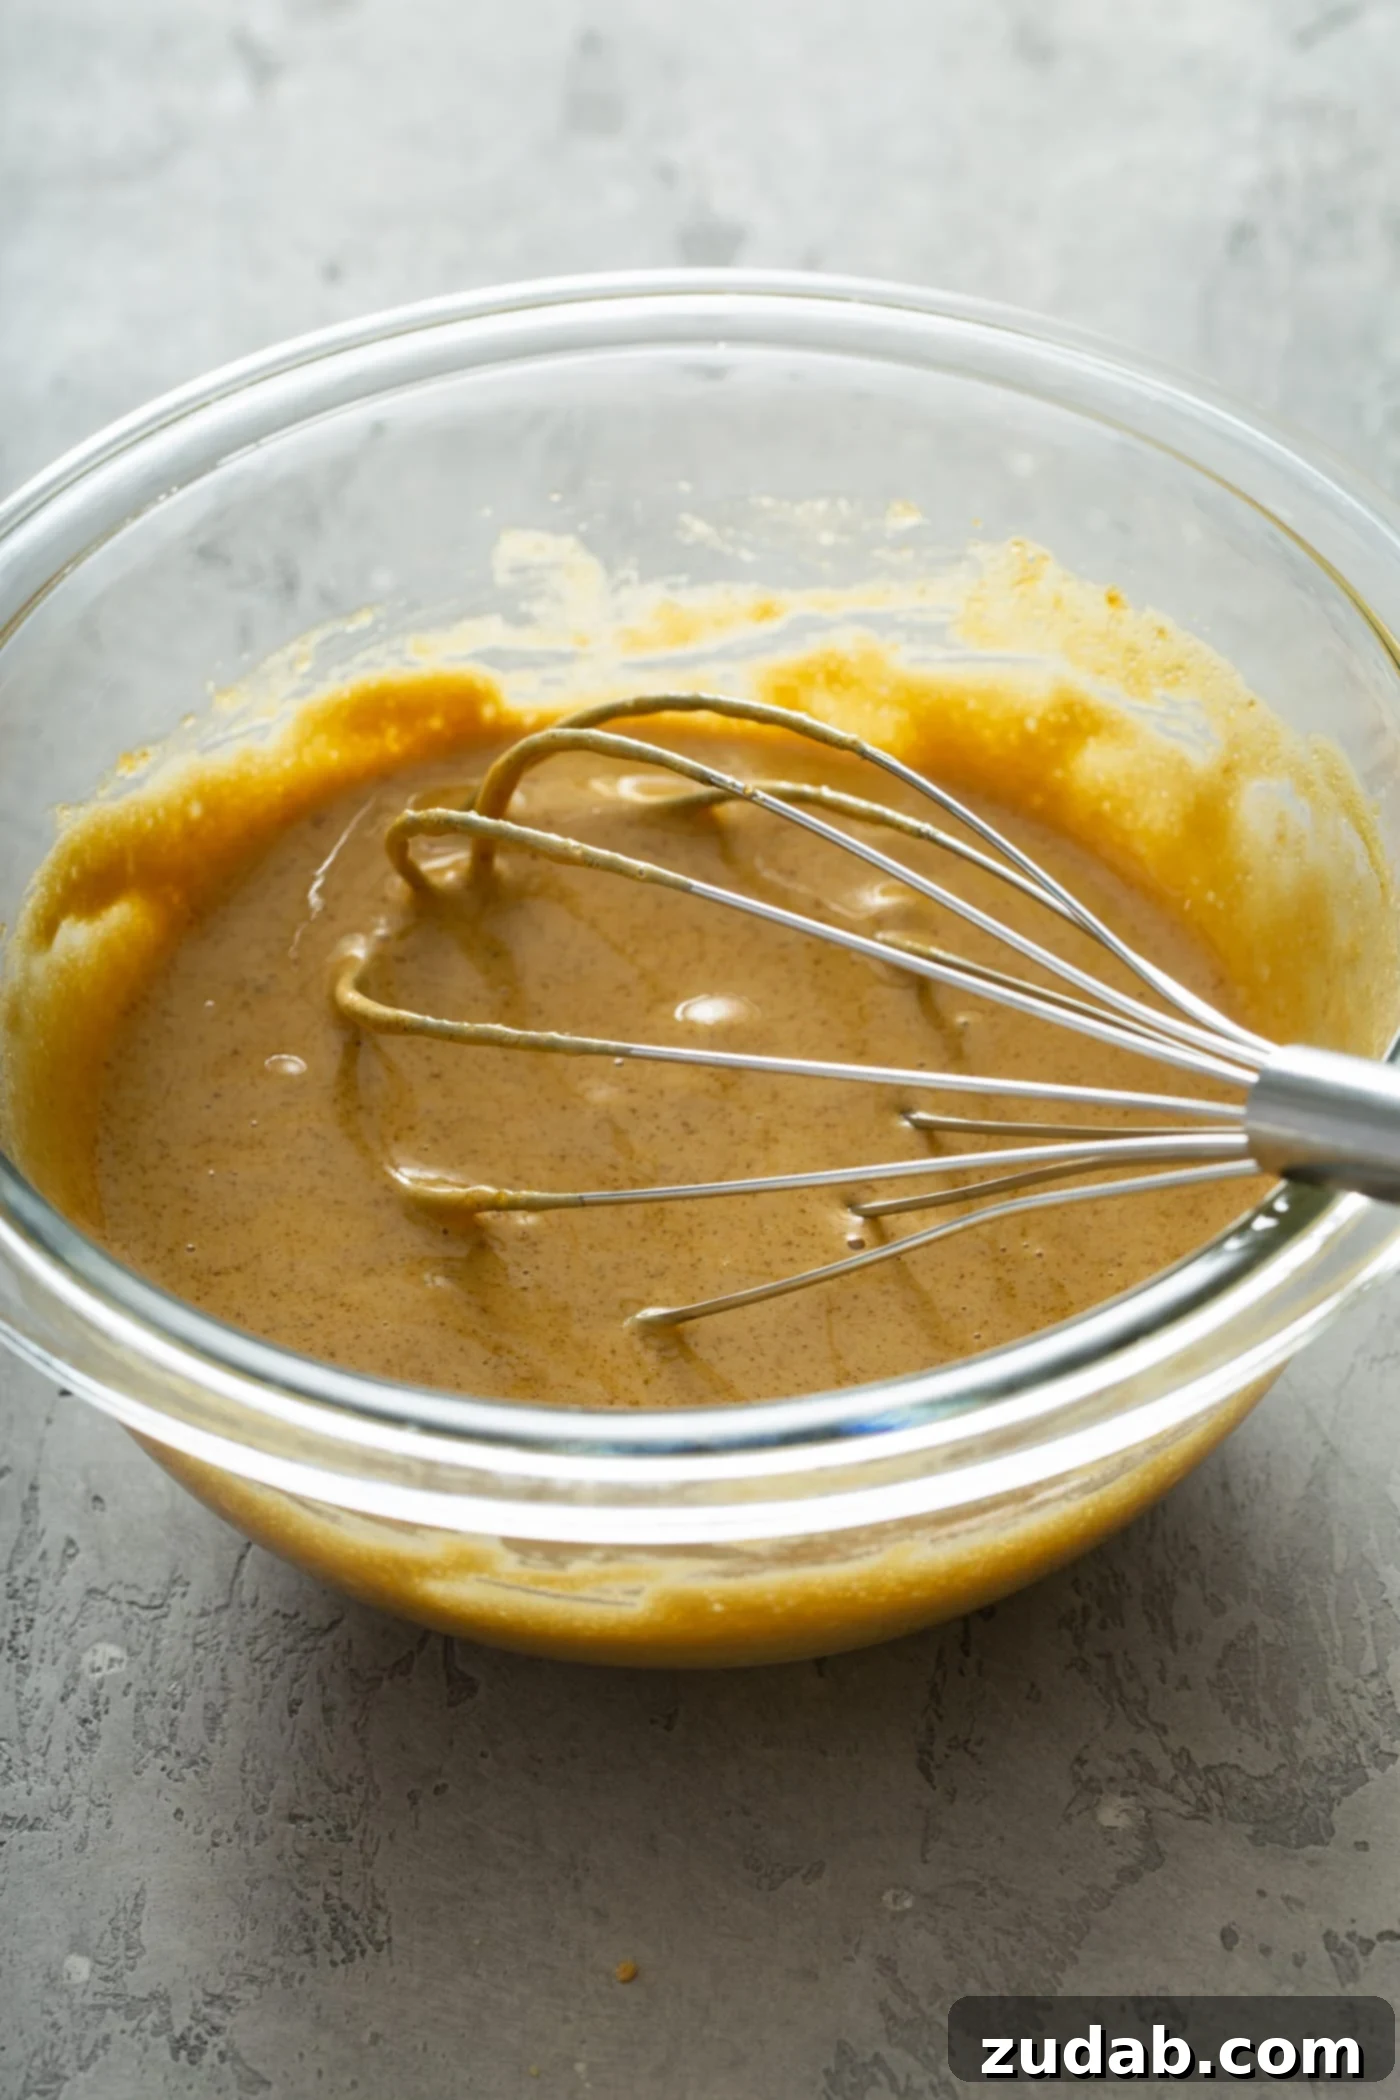
Step-by-Step Guide: How to Make the Creamiest Pumpkin Ice Cream
Follow these detailed instructions carefully to ensure your homemade pumpkin ice cream turns out perfectly rich, smooth, and utterly delicious:
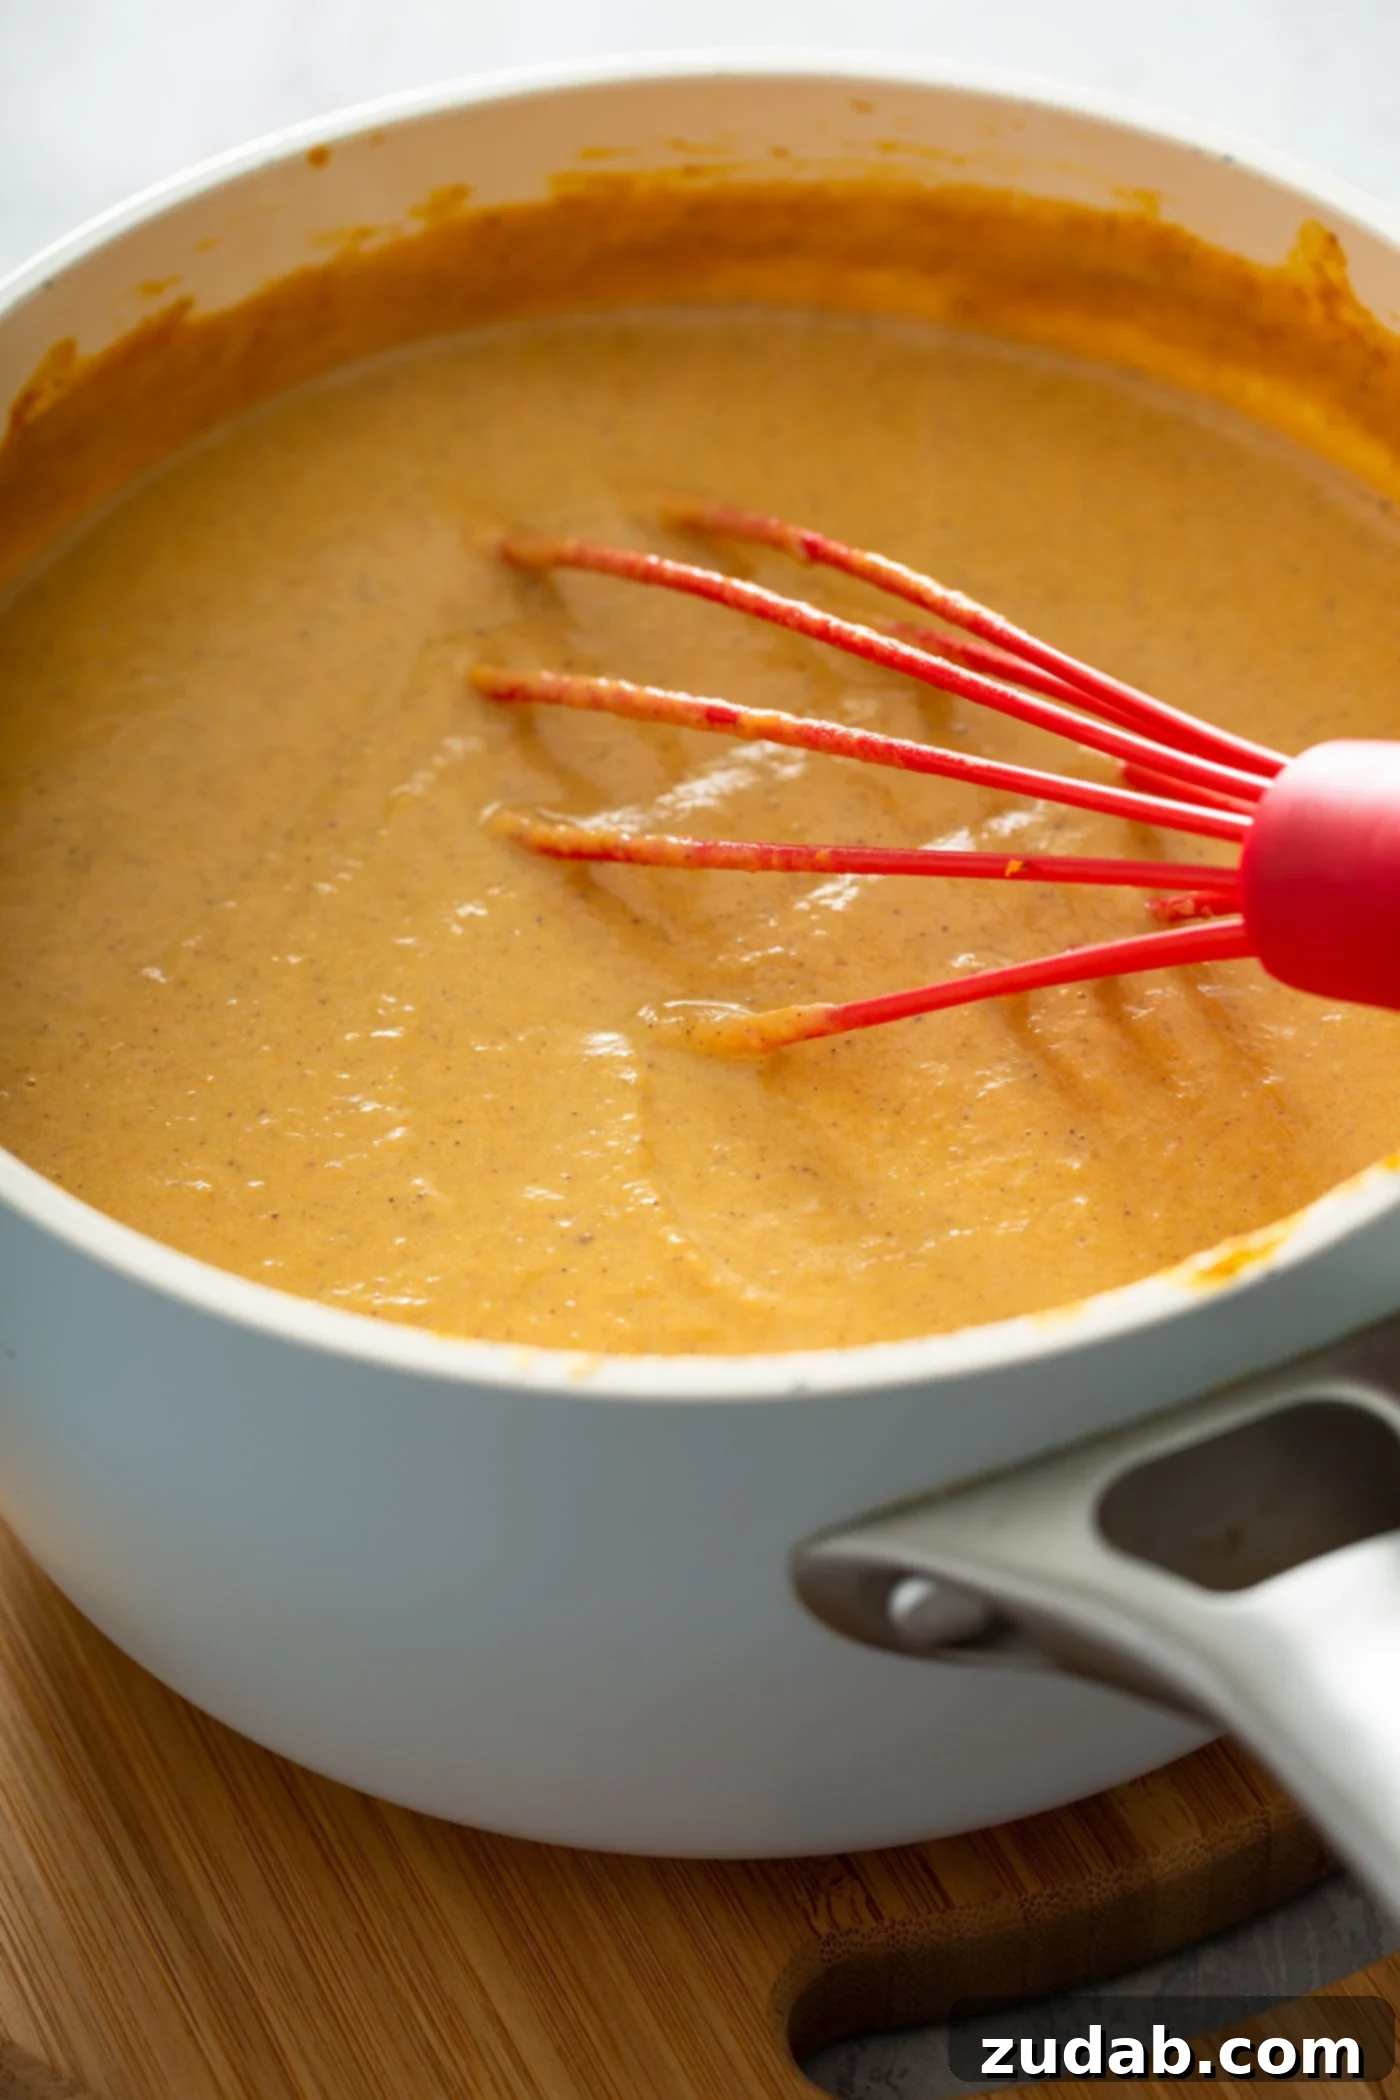
- In a medium saucepan, whisk together the canned pumpkin, pumpkin pie spices, and whole milk until thoroughly combined.
- Gently heat this mixture over medium heat, stirring occasionally, until it becomes very hot but never boils. Boiling can scorch the milk and ruin the flavor and texture.
- While the pumpkin mixture is heating, whisk the egg yolks, brown sugar, and a dash of salt in a separate bowl until the mixture is light in color and thick. Continue whisking for a minute or two if you’re unsure, aiming for a pale yellow, ribbons-like consistency.
- To temper the eggs (prevent them from curdling), slowly drizzle about 3 tablespoons of the hot milk mixture into the whisked egg yolk mixture, whisking continuously. This gradually raises the temperature of the eggs.
- Pour the tempered egg mixture back into the saucepan with the remaining hot pumpkin-milk mixture.
- Continue to cook the custard over low to medium heat, stirring constantly with a wooden spoon or spatula. Heat until the custard thickens enough to coat the back of the spoon, or reaches 160°F (71°C) on an instant-read thermometer. Do not let it exceed 180°F (82°C) or boil, as this will cause the eggs to curdle.
- Immediately strain the cooked custard through a fine mesh sieve into a clean bowl to remove any potential bits of cooked egg or spice sediment. Stir in the cold heavy cream at this stage.
- Chill the custard completely in the refrigerator for at least 4 hours, or preferably overnight. A well-chilled base is essential for the best ice cream texture.
- Once thoroughly chilled, transfer the custard to your ice cream machine and churn according to the manufacturer’s instructions until it reaches the consistency of soft-serve ice cream.
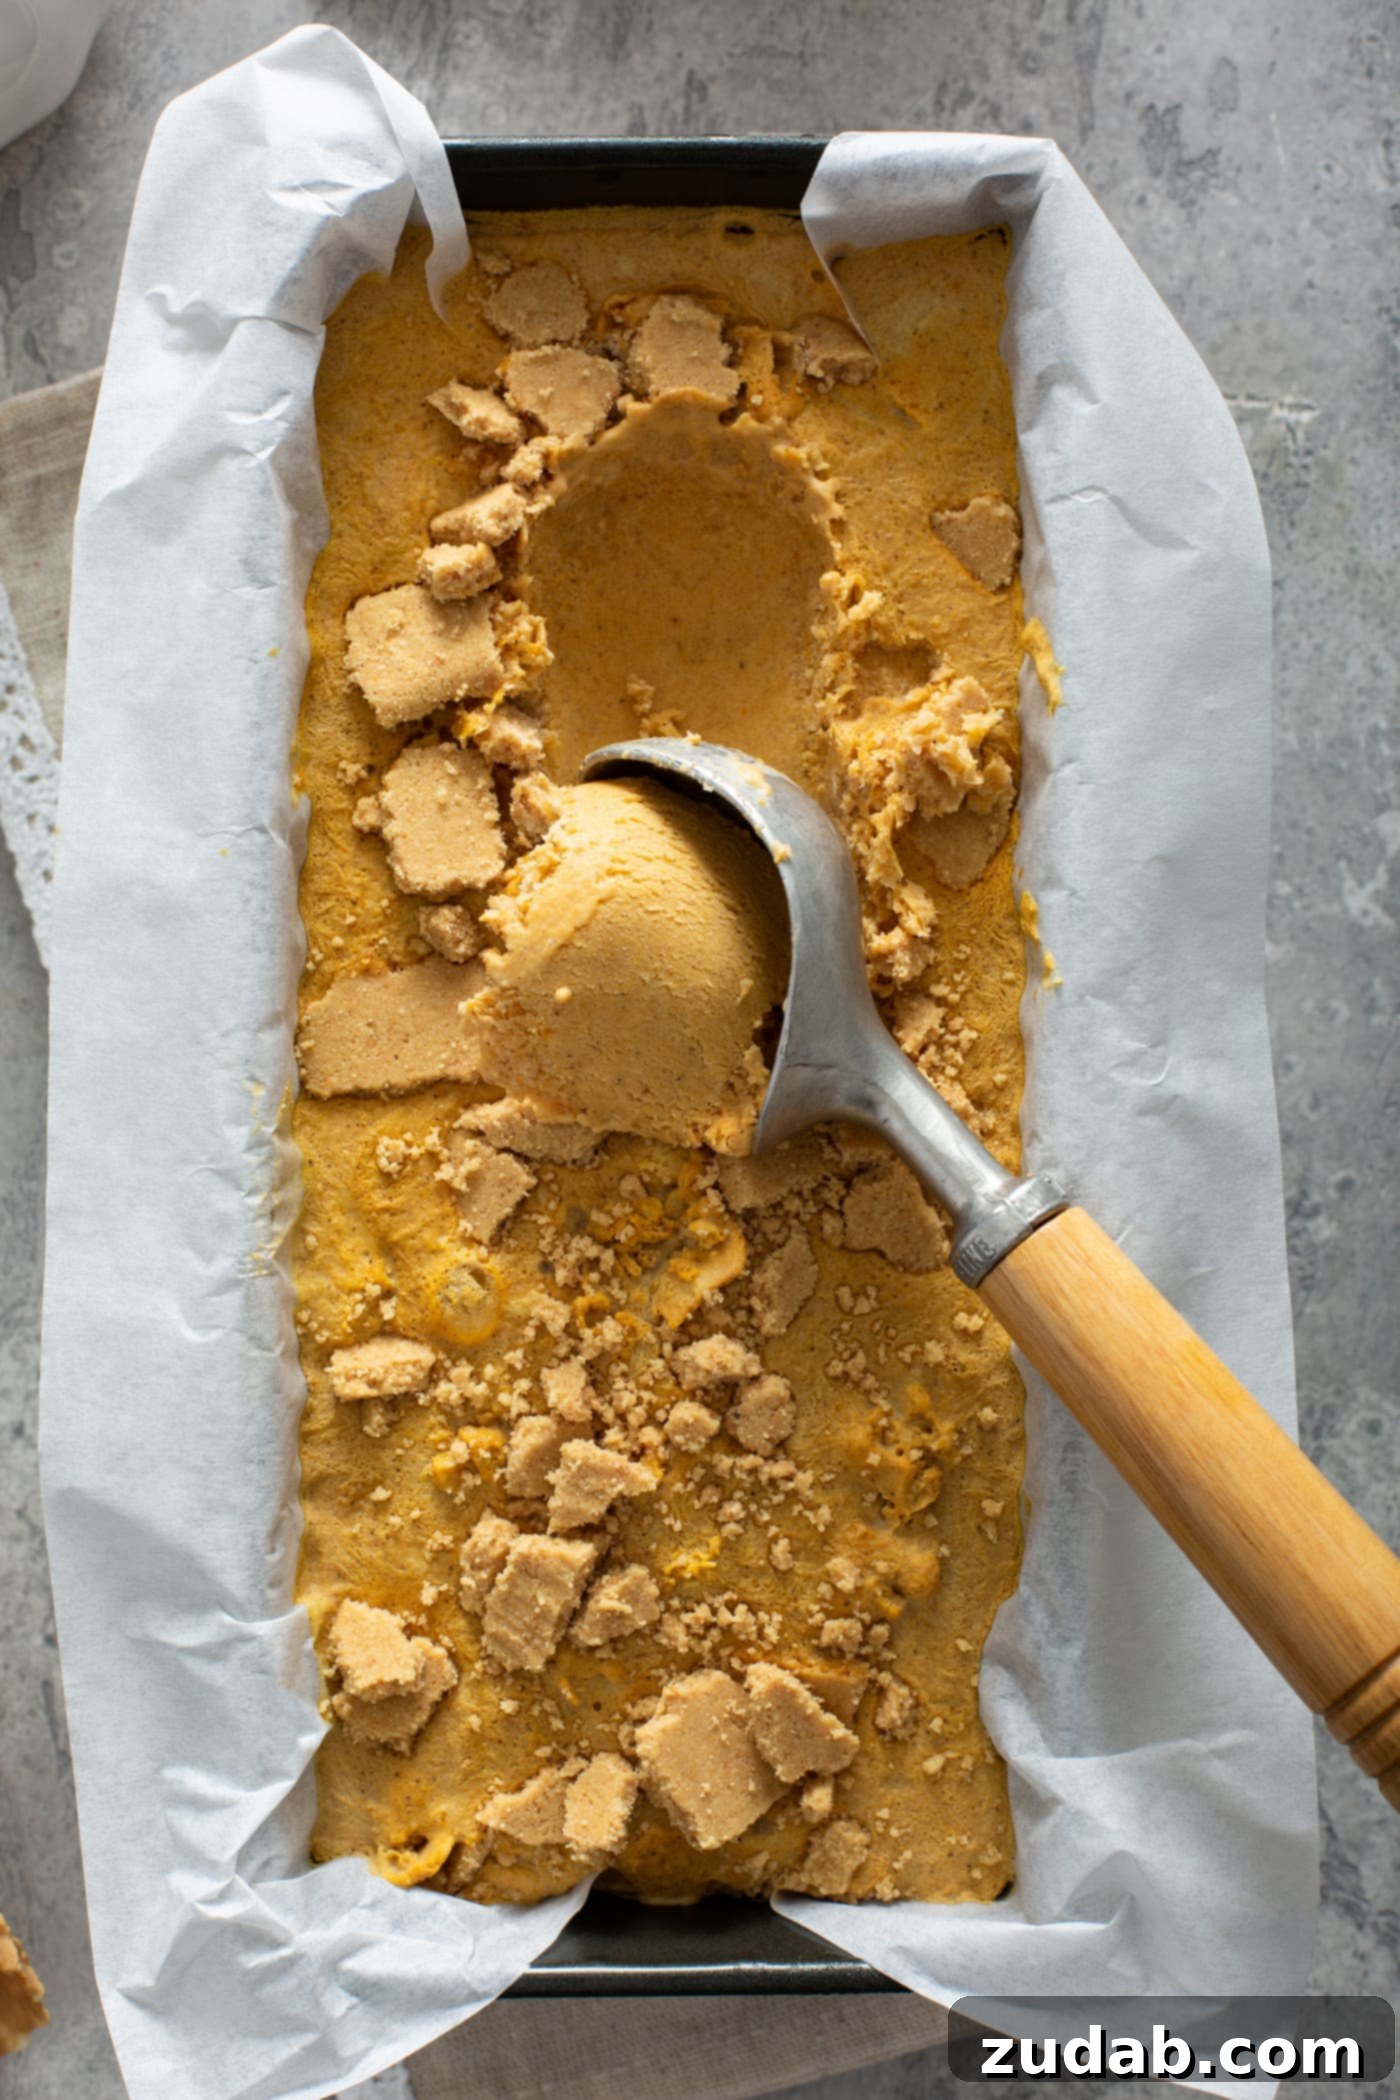
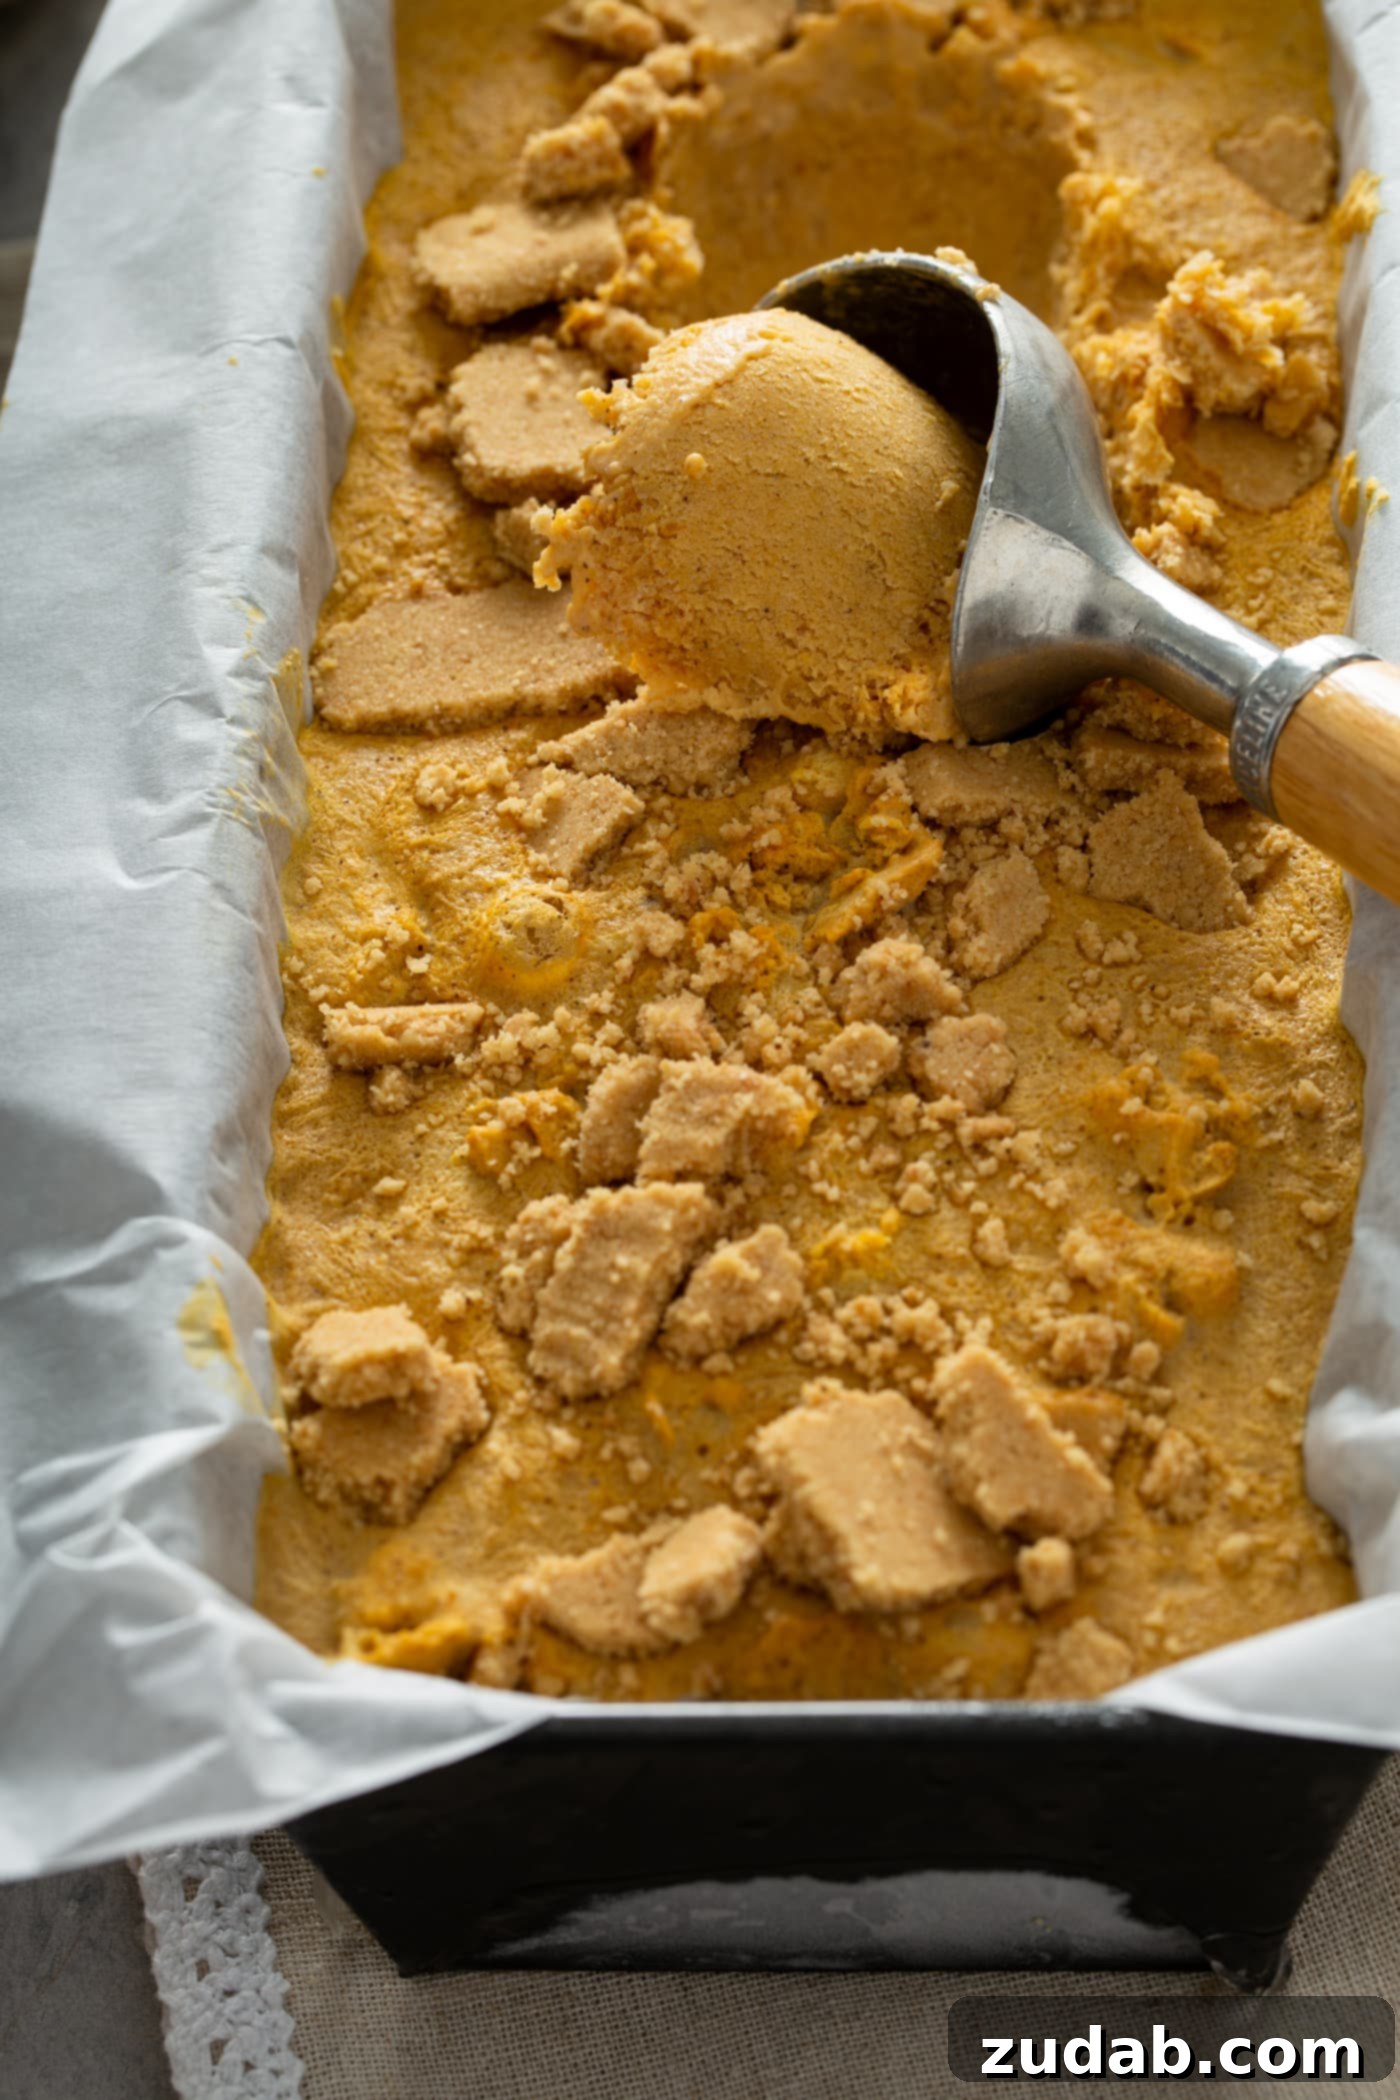
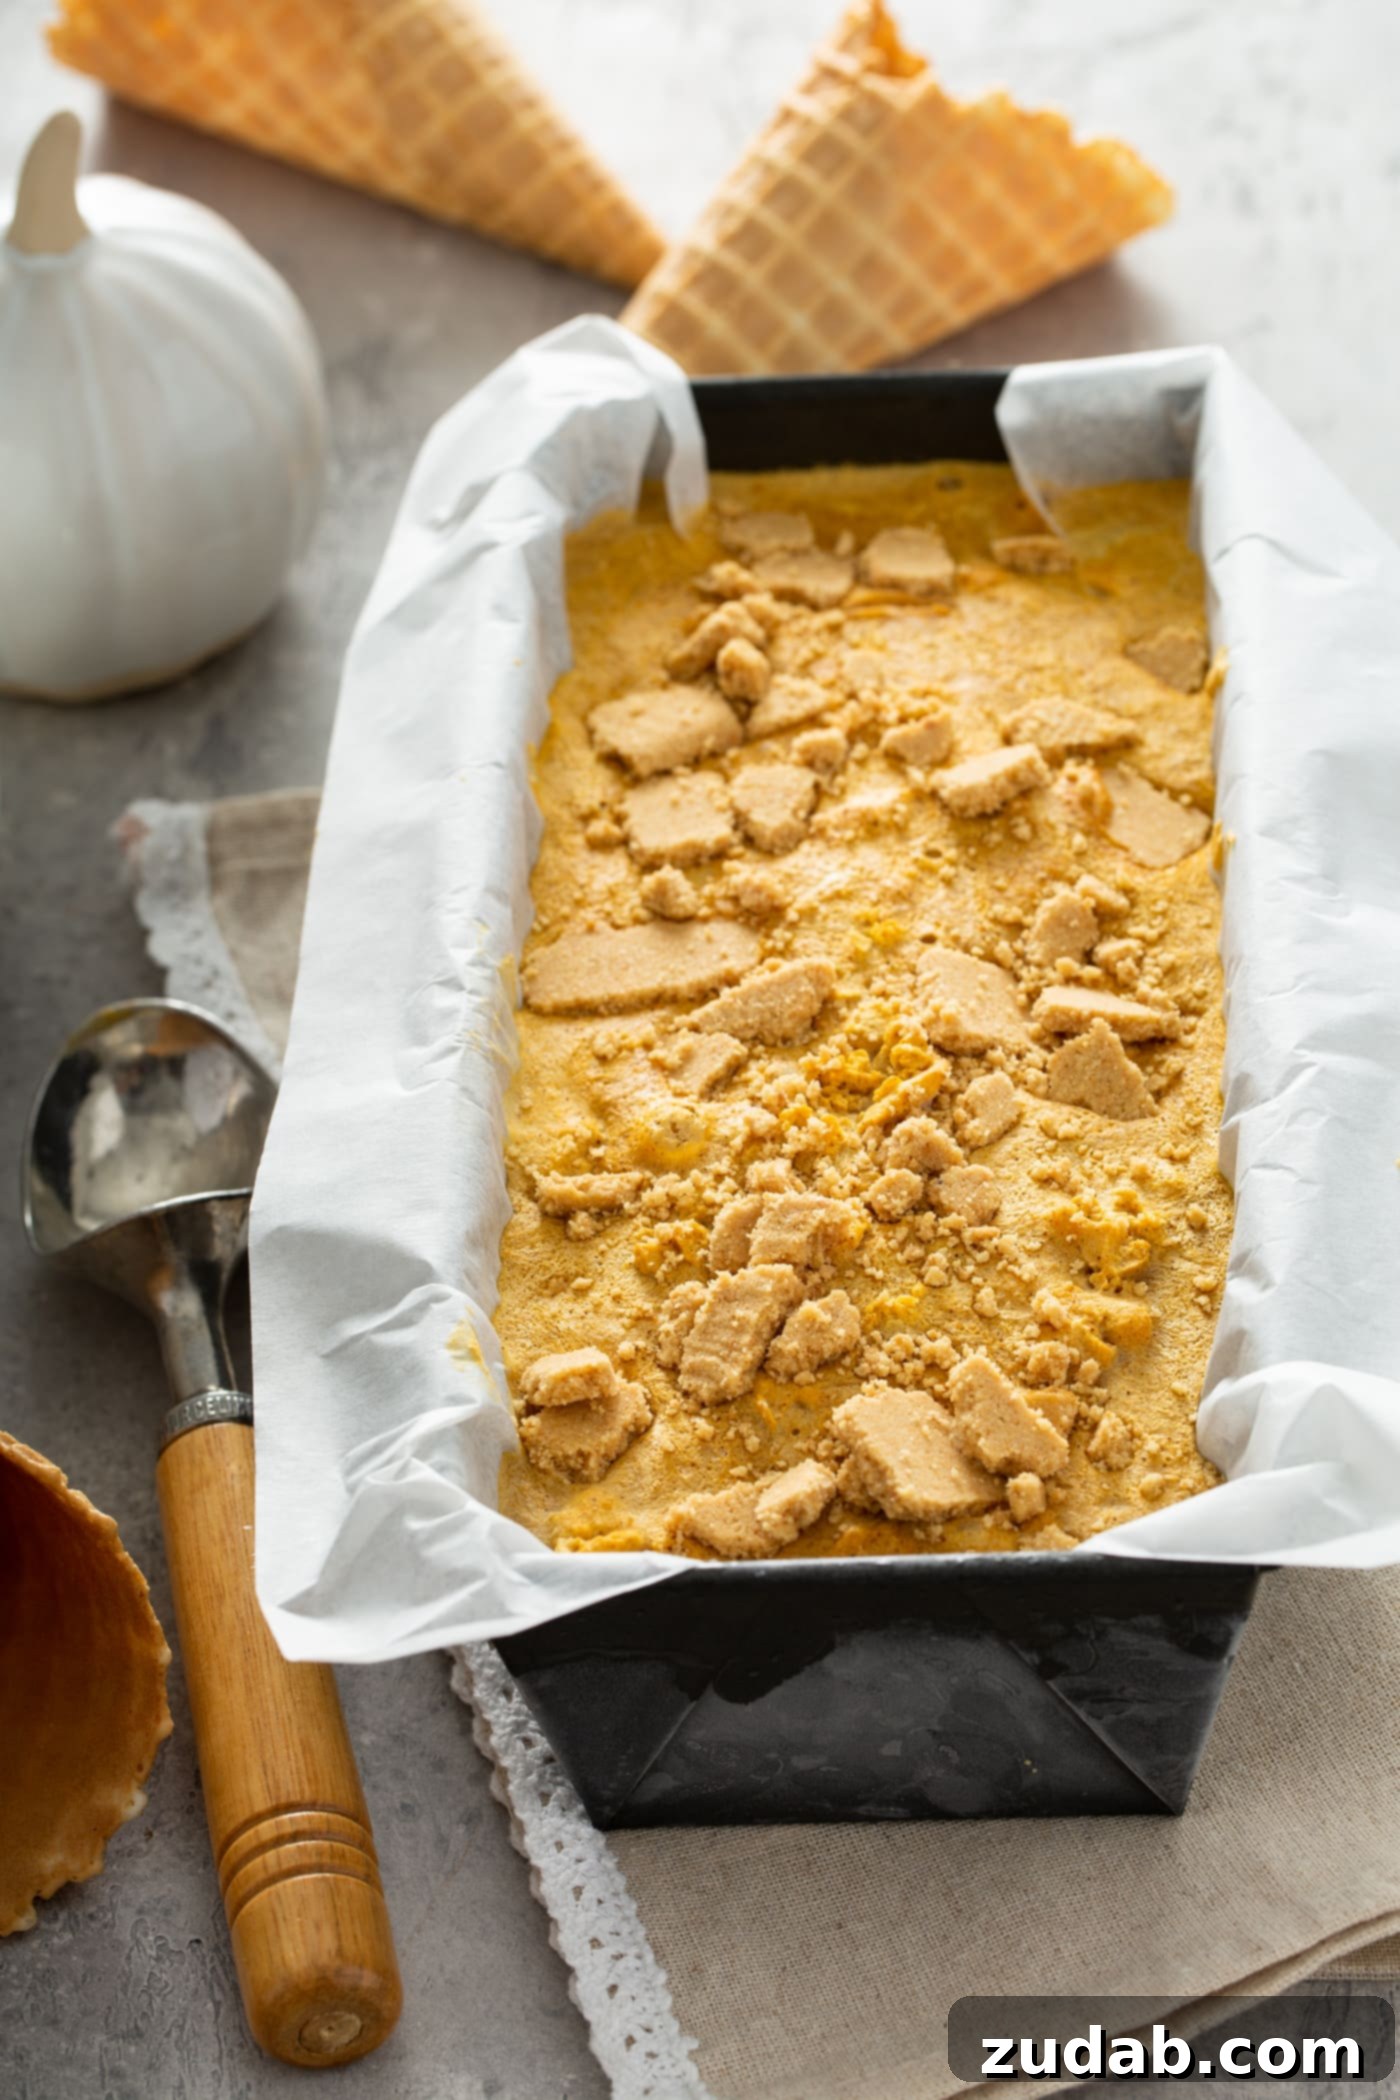
- For an extra touch of pumpkin pie goodness, spoon a layer of soft ice cream into a freezer-safe container, sprinkle with some broken graham cracker crust pieces, add more ice cream, and repeat until the container is full.
- Freeze the ice cream for an additional 2-4 hours, or until firm, to achieve the perfect scoopable texture.
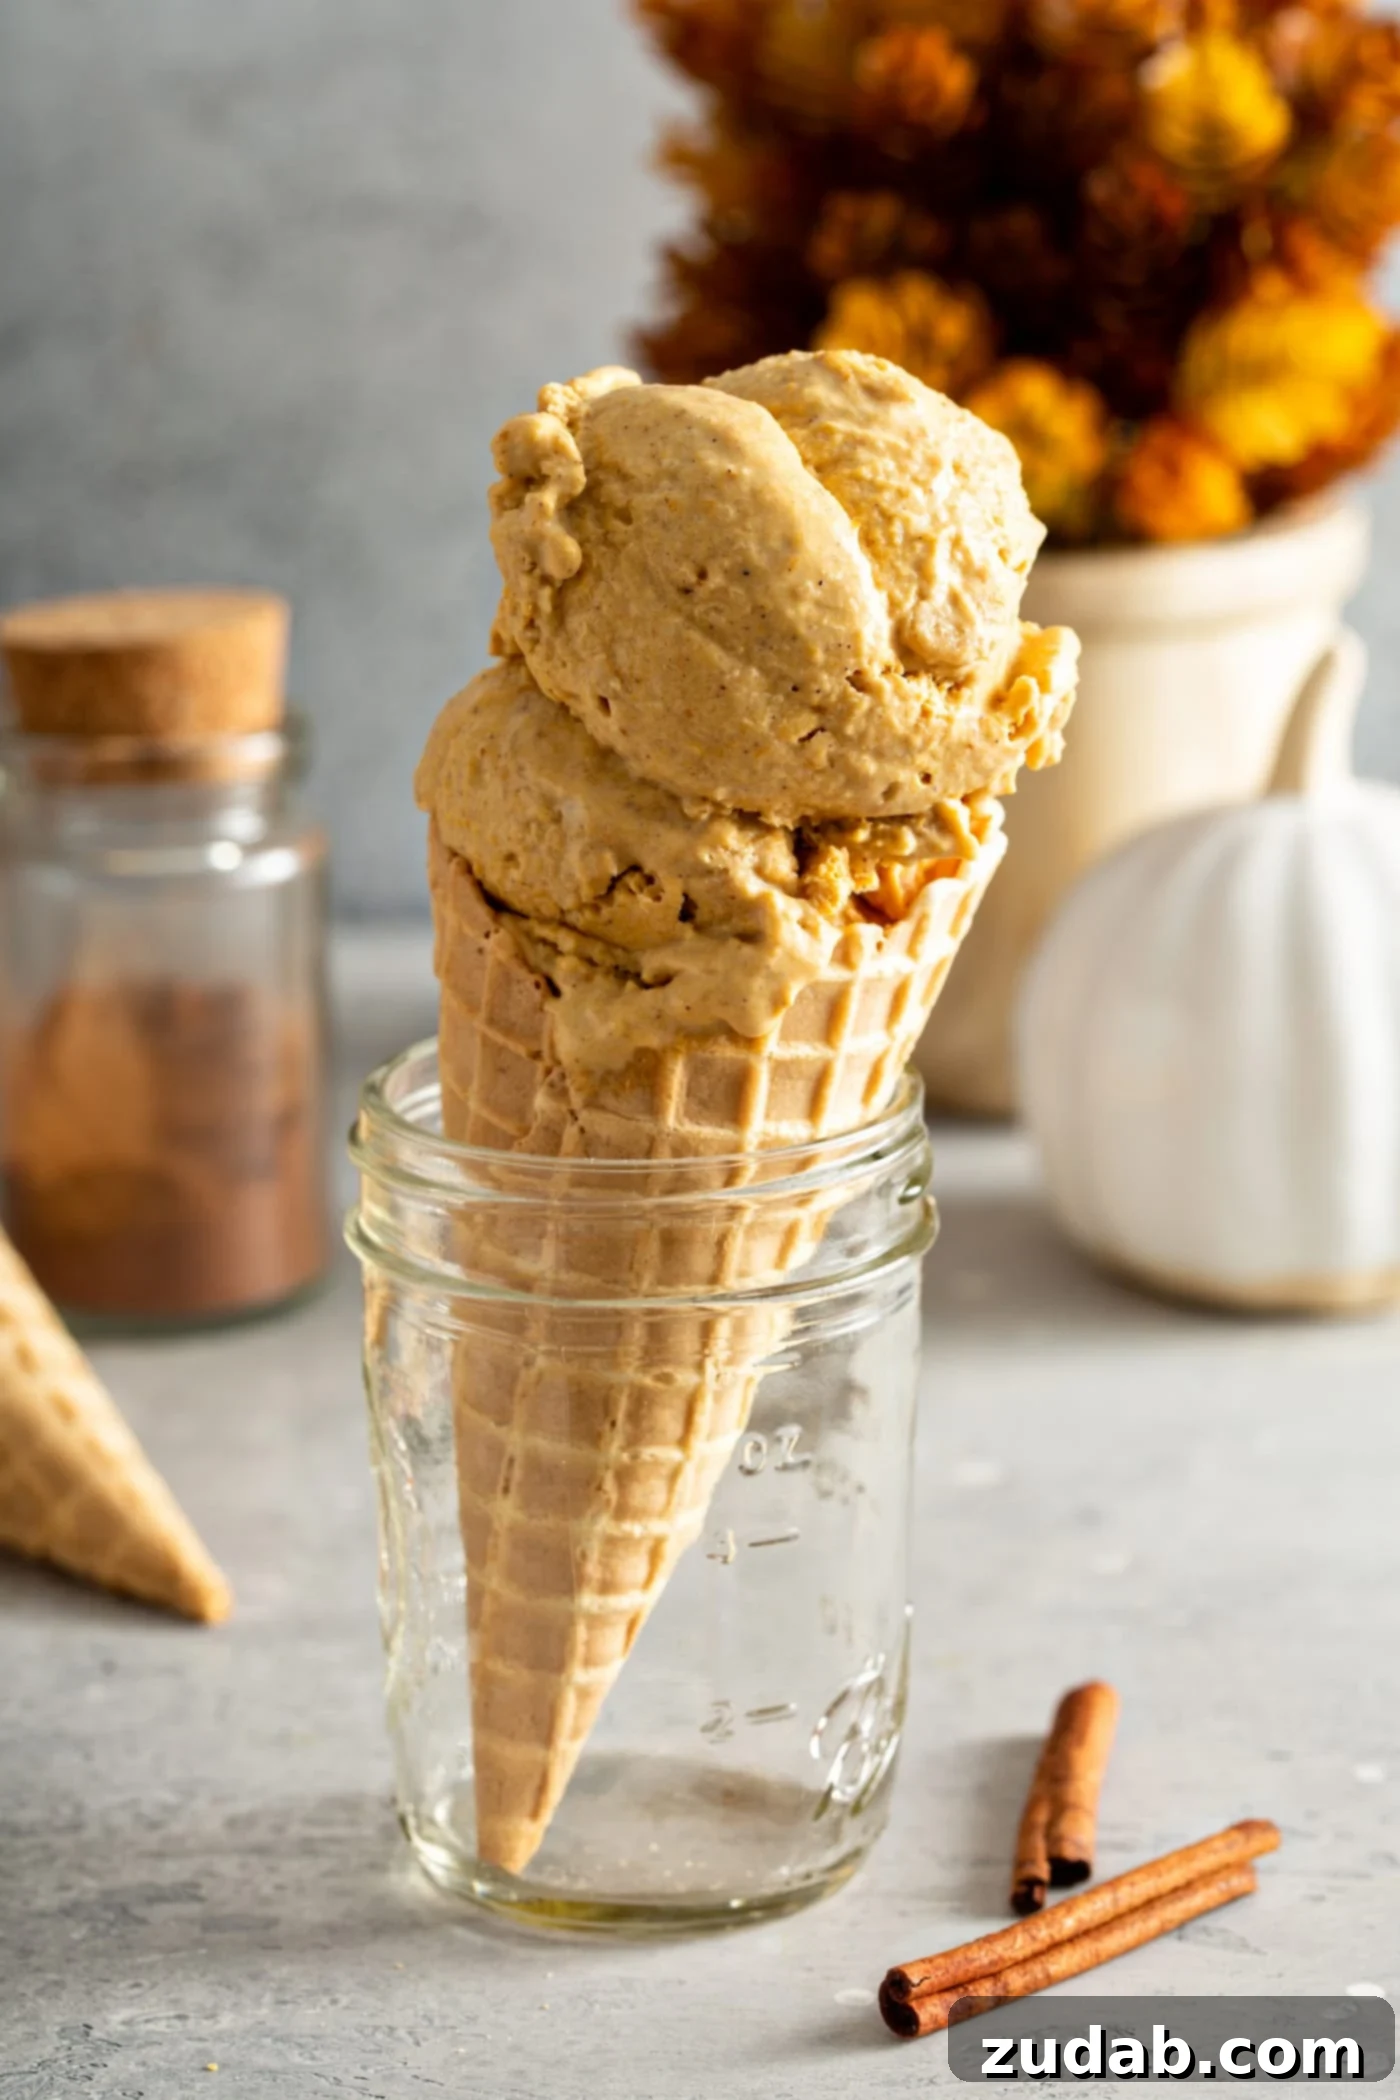
Achieving Unrivaled Creaminess: Expert Tips for Perfect Ice Cream
Over the years, I’ve learned that truly exceptional ice cream isn’t just about following a recipe; it’s about understanding the nuances that contribute to its luscious texture. My journey to perfect pumpkin ice cream took a delicious turn when I discovered the magic of “frozen custard,” inspired by Midwestern delights like Culver’s. The key lies in these two fundamental principles:
- The Power of Egg Yolks: Incorporating egg yolks into your ice cream base is a game-changer. They provide essential fat without introducing additional water, which is the enemy of creamy ice cream. More water leads to larger ice crystals, resulting in a grainy texture. Egg yolks emulsify the mixture, creating a dense, smooth, and wonderfully rich ice cream, much like a true frozen custard.
- High-Fat Dairy is King: Always opt for heavy cream over lighter milk alternatives. Heavy cream boasts a higher fat content, which is crucial for a smooth, velvety consistency. The fat molecules interfere with the formation of large ice crystals during freezing, ensuring your ice cream remains irresistibly creamy and scoopable.
These two ingredients, combined with proper cooking and chilling techniques, are your secret weapons against icy, less-than-stellar homemade ice cream. Embrace the custard base, and you’ll unlock a new level of frozen dessert perfection.
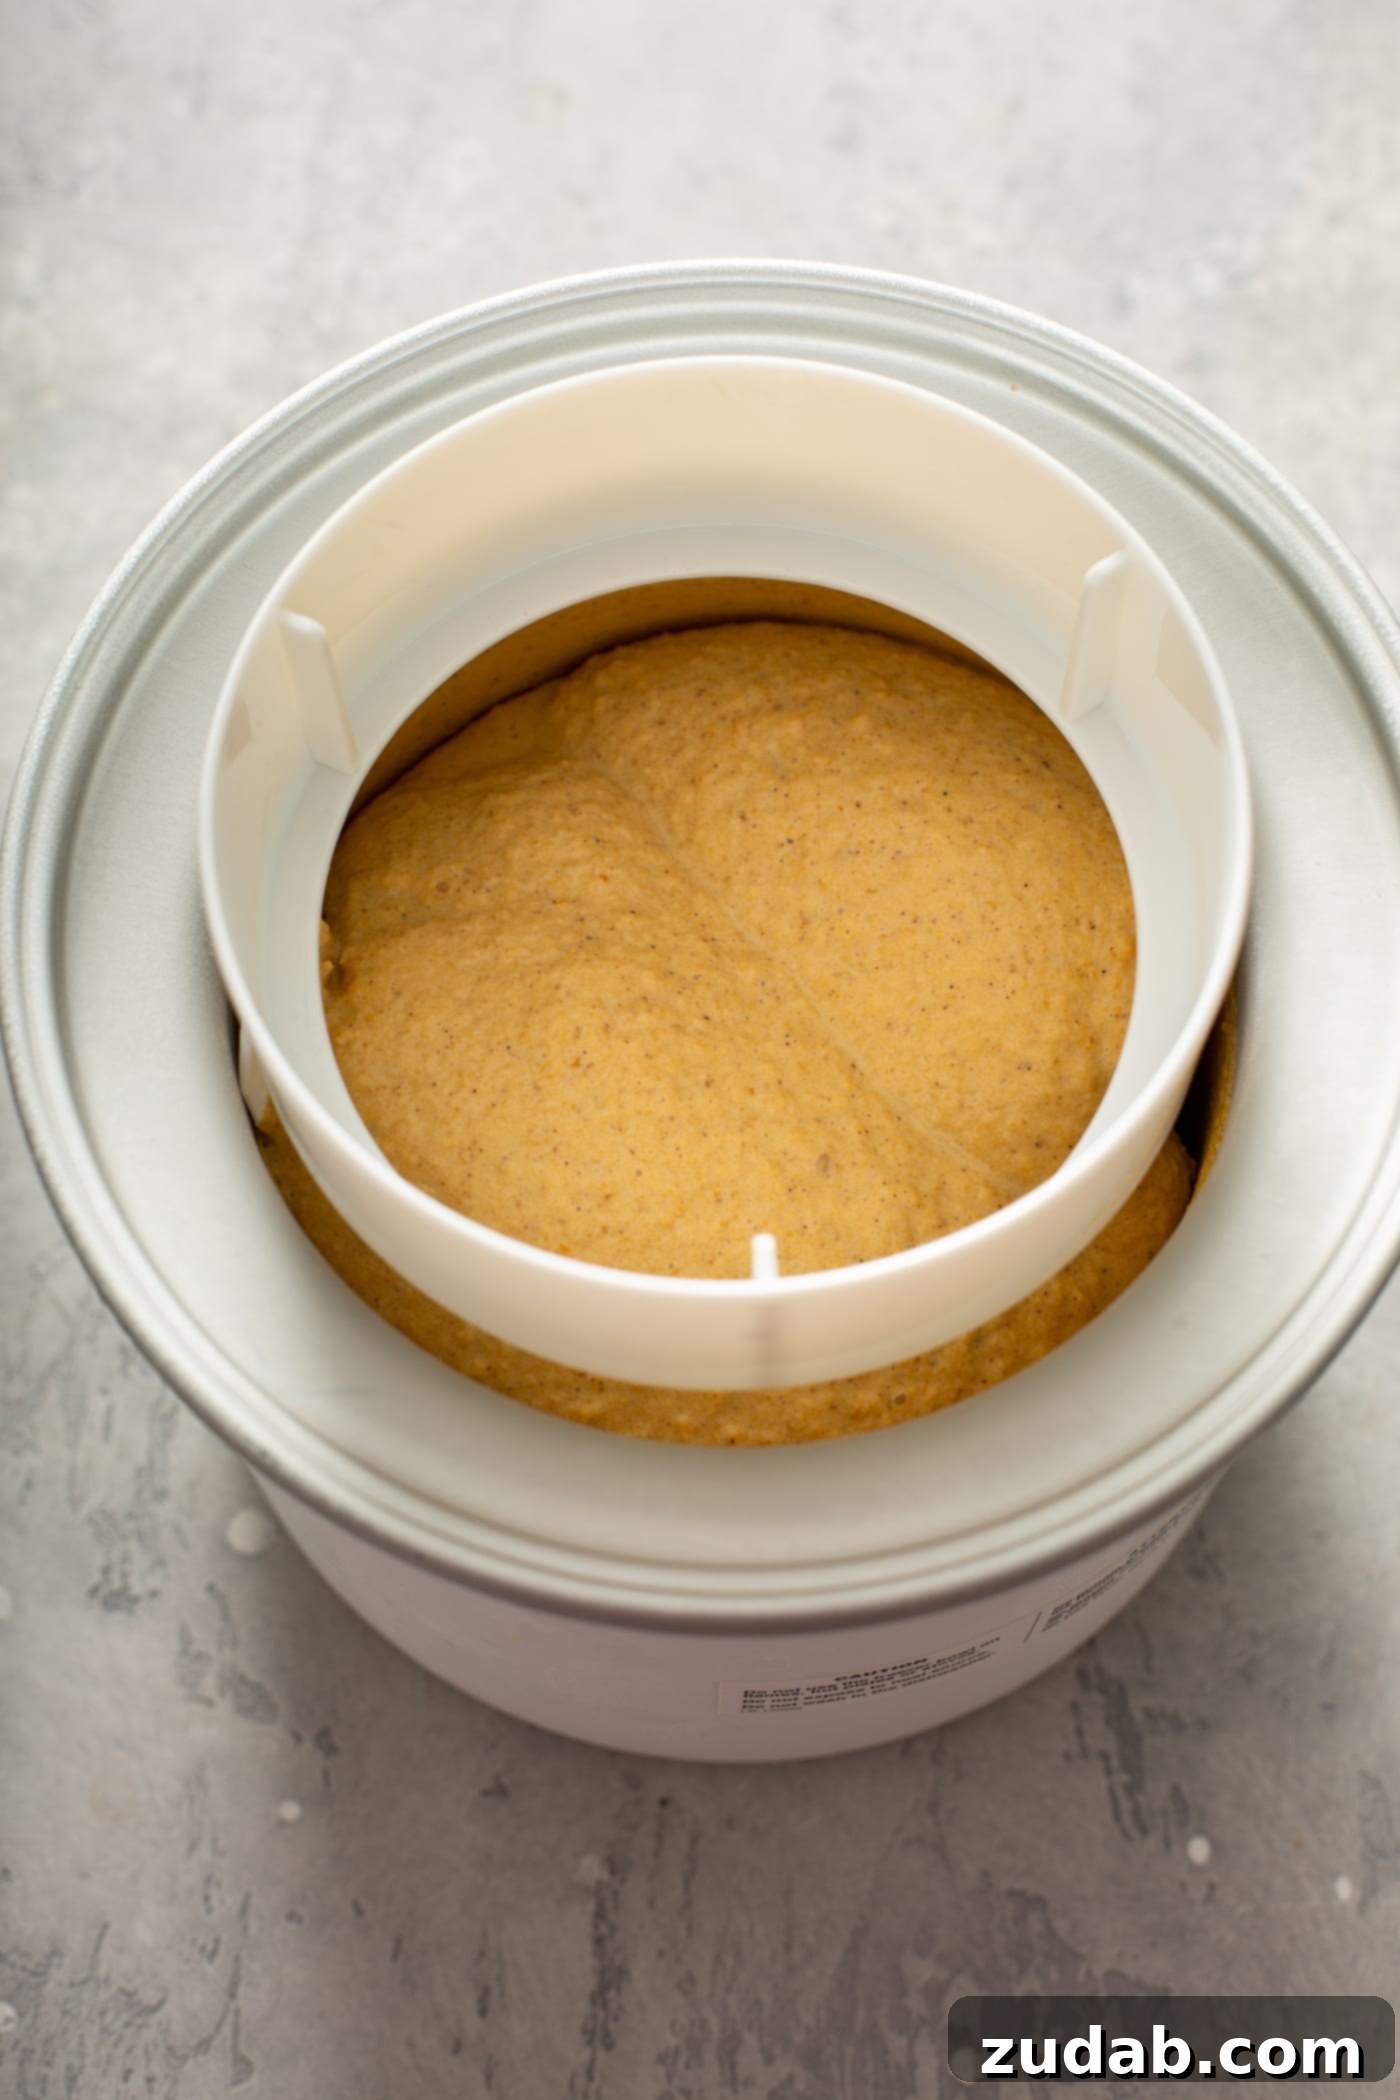
Choosing the Best Ice Cream Maker for Your Kitchen
The market is flooded with ice cream maker options, but not all are created equal. Your choice of machine can significantly impact the texture and ease of making homemade ice cream. After extensive testing and research, we’ve identified two main types worth considering:
- Freezer Bowl Ice Cream Makers: For those on a budget or with limited space, a freezer bowl machine like the Cuisinart Ice Cream Maker is an excellent choice. These machines are typically more affordable and compact. The main consideration is that you must remember to freeze the bowl for at least 12-24 hours before you plan to make ice cream. This requires a bit of planning, but they consistently produce wonderful results.
- Compressor Ice Cream Makers: If you’re willing to invest a bit more for ultimate convenience and spontaneity, a compression ice cream maker is a fantastic option. These machines have a built-in freezer, meaning you don’t need to pre-freeze any bowls. You can decide to make ice cream on a whim, and it’s ready to churn. This is ideal for frequent ice cream makers or those who value instant gratification.
Both types can produce delicious results, so consider your budget, storage space, and how often you plan to make ice cream when making your decision.
Can You Make Ice Cream Without an Ice Cream Maker?
Absolutely! While an ice cream maker offers the most consistent and effortless path to creamy ice cream, it’s certainly possible to whip up a batch without one. I recall a fun summer camp experience where we made ice cream in a bag – no fancy equipment required! It might not be a custard-based pumpkin ice cream, but the principle is the same and the result is surprisingly delightful. Here’s a quick method to get started:
- Prepare your ice cream base mixture (for this recipe, you’d make the custard and chill it first, but for simpler recipes, just mix cream, sugar, and flavorings).
- Pour your mixture into a small, freezer-safe plastic bag (like a quart-sized bag), squeezing out as much air as possible before sealing tightly.
- Place this sealed bag inside a slightly larger freezer bag, again pressing out air and sealing it securely. This double-bagging helps prevent salt water from leaking in.
- Take both bags and put them inside a gallon-sized resealable bag. Fill this larger bag with about 4 cups of crushed ice and generously sprinkle 4 tablespoons of coarse salt over the ice. The salt lowers the freezing point of the ice, allowing the ice cream mixture to freeze faster.
- Squeeze out any remaining air from the gallon bag and seal it tightly.
- Wrap the entire bag in a towel or wear gloves (the bag will get very cold!) and shake vigorously, massaging the bag for about 5 to 8 minutes. Continue shaking until the ice cream mixture inside the smaller bag has frozen into a soft-serve consistency. The more you shake and agitate the mixture, the smoother your ice cream will be, as this process helps break up ice crystals.
- Remove the inner bags, wipe off any salt water, and enjoy your quick homemade ice cream!
Can Ice Cream Be Made With Milk Instead of Cream?
While technically possible, substituting heavy cream with milk in a recipe designed for creamy ice cream will yield a noticeably different result. Heavy cream has a significantly higher fat content than milk. This fat is essential for the smooth, rich texture and helps prevent the formation of large, icy crystals. If you must avoid heavy cream, whole milk is your best alternative, as it has the highest fat content among milks. However, be prepared for an ice cream that will likely be less dense, less rich, and potentially icier than one made with heavy cream. For the ultimate creamy pumpkin ice cream, heavy cream is indispensable.
Can You Refreeze Ice Cream?
Generally, you can refreeze ice cream as long as it hasn’t completely melted down to a liquid state. If it has softened significantly but still contains some frozen elements, you can refreeze it, though its texture might be slightly compromised, becoming a bit icier. For the best quality, try to consume homemade ice cream before it thaws and refreezes multiple times.
Explore More Delicious Recipes
Homemade Ice Cream Recipes
- Mint Chocolate Chip Ice Cream
- Biscoff Cookie Butter Ice Cream
- Peanut Butter Cookie Ice Cream
- Berries and Cream Ice Cream
- Lemon Curd Ice Cream
- Strawberry Cheesecake Ice Cream
Pumpkin Recipes
- Pumpkin Chocolate Chip Cookies
- Nutella Swirled Pumpkin Bars
- Pumpkin Banana Bread
- Gingersnap Pumpkin Cheesecake
- Pumpkin Blondies
It’s time to infuse your homemade ice cream with the quintessential flavors of fall. This **Pumpkin Ice Cream** isn’t just a dessert; it’s a celebration of the season, a truly creamy and dreamy treat that promises to be the best pumpkin ice cream you’ll ever taste. Don’t miss out on crafting this rich, spiced indulgence in your own kitchen!
Pumpkin Pie Ice Cream
By Sweet Basil
Cook Time: 15 mins
Total Time: 1 hr 15 mins (excluding chilling and freezing)
Servings: 8
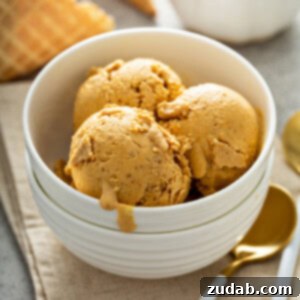
The creamiest pumpkin pie flavored ice cream with little bits of graham cracker crust!
Ingredients
Recipe by Cafe Johnsonia
- 1 Cup Canned Pumpkin
- 2 teaspoons Pumpkin Pie Spice
- 2 Cups Whole Milk
- 4-6 Egg Yolks (I use 5 for extra creaminess)
- 1/2 Cup Brown Sugar
- Dash Salt
- 1 Cup Heavy Cream
- 1 Cup Graham Cracker Pie Crust, broken into pieces (see notes for homemade or use store-bought)
Instructions
- Whisk together the pumpkin, spices, and milk in a medium saucepan.
- Heat gently over medium heat until very hot, but do not let it boil.
- In a separate bowl, whisk the egg yolks, brown sugar, and salt until the mixture is light in color.
- Slowly add 3 tablespoons of the hot milk mixture to the egg yolks while whisking vigorously to temper the eggs.
- Pour all of the egg mixture back into the saucepan with the remaining milk mixture.
- Gently cook over low to medium heat, stirring constantly, until it starts to thicken and reaches 160°F (71°C) on an instant-read thermometer. (If you don’t have a thermometer, cook until the custard is thick enough to coat the back of a wooden spoon. Do not let it exceed 180°F (82°C) or it will curdle).
- Strain the cooked custard through a fine mesh sieve into a clean bowl and stir in the cold heavy cream.
- Chill the custard completely in the refrigerator until thoroughly cold (at least 4 hours, preferably overnight).
- Follow your ice cream machine manufacturer’s instructions to churn the chilled custard into ice cream.
- To layer, place a little churned ice cream in a freezer-safe container, add a sprinkle of graham cracker crust pieces, top with more ice cream, and repeat the process until the container is full.
- Freeze until firm (2-4 hours) for the perfect scoopable texture.
Recipe Notes
Times do not reflect the time needed to chill the custard or freeze the churned ice cream. Follow instructions from your ice cream machine manufacturer for best results.
Homemade Graham Cracker Crust:
- 2 cups graham cracker crumbs
- 1/4 Cup Sugar
- 1/2 Cup Butter, melted
Mix all ingredients together and press into a pie dish or a parchment-lined cake pan. Bake at 350°F (175°C) for 8-10 minutes and allow to cool completely. Break into bits before adding to ice cream.
Nutrition
Serving: 0.5 cup, Calories: 381kcal, Carbohydrates: 39g, Protein: 6g, Fat: 23g, Saturated Fat: 10g, Polyunsaturated Fat: 1g, Monounsaturated Fat: 10g, Cholesterol: 145mg, Sodium: 187mg, Potassium: 231mg, Fiber: 2g, Sugar: 23g, Vitamin A: 5434IU, Vitamin C: 2mg, Calcium: 131mg, Iron: 2mg
Nutrition information is automatically calculated, so should only be used as an approximation.