
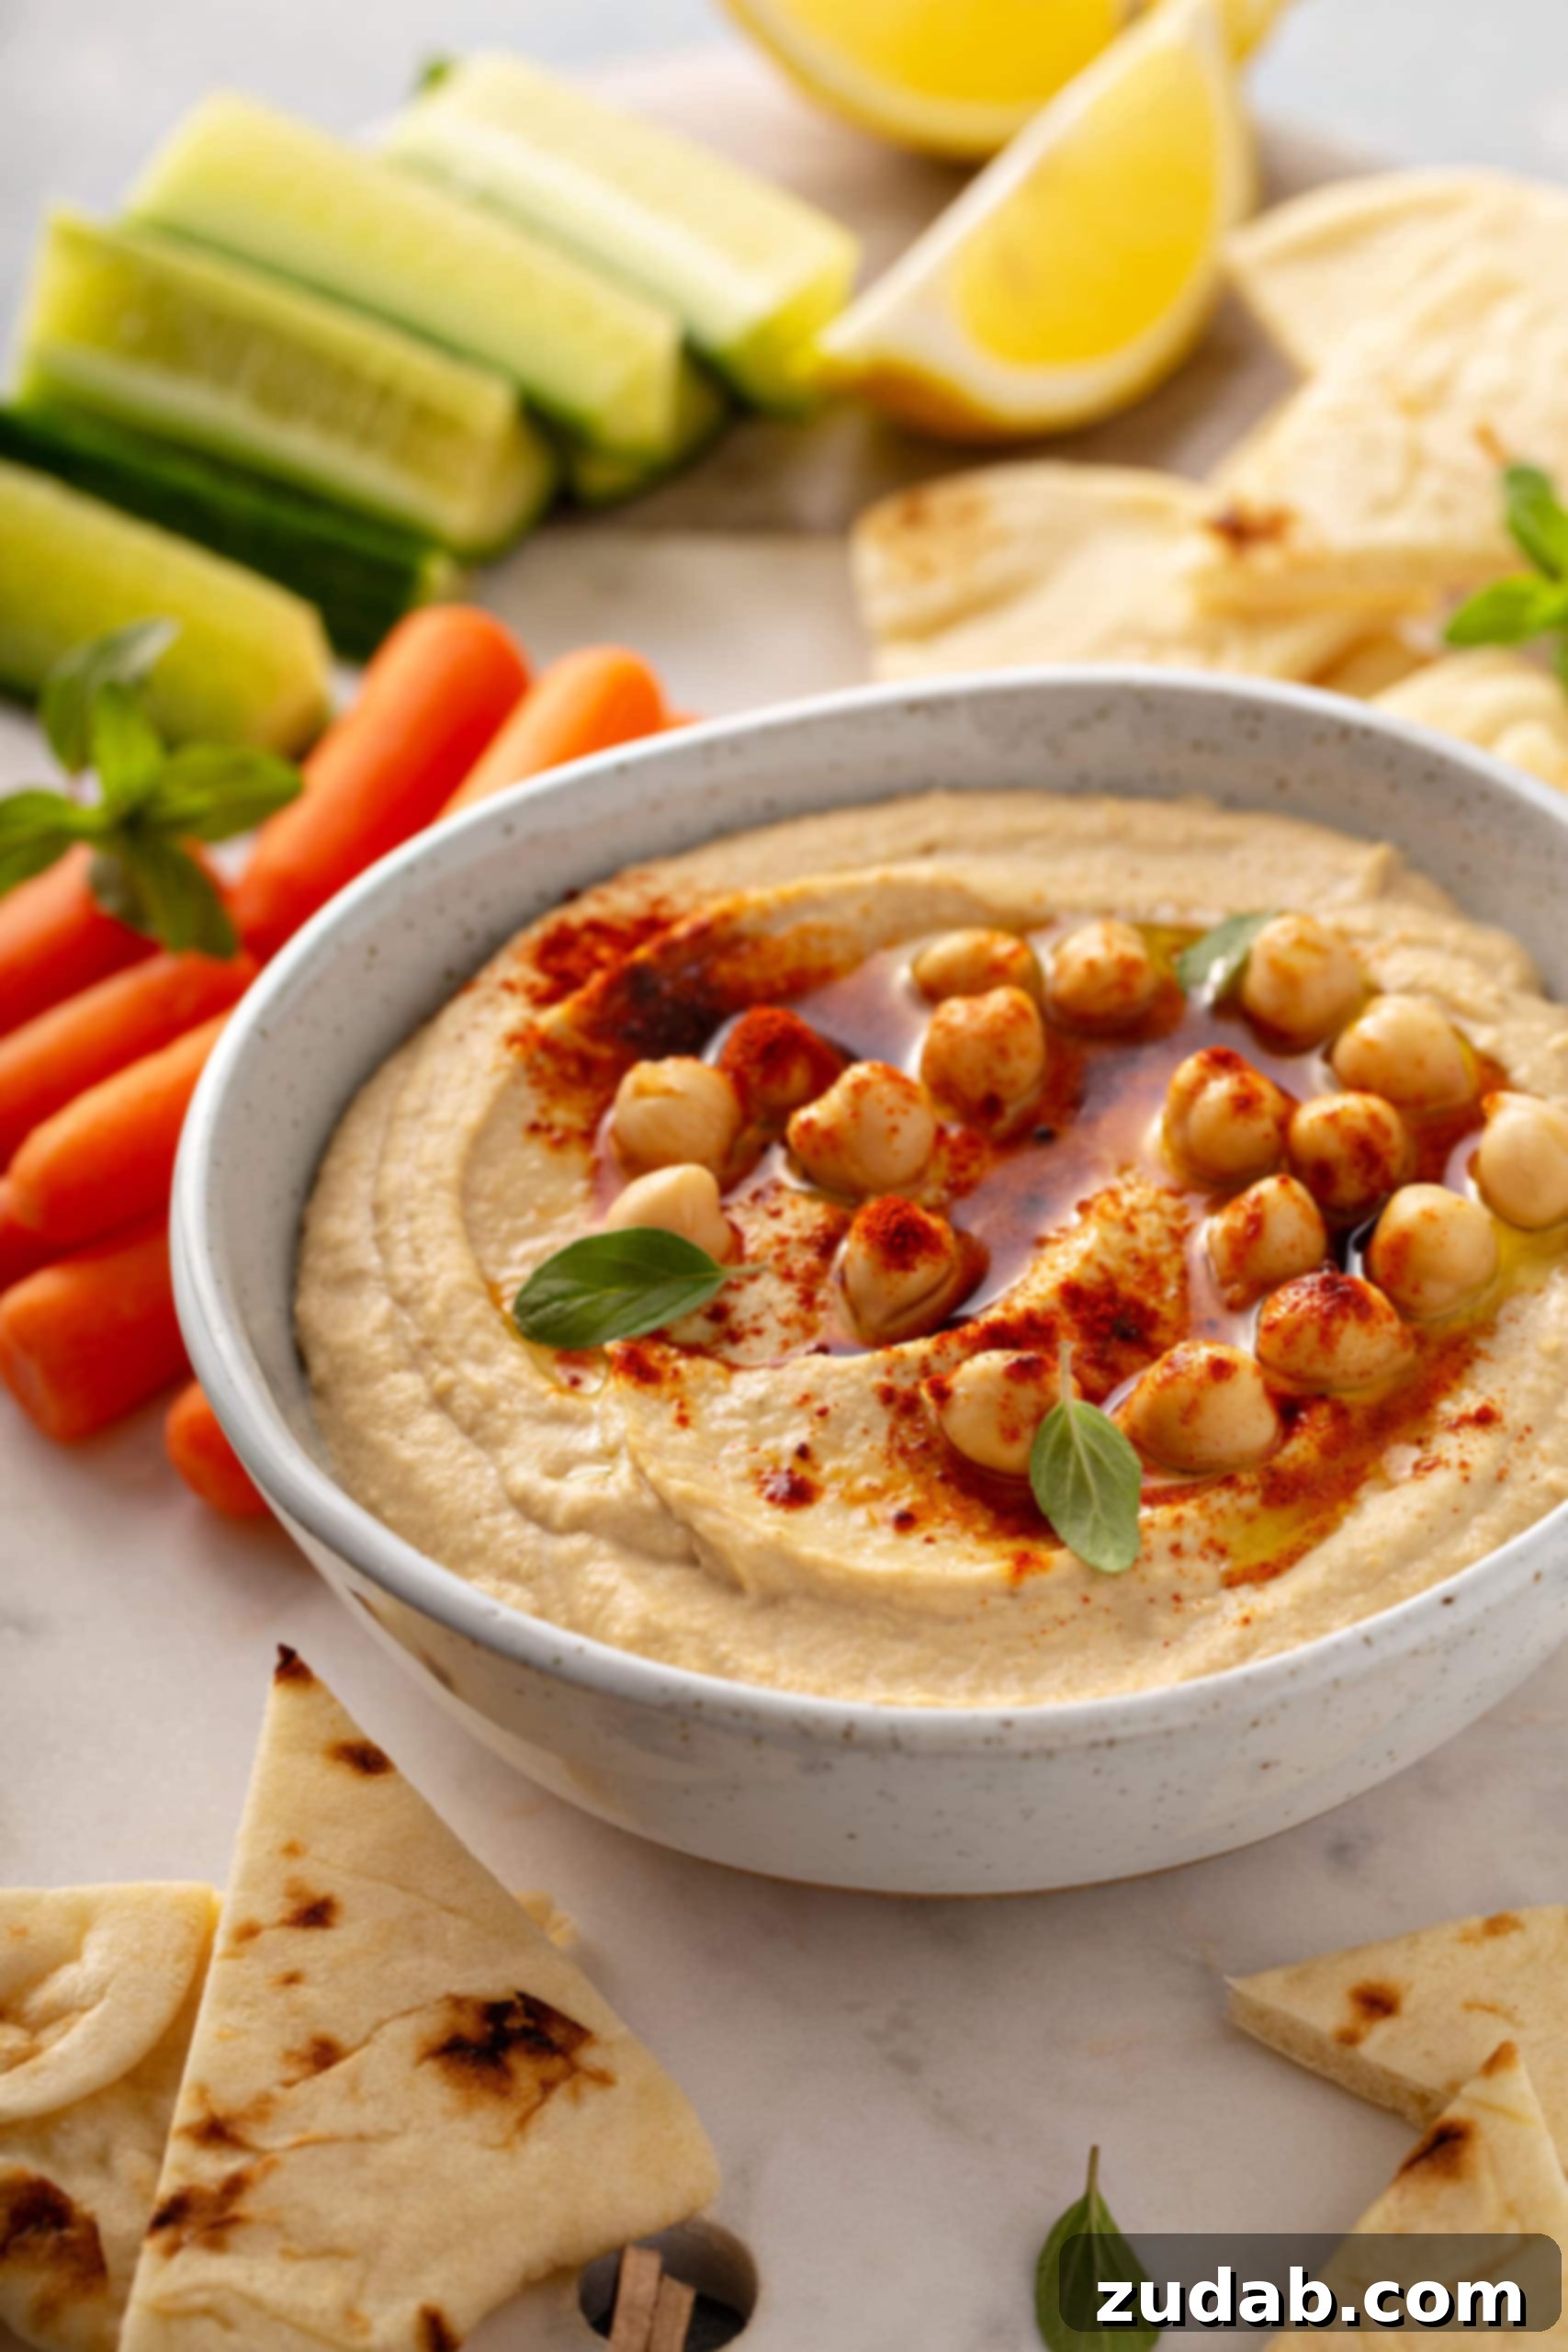
Unlock the secret to incredibly smooth, creamy, and flavorful homemade hummus right in your own kitchen! Forget store-bought versions; making your own hummus is surprisingly simple and yields a far superior result. This easy recipe, combined with a few clever tricks, will guide you to create the best hummus you’ve ever tasted, perfect for a healthy and satisfying snack or a delightful addition to any meal.
Crafting this classic Middle Eastern dip from scratch is not only rewarding but also ensures you have full control over the quality of ingredients. You’ll only need a handful of pantry staples: chickpeas, tahini, fresh lemon juice, garlic, a touch of cumin, salt, and extra virgin olive oil. With these simple components, you’re just minutes away from a vibrant, aromatic, and lusciously smooth hummus that will impress everyone.
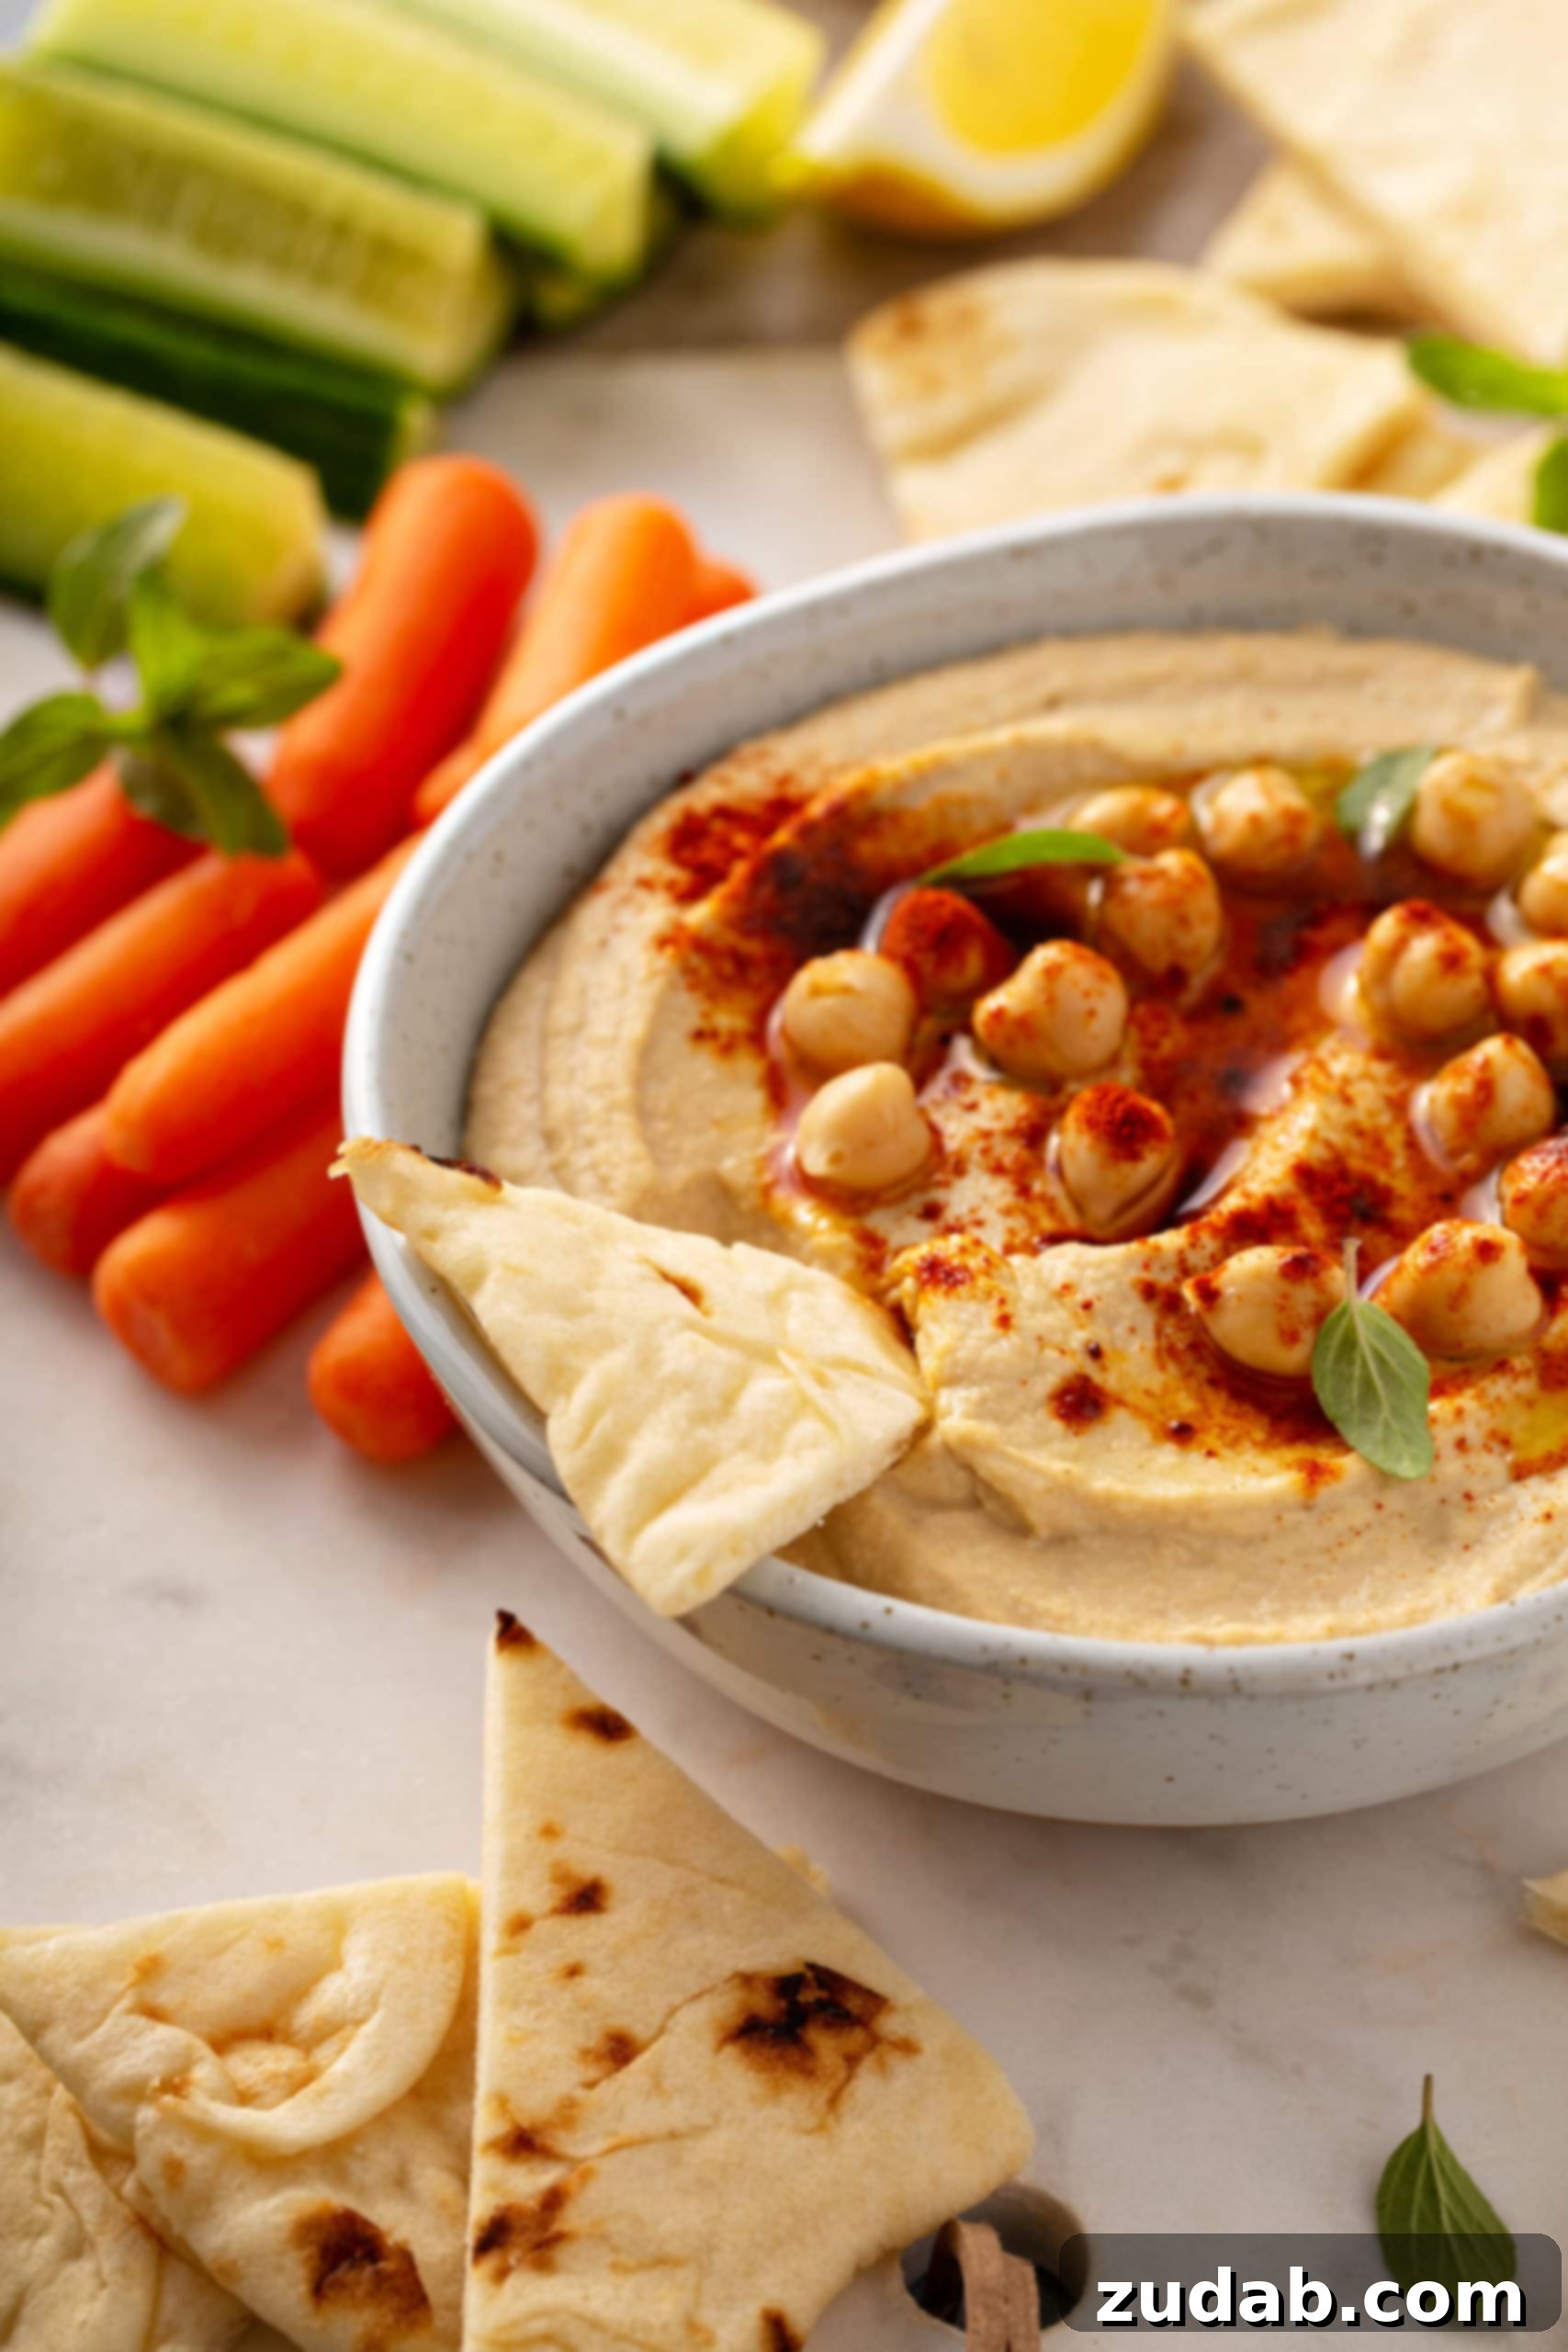
The journey to perfect hummus begins with understanding a few fundamental techniques. While there are countless variations of hummus available commercially, our aim is to create a simple, classic rendition that truly highlights the natural flavors of its ingredients. I was inspired to perfect this recipe when planning our annual Nativity dinner, wanting to serve warm pita bread alongside a truly authentic and delicious hummus. Opting for homemade over store-bought was an easy decision, as the freshness and depth of flavor are simply incomparable.
Drawing inspiration from a classic Bon Appetit recipe, I refined the process to achieve an exceptionally creamy texture and balanced taste. The result is nothing short of fabulous – a velvety smooth dip with a rich, earthy flavor that perfectly complemented our festive spread and will undoubtedly become a staple in your household. It’s more than just a dip; it’s a versatile, wholesome food that promises both satisfaction and health benefits.
Our Nativity Dinner Menu: Simple and Flavorful
For those interested in building a festive and delicious menu around this incredible hummus, here’s a glimpse at what we served:
- Creamy Homemade Hummus
- Hearty Wild Rice with Chickpeas and Crispy Shallots
- Traditional Unleavened Bread
Essential Ingredients for the Best Homemade Hummus
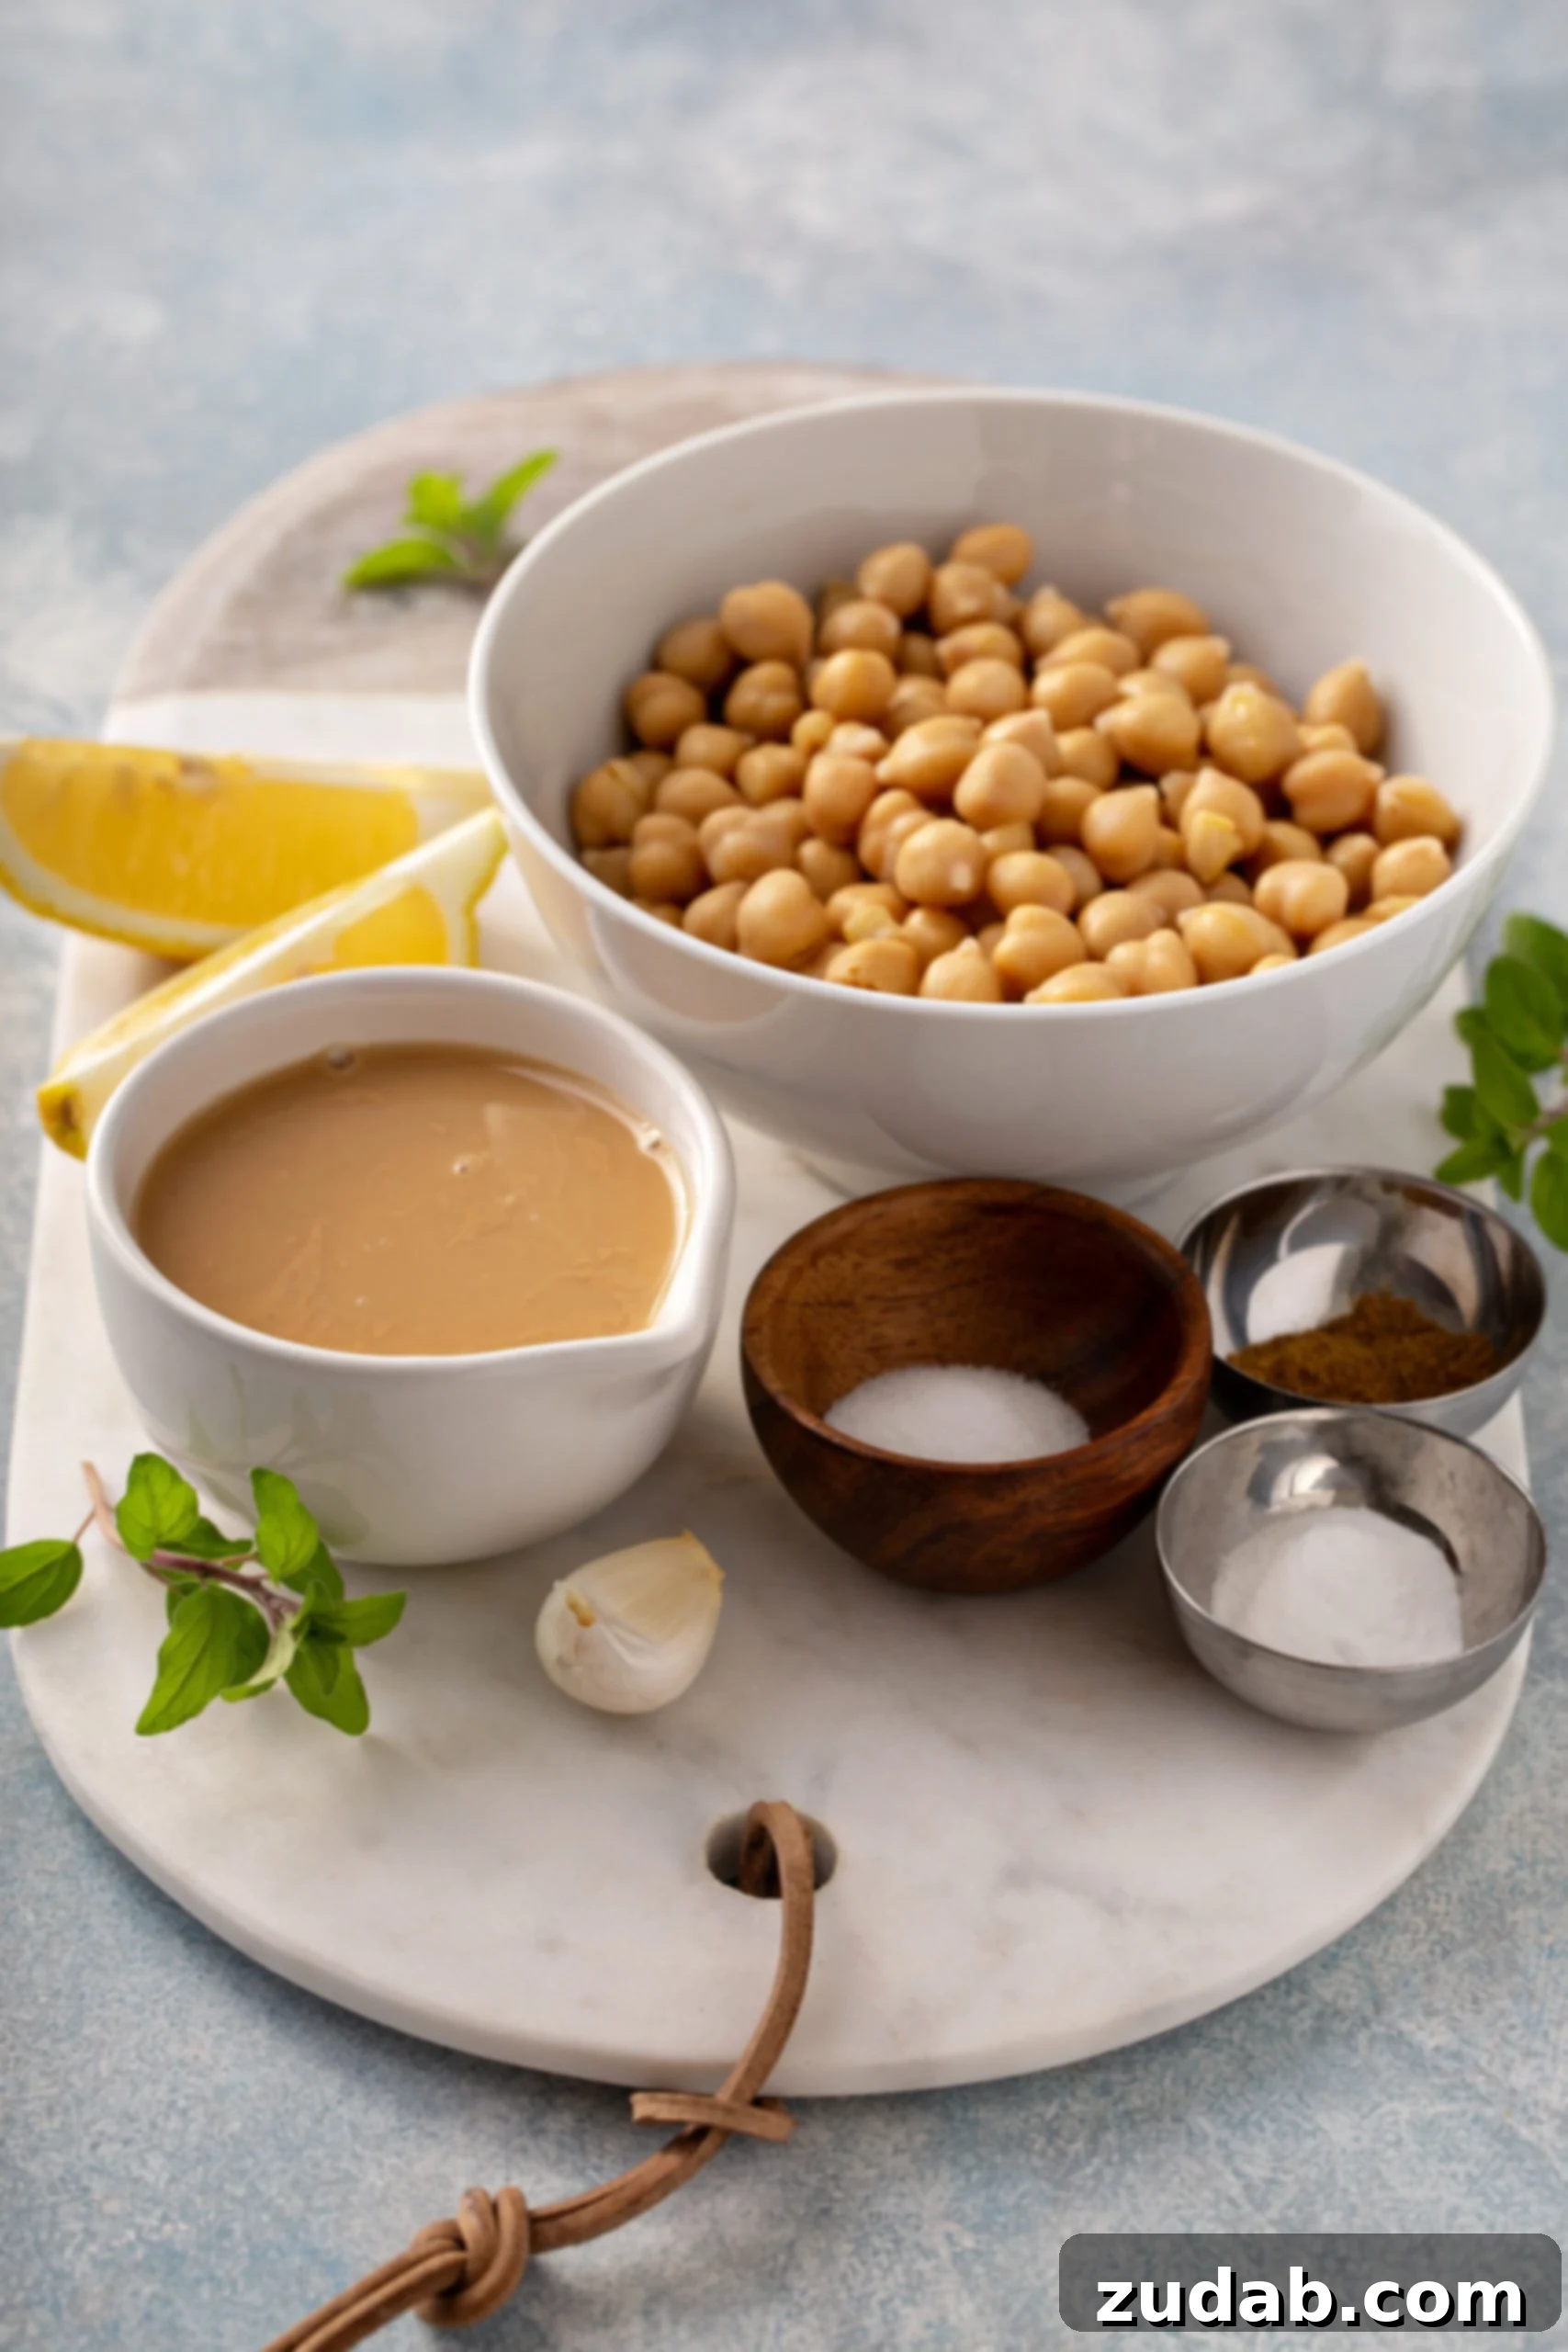
The foundation of any great hummus lies in its ingredients. While the list is short, the quality and preparation of each component significantly impact the final texture and taste. Here’s what you’ll need to create this irresistibly creamy and flavorful dip:
- Chickpeas: The star of the show. We’ll be using canned chickpeas, but a special prep method ensures ultimate creaminess.
- Baking Soda: A crucial secret ingredient for softening chickpea skins, making them easier to blend into a silky smooth consistency.
- Fresh Lemon Juice: Provides the essential bright, tangy flavor that balances the richness of tahini and chickpeas. Always use freshly squeezed for the best taste.
- Garlic: Adds a pungent, aromatic kick. Fresh garlic is key here, contributing depth without being overpowering.
- Fine Sea Salt: Enhances all the flavors. Adjust to your preference, but don’t skimp on this for seasoning.
- Tahini: A paste made from ground sesame seeds, tahini is what gives hummus its distinctive nutty flavor and luxurious texture. Choose a good quality, runny tahini for superior results.
- Ice Water: This seemingly simple ingredient is another secret weapon, helping to emulsify the hummus and achieve that impossibly smooth, light, and airy consistency.
- Ground Cumin: Adds a warm, earthy spice that is characteristic of classic hummus.
- Extra Virgin Olive Oil: Used both in the blending process to enrich the flavor and drizzled on top for a beautiful finish and added depth.
- Smoked Paprika: Primarily for garnish, it also contributes a lovely smoky aroma and a hint of color.
Step-by-Step Guide: How to Make the Smoothest Homemade Hummus
Achieving that coveted smooth and creamy texture in homemade hummus is all about technique. Follow these steps carefully, and you’ll be rewarded with a dip that rivals any gourmet version.
1. Preparing the Chickpeas for Ultimate Creaminess
The secret to unbelievably smooth hummus lies in how you prepare your chickpeas. This method ensures their skins are soft and easily removable, contributing to a silky final product.
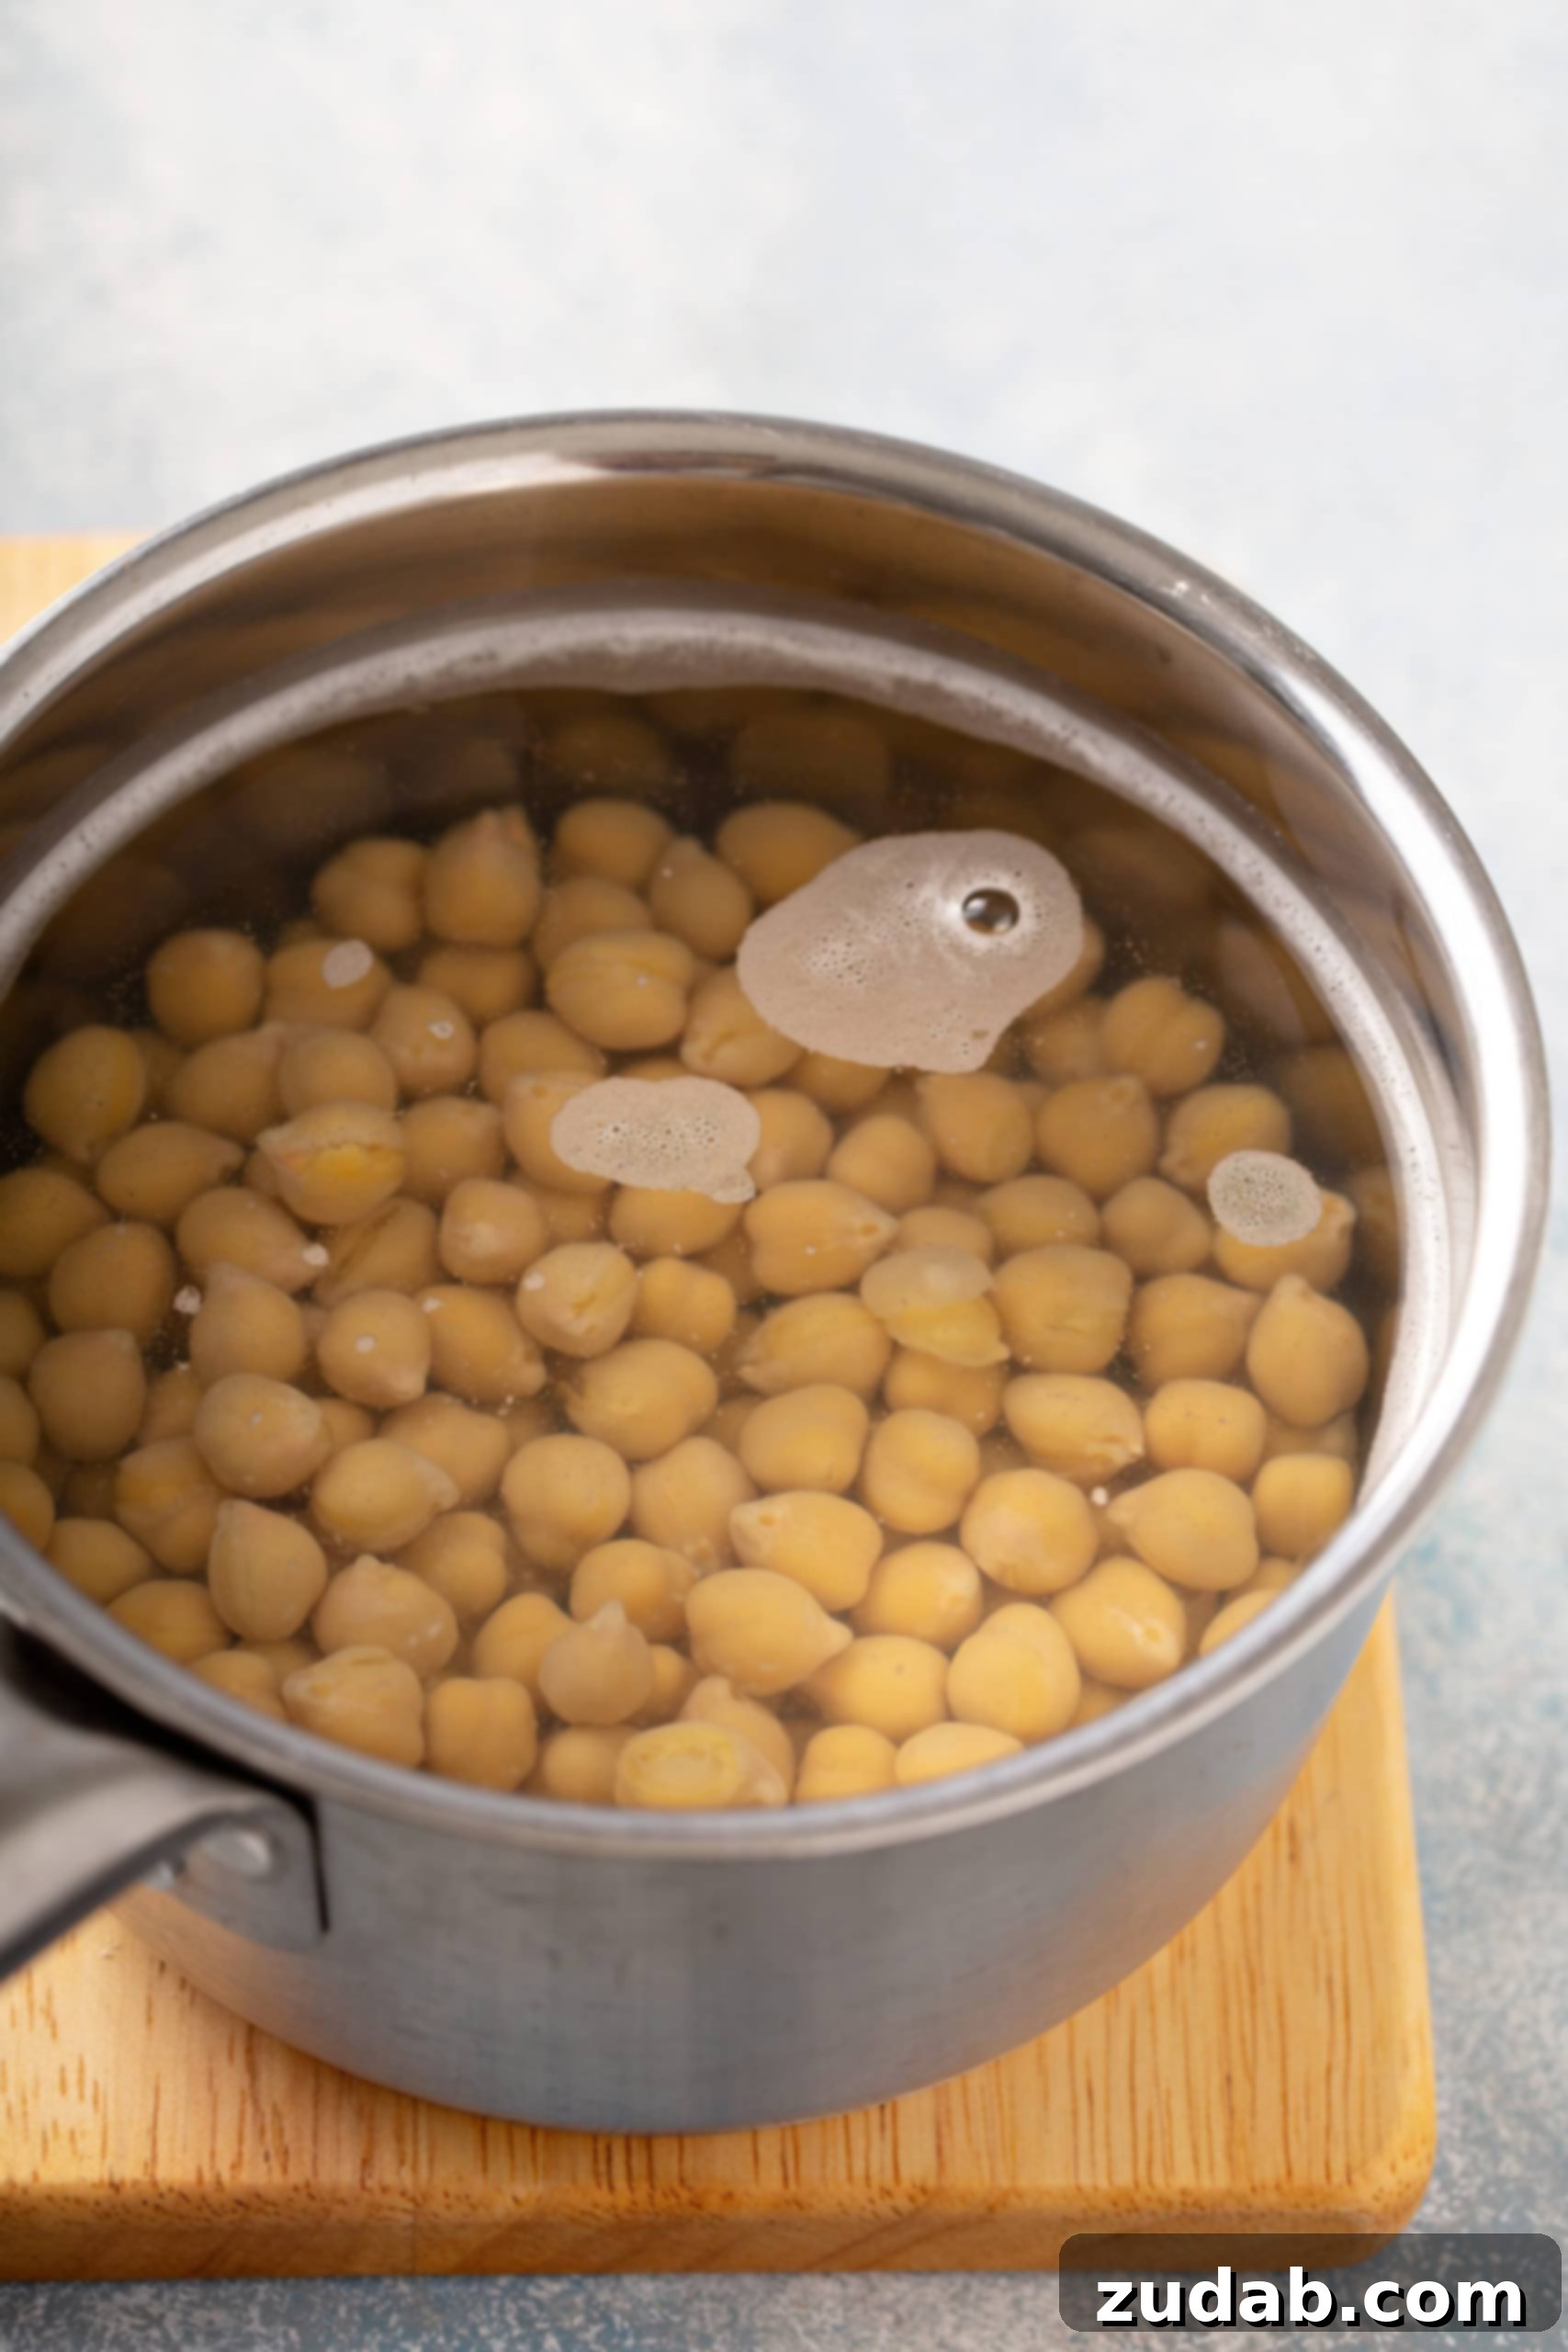
- Place your drained and rinsed chickpeas in a medium saucepan. Sprinkle in the baking soda. This alkaline agent helps break down the pectin in the chickpea skins.
- Cover the chickpeas with cold water, ensuring the water level is several inches above the chickpeas.
- Turn the heat to high and bring the mixture to a rolling boil. Continue boiling for approximately 20 minutes. You may need to reduce the heat slightly to prevent the pot from overflowing, but keep it at a vigorous boil.
- You’ll know the chickpeas are ready when their skins begin to fall off readily and the chickpeas themselves are very soft when squeezed between your fingers.
- Using a fine-mesh strainer, drain the chickpeas thoroughly. Rinse them under cool running water for about 30 seconds to wash away any remaining baking soda and loose skins. Set them aside to continue draining and dry slightly while you prepare the other ingredients.
2. The Power of the Food Processor
A good food processor is an indispensable tool for achieving the right hummus texture. While some powerful blenders (like a Blendtec) can also work wonders, a food processor excels at grinding the chickpeas to a fine, consistent paste. Other kitchen tools often struggle to reach the desired level of smoothness.
- In the bowl of your food processor, combine the fresh lemon juice, roughly chopped garlic clove, and fine sea salt.
- Process these ingredients for about 30 seconds to 1 minute, until the garlic is very finely minced and well incorporated.
- Allow this mixture to rest in the food processor for about 15 minutes. This crucial step allows the garlic and lemon flavors to meld beautifully, softening the raw garlic’s sharp edges and infusing the mixture with a more harmonious taste.
3. Incorporating the Tahini for Creaminess
Tahini is the backbone of hummus, providing its signature nutty flavor and essential creaminess. Its quality can significantly impact the final texture, so choose a good, runny brand.
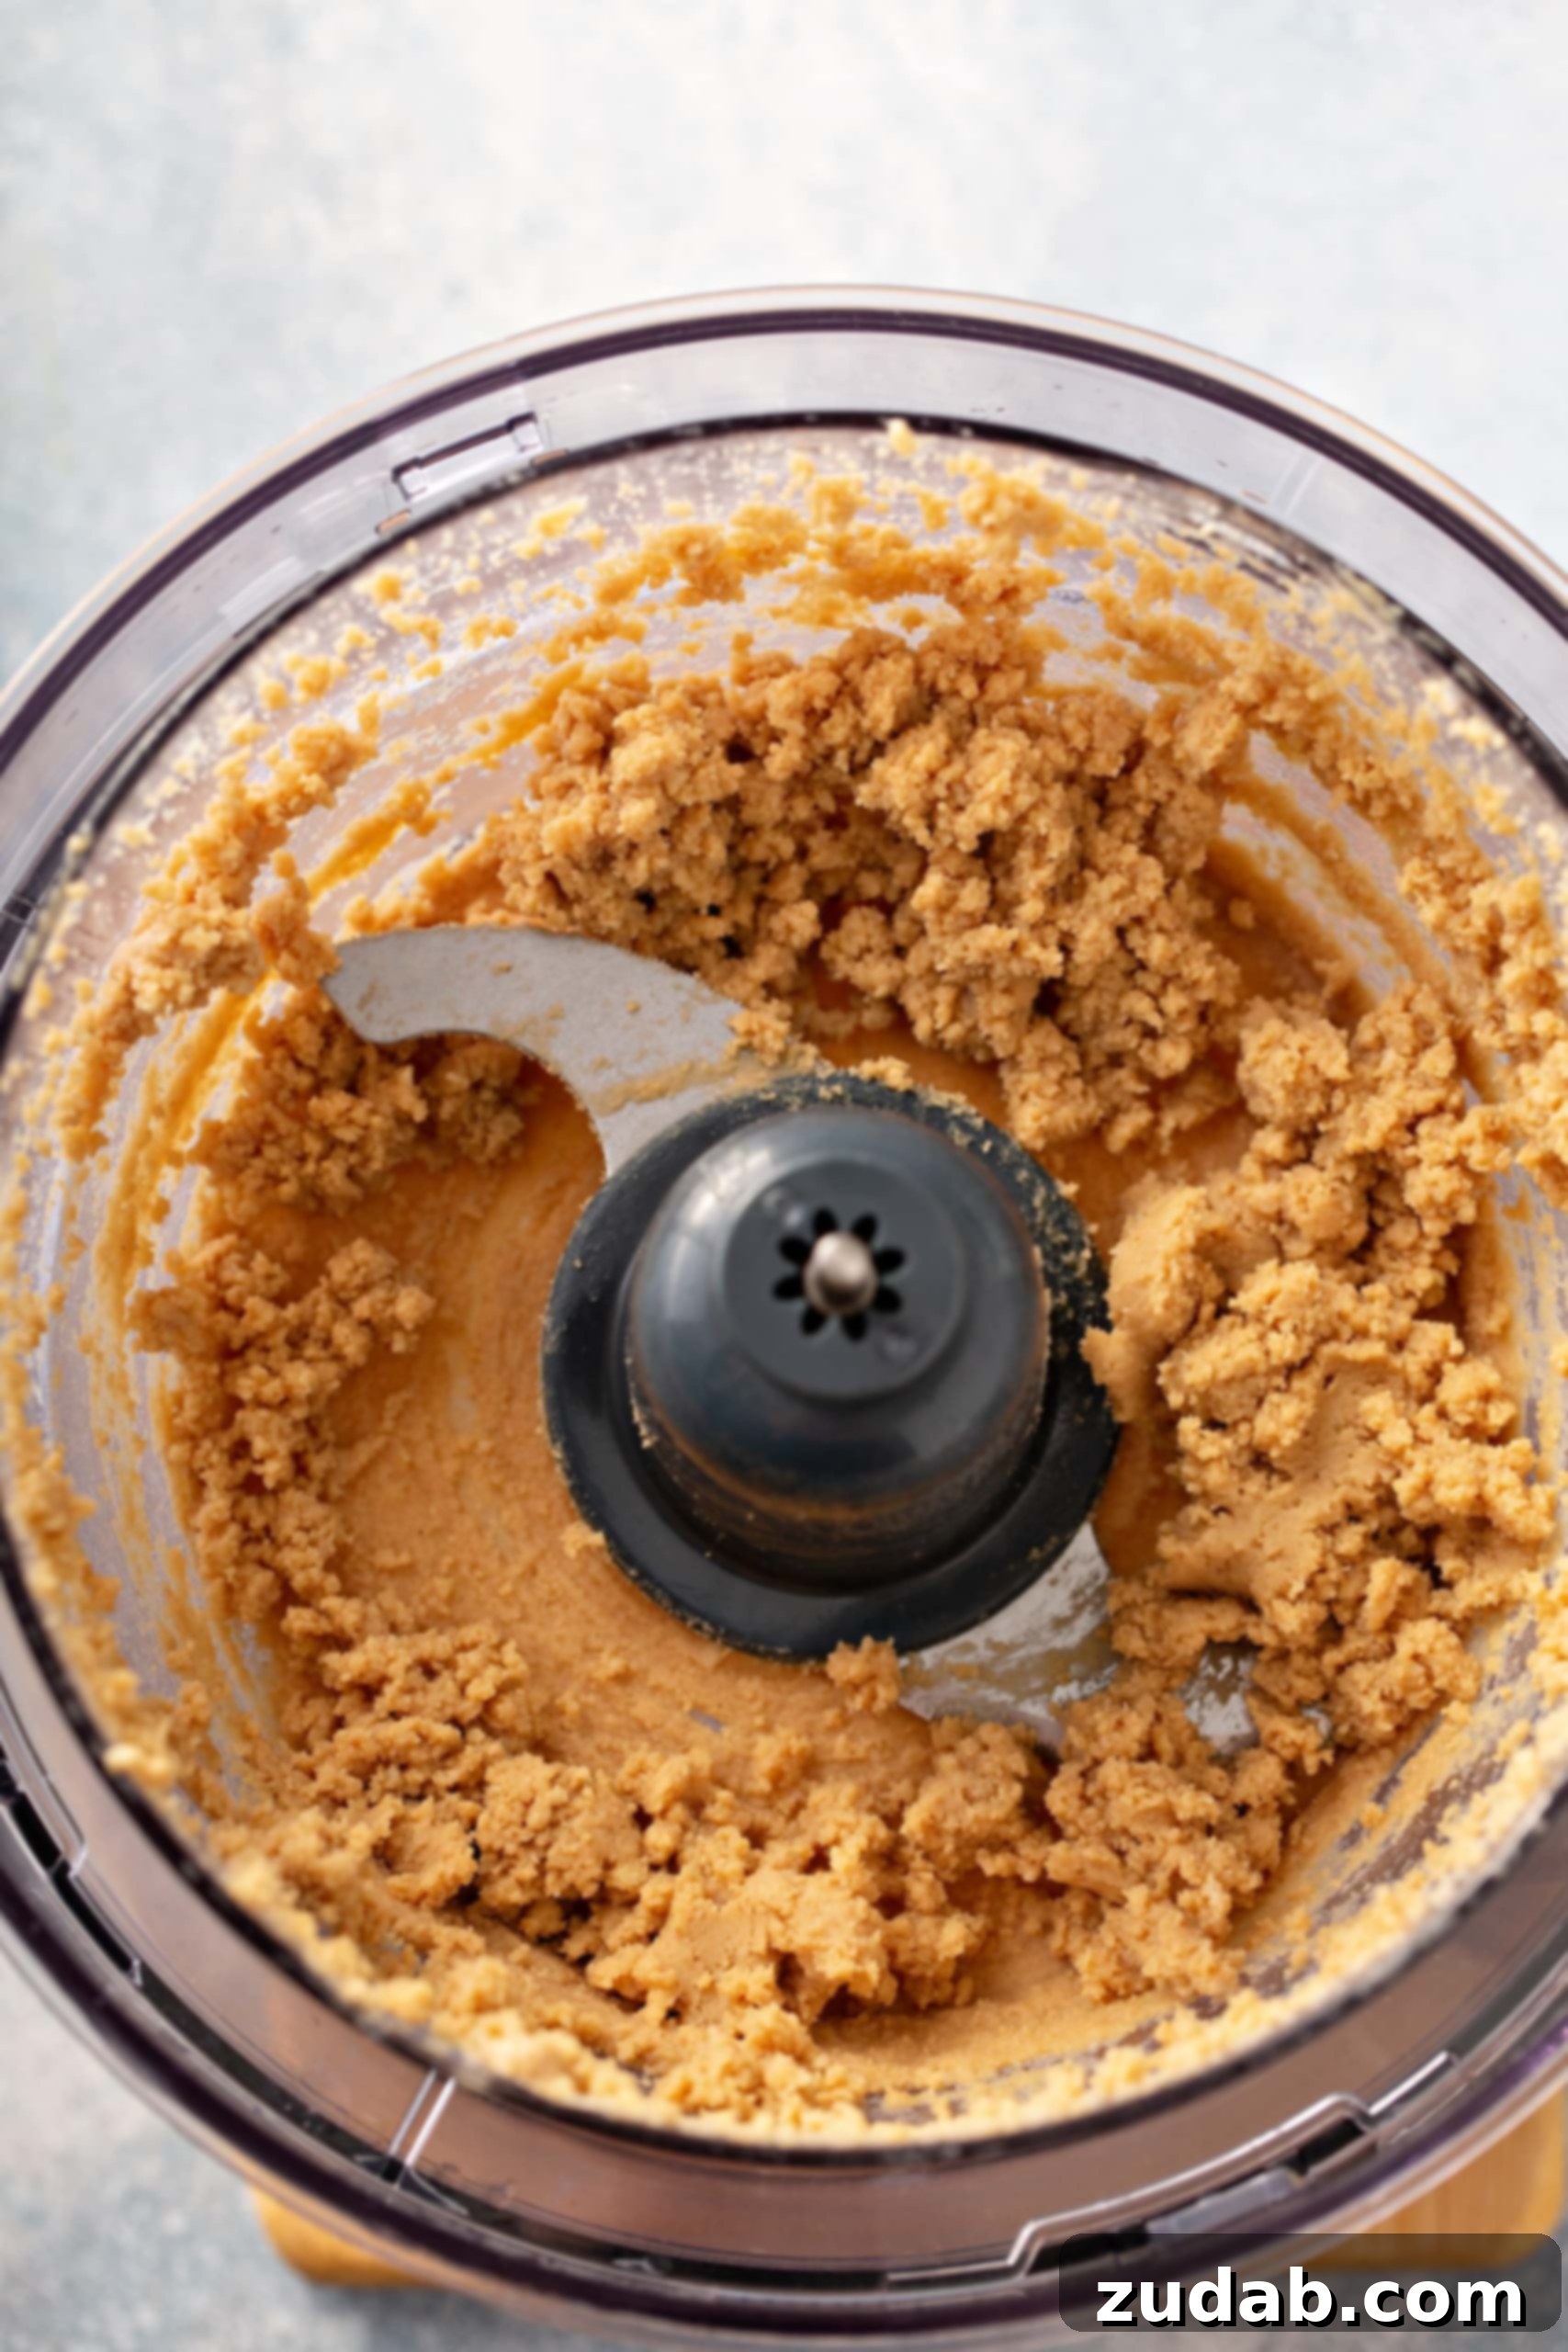
- Add the tahini to the lemon-garlic-salt mixture in the food processor.
- Blend until the tahini is fully combined and the mixture becomes thick and creamy. You’ll notice it lightens in color and becomes quite fluffy.
- During this blending process, you may need to stop the food processor a few times and scrape down the sides and bottom with a spatula to ensure all the tahini is thoroughly incorporated and no clumps remain. This step is vital for an even, smooth texture.
4. The Magic of Ice Cold Water
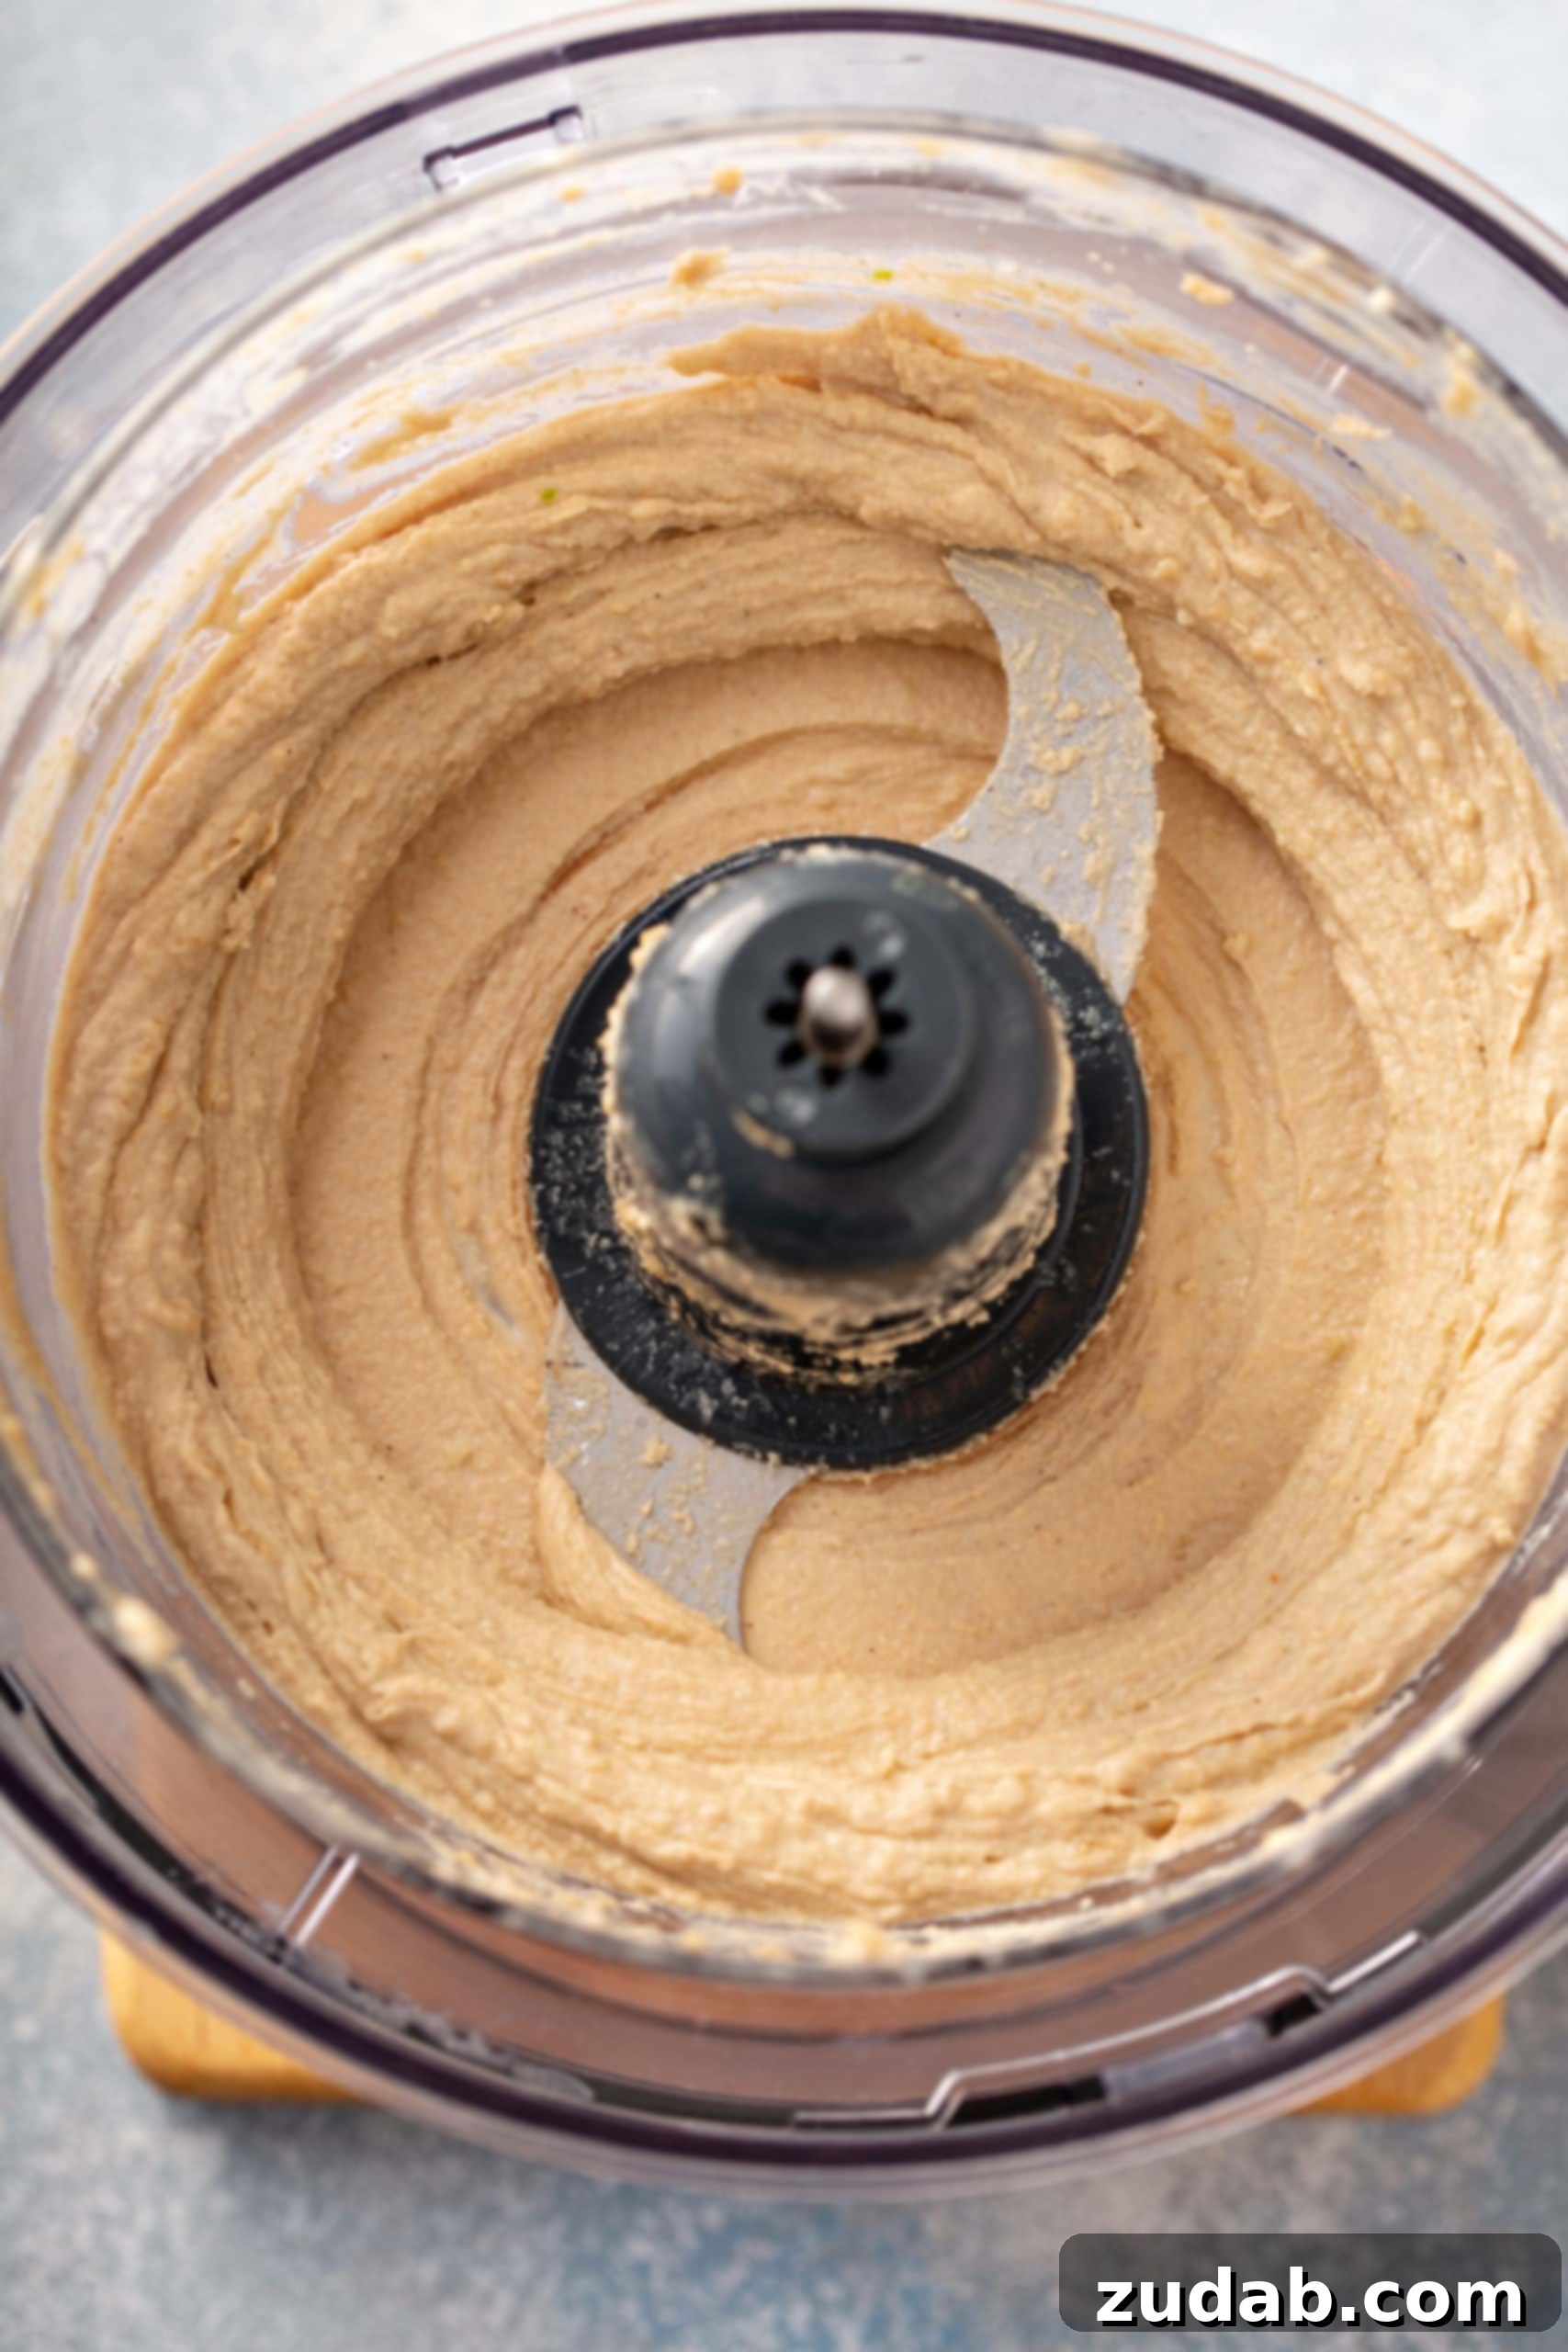
At this point, your hummus mixture might still appear a bit too thick. This is where ice-cold water comes into play – it’s an emulsifier that creates that airy, super-smooth texture everyone loves.
- With the food processor running, slowly drizzle in 2-4 teaspoons of ice-cold water.
- Continue blending until the mixture transforms into an ultra-smooth, pale, and creamy consistency. The cold water helps to lighten the mixture and create an incredibly desirable texture.
- Tip: If your tahini was particularly thick, you might need to add an additional 1 to 2 tablespoons of ice water, one teaspoon at a time, until you reach your desired smoothness.
5. Final Blend: Adding Flavor and Smoothness
The last step brings all the primary flavors together and ensures a consistently silky texture.
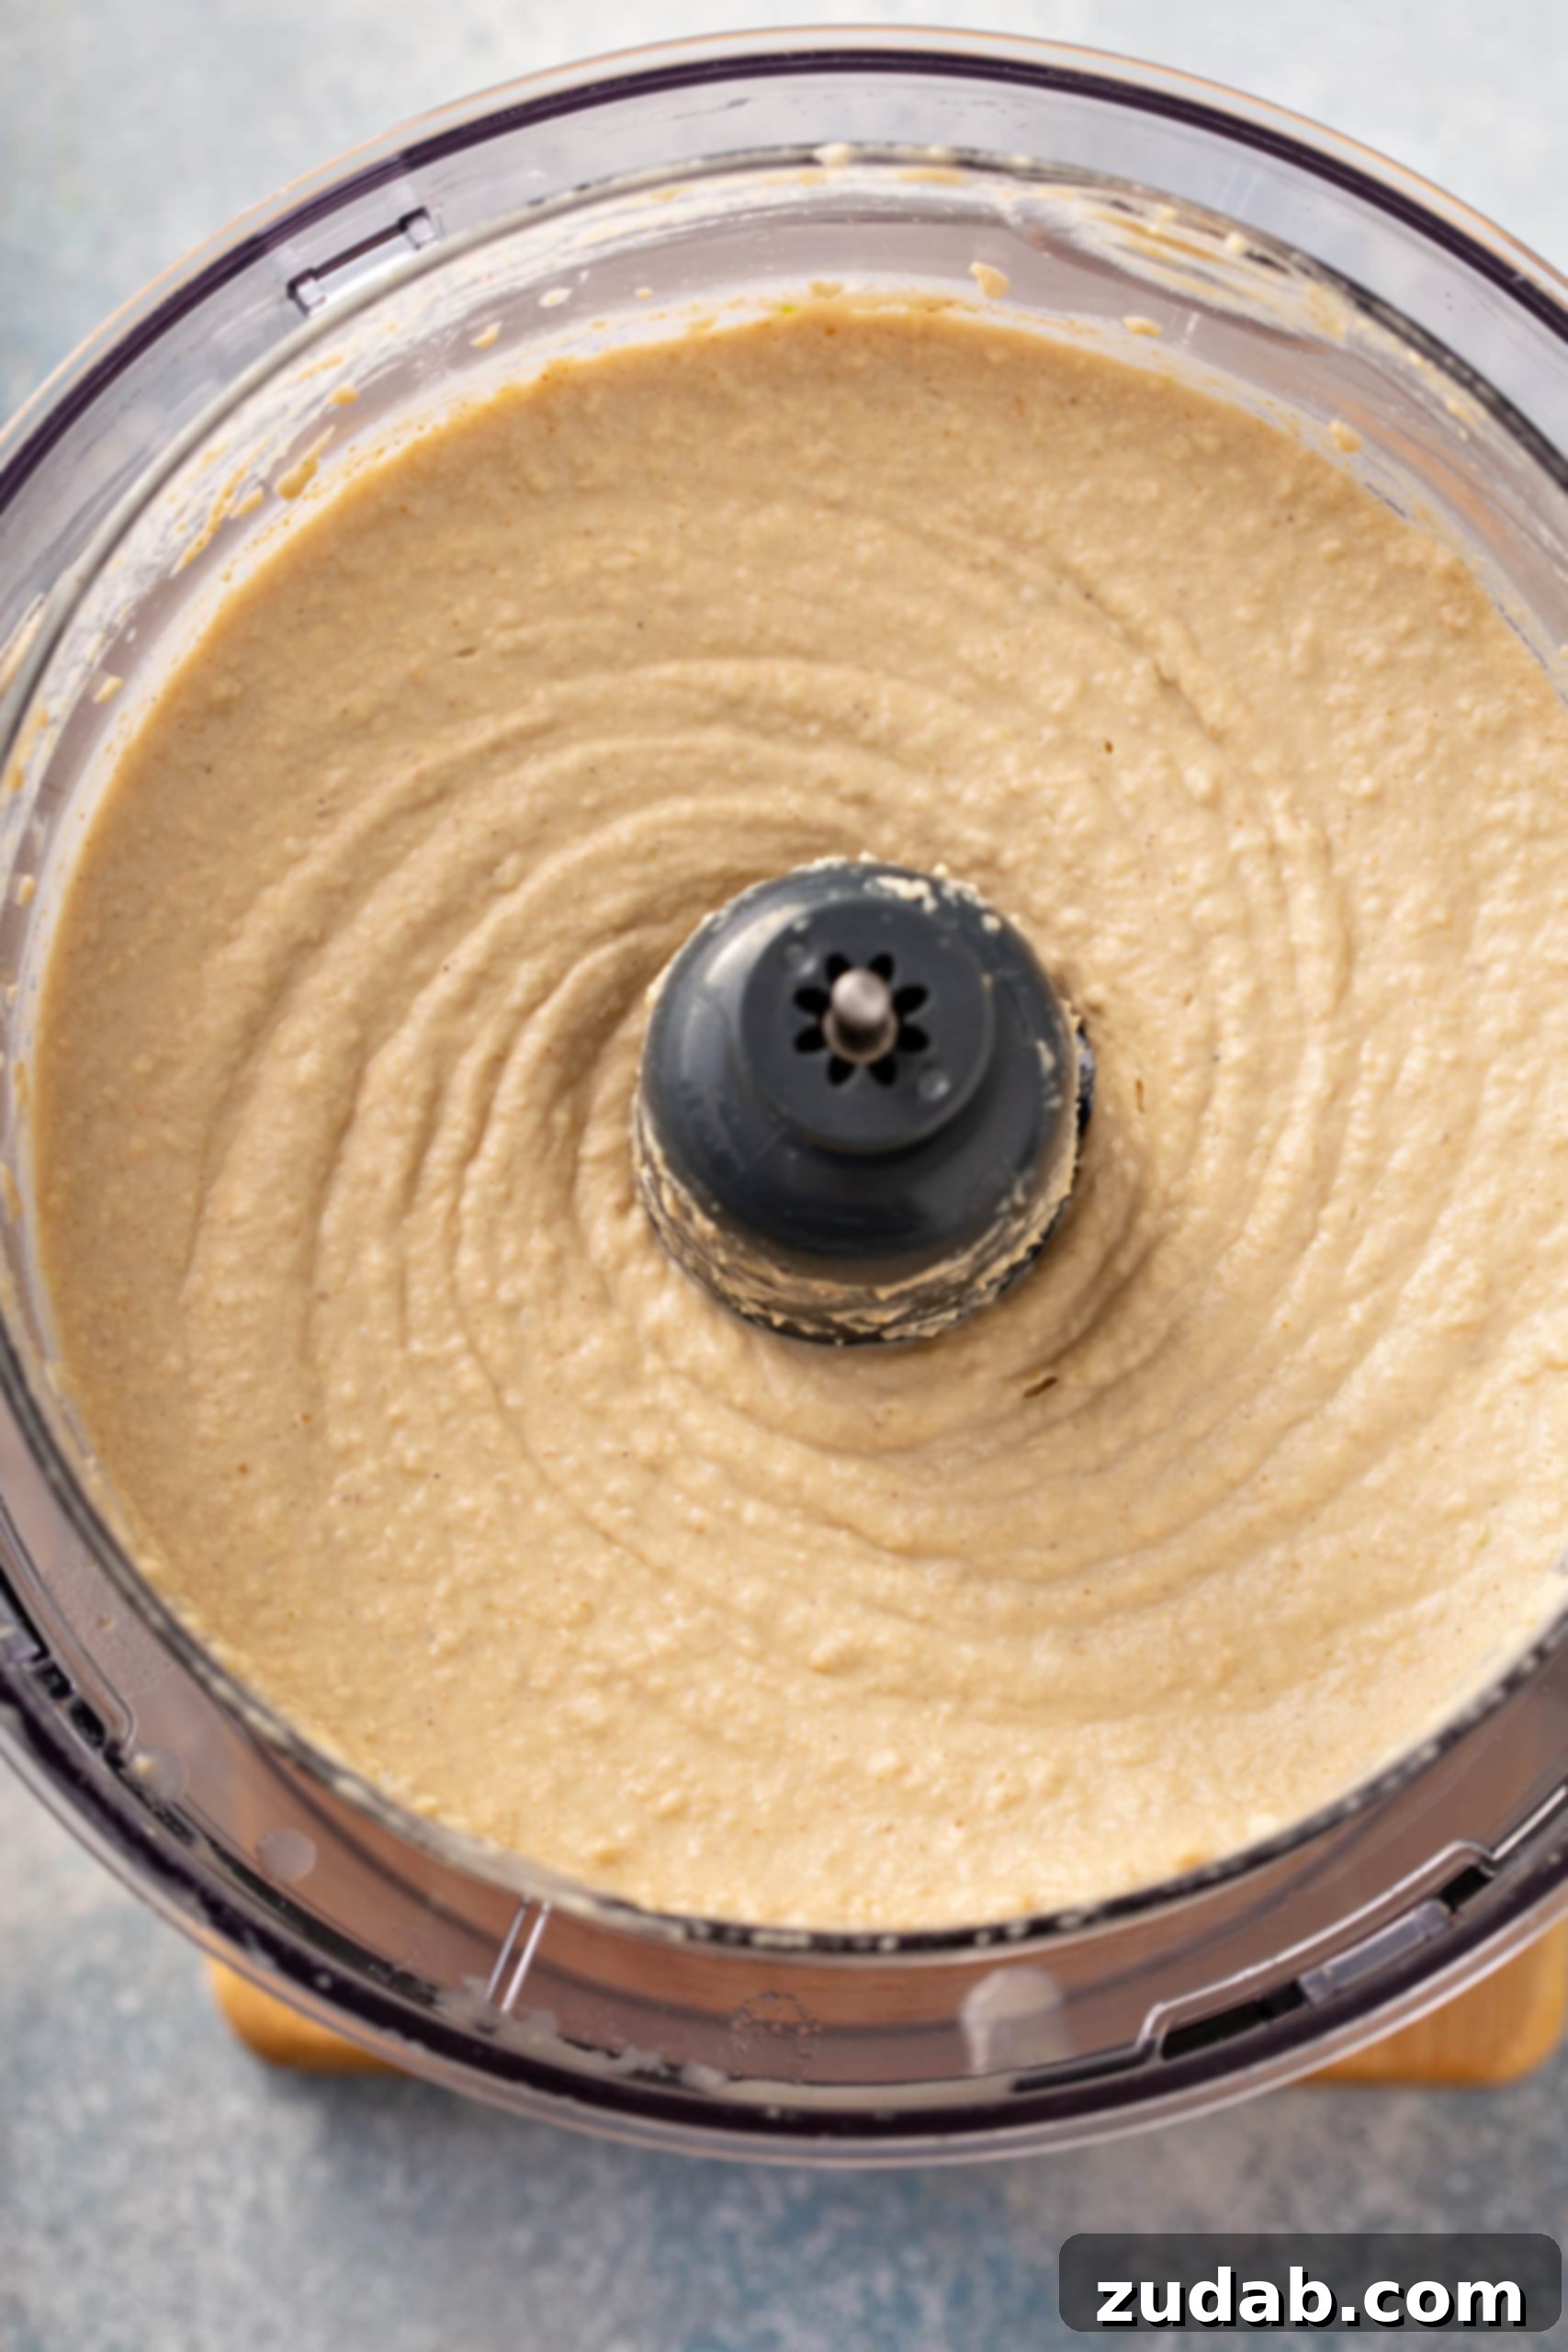
- Add the ground cumin and the drained, prepped chickpeas to the food processor.
- While the processor is running, slowly drizzle in the extra virgin olive oil. This helps with the final emulsification and adds richness.
- Continue blending for about 2 minutes, or until the hummus is exceptionally smooth. Scrape down the sides of the processor as needed to ensure everything is thoroughly combined.
- If the hummus still seems too thick for your liking, add more ice water, one tablespoon at a time, blending after each addition until you achieve the perfect creamy texture.
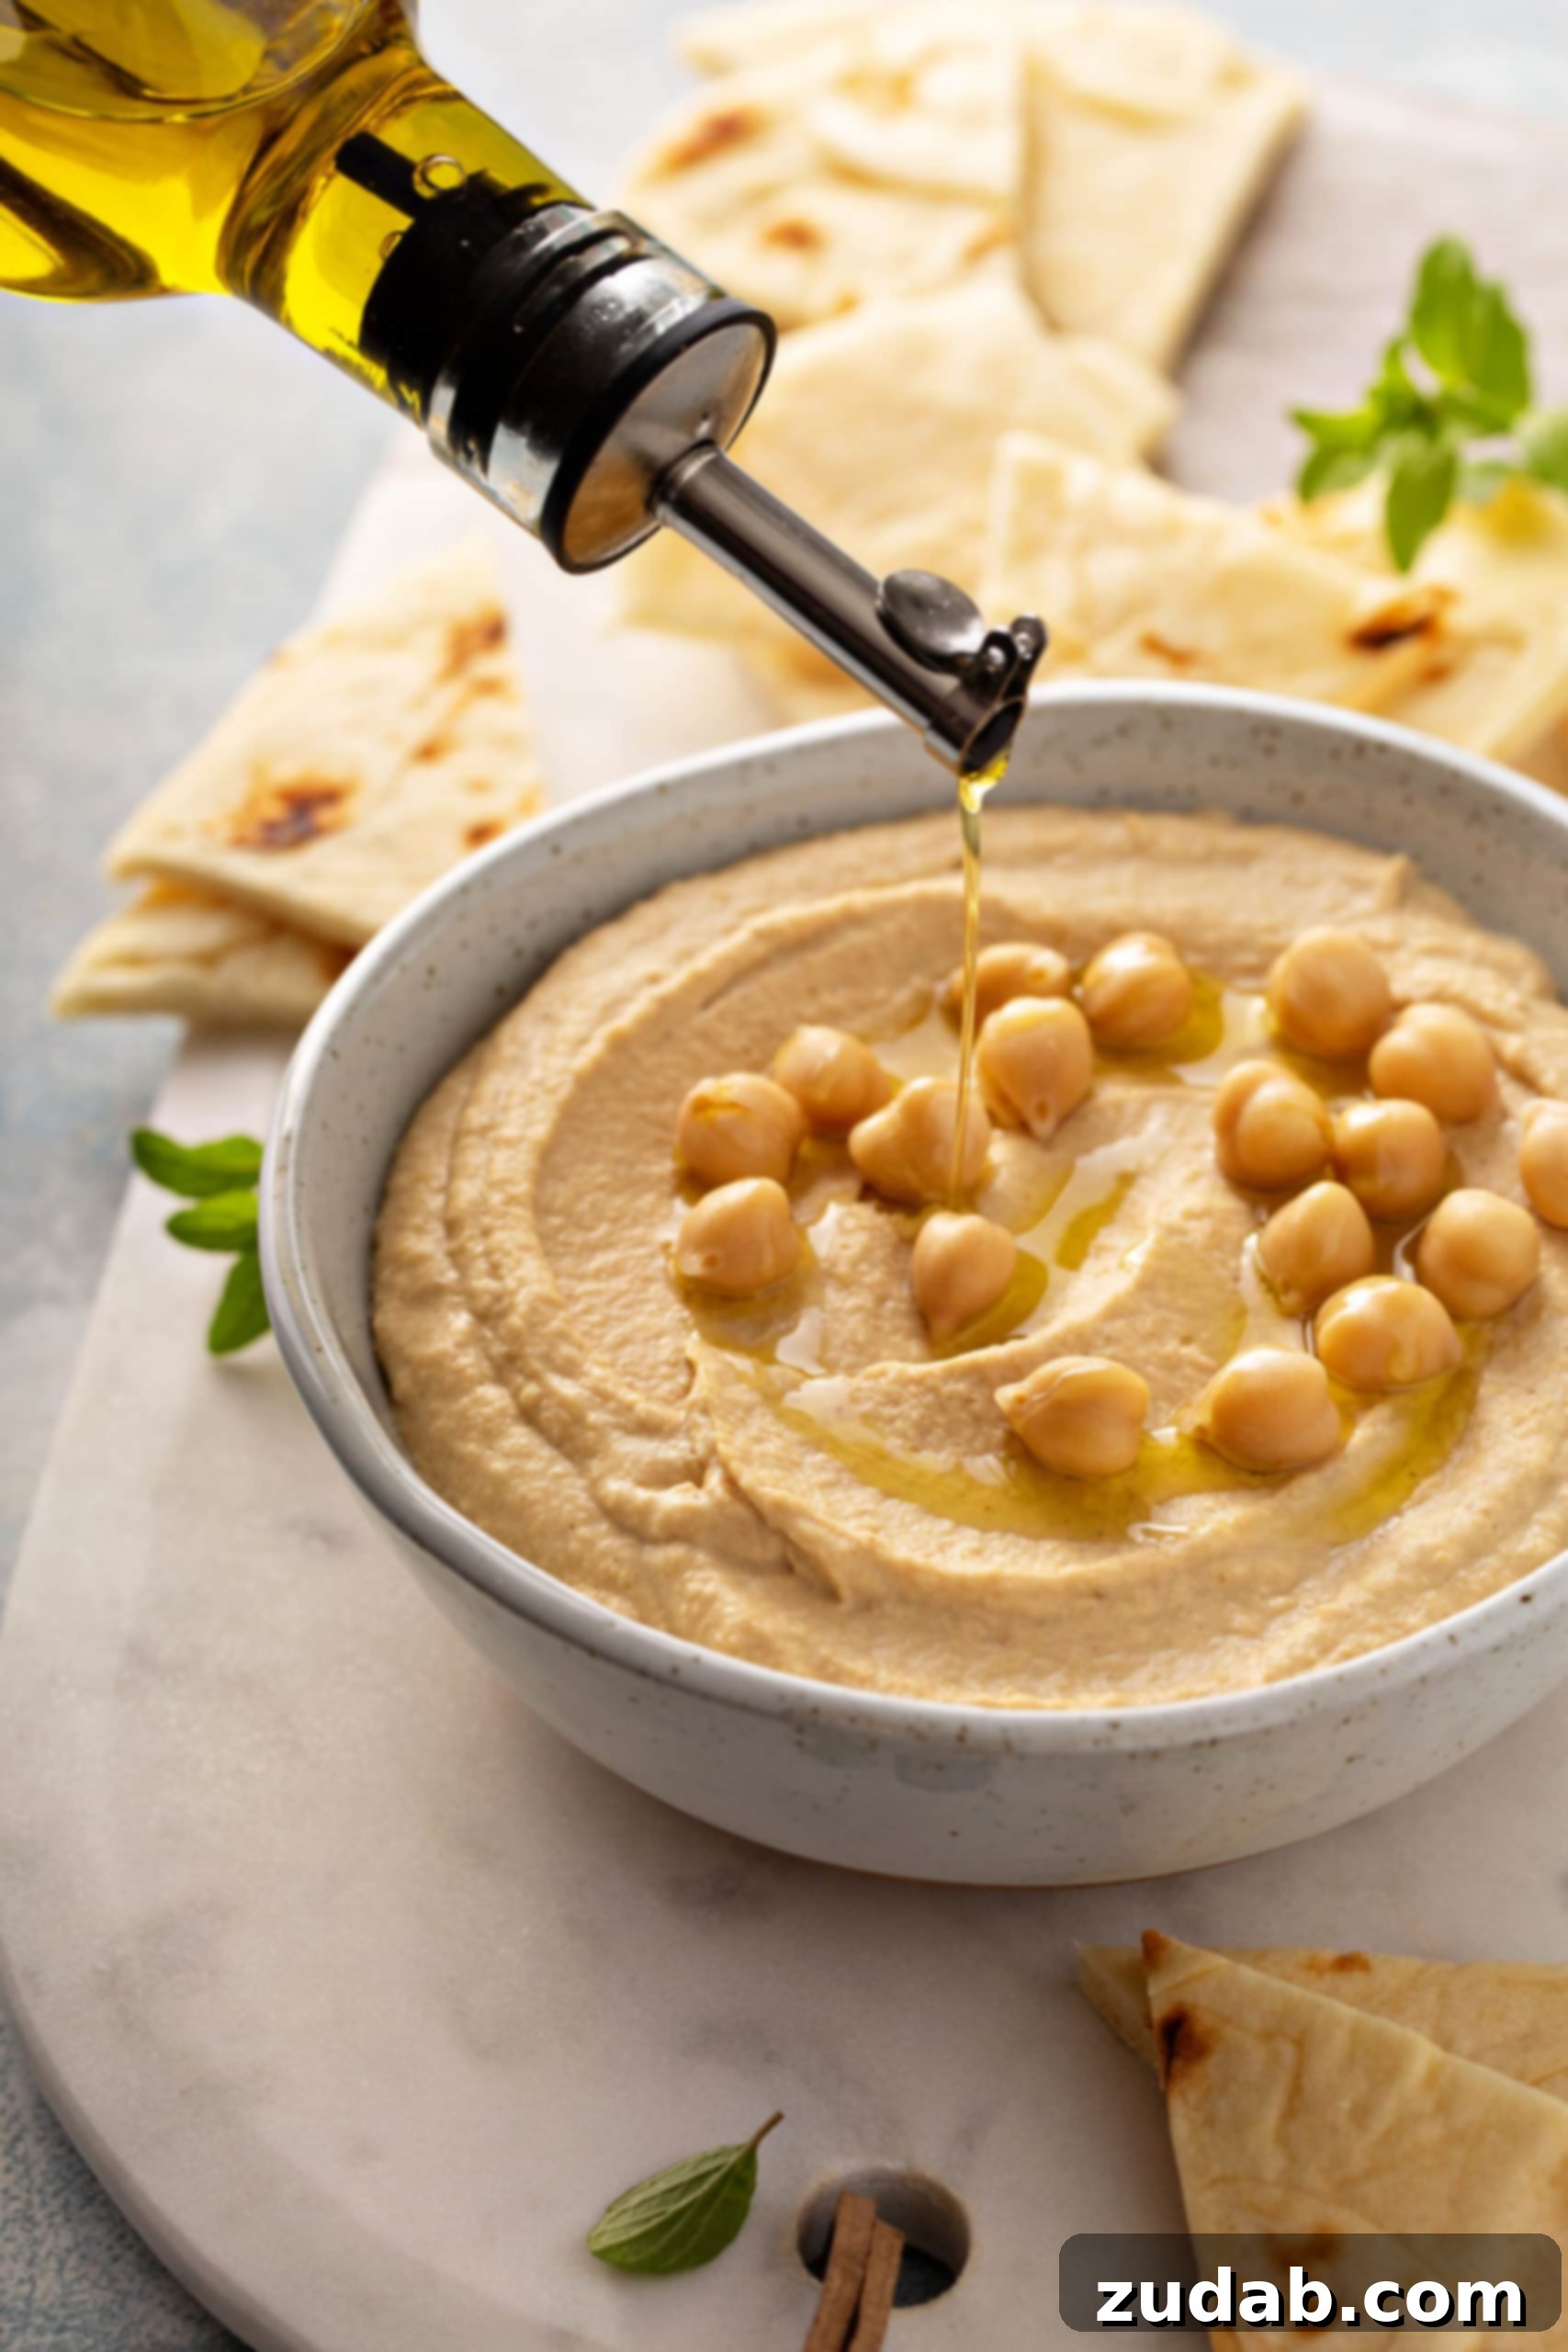
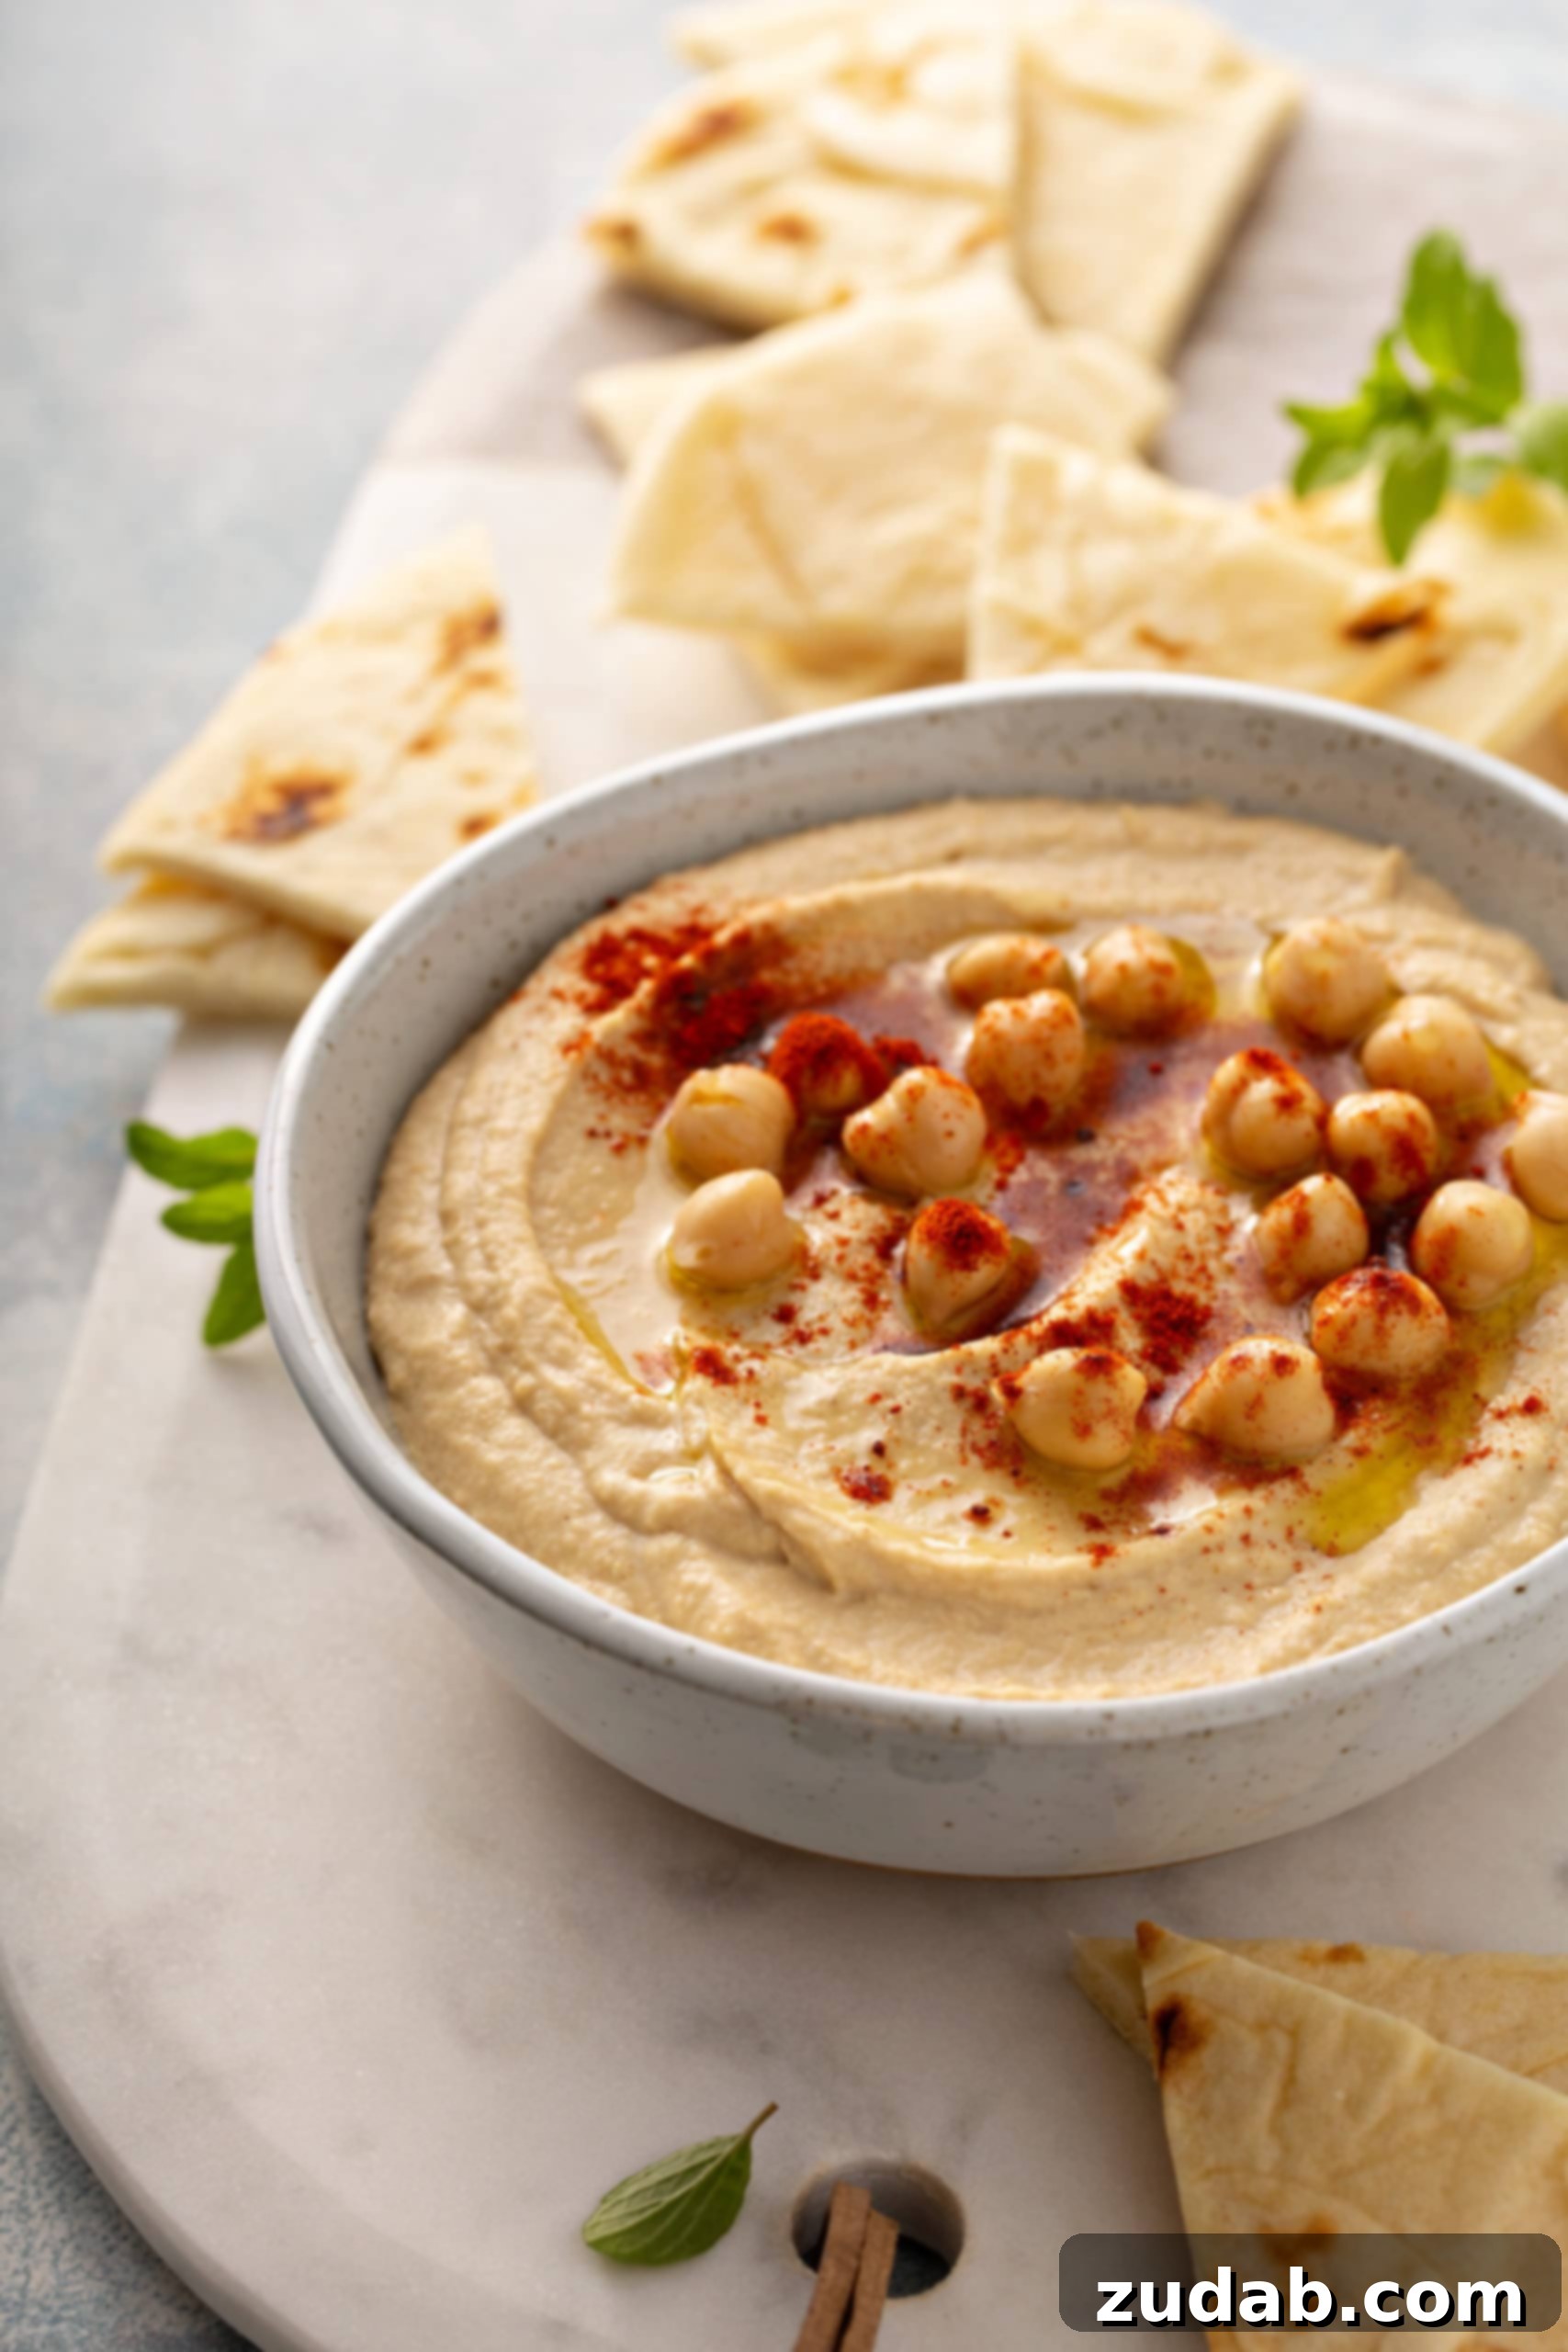
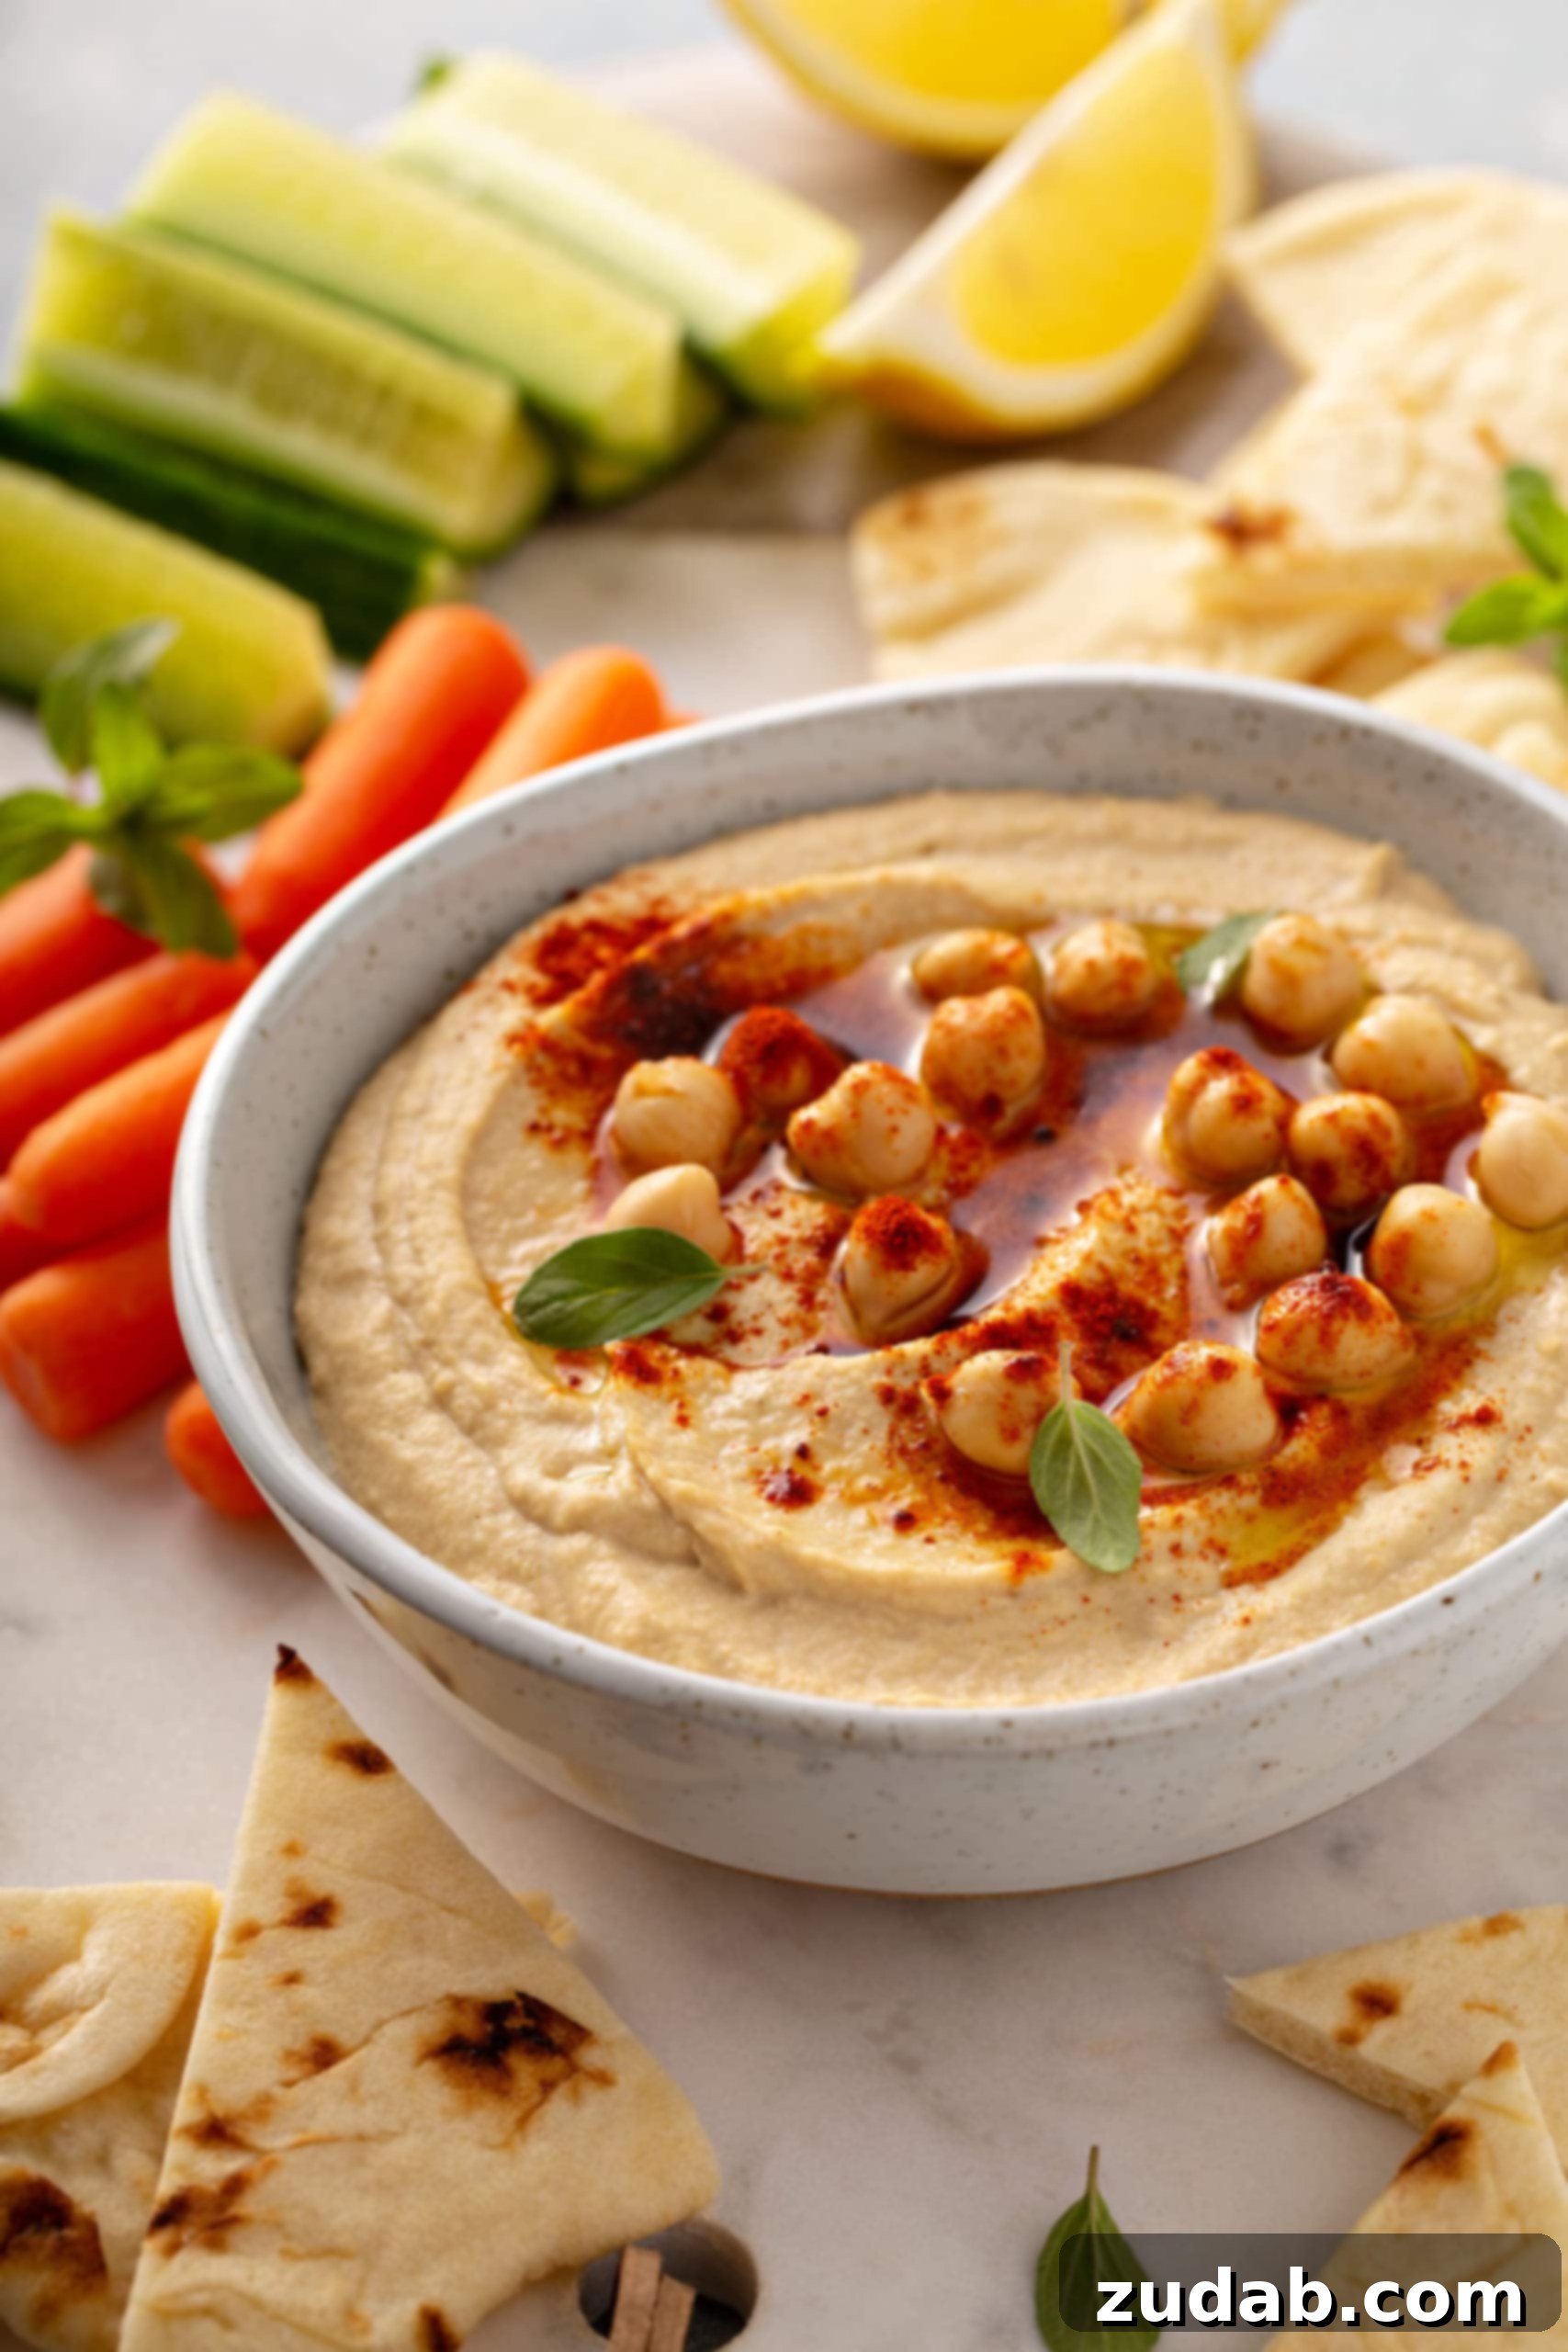
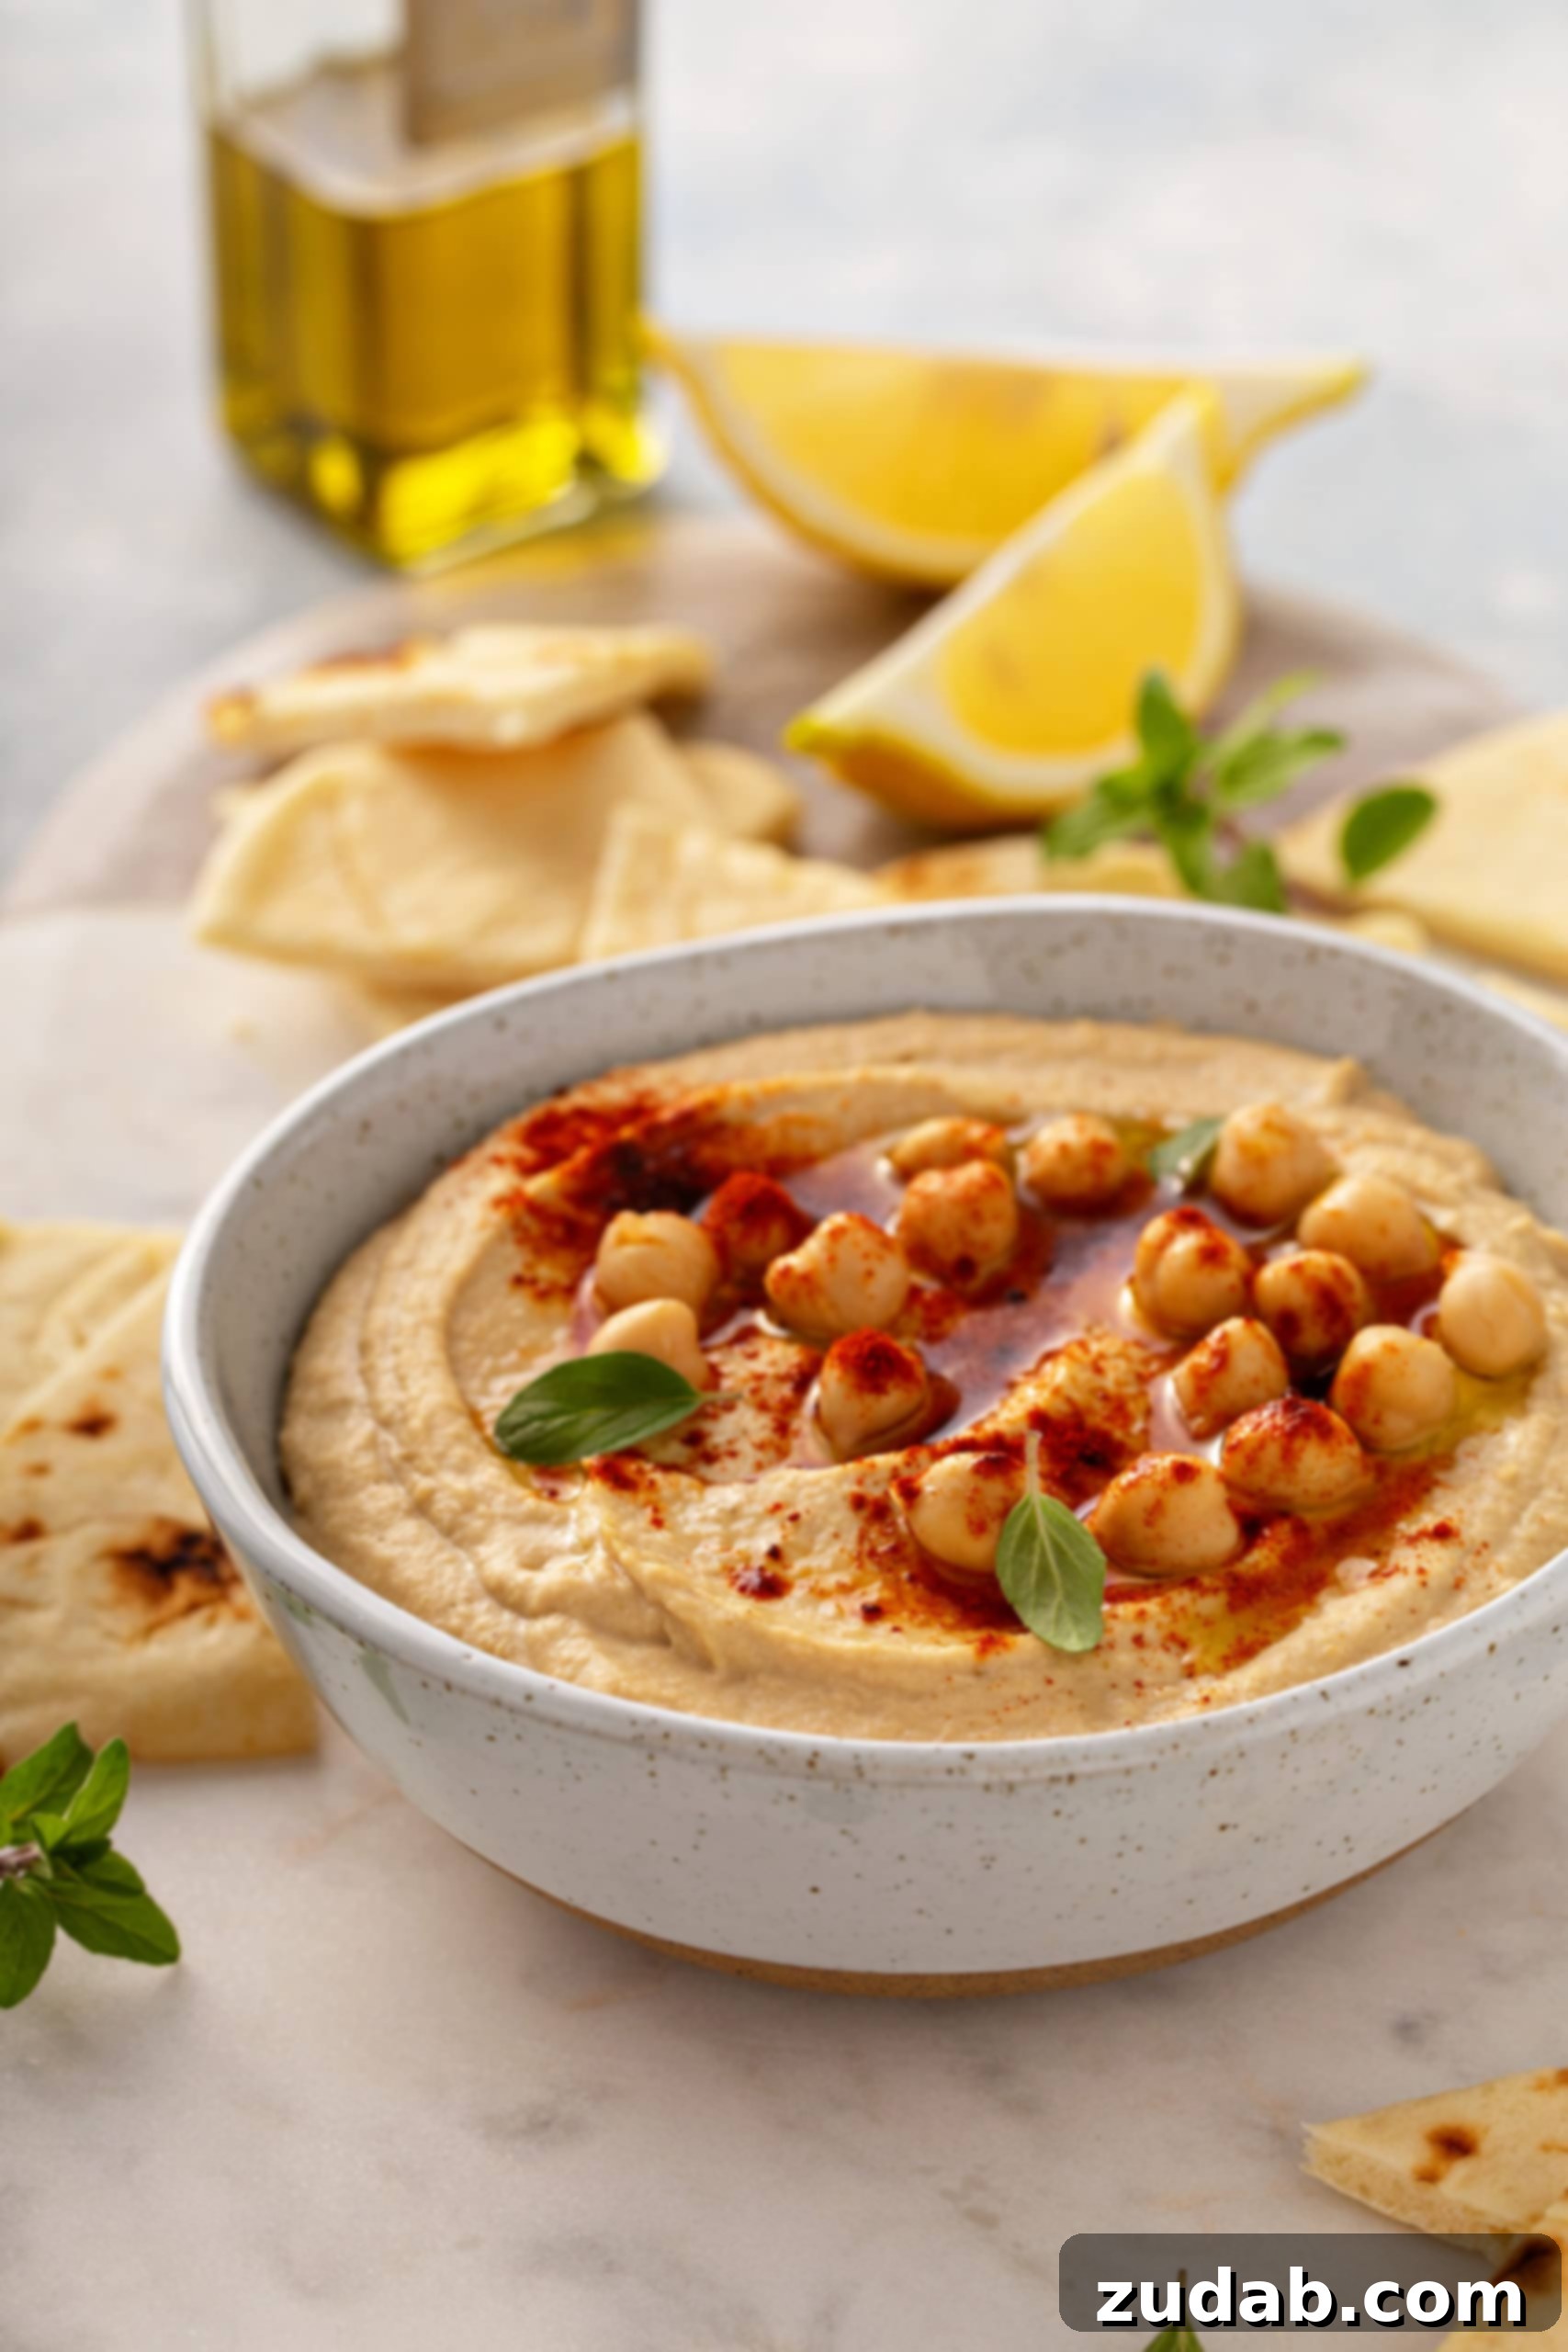
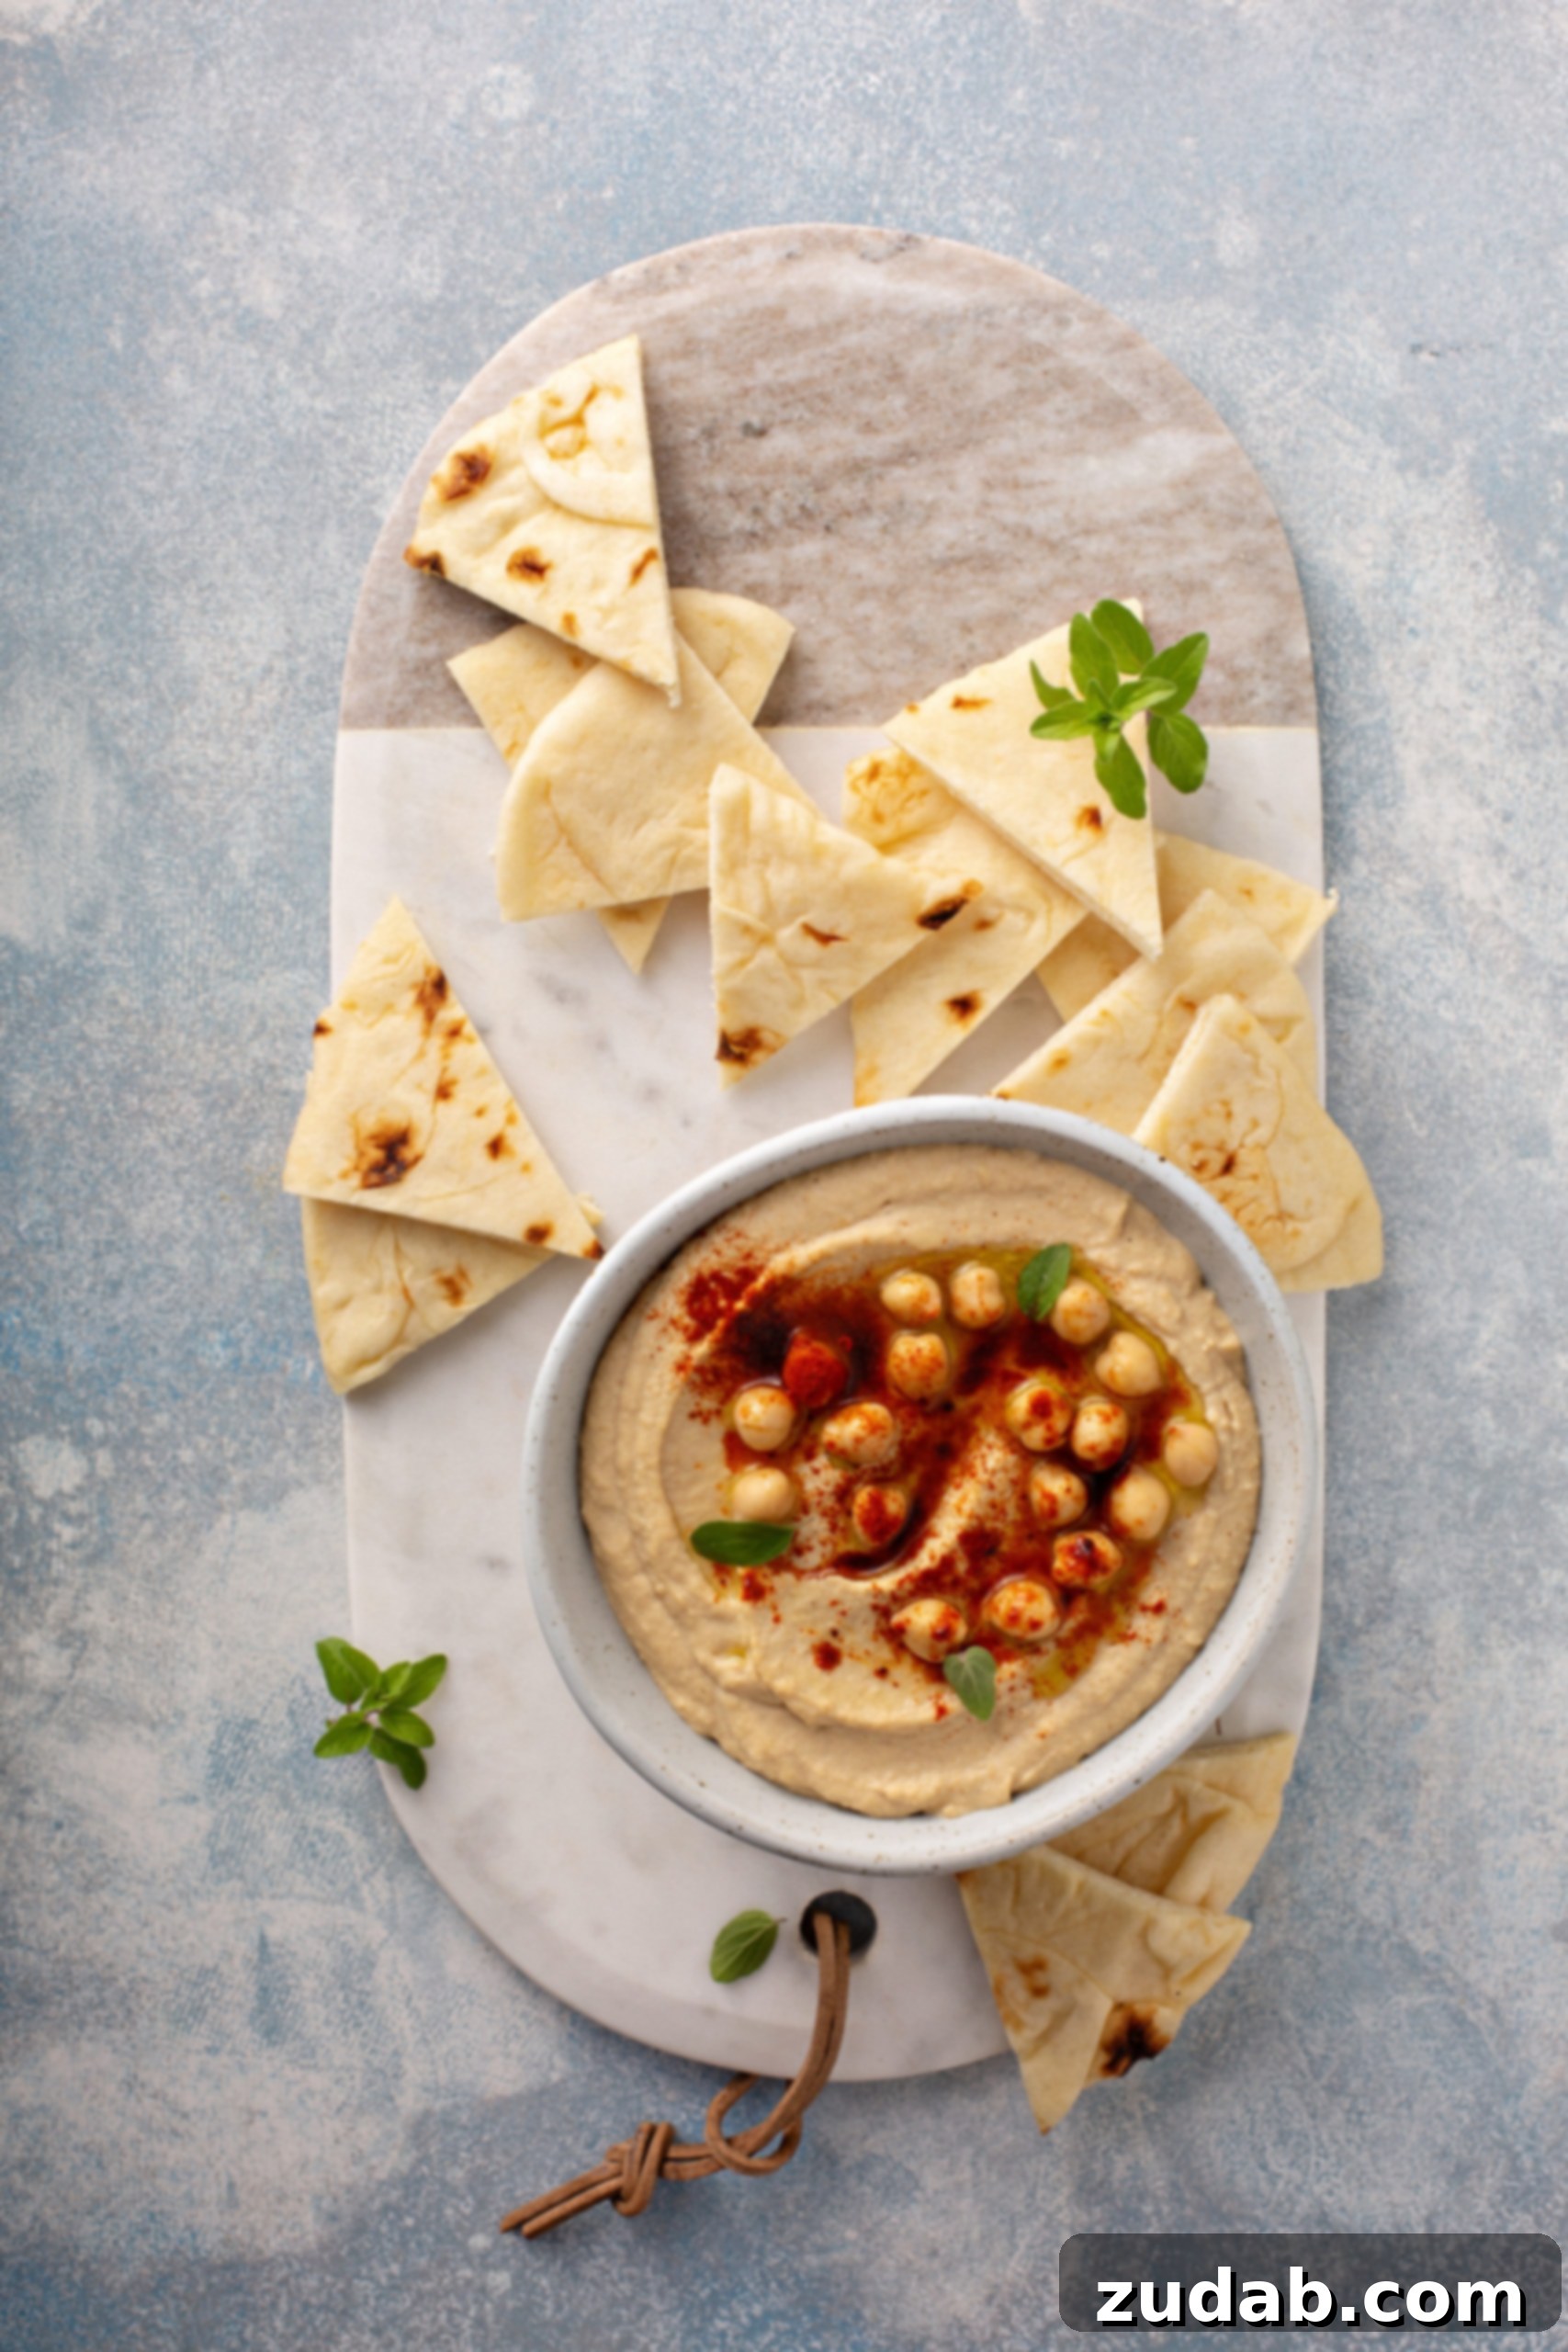
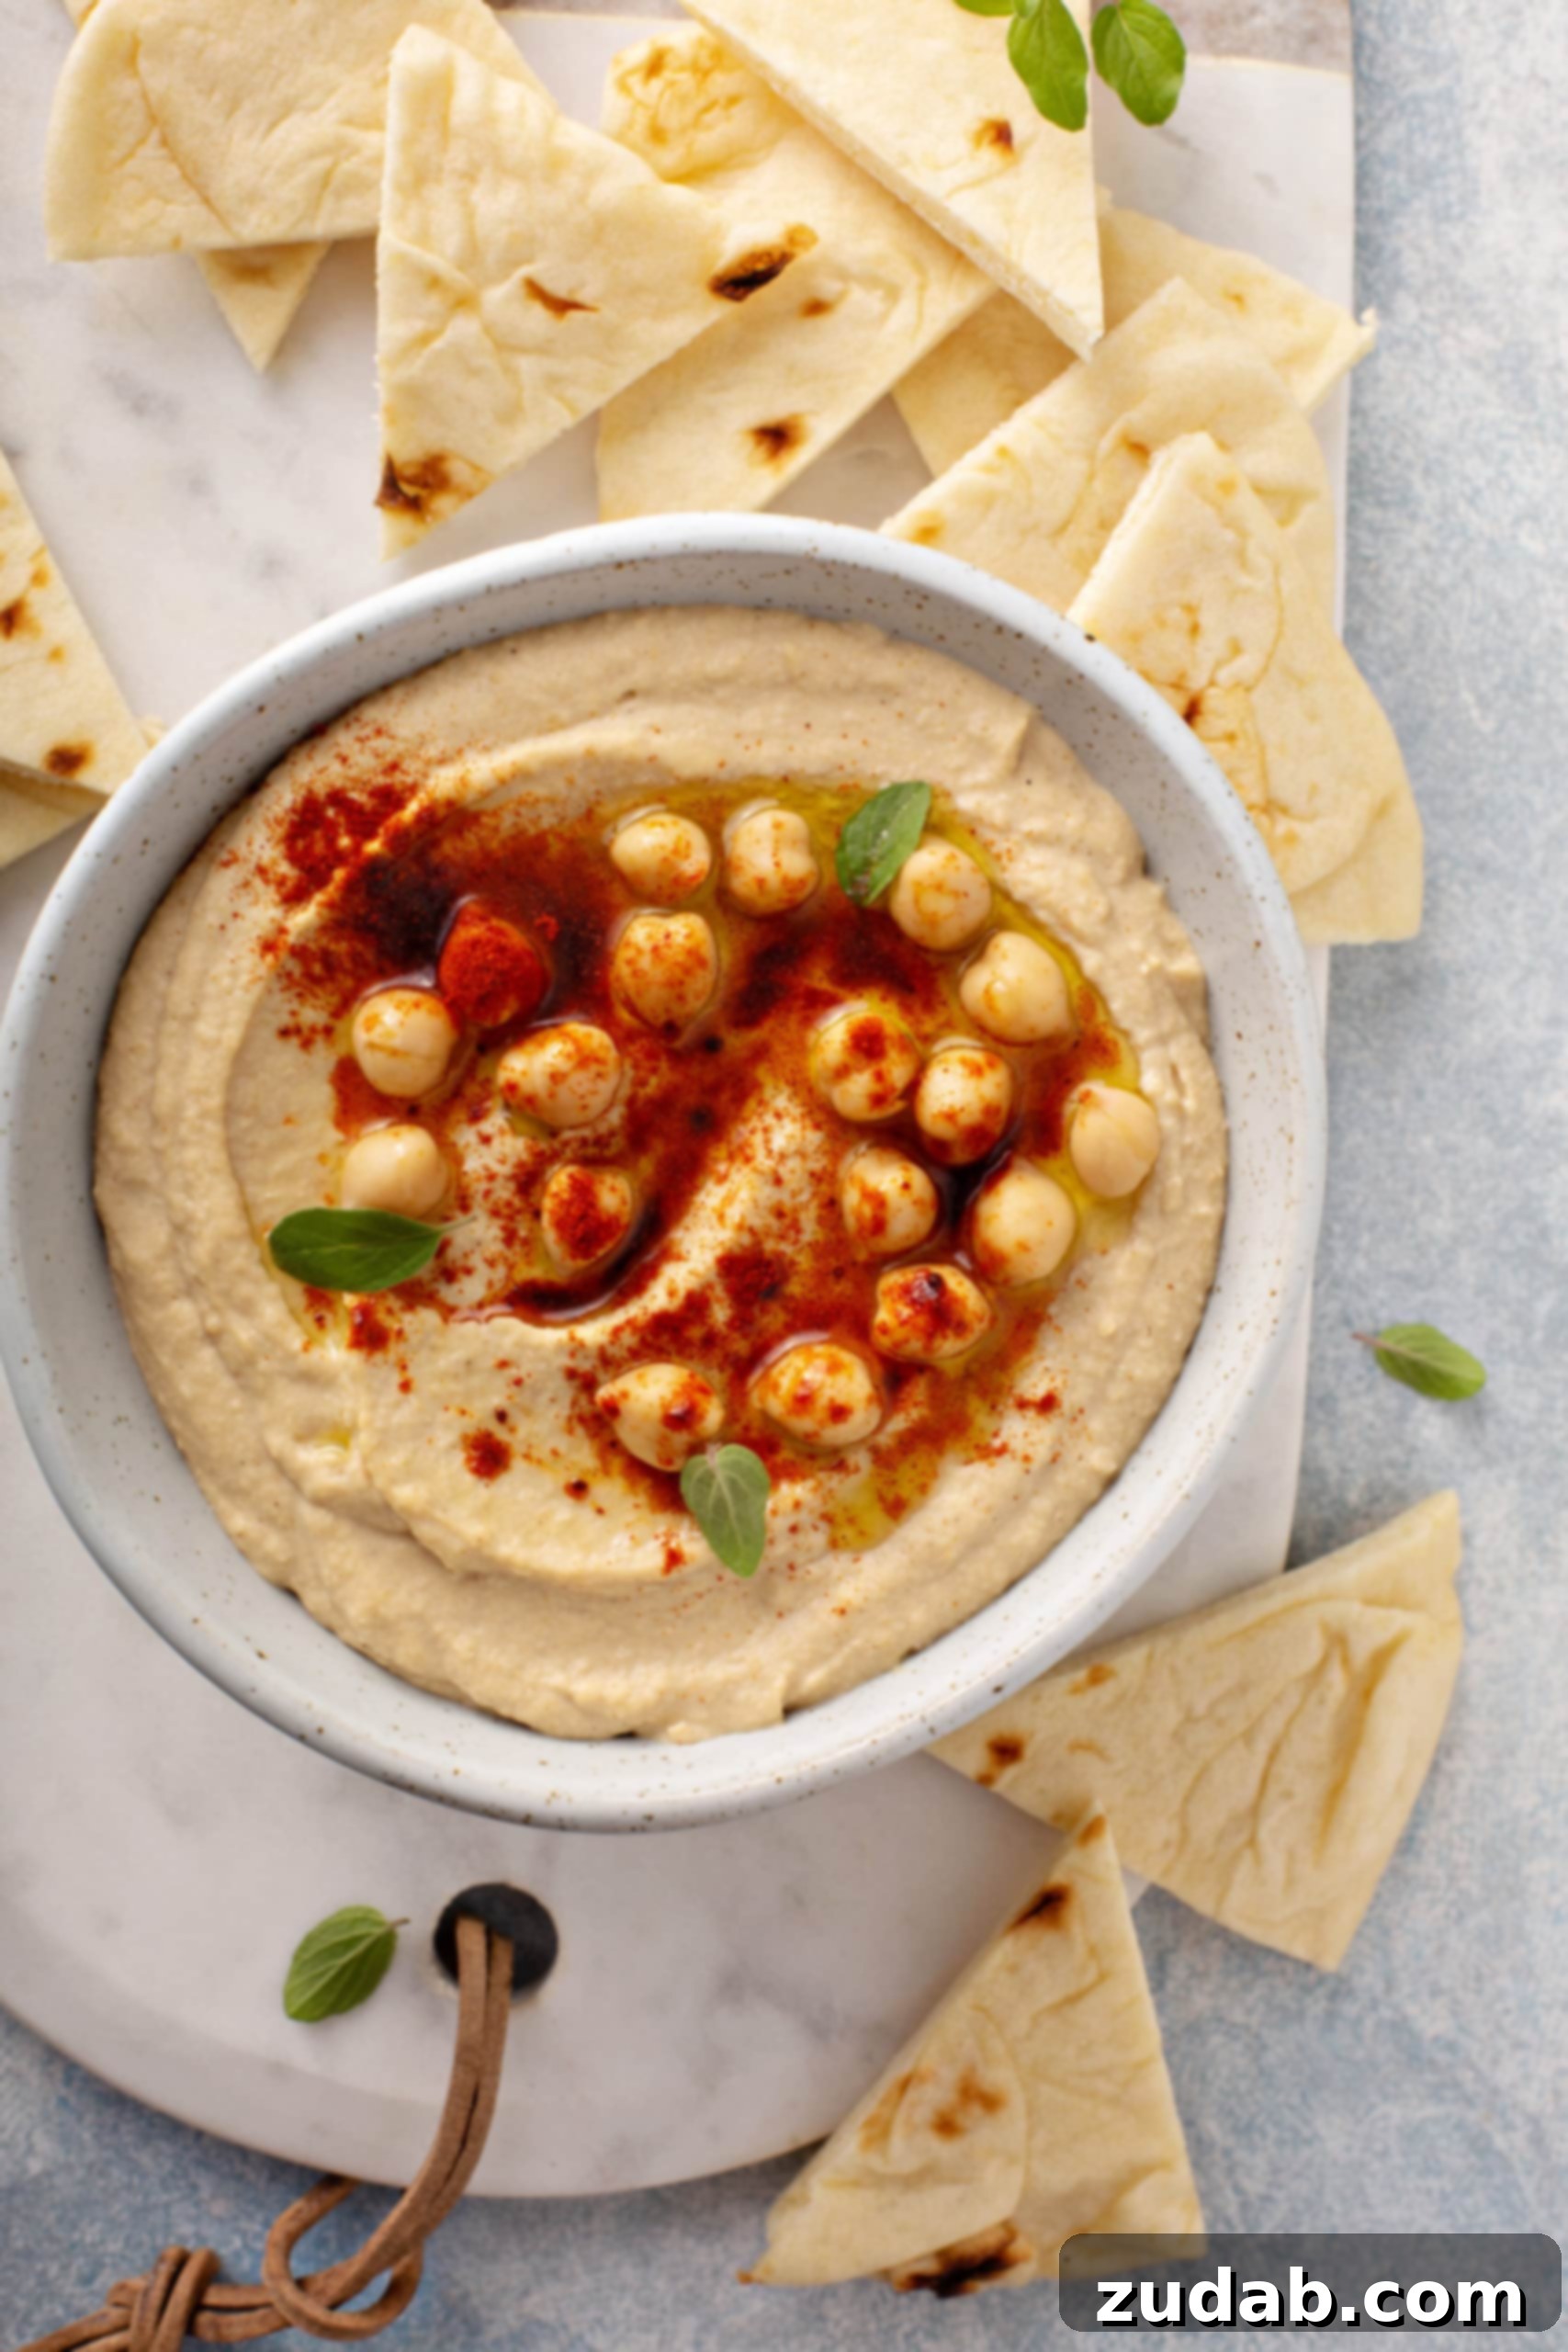
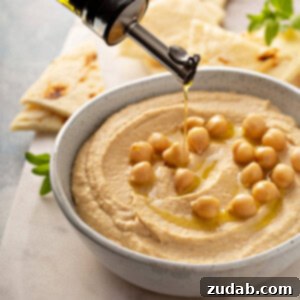
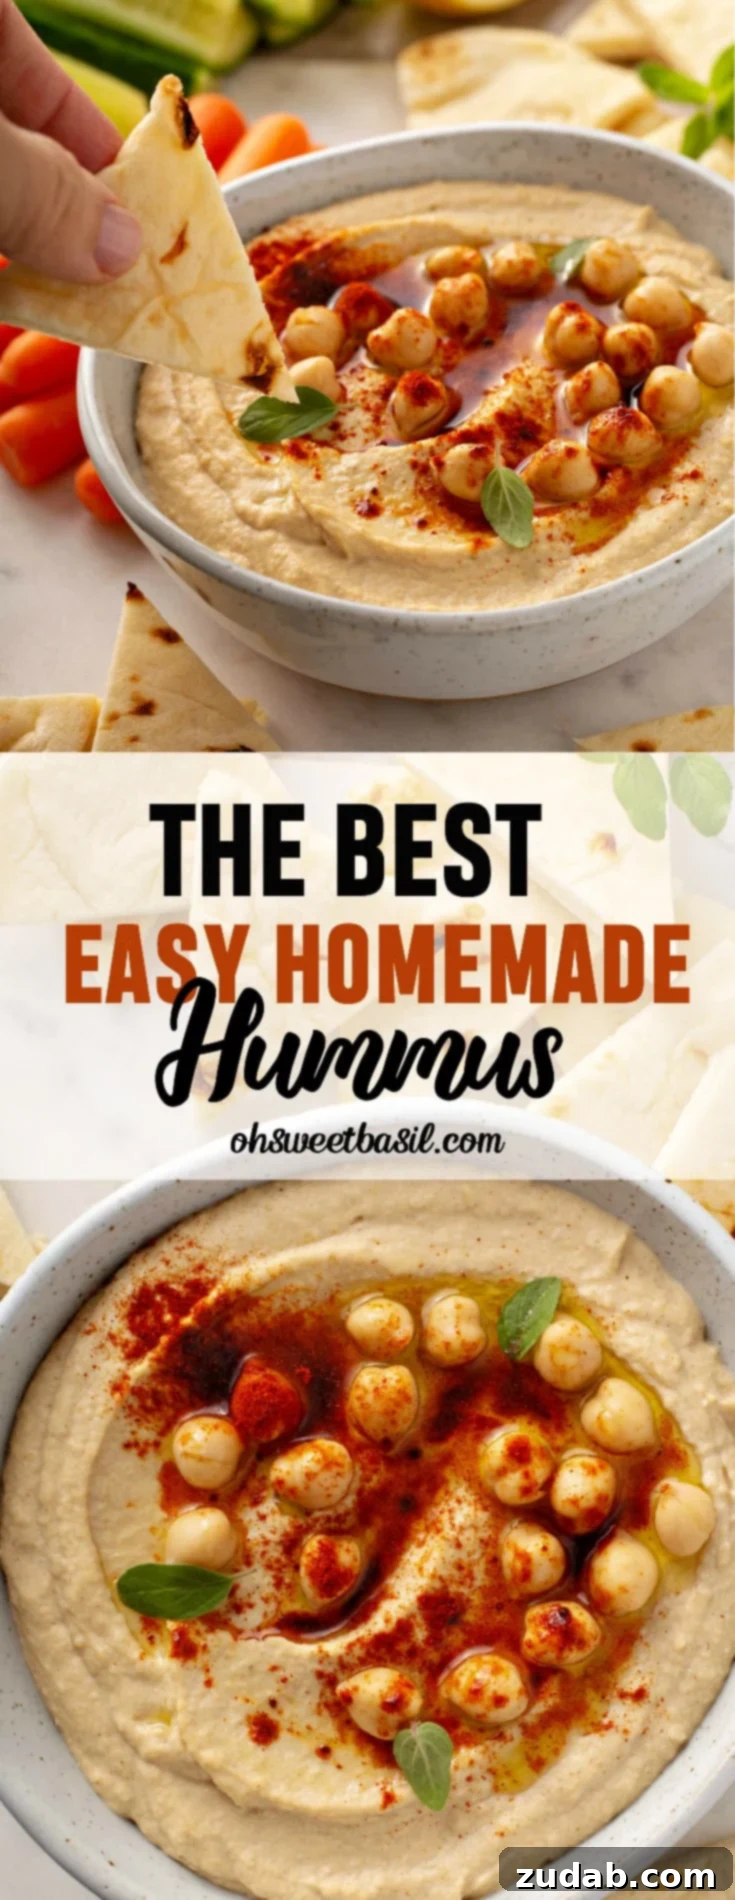
Your exquisite homemade hummus is now ready to be enjoyed! Carefully scrape the hummus from the food processor into a beautiful serving bowl or platter. For a touch of aesthetic appeal and an extra layer of flavor, we love to drizzle a little more extra virgin olive oil on top, scatter a few whole chickpeas, and finish with a generous sprinkle of smoked paprika. The paprika not only adds a pop of color but also a wonderful subtle smokiness that elevates the dish.
What to Serve with Your Delicious Homemade Hummus
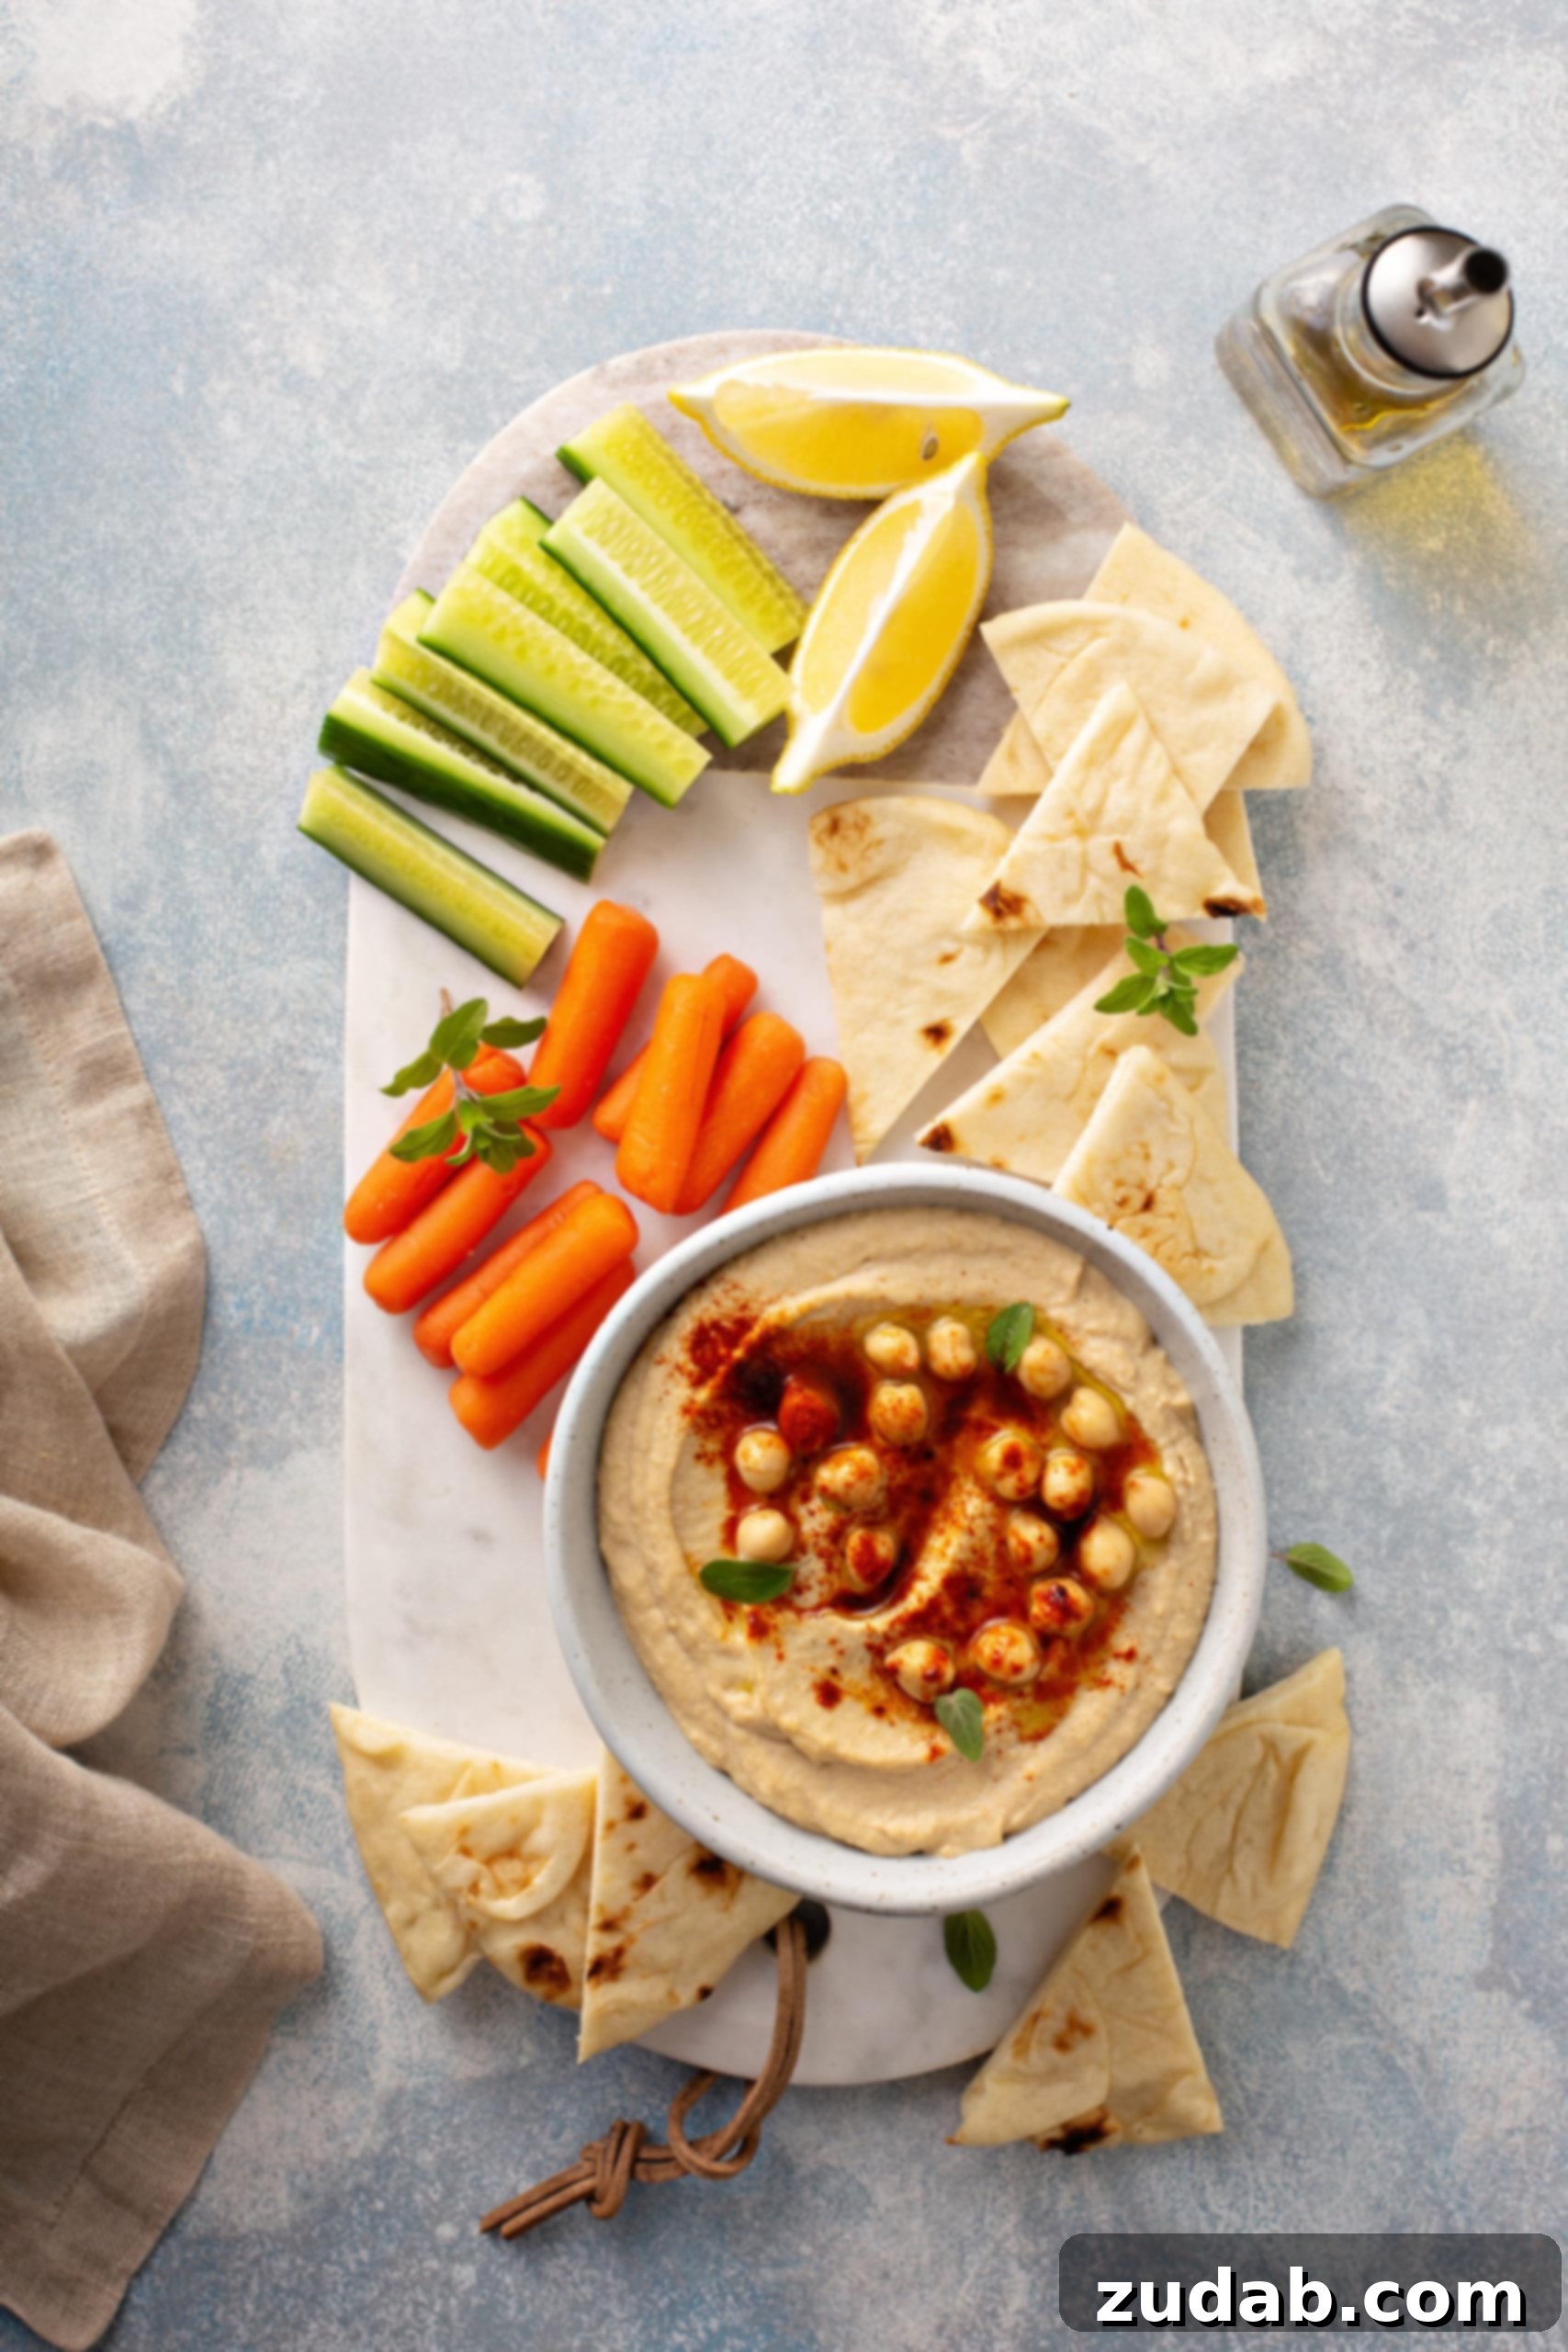
The beauty of hummus lies in its incredible versatility as a dip and spread. Once you’ve mastered this recipe, you’ll find yourself reaching for it constantly! We simply can’t resist dipping almost anything into its creamy goodness. Here are some traditional and creative ideas:
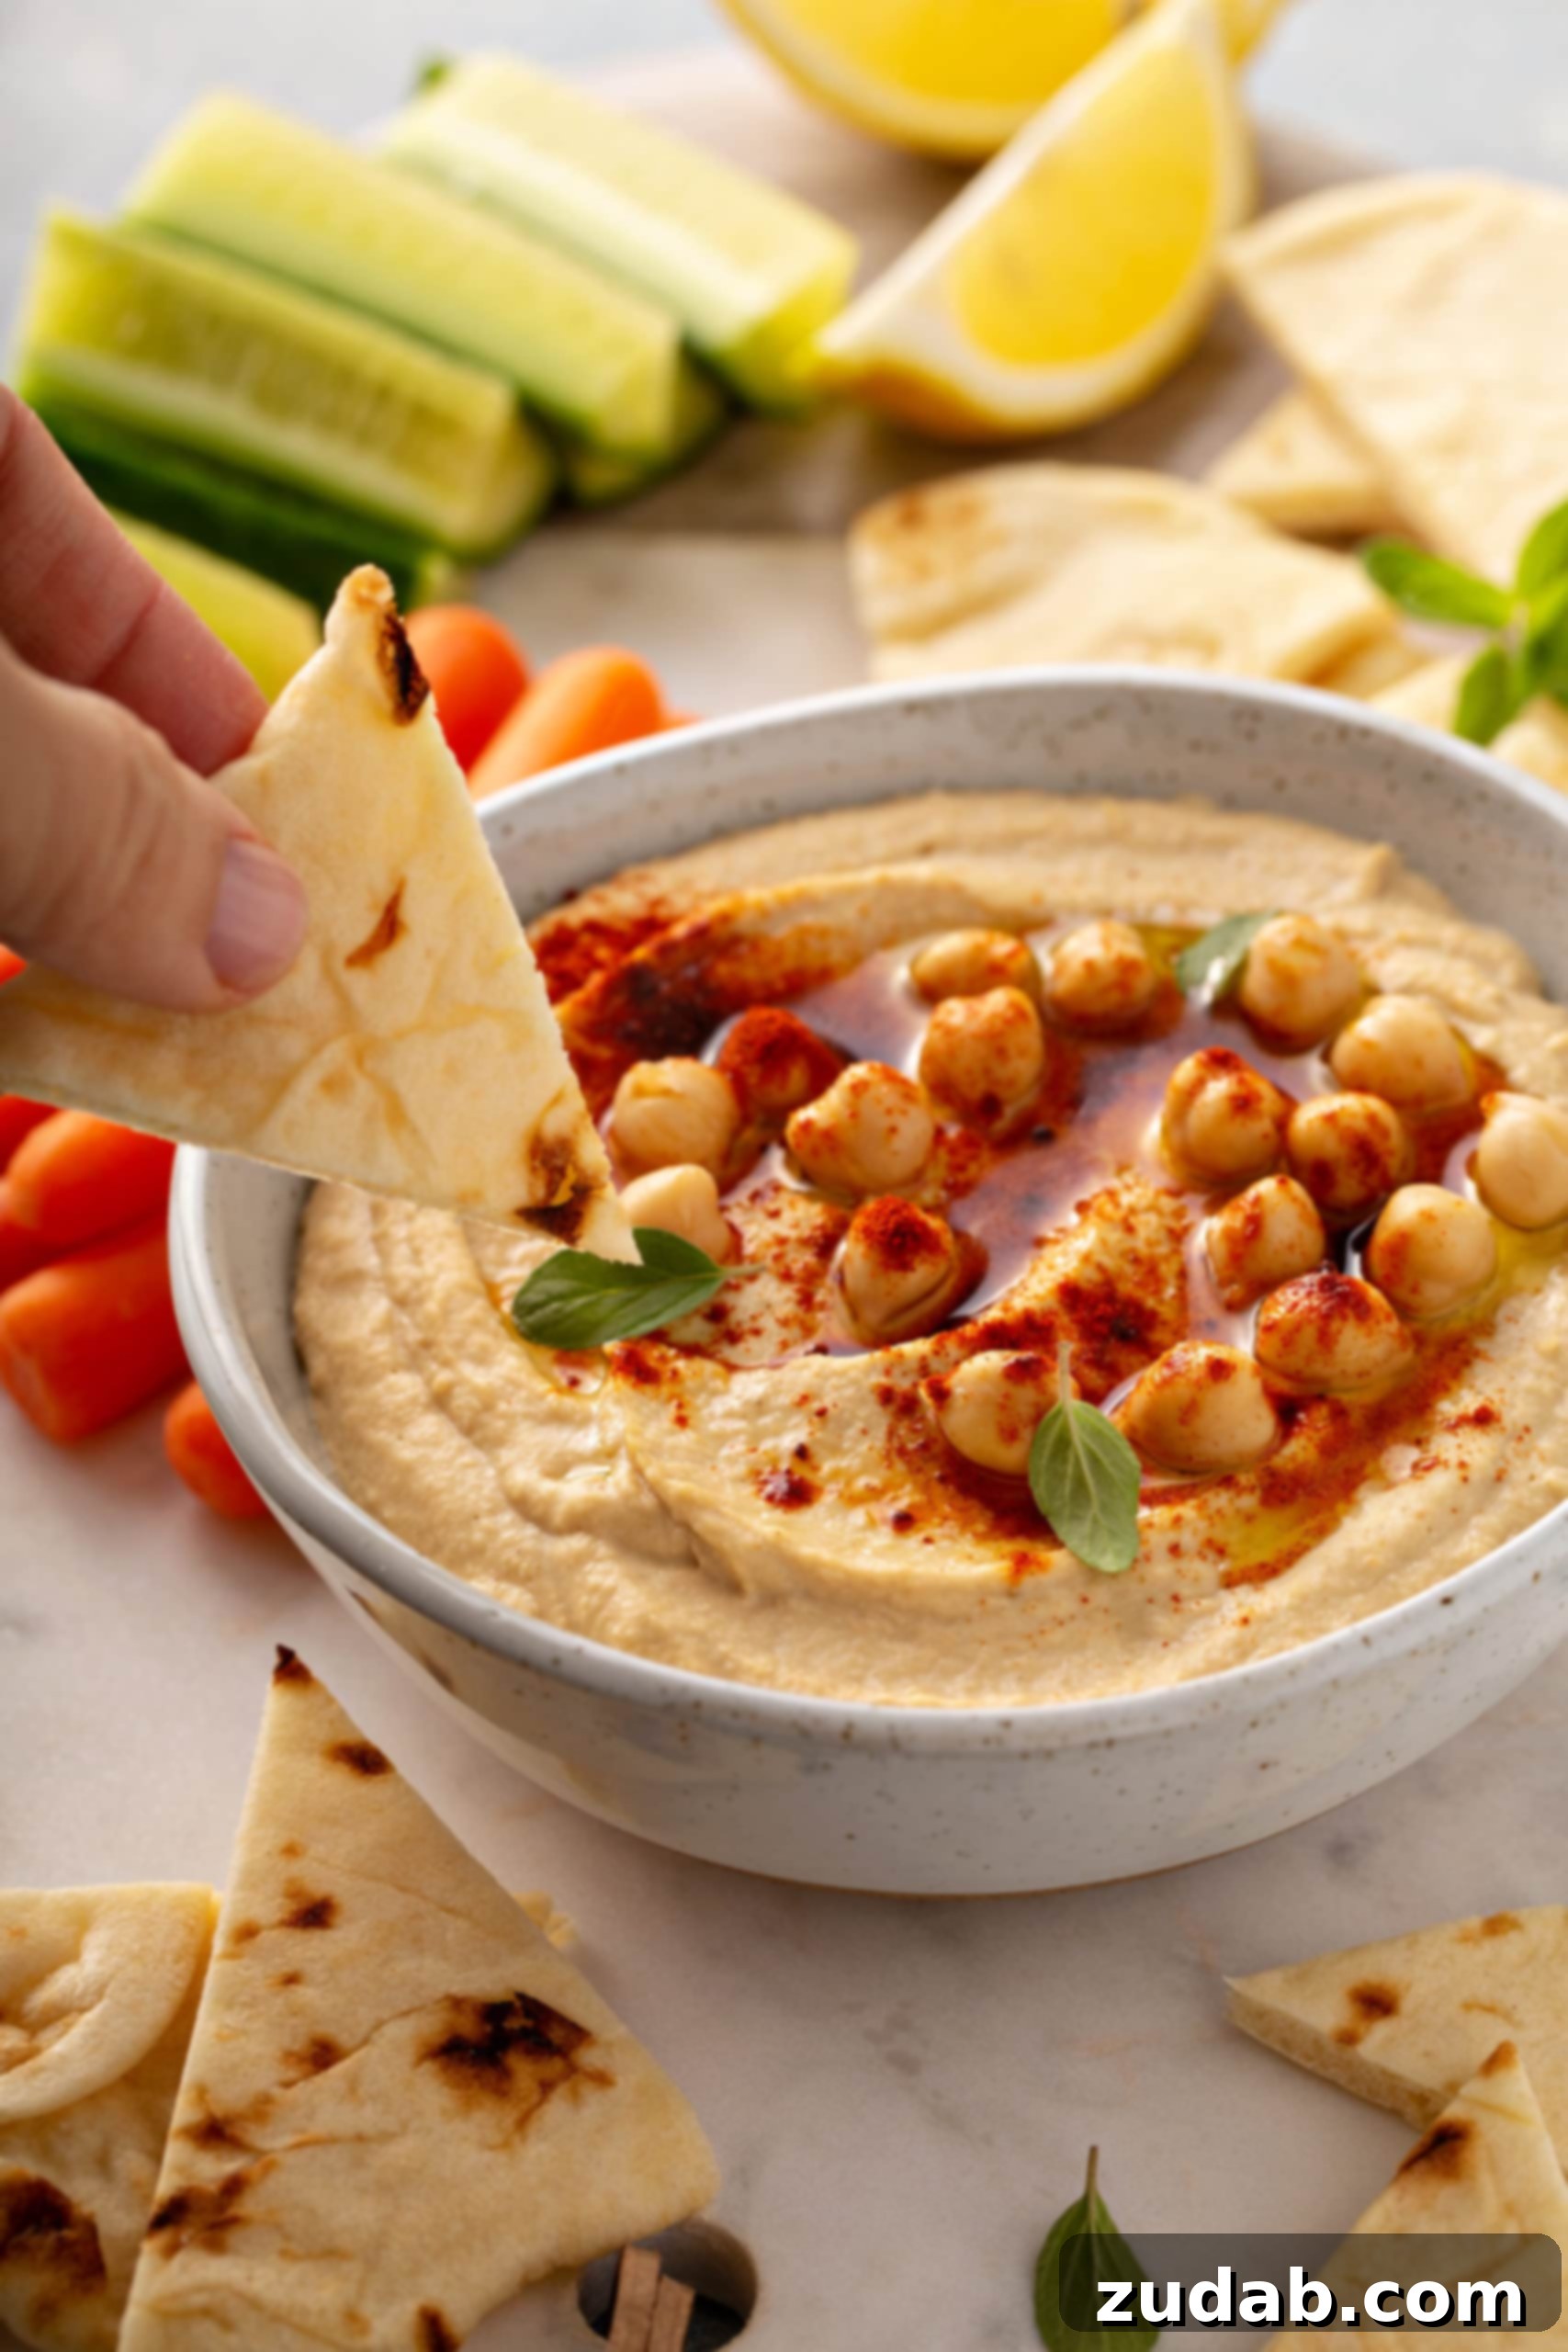
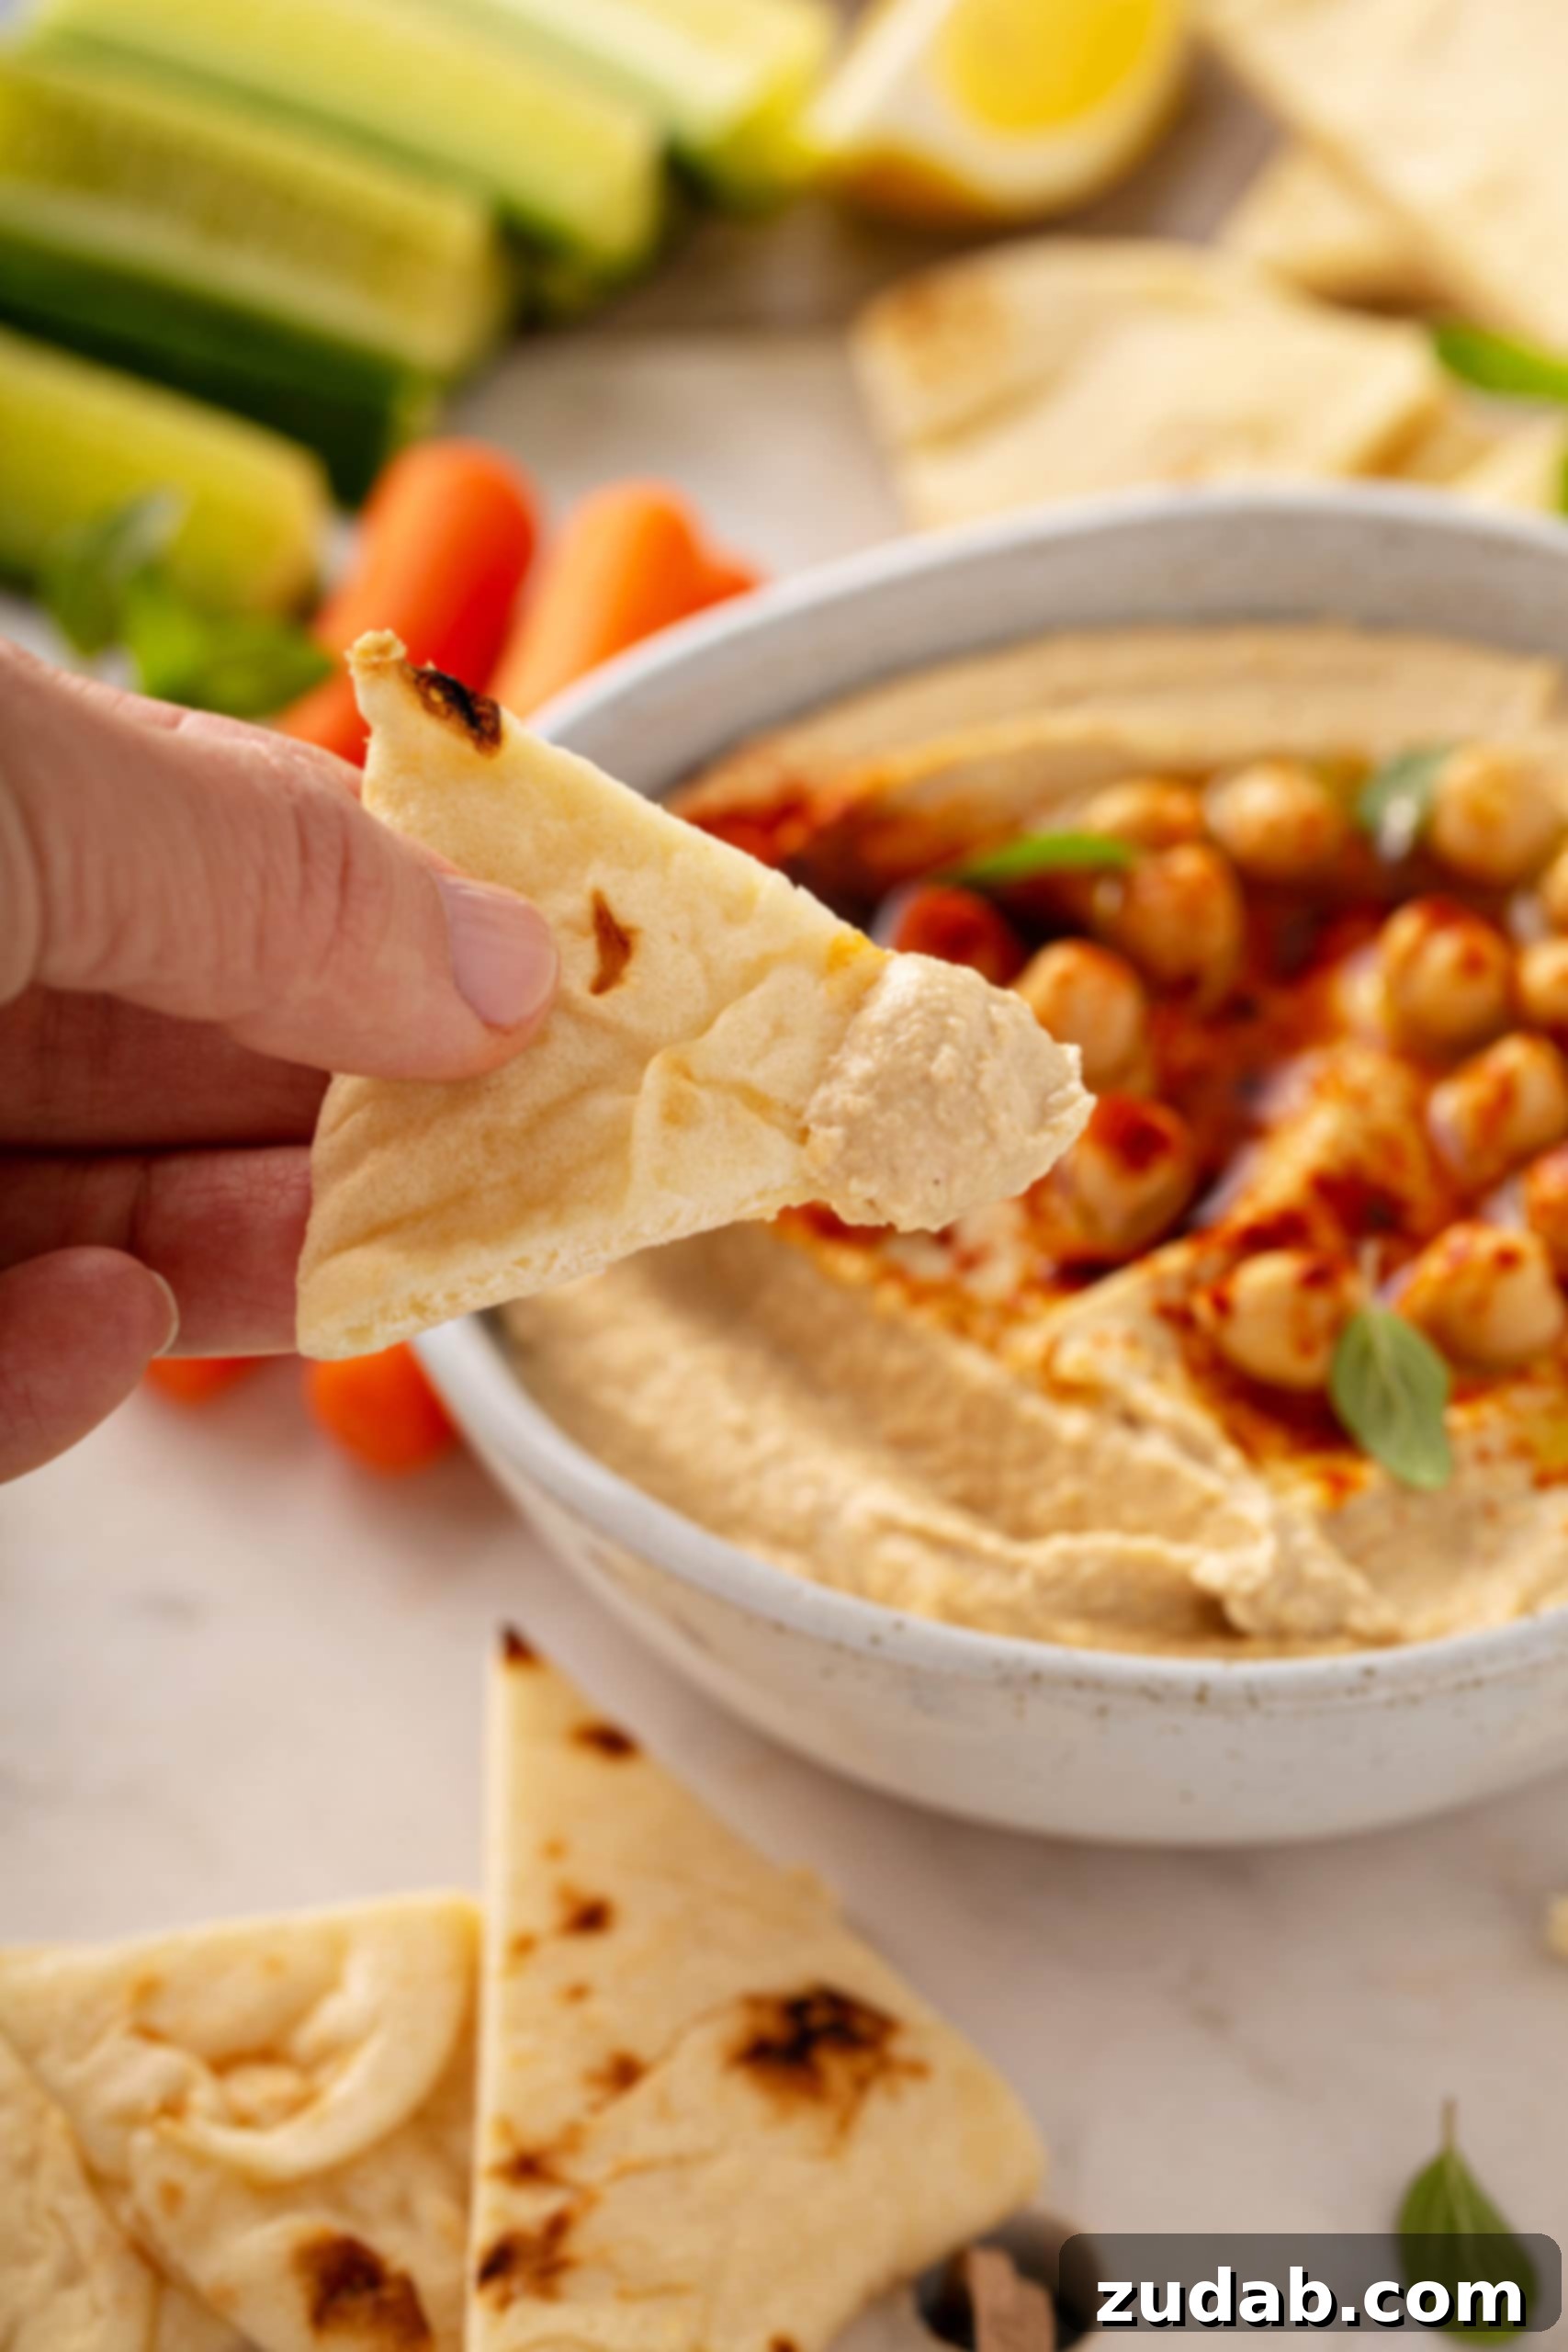
- Pita Bread and Pita Chips: The classic pairing! Warm, soft pita bread or crispy pita chips are perfect for scooping.
- Fresh Vegetables: A healthy and refreshing choice. Think crisp carrot sticks, celery, cucumber slices, vibrant grape tomatoes, florets of cauliflower or broccoli, bell pepper strips, and radishes.
- Pretzels: For a delightful salty crunch, pretzels make an excellent dipper.
- Apples: If you enjoy a unique sweet and savory combination, try dipping apple slices into your hummus. It’s surprisingly delicious!
- Crackers and Crusty Bread: A great alternative to pita for spreading or dipping.
- In Wraps and Sandwiches: Use hummus as a flavorful spread to add moisture and protein to your favorite wraps and sandwiches.
- As a Side Dish: Serve alongside grilled meats, falafel, or salads for a complete meal.
Storing Your Fresh Homemade Hummus
Because this easy homemade hummus is made with fresh ingredients and no preservatives, proper storage is essential to maintain its freshness and flavor. Once prepared, transfer your hummus to an airtight container and store it in the refrigerator. It will stay wonderfully fresh and delicious for up to 1 week.
Can You Freeze Hummus? Absolutely!
Hummus freezes exceptionally well, making it a fantastic option for meal prep or enjoying a quick snack whenever a craving strikes. To freeze, scoop the hummus into an airtight, freezer-safe container. Be sure to leave about half an inch of headspace at the top, as hummus will expand slightly as it freezes. You can also drizzle a thin layer of olive oil on top before freezing to help preserve its texture and flavor.
When you’re ready to enjoy it, simply transfer the frozen hummus to your refrigerator overnight to thaw slowly. For a quicker thaw, you can leave it on the countertop for a few hours, stirring well before serving to restore its creamy consistency.
How to Tell If Hummus Has Gone Bad
While homemade hummus is best enjoyed fresh, it’s important to know how to recognize if it has spoiled. The most reliable indicator is your sense of smell. Fresh hummus will have a subtle, pleasant aroma, primarily of garlic and cumin.
If your hummus has gone bad, it will develop a distinct sour or tangy smell, quite different from its original aroma. You might also notice changes in its appearance, such as discoloration (it might turn a darker shade), or visible mold. If any of these signs are present, it’s best to err on the side of caution and discard the hummus.
Is Hummus a Good Choice for Weight Loss?
Absolutely! Hummus is an excellent addition to a balanced diet, especially if you’re looking for healthy options to support weight loss. It’s packed with plant-based protein and beneficial dietary fiber, both of which are incredibly important for managing hunger and promoting a feeling of fullness. The fiber in chickpeas helps slow digestion, keeping you satisfied for longer and reducing the likelihood of overeating.
Furthermore, hummus is typically made with healthy fats from tahini and olive oil, which contribute to satiety. When paired with fresh vegetables as a dipping medium, it becomes an even more nutritious and low-calorie snack. As with all foods, moderation is key, but incorporating homemade hummus into your routine can be a delicious and effective strategy for healthy eating and weight management.
Whether you’re planning an elaborate dinner party, seeking a healthy new snack, or simply craving a taste of the Mediterranean, this easy homemade hummus recipe is a must-try. Its classic flavor and incredible creaminess will make it an instant favorite. Go ahead, make a batch right now – you won’t regret it!
More DELICIOUS DIPS You Can’t Resist:
- Buffalo Chicken Dip
- Healthy Herb Veggie Dip
- Chorizo Dip Queso Fundido
- Slow Cooker Cheesy Lobster Shrimp and Crab Dip
- Mexican 7 Layer Dip
- Cheesy Slow Cooker Sausage Dip
- Bacon Ranch Corn Dip
- Pepperoni Pizza Dip
- All our DIP RECIPES!!
Hummus
Ingredients
- 15 oz. Chickpeas, one can, drained and rinsed
- 1/2 teaspoon Baking soda
- 2 1/2 Tablespoon Lemon juice, freshly squeezed
- 1 Clove Garlic, large, roughly chopped
- 1/2-3/4 teaspoon Sea Salt, fine, plus a little more to taste
- 1/2 Cup Tahini
- 2-4 teaspoons Ice water, or more as needed
- 1/4-1/2 teaspoon Cumin, ground
- 1 Tablespoon Olive oil, extra virgin
- 1-4 teaspoon Paprika, smoked, for garnish
Instructions
-
Place the chickpeas in a medium saucepan and sprinkle in the baking soda. Cover the chickpeas by several inches of water, then bring the mixture to a boil over high heat. Continue boiling, reducing heat if necessary to prevent overflow, for about 20 minutes, or until the chickpeas’ skins are falling off.15 oz. Chickpeas, 1/2 teaspoon Baking soda
-
In a fine-mesh strainer, drain the chickpeas and run cool water over them for about 30 seconds. Set aside.
-
Meanwhile, in a food processor or high-powered blender, combine the lemon juice, garlic and salt. Process until the garlic is very finely chopped, then let the mixture rest so the garlic can seep in, about 15 minutes.2 1/2 Tablespoon Lemon juice, 1 Clove Garlic, 1/2-3/4 teaspoon Sea Salt
-
Add the tahini to the food processor and blend until the mixture is thick and creamy, stopping to scrape down any tahini stuck to the sides and bottom of the processor as necessary so that everything ends up well combined.1/2 Cup Tahini
-
While running the food processor, drizzle in 2 tablespoons ice water, blend until the mixture is ultra smooth, pale and creamy. (If your tahini was extra-thick, you might need to add 1 to 2 tablespoons more of ice water.)2-4 teaspoons Ice water
-
Add the cumin and the drained chickpeas to the food processor. While blending, drizzle in the olive oil. Blend until the mixture is super smooth, scraping down the sides of the processor as necessary, about 2 minutes. Add more ice water by the tablespoon if necessary until the mixture is creamy.1/4-1/2 teaspoon Cumin, 1 Tablespoon Olive oil
-
Scrape the hummus into a serving bowl or platter.1-4 teaspoon Paprika
-
Store leftovers in the fridge for up to 1 week.
Recipe Notes
Nutrition
Nutrition information is automatically calculated, so should only be used as an approximation.
REMEMBER TO SUBSCRIBE TO our FREE Oh Sweet Basil NEWSLETTER AND RECEIVE EASY RECIPES DELIVERED INTO YOUR INBOX EVERY DAY!
When you try a recipe, please use the hashtag #ohsweetbasil on INSTAGRAM for a chance to be featured in our stories! FOLLOW OH, SWEET BASIL ON FACEBOOK | INSTAGRAM | PINTEREST | TWITTER FOR ALL OF OUR LATEST CONTENT, RECIPES AND STORIES.