
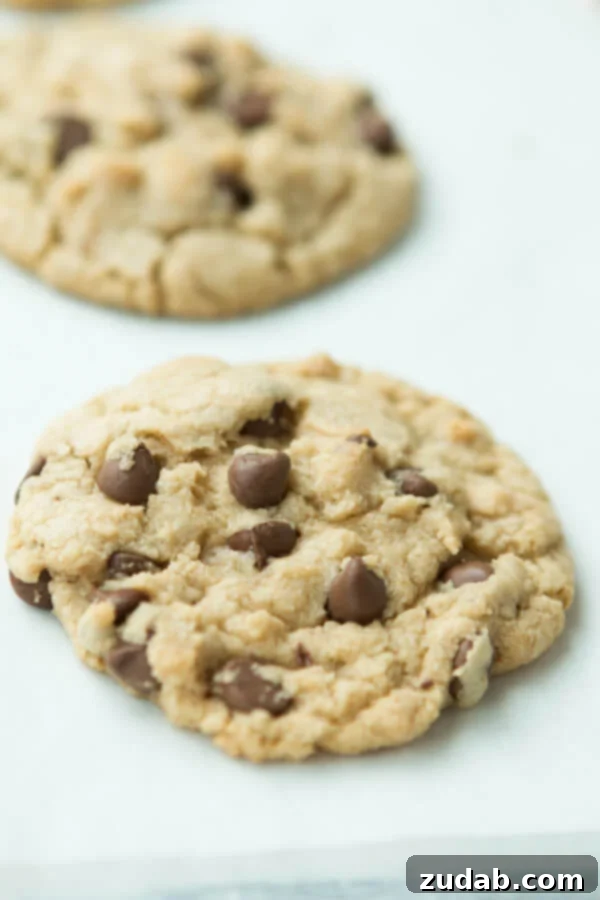
In our household, the love for chocolate chip cookies runs deep. When we stumbled upon America’s Test Kitchen’s highly acclaimed recipe, we knew it was a must-try. What we discovered was pure cookie perfection: a delightful harmony of crispy edges, a wonderfully chewy center, and an abundance of rich, melt-in-your-mouth chocolate chips. This isn’t just another cookie recipe; it’s exactly what you crave in a truly exceptional chocolate chip cookie recipe, consistently delivering that ideal balance of texture and flavor.
October, delightfully, marks National Cookie Month, and for a cookie enthusiast like me, that’s cause for celebration! While my mind often drifts to seasonal treats like pumpkin spice cookies, pumpkin chocolate chip cookies, or even pumpkin whoopie pies, a classic like this America’s Test Kitchen masterpiece always holds a special place. I’m already planning to share a variety of cookie creations this month, including our beloved Mexican chocolate cookies and soft sugar cookies, but today, we’re spotlighting the ultimate classic that has won over even the pickiest palates.
My husband, a notoriously selective cookie connoisseur, has a very short list of acceptable cookies. For years, only the nostalgic Nestle Toll House recipe (yes, the one from the back of the bag!) and a friend’s college-era creation made the cut. Thankfully, over time, I’ve managed to expand his horizons, successfully converting him to our cherished chocolate chip pudding cookies. However, this America’s Test Kitchen rendition of chocolate chip cookies has firmly cemented its place as one of his top two all-time favorites. That’s a serious endorsement in our house, making it a staple in our regular baking rotation.
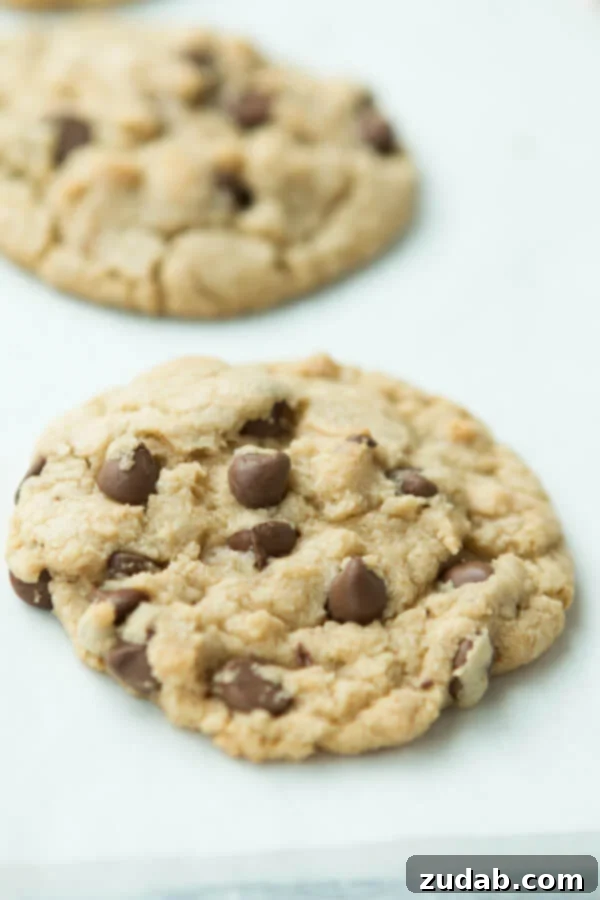
Unlocking the Perfect Texture: Ingredients for America’s Test Kitchen Chocolate Chip Cookies
One of the beauties of this America’s Test Kitchen chocolate chip cookie recipe is that it relies on readily available, common cookie ingredients. There are no exotic additions or hard-to-find components, just simple staples expertly combined to create an extraordinary result. Each ingredient plays a crucial role in achieving that coveted balance of crunchy edges and a soft, chewy interior. Here’s a closer look at what you’ll need and why each element is essential for these truly remarkable chocolate chip cookies:
- All-Purpose Flour: The foundation of our cookies. Regular all-purpose flour provides the necessary structure without making the cookies tough, especially when mixed correctly. It helps form the backbone of the cookie.
- Baking Soda: This acts as a powerful leavening agent, helping the cookies spread and rise slightly, contributing to their signature chewiness. It reacts with the acidic brown sugar in the dough, creating carbon dioxide bubbles that lighten the texture.
- Salt: Often underestimated, salt is a flavor enhancer that balances the sweetness of the sugars and chocolate, making all the other flavors pop and preventing the cookies from tasting one-dimensionally sweet. A touch of salt elevates the entire profile.
- Unsalted Butter: Using unsalted butter gives you complete control over the total salt content in your recipe. America’s Test Kitchen often calls for melted and slightly cooled butter in their recipes, a technique that contributes significantly to the chewy texture by minimizing gluten development and increasing spread. This is a key difference from recipes calling for softened butter.
- Brown Sugar (Packed): Essential for both flavor and texture. Brown sugar, with its molasses content, adds a deep, caramel-like sweetness and a vital amount of moisture, which is key to keeping the cookies wonderfully chewy and soft in the center. Always pack it firmly into your measuring cup.
- Granulated Sugar: This classic white sugar contributes to the cookie’s overall sweetness and helps create those desirable crispy edges that perfectly contrast the chewy middle. The combination of both sugars is critical for the ideal texture.
- Large Egg and an Extra Egg Yolk: The whole egg provides structure and binds the ingredients, while the additional egg yolk is a secret weapon. It boosts richness, moisture, and chewiness, resulting in a more tender and satisfying cookie. This extra yolk really pushes the texture from good to incredible.
- Vanilla Extract: A non-negotiable flavor enhancer. Pure vanilla extract adds warmth, depth, and that unmistakable classic cookie aroma and taste. Don’t skimp on quality vanilla here.
- Semi-Sweet Chocolate Chips: The heart of any chocolate chip cookie! I’ve experimented with various types, and semi-sweet remains my top choice. Its slight bitterness perfectly cuts through the sweetness of the cookie dough, creating a balanced and deeply satisfying chocolate flavor. Milk chocolate, while delicious, can sometimes make the overall cookie too sweet, while dark chocolate might be too intense for some palates. Feel free to use your favorite, but semi-sweet offers that ideal contrast and melts beautifully.
For precise measurements and detailed quantities, you’ll find all the specifics meticulously outlined in the comprehensive recipe card located further down this page.
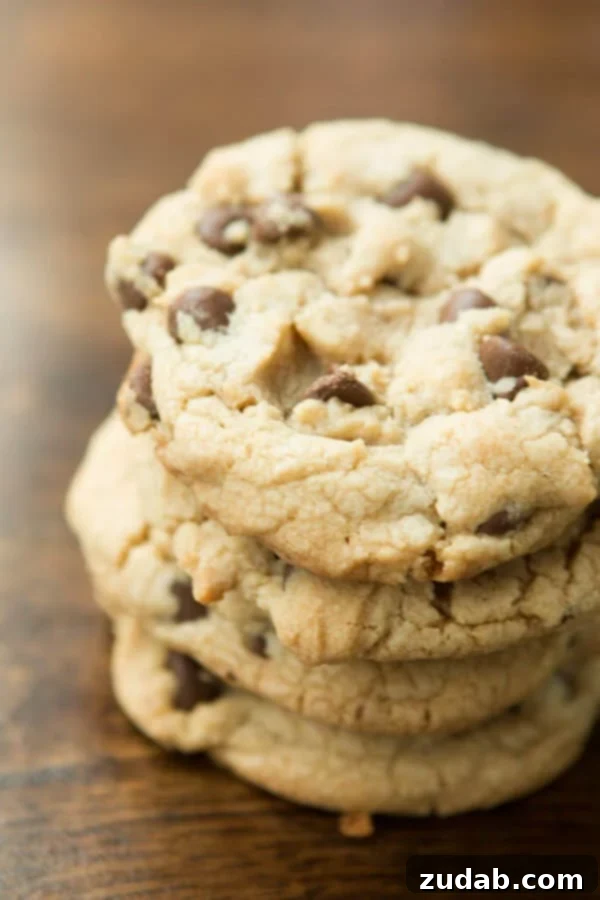
Crafting the Ultimate Chocolate Chip Cookies: Step-by-Step Guide
Making these America’s Test Kitchen chocolate chip cookies is a process that’s both enjoyable and rewarding. While the full, printable instructions are provided in the recipe card at the end of this post, here’s an expanded overview of the basic steps, along with some insider tips, to help you achieve cookie nirvana. Pay close attention to the unique techniques that give these cookies their signature texture!
- Prepare Your Baking Environment: Begin by preheating your oven to the specified temperature (typically 325°F or 160°C). This slightly lower temperature allows for more even baking and contributes to the chewy interior, preventing the edges from burning before the center is cooked. Adjust your oven racks so one is in the upper position and the other in the lower middle. This arrangement facilitates even heat distribution during baking, especially when rotating the trays later. Line two baking sheets with parchment paper or use a light coating of cooking spray. Parchment paper is highly recommended as it prevents sticking, promotes even browning, and makes cleanup a breeze.
- Combine Dry Ingredients: In a medium-sized bowl, thoroughly whisk together the all-purpose flour, baking soda, and salt. Whisking for about 30 seconds ensures that the leavening agent and salt are evenly distributed throughout the flour. This is crucial for uniform rise and consistent flavor in every cookie. Set this mixture aside.
- Mix Wet Ingredients (The ATK Secret): This step is where a touch of America’s Test Kitchen magic happens, emphasizing the use of melted butter. In a separate large bowl, combine the melted and slightly cooled unsalted butter with both the brown sugar and granulated sugar. Mix these together until they are thoroughly blended and appear smooth, about 1-2 minutes. The melted butter, rather than softened, contributes significantly to the chewy texture by inhibiting excessive gluten development. Next, beat in the large egg, the extra egg yolk, and the vanilla extract until they are just combined. Avoid over-beating at this stage; we want to incorporate, not aerate too much, to maintain density.
- Bring It All Together: Gradually add the whisked dry ingredients to the wet mixture. Beat at a low speed, or mix by hand with a sturdy spoon, until the flour is just incorporated. Stop mixing as soon as no dry streaks remain, usually within 30-60 seconds. Overmixing the dough develops the gluten in the flour, which can lead to tough, rather than tender, cookies. A light hand here is key to a soft, chewy final product.
- Stir in the Stars: Now for the best part – add the chocolate chips! Gently fold them into the dough with a wooden spoon or spatula until they are evenly distributed. Don’t be afraid to load them up – these are chocolate chip cookies after all! If you’re a fan of nuts in your cookies, this is the perfect moment to incorporate about ½ to 1 cup of chopped pecans or walnuts for an added layer of flavor and crunch. They complement the chocolate beautifully.
- Scoop and Roll: Using a 2-tablespoon cookie scoop (or a similar size for consistent cookies), portion out the dough. Roll each portion gently between your palms to form smooth, uniform balls. This ensures even baking and a neat appearance. Aim for balls that are roughly the same size to ensure they cook at the same rate.
- The Jagged Edge Technique (A Signature ATK Method): This is a crucial and unique step for achieving those famous crunchy edges and wonderfully chewy centers. Take a dough ball and hold it between the fingertips of both hands. Gently pull the dough ball in half, creating two jagged, torn edges. Then, rotate one half 90 degrees and lightly stick the two jagged halves back together, so the torn edges are facing upwards. This seemingly simple act creates a more irregular shape, which results in varied textures as the cookies bake – more nooks and crannies for crispness, while the center stays tender. (While my photo might not explicitly show this specific technique, it’s highly recommended for the true ATK texture!)
- Bake to Perfection: Place the formed dough balls onto your prepared baking sheets, ensuring you leave at least 2 inches of space between them to allow for proper spreading. Bake for 15-18 minutes, or until the edges are light golden brown and the centers still look slightly soft and puffy. Midway through the baking time (around 8-9 minutes), rotate your baking sheets front to back and swap their positions (if using two trays, move the top rack to the lower position and vice versa). This ensures incredibly even baking across all cookies and prevents one side from browning more than the other.
- Cool and Indulge: Once baked, remove the cookies from the oven and let them cool on the baking sheets for 5-10 minutes. This critical cooling period allows them to set up and firm up slightly, making them easier to transfer without breaking. After this initial cooling, carefully move the cookies to a wire rack to cool completely. While a perfectly cooled cookie is delightful, the absolute dream is a warm, freshly baked chocolate chip cookie straight from the oven, with the chocolate still slightly melted and gooey, ideally paired with a tall, cold glass of milk!
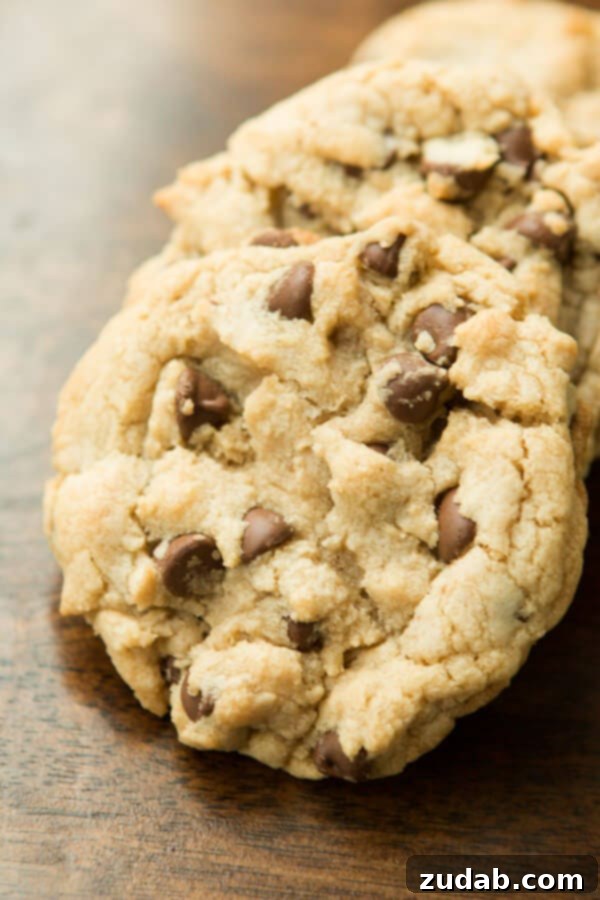
Cookie Care: Tips for Softening, Storing, and Freezing
Once you’ve baked a batch of these incredible America’s Test Kitchen chocolate chip cookies, you’ll want to ensure they stay fresh and delicious for as long as possible. Here are some essential tips for maintaining their perfect texture, reviving them if they’ve hardened, and even preparing cookie dough in advance.
How Do You Soften Cookies That Have Gotten Hard?
There’s nothing more disappointing than reaching for a delicious cookie only to find it’s gone hard. Luckily, there’s a simple, effective trick to bring them back to life. Place your hardened cookies in an airtight plastic bag or container. The key here is to add a slice of fresh bread (any type will do, but plain white bread is ideal) into the bag with the cookies, then seal it tightly. The bread will slowly release its moisture, which the cookies will absorb, effectively softening them without altering their flavor. This process works due to moisture equilibrium. Check on them after a few hours or overnight; you’ll be amazed at the transformation! For an even quicker fix for just one or two cookies, a quick 10-15 second zap in the microwave can also work wonders, making them warm and gooey again. Alternatively, you can store cookies with an apple slice for a similar effect, replacing the apple every few days.
Do Cookies Need To Be Refrigerated?
Generally, no, baked chocolate chip cookies do not need to be refrigerated. In fact, refrigerating most cookies can cause them to go stale much more quickly and lose their delightful chewy texture, becoming hard and dry. The cold, dry air of the refrigerator draws moisture out of the cookies, altering their delicate balance. Store your baked cookies in an airtight container at room temperature for up to 5-7 days to maintain their optimal texture and freshness. A cookie jar is also a charming and effective storage solution for short periods. The only exceptions are cookies that contain perishable fillings, such as cream cheese frosting, custard, or fresh fruit, which would indeed require refrigeration for food safety reasons.
Can Chocolate Chip Cookie Dough Be Frozen?
Absolutely! Freezing chocolate chip cookie dough is a fantastic way to prepare ahead, ensuring you always have fresh-baked cookies ready in minutes. This method is a lifesaver for busy weeks or unexpected guests. You can freeze cookie dough for up to 3 months, making it perfect for last-minute treats or satisfying sudden cravings. There are a couple of highly effective methods for freezing dough:
- Freezing in a Large Ball: If you plan to bake a whole batch later, form the entire portion of dough into a large ball. Wrap it tightly in plastic wrap, then an additional layer of aluminum foil or place it in an airtight freezer-safe container. When ready to bake, thaw the dough in the refrigerator overnight until it’s pliable, then scoop and bake as usual according to the recipe instructions.
- Freezing Pre-Scooped Portions (Recommended for Convenience): For ultimate convenience and “bake-as-you-go” flexibility, scoop the dough into individual cookie balls (using your cookie scoop) and place them on a baking sheet lined with parchment paper. Ensure they are not touching. Freeze for about 2 hours, or until solid. Once frozen, transfer the solid cookie dough balls to heavy-duty freezer bags or an airtight freezer container. Label with the date and baking instructions. When you’re ready for a warm cookie, simply place the frozen dough balls on a prepared baking sheet and bake directly from frozen, adding a few extra minutes to the baking time (typically 2-4 minutes more than the original recipe calls for). This method allows you to bake just one or two cookies at a time, whenever the craving strikes, without having to thaw the entire batch!
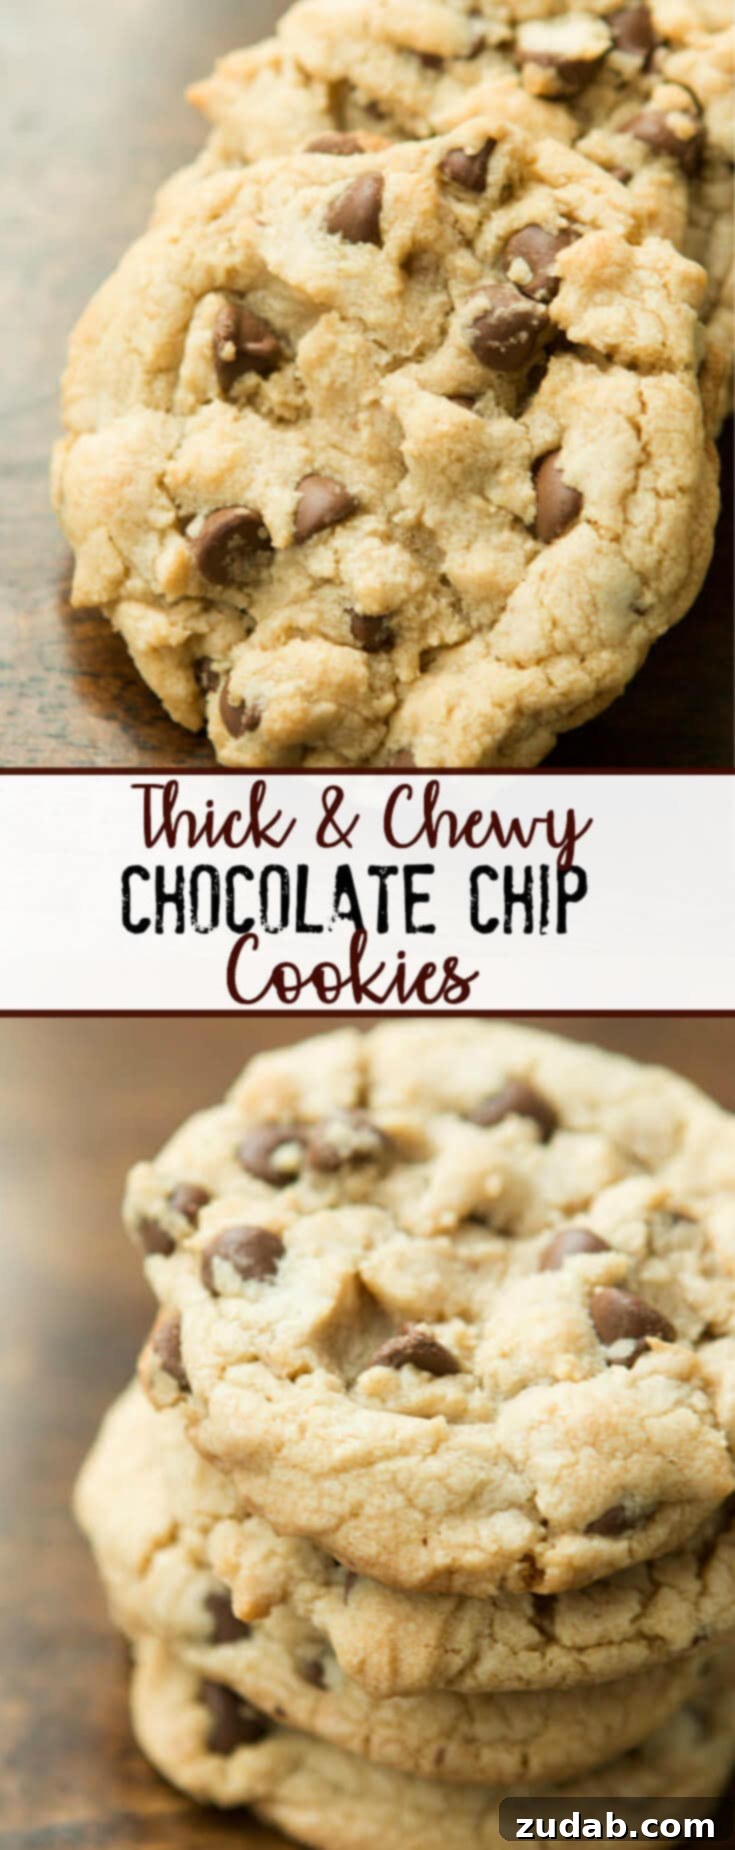
This America’s Test Kitchen chocolate chip cookie recipe truly stands out as phenomenal, and it’s a non-negotiable part of our regular cookie rotation. Time and again, America’s Test Kitchen has proven to be a reliable source for meticulously tested and perfected recipes, and this one is certainly no exception. If you’re searching for the ultimate chocolate chip cookies that deliver on every front – crispy edges, a delightfully chewy interior, and generously loaded with chocolate – then look no further. Get ready to enjoy the best cookies, any day, every day!
America’s Test Kitchen Chocolate Chip Cookies
Ingredients
Thick and Chewy Chocolate Chip Cookies Recipe By ATK
- 2 Cups Flour, plus 2 tablespoons
- 1/2 teaspoon Baking Soda
- 1/2 teaspoon Salt
- 12 Tablespoons Butter, 1 1/2 sticks, unsalted, melted and cooled until just warm
- 1 Cup Brown Sugar, packed
- 1/2 Cup Sugar
- 1 Egg, large, plus 1 Egg Yolk
- 2 teaspoons Vanilla
- 1-1 1/2 Cups Baking Chips, semi sweet chocolate, see note
Instructions
-
Heat oven to 325°F (160°C) and adjust racks to upper and lower middle positions.
-
Line two baking sheets with parchment paper or spray with nonstick spray.
-
Whisk the flour, baking soda, and salt together in a bowl and set aside.
-
Either by hand or with an electric mixer, mix the melted and cooled butter and both sugars until thoroughly blended.
-
Beat in the egg, extra egg yolk, and vanilla until just combined.
-
Add the dry ingredients to the wet mixture and beat at low speed until just combined. Be careful not to overmix.
-
Stir in chocolate chips (and chopped nuts, if desired) to taste with a wooden spoon or spatula.
-
Roll a scant 1/4 cup of the dough into a ball.
-
Holding the ball with fingertips of both hands, pull the dough in half, rotate one half 90 degrees, and stick the jagged edges back together so they face upwards. (Note: The original photo might not show this, but it’s a recommended technique for optimal texture).
-
Bake until light golden brown (15-18 minutes), rotating the baking sheets front to back and top to bottom rack halfway through the baking time for even cooking.
-
Allow cookies to cool on the baking sheets for 5-10 minutes before transferring to a wire rack to cool completely.
Recipe Notes
Baked cookies can be frozen for up to 3 months in an airtight container. Cookie dough can also be frozen; see above section for detailed instructions.
Nutrition
Nutrition information is automatically calculated, so should only be used as an approximation.
Like this? Leave a comment below!