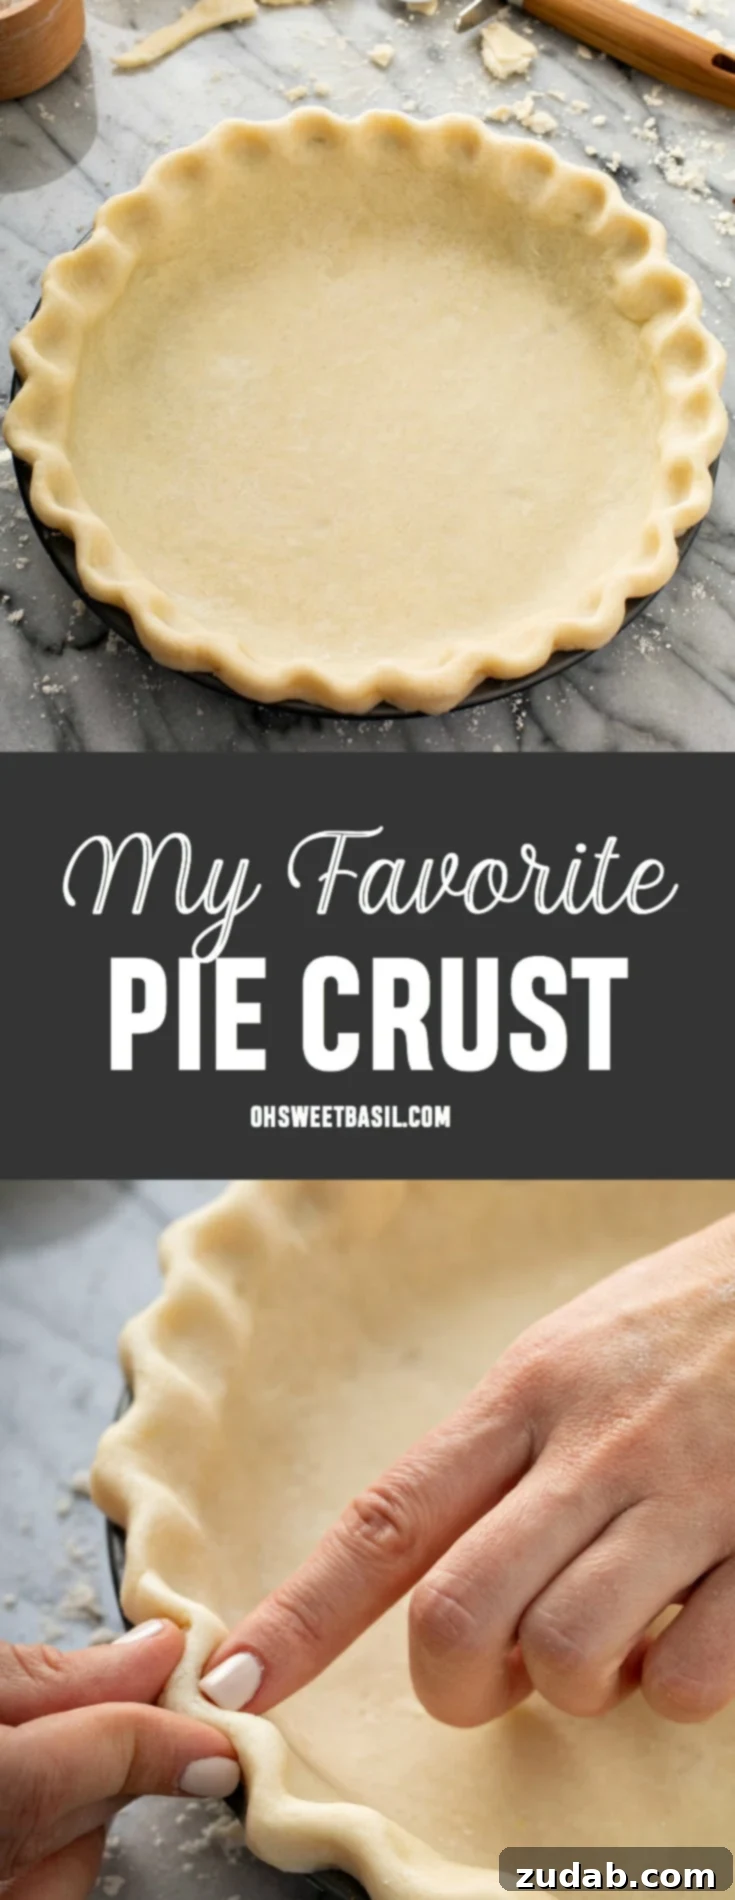
As a passionate baker and self-proclaimed pie enthusiast, I can confidently say that the foundation of any truly memorable pie lies in its crust. And when it comes to crafting the perfect base for your sweet or savory creations, this easy, All Butter Pie Crust recipe stands head and shoulders above the rest. It’s not just a recipe; it’s a revelation—delivering unparalleled flakiness, rich buttery flavor, and a tender texture that melts in your mouth with every bite. The best part? It’s surprisingly simple to master, coming together quickly without any undue stress or complicated techniques.
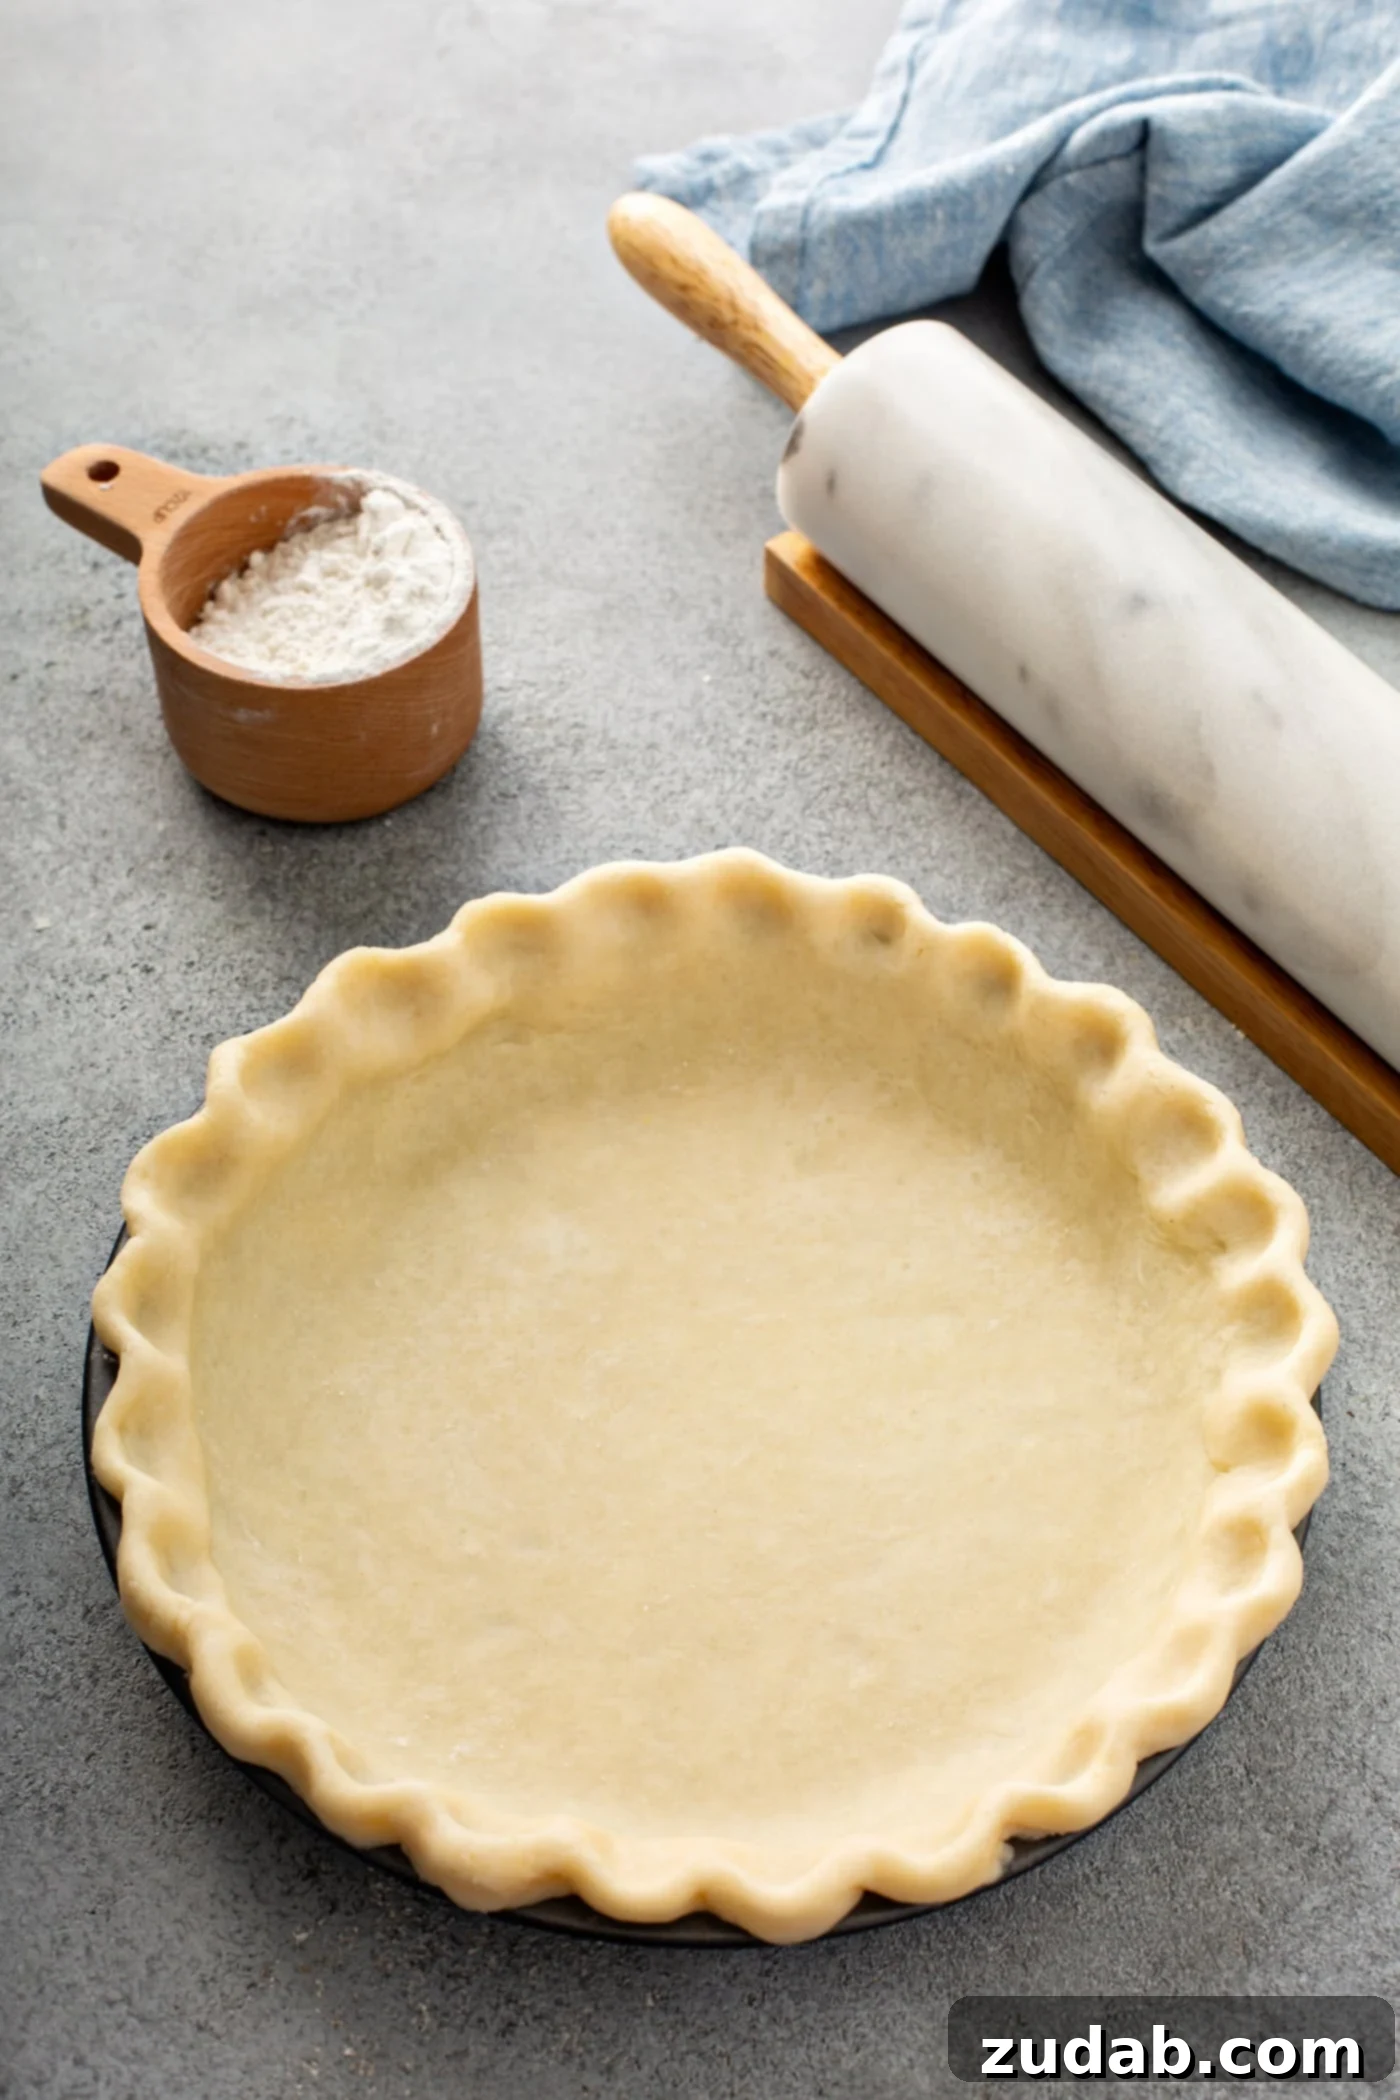
Many home bakers find the idea of making a homemade pie crust intimidating, often ranking it alongside yeast breads as one of the most challenging recipes. The fear of a tough, dry, or crumbly crust can deter even seasoned cooks. However, I am here to demystify the process and equip you with the knowledge and confidence to create a perfectly flaky pie crust from scratch, transforming you into an expert in no time. Forget the store-bought alternatives; once you experience the superior taste and texture of a truly homemade crust, there’s no going back.
The secret to a remarkable pie crust lies almost entirely in the type of fat you choose. Over years of experimentation, testing various fats and combinations, I’ve arrived at a definitive recommendation. If you’re new to pie making or have had past struggles, I recommend starting with my mom’s fail-proof pie crust recipe. This forgiving recipe incorporates egg and vinegar, along with cold shortening, making it exceptionally easy to handle and roll out, offering a fantastic entry point into the world of homemade pie crusts.
However, if you’re seeking the ultimate in flavor, texture, and a truly traditional pie experience, the undisputed champion is an all butter pie crust. While it requires a bit more attention to temperature, the reward is an undeniably superior product that elevates any pie filling it cradles.
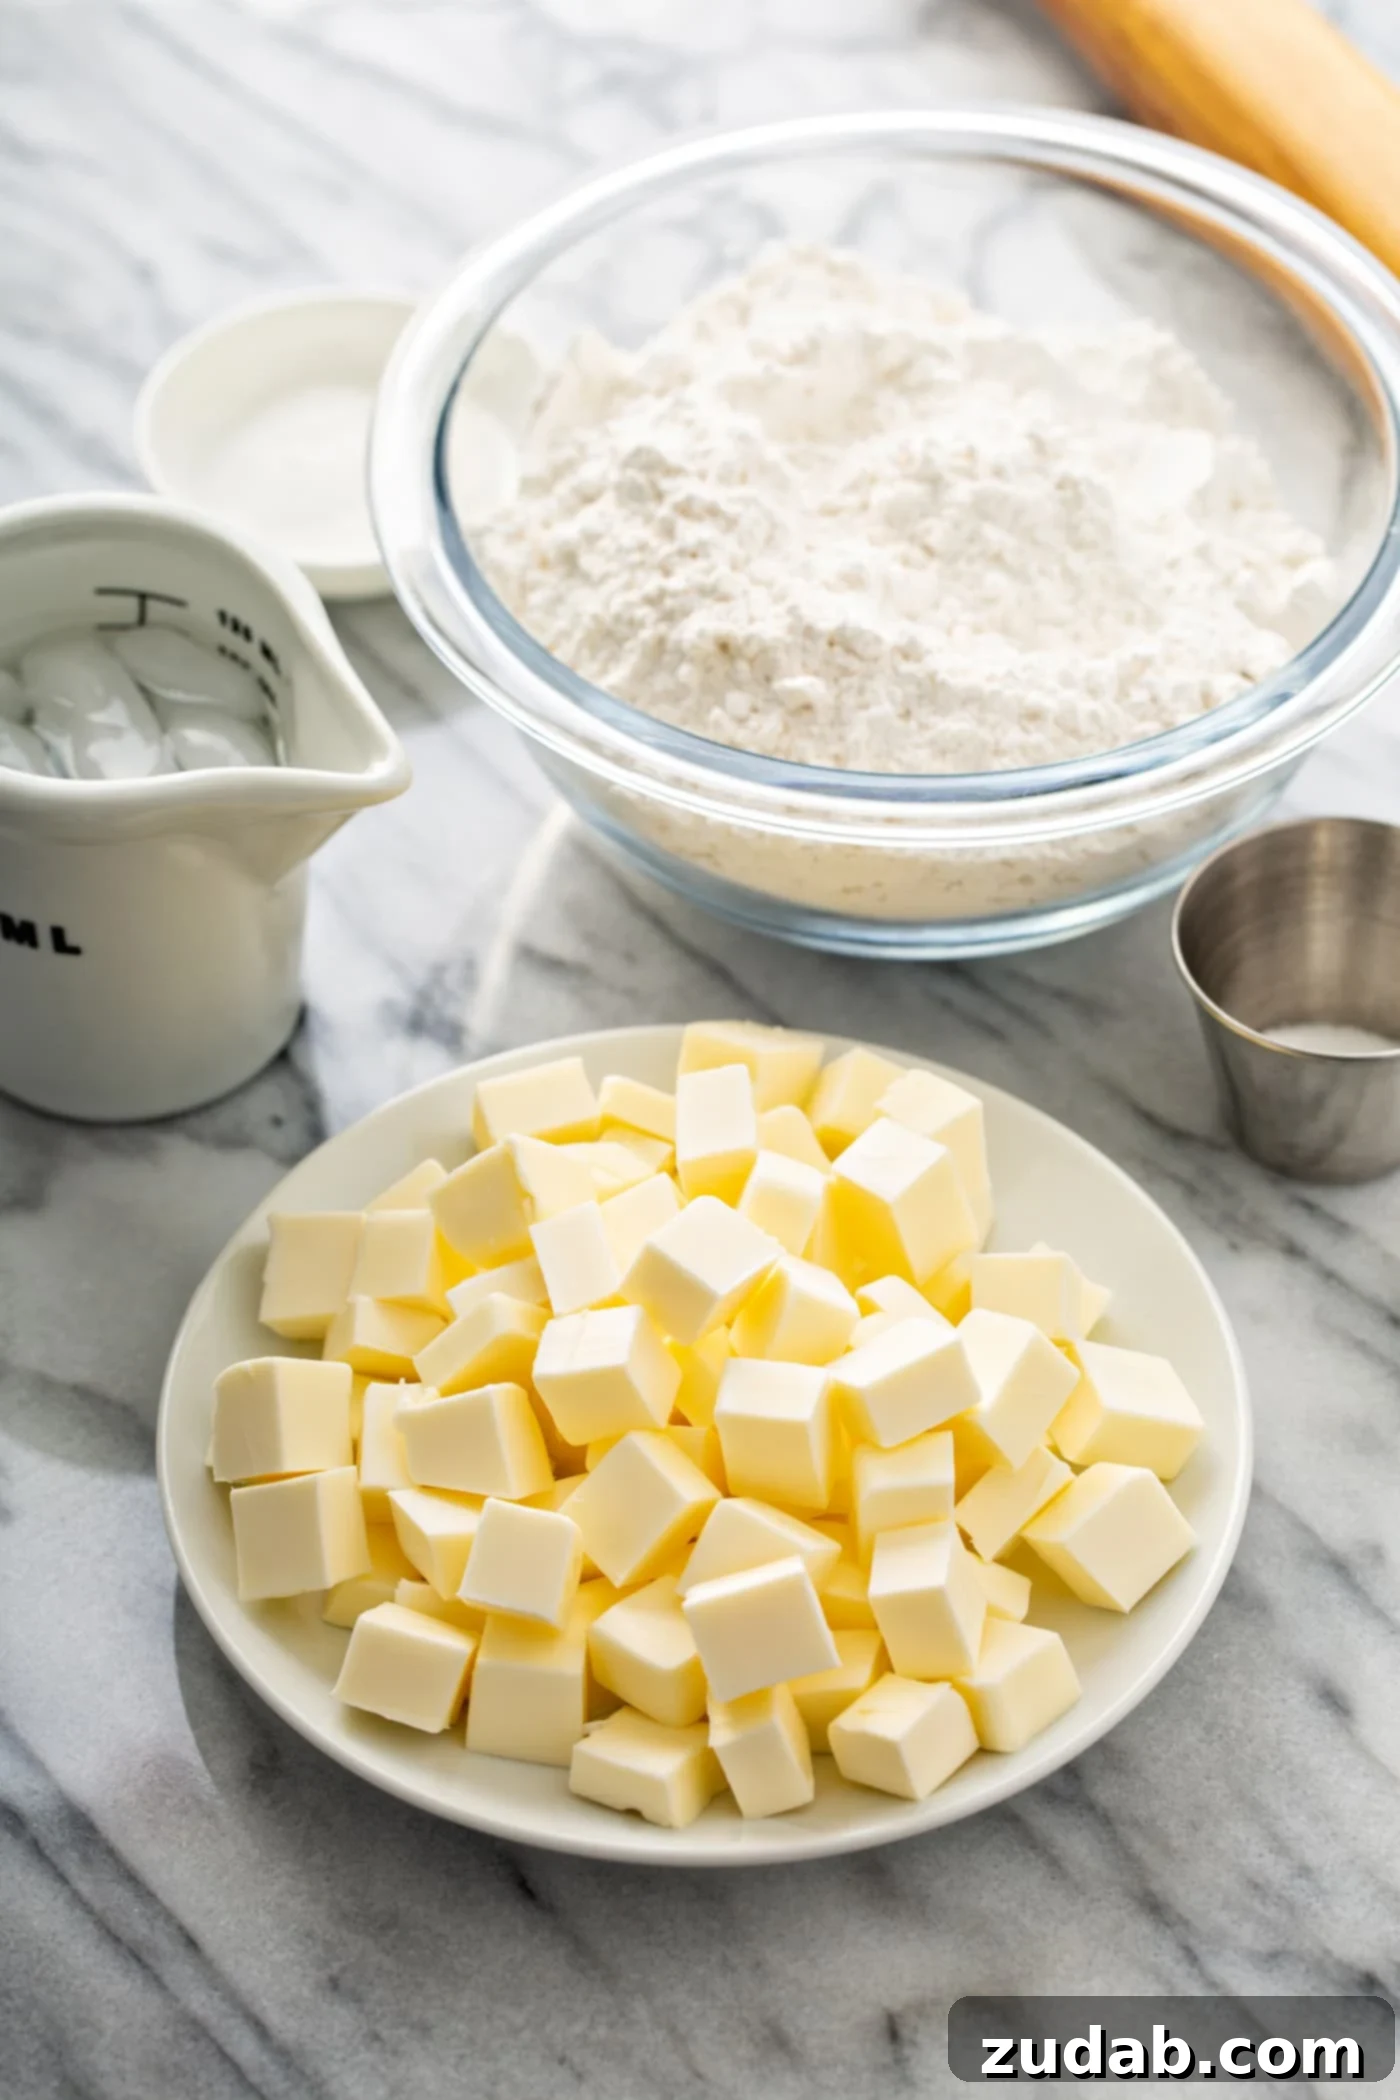
Essential Ingredients for a Perfect All Butter Pie Crust
Creating a truly flaky pie crust relies on a few fundamental, high-quality ingredients. Each plays a crucial role in achieving that coveted tender, buttery, and flaky result:
- Flour: The backbone of your crust, flour provides the necessary structure. As you work the dough, the gluten in the flour forms a network that holds everything together. However, careful handling is key to preventing over-developing the gluten, which can lead to a tough crust. All-purpose flour is generally recommended for its balanced protein content, offering both strength and tenderness.
- Salt: Far from being a mere seasoning, salt is vital for enhancing the overall flavor profile of your pie crust. It balances the richness of the butter and prevents the crust from tasting bland, ensuring every bite is savory and satisfying. Don’t skip it!
- Unsalted Butter: The undisputed star of this recipe. Using cold butter is non-negotiable. As the butter melts during baking, its water content turns into steam, creating pockets of air within the dough. These steam pockets are precisely what give an all-butter crust its incredibly light, ethereal flakiness and rich, irresistible buttery flavor. Cutting the butter into small, consistent pieces helps ensure even distribution and optimal flaking.
- Ice Water: Another critical cold component. Ice water serves a dual purpose: it helps bind the dough together without over-activating the gluten, and most importantly, it keeps the butter solid and distinct within the dough. If the butter melts before baking, you’ll lose those crucial steam pockets, resulting in a dense, rather than flaky, crust. Add it gradually, just enough to bring the dough together.
- Sugar: While not for sweetness in a savory pie, a small amount of granulated sugar contributes significantly to the crust’s texture and appearance. It promotes a more golden-brown color during baking and can contribute to a slightly crisper, flakier texture, especially in sweet pies.
*** Curious why butter reigns supreme? Keep reading to uncover the secrets behind this favorite all butter pie crust recipe! ***
Choosing the Best Fat for Your Pie Crust: A Comparative Guide
The choice of fat is the most impactful decision you’ll make when baking a pie crust, directly influencing its texture, flavor, and ease of handling. I’ve experimented with various options, and while each has its merits, butter ultimately emerges as the clear winner for superior results. Let’s break down the most common choices:
Using Lard in Pie Crust
- Pros: Historically revered, lard is known for producing an exceptionally crisp and incredibly flaky crust. Its high melting point means it stays solid longer while you’re working the dough, making it easier to handle and achieve a truly rustic texture.
- Cons: The primary challenge with lard is sourcing high-quality, neutral-flavored lard. Poor quality lard can impart an undesirable, sometimes gamey, flavor to your pie, completely overpowering the filling. For this reason, I generally steer clear of it.
Using Shortening in Pie Crust
Shortening is a popular choice for many bakers, and for good reason. I have nothing against it, and sometimes use it in combination with butter to achieve specific results, especially for decorative crusts.
- Pros: Shortening boasts an even higher melting point than lard, making it incredibly easy to cut into flour and roll out without softening prematurely. It’s a dream for intricate, decorative pie crusts, as doughs made with shortening hold their shape beautifully during baking. It’s also generally more affordable than butter.
- Cons: The main drawback of shortening is its lack of flavor. While it delivers on texture, a pure shortening crust often tastes flat compared to its buttery counterpart.
Using Butter in Pie Crust
Ah, butter! Truly the best ingredient in the culinary world. It’s my go-to for pie crusts because it offers an unbeatable combination of flavor, texture, and convenience.
- Pros: Butter delivers the most delicious, rich flavor and creates those iconic, light, and flaky layers that define a perfect pie crust. This magic happens because butter contains water. As the pie bakes, this water evaporates, creating steam that puffs up and separates the layers of dough, resulting in a heavenly, tender, and distinctly buttery crust. It’s simply unparalleled.
- Cons: Butter can be a bit more challenging to work with than shortening because it softens and melts quickly at room temperature. However, this is easily managed. If your dough feels too soft, simply chill it in the refrigerator for 15-20 minutes. If it becomes too hard after chilling, let it sit on the counter for a few minutes until it’s pliable enough to roll. Don’t be afraid to chill and re-roll as needed!
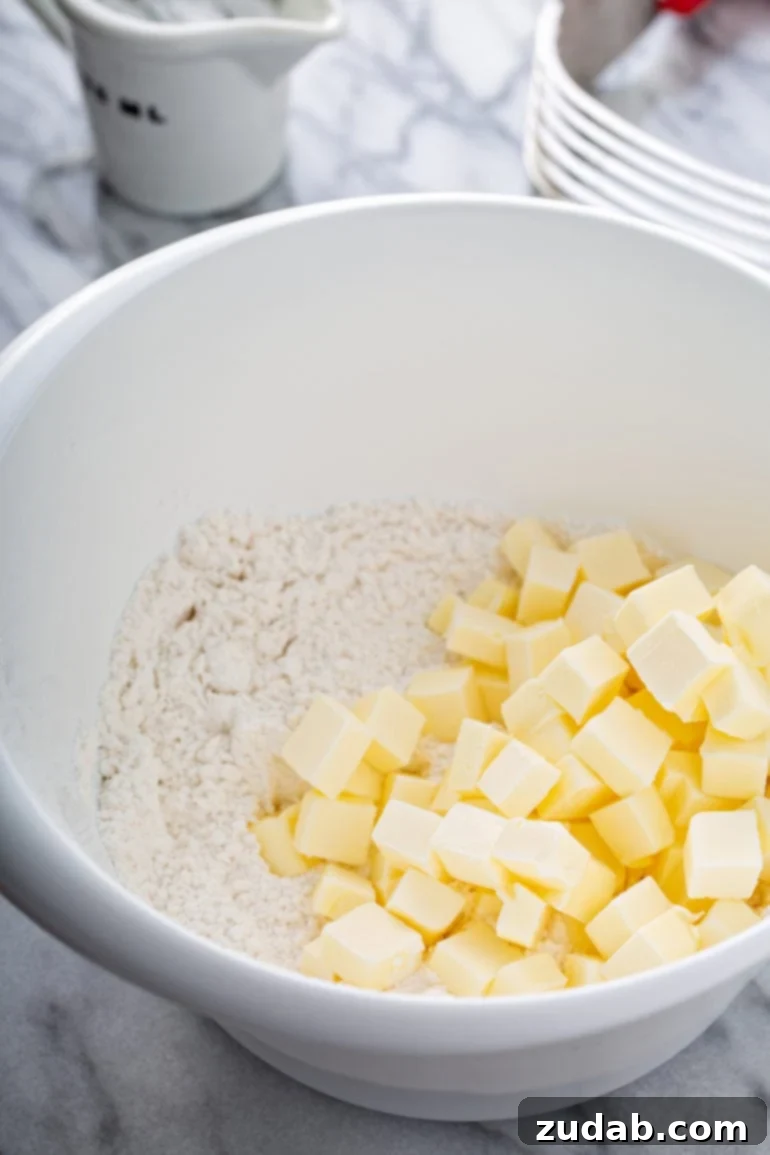
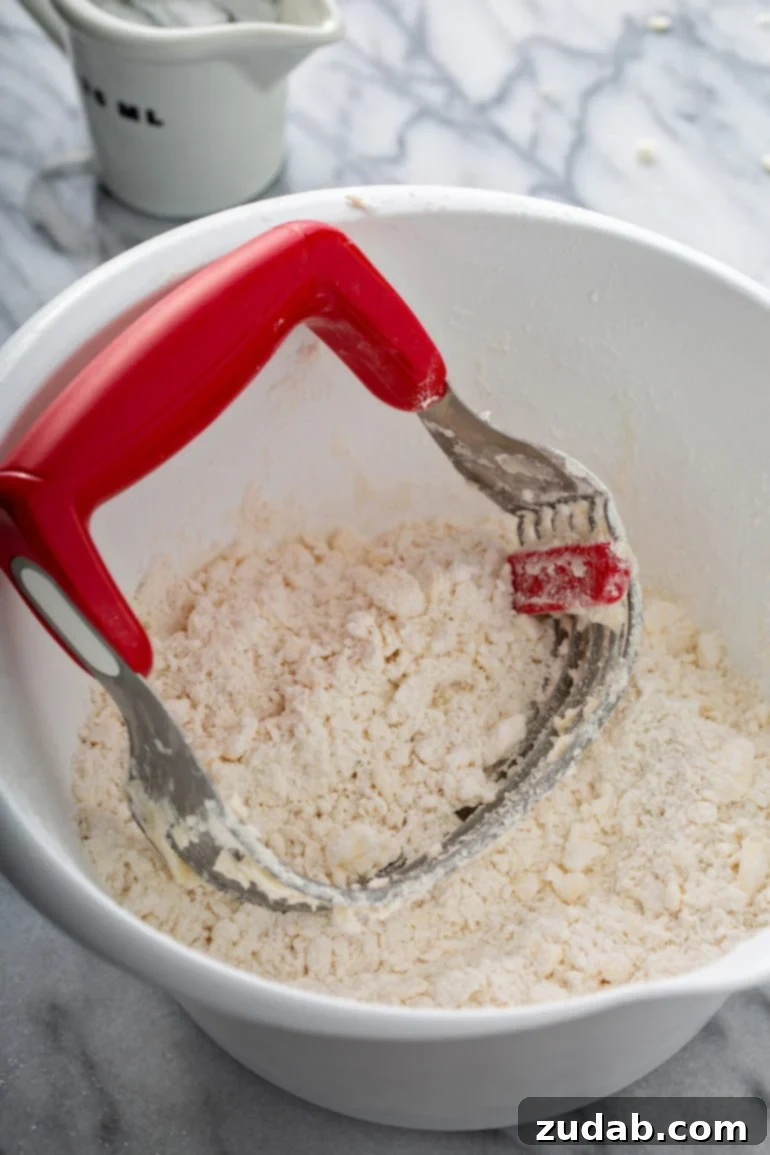
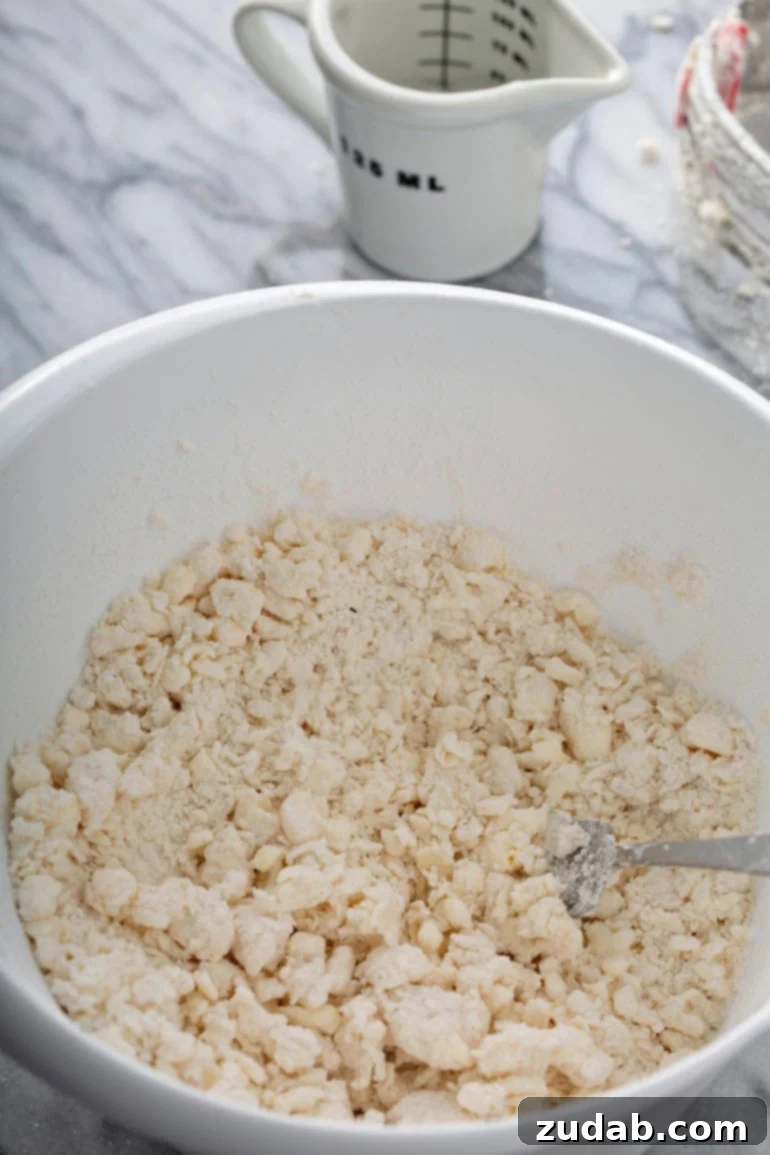
How to Make an All Butter Pie Crust From Scratch (Step-by-Step with Photos!)
Crafting a homemade pie crust is a rewarding process. Follow these detailed steps to ensure your crust is perfectly flaky and tender:
Step 1: Prepare Your Dry Ingredients and Keep Fat Chilled. Before you begin, ensure your butter is very cold, ideally straight from the refrigerator or even chilled in the freezer for 10-15 minutes, and cut into 1/2-inch cubes. In a large mixing bowl, combine the all-purpose flour, granulated sugar, and salt. Whisk them together thoroughly to ensure even distribution. Keeping all ingredients, especially the butter and water, extremely cold is the golden rule for a flaky crust.
Step 2: Incorporate the Cold Butter. Add the cold, cubed butter to your dry ingredients. Using a pastry blender (my preferred tool for controlling butter size) or two forks, quickly cut the butter into the flour mixture. The goal is to work swiftly to prevent the butter from warming. Continue until the butter pieces are about the size of small peas or flattened almonds. You want visible pieces of butter, as these will create steam pockets for flakiness.
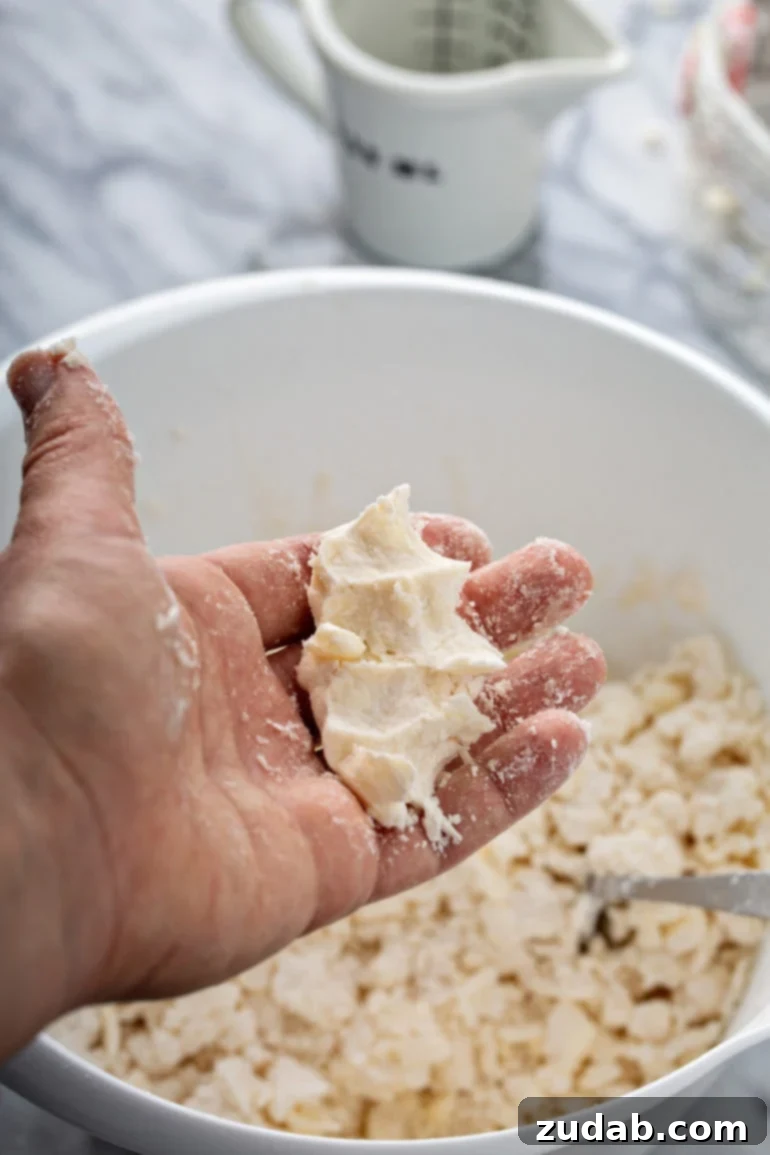
Step 3: Gradually Add Ice Water. Fill a measuring cup with ice and then top it off with cold water. Create a small well in the center of your flour-butter mixture. Add the ice water, one tablespoon at a time, gently stirring with a fork after each addition. The amount of water needed can vary slightly depending on your flour and humidity, so add just enough until the mixture begins to come together. The dough should still look quite shaggy and crumbly, but when squeezed, it should hold its shape. Avoid over-mixing, as this develops gluten and can make the crust tough.
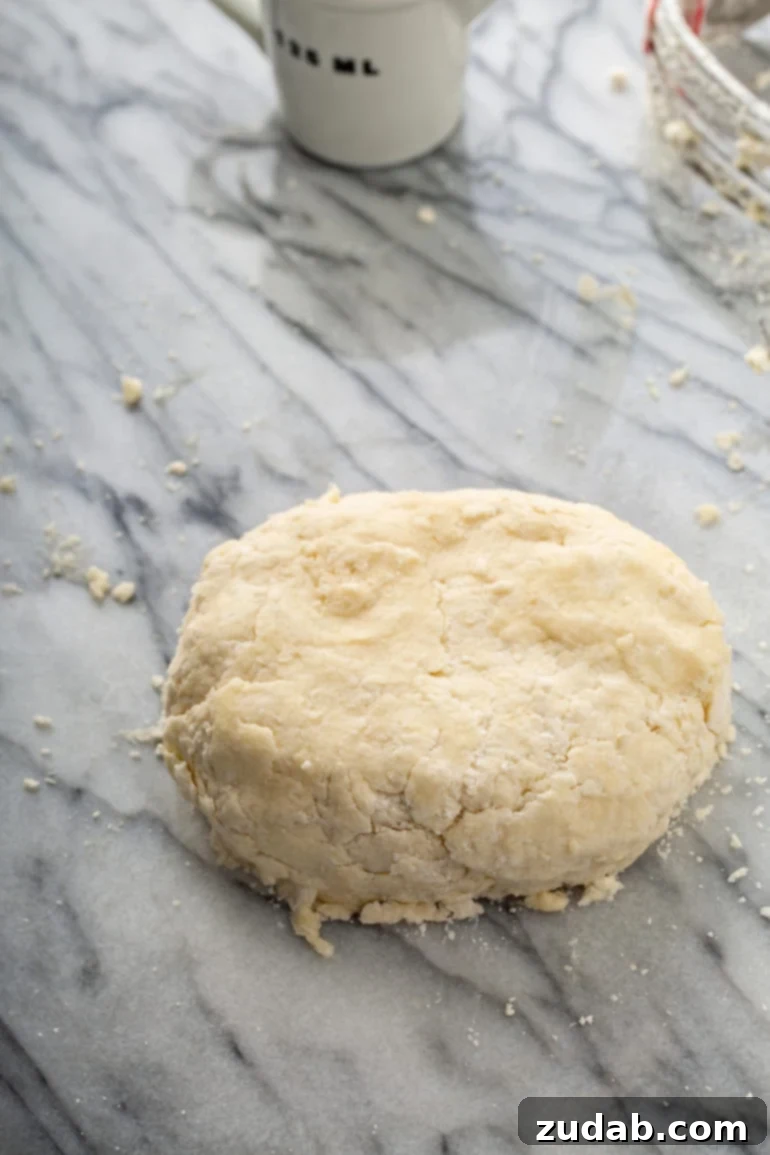
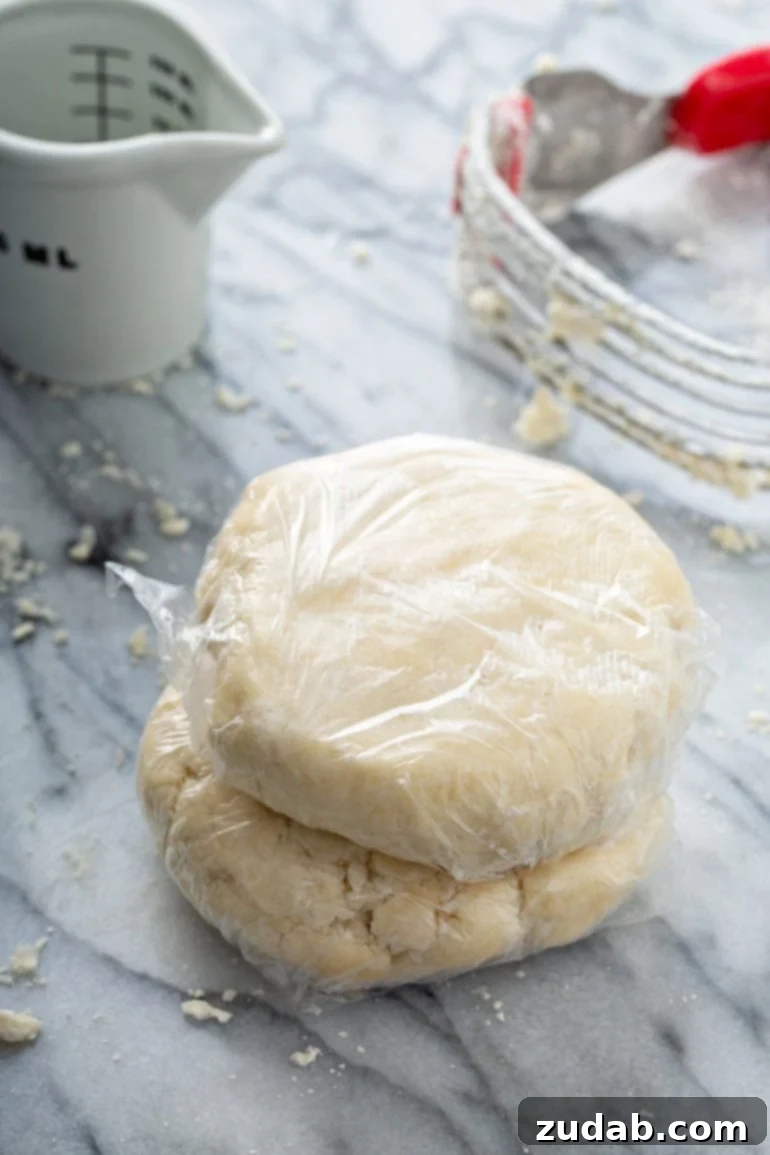
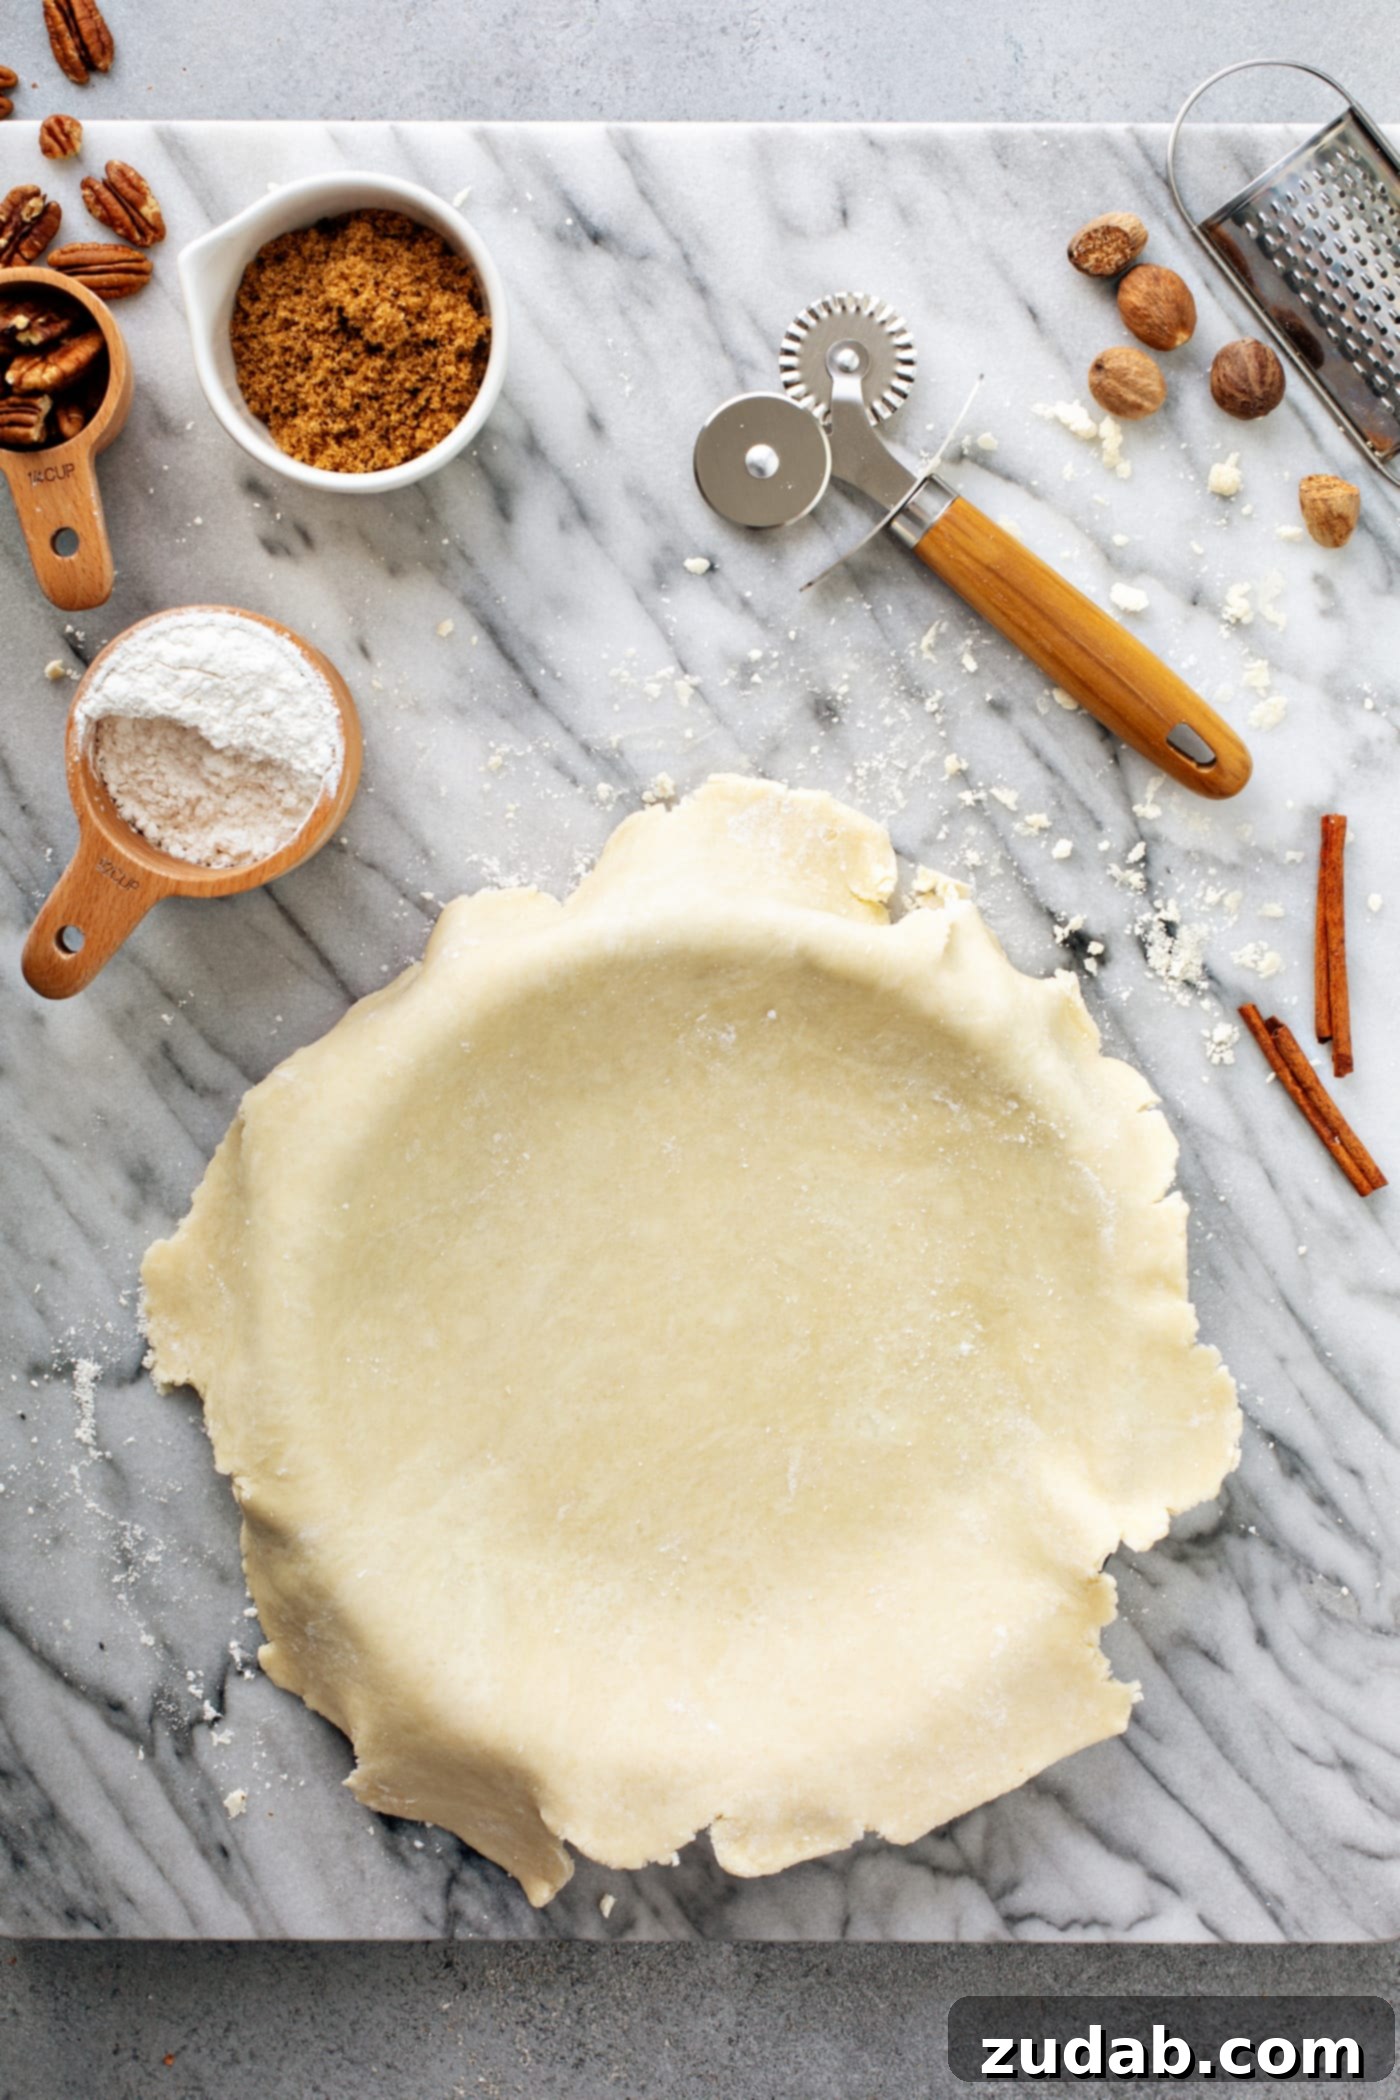
Step 4: Form and Wrap the Dough. Lightly dust your counter with a tiny bit of flour or lay out a piece of plastic wrap. Carefully dump the shaggy dough mixture onto it. Gently gather the dough into a cohesive ball or two flattened disks, pressing firmly but without kneading. Each disk should be about 1-inch thick. Wrap each disk tightly in plastic wrap, ensuring no air pockets. This prevents the dough from drying out and helps it chill evenly.
Step 5: Chill the Dough. Place the wrapped pie dough disks in the refrigerator to chill for a minimum of 1-2 hours. Chilling is essential: it allows the gluten to relax (preventing shrinkage during baking), and it ensures the butter remains very cold, which is crucial for achieving a flaky texture. You can make the dough up to two days in advance; just remember to let it sit on the counter for about 10-15 minutes before rolling to make it more pliable.
Tip for Dough Consistency: To check if your dough has the right moisture content before chilling, perform the “squeeze test.” Take a small handful of the shaggy dough and squeeze it. If it holds together in your hand without crumbling, it’s ready, even if it still looks quite rough in the bowl. When you form it into disks and roll it out, working on a marble slab or a chilled surface can help keep the butter cool and prevent melting.
Wrapping the pie dough tightly in plastic wrap is critical not only for chilling but also to prevent the dough from drying out and forming a crust. This ensures a supple, workable dough when you’re ready to roll.
Selecting the Ideal Pie Crust for Your Filling: Flaky vs. Mealy
The type of pie crust you choose should be dictated by your pie filling. This is a common oversight that can significantly impact the final enjoyment of your pie. Understanding the difference between a flaky and a mealy crust, and when to use each, is a hallmark of an expert pie maker.
When to Make a Flaky Pie Crust
Flaky crusts are the quintessential choice for fruit pies, such as our vibrant razzleberry pie. The tender, airy layers of a flaky crust provide a delightful textural contrast that complements the soft, juicy fruit filling beautifully. To achieve a flaky crust, the fat (butter, in our case) is cut into larger pieces within the flour—think the size of walnut halves or slightly smaller. During baking, the moisture in these larger pockets of butter rapidly evaporates, turning into steam. This steam pushes up the layers of dough, creating those distinct, airy, and crisp flakes that are so characteristic and desired for fruit pies.
When to Make a Mealy Pie Crust
Mealy crusts are your best friend for cream or custard pies, like our indulgent French silk pie. The goal here is to create a tighter, more cohesive crust that can withstand the moisture from a creamy filling without becoming soggy. For a mealy crust, the butter is cut into much smaller pieces—about the size of small peas or even finer. With smaller fat particles, there is less opportunity for significant steam pockets to form. This results in a denser, firmer crust that acts as a robust barrier against moisture, ensuring your pie remains structurally sound and delicious.
Consider a practical example: If you’re making a rich chicken pot pie, which type of crust would you choose? It’s not a fruit pie, nor is it a sweet custard. In this case, you would opt for a more mealy crust. Why? Because the savory sauce inside a pot pie needs a crust that can hold up to its moisture, preventing a soggy bottom and preserving that satisfying texture. Understanding this principle empowers you to make the perfect crust choice for any pie!
Common Pie Crust Questions & Troubleshooting
Should I Use an Egg Wash on My Pie Crust?
Absolutely! An egg wash is a simple yet transformative step for achieving that beautiful, golden-brown, and slightly shiny finish on your pie crust. It also helps to seal the crust, which can prevent some moisture absorption. A simple egg wash typically consists of one egg whisked with a tablespoon of water or milk, brushed lightly over the crust before baking.
Why is My Pie Crust Too Crumbly to Roll Out?
A crumbly pie crust is almost always a sign of insufficient moisture. If your dough is too dry, it won’t coalesce and will be difficult to roll without tearing. To fix this, sprinkle a few teaspoons of extra ice water over the dough, one at a time, and gently work it in with your hands or a fork until the dough is uniformly moist enough to hold together when squeezed. Be careful not to add too much at once, and avoid over-handling the dough, which can warm the butter and develop gluten.
Why Does My Pie Crust Shrink During Baking?
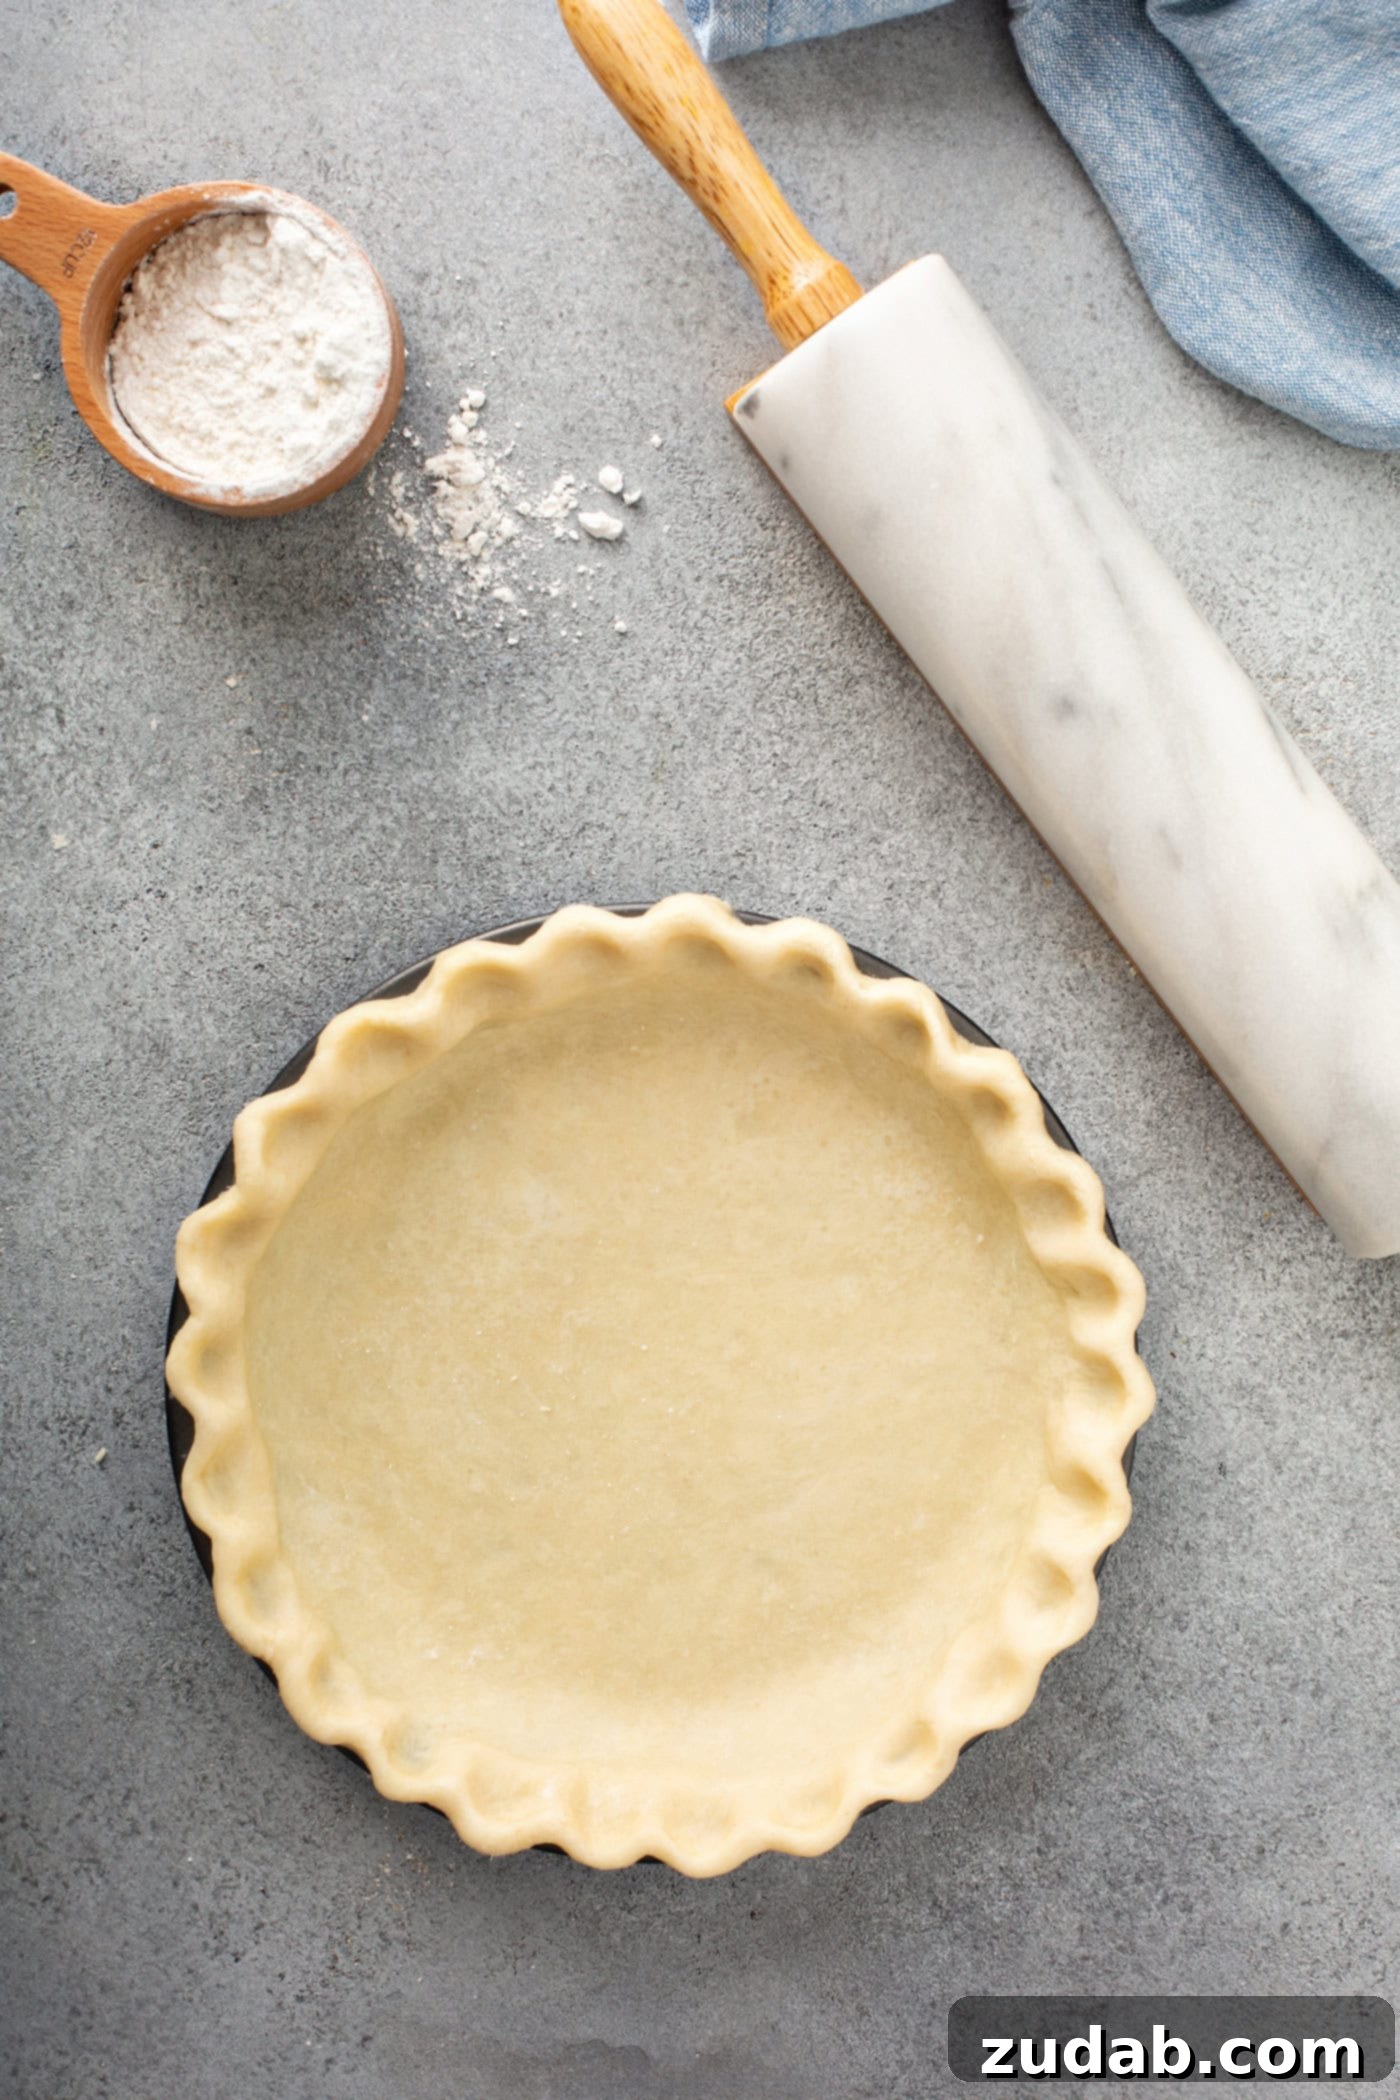
Pie crust shrinking is a common issue, often due to the gluten in the flour being too tense. Gluten needs time to relax after being worked. Ensure you allow your pie dough sufficient “resting” time in the refrigerator (at least 1-2 hours) before rolling and baking. This chilling period lets the gluten strands relax, significantly preventing shrinkage. Also, avoid stretching the dough too tightly into the pie pan, which can cause it to snap back as it bakes.
Can I Freeze Pie Crust for Later Use?
Yes, pie dough freezes exceptionally well, making it a fantastic make-ahead option for busy schedules. To freeze, wrap the unbaked pie crust disks tightly in several layers of heavy-duty aluminum foil or plastic freezer wrap, or place them in a freezer-safe bag, ensuring it’s sealed tightly to prevent freezer burn. It can be frozen for up to 2 months. When you’re ready to use it, thaw the frozen dough in the refrigerator for at least 2 hours (or overnight) before letting it sit at room temperature for 10-15 minutes until pliable enough to roll.
Mastering the Art of Crimping Pie Edges
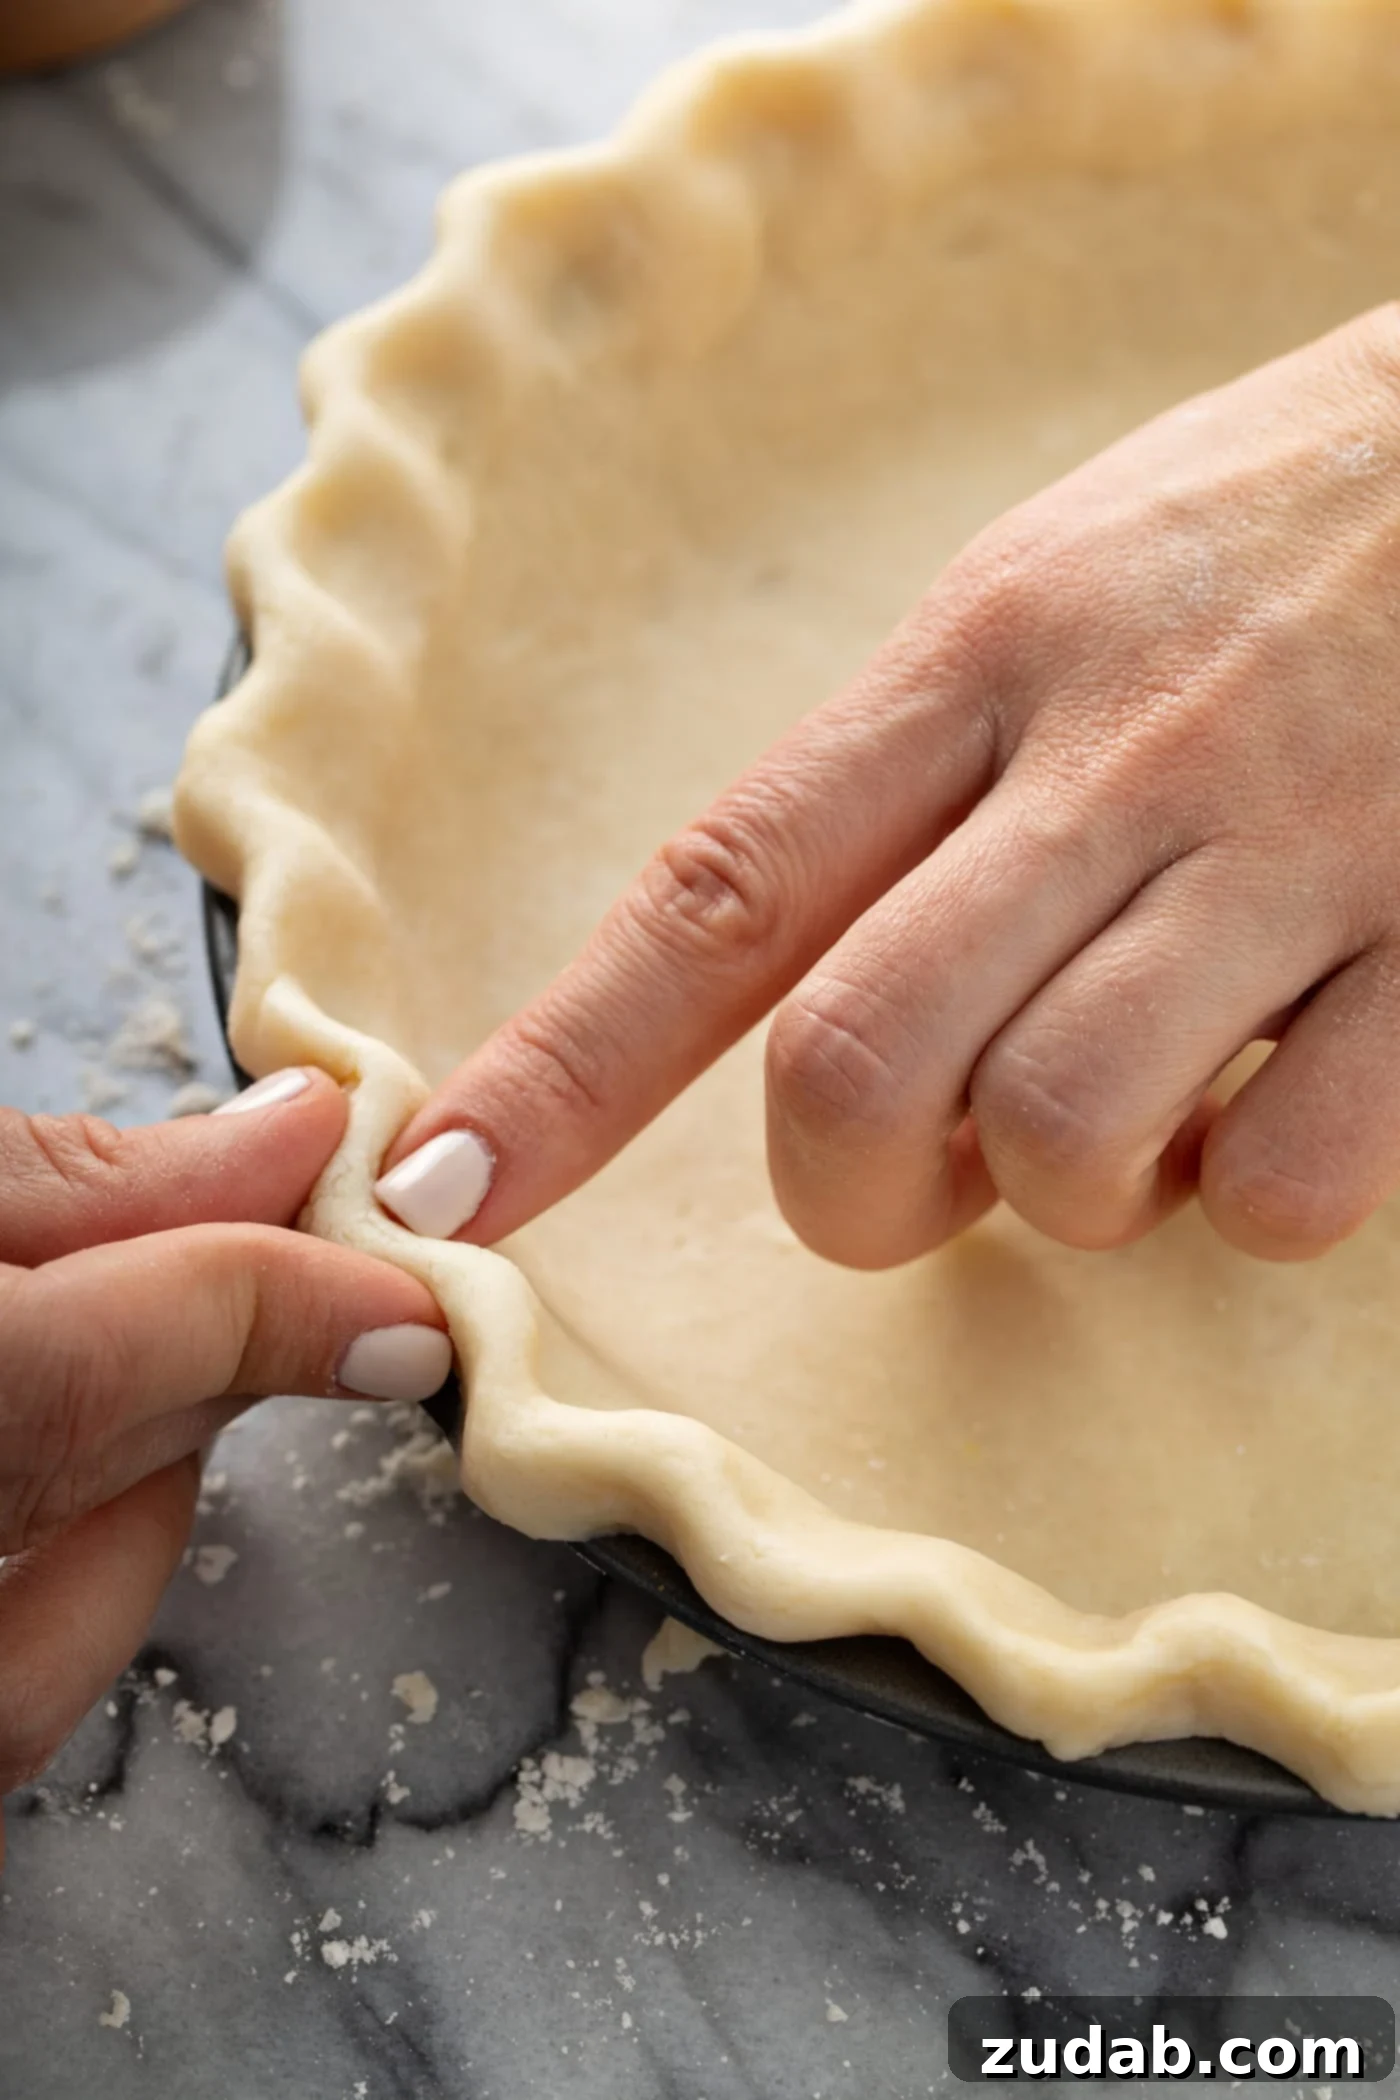
Crimping pie edges is both a functional and decorative step that adds a professional touch to your homemade pies. It seals the top and bottom crusts (for a double-crust pie) and provides a beautiful finish. I learned this technique growing up, and it’s a joy to pass it on to others.
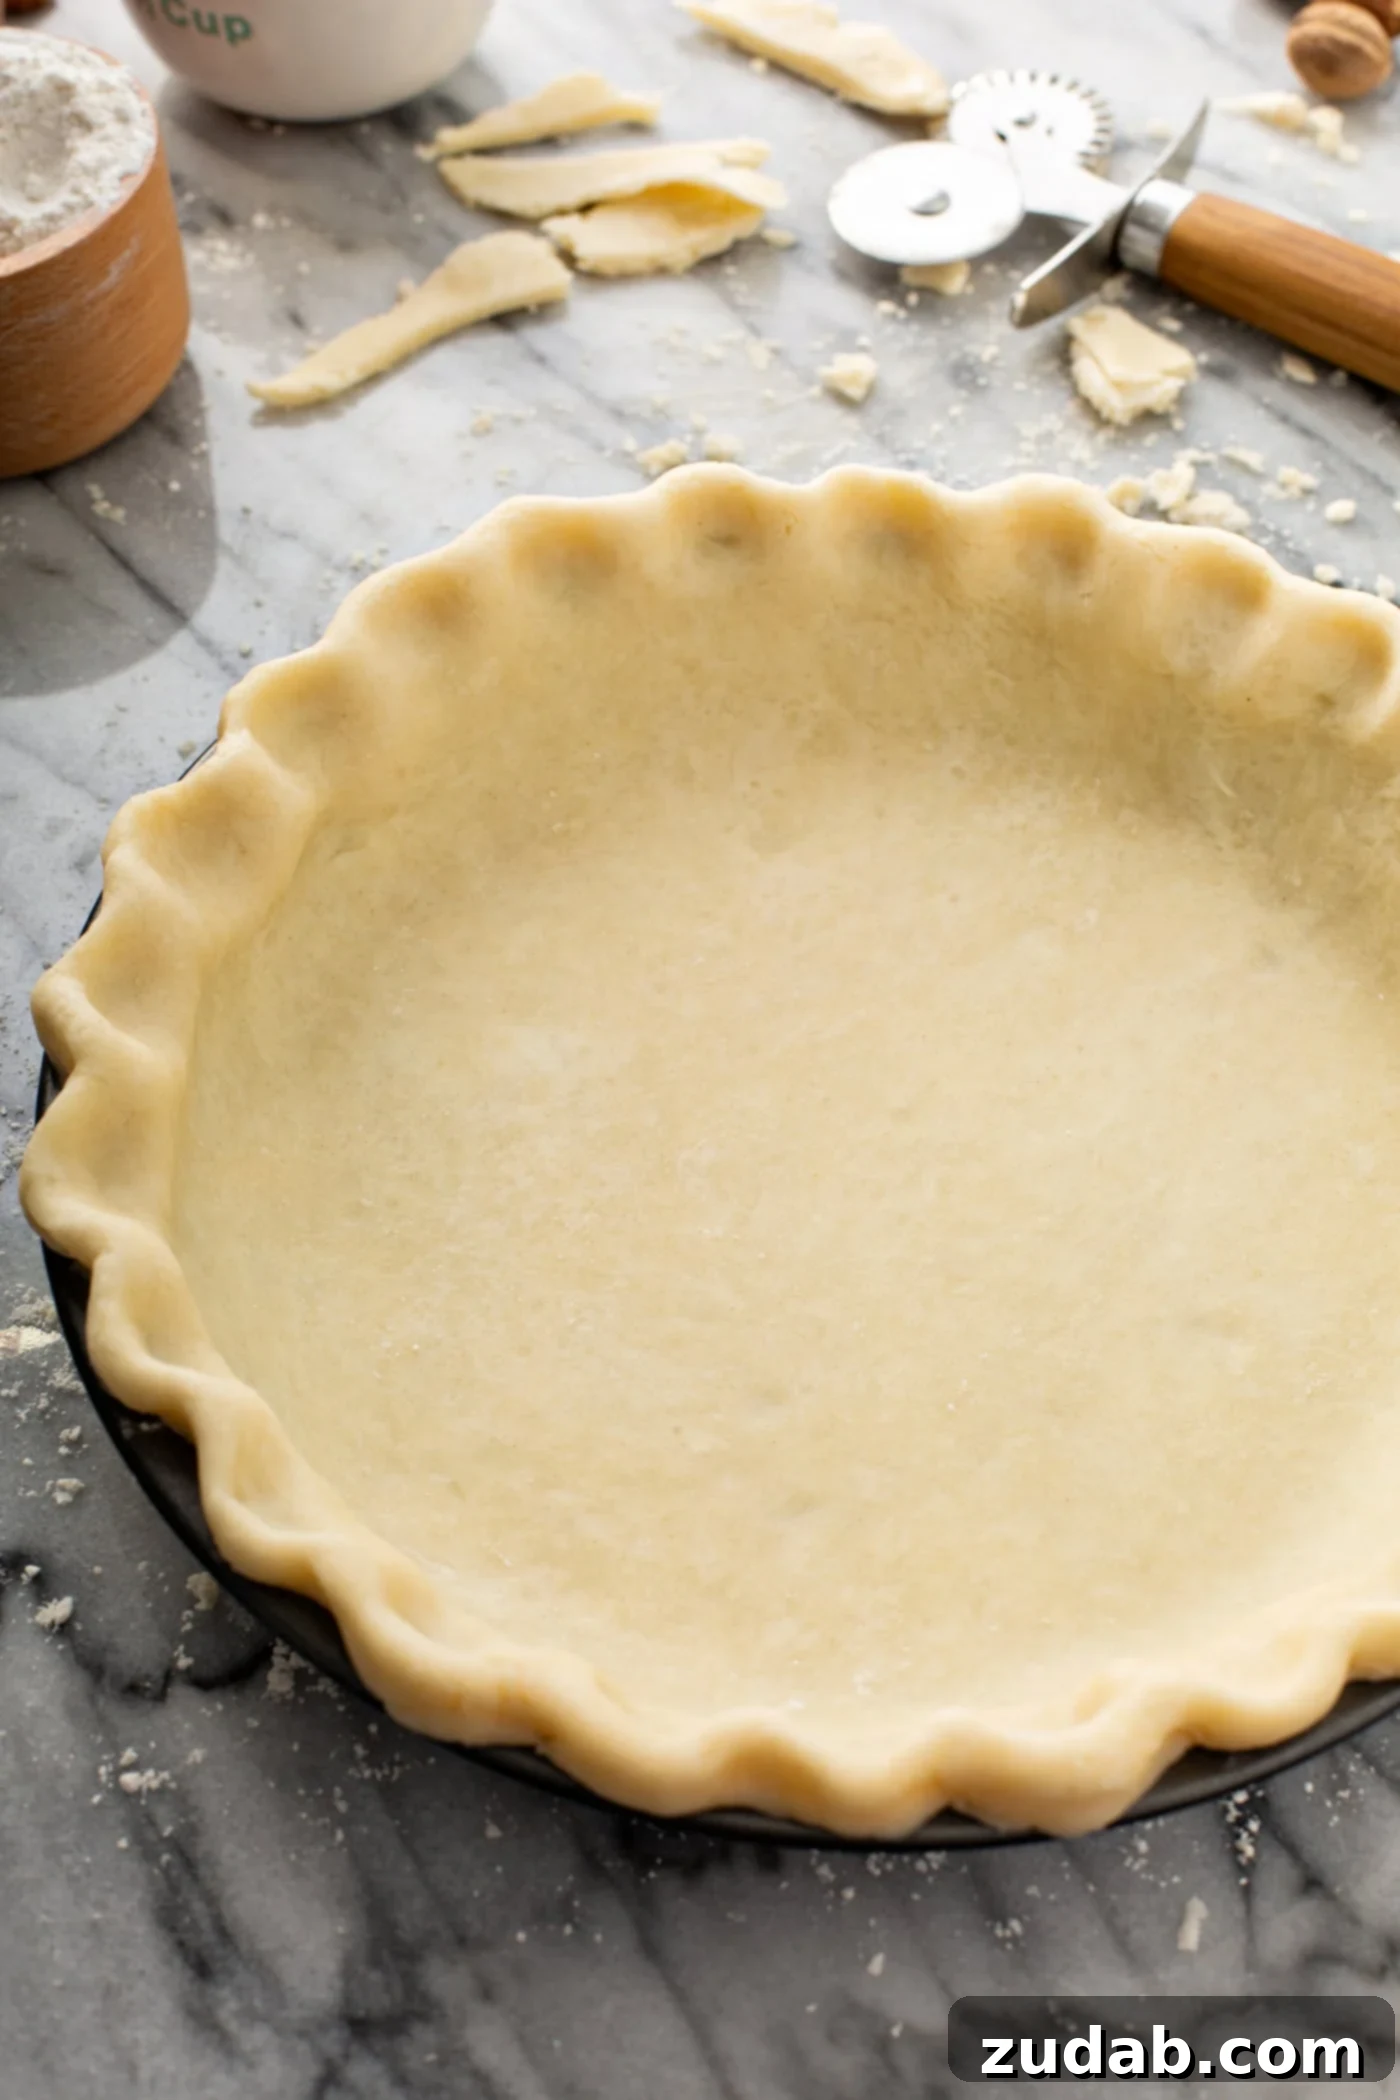
To crimp the edges: Position your thumb and index finger of one hand on the outer edge of the pie crust. With the index knuckle or finger of your other hand, push the inner edge of the crust outward, simultaneously pinching the outer edge inward with your thumb and index finger. Repeat this motion all around the perimeter of the pie, creating a consistent, scalloped pattern. Practice makes perfect, so don’t be afraid to experiment with different techniques to find what works best for you!
How to Blind Bake a Pie Crust and Prevent a Soggy Bottom
A soggy pie crust is a baker’s nemesis, especially with wet fillings like custards or quiches. The best way to guarantee a crisp, golden bottom crust is through a technique called blind baking (or pre-baking). This involves partially or fully baking the crust before adding the filling.
The process typically includes: 1) Docking: Pricking the bottom of the raw pie crust with a fork to allow steam to escape and prevent bubbling. 2) Using Pie Weights: Lining the crust with parchment paper and filling it with pie weights (ceramic beads, dried beans, or rice) to prevent the sides from slumping and the bottom from puffing up. 3) Partial Baking: Baking until the edges are set and lightly golden. 4) Egg Wash & Further Baking (Optional for full blind bake): For a fully baked crust, you might remove the weights, brush with an egg wash (to create a seal and golden color), and bake a bit longer until fully golden. For a detailed guide on blind baking techniques, be sure to check out our lemon meringue pie recipe, where a perfectly blind-baked crust is essential.
Expert Tips for Making the BEST All Butter Pie Crust

- It’s crucial that all of your ingredients are super cold! This includes your butter, water, and even the flour if you think of it. Use butter straight from the fridge and ice water; otherwise, the butter will melt into the flour, and your pie crust won’t turn out flaky.
- Once the butter is cut into the flour, add the water and stir just until the pie dough barely comes together. Do NOT overwork the dough. Excessive handling develops gluten, leading to a tough, dense pie crust rather than a tender, flaky one. Stop mixing as soon as it forms a cohesive mass.
- I often move my dough into the fridge after cutting in the butter and again once everything is combined, just to keep it thoroughly chilled between steps. Don’t hesitate to chill the dough again if it feels too warm or sticky.
- For optimal flakiness and to prevent shrinking, place the formed all butter pie crust in the freezer for a final 15-20 minutes just before transferring it to the oven for baking.
Essential Pie Baking Tools for Every Baker
Even if you’re not a self-proclaimed pie fanatic, having these few essential tools will significantly improve your pie-baking experience and ensure your homemade crusts turn out perfectly every time:
- Pastry Blender: While a food processor can work, I’m a big proponent of hand-cutting the fat into the flour with a pastry blender. This method allows for better control over the butter size, which is crucial for achieving that desired flakiness. Look for one with a comfortable handle and sturdy, sharp blades. My personal preference is this OXO version for its durability and ergonomic design.
- Silicone Baking Mat: This large, non-stick mat is a game-changer. It eliminates the need for excessive flour dusting (which can dry out your crust) and often comes with handy measurements, making it easy to roll out a perfectly sized, round crust without needing a ruler. It also helps keep the dough cool as you work.
- Wooden Rolling Pin: I’ve always used a handled rolling pin, but recently discovered the joys of a French pin (tapered, without handles). It offers superior control, allowing you to easily turn and smoothly roll the dough to an even thickness.
- Pastry Cutter / Lattice Cutter: If you’re aiming for a decorative lattice top or simply want a fancier edge, this simple tool is a must-have. Many are double-sided, offering various patterns and making intricate designs surprisingly easy to create.
- High-Quality Pie Dish: The right pie dish can make a significant difference. Look for materials that promote even heat distribution, preventing dark edges while ensuring the bottom crust is perfectly baked. Ceramic or glass dishes are excellent choices.
- Pastry Brush:An essential for applying egg washes, milk, or melted butter to your crust. A good quality pastry brush ensures even coverage, giving your pie that beautiful golden sheen.
- Pie Stamps: While not strictly essential, pie stamps are a fun way to add charming, decorative cutouts to your top crust, especially if you’re nervous about lattice work. They instantly elevate the presentation of any pie!
- Pie Weights: Ditch the dried beans! Reusable ceramic pie weights are a must-have for blind baking. They distribute heat evenly and prevent the crust from bubbling or shrinking, ensuring a perfectly flat bottom for your fillings.
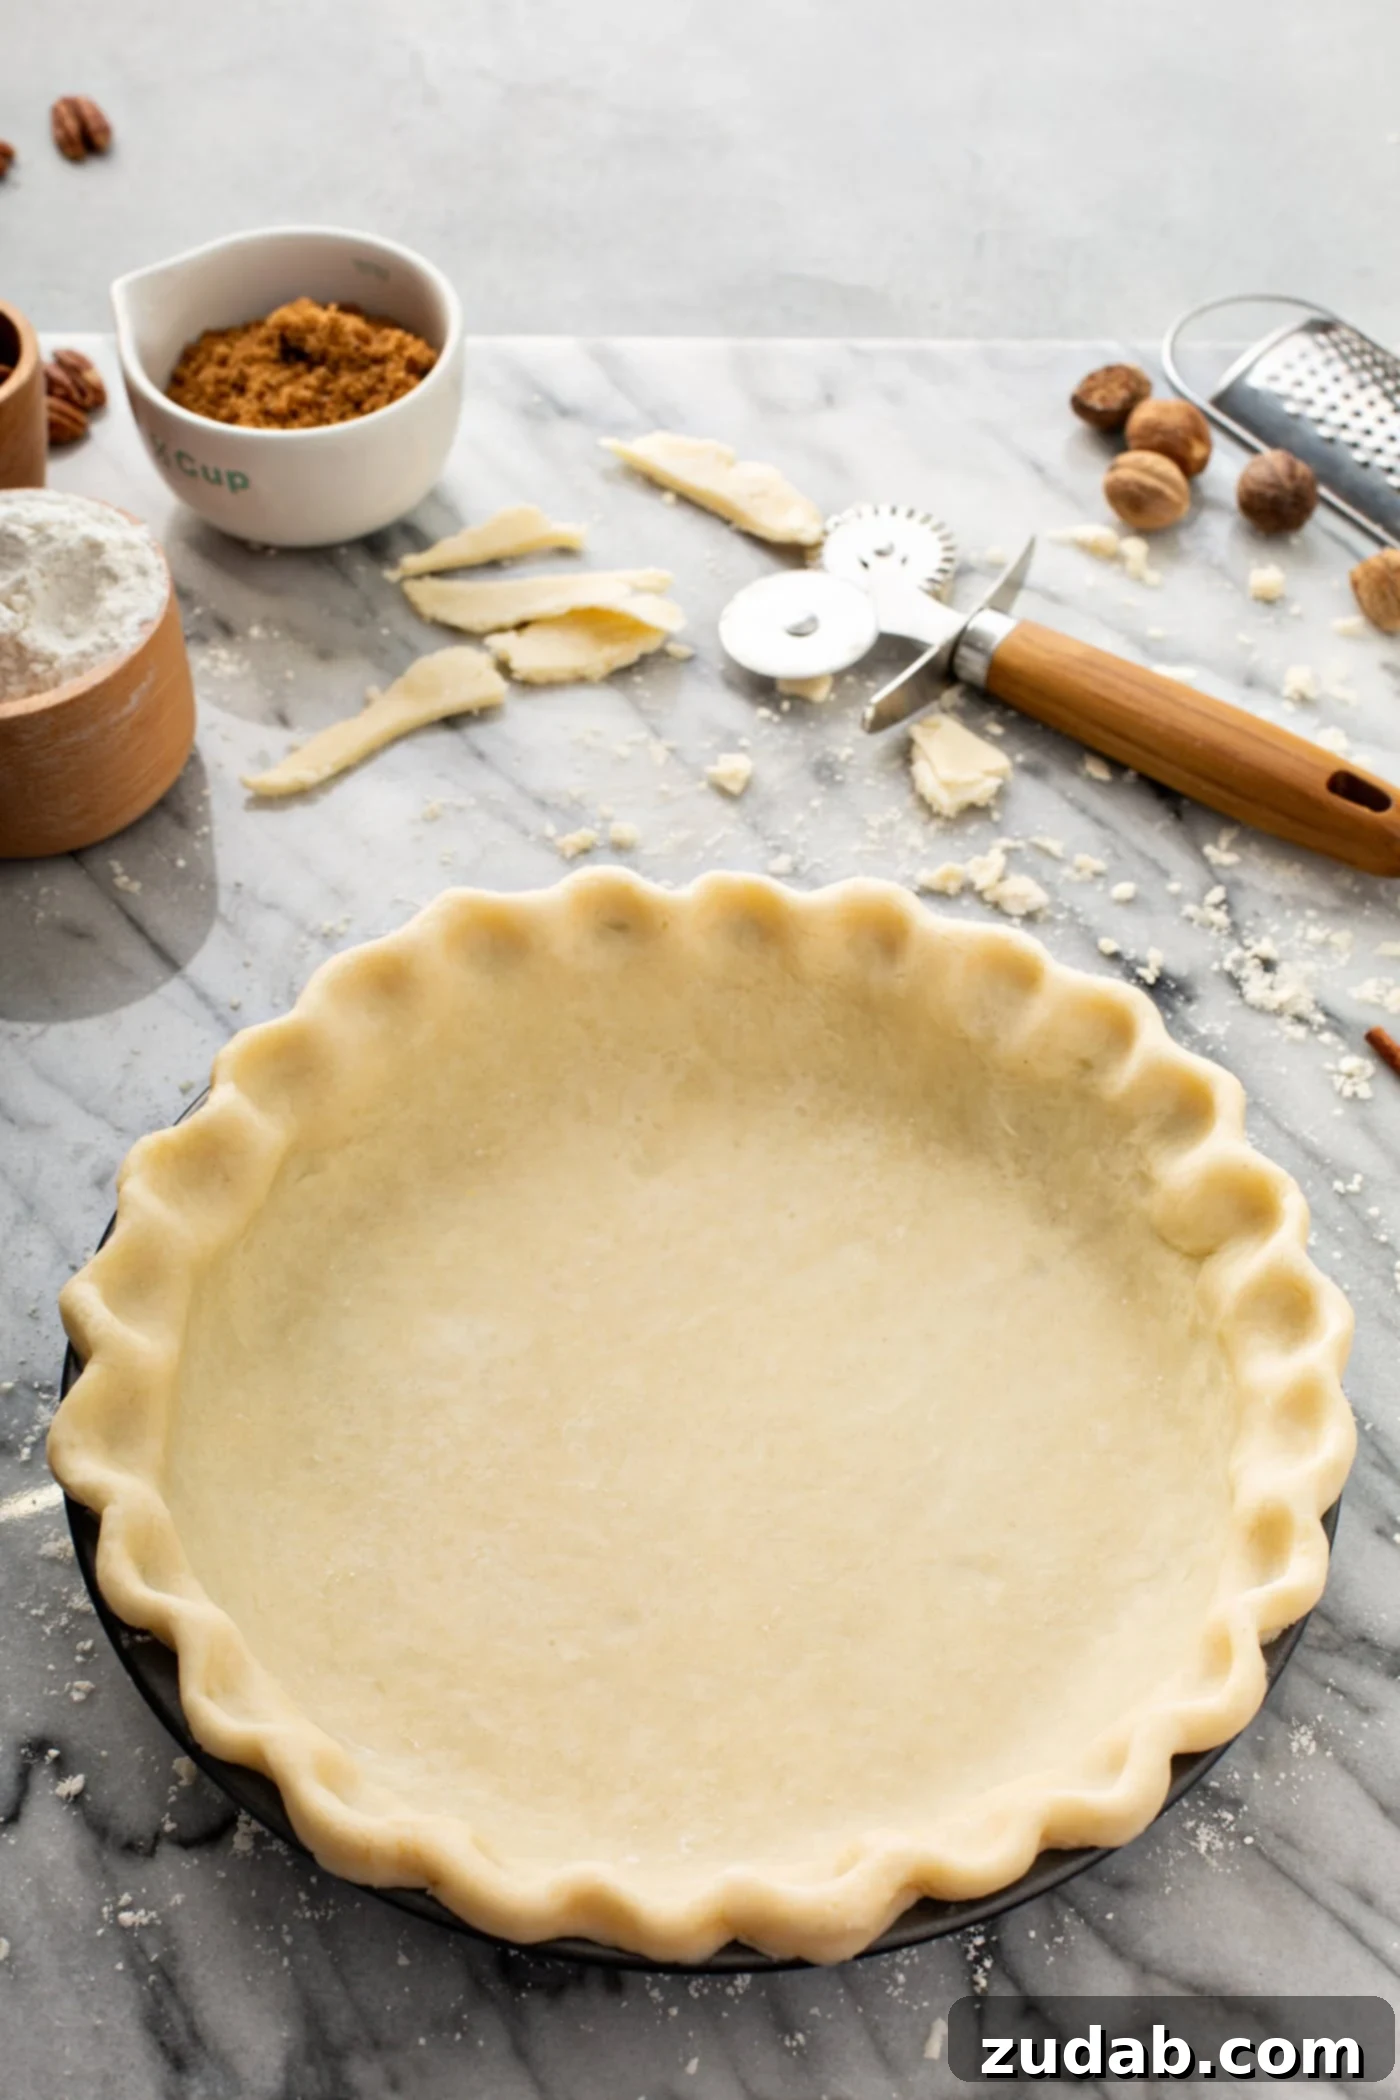
You’re now equipped with the knowledge and techniques to create the most incredible all butter pie crust you’ve ever tasted! This recipe, once mastered, will be your go-to for all your pie-baking adventures. Its buttery, flaky perfection is so enticing, you might be tempted to eat it plain. But why would you do that when you can fill it with even more deliciousness?
Our Favorite Pie Recipes:
- Banana Cream Pie
- Razzleberry Pie
- French Silk Pie
- Peach Pie
- Strawberry Pie
- No Bake Chocolate Pie
- Apple Pie
- Pumpkin Pie
- Blueberry Pie
- Pecan Pie
- Marionberry Pie
- All Our PIE RECIPES!
Watch How This Pie Crust Comes Together…
A video tutorial demonstrating how to make this delicious pie crust will be available here soon!
All Butter Pie Crust
This All Butter Pie Crust is my absolute favorite pie crust recipe! It’s super flaky, easy to make, and comes together quickly!
Ingredients
- 2 ½ Cups All-Purpose Flour
- 1 teaspoon Granulated Sugar
- 1 teaspoon Salt
- 1 Cup Unsalted Butter, very-cold and cut into 1/2 inch cubes (this is 2 sticks)
- 8 Tablespoons Ice Water
Instructions
- Place the flour, sugar and salt into a bowl and mix well.
- Add the butter and using a pastry cutter or two forks, mix until the butter is pea sized.
- Add the ice water (*see note), just a few tablespoons at a time, stirring gently with a fork until the dough is just coming together but is still crumbly. Test that the dough is ready by squeezing the dough in your hands until it holds.
- Smash the dough together and separate into two balls.
- Wrap in plastic wrap and rest in the fridge for 1-2 hours or up to 2 days in advance (you’ll want to let the dough sit on the counter a good 10 minutes before rolling). **See notes for freezing.
- Allow to sit out for a few minutes and then roll out dough as the pie recipe instructs. ***See notes for information on blind baking a pie crust.
Recipe Notes
*I like to fill a glass measuring cup about half way with ice cubes and then fill the rest with water. Then I just a tablespoon to measure out the ice water into the well I created.
**Pie crust can be made ahead and frozen for up to 2 months. Allow to thaw completely on the counter before rolling.
*** How to Blind Bake a Pie Crust – head to our Lemon Meringue Pie post for all the details on blind baking a crust.
Nutrition
Nutrition information is automatically calculated, so should only be used as an approximation.