
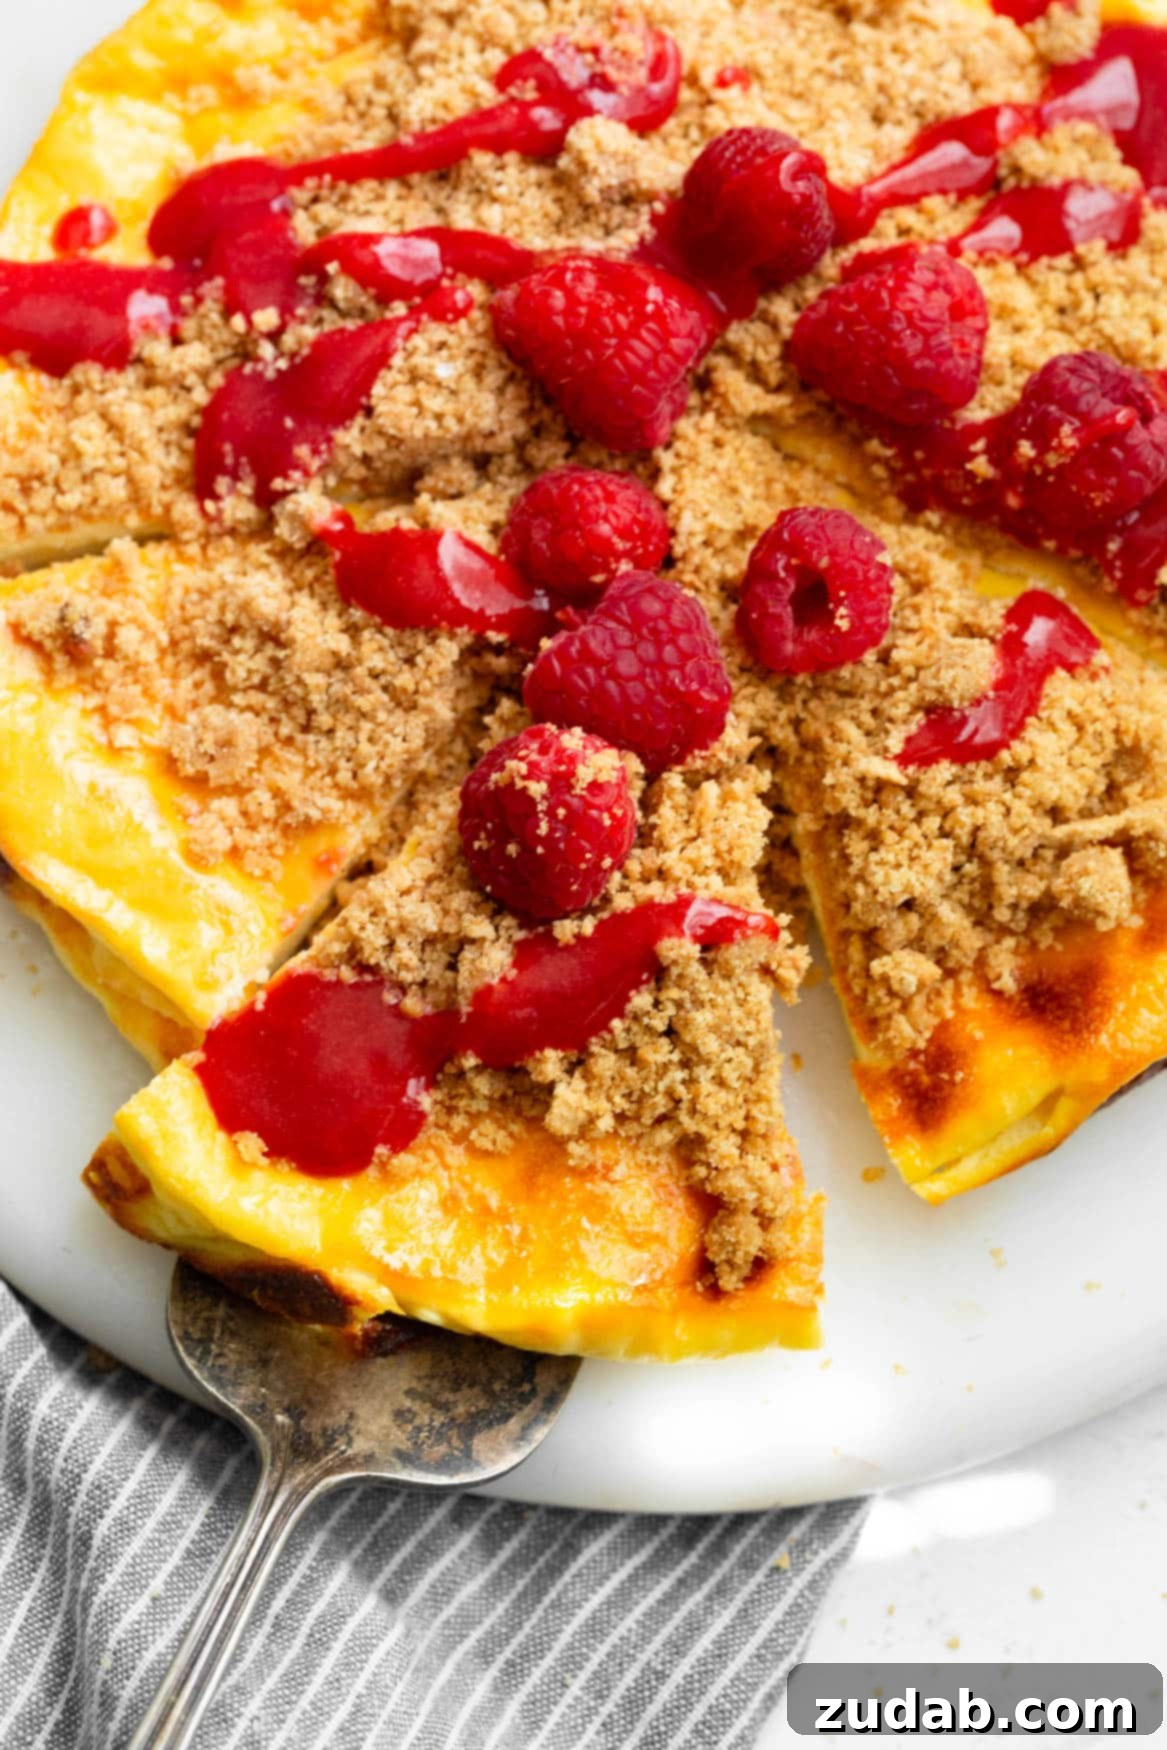
Are you searching for an exciting new twist on your morning meal or a show-stopping addition to your next brunch spread? Look no further than this incredibly simple yet utterly delicious **Cheesecake Baked Yogurt recipe**. Forget bland, repetitive breakfasts; this innovative dish transforms ordinary Greek yogurt into a creamy, dreamy baked delight that tastes remarkably like a light cheesecake or a rich, baked custard. It’s the perfect way to start your day feeling indulged, yet surprisingly healthy!
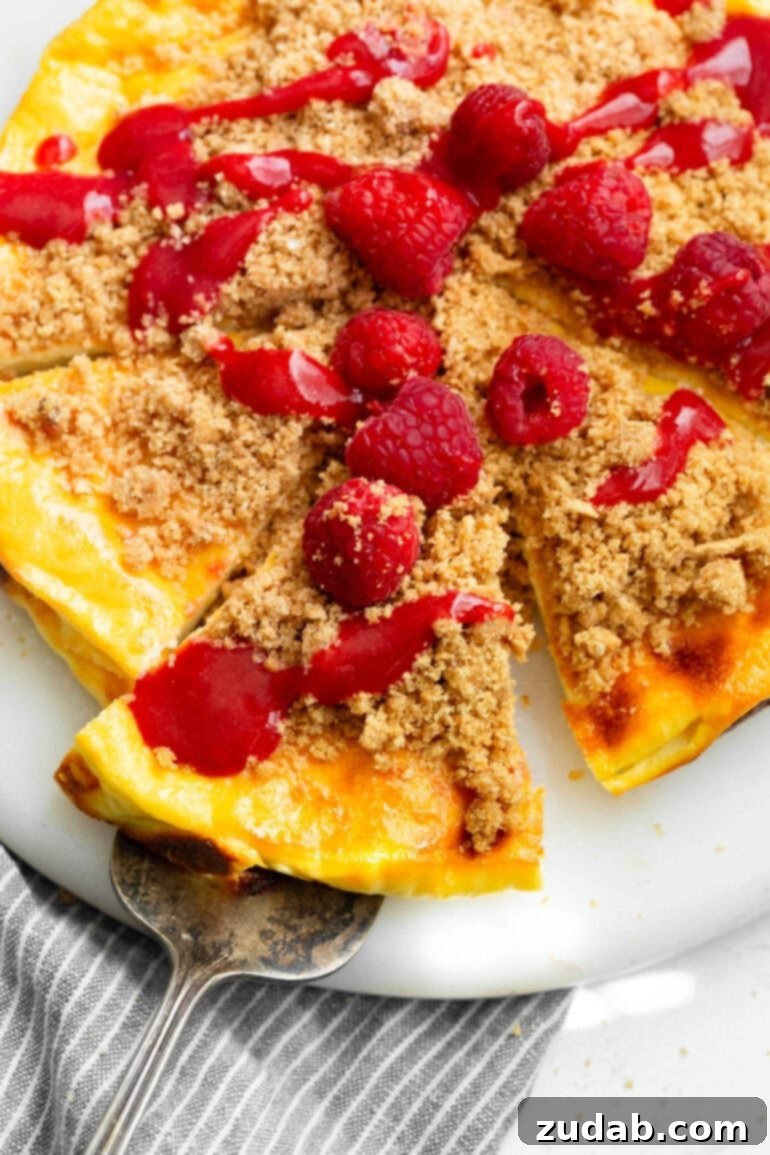
This **easy breakfast recipe** requires just a few basic ingredients, many of which you likely already have in your pantry or fridge. With minimal effort, you can create a truly unique and satisfying dish that’s ideal for special occasions like Mother’s Day or Easter, or simply to elevate a lazy weekend morning at home. Imagine serving a warm, golden-brown baked yogurt, topped with vibrant berry sauce and a delightful graham cracker crumble – it’s a delightful treat that caters to both your taste buds and your desire for a nutritious start.
Why You’ll Fall in Love with Cheesecake Baked Yogurt
There’s so much to love about this **baked Greek yogurt dessert**. Firstly, it’s a fantastic **healthy breakfast alternative** that offers a good source of protein from the Greek yogurt and eggs, keeping you feeling full and energized. Unlike traditional cheesecake, this recipe is lighter, making it a guilt-free pleasure you can enjoy any day of the week.
Secondly, its versatility is unmatched. While perfect for breakfast or brunch, it also doubles as a wonderful, lighter dessert after dinner. The combination of tangy yogurt, sweet berries, and a buttery crunch creates a harmonious flavor profile that appeals to all ages. Plus, the ability to prepare certain components ahead of time makes it a dream for meal prep and entertaining, ensuring you can enjoy a gourmet-quality meal without the morning rush.
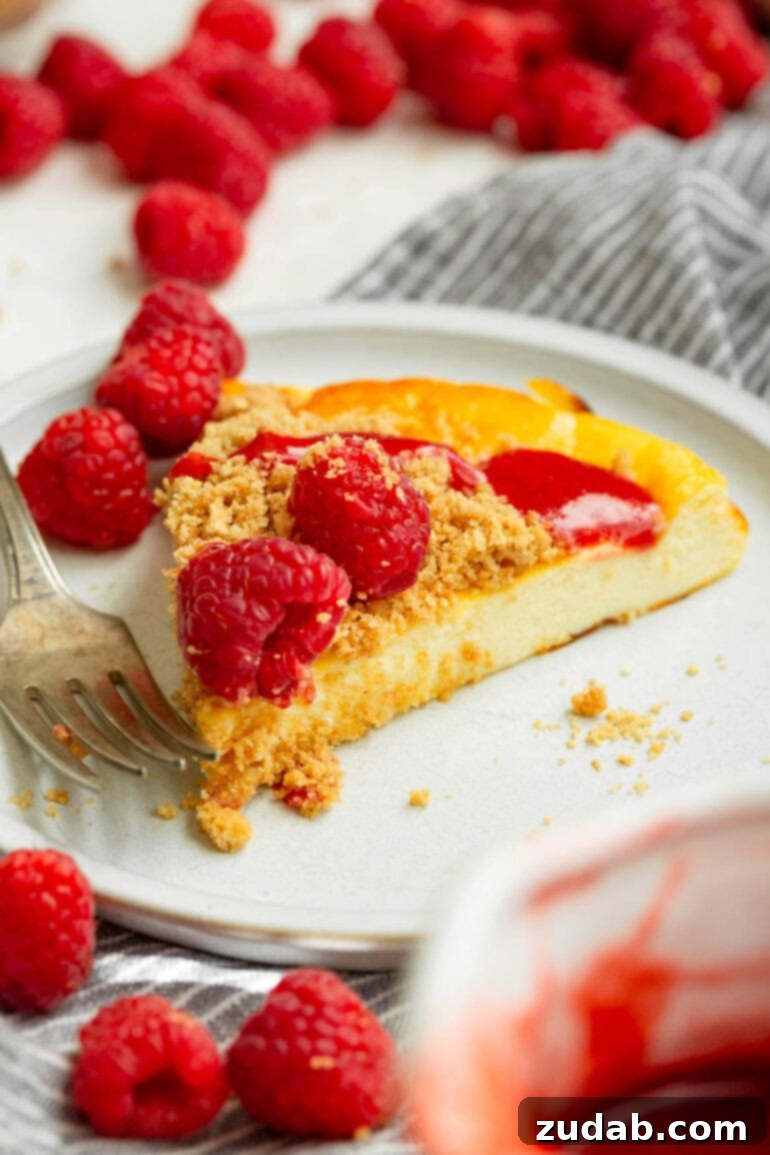
Lastly, the texture is truly a revelation. It’s not quite yogurt, not quite cheesecake, but a delightful fusion that’s incredibly creamy, smooth, and melts in your mouth with every spoonful. The golden-brown top adds a subtle caramelized flavor, while the toppings provide contrasting textures that make each bite an adventure. It’s an inviting, warm hug in a dish that will quickly become a favorite in your household.
Key Ingredients for Your Baked Cheesecake Yogurt
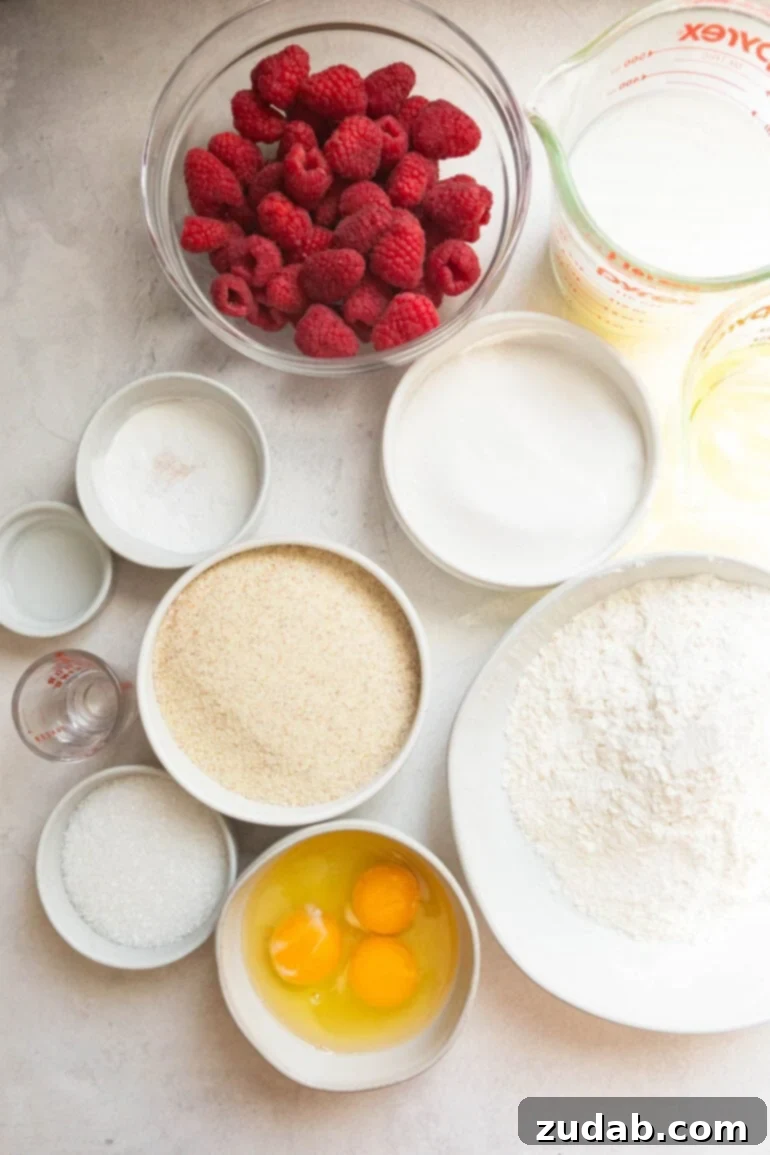
Crafting this delectable **Cheesecake Baked Yogurt** involves three distinct, yet complementary, components: the rich baked yogurt base, the bright and tangy berry sauce, and the irresistible crunchy graham cracker topping. For optimal freshness and ease, I often prepare the graham cracker topping and berry sauce a day or two in advance, allowing the flavors to meld beautifully and simplifying the baking day. Here’s a detailed look at everything you’ll need for this exceptional **brunch recipe**:
- Graham Cracker Topping: This simple crumble adds a wonderful texture and a hint of classic cheesecake flavor. You’ll need **graham crackers** (crushed into fine crumbs), melted **unsalted butter** to bind them, a pinch of **kosher salt** to enhance the sweetness, and a dash of **cinnamon** for a warm, aromatic spice.
- Berry Sauce: A vibrant homemade berry sauce elevates the entire dish with its fresh, fruity tang. Gather **cornstarch** and **water** to create a slurry that thickens the sauce, fresh or frozen **raspberries** for their delicious tartness, **sugar** to balance the acidity, and a squeeze of fresh **lemon juice** to brighten the flavors and cut through the richness.
- Baked Yogurt Base: The heart of our recipe, this creamy base is surprisingly simple to prepare. You’ll need high-quality **vanilla Greek yogurt** (the thicker the better!), **eggs** and an extra **egg yolk** for structure and richness, additional **cornstarch** which is crucial for achieving that signature cheesecake-like texture by absorbing excess moisture during baking, natural **honey** for sweetness and a lovely flavor, pure **vanilla extract** for depth, and optional **mixed berries** to fold into the batter for an extra burst of fruit.
- Important Note: The **cornstarch** in the baked yogurt base is not optional. It plays a vital role in preventing the yogurt from becoming too watery and ensures a beautifully smooth, firm, and creamy consistency, much like a traditional baked custard or light cheesecake. Without it, your baked yogurt might turn out too liquid or crumbly.
Precise measurements for each ingredient, along with detailed nutritional information, are conveniently provided in the comprehensive recipe card located at the conclusion of this post. For the best results, always use fresh, high-quality ingredients.
How to Master Your Cheesecake Baked Yogurt
Creating this delightful **baked yogurt recipe** is a straightforward process, broken down into manageable steps for each component. Follow along closely to achieve perfect results every time:
1. Preparing the Irresistible Graham Cracker Topping
The crunchy topping adds a wonderful contrast to the creamy yogurt. You can make this ahead of time to save precious minutes on baking day.
- Blend Graham Crackers: Take your graham cracker sheets and place them into a blender or a food processor. Pulse them until they are transformed into fine, uniform crumbs. This ensures a consistent texture for your topping.
- Combine Ingredients: Transfer the graham cracker crumbs into a medium-sized mixing bowl. Pour in the melted unsalted butter, add a subtle pinch of kosher salt to enhance the flavors, and sprinkle in the cinnamon for a warm, inviting aroma. Mix all the ingredients thoroughly until well combined and the crumbs are evenly coated. Set this mixture aside; it will be used to generously top your baked yogurt later.
2. Crafting the Tangy Berry Sauce
This vibrant sauce offers a refreshing tartness that beautifully complements the sweet and creamy baked yogurt. It can also be prepared days in advance and stored in the refrigerator.
- Prepare Cornstarch Slurry: In a small saucepan, whisk together the cornstarch and water until the cornstarch is completely dissolved and no lumps remain. This slurry is key to thickening your sauce.
- Simmer the Berries: Add the fresh or frozen raspberries, sugar, and lemon juice to the saucepan with the cornstarch mixture. Stir everything to combine, ensuring the sugar begins to dissolve.
- Bring to a Boil: Place the saucepan over medium-high heat. Bring the mixture to a gentle boil, stirring occasionally with a spatula. As the berries cook, gently mash them to release their juices and enhance the sauce’s texture.
- Boil and Thicken: Allow the mixture to boil for a full 3 minutes, continuing to stir periodically. This boiling time is crucial for the cornstarch to fully activate and thicken the sauce.
- Strain (Optional for Smoothness): Once thickened, remove the pan from the heat. For a perfectly smooth, seedless berry sauce, carefully press the warm mixture through a fine-mesh strainer into a clean bowl. This step is optional but highly recommended if you prefer a silky texture.
- Cool and Store: Let the berry sauce cool completely to room temperature before covering it and storing it in the refrigerator. The sauce will continue to thicken slightly as it cools.
Time-Saving Tip: If you’re short on time, you can certainly substitute the homemade berry sauce with your favorite raspberry jam. Just warm it up slightly before drizzling to achieve a lovely, pourable consistency over the baked yogurt.
3. Baking the Creamy Yogurt Base
The main event! This is where the magic happens, transforming simple yogurt into a decadent **baked Greek yogurt dessert**.
- Preheat and Prep: Begin by preheating your oven to 350℉ (175°C). Lightly spray an 8×8-inch baking dish (or an 8-inch round baking pan) with nonstick cooking spray. Ensure the entire surface is coated to prevent sticking.
- Pro Tip: For elegant individual servings, you can also bake this yogurt cake in small ramekins. This is perfect for portion control or a more sophisticated presentation.
- Whisk the Yogurt Mixture: In a large mixing bowl, combine the vanilla Greek yogurt, whole eggs, the extra egg yolk, cornstarch, honey, and vanilla extract. Whisk all the ingredients together vigorously until the mixture is completely smooth and creamy. There should be no visible lumps of cornstarch or streaks of egg.
- Add Berries (Optional): If you desire, you can gently fold in a cup of mixed berries into the creamy batter at this stage. This adds extra bursts of fruity flavor and a lovely visual appeal to the finished baked yogurt.
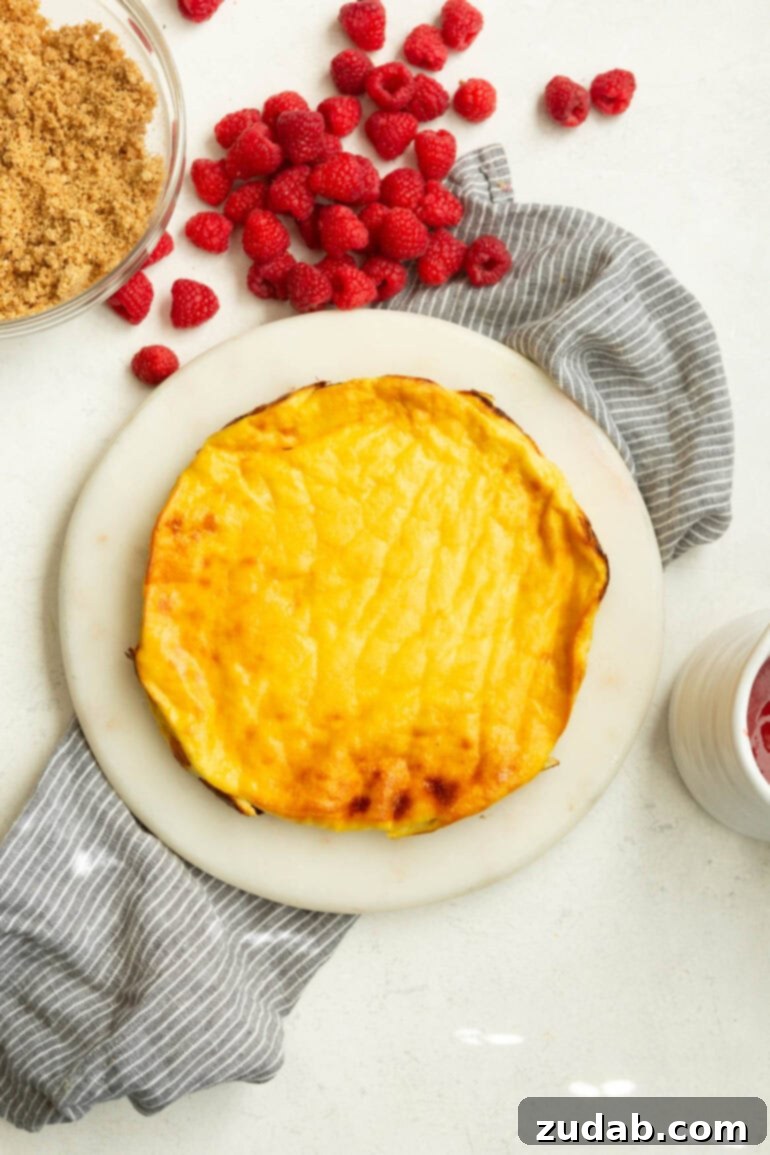
- Bake to Perfection: Pour the prepared batter evenly into your greased baking dish. Carefully place the dish in the preheated oven and bake for 35-38 minutes. If you’re using ramekins, reduce the baking time to 25-30 minutes. The baked yogurt is ready when the center appears firm but still has a slight jiggle, not hard or crumbly like a cookie. It will set further as it cools. If it still seems very liquid, continue baking in 5-minute increments until desired firmness is achieved.
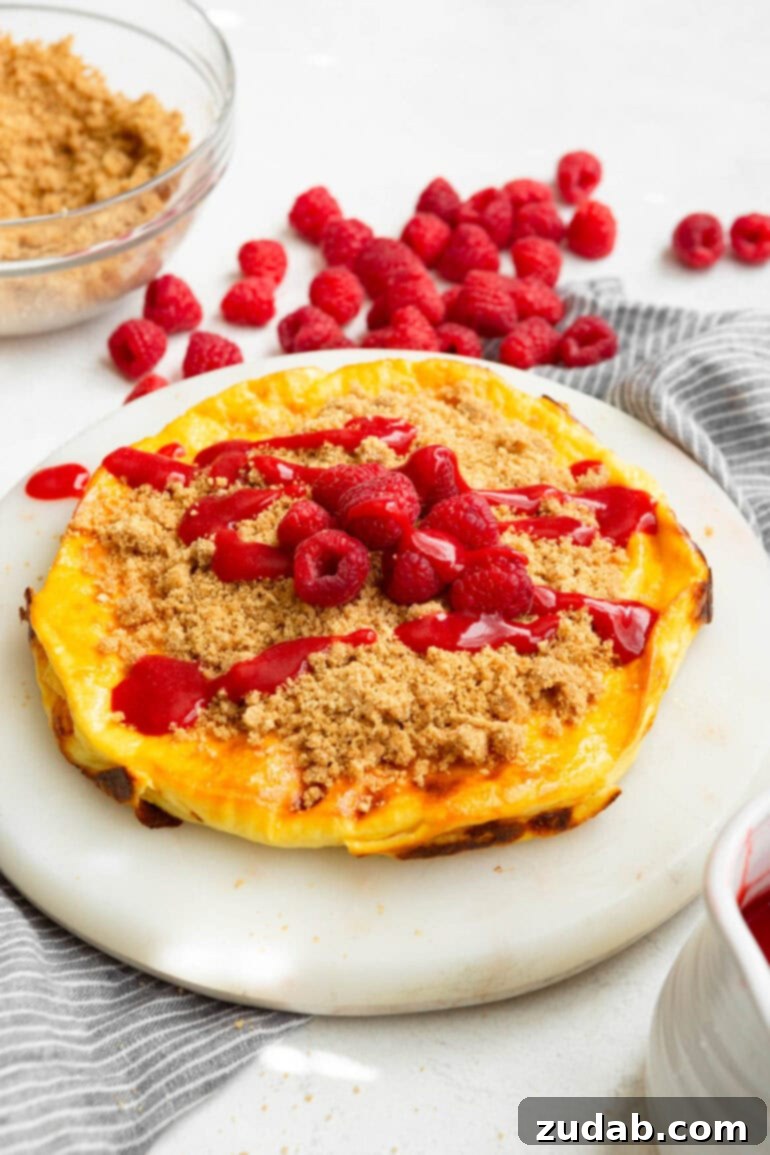
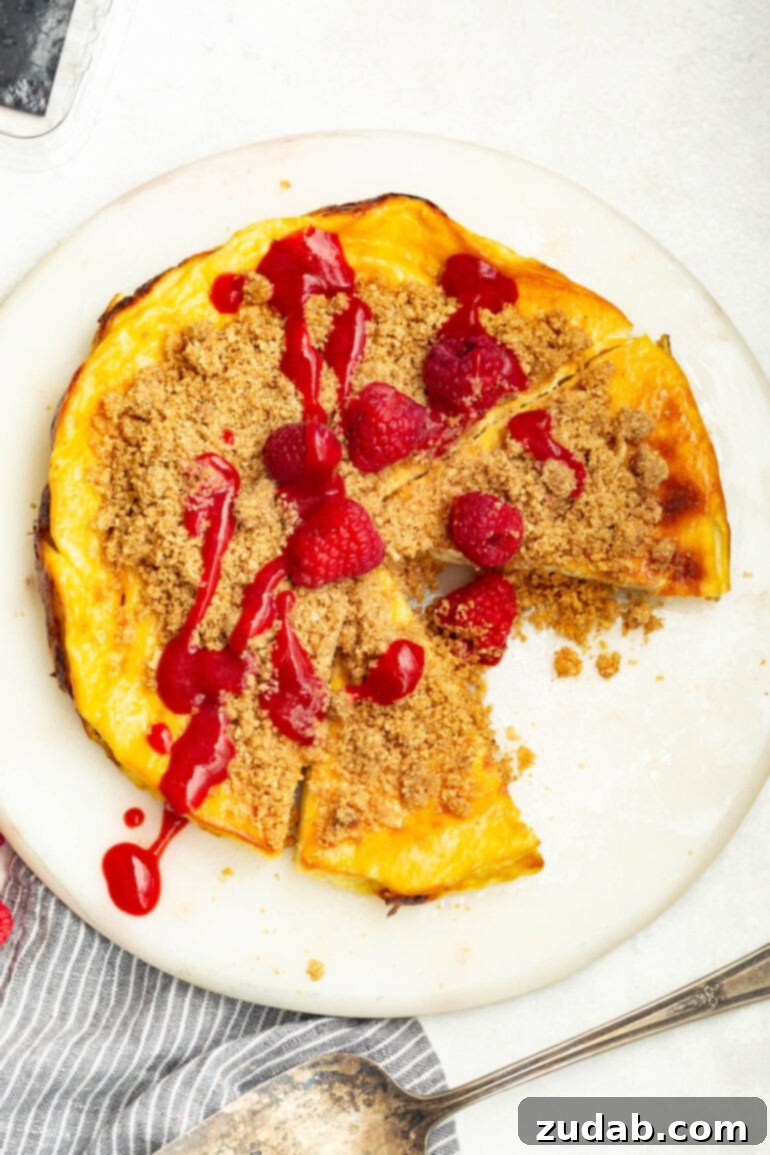
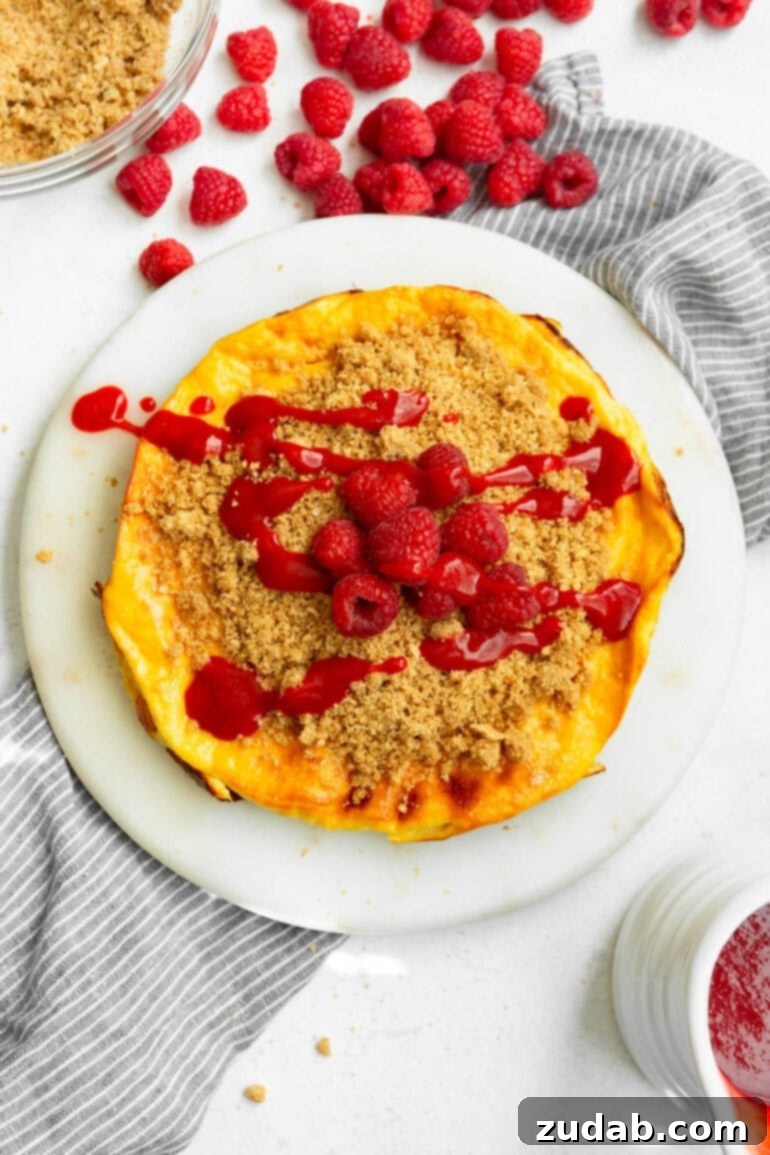
- Cool and Serve: Once baked, remove the dish from the oven and allow it to cool on a wire rack for at least 20 minutes. This cooling period is essential for the yogurt to fully set and achieve its perfect texture. Once slightly cooled, slice and serve generously topped with your homemade berry sauce and the graham cracker crumb topping. For an extra touch of freshness, sprinkle additional whole fresh berries over the top if desired.
Expert Tips for Success
Achieving the perfect **Cheesecake Baked Yogurt** is easy with these helpful hints:
- Room Temperature Ingredients: Ensure your eggs and Greek yogurt are at room temperature. This helps them combine more smoothly with the other ingredients, resulting in a more uniform and creamy batter.
- Don’t Overmix: While you want the batter to be creamy, avoid over-whisking once all ingredients are combined. Overmixing can incorporate too much air, leading to a less dense, sometimes even tougher, texture.
- Baking Dish Size Matters: Using the recommended 8×8-inch pan or 8-inch round pan is important for the correct baking time and thickness. If you use a larger pan, the yogurt will be thinner and bake faster; a smaller pan will result in a thicker yogurt that needs more baking time.
- Check for Doneness: The “firm but not hard” description is key. A toothpick inserted into the center should come out clean or with just a few moist crumbs. The edges should be set, but the center might still have a slight wobble, which will firm up as it cools.
- Cool Completely: Resist the urge to dive in immediately! Allowing the baked yogurt to cool for at least 20 minutes (or longer, even to room temperature) is crucial for it to fully set and develop its delightful, sturdy, yet creamy texture.
Choosing the Best Greek Yogurt for Baking
The market is flooded with Greek yogurt options, and while many will work, selecting the right one can make a noticeable difference in your **baked yogurt recipe**. My personal favorite is Oikos Triple Zero due to its excellent thick consistency and smooth vanilla flavor, which complements the “cheesecake” profile beautifully. However, any high-quality, full-fat or low-fat vanilla Greek yogurt will perform well. The key is to use Greek yogurt specifically, as its thicker texture and higher protein content (compared to regular yogurt) are what provide the desirable structure and richness for a perfect bake. Avoid thin or watery yogurts, as they might compromise the final consistency.
Can I Easily Double This Recipe?
Absolutely! This **Cheesecake Baked Yogurt recipe** scales up wonderfully. If you’re feeding a larger crowd or simply want more delicious leftovers, you can perfectly double the ingredients and bake it in a standard 9×13-inch pan. When doubling, keep in mind that the baking time will need to be adjusted accordingly. Start checking for doneness around the 45-minute mark, and continue baking as needed until the center is firm to the touch, just like with the smaller batch.
Delicious Variations to Explore
While the classic raspberry combination is undeniably delightful, this **baked yogurt recipe** is incredibly adaptable, allowing for endless creative twists to suit your preferences:
- Berry Swaps: Not a fan of raspberries? No problem! This recipe is equally fantastic with other fresh or frozen berries. Experiment with **strawberries**, **blueberries**, **blackberries**, or a vibrant **mixed berry medley** in your homemade sauce or folded into the batter.
- Nutty Indulgence: Skip the berries entirely and top your warm baked yogurt with toasted sliced **almonds**, chopped **pecans**, or **walnuts** for a crunchy texture. A generous drizzle of **maple syrup** or a spoonful of **caramel sauce** would complete this comforting variation.
- Citrus Zest: Add a teaspoon of fresh lemon, orange, or lime zest to the yogurt batter for an extra bright and zesty flavor dimension.
- Chocolate Lover’s Dream: Fold a handful of mini chocolate chips into the yogurt batter before baking, or drizzle melted chocolate over the finished dish for a decadent treat.
- Spiced Up Crumble: Enhance your graham cracker topping by adding a pinch of nutmeg, cardamom, or a touch of pumpkin pie spice for seasonal flair.
Will it Taste Like Eggs?
It’s a common and valid question when baking with yogurt and eggs! Due to the inclusion of both whole eggs and an extra egg yolk, this **Cheesecake Baked Yogurt** does possess a subtle “eggy-ness” that contributes to its custard-like texture and richness. The eggs are absolutely essential for providing the structure and binding the yogurt, ensuring it bakes up firm and creamy rather than runny. If you have a strong aversion to the flavor of eggs in baked goods, this particular breakfast recipe might not be your ideal choice. However, for most, the egg flavor is harmoniously blended with the tangy yogurt, sweet honey, and vanilla, creating a balanced and delightful taste.
Smart Storage Tips for Leftovers
One of the many advantages of this **Cheesecake Baked Yogurt** is how well it keeps, making it fantastic for meal prep or enjoying throughout the week. Any leftover baked yogurt should be promptly transferred to an airtight container and stored in the refrigerator. When properly stored, it will maintain its delicious flavor and creamy texture for up to 5 days. You have the flexibility to reheat individual portions in the microwave for a warm, comforting treat, or you can enjoy it straight from the fridge—I find it equally delightful both ways, offering a refreshing and satisfying bite. However, I highly advise against freezing the baked yogurt, as the thawing process can significantly alter its delicate texture, causing it to become grainy or watery.
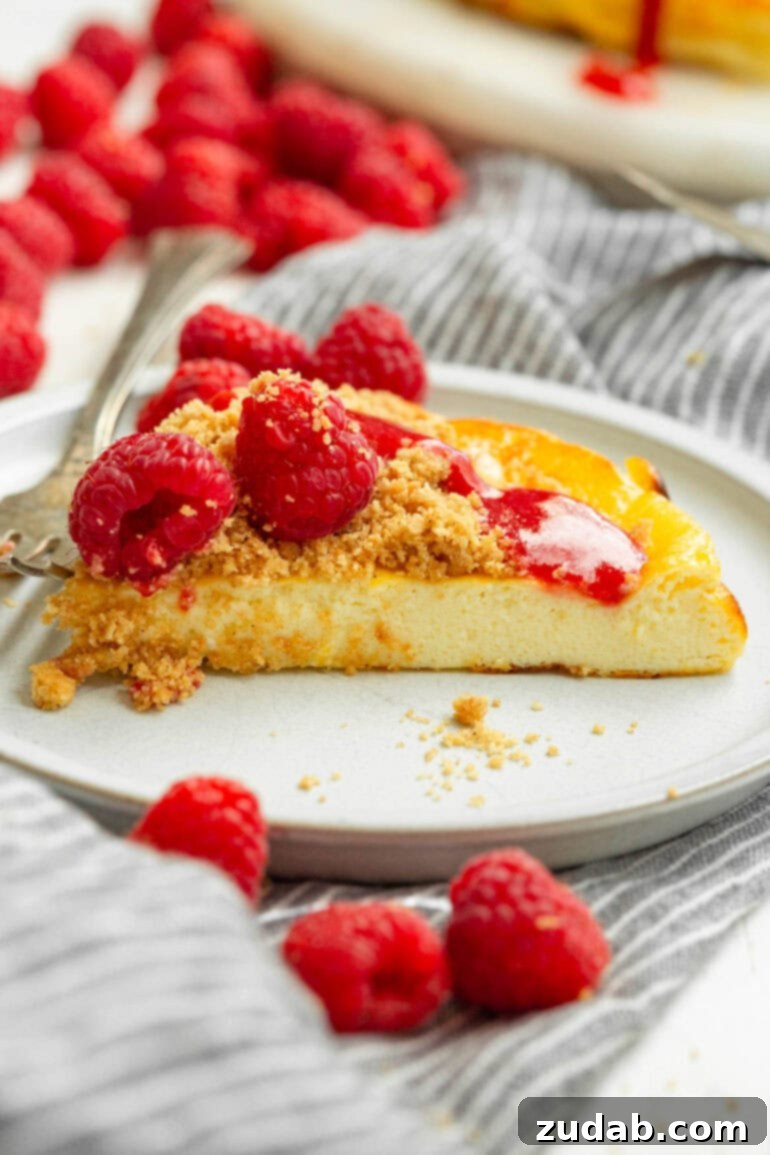
Prepare to truly indulge in the creamy, velvety goodness of our **Cheesecake Baked Yogurt**! This incredibly **simple breakfast recipe** masterfully combines the rich, tangy flavors inherent in quality Greek yogurt with the luxuriously smooth, melt-in-your-mouth texture typically found in a classic cheesecake. The result is a dish that boasts a light, airy consistency, topped with an inviting golden-brown crust, and a filling that delivers a subtly sweet, profoundly luscious experience. It’s the perfect balance of indulgence and wholesome ingredients, making it an ideal choice for any occasion, whether it’s a weekday breakfast or a special weekend brunch. You’ll be amazed at how easily you can create such a sophisticated and satisfying treat!
More Great Recipes for Brunch:
- Classic French Toast
- Bakery-Style Blueberry Muffins
- Easy Ham and Cheese Scones
- Savory Sausage Cheesy Souffle
- Double Chocolate Zucchini Muffins
- Authentic Liege Waffles
- Traditional Jewish Kugel
Baked Cheesecake Yogurt

Ingredients
Graham Cracker Topping
- 8 Sheets Graham Cracker Sheets, crushed (about 1 cup of crumbs)
- 4 Tablespoons Unsalted Butter, melted
- 1 Pinch Kosher Salt
- 1/4 teaspoon Cinnamon
Berry Sauce
- 2 teaspoons Cornstarch, or 1 Tablespoon Cornaby’s EZ Gel
- 1 Tablespoon Water
- 3 Cups Raspberries, fresh or frozen
- 1/4 Cup Sugar
- 1 teaspoon Lemon Juice, fresh, never bottled
Baked Yogurt
- 1 ½ Cups Vanilla Greek Yogurt, Oikos Zero is our favorite
- 3 Eggs
- 1 Egg Yolk
- 2 Tablespoons Cornstarch
- 2 Tablespoons Honey
- 1 teaspoon Vanilla Extract
- 1 Cup Mixed Berries, *optional
Instructions
Graham Cracker Topping
-
Start by making the crumb topping. Add the graham crackers to a blender or food processor, pulse until they are fine crumbs.8 Sheets Graham Cracker Sheets
-
Pour into a medium size bowl. Add melted butter, a pinch of kosher salt, and pinch of ground cinnamon. Mix to combine. Reserve the the crumbs for the topping.4 Tablespoons Unsalted Butter, 1 Pinch Kosher Salt, 1/4 teaspoon Cinnamon
Berry Sauce
-
NOTE: Make this berry sauce or use slightly warmed raspberry jam.
-
Whisk the cornstarch and water together until all the cornstarch has dissolved. Combine with raspberries, sugar, and lemon juice in a small saucepan over medium heat.2 teaspoons Cornstarch, 1 Tablespoon Water, 3 Cups Raspberries, 1/4 Cup Sugar, 1 teaspoon Lemon Juice
-
Using a spatula, stir the mixture, lightly mashing the raspberries as they cook.
-
Bring to a boil and let it boil for 3 full minutes, stirring occasionally. Remove the pan from heat.
-
Press the warm sauce through a mesh strainer to remove the seeds, if desired. Cool the sauce completely at room temperature or in the refrigerator.
Baked Yogurt
-
Preheat oven to 350 ℉ spray an 8x 8″ baking dish (or 8″ round) with nonstick spray or small ramekins.
-
In a large mixing bowl, whisk together the yogurt, eggs, and egg yolk, cornstarch, honey and vanilla extract until creamy.1 ½ Cups Vanilla Greek Yogurt, 3 Eggs, 1 Egg Yolk, 2 Tablespoons Cornstarch, 2 Tablespoons Honey, 1 teaspoon Vanilla Extract
-
Transfer the batter into the prepared baking dish. NOTE: You can fold whole berries into the batter at this point if desired.1 Cup Mixed Berries
-
Bake in the oven 35-38 minutes (25-30 for ramekins) or until the center is fully cooked. The bake should be firm, but not hard like a cookie, continue cooking if needed.
-
Remove from the oven and cool 20 minutes and serve with crumb topping!
Nutrition
Nutrition information is automatically calculated, so should only be used as an approximation.