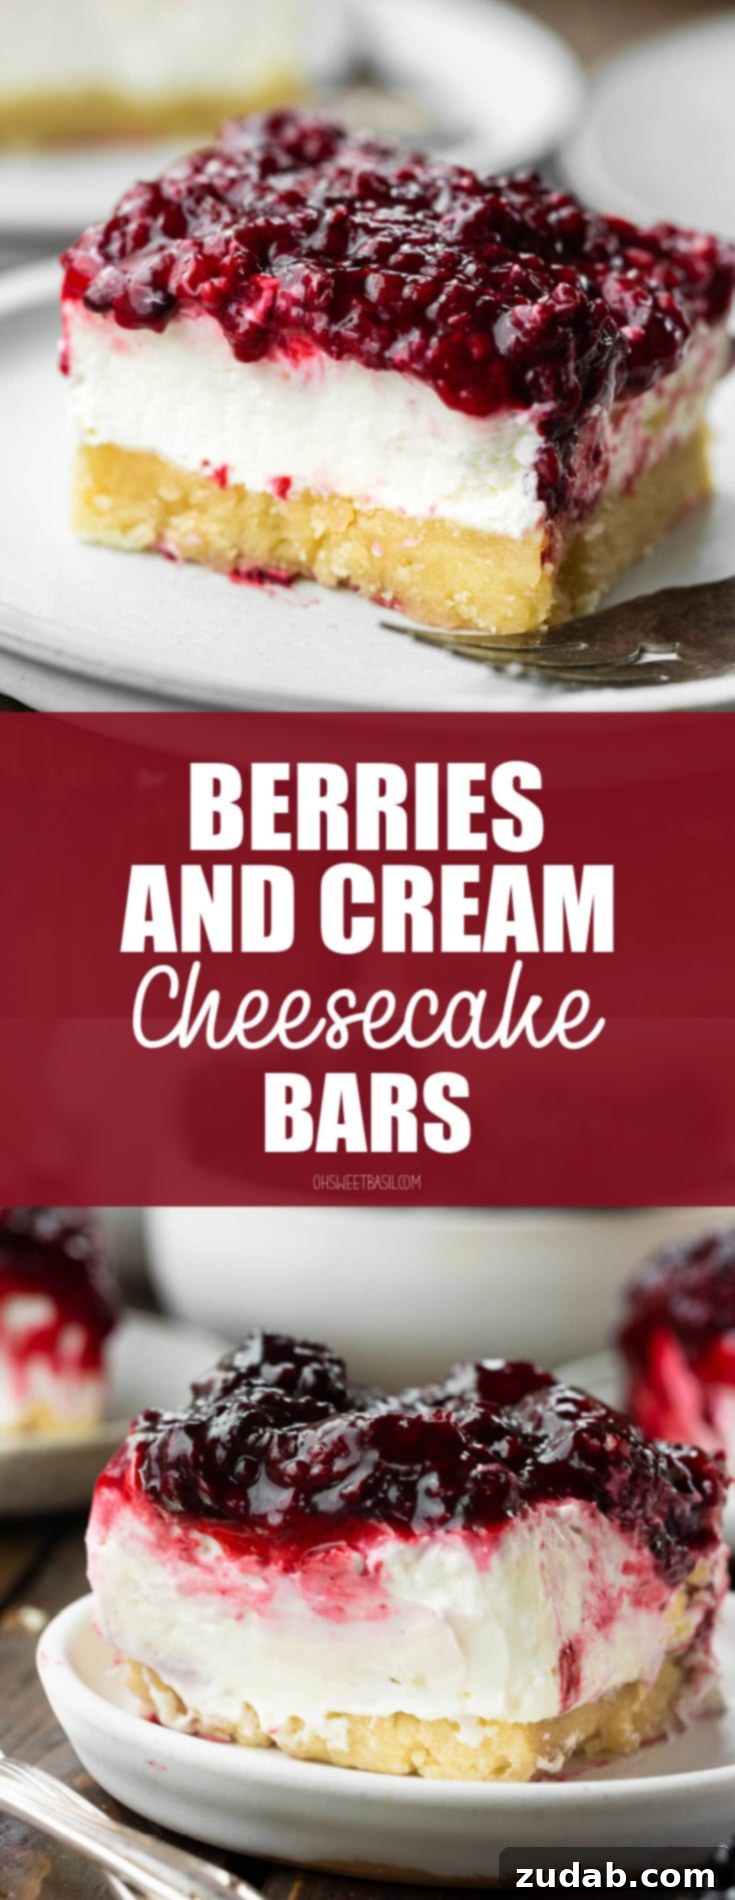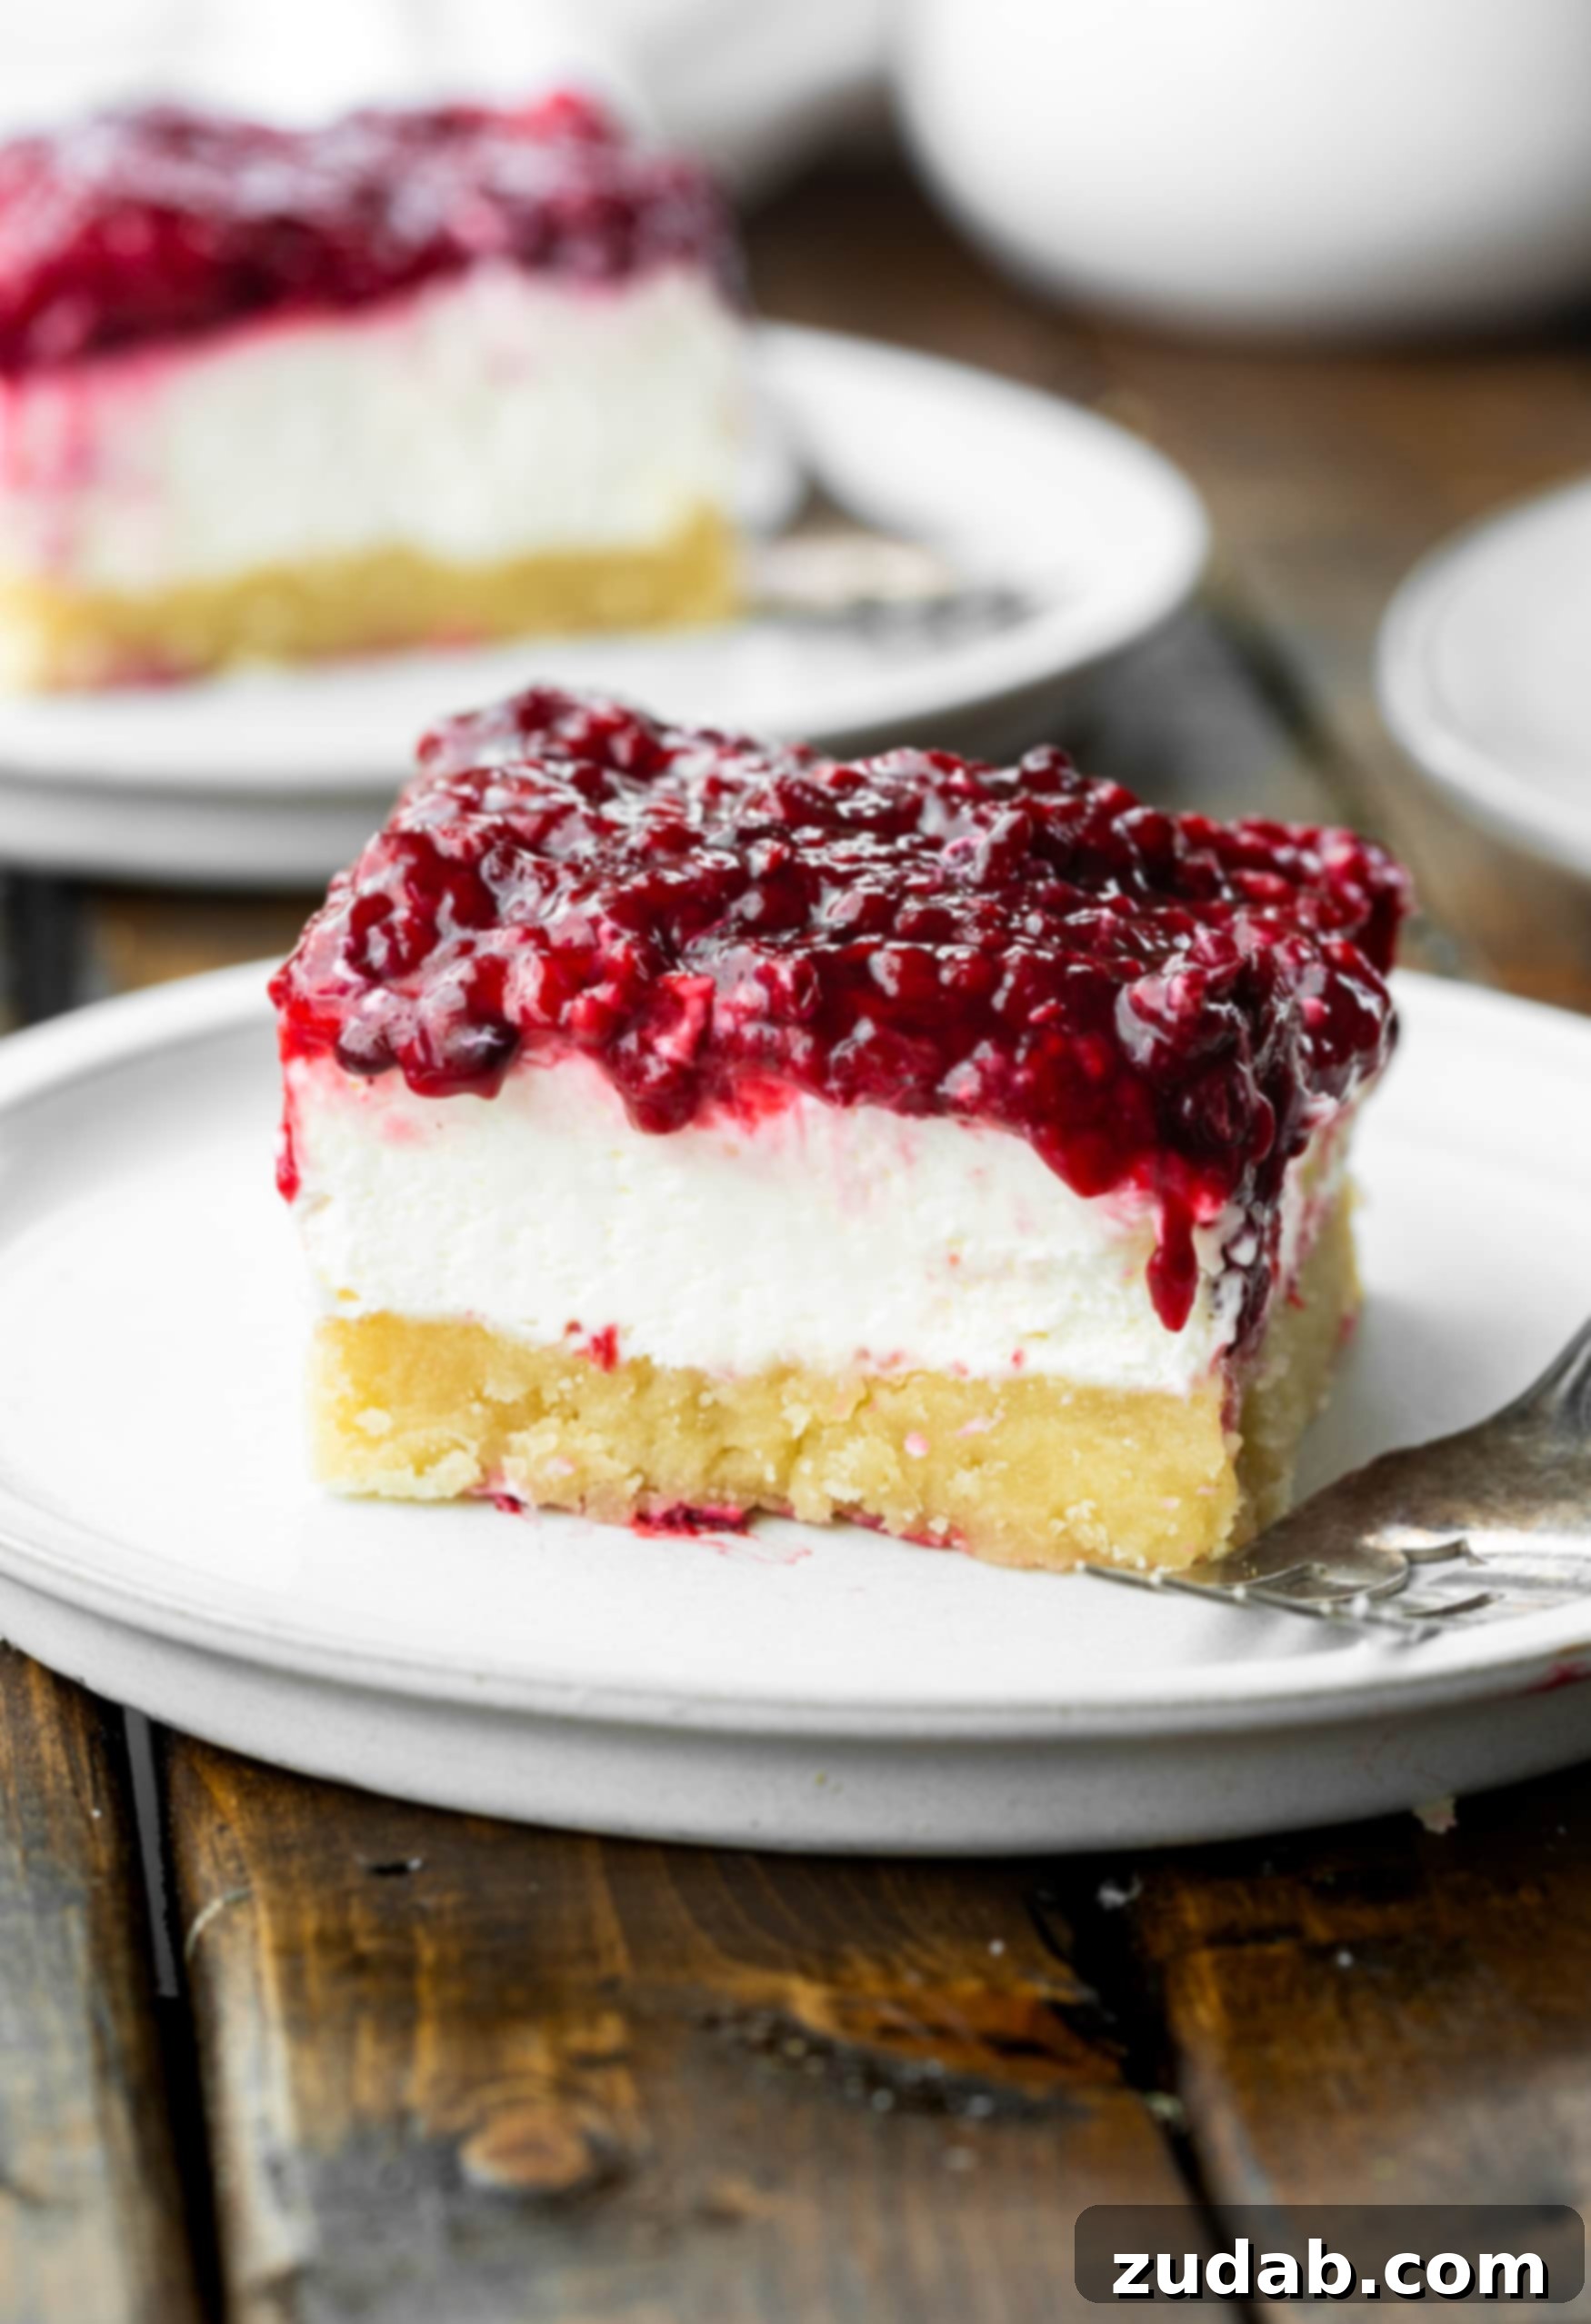
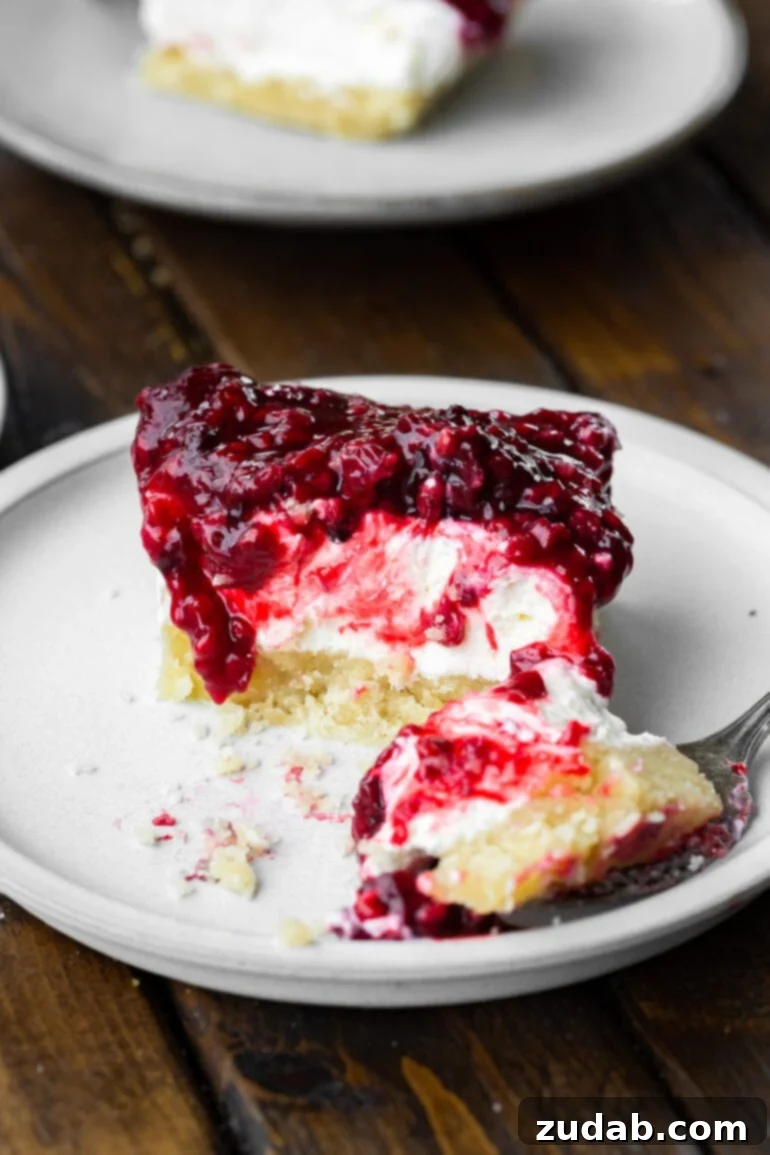
Indulge in the ultimate summer treat with these irresistible Berries and Cream Cheesecake Bars! This recipe combines a delightfully easy-to-make oil pie crust with a luscious, delicately sweet no-bake cheesecake filling, all crowned with a vibrant, simple berry topping. It’s a dessert that consistently steals the show, offering a perfect balance of creamy texture and fruity tang in every single bite. If you’re anything like me, you simply can’t get enough of berry-infused desserts. From classic strawberry shortcake, which feels like my culinary love language, to a dreamy, rich marionberry pie, sweet treats bursting with fresh berries are always at the top of my list.
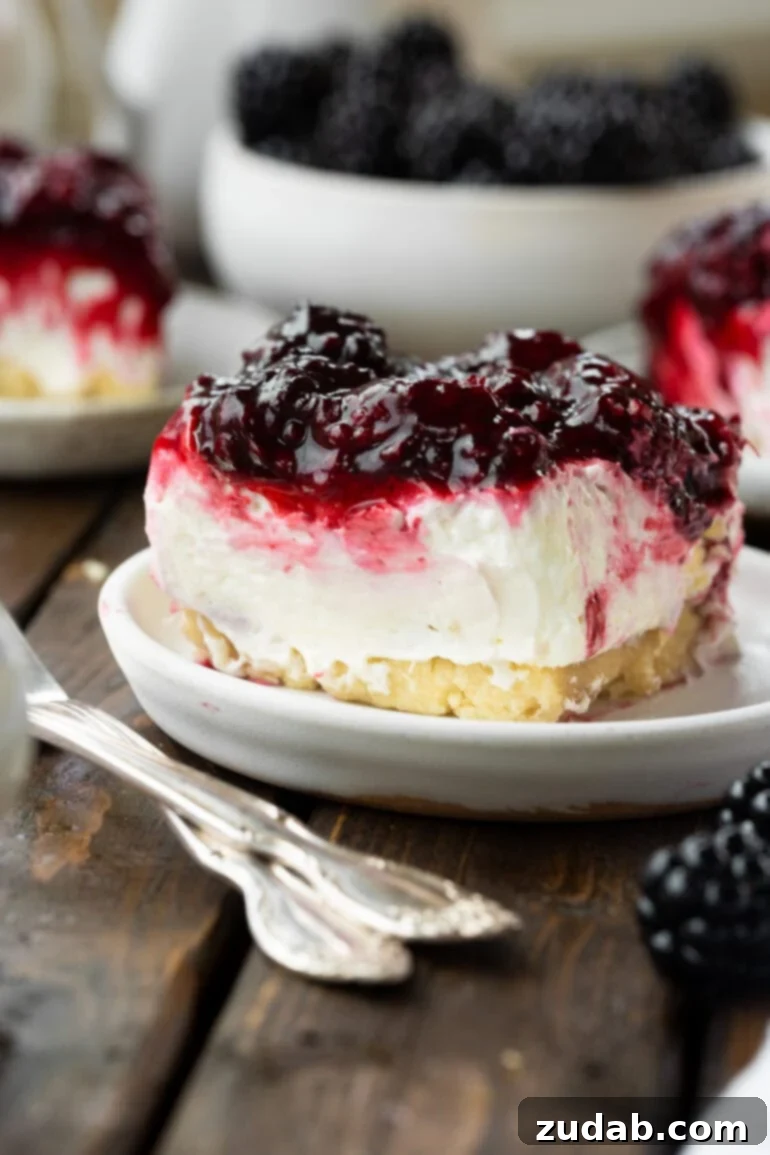
I am thrilled to announce our collaboration with my absolute dream brand, Oregon Berries, to bring you what I confidently believe is the most exquisite berry dessert you’ll discover online this year. This recipe isn’t just good; it’s utterly addictive, a dessert I genuinely cannot stop savoring! I often find myself debating whether to classify these as entirely ‘no-bake.’ While the rich, creamy cheesecake layer requires no baking whatsoever, the foundation is a simple, perfectly baked oil pie crust. And let me tell you, this isn’t just *any* crust—it’s truly unique and, dare I say, life-changing. It offers a wonderful contrast to the smooth filling, providing a subtle crispness that elevates the entire experience.
My dear friend Megan once raved about a fantastic chocolate pie from a local business, but it was her mention of a berry rendition that instantly captured my imagination. I knew I needed that recipe, and I needed it yesterday! You, my wonderful readers, should be eternally grateful that I managed to get my hands on it, because what followed is one of the dreamiest berry desserts you will ever have the pleasure of devouring. The excitement for this recipe was so profound that I began writing this post even before I had finished photographing the final dish, eager to share this masterpiece with you all.
Oregon Berries
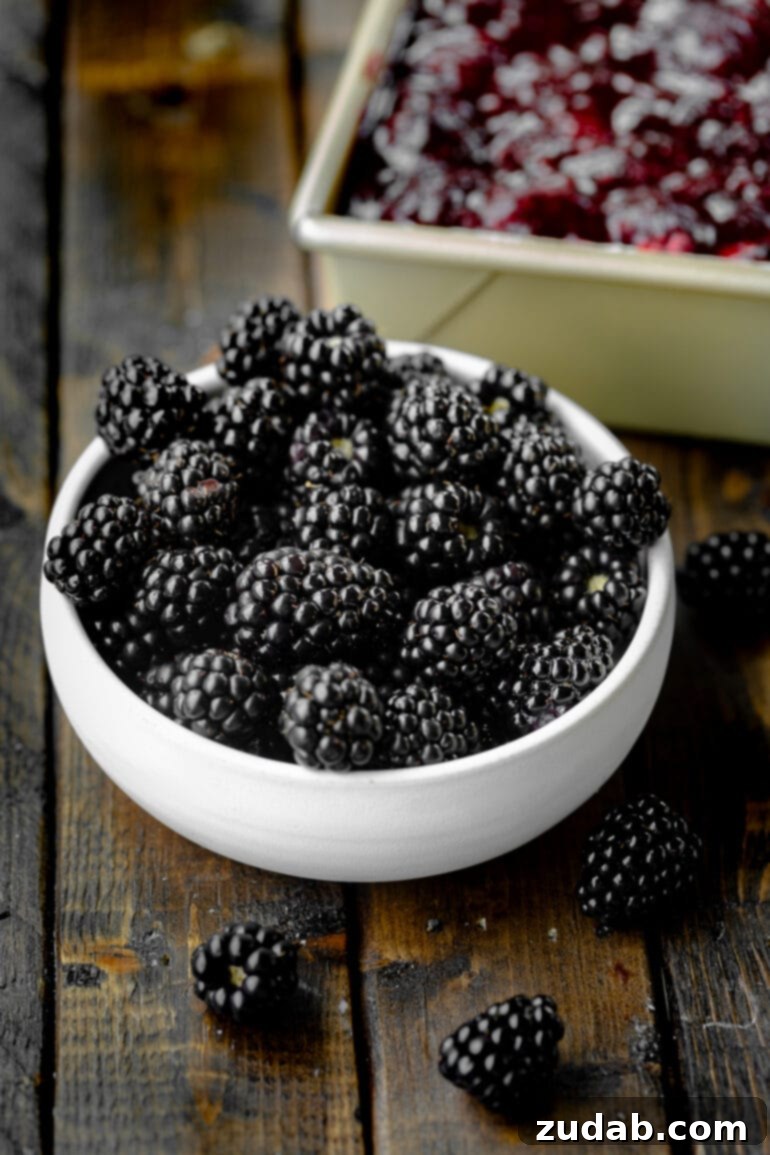
Growing up amidst the lush landscapes of the Pacific Northwest, berries became woven into the very fabric of my being. There is truly no berry quite like the legendary Oregon Marionberry. Oregon’s unique environment, characterized by optimal soil conditions, clean air, abundant water, a temperate climate, and the dedicated love of its local farmers, creates the perfect haven for growing blackberries. These aren’t just any blackberries; they are nurtured by local families who serve as true stewards of the land, passionately committed to environmentally sustainable practices and ensuring every berry is picked at the pinnacle of its ripeness. What’s more, blackberries are not only delicious but also packed with beneficial nutrients, allowing you to indulge in this dessert with an extra layer of feel-good satisfaction.
For those with a spirit of wanderlust or a meticulously curated bucket list, I wholeheartedly insist that a summer visit to the Oregon coast makes it onto your calendar. There is an unparalleled magic to those breathtaking drives, with your favorite music playing and laughter filling the car, as you pull over to charming roadside stands. There, you can purchase freshly picked, sun-kissed berries directly from the hands that grew them. This simple ritual remains one of my most cherished experiences, a memory infused with the sweet taste and vibrant spirit of Oregon’s bounty. The quality and flavor of Oregon Berries are truly unparalleled, making them the star ingredient in these exceptional cheesecake bars.
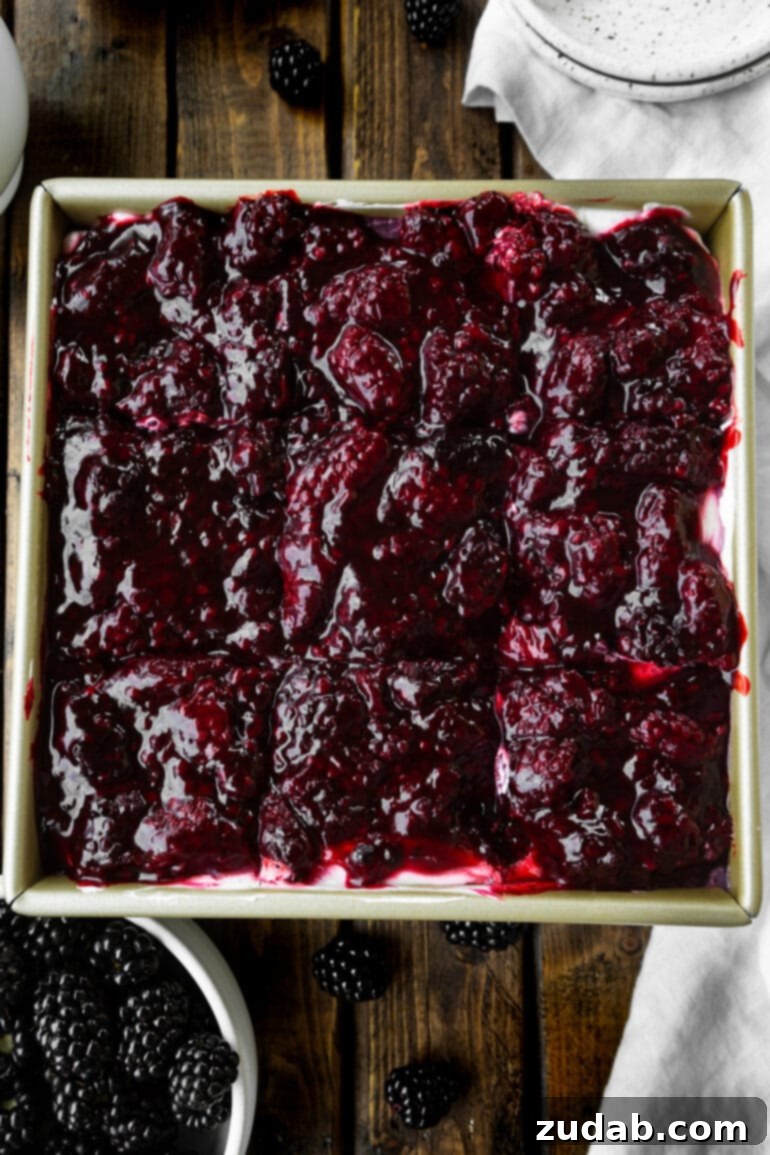
Ingredients for Berries and Cream Cheesecake Bars
Crafting these delightful Berries and Cream Cheesecake Bars involves three distinct, yet equally important, layers. To ensure clarity and ease of preparation, I’m going to break down the ingredients you’ll need for each component, ensuring you have everything at hand for a smooth baking and assembly process.
Pie Crust Layer
- Flour: Standard all-purpose flour provides the necessary structure for a crisp, tender crust.
- Sugar: A touch of sugar adds a subtle sweetness to the crust, complementing the richer layers above.
- Salt: Just a pinch of salt is essential for enhancing all the flavors, balancing the sweetness and enriching the taste of the flour.
- Vegetable Oil: Unlike traditional butter-based crusts, vegetable oil is the key fat here, contributing to a wonderfully flaky yet robust base that holds together beautifully.
- Milk: A small amount of milk helps bind the dry ingredients, allowing the dough to come together into a workable consistency.
Berry Layer
- Berries: For this specific recipe, we favor the rich taste of blackberries and the bright tartness of raspberries. However, this layer is incredibly versatile, and you can easily experiment with any combination of berries that you love (see the section below for more suggestions on berry varieties).
- Sugar: Added to balance the natural tartness of the berries, the sugar melts down to create a glistening, sweet sauce.
- Cornaby’s Ultra Gel: This is my preferred thickening agent for achieving a perfect, glossy berry layer without any noticeable taste. If unavailable, cornstarch can be used as a substitute (refer to the recipe card notes for precise measurements and instructions).
- Water: A small amount of water helps to thin the berry mixture slightly, ensuring a smooth, spreadable consistency and contributing to that beautiful, translucent glaze.
Cream Layer
- Heavy Cream: Whipped heavy cream is folded into the cream cheese mixture, lending an airy, light texture and helping the filling set beautifully.
- Vanilla: A dash of pure vanilla extract adds a warm, classic flavor that complements both the cream cheese and the fresh berries.
- Cream Cheese: It is absolutely crucial that your cream cheese is at room temperature. This ensures a smooth, lump-free filling that blends effortlessly.
- PRO TIP: While you can use full-fat or 1/3 fat cream cheese, I’ve found that full-fat varieties tend to set up better, yielding a more stable and luxurious cream layer.
- Powdered Sugar: Also known as confectioners’ sugar, this ingredient provides the perfect sweetness to this layer while simultaneously ensuring a silky-smooth, creamy texture without any graininess.
You’ll find the precise measurements for all these essential ingredients detailed in the comprehensive recipe card located at the conclusion of this post.
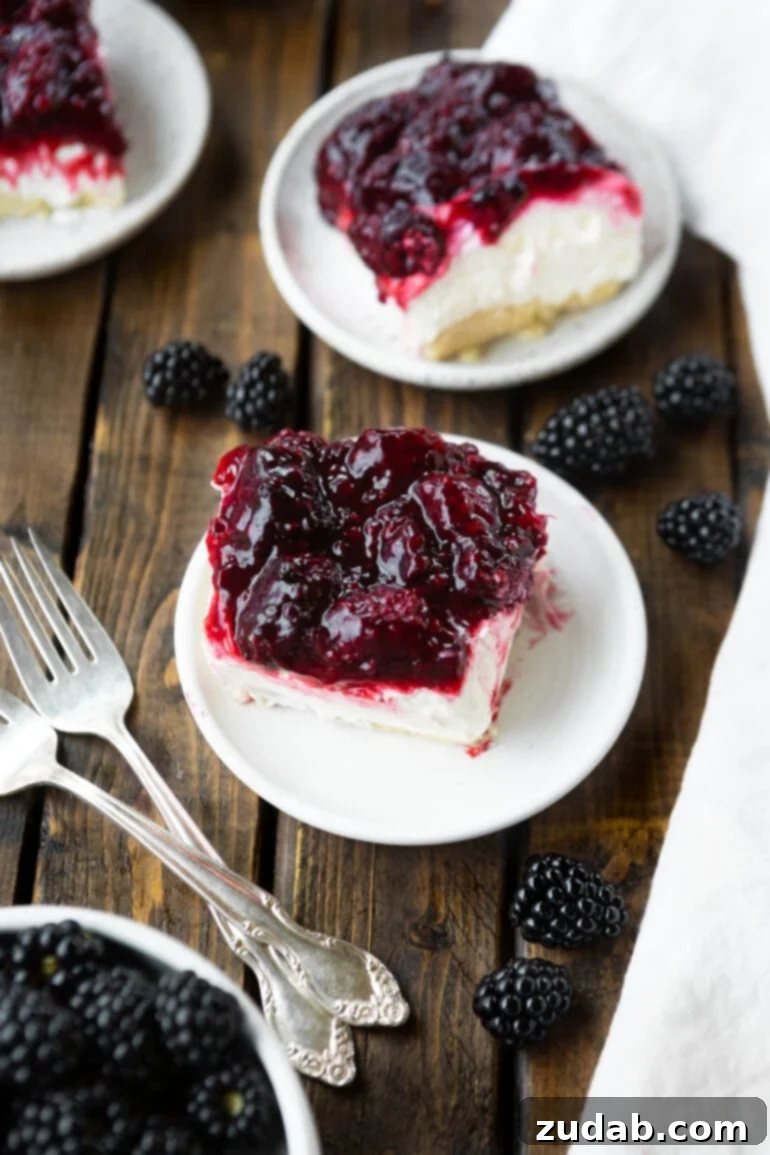
How to Make Cheesecake Bars
Many people are intimidated by the thought of making homemade cheesecake, envisioning complicated water baths and cracked tops. However, with this incredibly straightforward bar dessert recipe, there’s absolutely no need to fear! The oil pie crust is astonishingly simple to prepare, and the star creamy filling requires no baking at all, making this a truly foolproof dessert. Here’s a step-by-step guide to assembling these delectable treats.
Crust
- In a spacious mixing bowl, combine the all-purpose flour, granulated sugar, and salt. Whisk them together thoroughly to ensure even distribution.
- In a separate, smaller bowl, gently combine the vegetable oil and milk, mixing until just incorporated. Gradually add the wet ingredients to the dry mixture. Using a fork, stir until the dough begins to come together and forms a ball.
- It will initially appear quite crumbly, but it should hold together when gently squeezed. If the mixture is excessively crumbly and struggling to bind, add tiny splashes of milk, one teaspoon at a time, until the desired consistency is achieved.
- Transfer the prepared dough to an airtight container and allow it to rest in the refrigerator for a minimum of 15 minutes. This chilling period helps the gluten relax and makes the dough easier to roll.
- Once chilled, roll the dough out evenly between two pieces of wax paper into an 8×8-inch square. Carefully transfer the rolled dough into your chosen baking pan, pressing it gently into place to form an even bottom crust.
- Bake the crust in a preheated 350°F (175°C) oven for 8-10 minutes, or until lightly golden. Once baked, remove from the oven and allow it to cool completely before proceeding to the next layers. A fully cooled crust is essential for a stable bar.
Berry Layer
- While your crust is baking and cooling, you can begin preparing the delightful berry topping. In a medium saucepan, combine the granulated sugar and Ultra Gel (or cornstarch, if substituting). Stir them thoroughly to prevent lumps.
- Add the water and your chosen berries to the saucepan. Stir gently to combine all ingredients. Place the saucepan over medium heat, bringing the mixture to a gentle simmer while stirring occasionally. Continue to cook until the berry mixture thickens to a glossy, spoonable consistency.
- Once thickened, remove the saucepan from the heat. To expedite the cooling process and prevent further cooking, you can transfer the berry mixture to a separate bowl. Ensure the berry layer is completely cool before spreading it over the cream cheese filling.
Cream Layer
- Begin by whipping the cold heavy cream in a clean, chilled bowl (using a stand mixer with a whisk attachment or a hand mixer) until stiff peaks form. Gently fold in the vanilla extract.
- In a separate mixing bowl, cream together the softened cream cheese and powdered sugar until smooth and lump-free. This step is critical for a velvety filling.
- Carefully fold the whipped cream cheese mixture into the whipped heavy cream. Mix on low speed, just until everything is well combined and uniform in texture. Avoid overmixing, as this can deflate the cream.
- Spread the prepared cream layer evenly over the completely cooled pie crust. Ensure it forms a smooth, consistent layer.
- Then, gently pour the cooled berry topping over the cream layer, spreading it to cover the surface. Place the assembled bars in the refrigerator and chill for at least 4 hours (or preferably overnight) until they are firmly set and ready to serve.
For more precise details and exact measurements, please refer to the comprehensive recipe card available at the end of this post. You can also save or print the recipe directly from there for your convenience.
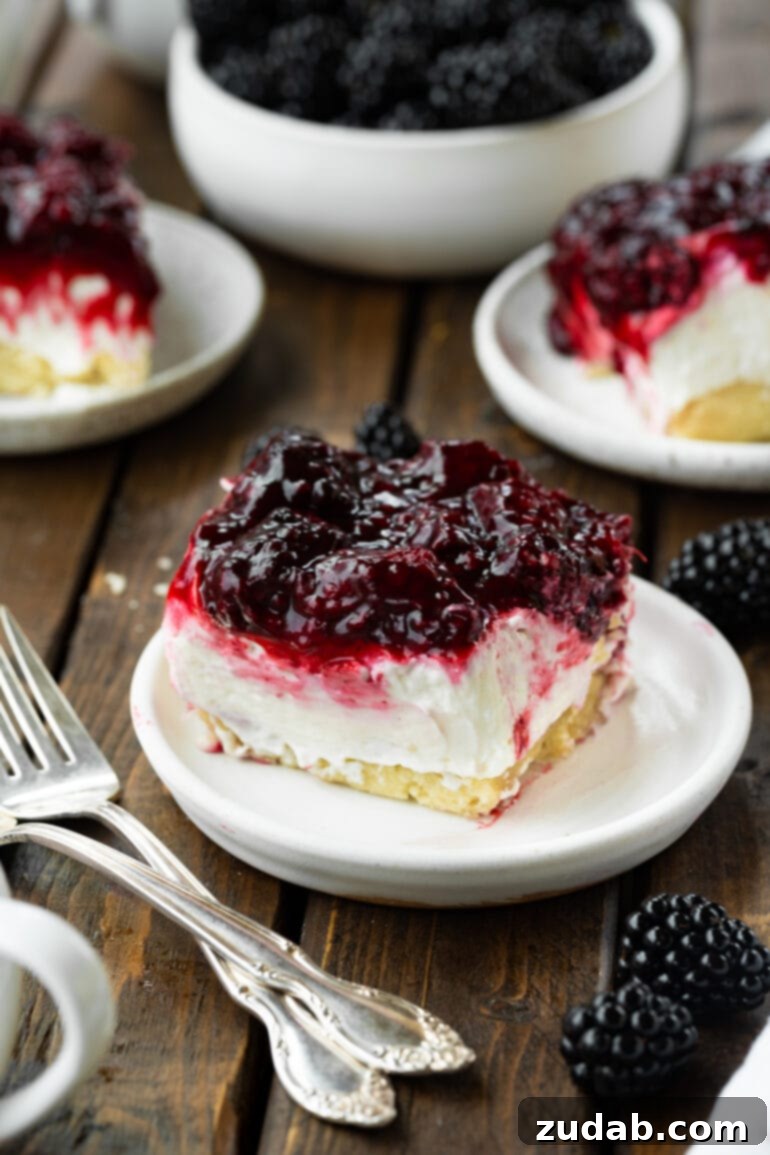
What Kind of Berries Should I Use?
One of the joys of this Berries and Cream Cheesecake Bars recipe is its incredible adaptability when it comes to fruit. You have the freedom to truly customize the berry layer to your personal taste or whatever is in season. While I personally have a strong preference for the delightful combination of raspberries and blackberries—especially the elusive yet exquisite Marionberry, arguably the best berry ever grown (though often a challenge to find locally)—you are welcome to use any blend you desire. A convenient option, particularly when fresh local berries are out of season, is to grab a bag of mixed berry blend from the frozen aisle of your local grocery store, like Costco, which is a freezer staple in our household.
Here are some fantastic berry options you can consider, each offering a unique flavor and visual appeal:
- Blueberries: Sweet with a mild tartness, they offer a beautiful deep purple hue.
- Strawberries: Classic and universally loved, providing a sweet and slightly acidic flavor.
- Boysenberries: A hybrid berry, offering a rich, sweet-tart flavor, a cross between a raspberry, blackberry, and loganberry.
- Raspberries: Known for their distinct tartness and delicate texture, they add a bright zing.
- Blackberries: Deeply flavored, sweet, and juicy, especially the plump Oregon varieties.
- Marionberries: The queen of blackberries, offering an intense, complex sweet-tart flavor that is truly unparalleled.
How to Cut Cheesecake Cleanly
We’ve all experienced that moment of frustration: you’ve invested valuable time and effort in creating a spectacular cheesecake dessert, only to have your knife drag, leaving behind messy, clumpy pieces that detract from its visual appeal. Achieving clean, picture-perfect slices of cheesecake or cheesecake bars is entirely possible with a few simple tricks.
The absolute key to cutting cheesecake bars cleanly is patience—ensure the bars are thoroughly chilled and completely set. Next, equip yourself with a very sharp knife. Before making your initial cut, run the knife under hot water for about 30 seconds. The warm blade will glide effortlessly through the cold cheesecake, creating a clean edge. After each cut, wipe the knife completely clean with a paper towel and run it under hot water again before making the next slice. While it may seem like a slightly cumbersome extra step, I assure you, this meticulous process will make all the difference, transforming your dessert into beautifully presented portions.
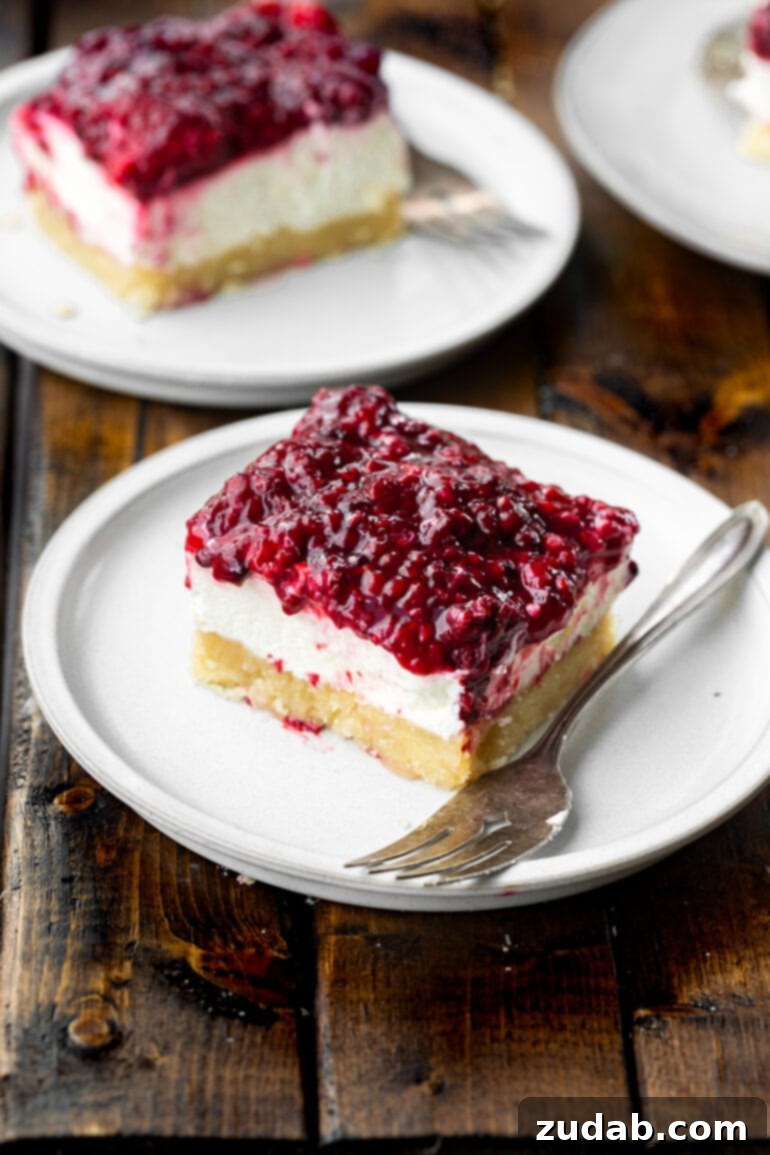
Do Cheesecake Bars Need to Be Refrigerated?
Yes, absolutely. Due to the significant dairy content in the luscious cream layer—specifically the heavy cream and cream cheese—these Berries and Cream Cheesecake Bars must be stored in the refrigerator. Allowing them to get too warm will not only compromise their delicate texture, causing the filling to soften and lose its shape, but it can also lead to spoilage. Proper refrigeration ensures food safety and maintains the dessert’s integrity, keeping it firm, cool, and delicious.
Can Cream Cheese Bars Be Made Ahead of Time?
These cheesecake bars are an ideal make-ahead dessert, perfect for entertaining or simply enjoying throughout the week. In fact, preparing them in advance actually benefits their texture and flavor. Since all the layers are cooled before assembly, and the final chilling process helps them set even better, these bars can be made up to 6 hours ahead of time. You can easily prepare them in the morning and then simply store them in the fridge until you’re ready to serve dessert later that day. For optimal setting and flavor development, I often recommend preparing them the day before.
Storing and Freezing Cheesecake Bars
Proper storage is key to keeping your Berries and Cream Cheesecake Bars fresh and delicious. For short-term storage, always keep the cheesecake bars in an airtight container in the refrigerator. Stored this way, they will maintain their exquisite taste and texture for up to a week.
These bars also lend themselves wonderfully to freezing, making them a fantastic option for meal prepping desserts or saving leftovers. I prefer to cut the chilled bars into individual pieces first. Then, place them in a single layer on a baking sheet and pop them into the freezer for about an hour, allowing them to freeze solid. Once individually frozen, wrap each piece tightly in plastic wrap, followed by a layer of aluminum foil. This double-layer protection helps prevent freezer burn and preserves their quality. They will keep beautifully in the freezer for up to 3 months. When you’re ready to enjoy them, simply let them thaw in the refrigerator overnight, or at room temperature for a couple of hours, before serving.
Reasons You Will Love this Recipe
- Effortless Preparation: Every single layer of this dessert is incredibly simple to create. The best part? The luxurious cheesecake layer requires absolutely no baking, making the entire process virtually foolproof and perfect for bakers of all skill levels, even beginners.
- Heavenly Texture: Prepare for a symphony of textures in every bite! The cheesecake layer is exquisitely smooth and creamy, a perfect contrast to the subtly crisp and flaky oil pie crust. Topped with the soft, bursting berries, it’s a harmonious blend that truly feels like heaven on your palate.
- Unique and Delicious Crust: While many cheesecake bar recipes rely on a graham cracker crust, our unique oil pie crust truly sets this recipe apart. It offers a tender, flaky texture that’s both comforting and distinctive. However, if you’re a devoted fan of the traditional graham cracker crust, you can certainly substitute it by following our dedicated graham cracker crust recipe linked here for your convenience.
- Perfect for Crowds: Whether you’re hosting a large gathering or simply enjoying a family treat, these cheesecake bars are a fantastic crowd-pleaser. You have the flexibility to cut the pieces as large or as small as needed, depending on the occasion and the number of people you’re serving.
- PRO TIP: For larger crowds, you can easily double the recipe and prepare it in a 9×13-inch pan to ensure there’s plenty for everyone.
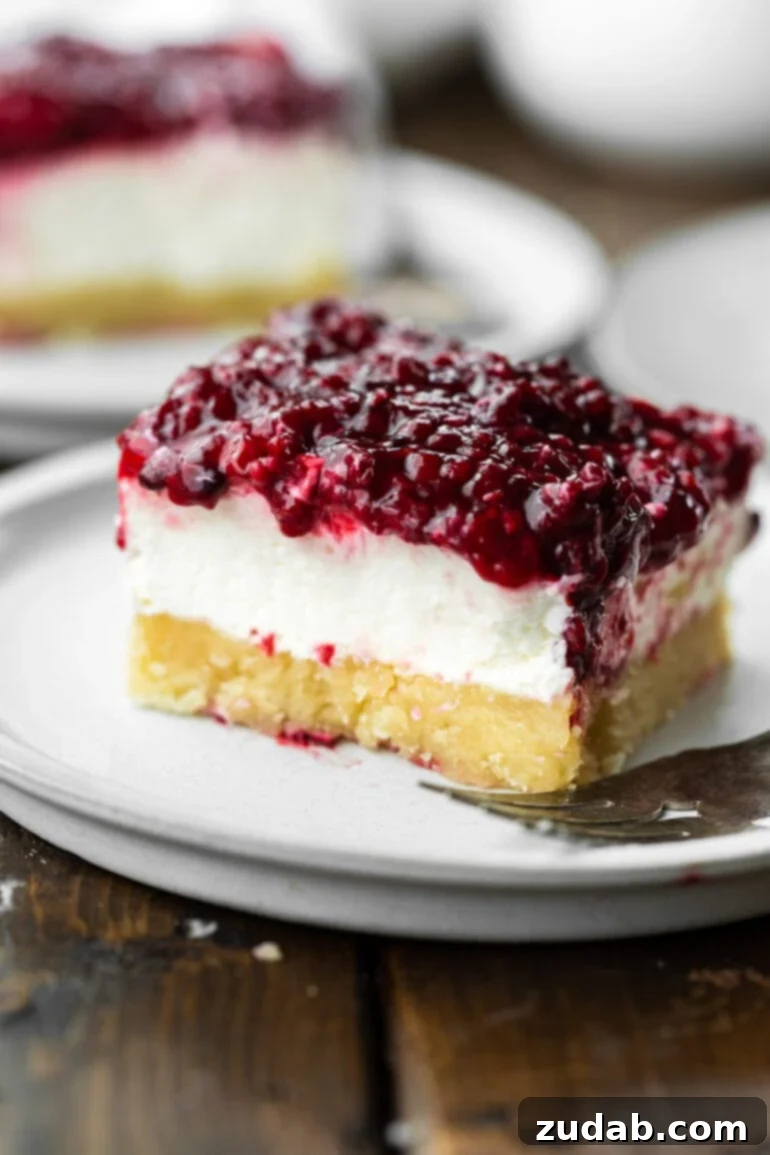
Mixed berry desserts hold a special place in my heart, and these Berries and Cream Cheesecake Bars are no exception. There’s an undeniable magic that happens when the vibrant tartness of fresh berries meets the unparalleled creaminess of a rich cheesecake. This combination creates a delightful dance of flavors on the tastebuds, an experience that is both refreshing and deeply satisfying. And let’s not forget that wonderfully unique and utterly yummy crust – you truly have to try it to understand its charm!
In essence, these berries and cream cheesecake bars offer the best of both worlds, feeling like a slice of classic cheesecake perfectly married with a rustic berry pie, all in one extraordinary bite. It’s a match truly made in dessert heaven, destined to become a staple in your collection of favorite recipes.
More Cheesecake Bar Recipes:
- Dulce de Leche Chocolate Cheesecake Bars
- Swirled Lemon Raspberry Cheesecake Bars
- Strawberry Cheesecake Bars
- Snickerdoodle Cheesecake Bars
- Apple Cheesecake Bars
- No Bake Caramel Cheesecake Bars
Berries and Cream Cheesecake Bars
Ingredients
For the Crust
- 2 ¼ Cups All-Purpose Flour
- 1 teaspoon Granulated Sugar
- ¾ teaspoon Salt
- ⅔ Cup Vegetable Oil
- ¼ Cup Milk
Berry Layer
- 4 Cups Blackberries (frozen or fresh, divided)
- ⅓ Cup Granulated Sugar
- 2 Tablespoons Cornaby’s Ultra Gel (see notes for cornstarch substitute)
- ½ Cup Water
Cream Layer
- 1 ½ Cups Heavy Cream
- 1 ½ teaspoons Vanilla Extract
- 12 Ounces Cream Cheese (approx. 1 ½ bricks, softened to room temperature)
- ¾ Cup Powdered Sugar
Instructions
For the Crust
- Combine flour, sugar, and salt in a medium mixing bowl.
- In a separate mixing bowl, combine the oil and milk. Add these liquids to the flour and salt mixture. Stir with a fork until a ball forms. The mixture should still be somewhat crumbly but should hold together when pressed tightly into a ball. If it’s too crumbly and doesn’t hold, add tiny splashes of milk as needed.
- Place the dough in an airtight container and let it rest in the fridge for at least 15 minutes.
- Roll the dough out between two pieces of wax paper into an 8×8-inch square. Carefully transfer it into your baking pan.
- Bake in a 350°F (175°C) oven for 8-10 minutes. Set aside to cool completely.
For the Berry Layer
- In a saucepan, stir together the sugar and Ultra Gel (or cornstarch, see notes for substitute).
- Add the water and berries, then stir to combine. Heat over medium heat until the mixture is simmering and begins to thicken. Turn off the heat and set aside to cool completely. For quicker cooling, transfer it to a separate bowl.
For the Cream Layer
- Whip the heavy cream until stiff peaks form, then gently fold in the vanilla extract.
- In a separate bowl, cream together the softened cream cheese and powdered sugar until smooth and lump-free.
- Add the cream cheese mixture to the whipped cream mixture and beat on low speed until just combined.
- Spread the cream mixture evenly over the completely cooled crust.
- Pour the cooled berry topping over the cream layer and spread gently. Store the assembled bars in the refrigerator until they are fully set and ready to serve.
Recipe Notes
I often use all Marion Blackberries, but a mix of 2 cups raspberries and 2 cups blackberries is also wonderful, so the choice depends on what you have on hand and your flavor preference.
For cornstarch as a substitute, use 3 tablespoons, but I highly recommend Ultra Gel as it doesn’t impart any flavor to the berries.
While fresh berries are always a fantastic choice when in season, frozen berries are an excellent and convenient option, especially when fresh, local varieties are unavailable. In fact, I frequently use frozen berries as I keep them stocked for smoothies and various other desserts.
Nutrition
Serving: 1 slice, Calories: 489kcal, Carbohydrates: 51g, Protein: 9g, Fat: 28g, Saturated Fat: 17g, Polyunsaturated Fat: 1g, Monounsaturated Fat: 7g, Cholesterol: 84mg, Sodium: 331mg, Potassium: 236mg, Fiber: 4g, Sugar: 24g, Vitamin A: 1239IU, Vitamin C: 14mg, Calcium: 96mg, Iron: 2mg
Nutrition information is automatically calculated, so should only be used as an approximation.