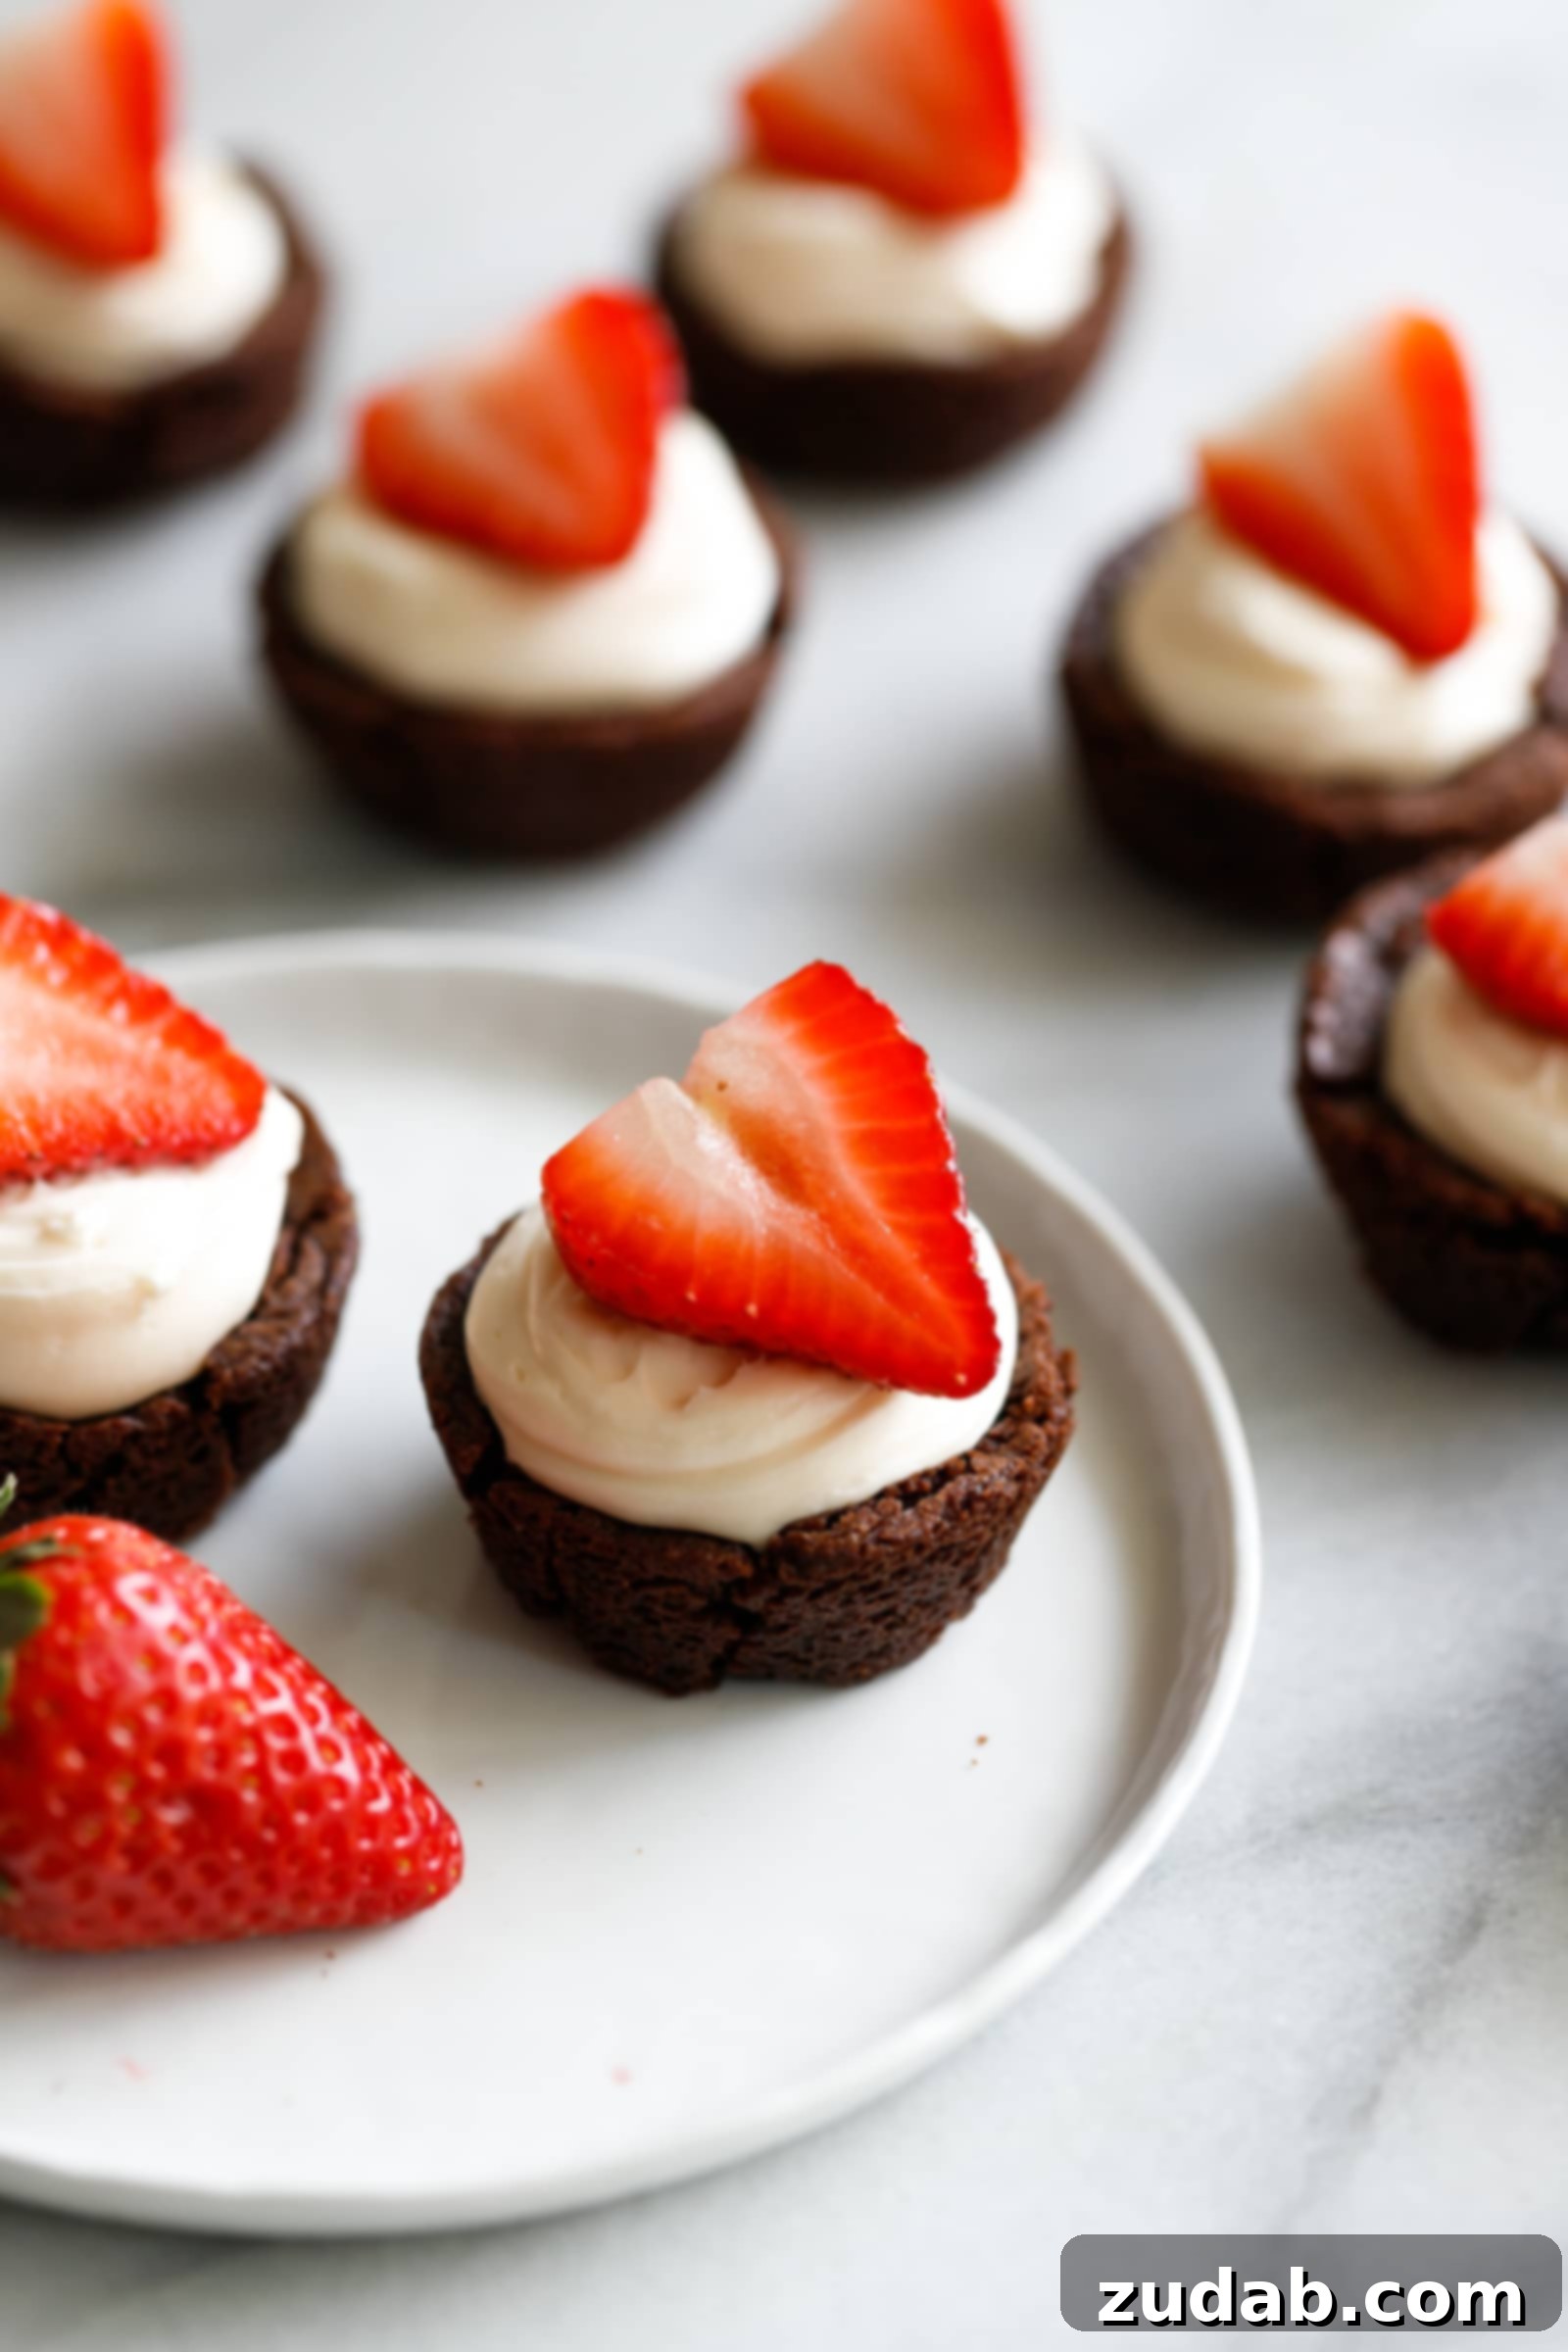
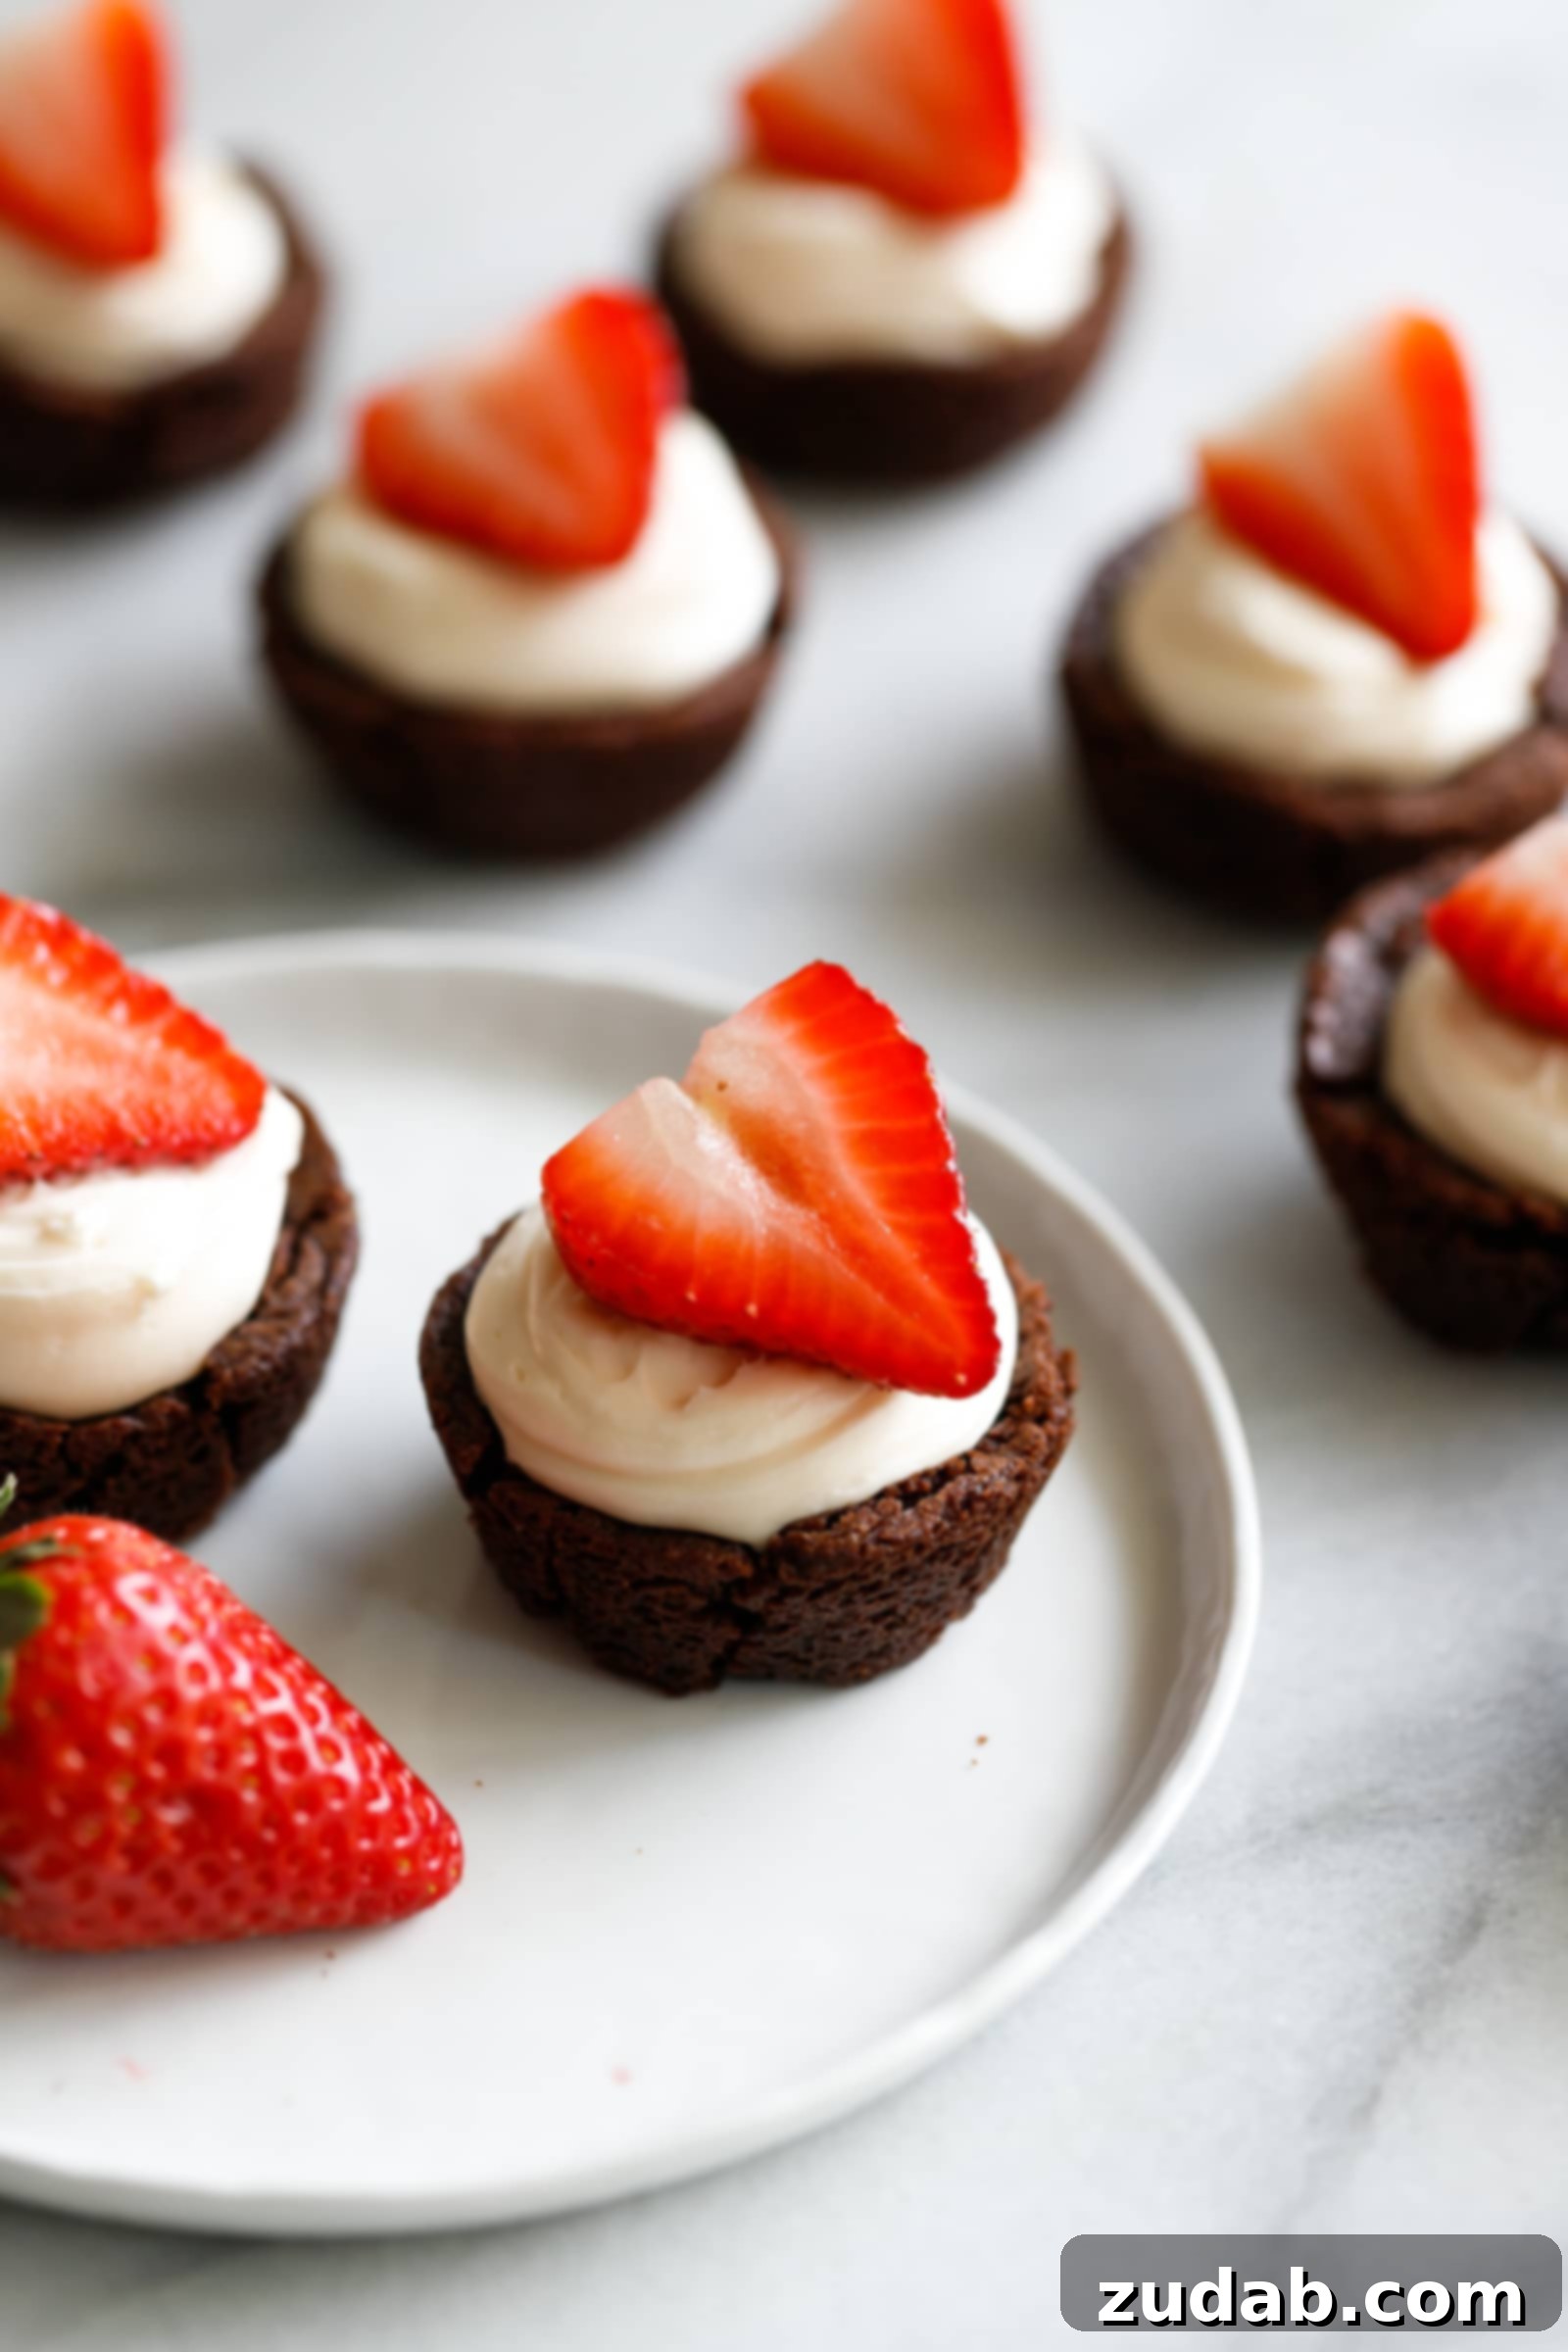
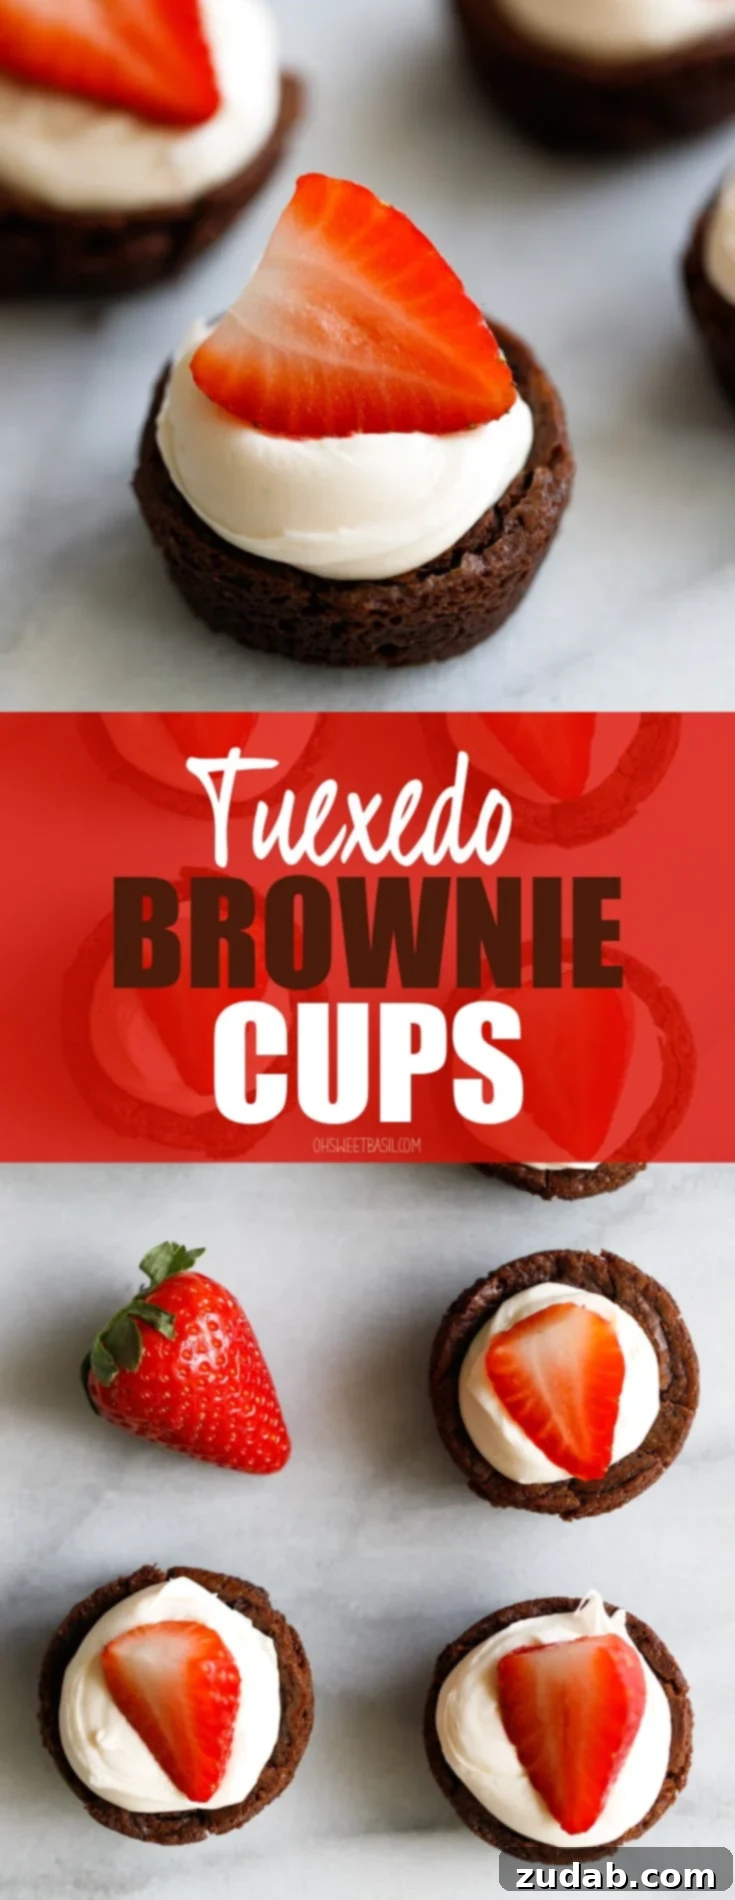
Tuxedo Brownie Cups are the epitome of elegance and deliciousness, transforming a classic dessert into a show-stopping treat. Imagine rich, fudgy brownies, baked to perfection in miniature cups, generously stuffed with a luscious white chocolate cream cheese filling, and crowned with a vibrant, juicy strawberry. These sophisticated brownie bites are not just a dessert; they’re an experience, perfect for any gathering or a special indulgence.
Brownies, in their simplest form, are a universally loved dessert, versatile enough to complement any meal or occasion. They’re often the go-to treat when you need something satisfying without too much fuss. However, there are times when a little extra flair is desired. These Tuxedo Brownie Cups elevate the humble brownie to black-tie status, making them an unforgettable addition to your dessert table. The contrast between the deep, dark chocolate brownie and the creamy white filling, accented by the fresh red strawberry, creates a stunning visual appeal that lives up to their “tuxedo” name.
The star of this recipe, beyond the brownie itself, is undoubtedly the white chocolate cream cheese filling. It’s incredibly smooth, rich, and utterly divine. Can you ever go wrong with a creamy, dreamy cream cheese filling? We think not! Its velvety texture and sweet, tangy notes perfectly complement the robust chocolate flavor of the brownie, while the fresh strawberry adds a burst of sweetness and a hint of tartness, tying all the elements together in a harmonious bite.
Why You’ll Fall in Love with Tuxedo Brownie Cups
These mini brownie cups are more than just a dessert; they are a delightful combination of textures and flavors that will captivate your palate. The soft, chewy interior of the brownie provides a comforting base, while the slightly crispy edges add a delightful contrast. The cream cheese filling, light yet decadent, melts in your mouth, leaving behind a subtle white chocolate sweetness. Finally, the fresh strawberry on top provides a refreshing counterpoint, cutting through the richness with its natural fruity zest. They’re ideal for parties because they are perfectly portioned, easy to serve, and visually stunning, making them a guaranteed crowd-pleaser.
Essential Equipment for Perfect Brownie Bites
Creating these elegant treats is surprisingly straightforward, especially with the right tools. Here’s what you’ll need to ensure success:
- Mini Muffin Pan: This is crucial for achieving the perfect bite-sized portions that define these tuxedo brownie cups. A good non-stick pan will make removal much easier.
- Small Cookie Scoop: Essential for portioning the brownie batter evenly into the muffin cups, ensuring consistent baking and uniform size. It also doubles as a tool for creating the indentations in the baked brownies.
- Piping Bag (or Ziploc Bag): While not strictly “equipment” in the same sense, a piping bag is highly recommended for neatly filling the brownie cups with the cream cheese mixture, giving them a professional and elegant finish.
- Microwave-Safe Bowl: For melting the white chocolate.
- Electric Mixer: For beating the cream cheese to a smooth consistency.
Ingredients for Exquisite Tuxedo Brownie Bites
The magic of these brownie bites lies in the quality and combination of their simple ingredients. Each component plays a vital role in creating a balanced and flavorful dessert.
- Fudge Brownie Mix: For convenience, a high-quality fudge brownie mix is an excellent choice. Follow the “cake-like” instructions on the package, which typically call for eggs, water, and vegetable oil. This ensures a lighter, less dense brownie that pairs beautifully with the creamy filling. For those who prefer to bake from scratch, our homemade brownie batter recipe is a fantastic alternative.
- White Chocolate: Use good quality baking white chocolate (typically found in 1-ounce squares). This adds a delicious, rich, and creamy sweetness to the filling that complements the dark brownie. Avoid white chocolate chips if possible, as they contain stabilizers that can prevent smooth melting.
- Milk: A small amount of milk helps to thin out the white chocolate and cream cheese filling, contributing to its creamy, spreadable consistency without making it too runny. Whole milk is generally recommended for richer flavor.
- Cream Cheese: Opt for full-fat cream cheese, and ensure it’s at room temperature before you begin. This is paramount for achieving a smooth, lump-free filling. We’ll delve into tips for softening cream cheese below.
- Powdered Sugar (Confectioners’ Sugar): This fine sugar dissolves easily into the cream cheese filling, providing sweetness and contributing to its smooth texture.
- Frozen Whipped Topping (Thawed): This ingredient adds a wonderful lightness and crucial structure to the cream cheese filling, helping it hold its shape. While freshly whipped cream can be used, it tends to be less stable and may “fall” or deflate more easily over time.
- Strawberries: Fresh, ripe strawberries are the ideal topping. Their natural sweetness and slight tartness provide a refreshing contrast to the rich chocolate and cream cheese. Sliced raspberries or other berries also work wonderfully.
- Orange Zest (Optional): This is a secret ingredient for many, adding a bright, fragrant depth of flavor that subtly elevates the entire dessert. A tiny pinch goes a long way. Alternatively, you could garnish with a sprig of fresh mint or a few chocolate shavings for different flavor profiles and visual appeal.
Specific measurements for all ingredients are provided in the comprehensive recipe card at the end of this article.
The Secret to a Lump-Free Cream Cheese Filling
Nothing can derail a beautiful dessert faster than a lumpy cream cheese filling. The key to achieving that perfectly smooth, silky texture is proper softening. When working with cream cheese, always remember these crucial steps:
- Room Temperature Softening: The best method is to plan ahead. Take your block of full-fat cream cheese out of the refrigerator at least 30-60 minutes before you plan to use it. This allows it to soften naturally and evenly.
- Warm Water Bath (Quick Method): If you’re short on time, you can quickly soften cream cheese by keeping it in its foil wrapper and placing it in a bowl of warm (not hot!) water for about 10-15 minutes. This gently warms the cream cheese through without melting it.
Attempting to beat cold cream cheese will inevitably result in stubborn lumps that no amount of whisking or mixing will completely smooth out. Starting with properly softened cream cheese ensures a velvety, delightful filling every time.
Crafting Your Tuxedo Brownie Bites: A Step-by-Step Guide
These brownie bites might look incredibly fancy, but their creation is surprisingly simple, making them accessible to bakers of all skill levels. Here’s how to make these elegant treats:
- Prepare Your Workspace and Oven: Begin by preheating your oven to 325°F (160°C). Thoroughly spray a mini muffin pan with non-stick cooking spray, ensuring every cup is well coated to prevent sticking.
- Whip Up the Brownie Batter: Prepare your chosen brownie mix according to the “cake-like” instructions on the package. This usually involves combining the mix with eggs, water, and vegetable oil. Mix until just combined; avoid overmixing, as this can lead to tough brownies.
- Bake the Brownie Cups: Using a small cookie scoop, fill each prepared muffin cup approximately two-thirds full with brownie batter. This leaves room for the brownies to rise and ensures they fit perfectly in the mini muffin pan. Bake for about 14 minutes, or until the edges are set and a toothpick inserted into the center comes out with moist crumbs. Be careful not to overbake, as this can result in dry brownies.
- Create the “Brownie Cups”: Once the brownies are baked, remove the pan from the oven and place it on a cooling rack. While the brownies are still warm (but not hot), use the back of your small cookie scoop or a mini tart shaper to gently press an indentation into the center of each brownie. This creates the perfect cavity for your creamy filling.
- Cool the Brownies: Allow the brownies to cool in the pan for about 15 minutes before carefully loosening the edges with a small paring knife. Transfer them to a wire rack to cool completely. This step is crucial for easy removal and prevents the brownies from crumbling.
- Prepare the White Chocolate Cream Cheese Filling: While the brownies are cooling, it’s time to make the luscious filling.
- In a microwave-safe bowl, combine the white chocolate baking squares and milk. Microwave in 20-30 second intervals, stirring well after each, until the chocolate is completely melted and smooth. Allow this mixture to cool completely to room temperature. This prevents it from melting the cream cheese when combined.
- In a separate medium bowl, beat the softened cream cheese with powdered sugar until light and fluffy, ensuring there are no lumps.
- Gently fold in the thawed frozen whipped topping using a spatula until just combined.
- Finally, fold in the cooled white chocolate mixture until everything is thoroughly incorporated and smooth.
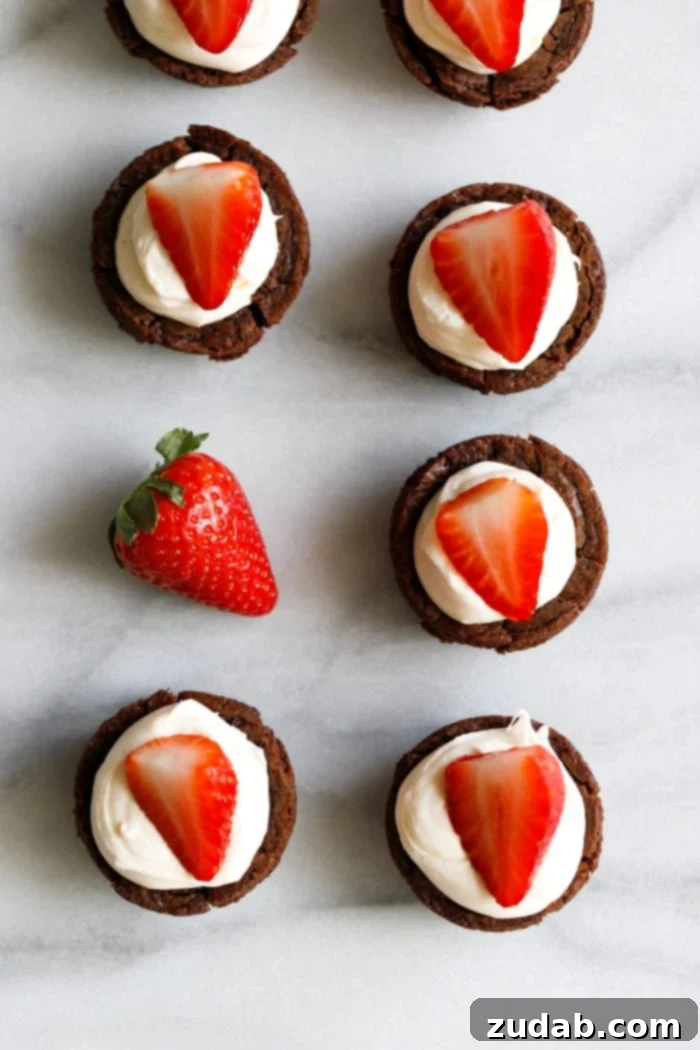
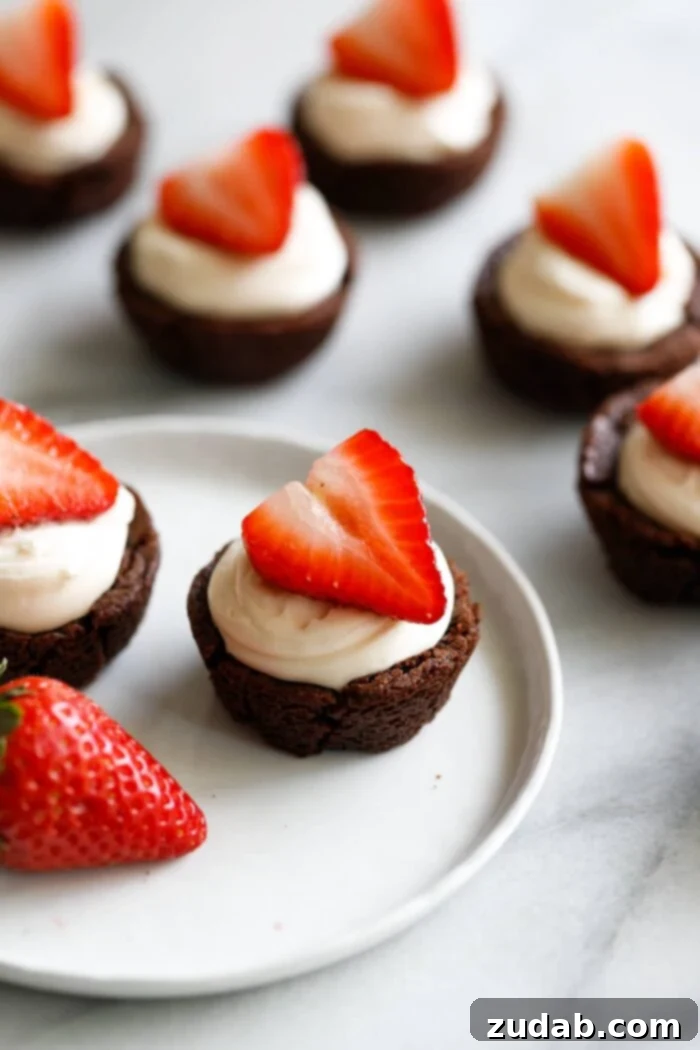
- Assemble Your Tuxedo Brownies: Transfer the cream cheese filling into a piping bag fitted with your desired tip (or use a large ziploc bag with a corner snipped off). Pipe a generous amount of filling into the indentation of each brownie cup, creating a beautiful dome.
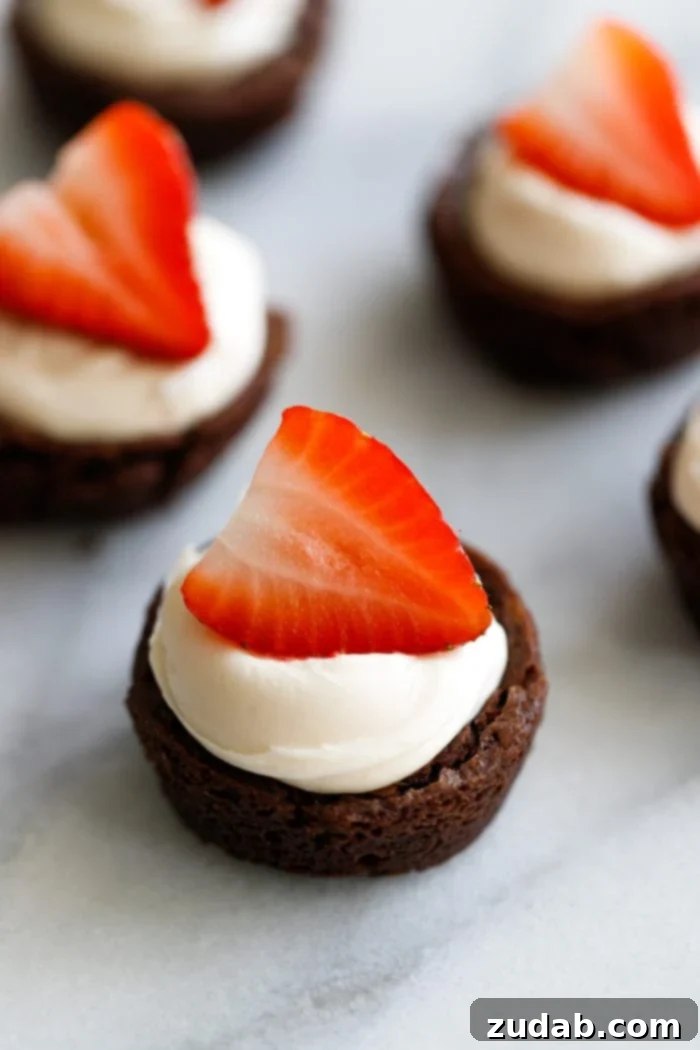
- Garnish with Strawberries: Top each filled brownie cup with a fresh slice of strawberry. For a true “tuxedo” effect, you can arrange two thin slices in a V-shape, mimicking a collar.
- Chill to Perfection: Place the assembled tuxedo brownie cups in the refrigerator for at least one hour to allow the filling to set completely. This also enhances their flavor and texture.
The complete recipe with precise measurements and detailed timings can be found in the recipe card below.
Tips for Filling the Brownie Cups Flawlessly
While a spoon might seem like a quick solution for adding the cream cheese filling, using a piping bag (or even a simple sealable plastic bag with a corner snipped off) will give your Tuxedo Brownie Cups that polished, professional look. The even pressure of a piping bag allows for a much neater and more attractive presentation. If you don’t have reusable piping bags, disposable ones are inexpensive and incredibly handy for various baking projects.
Common Troubleshooting for Brownie Bites
Even experienced bakers can encounter hiccups. Here are solutions to common issues you might face:
- Why Did My Brownie Bites Sink in the Middle?
- The most common culprits for sinking brownie bites are overmixing the batter or underbaking. When preparing the brownie mix, stir until the ingredients are just combined, and no more. Overmixing develops too much gluten, which can cause the brownies to collapse. For baking, ensure you follow the suggested time and test for doneness with a toothpick. It should come out clean or with a few moist crumbs, but not wet batter.
- How Do You Get Brownie Bites Out of a Mini Muffin Tin?
- If you’ve thoroughly sprayed the muffin cups with cooking spray, the brownie bites should release quite easily, often practically falling out. If they’re a bit stubborn, gently slide a small, thin paring knife around the edges of each brownie cup. You can then use the knife to carefully pry up each brownie, making it simple to grab and remove.
- My Brownies are Dry!
- This is almost always a sign of overbaking. Mini brownie bites bake quickly, so keep a close eye on them. Err on the side of slightly underbaking, as they will continue to cook a little from residual heat once removed from the oven.
- My Cream Cheese Filling is Too Soft/Runny!
- Ensure your white chocolate mixture was completely cooled before adding it to the cream cheese. If it was still warm, it would have softened the cream cheese too much. Also, make sure your whipped topping was fully thawed but still cold. Chilling the assembled cups will help firm up the filling significantly.
Creative Variations and Serving Suggestions
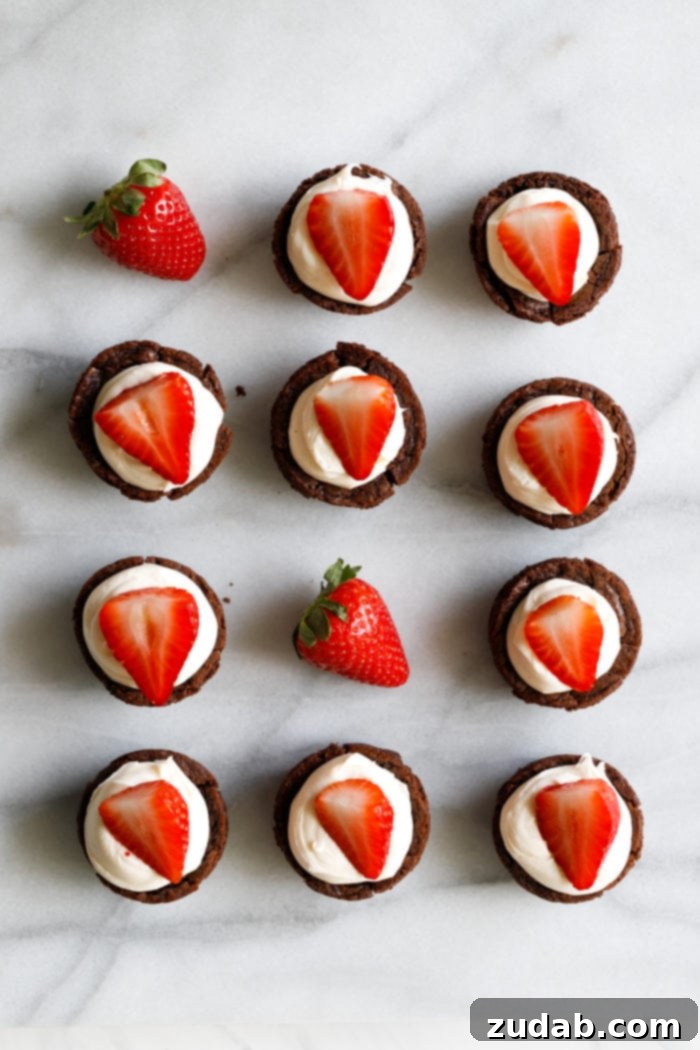
While the classic Tuxedo Brownie Cup with a fresh strawberry is perfection, these delightful treats are incredibly versatile. You can easily customize flavors and toppings to suit any occasion or personal preference.
- Festive Holiday Bites: For Christmas, try adding a hint of peppermint extract to the cream cheese filling and topping with crushed candy canes instead of strawberries. They make fantastic, festive neighbor gifts!
- Berry Bonanza: Instead of strawberries, experiment with other fresh berries like raspberries, blueberries, or blackberries for a different flavor and color profile. A mix of berries can be particularly striking.
- Citrus Burst: Enhance the orange zest in the filling, or try lemon or lime zest for a brighter, more tangy cream cheese.
- Nutty Crunch: For added texture, sprinkle finely chopped toasted nuts (like pecans or walnuts) over the brownie batter before baking, or as a garnish on top of the cream cheese filling.
- Chocolate Lover’s Dream: Drizzle a bit of melted dark chocolate or a sprinkle of mini chocolate chips over the white chocolate cream cheese filling for an extra chocolatey kick.
- Serving Ideas: These individual treats are ideal for dessert platters at parties, baby showers, or bridal brunches. Arrange them beautifully on a tiered stand for an impressive display. They also make wonderful edible gifts when placed in decorative boxes or bags.
Storage Tips and Freezing Best Practices
To keep your Tuxedo Brownie Cups fresh and delicious:
- Refrigerator Storage: Store any leftover brownie bites in an airtight container in the refrigerator. They will maintain their quality for 1-2 days. For best results, add the fresh strawberry slices just before serving to prevent them from becoming soggy or losing their vibrant color.
- Freezing for Later: These brownie cups freeze exceptionally well, making them perfect for meal prepping desserts or having a treat on hand.
- Arrange the fully assembled (but preferably without strawberries, or very lightly frozen with strawberries that will be removed before serving if you want peak freshness) brownie cups in a single layer on a baking sheet.
- Place the baking sheet in the freezer until the brownie cups are completely frozen solid (this usually takes 2-3 hours).
- Once frozen, transfer the solid brownie cups to a freezer-safe airtight container or a heavy-duty freezer bag. Layer them with parchment paper if stacking.
- They will keep well in the freezer for up to 3 months.
- Thawing Instructions: When you’re ready to enjoy them, simply transfer the desired number of frozen brownie cups to the refrigerator and let them thaw for several hours or overnight. Once thawed, add fresh strawberry slices and serve.
These tuxedo brownie bites deliver an irresistible combination of rich chocolate, fudgy centers, and slightly crispy edges, perfectly balanced by a luscious white chocolate cream cheese filling. Topped with a fresh strawberry slice, they are truly an elegant and delightful indulgence. We bet you won’t be able to stop at just one!
Explore More Delicious Dessert Bites:
If you loved these mini brownie cups, you’ll surely enjoy these other bite-sized dessert recipes:
- Chocolate Covered Coconut Balls
- Mini Strawberry Cheesecakes
- Oreo Peanut Butter Truffles
- Twix Ritz
- Mini Cheesecakes with Raspberry Sauce
- Chocolate Peanut Butter Truffles
- Mini Fruit Tarts
Tuxedo Brownie Cups Recipe
Here’s the full recipe for making these elegant and delicious Tuxedo Brownie Cups. Prepare to impress!
Ingredients
- 1 Package Fudge Brownie Mix (plus ingredients for cake-like preparation, usually eggs, water, and vegetable oil)
- 2 Ounces White Chocolate (2 baking squares, 1oz each)
- 2 Tablespoons Milk
- 1 Package Cream Cheese (8oz), softened to room temperature
- 1/4 Cup Powdered Sugar
- 1 Cup Frozen Whipped Topping, thawed
- 1 Pint Strawberries, sliced (or raspberries, other berries)
- Orange Zest, fresh mint, or chocolate shavings for garnish (optional)
Instructions
- Preheat your oven to 325°F (160°C).
- Thoroughly grease a mini muffin pan with cooking spray.
- Prepare the brownie mix according to the “cake-like” directions on the package.
- Using a small cookie scoop, fill each prepared muffin cup approximately 2/3 full with brownie batter.
- Bake for 14 minutes, or until the edges are set and a toothpick inserted into the center comes out with moist crumbs. Avoid overbaking.
- Remove the pan from the oven and transfer it to a wire cooling rack.
- While the brownies are still warm, use the back of the small cookie scoop or a mini tart shaper to gently press an indentation into the center of each brownie, forming a “cup”.
- Allow the brownies to cool in the pan for 15 minutes.
- Carefully loosen the edges of each brownie and remove them from the pan to cool completely on the wire rack.
- For the Cream Cheese Filling: In a small, microwave-safe bowl, combine the white chocolate and milk. Microwave in 20-30 second intervals, stirring after each, until the white chocolate is melted and smooth. Let it cool completely to room temperature.
- In a separate medium bowl, combine the softened cream cheese and powdered sugar. Beat with an electric mixer until smooth and lump-free.
- Gradually stir in the cooled white chocolate mixture until smooth and well incorporated.
- Gently fold in the thawed whipped topping with a spatula until just combined.
- Transfer the cream cheese mixture to a piping bag (or a ziploc bag with a corner snipped off). Fill each brownie cup generously with the cream cheese mixture. If using orange zest, stir it into the filling now.
- Arrange sliced strawberries on top of each filled brownie cup. You can arrange them like a “tuxedo collar” for presentation, or simply place them for garnish.
- Refrigerate the Tuxedo Brownie Cups for 1-3 hours before serving to allow the filling to set.
Recipe Notes
Store leftover Tuxedo Brownie Cups in an airtight container in the refrigerator for 3-4 days. For optimal freshness, add strawberry slices just before serving.
Nutrition information is automatically calculated and should only be used as an approximation.
You might also love our recipes for:
Ina Garten’s Outrageous Brownies
Chocolate Peanut Butter Brownies