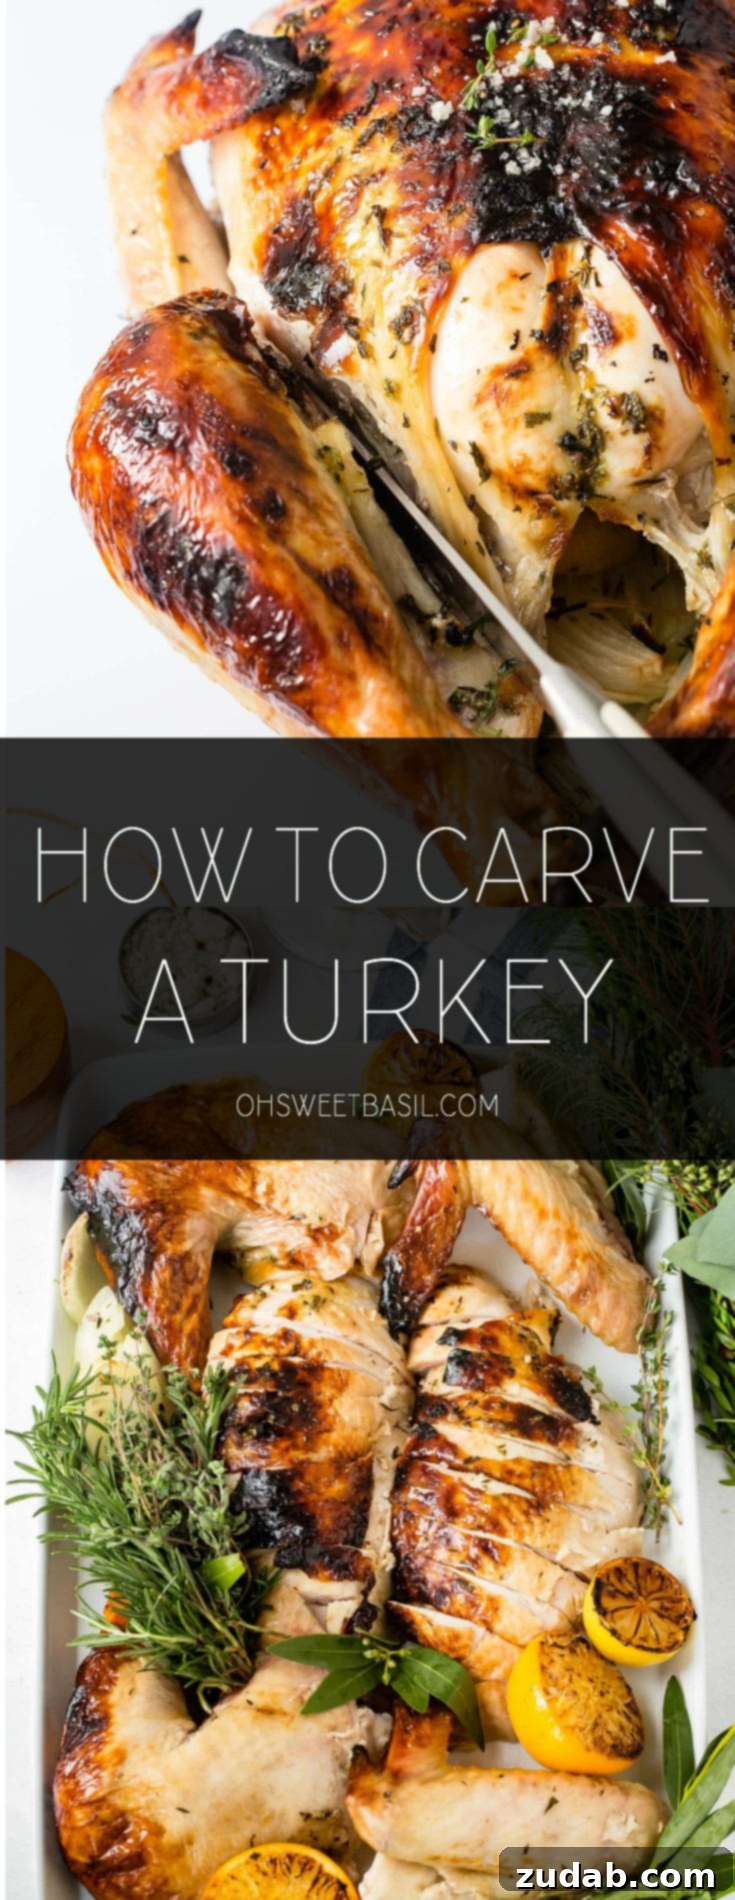
How to Carve a Turkey: Your Essential Guide to a Perfectly Presented Holiday Bird
The Thanksgiving feast is a culmination of culinary effort, and the crown jewel of that effort is undoubtedly the beautifully roasted turkey. But after hours of brining, seasoning, and roasting, the final act – carving – often intimidates even seasoned home cooks. A perfectly carved turkey isn’t just about aesthetics; it’s about preserving the juicy tenderness of the meat and ensuring every guest gets a delicious, evenly sliced portion. Gone are the days of wrestling with your bird at the head of the table; this comprehensive guide will equip you with the knowledge and confidence to carve your turkey like a seasoned pro, making your holiday meal truly unforgettable.
Essential Tools for Effortless Turkey Carving
Before you even touch your perfectly roasted turkey, gather your arsenal of carving tools. Having the right equipment makes the process smoother, safer, and yields better results.
- A Sharp Carving Knife: This is non-negotiable. An 8-10 inch carving knife or a sharp chef’s knife is ideal. A dull knife is dangerous and will tear the meat.
- A Carving Fork: Essential for stabilizing the turkey and holding pieces as you slice.
- A Sturdy Cutting Board: A large board with a well or trench around the edges is highly recommended to catch any precious juices, preventing a messy countertop.
- A Large Serving Platter: For beautifully arranging your carved turkey slices.
- Kitchen Tongs: Useful for handling hot meat, especially when deboning thighs or arranging slices.
- Paper Towels: For a better grip when holding bones or to wipe down your knife.
Step 1: The Crucial Rest Period and Initial Preparations
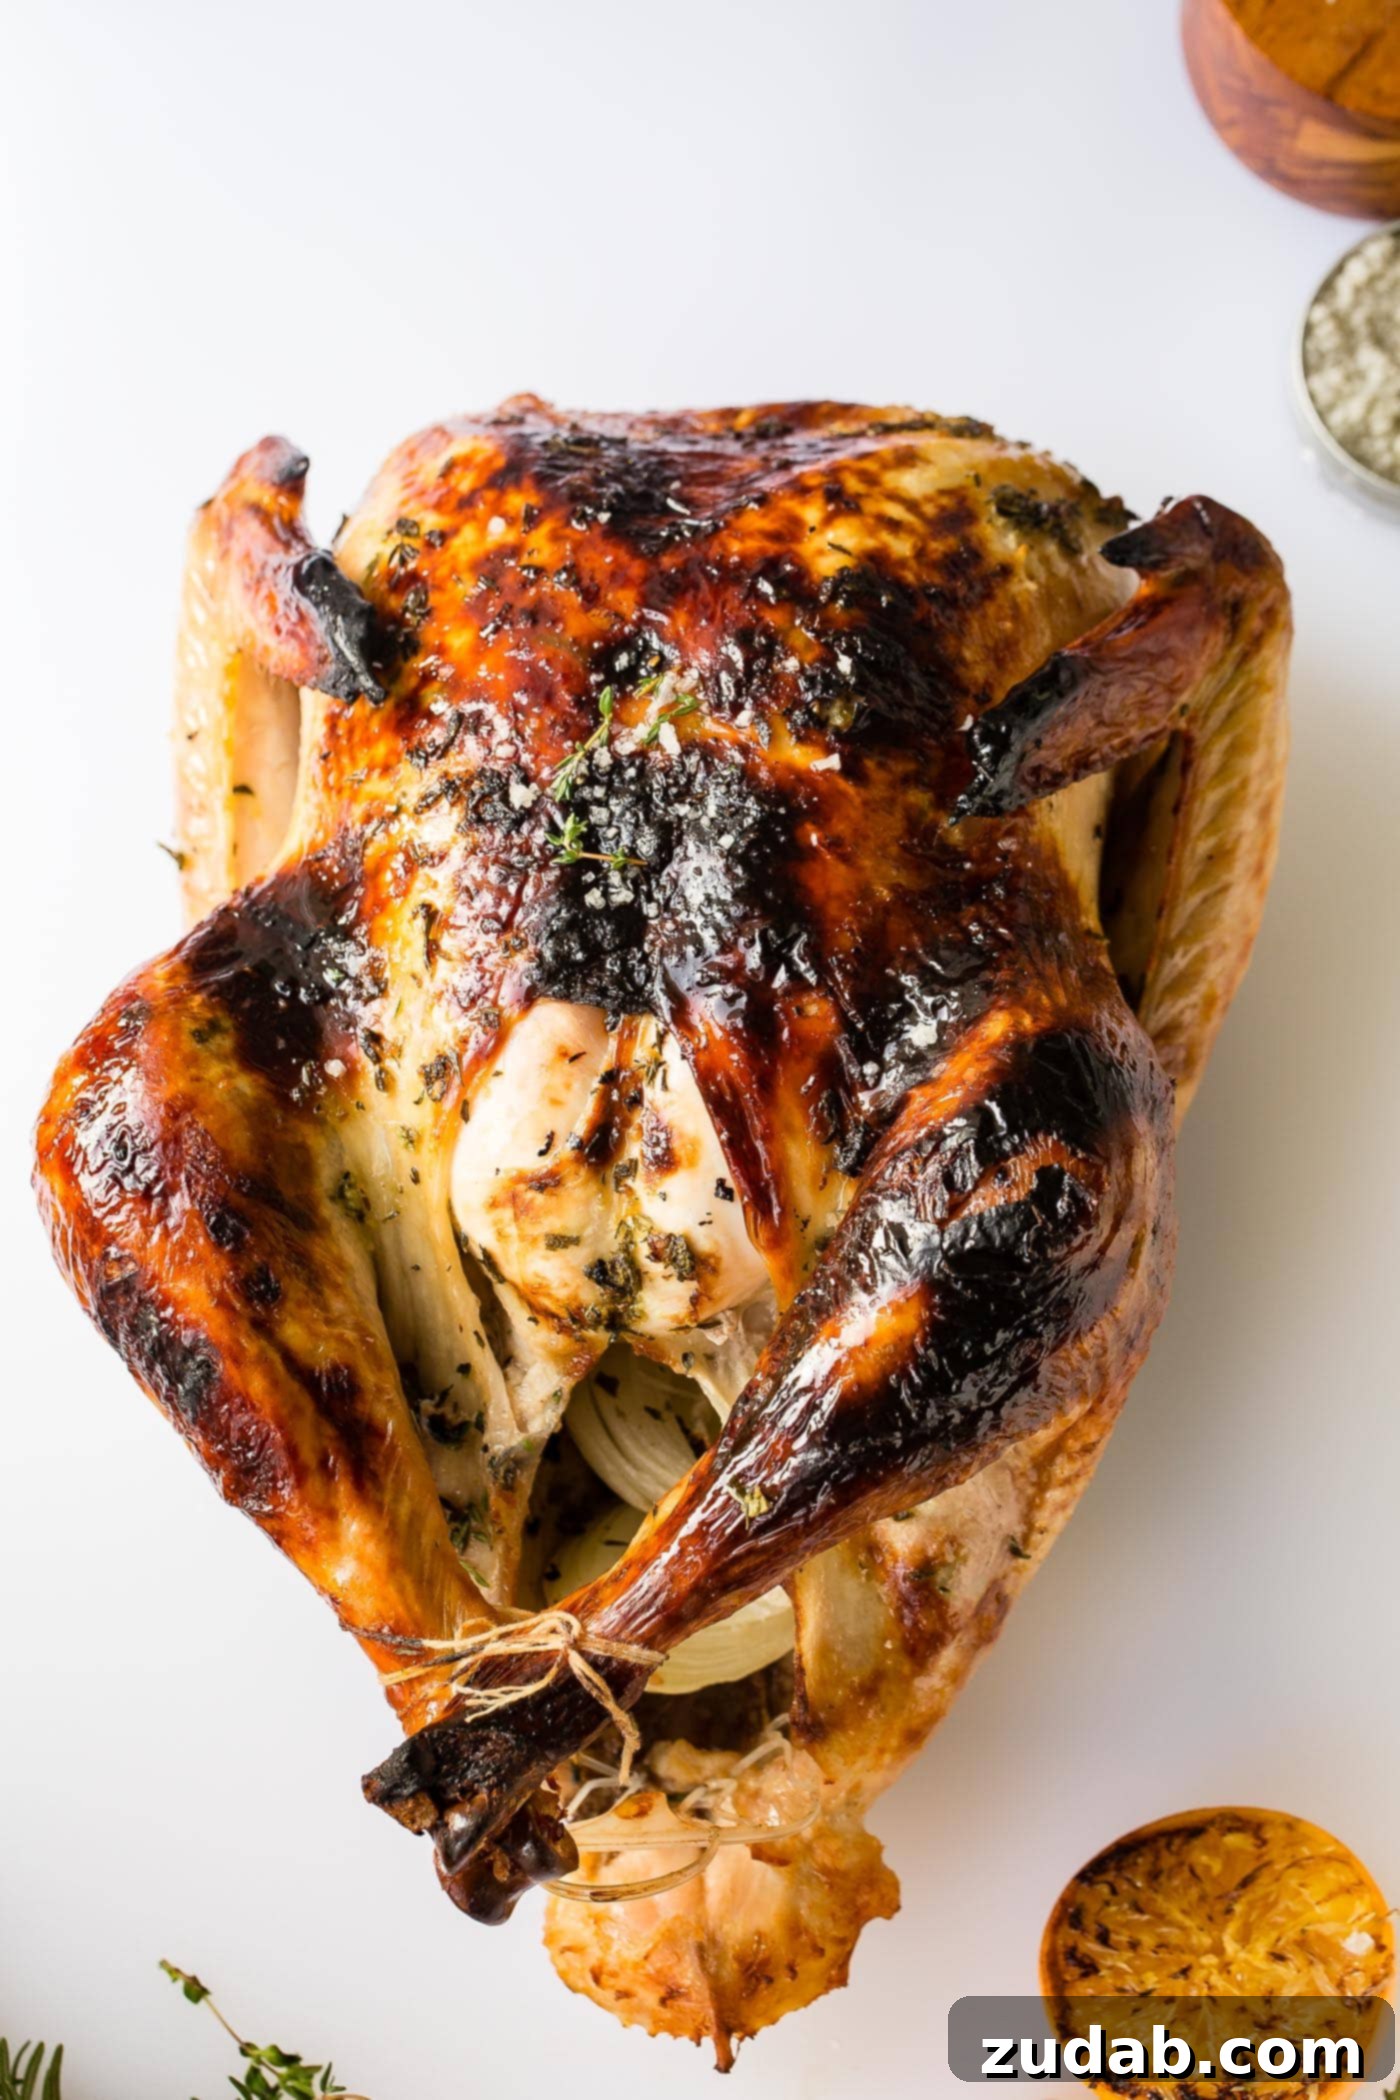
The first and arguably most critical step in achieving a moist, flavorful turkey is allowing it to rest adequately after roasting. If you’ve followed a recipe like our oven-roasted turkey recipe, your bird will have rested for at least 30 minutes. This resting period allows the muscle fibers, which contract during cooking, to relax and reabsorb the juices that have migrated to the center of the bird. Cutting into a hot turkey too soon will cause all those delicious juices to run out onto the cutting board, leaving you with dry, less flavorful meat. Patience here truly pays off!
Once your turkey has rested sufficiently, gently remove any cooking twine or trussing used to bind the legs. If you cooked stuffing inside the bird (though we generally recommend making a separate no-fuss make-ahead stuffing or our delicious sausage stuffing for better cooking results and food safety), carefully scoop it out now. Your magnificent bird is now ready for its grand transformation into perfectly portioned servings.
Step 2: Expertly Carving the Legs and Thighs
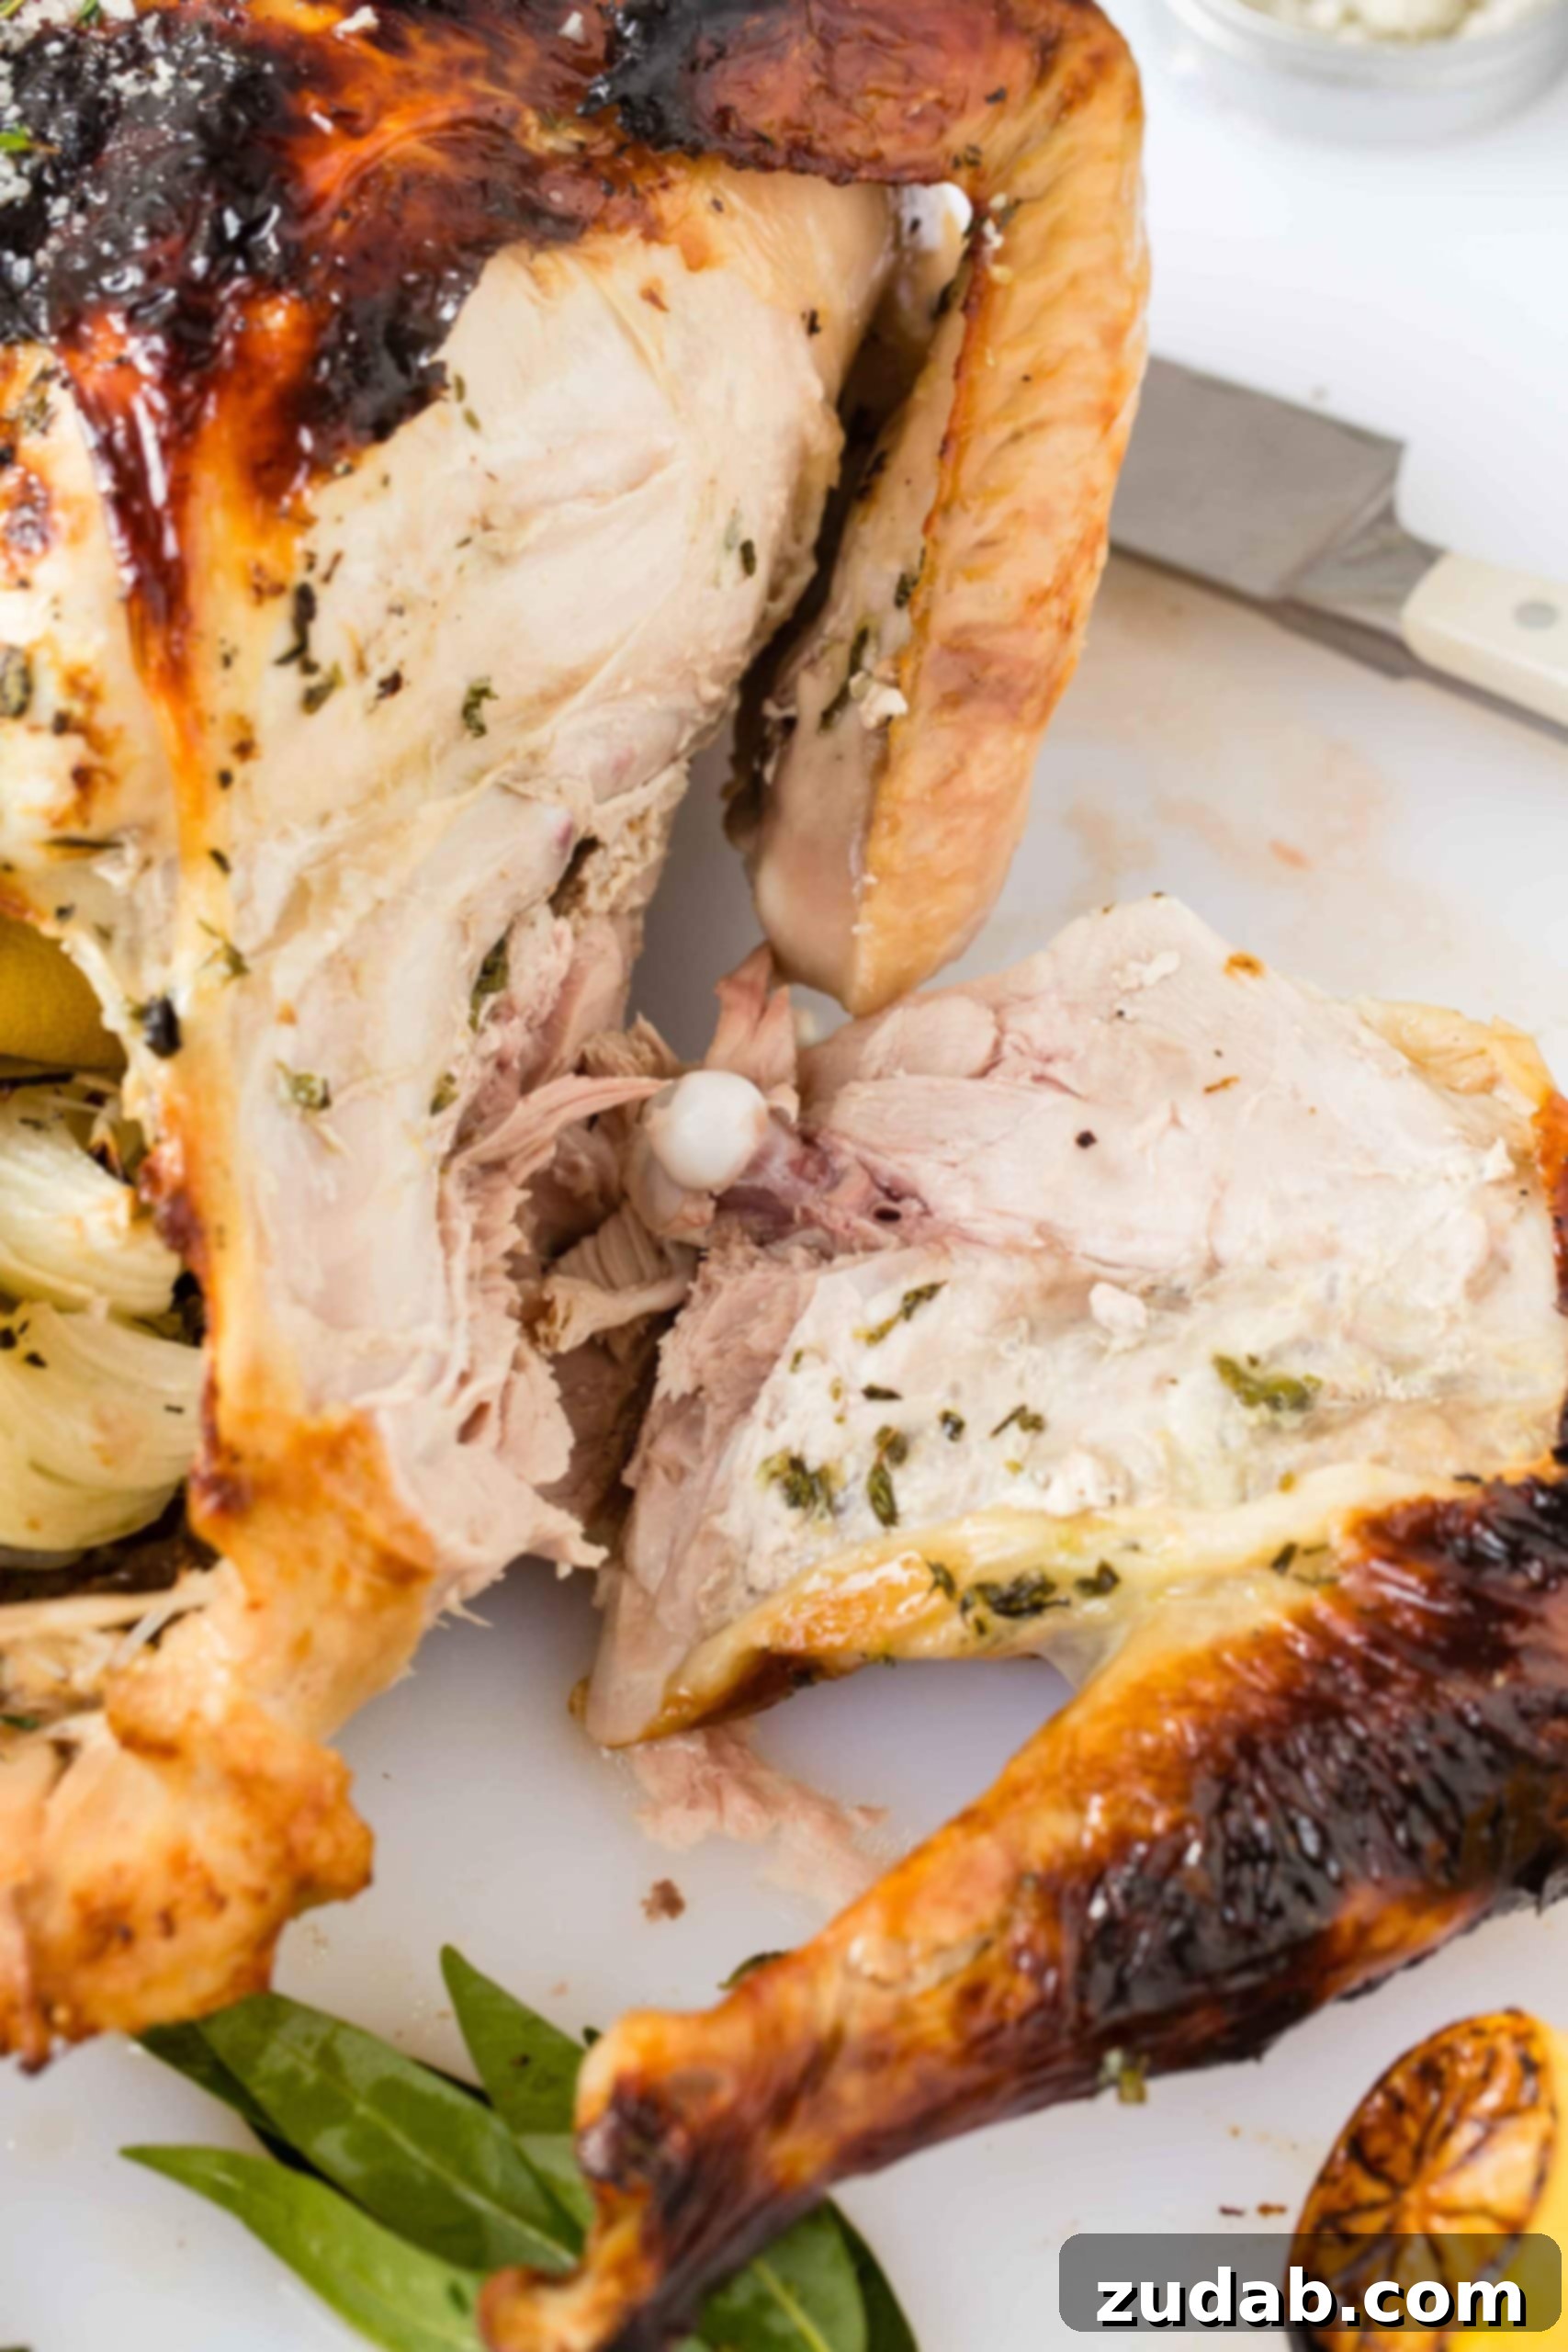
Many prefer to start with the dark meat, as it’s often easier to maneuver around the bird’s structure without disturbing the breast meat immediately. Begin by gently pulling one leg away from the turkey’s body. As you do this, you’ll notice a natural separation point. Take your sharp carving knife and make an initial cut through the skin and meat until you reach the joint connecting the thigh to the body. You shouldn’t need to force it or saw through bone.
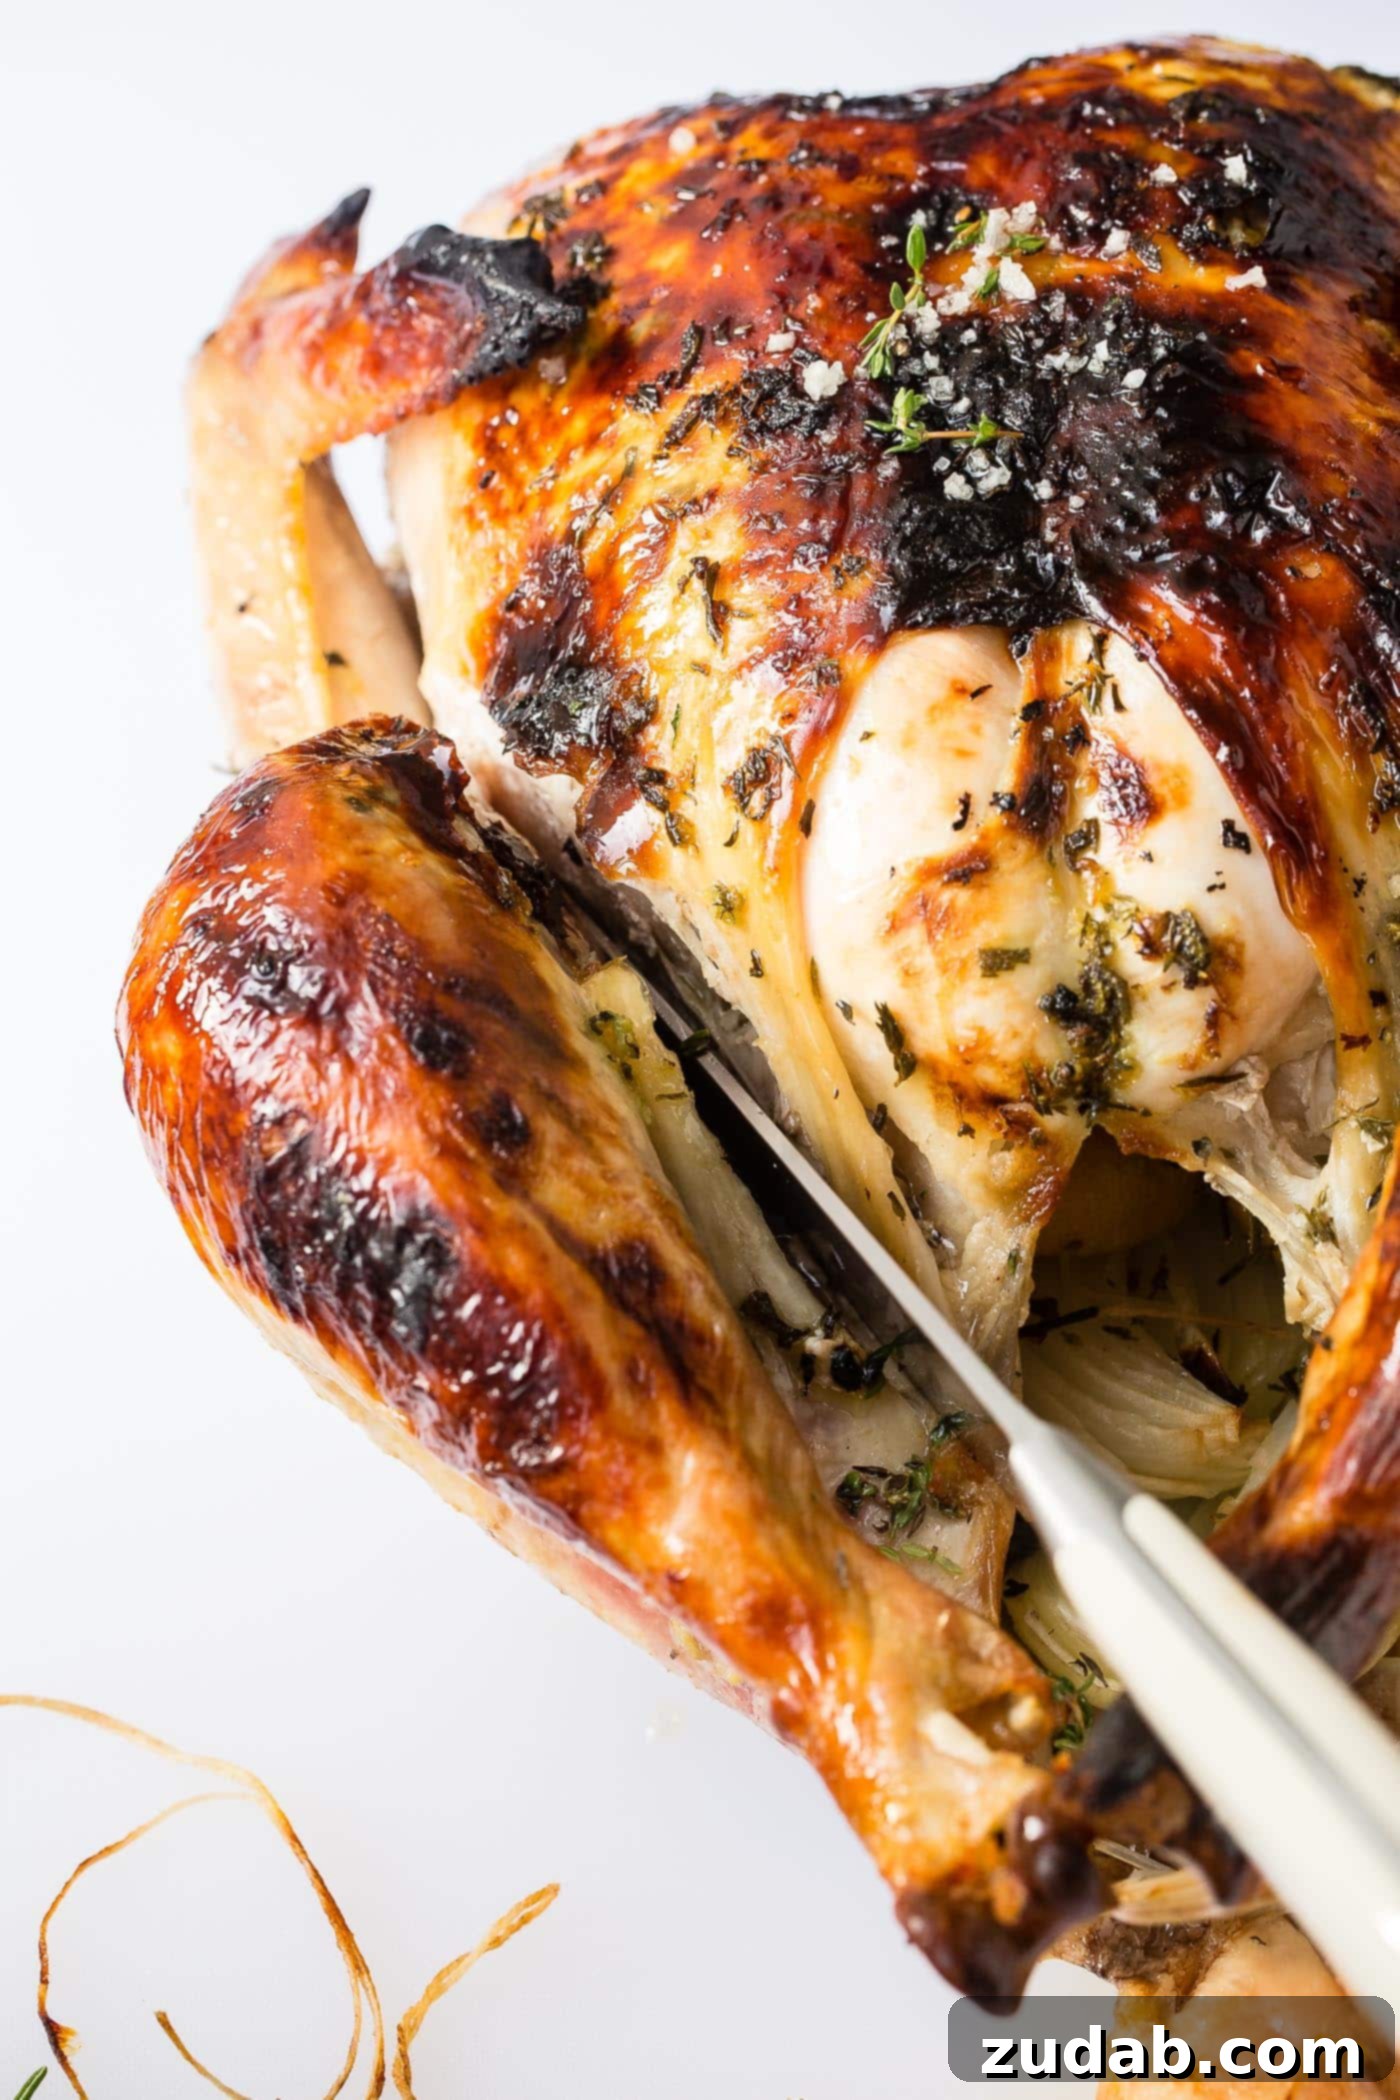
Once you locate the joint, a firm but gentle twist or a precise cut with your knife will pop it clean apart. Use your knife to slice through any remaining connective tissue or skin, fully detaching the leg and thigh quarter. Transfer this section to your cutting board. Repeat this process for the other leg and thigh.
Now, you have two options for serving: you can leave the drumstick and thigh connected for those who enjoy a hearty piece, or you can separate them. To separate, identify the joint between the drumstick and the thigh. Cut through this joint, again avoiding the bone. Place the drumstick on your serving platter. For the thigh, it’s best to debone it for easier eating and presentation. Hold the thigh bone firmly with tongs or a paper towel to prevent slipping. Using your carving knife, carefully scrape the meat away from the bone. Once the meat is off the bone, slice it against the grain into even pieces. Slicing against the grain is crucial for dark meat too, as it shortens the muscle fibers, resulting in a more tender bite. Arrange the sliced thigh meat on your platter. The dark meat is now ready to impress!
Step 3: Mastering the Turkey Breast
With the legs and thighs removed, the turkey breasts are now exposed and easier to access. This is where precision pays off for succulent white meat slices. Locate the breastbone (also known as the keel bone) that runs down the center of the bird. Position your long, flexible carving knife on one side of this bone, getting as close as possible to it.
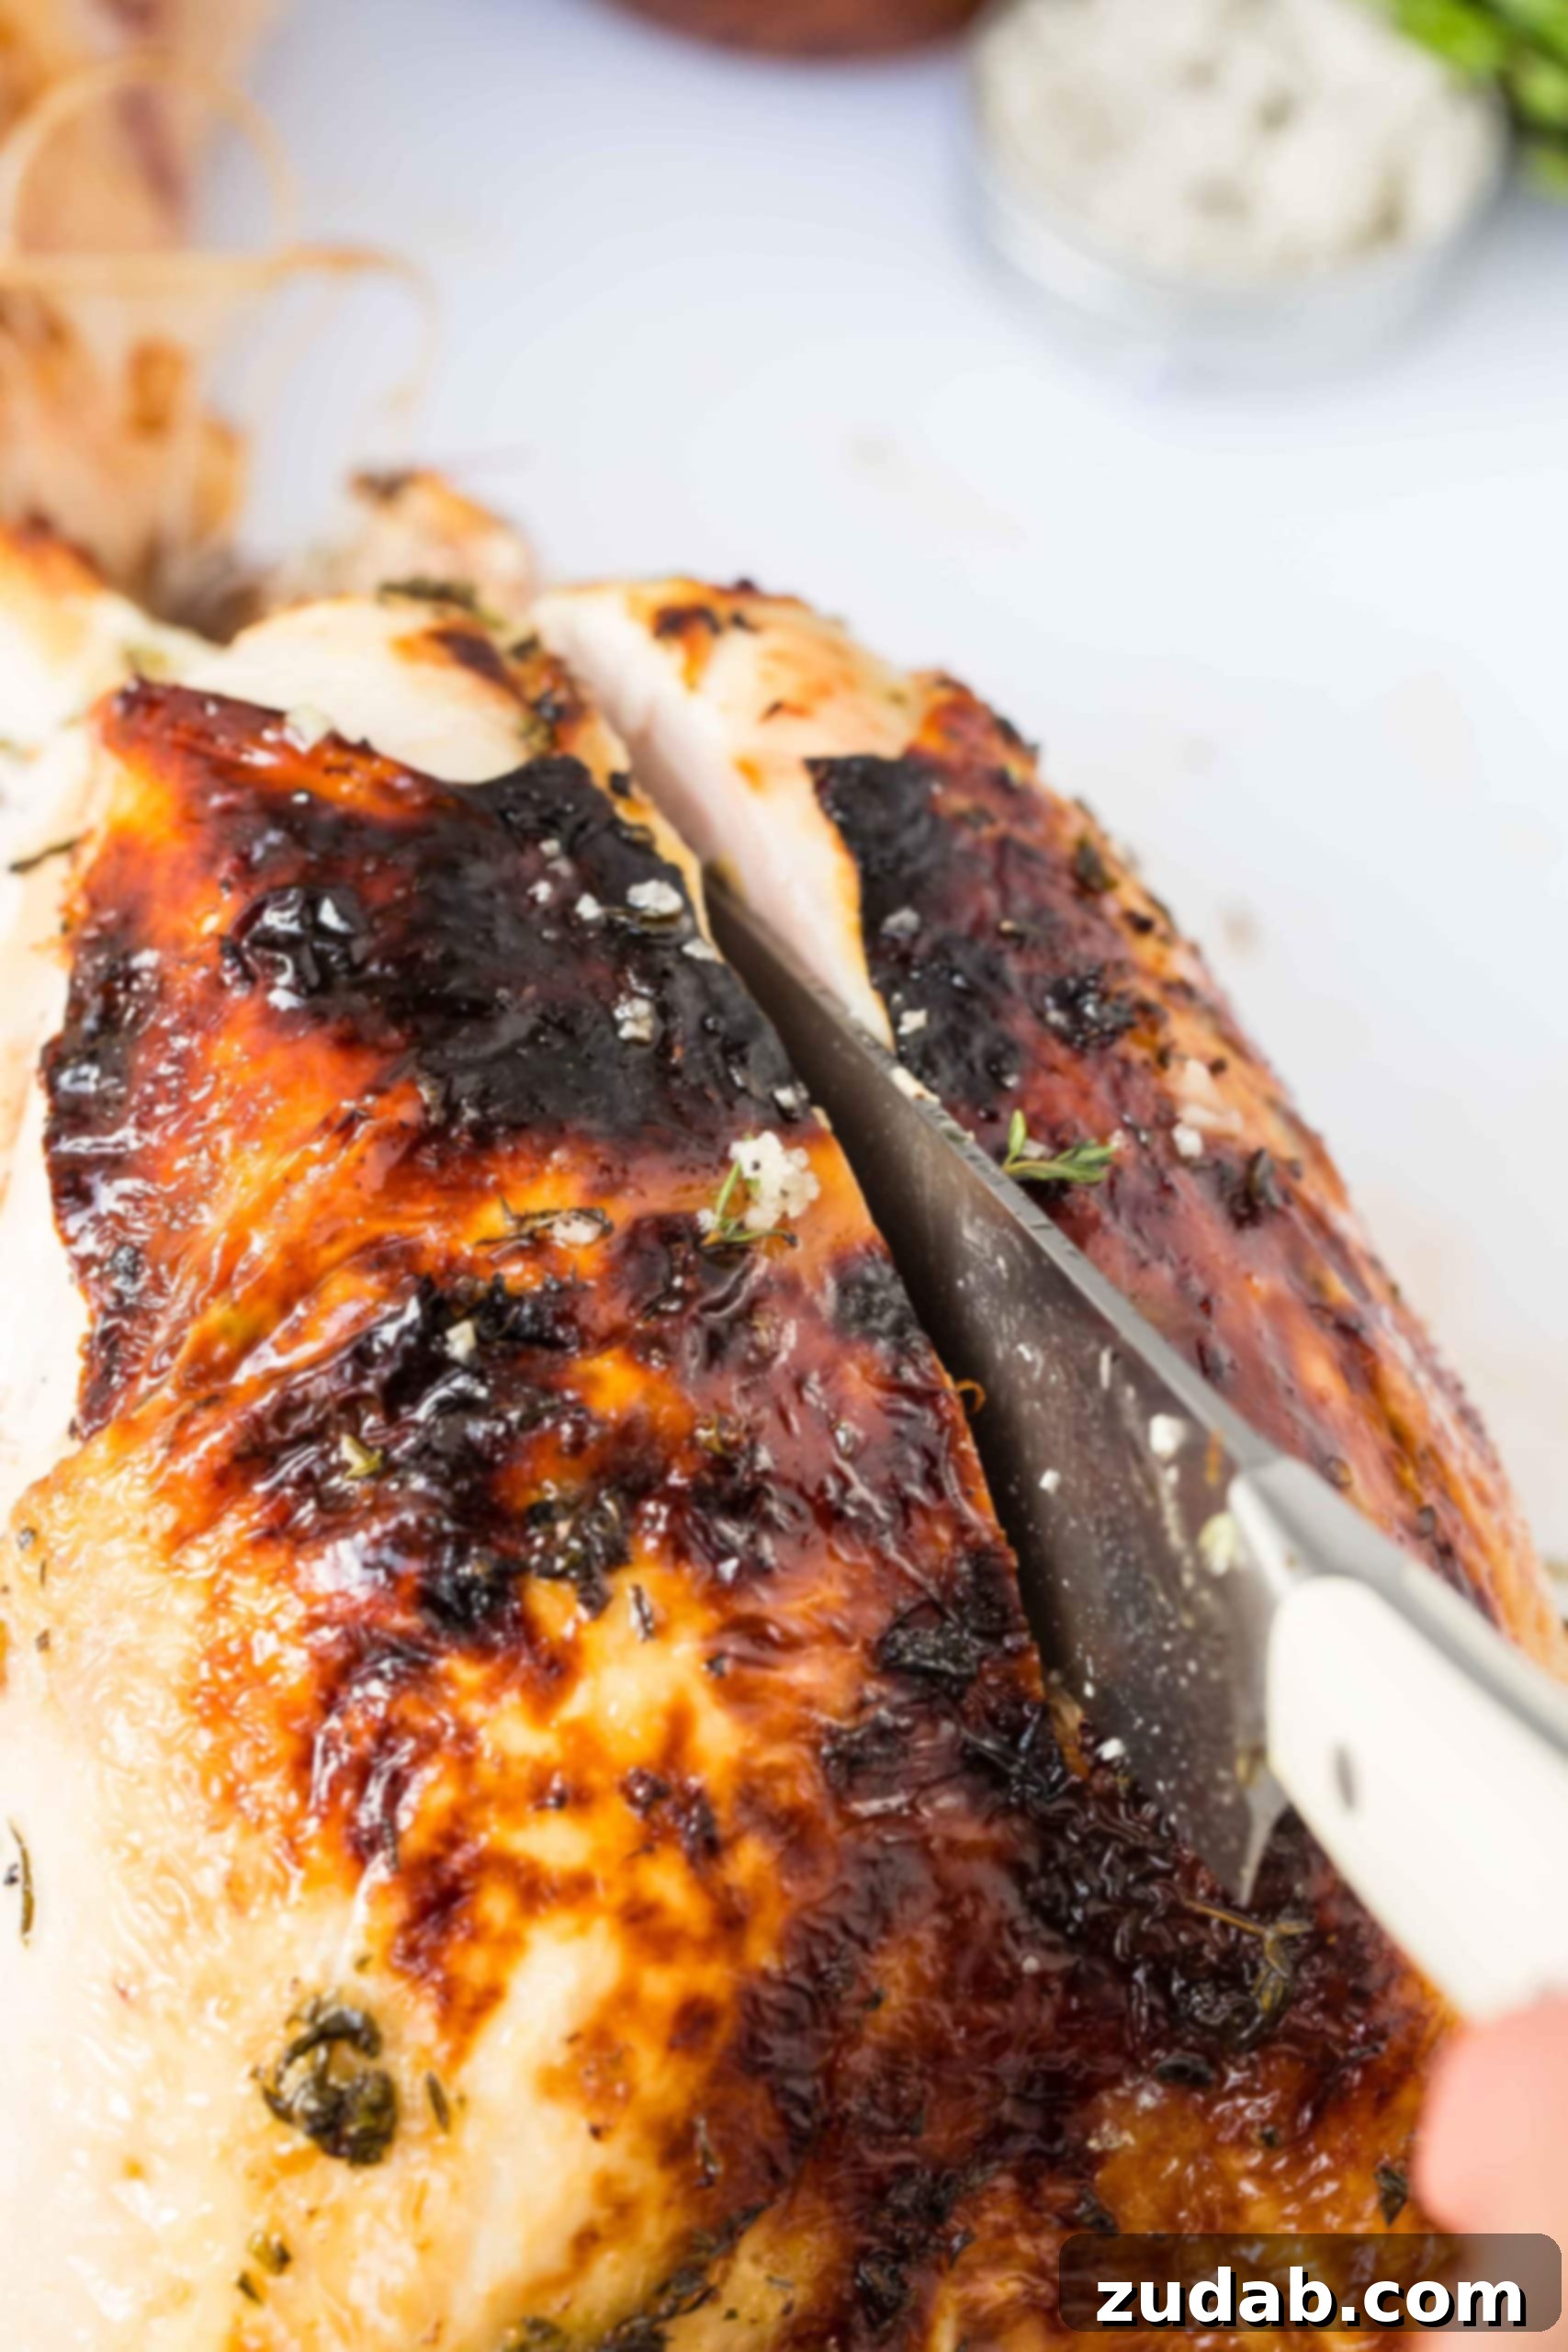
Make a deep, downward slice along the breastbone. As you continue to slice, follow the natural curve of the ribcage, keeping your knife as close to the bone as possible to maximize the yield of meat. You’ll essentially be freeing the entire breast half from the carcass. Some find it helpful to make an initial horizontal cut at the bottom of the breast before returning to the top to finish slicing it off. This helps to fully detach the breast in one clean piece.
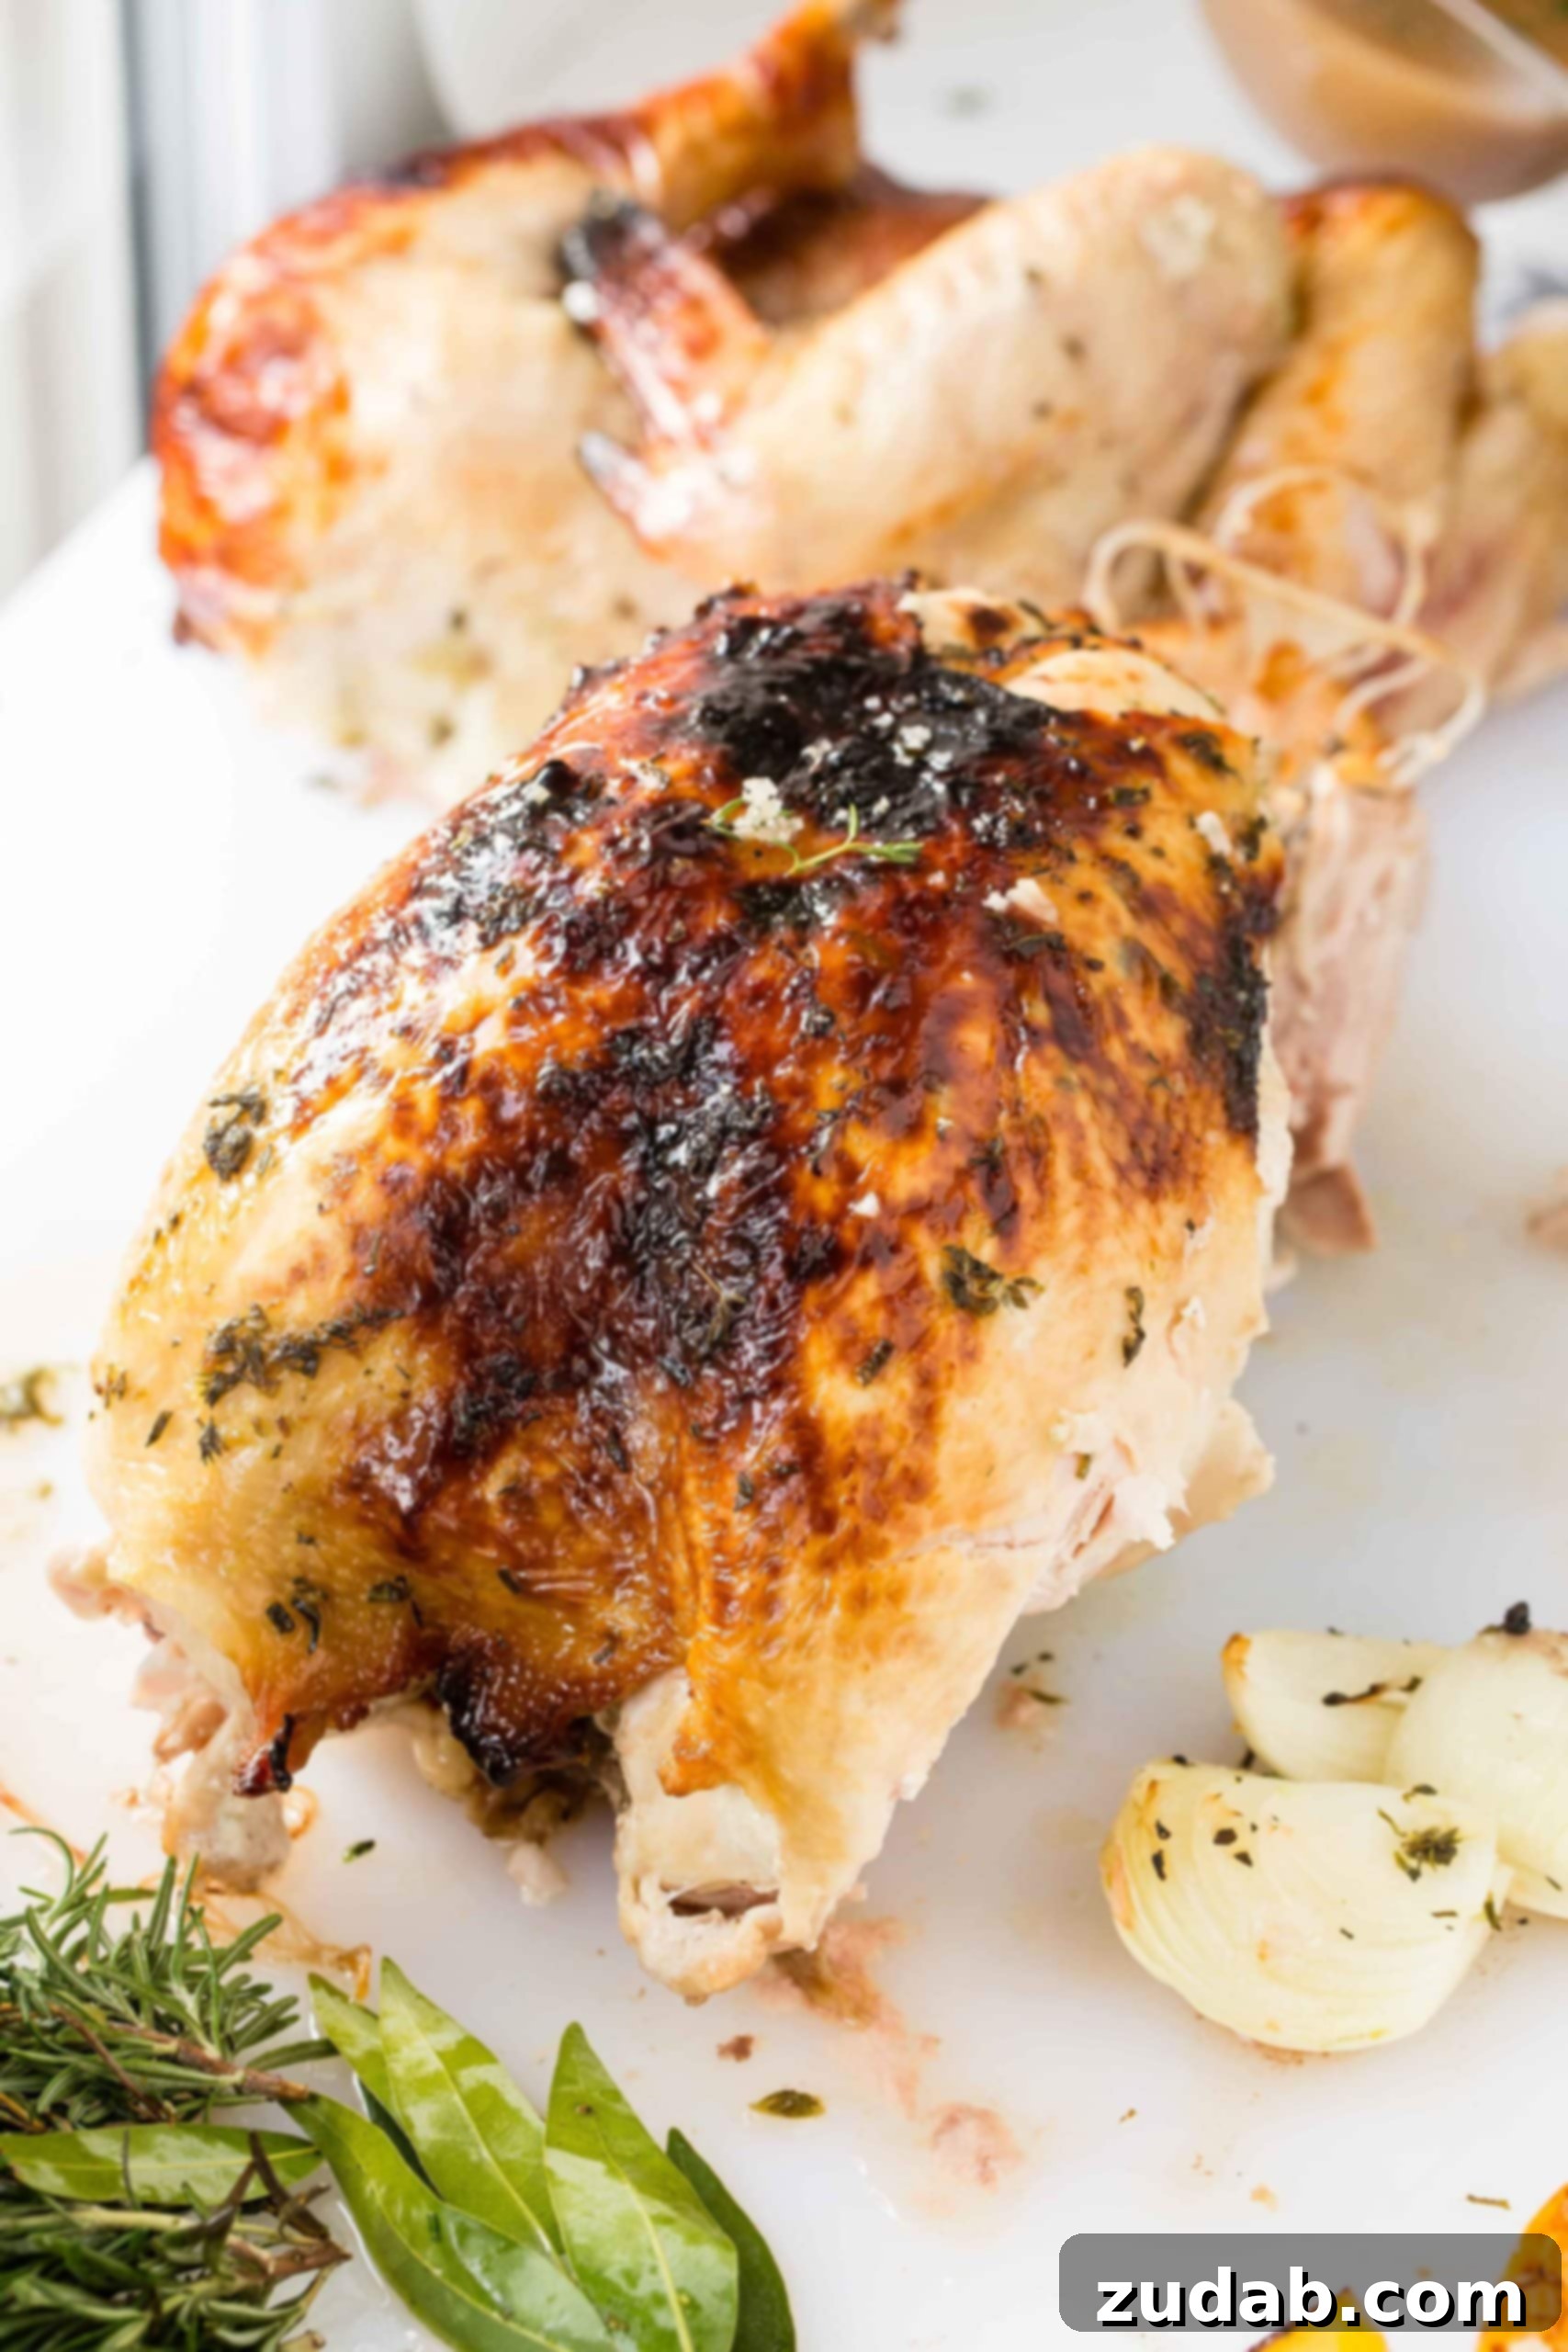
Once one breast half is detached, transfer it to your cutting board. Repeat the same process for the other breast. Now comes the trick for tender, even slices:
Oh Sweet Basil Pro Tip: The Art of Slicing Breast Meat
Forget what you’ve seen in movies, where someone awkwardly slices off thin, long pieces directly from the turkey carcass. This method often results in dry, shredded meat. Instead, lay the entire breast half skin-side up or down on your cutting board. Using your carving knife, slice the breast meat diagonally across the grain, making slices about ¼ to ½ inch thick. Slicing against the grain ensures that you cut through the muscle fibers, making each bite incredibly tender and preventing the meat from drying out. Take care to keep the skin attached to each slice if desired, as it adds flavor and texture. Arrange these beautiful, even slices neatly on your serving platter.
Step 4: Removing the Wings
The wings are the simplest part to carve. Locate the joint where each wing connects to the body. With your chef’s knife, slice straight through this joint to cleanly remove the wing. Transfer it to your platter. Repeat for the other wing. These are perfect for those who enjoy gnawing on a smaller, flavorful piece of meat.
Step 5: Arranging Your Magnificent Platter
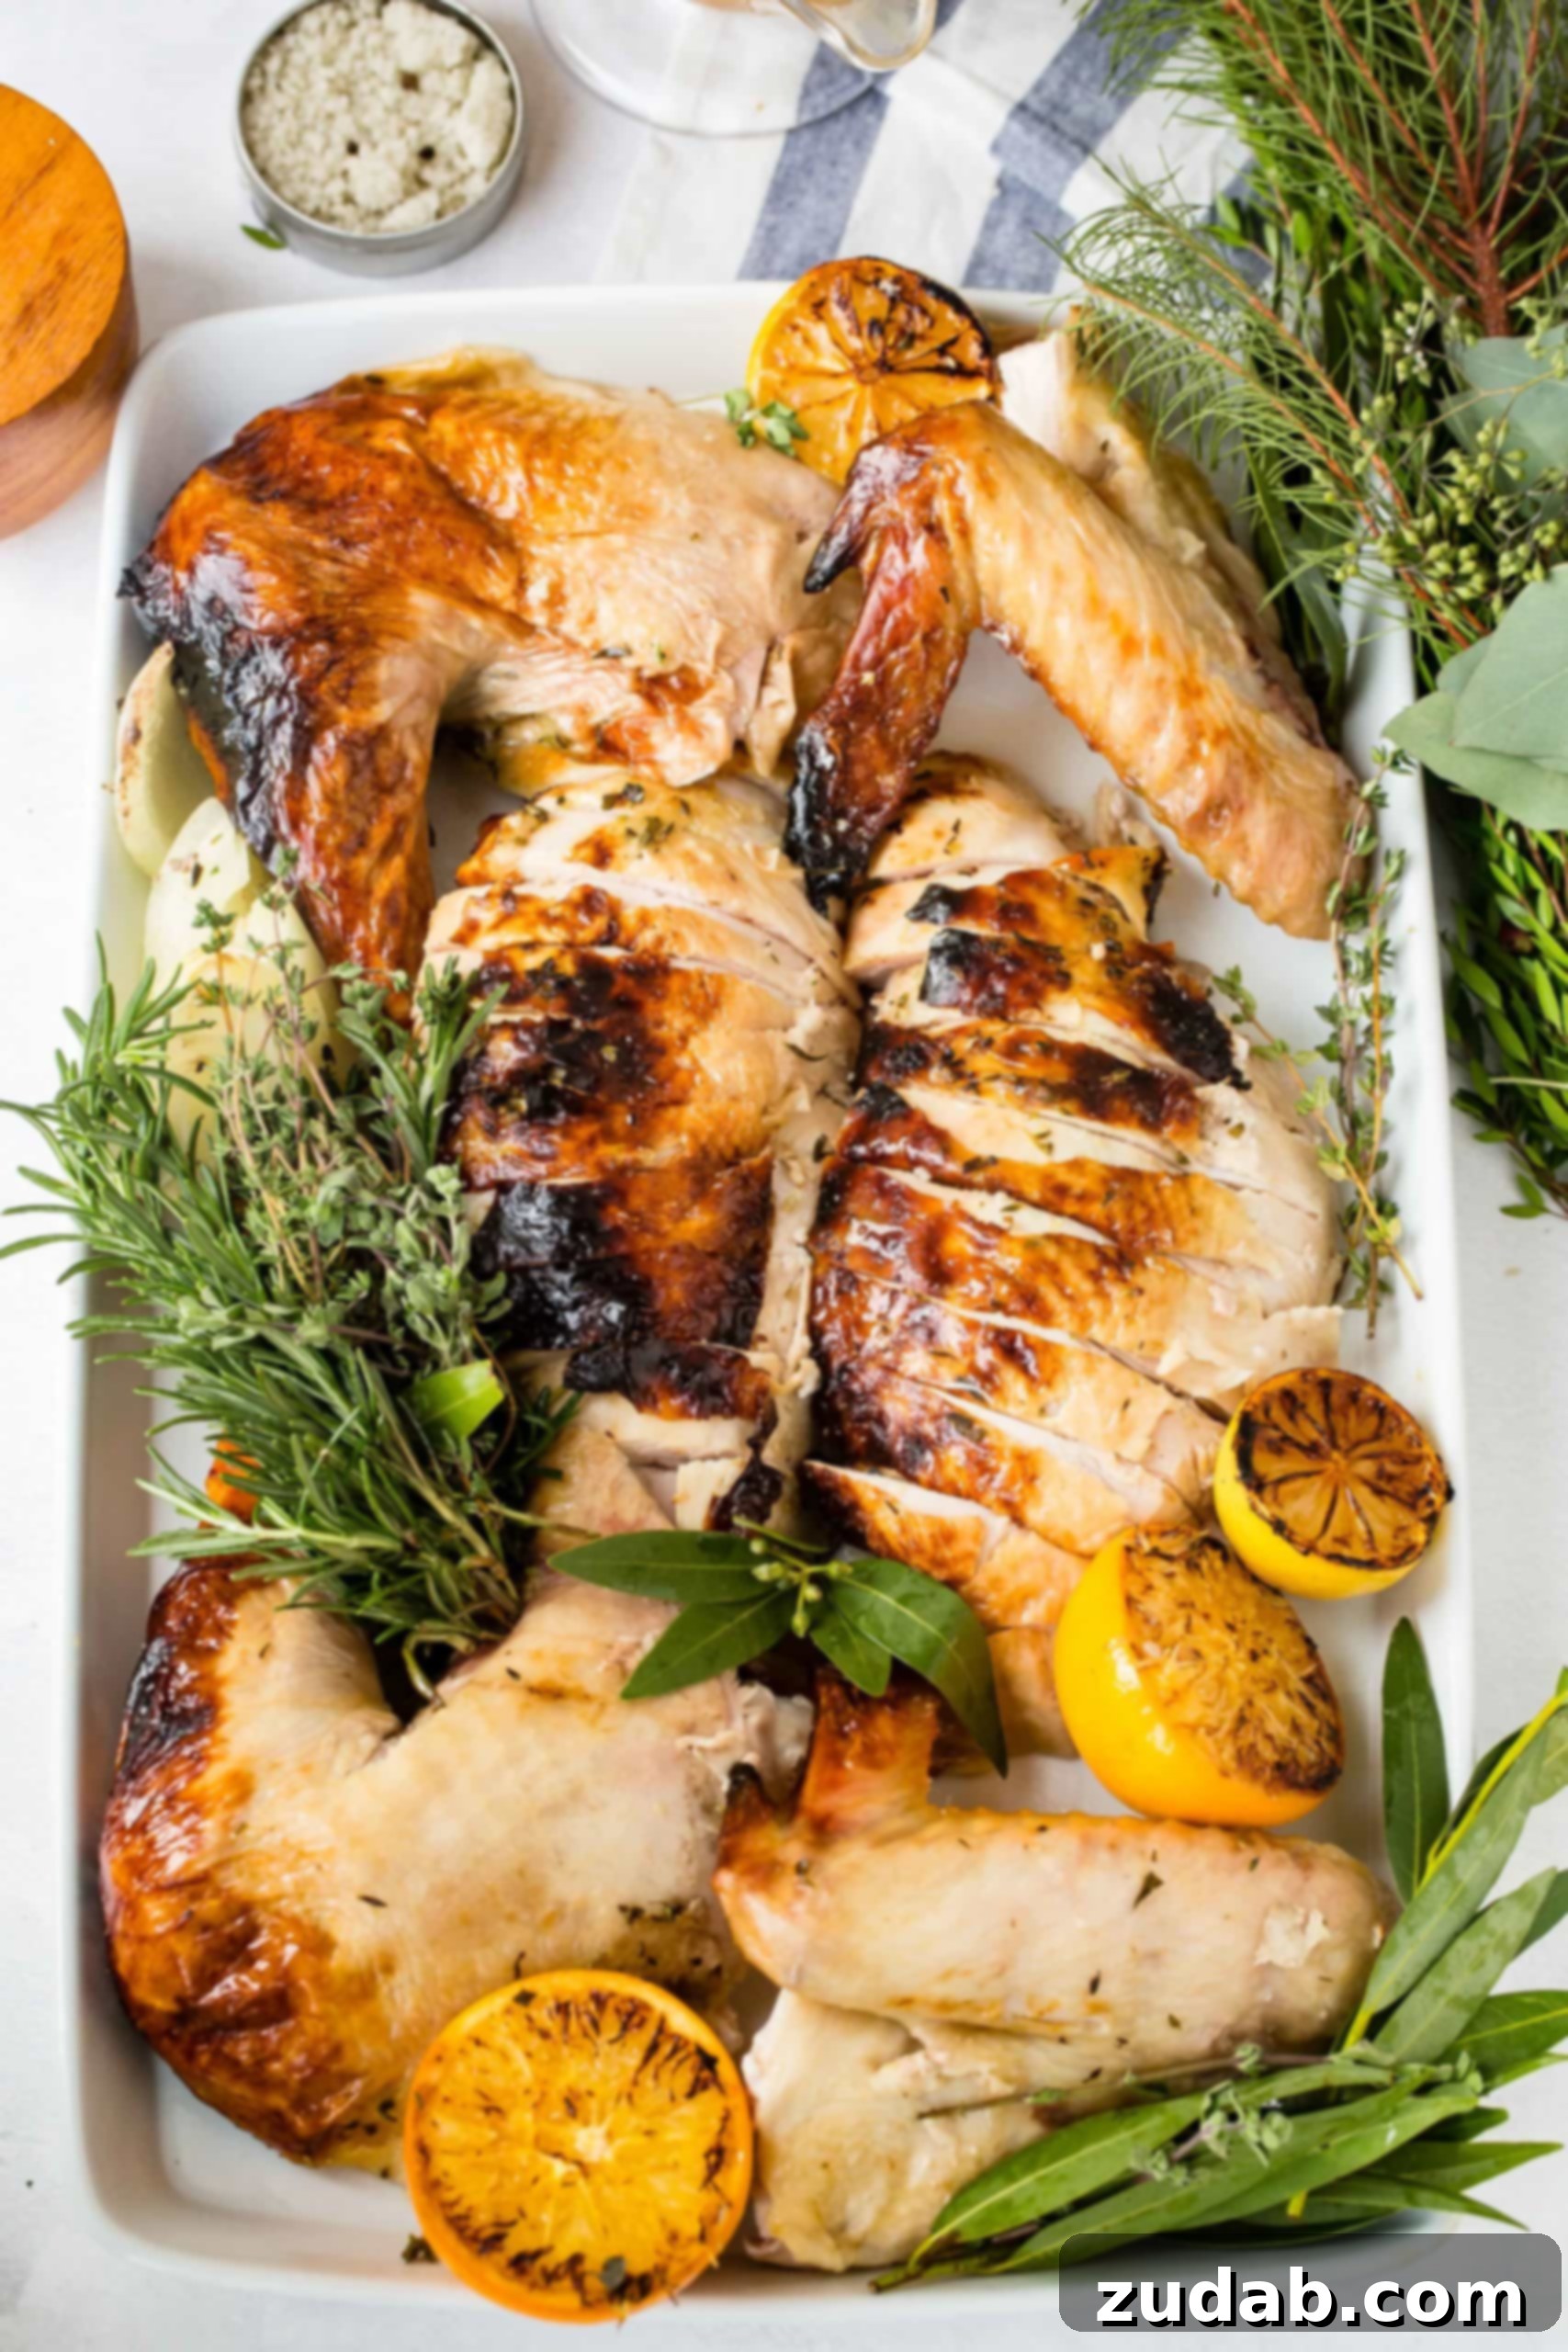
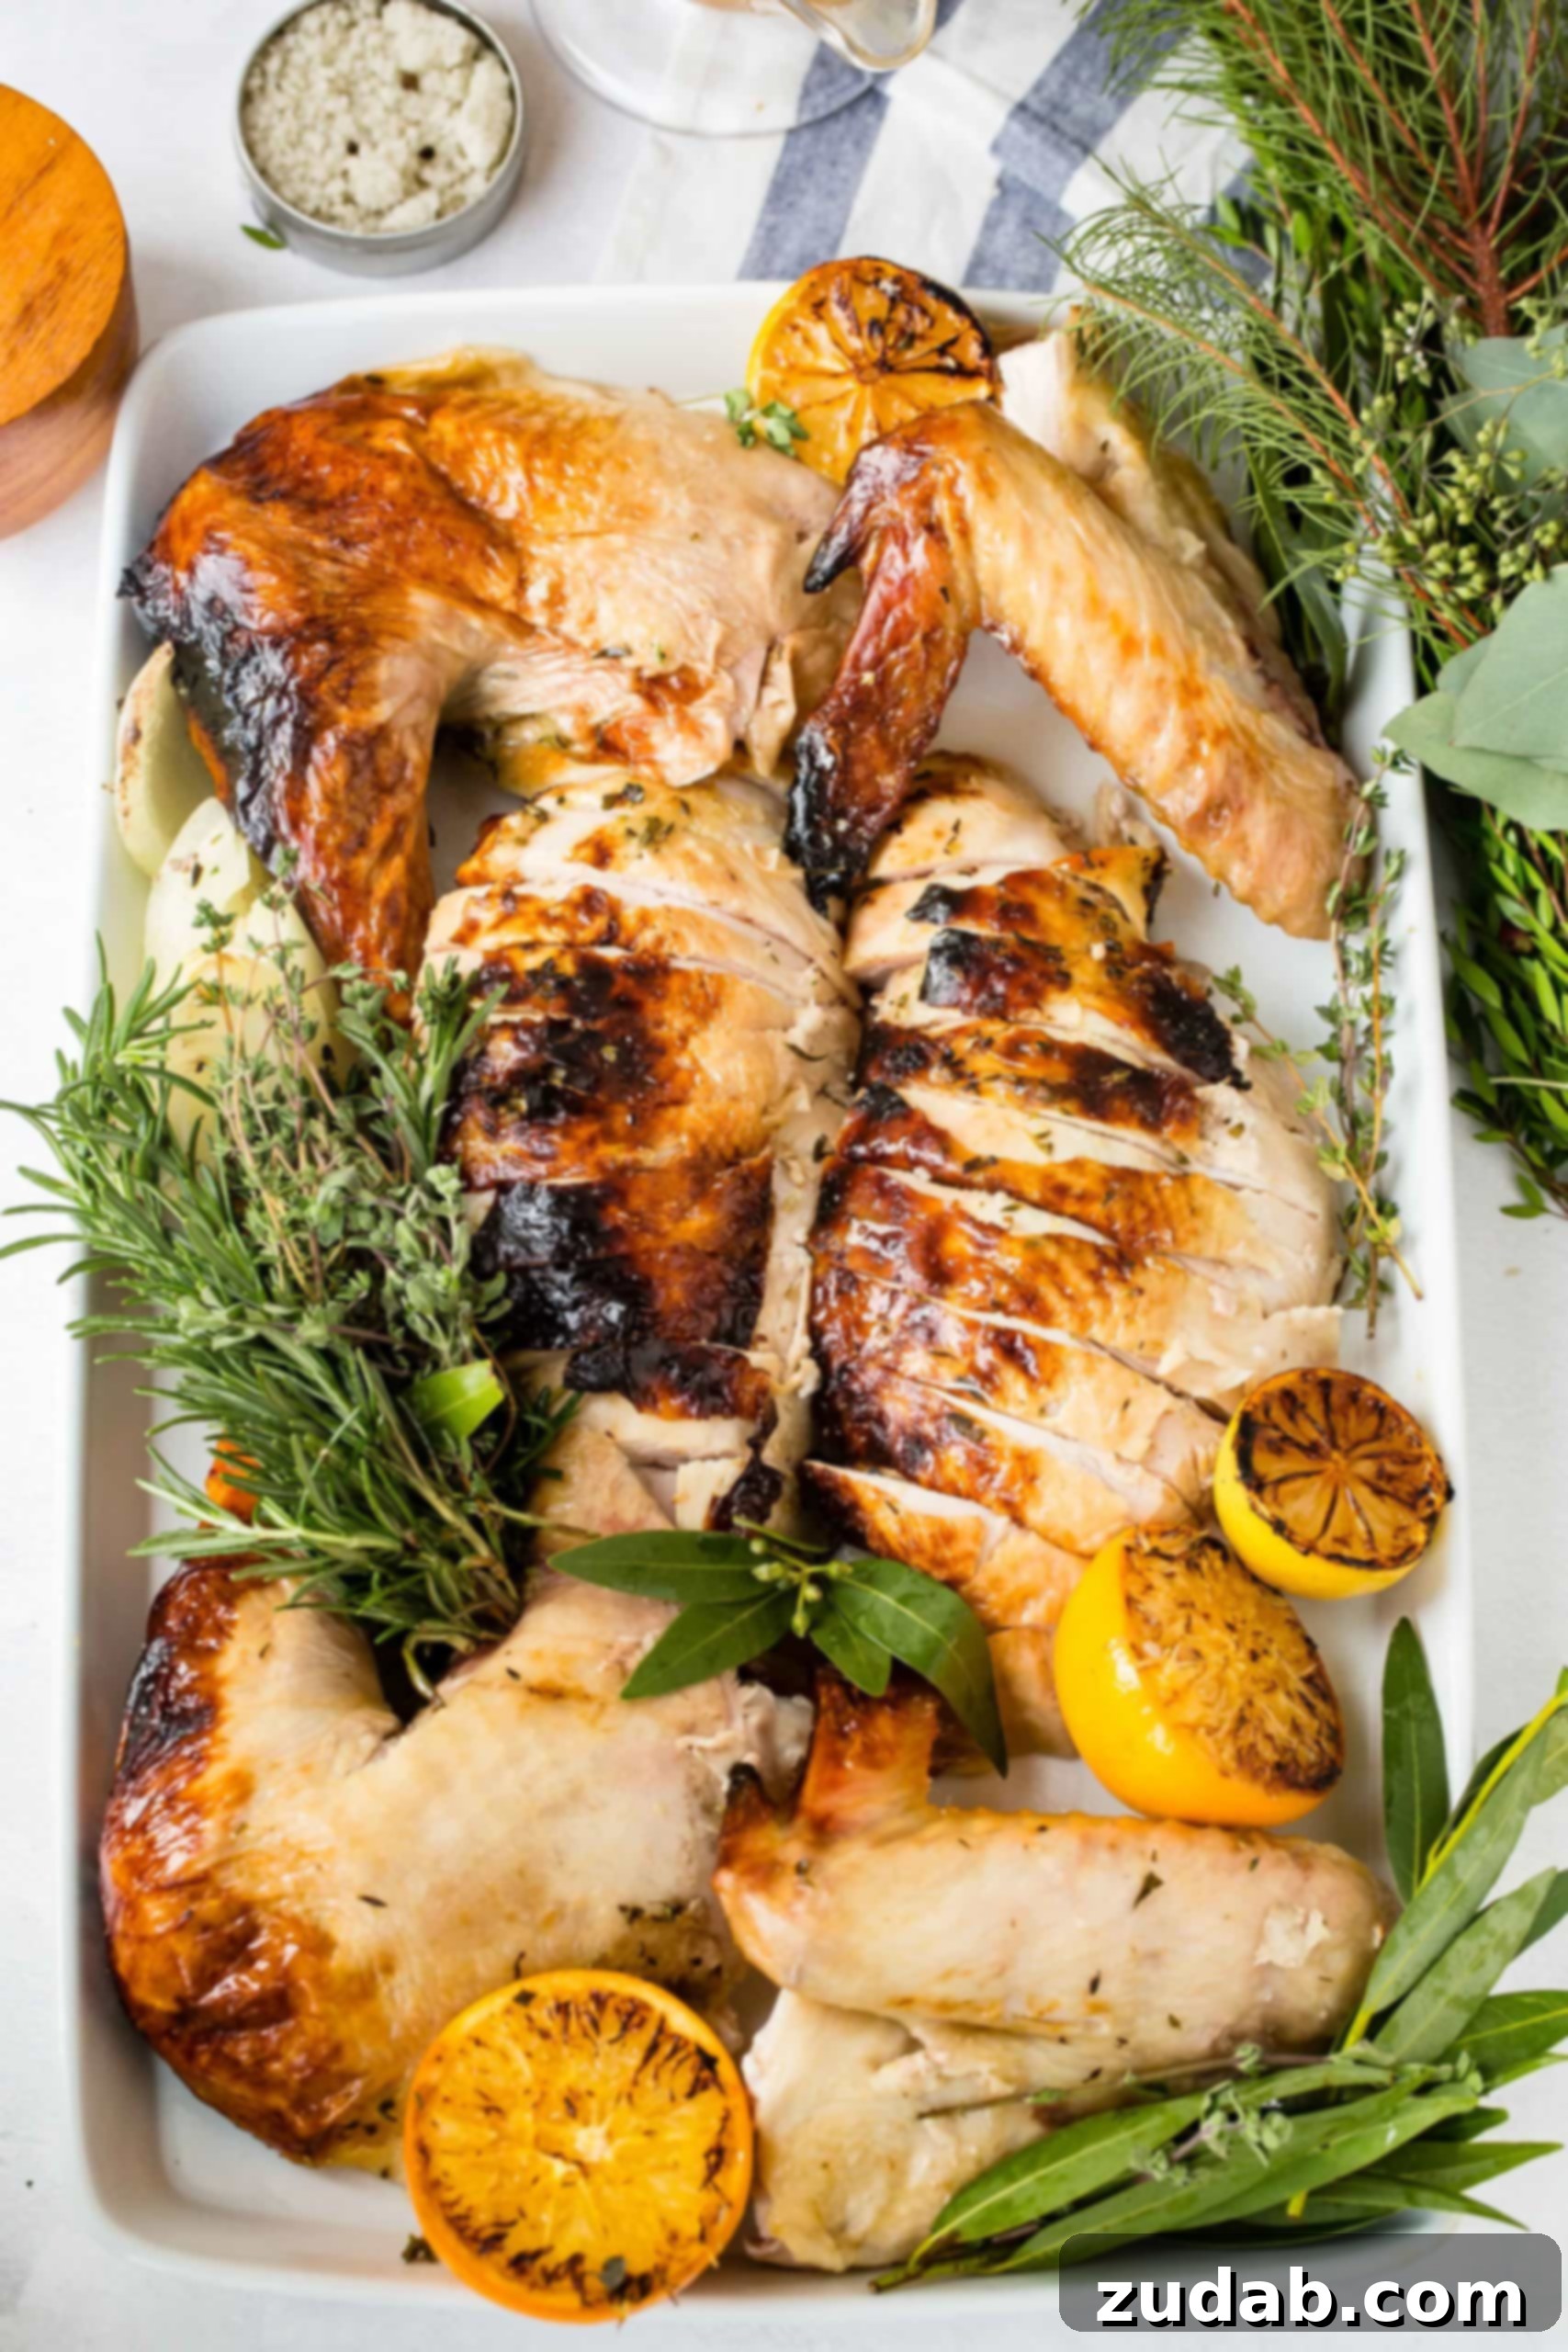
Presentation is key to a truly memorable holiday meal. Once all your turkey meat is carved, arrange it artfully on your serving platter. You might consider separating white meat from dark meat, allowing guests to choose their preference easily. Fan out the breast slices, arrange the deboned thigh meat, and place the drumsticks and wings strategically. Garnish your platter with fresh herbs like rosemary or thyme, roasted lemon halves (perhaps those used in your turkey cavity), or vibrant cranberries to add a pop of color and freshness. A beautifully presented platter elevates the entire dining experience, making your guests feel truly special.
Common Carving Mistakes to Avoid
Even with the best intentions, some common pitfalls can detract from your carving success. Be mindful of these to ensure a perfect outcome:
- Skipping the Rest: As emphasized, this is the biggest mistake. Always allow ample rest time.
- Using a Dull Knife: A dull knife makes carving harder, messier, and potentially dangerous. Always use a freshly sharpened blade.
- Sawing Through Bone: Instead of forcing the knife, gently explore to find the natural joints. Clean cuts through joints are far more efficient than hacking through bone.
- Carving With the Grain: Especially for breast meat, slicing with the grain results in long, tough, stringy pieces. Always slice perpendicular to the muscle fibers.
- Rushing the Process: Take your time. Carving should be a deliberate process, not a race. Enjoy the moment!
Frequently Asked Questions About Turkey Carving
Here are answers to some common questions that arise when it’s time to carve the Thanksgiving turkey:
- How long should I let my turkey rest? For a whole turkey, aim for at least 20-30 minutes, covered loosely with foil. Larger birds may benefit from up to 45 minutes.
- What kind of knife is best for carving a turkey? A sharp, thin-bladed carving knife, typically 8-10 inches long, is ideal. A boning knife can also be useful for separating meat from bones. Some people prefer an electric carving knife for speed, but a sharp manual knife offers more precision.
- Can I carve a cold turkey? While it’s possible, carving a warm turkey after it has rested is significantly easier, and the meat will be more succulent. Cold turkey meat can be tougher to slice cleanly.
- How do I keep the meat moist after carving? The resting period is key. Additionally, slicing against the grain helps. For serving, you can lightly brush the carved meat with warm pan drippings or a little chicken or turkey broth to add extra moisture and flavor. Serve immediately to prevent drying.
Beyond the Carving Board: Enjoying Your Perfectly Carved Turkey
Congratulations! You’ve successfully navigated the art of turkey carving. What seemed intimidating is, with a little guidance and the right tools, a straightforward process that ensures your guests enjoy the most flavorful and moist turkey possible. The satisfaction of presenting a beautifully carved bird, with every slice tender and juicy, is immense. So go ahead, confidently tackle your holiday bird, and savor the appreciative smiles around your table. Your culinary skills, from roasting to carving, will be the talk of the feast!
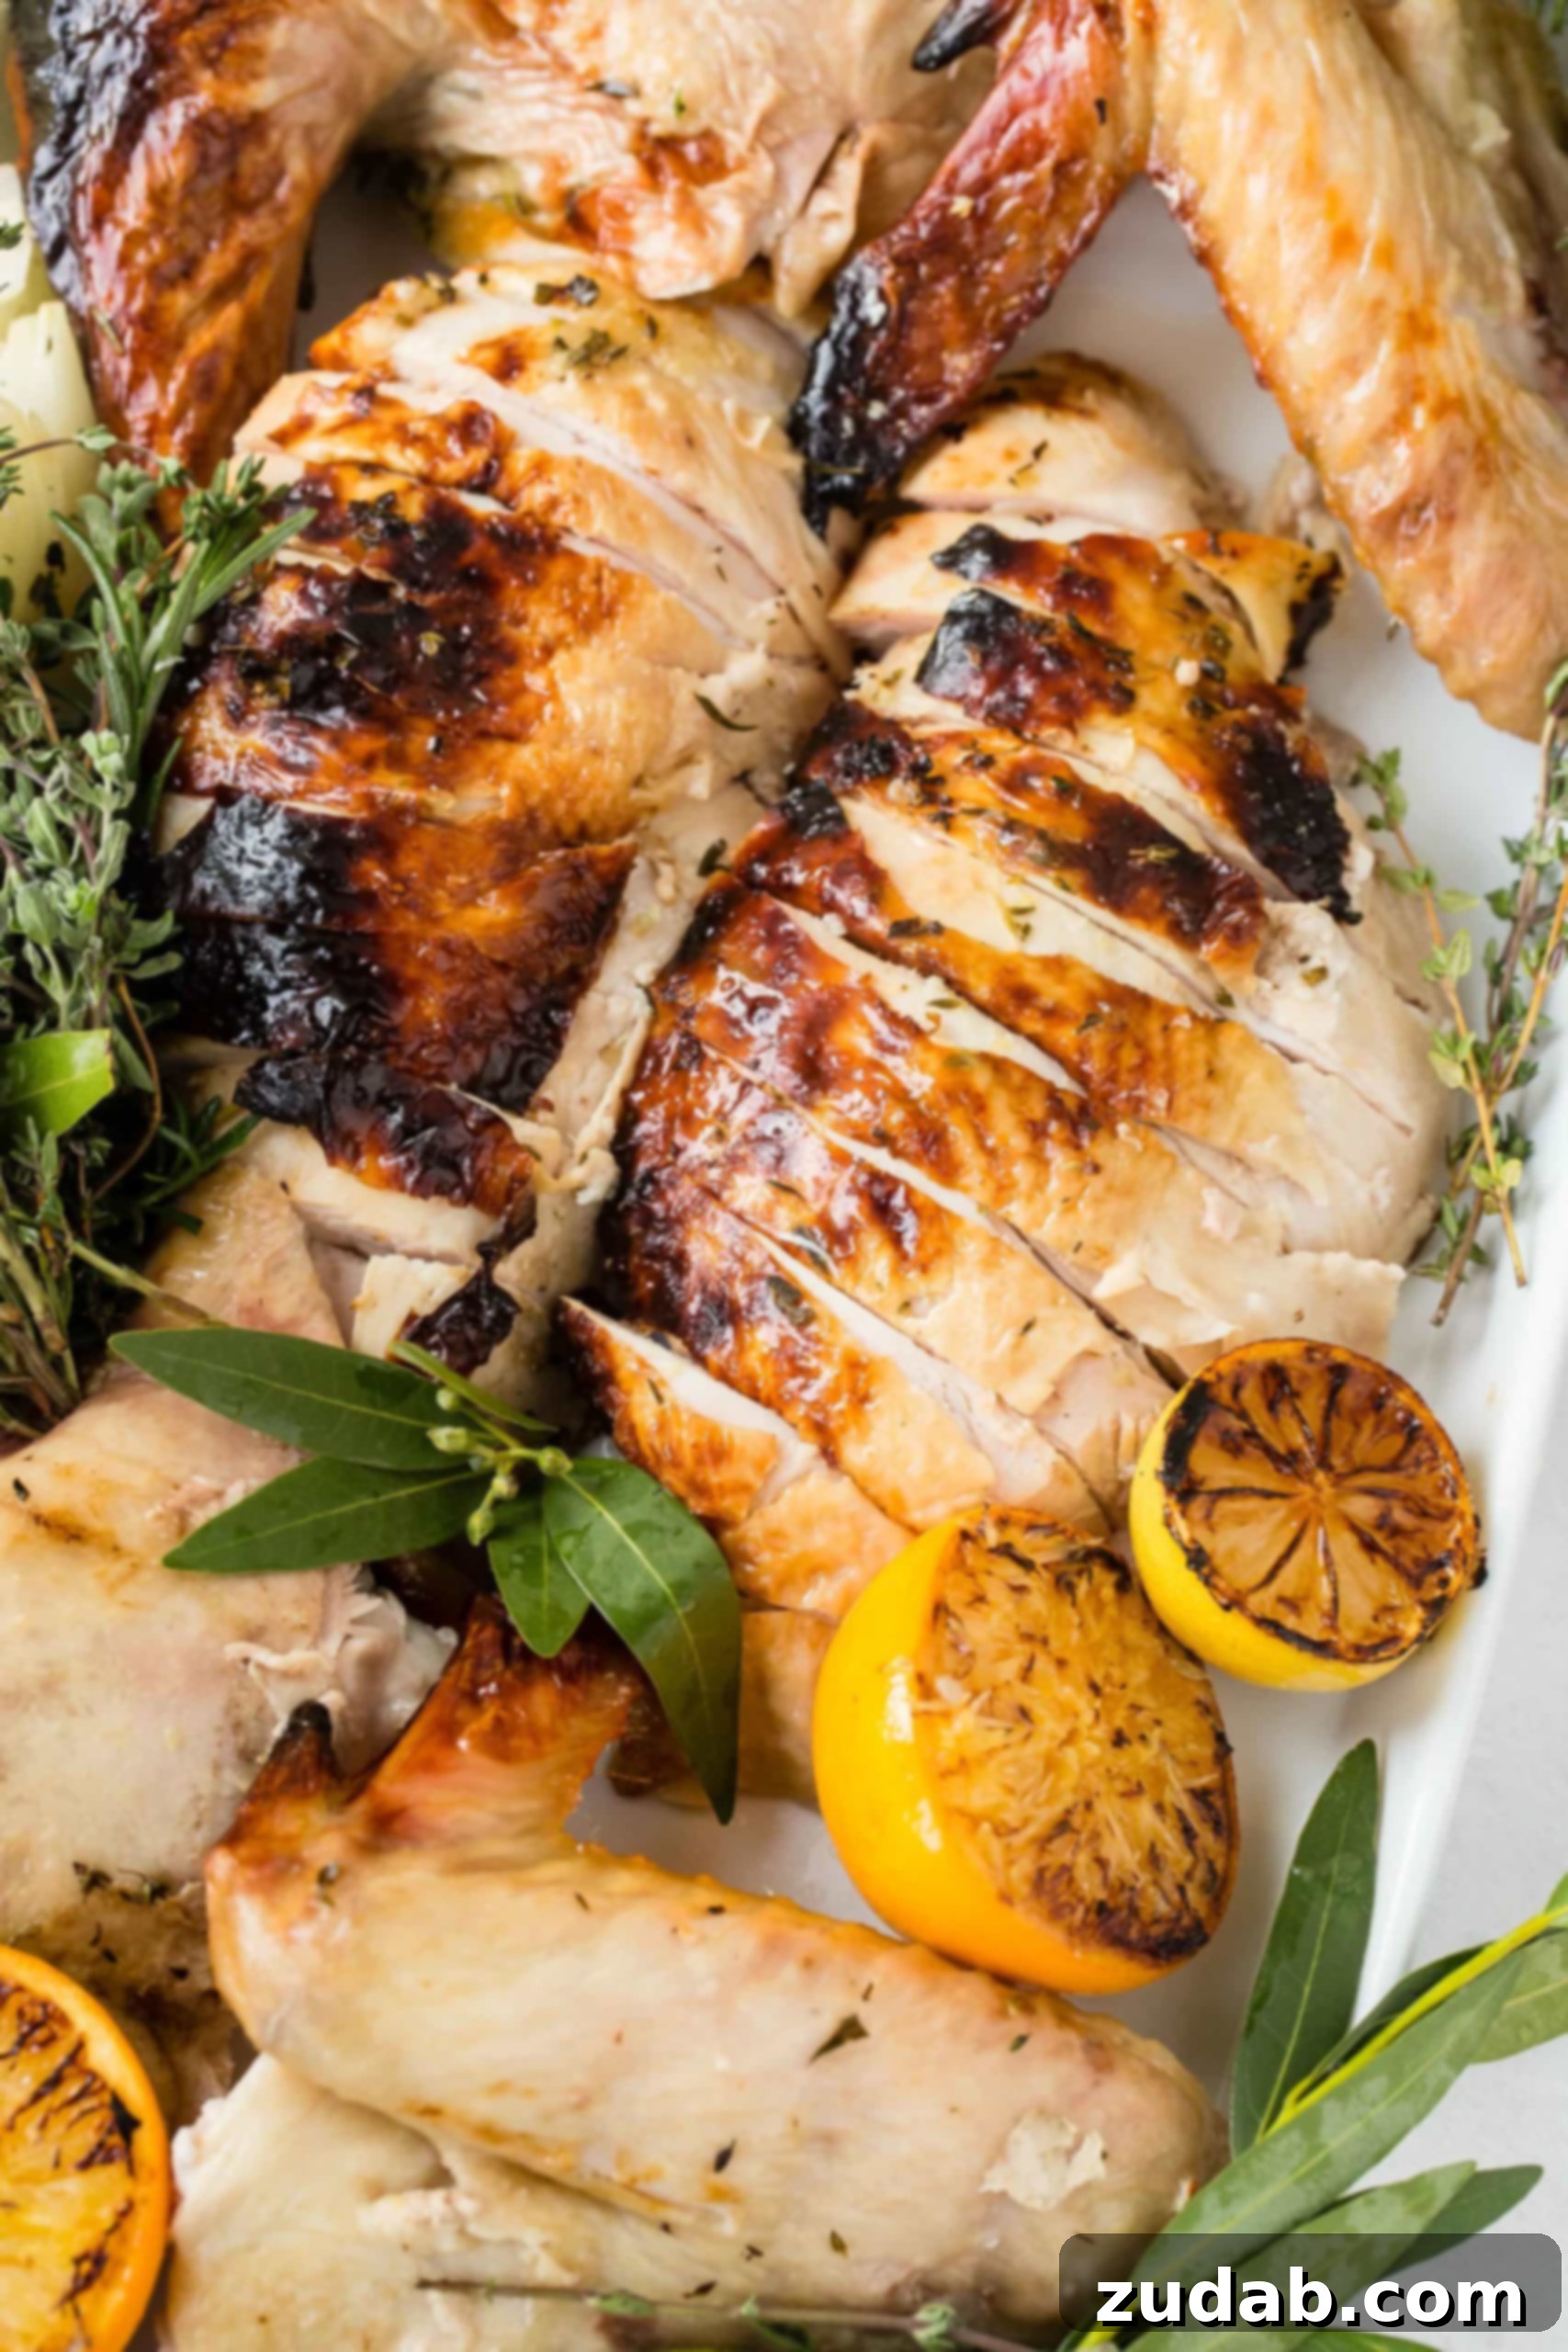
We love to add a few of the roasted lemon halves from the turkey as well as some fresh herbs and greens to the spread to make it pretty!
More Delicious Turkey Recipes You’ll Love:
- Oven Roasted Turkey
- Deep Fried Turkey
- Turkey in a Bowl
- Herb Roasted Turkey Breast
- Turkey Pot Pie Soup
- The Ultimate Leftover Turkey Club
- Award Winning Instant Pot Turkey
- Thanksgiving Leftovers Turkey Tetrazzini
- Apple Pecan Smoked Turkey Breast
REMEMBER TO SUBSCRIBE TO our FREE Oh Sweet Basil NEWSLETTER AND RECEIVE EASY RECIPES DELIVERED INTO YOUR INBOX EVERY DAY!
When you try a recipe, please use the hashtag #ohsweetbasil on INSTAGRAM for a chance to be featured in our stories! FOLLOW OH, SWEET BASIL ON FACEBOOK | INSTAGRAM | PINTEREST | TWITTER FOR ALL OF OUR LATEST CONTENT, RECIPES AND STORIES.