
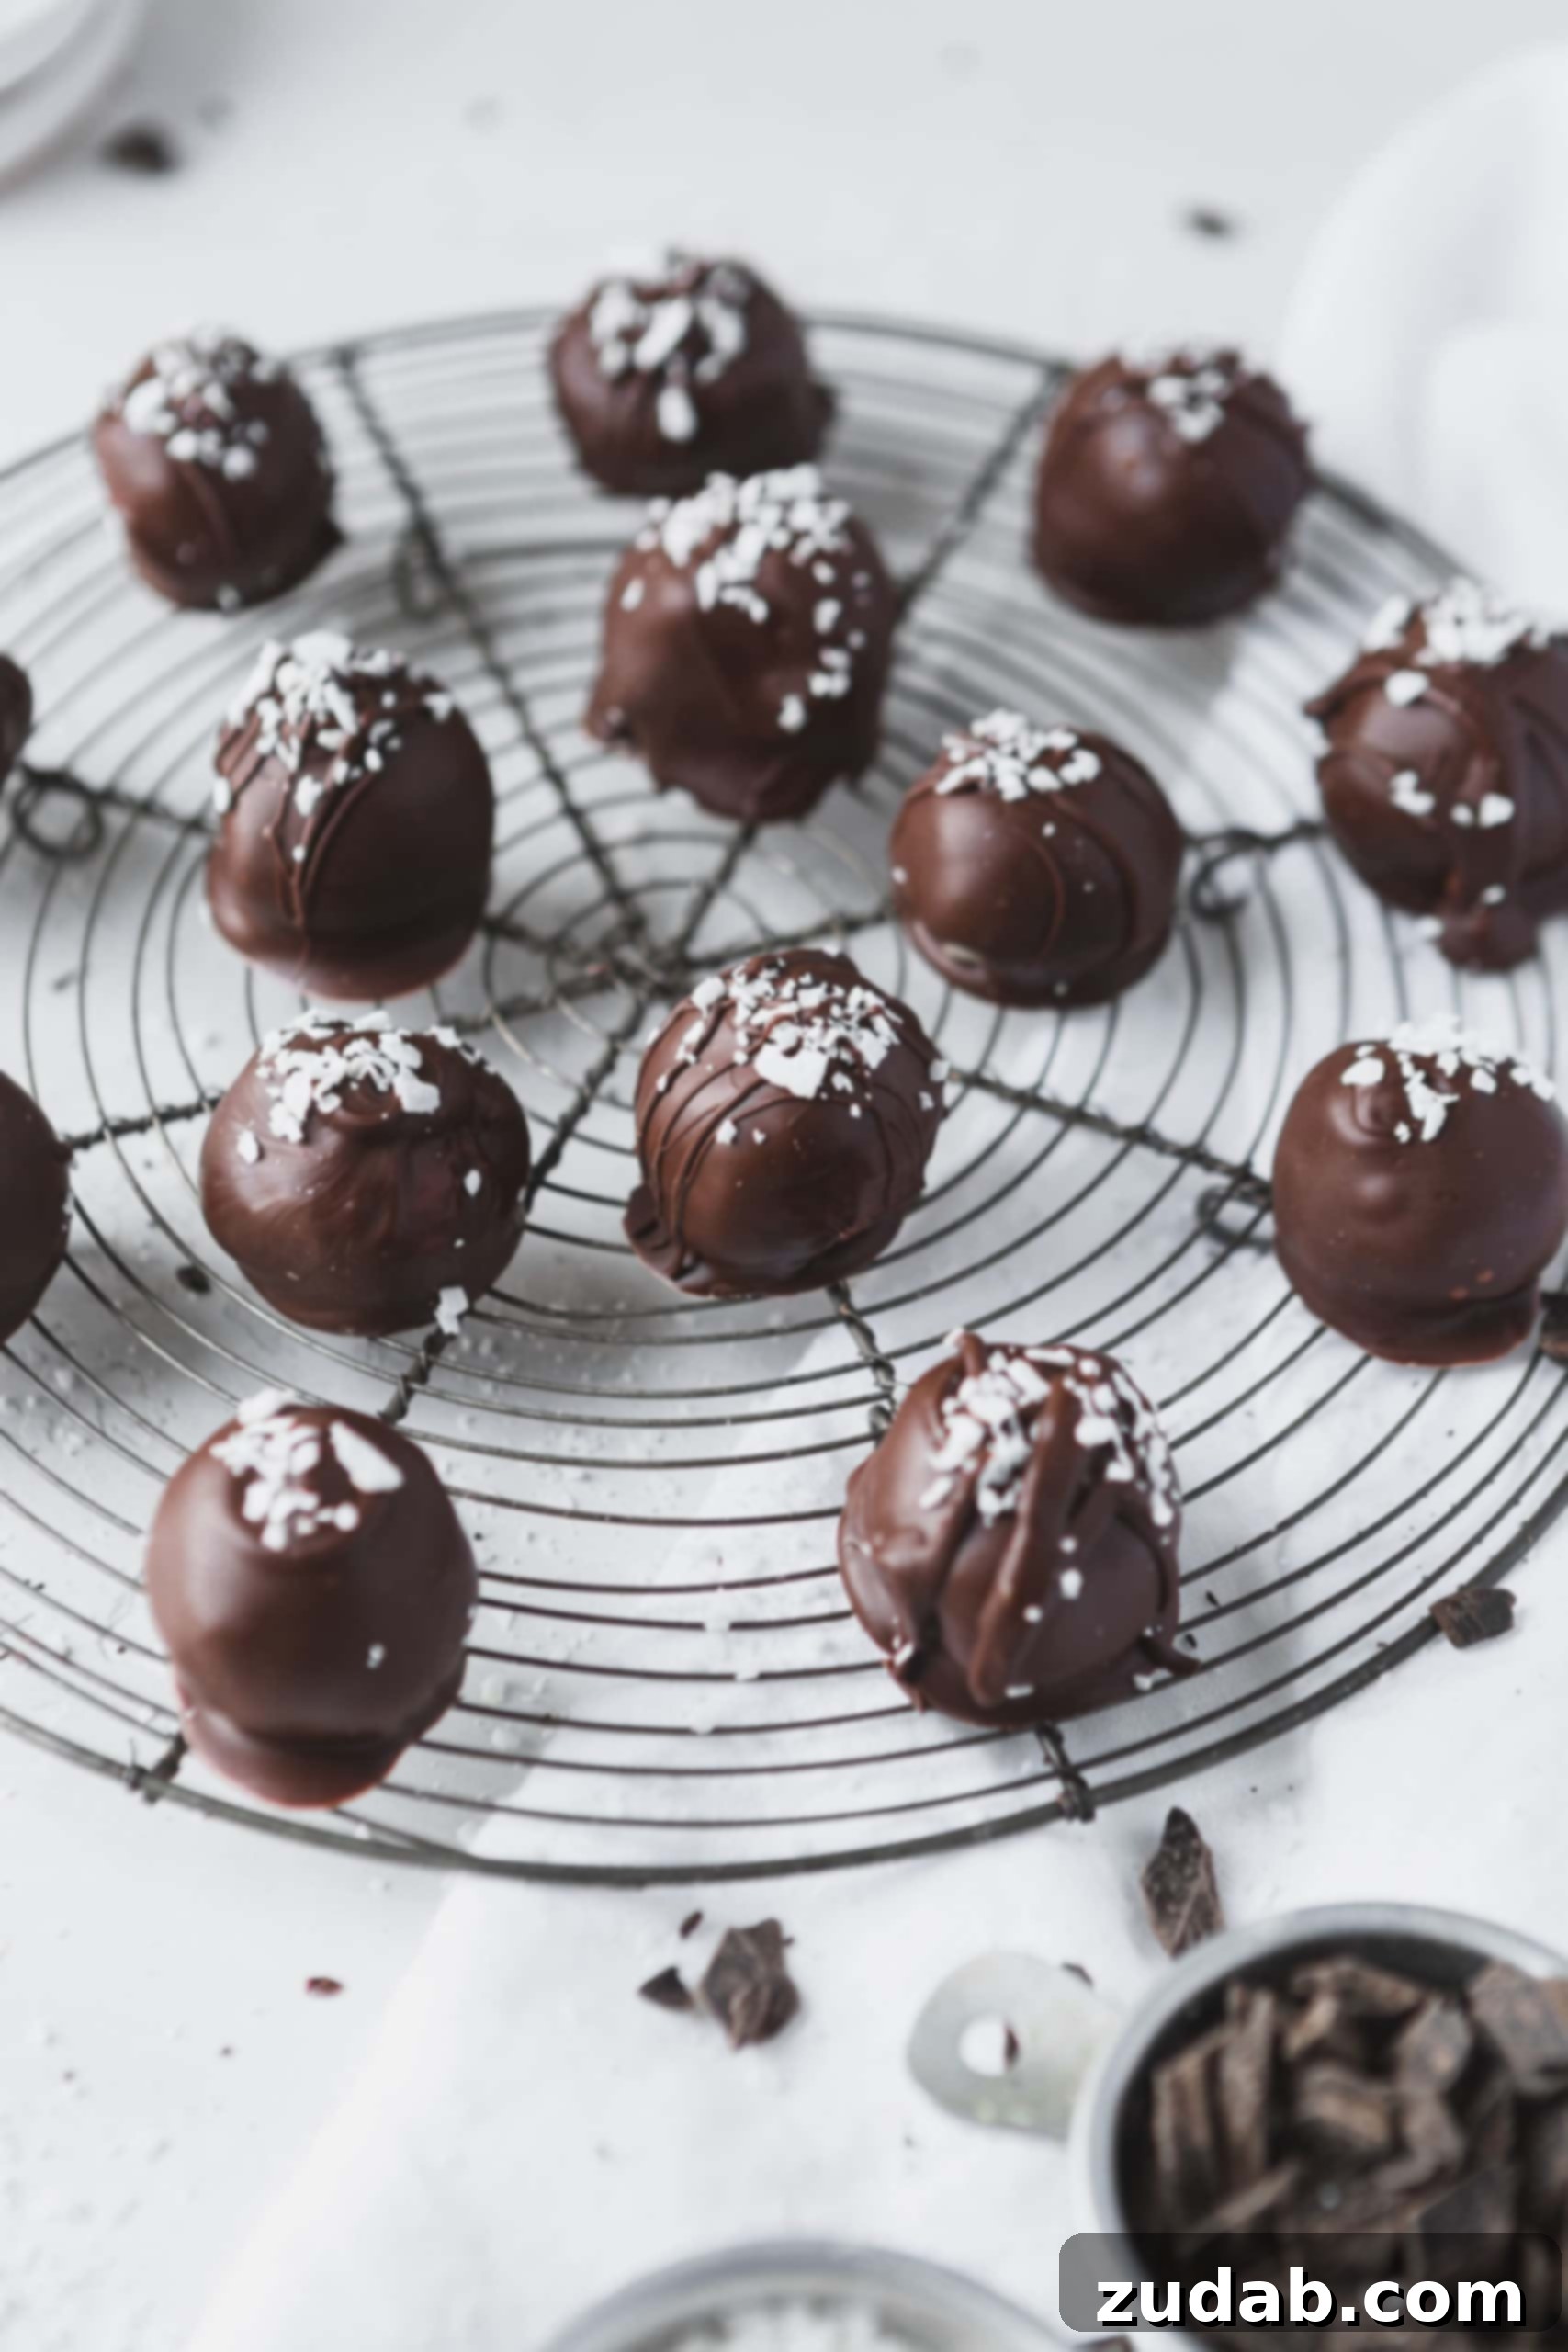
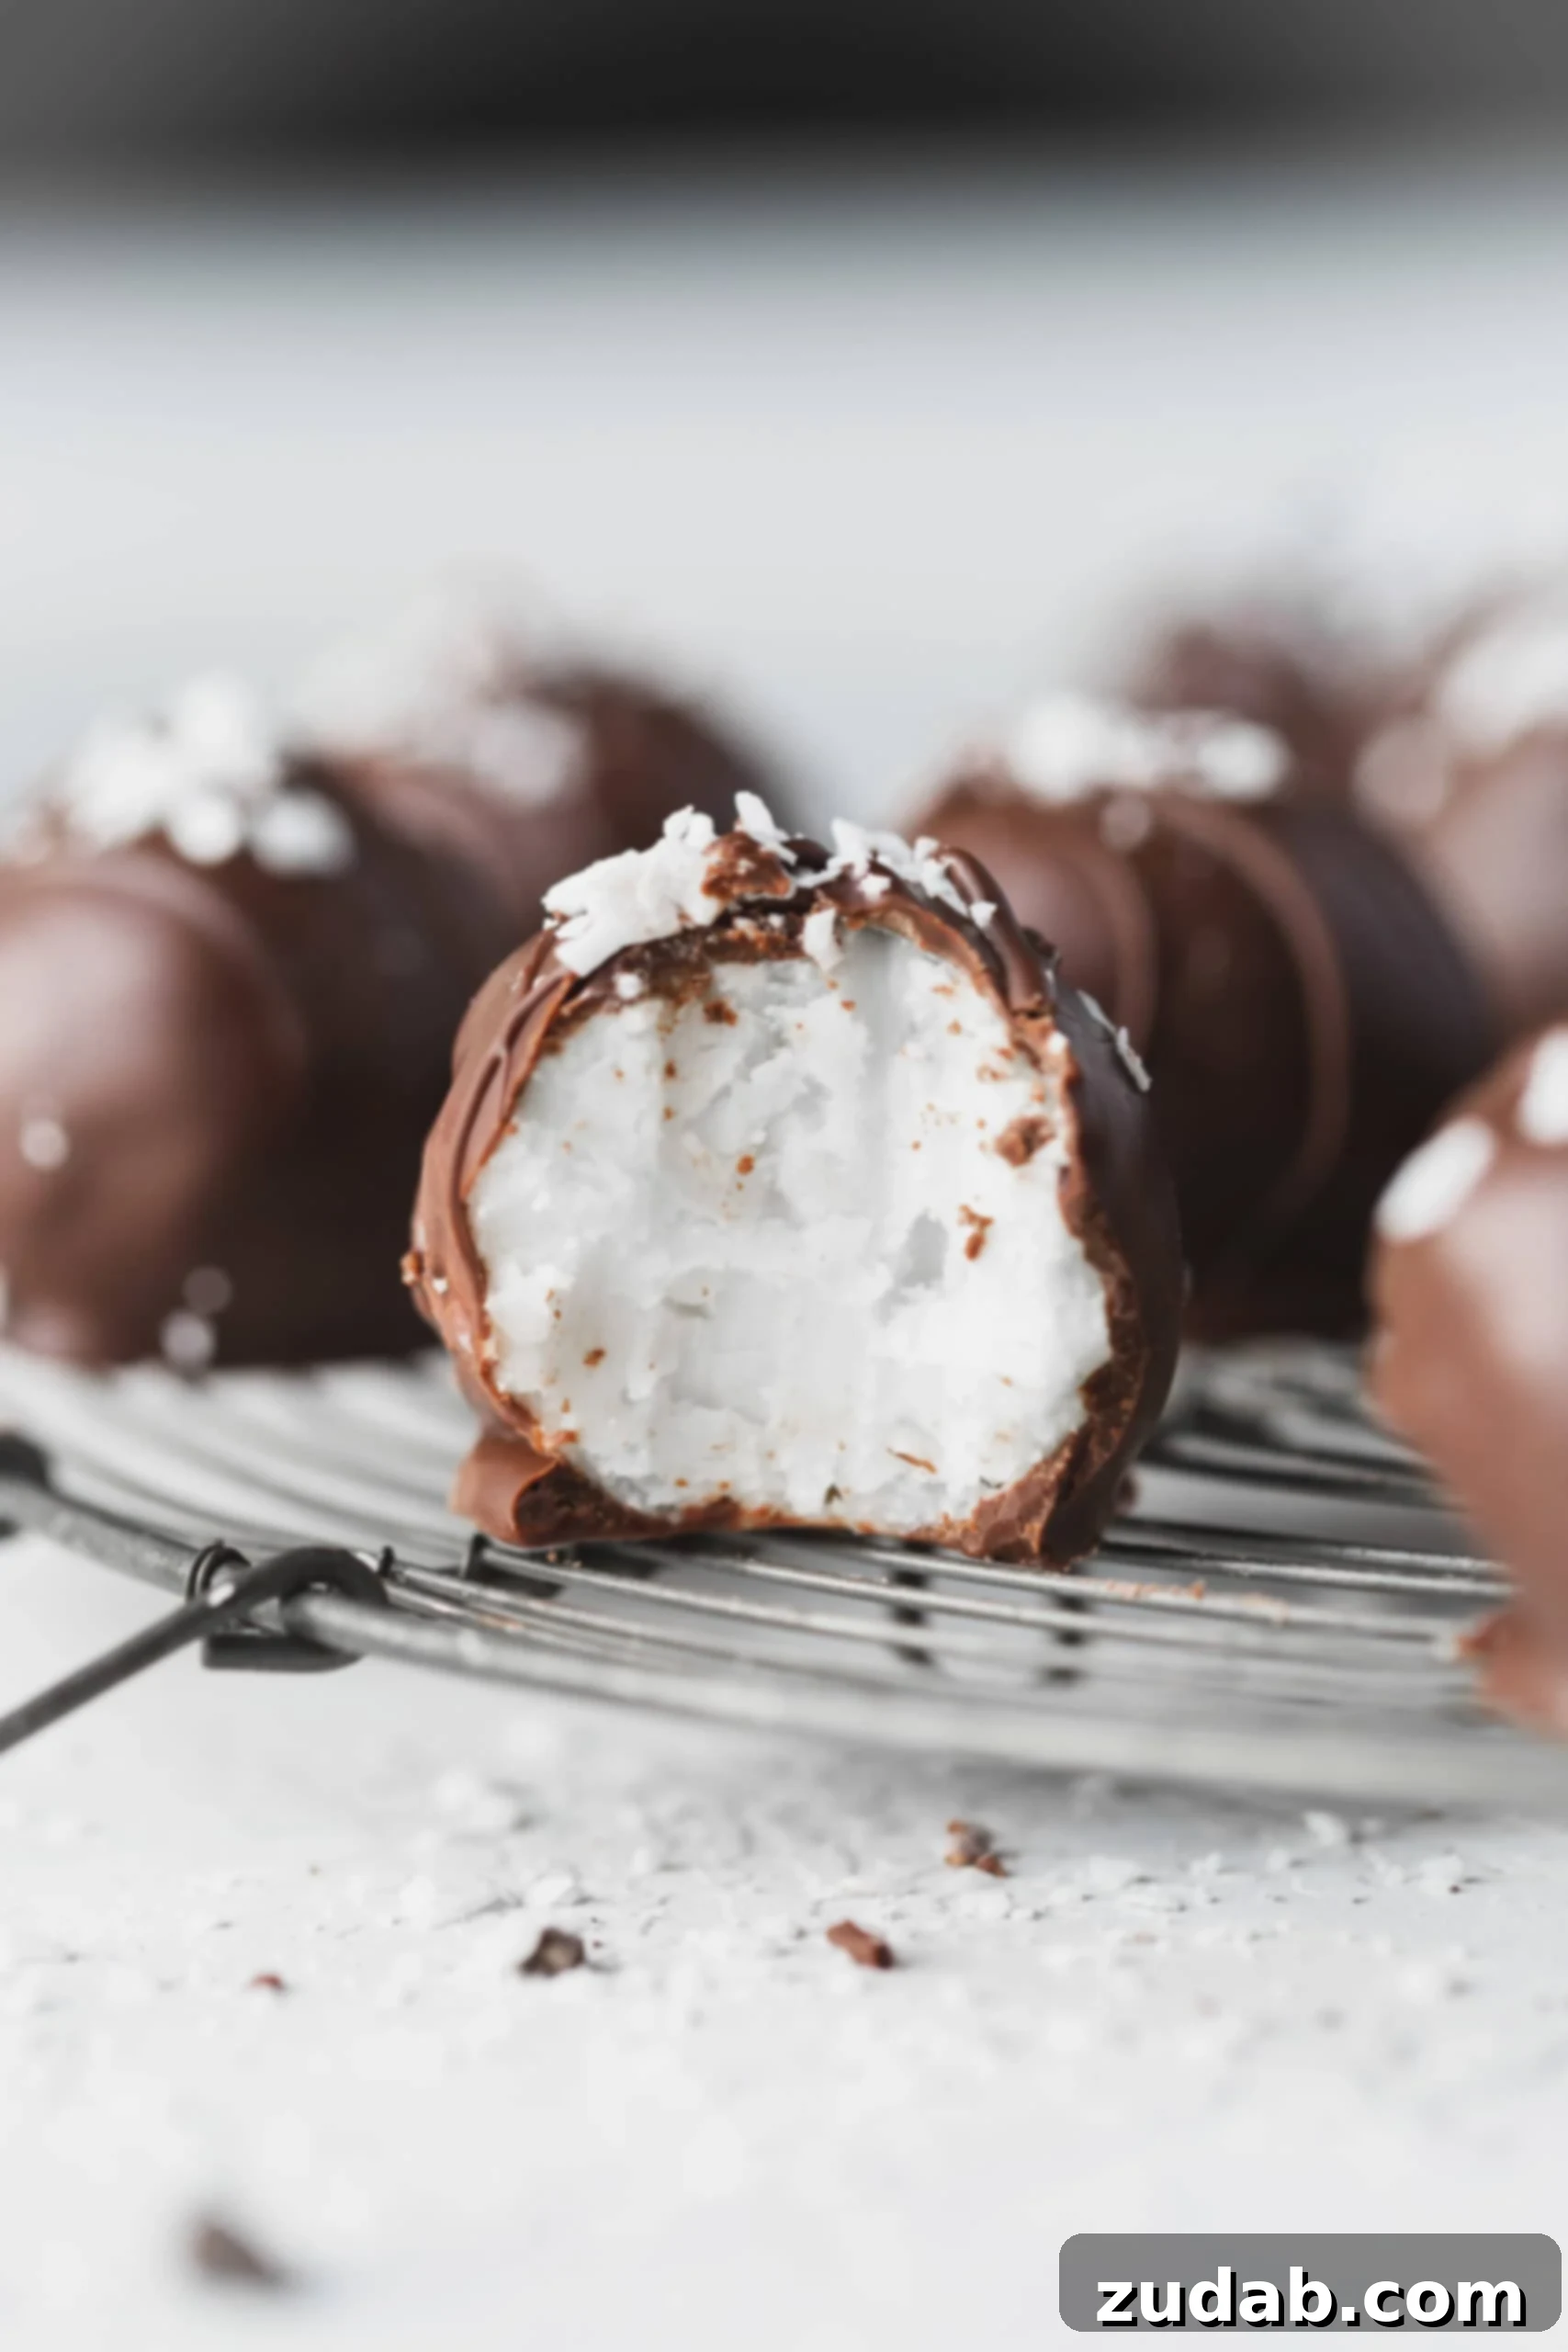
Chocolate covered coconut balls are more than just a sweet treat; they are a cherished journey back to childhood, a bite of nostalgia wrapped in creamy chocolate. For many, like myself, these delightful **no-bake coconut balls** evoke fond memories of family, holidays, and the simple joys of homemade goodness. What once might have been an acquired taste can transform into a beloved tradition, a testament to how our palates and perspectives evolve over time. This classic **easy candy recipe** offers a perfect blend of rich chocolate and a tender, moist coconut center, making it an irresistible addition to any holiday platter or a comforting indulgence any day of the year.
As the years pass, I find myself increasingly drawn to the past, reflecting on the moments that shaped me. This isn’t to say I’ve stopped looking forward or dreaming about the future; quite the opposite. But there’s a unique warmth in revisiting our stories, in recognizing the profound impact of what once seemed like trivial childhood experiences. For a little girl, a tray of **coconut chocolate balls** might have been easily overlooked, even disliked. Yet, here they are, a symbol of growth, connection, and the enduring power of family traditions.
These aren’t just any **chocolate coconut treats**; they are an invitation to create new memories while honoring old ones. Whether you’re making them for Christmas, a special occasion, or simply to enjoy a moment of sweet indulgence, these simple yet decadent candies are sure to become a treasured part of your culinary repertoire. Let’s dive into the story and the recipe behind these enchanting sweets.
Home: A Sanctuary of Sweet Memories
My childhood unfolded on a quaint, private road in Vancouver, Washington. Our street, shaped like the letter T, was bordered by towering rhododendron bushes that lined our yard. Each morning, as we walked to school, the fog would hang heavy in the air, creating a magical, almost ethereal atmosphere. The journey was always an adventure, navigating past the formidable poodles on the right and quickly sidestepping a field on the left where mischievous Rottweilers occasionally escaped their fence, adding a thrilling (and slightly terrifying) chase to our daily routine.
But as Christmas approached, the mundane commute transformed. Houses would twinkle with festive lights, and illuminated Christmas trees would glow warmly in windows, casting a comforting spell. My thoughts, however, were always centered on home, picturing my mom at the kitchen island, meticulously preparing an array of holiday goodies. It was a scene of unparalleled warmth and productivity, a tableau of domestic bliss.
As a child, I didn’t ponder the lives of other kids or their homes. I simply assumed every family experienced the same sense of security and happiness. To me, every mom was a full-time homemaker, keeping the house spotless and conjuring up delicious meals and festive treats. Now, as a mother myself, I understand the incredible privilege of that upbringing. My home was a true safe haven—a sanctuary imbued with love, peace, and endless joy. These vivid memories of my family now serve as a powerful blueprint, guiding me as I strive to recreate that same loving, peaceful environment for my own children. It’s a profound realization, recognizing that the foundation of who I am, and who I aspire to be, is deeply rooted in these cherished moments from the past, often centered around the simple act of making and sharing food, like these **homemade chocolate covered coconut balls**.
Connecting Generations in the Kitchen with Sweet Treats
While my mom always made a variety of holiday candies, my personal favorite was always peanut butter balls, dipped in chocolate, tasting just like a homemade Reese’s Peanut Butter Cup. Yet, every single year, without fail, she would also whip up a batch of the much-dreaded coconut balls. Oh, how I recoiled at the thought! The stringy texture, the intensely pungent flavor – it reminded me of a hairball from our tabby cat, a truly horrifying culinary experience for my younger self.
But time, as they say, changes everything. As I mentioned, I’ve been feeling particularly nostalgic lately, embracing those moments from my past. Now, as a mother, I often find myself seeking ways to connect with my own children, particularly my teenager. One day, a delightful realization struck me: my daughter absolutely adores coconut! It was then that the idea clicked – I had the perfect recipe, a bridge to a cherished memory, and an opportunity for bonding.
So, one afternoon, the spirit of a grandmother’s love, carried through generations, filled our kitchen. My daughter and I stood side-by-side, rolling ball after luscious ball of coconut mixture. In that moment, the hated coconut balls transformed. They were no longer a source of childhood disdain but a vehicle for weaving together generations and hearts. It became a treasured experience, a sweet connection between a mother and a daughter, making these **chocolate covered coconut delights** a symbol of love and shared tradition.
What Ingredients Do I Need for the Best Chocolate Covered Coconut Balls?
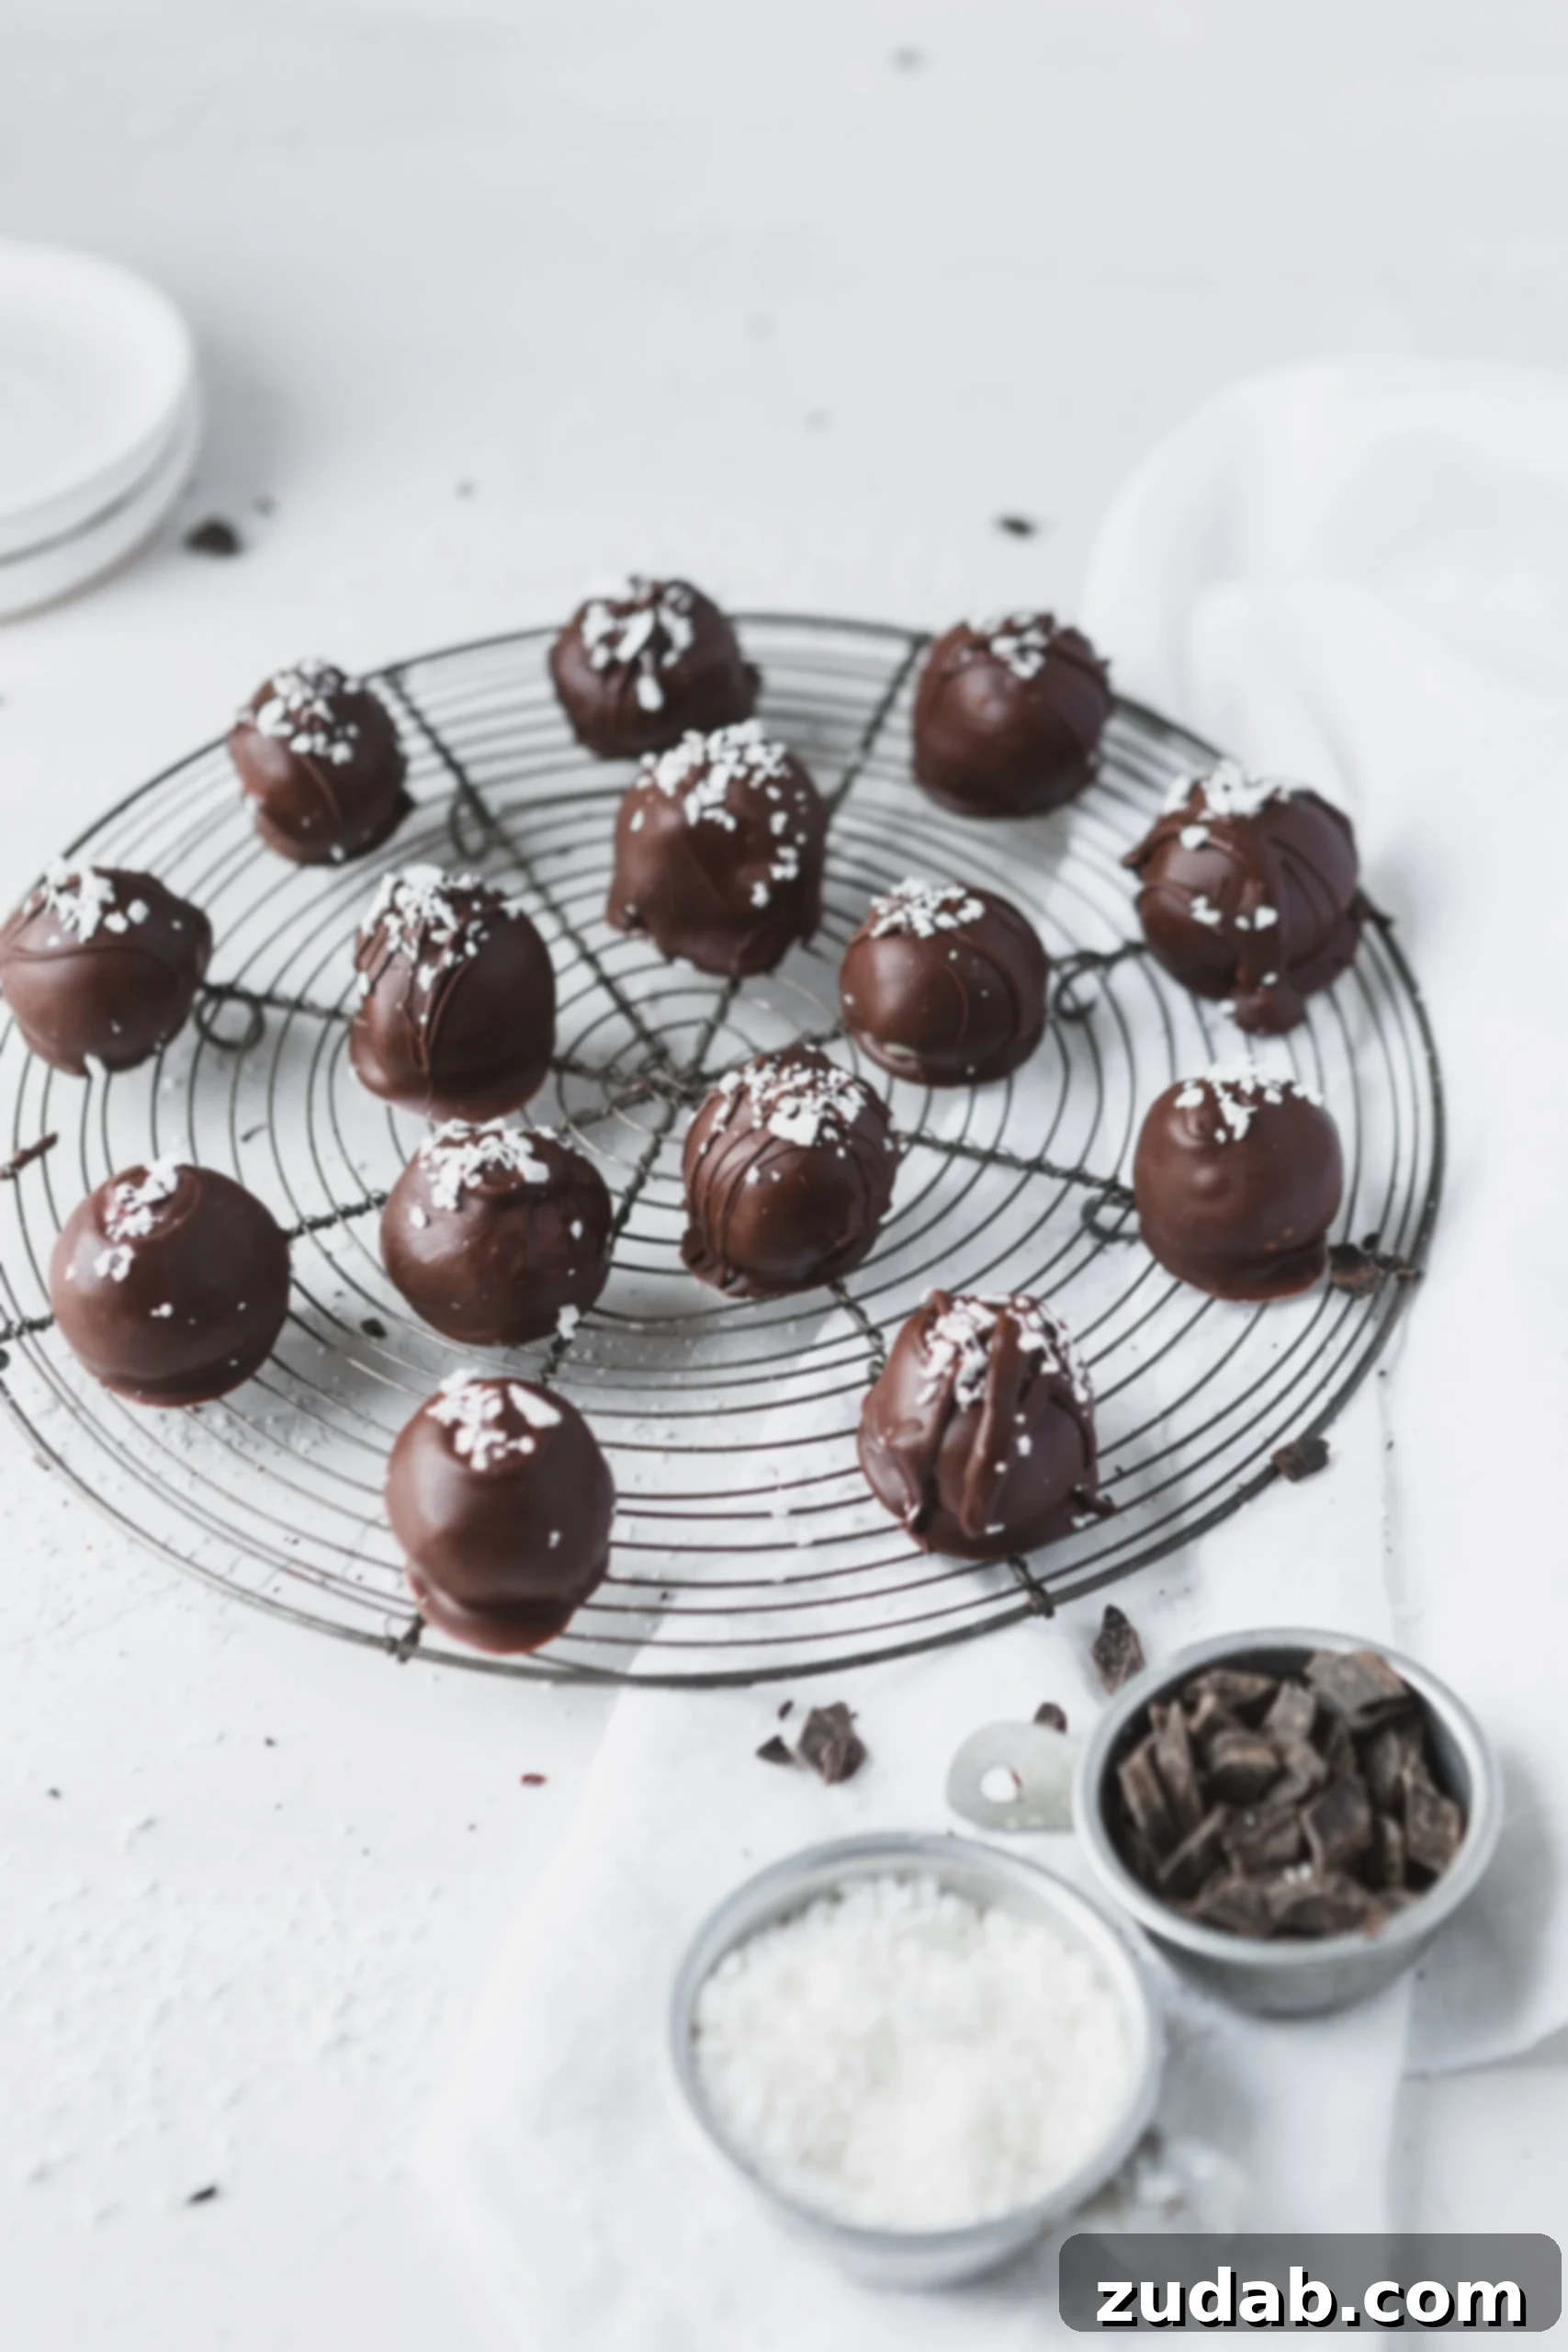
Sometimes, all it takes are a few **simple ingredients** to create something truly magical, something that brings hearts and generations together. For these delectable, **no-bake chocolate dipped coconut balls**, you’ll only need six straightforward items. Each plays a crucial role in delivering that perfect balance of creamy sweetness and rich chocolate, making these homemade treats an absolute delight. Gather these essentials, and you’ll be well on your way to crafting a batch of unforgettable candies:
- Chocolate Almond Bark or High-Quality Dipping Chocolate: This is key for a smooth, glossy coating that sets beautifully without tempering. Almond bark, often labeled as “candy melts” or “dipping chocolate,” is specifically designed for easy melting and a crisp finish. You can also use good quality melting wafers or even Hershey’s chocolate bars for a familiar taste.
- Powdered Sugar (Confectioners’ Sugar): This fine sugar is essential for achieving the incredibly smooth and melt-in-your-mouth texture of the coconut filling. Its delicate consistency ensures no grainy bite, only pure sweetness.
- Unsalted Butter (Room Temperature): Butter adds richness and helps bind the coconut mixture together, providing a creamy foundation. Ensuring it’s at room temperature is crucial for easy creaming and a lump-free mixture.
- Sweetened Shredded Coconut: The star of the show! Sweetened shredded coconut provides the iconic texture and tropical flavor that defines these treats. Don’t opt for unsweetened unless you’re planning to adjust the sugar content significantly.
- Sweetened Condensed Milk: This thick, syrupy milk acts as both a sweetener and a binder, contributing to the moistness and rich flavor of the coconut filling. It’s what gives the balls their irresistible chewy yet tender quality.
- Pure Vanilla Extract: A touch of vanilla extract enhances all the other flavors, adding a warm, aromatic depth that elevates the overall taste profile of the coconut filling.
The precise measurements for each of these ingredients can be found in the detailed recipe card below, ensuring you have everything you need for a perfect batch of these beloved **homemade chocolate candies**.
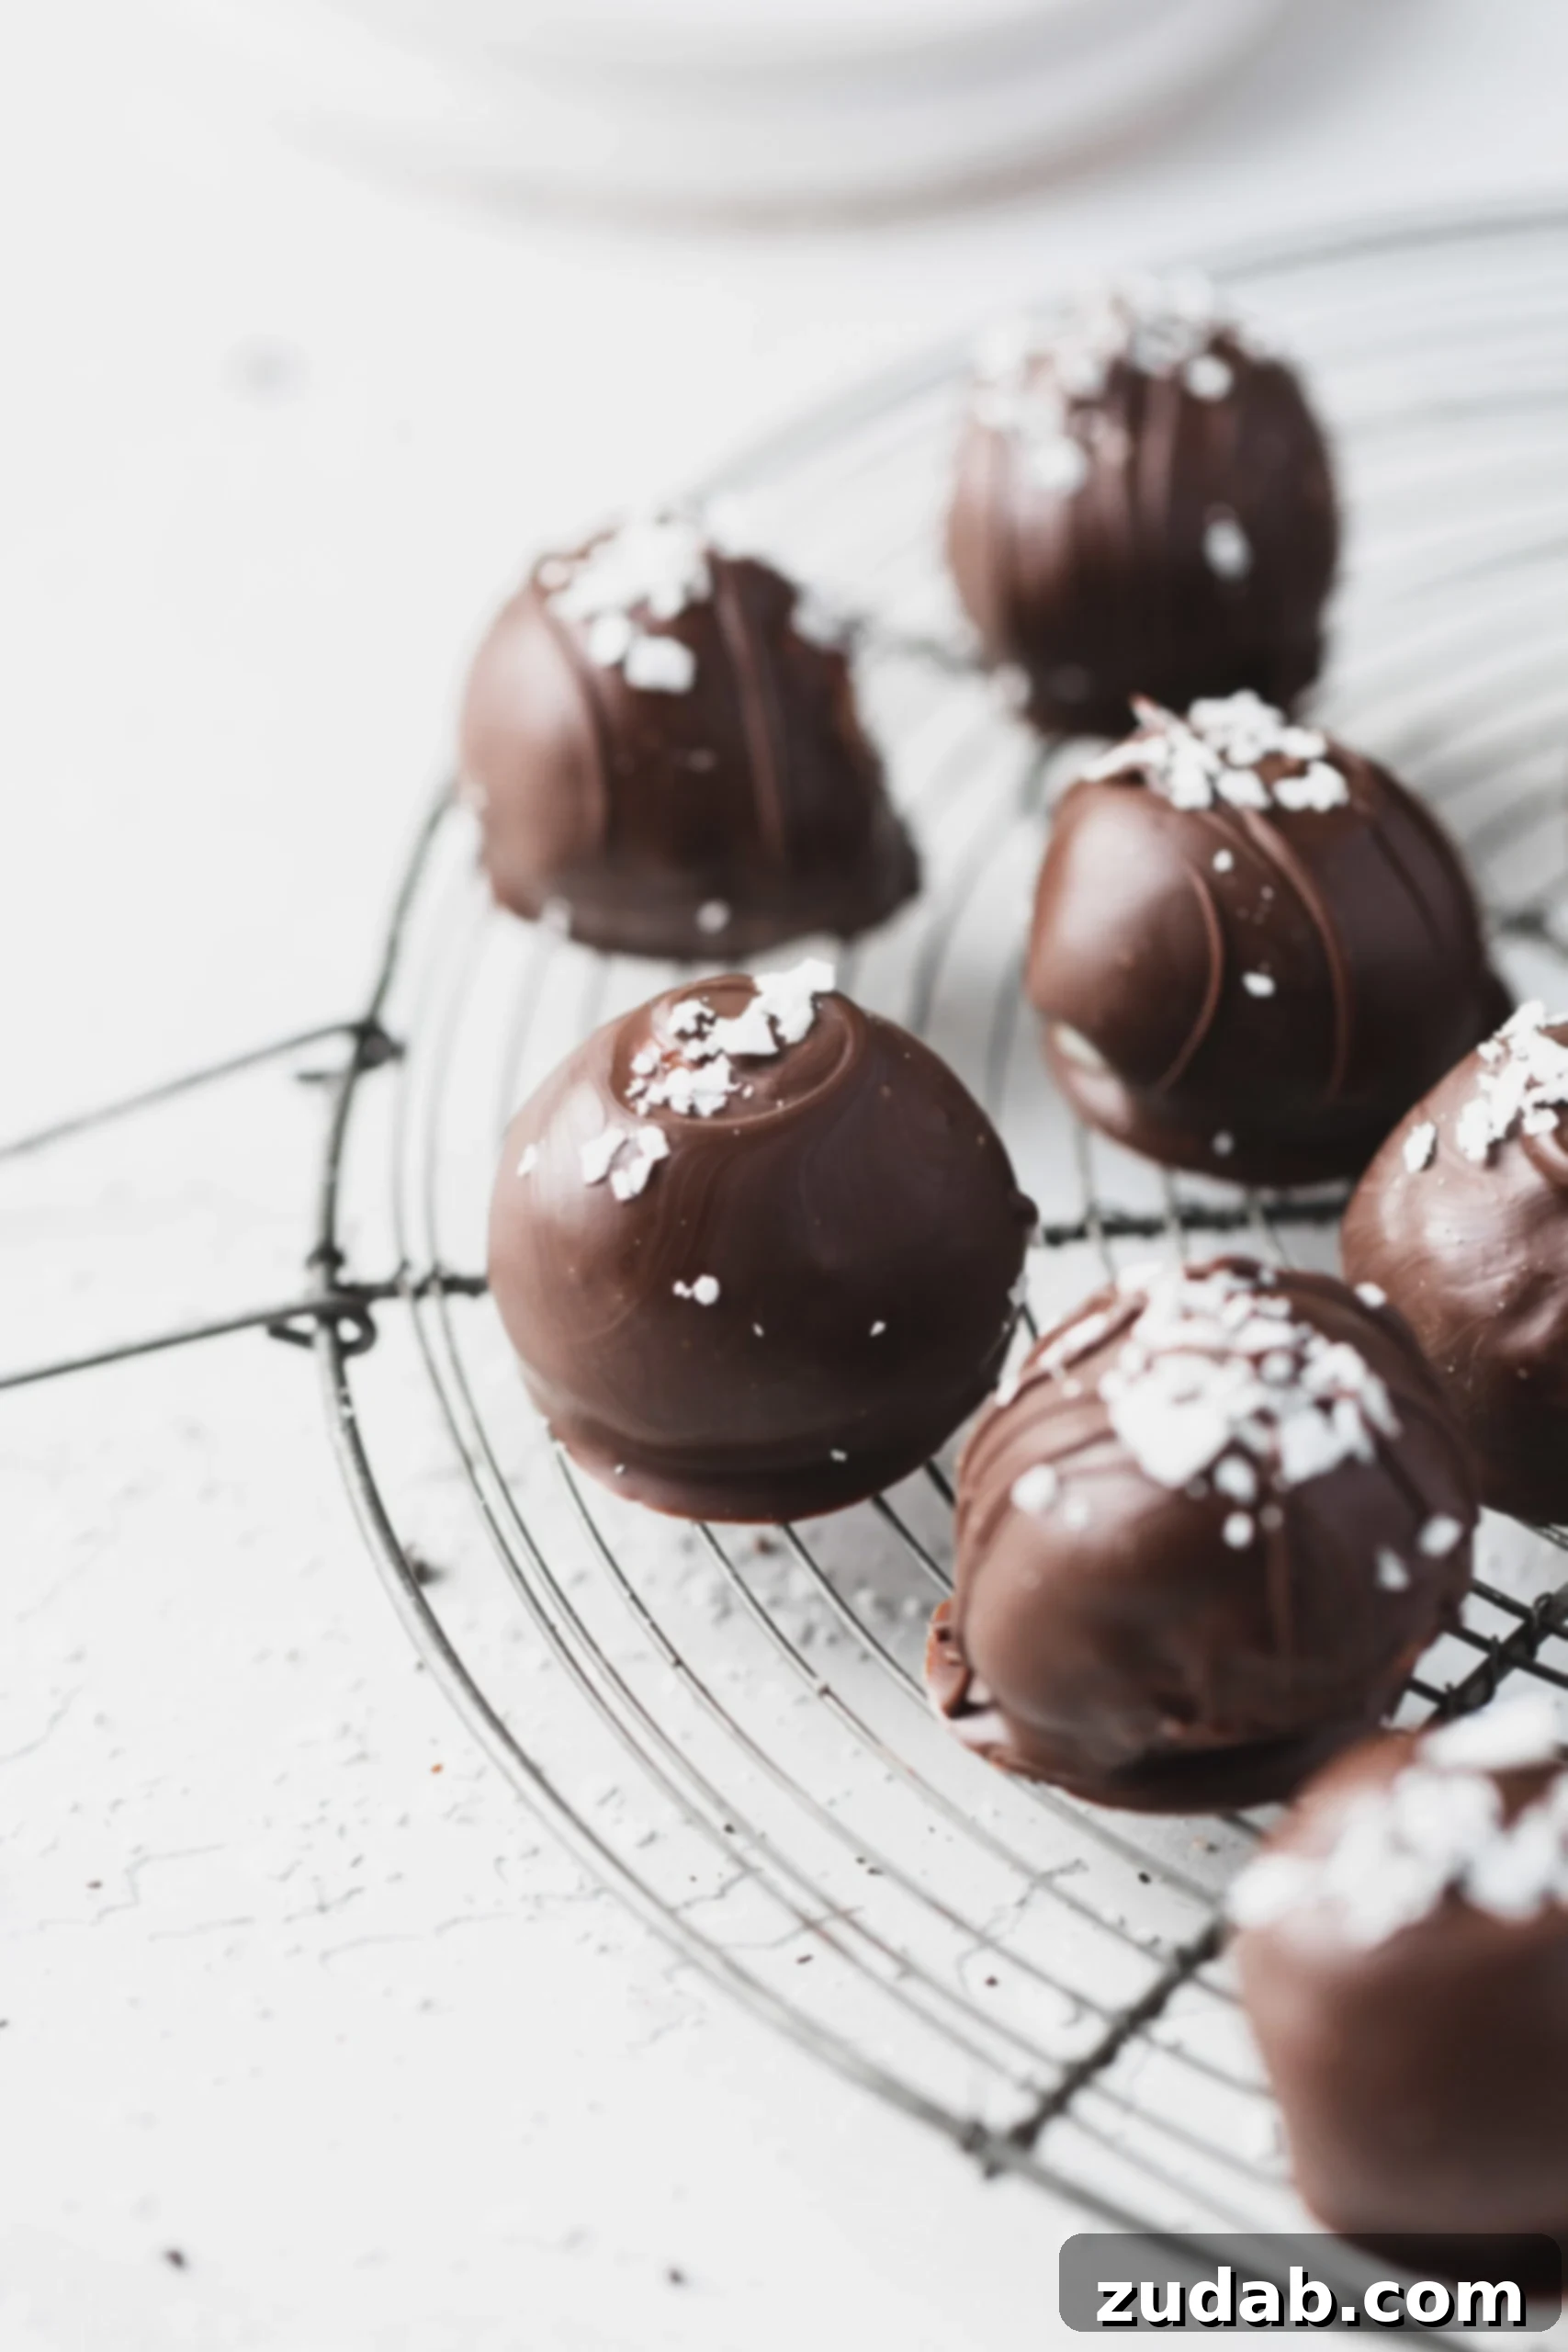
How to Make Delicious No-Bake Chocolate Covered Coconut Balls
Get ready to create some delightful memories in the kitchen! These **easy chocolate coconut balls** are a fantastic project for all ages, perfect for involving toddlers (with supervision, of course) or teenagers. The no-bake aspect makes them straightforward and fun, while the results are undeniably delicious. Let’s walk through the simple steps to create these luscious, homemade treats that are perfect for any occasion, especially as a **holiday candy**!
- Prepare the Coconut Mixture Foundation: In a large mixing bowl, combine the softened butter, fragrant vanilla extract, and powdered sugar. Using an electric hand mixer, cream these ingredients together until the mixture is light, fluffy, and completely smooth. This step is crucial for ensuring a uniform, tender texture in your coconut balls. Remember, room temperature butter is your best friend here; it creams beautifully and prevents any unsightly clumps.
- Incorporate the Sweetness and Texture: Next, add the sweetened condensed milk and the shredded coconut to your butter mixture. The condensed milk provides that characteristic gooey sweetness and binds everything together, while the coconut brings its unique flavor and delightful chewiness.
- Mix Thoroughly for Perfect Consistency: Continue mixing all the ingredients together until they are thoroughly combined. You’ll want a uniform, slightly sticky dough-like consistency. Make sure every strand of coconut is well coated in the creamy base.
- Roll into Uniform Balls: Now for the fun part! Take small portions of the coconut mixture and roll them into neat, bite-sized balls. To keep the size consistent and ensure even cooking (or in this case, even freezing and dipping), a small cookie scoop works wonders. The mixture will be sticky, so a helpful pro tip is to lightly dust your hands with powdered sugar. This prevents sticking and makes the rolling process much smoother and more enjoyable.
- Chill to Perfection: Arrange your freshly rolled coconut balls onto a baking sheet lined with parchment paper. This prevents them from sticking to the tray and makes for easy removal later. Once arranged, place the baking sheet into the freezer for at least two hours. For best results, and to ensure they hold their shape perfectly during dipping, you can even leave them in the freezer overnight. This firm chilling is essential for easy handling and a smooth chocolate coating.
- Melt the Chocolate Coating: When your coconut balls are thoroughly chilled, it’s time to prepare the chocolate coating. Place your chocolate almond bark (or chosen dipping chocolate) into a microwave-safe bowl. Microwave for one minute, then remove and stir thoroughly. Continue heating in 30-second intervals, stirring after each, until the chocolate is completely melted and beautifully smooth. Be careful not to overheat, as this can cause the chocolate to seize.
- Dip and Coat: Carefully take a frozen coconut ball and dip it into the melted chocolate, ensuring it’s fully coated. You can use a fork, or for even more precision, specialized chocolate dipping tools are incredibly useful. Gently tap off any excess chocolate, then place the chocolate-covered ball back onto your parchment-lined baking sheet.
- Allow to Set: Let the chocolate-covered coconut balls sit at room temperature until the chocolate has fully set and hardened. This usually takes a little while, but the chilling of the coconut center helps speed up the process. Once set, transfer them to an airtight container for storage.
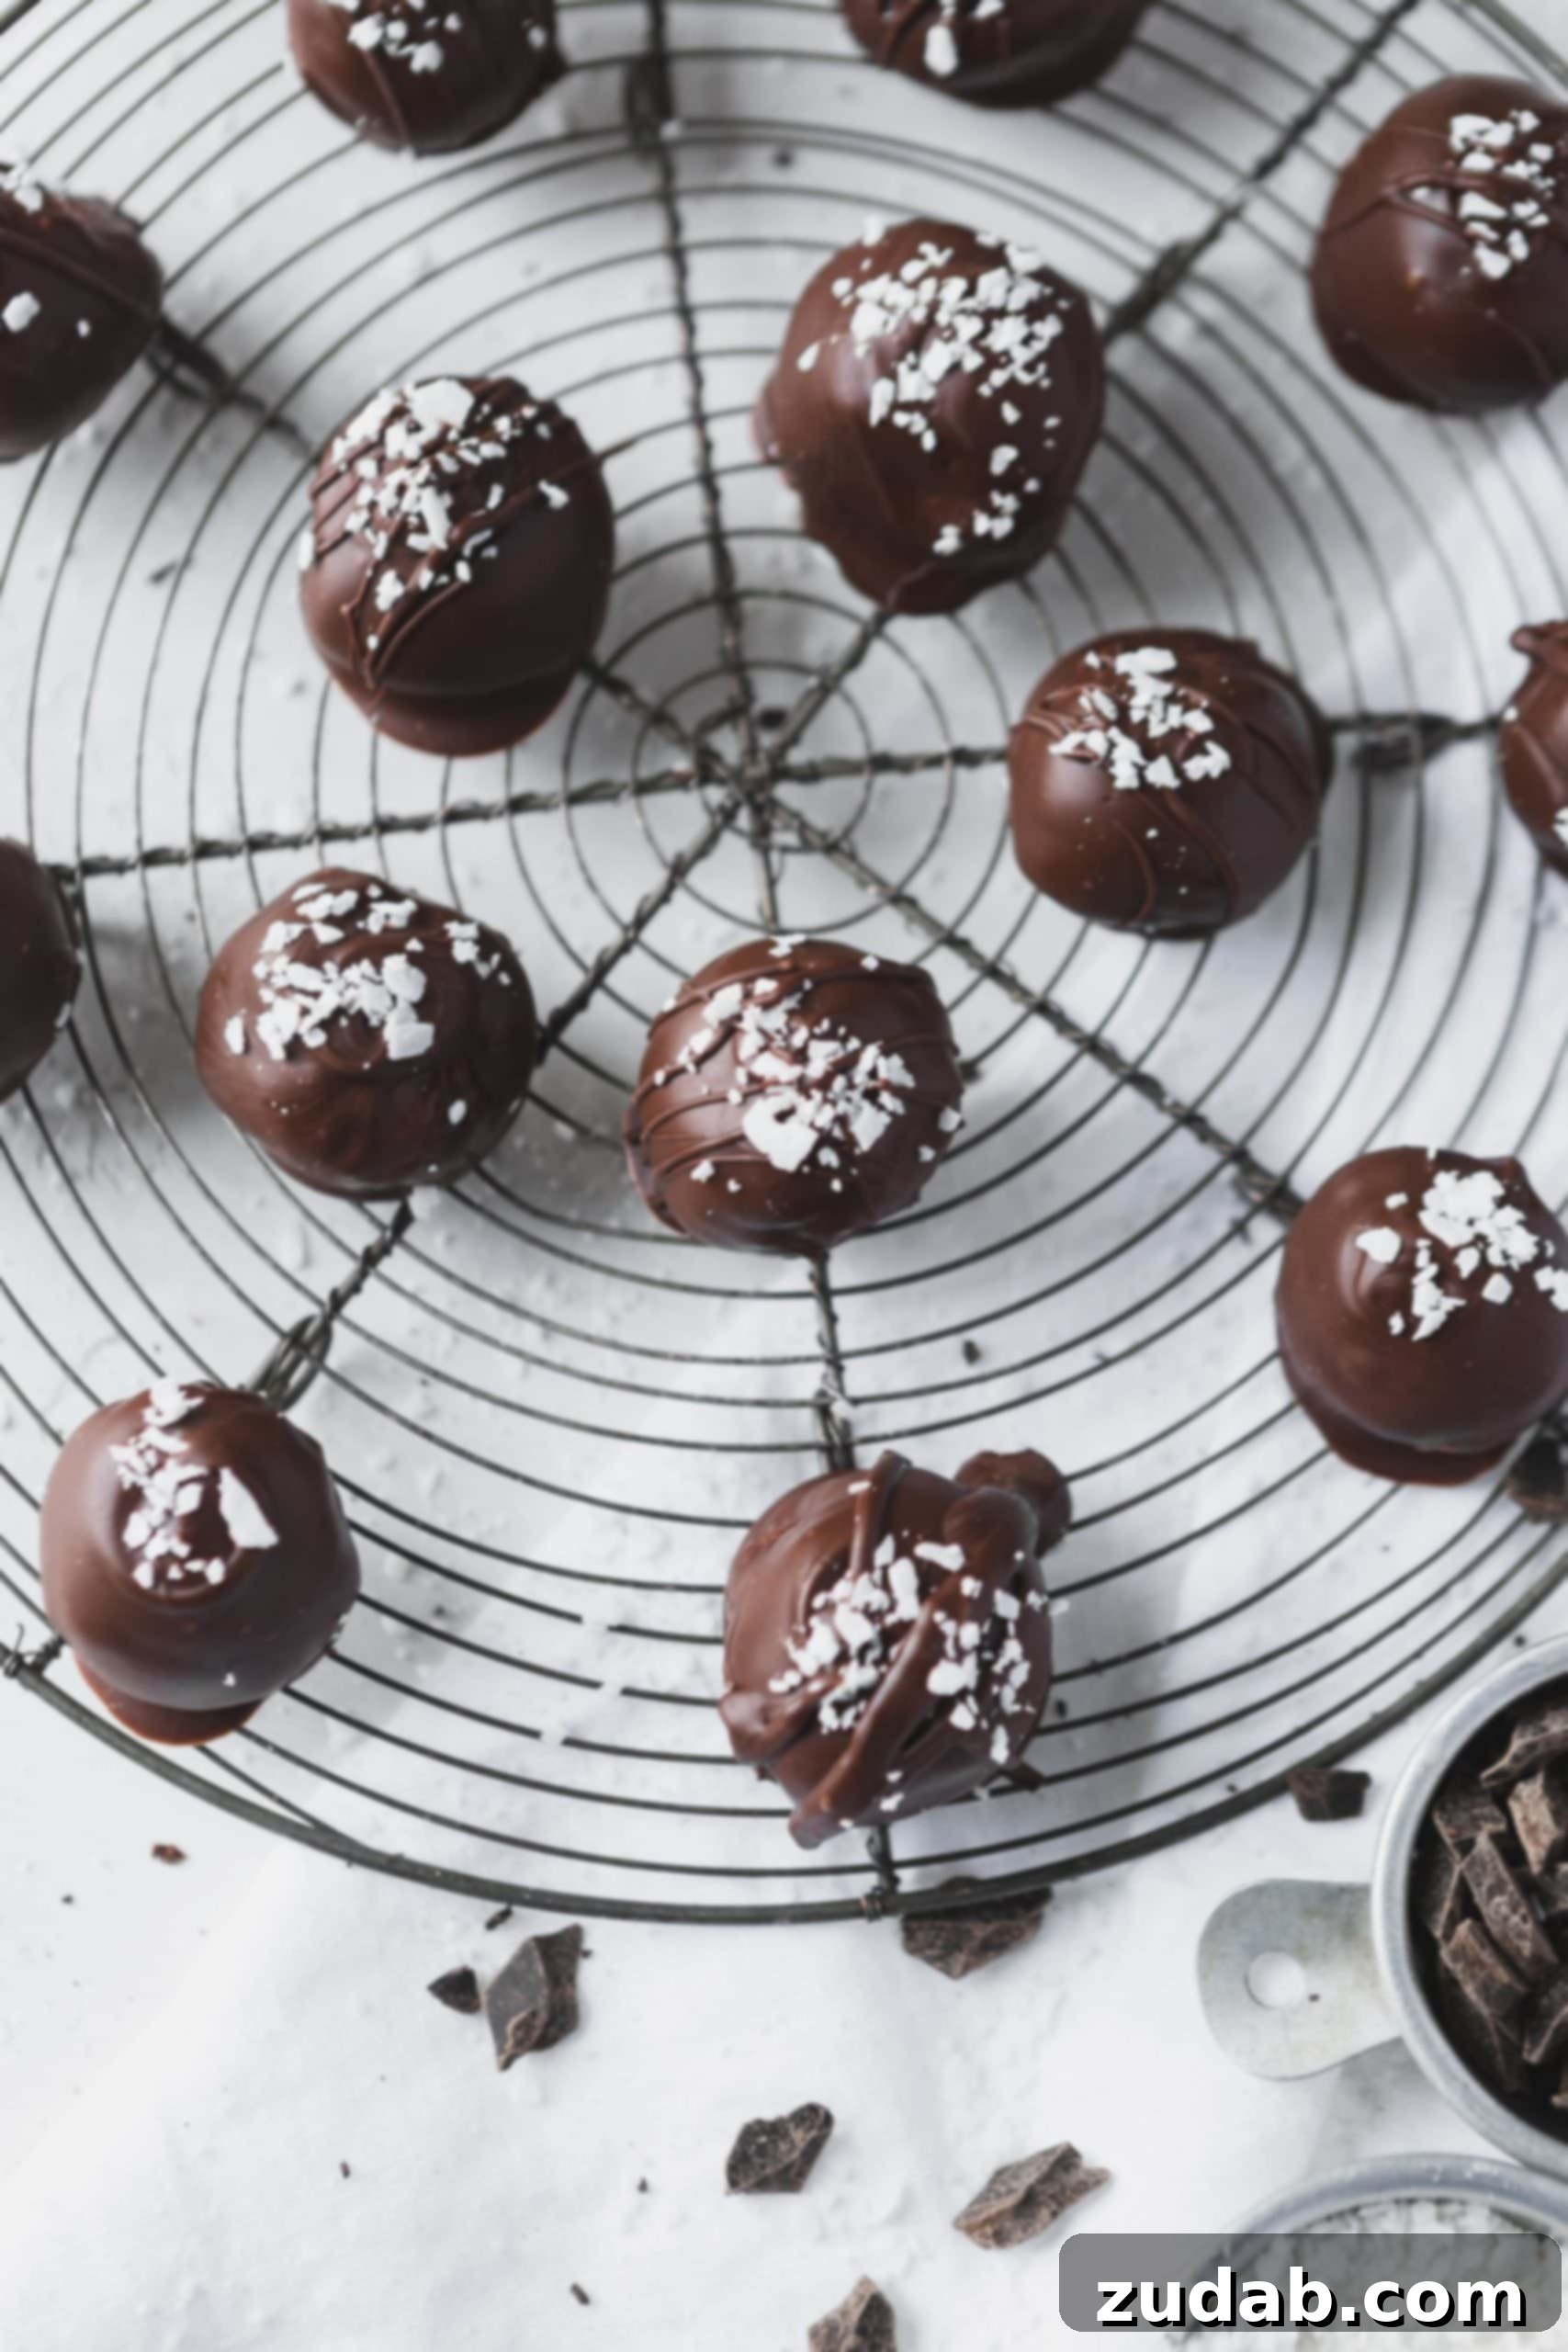
- Optional Garnishes: For an extra touch of visual appeal and flavor, sprinkle a little shredded coconut, finely chopped nuts, or festive sprinkles on top of the wet chocolate before it sets. This adds a lovely finish and can customize your **homemade candy** to match any occasion!
All these steps are also conveniently listed in the comprehensive recipe card below, along with precise measurements, for your easy reference.
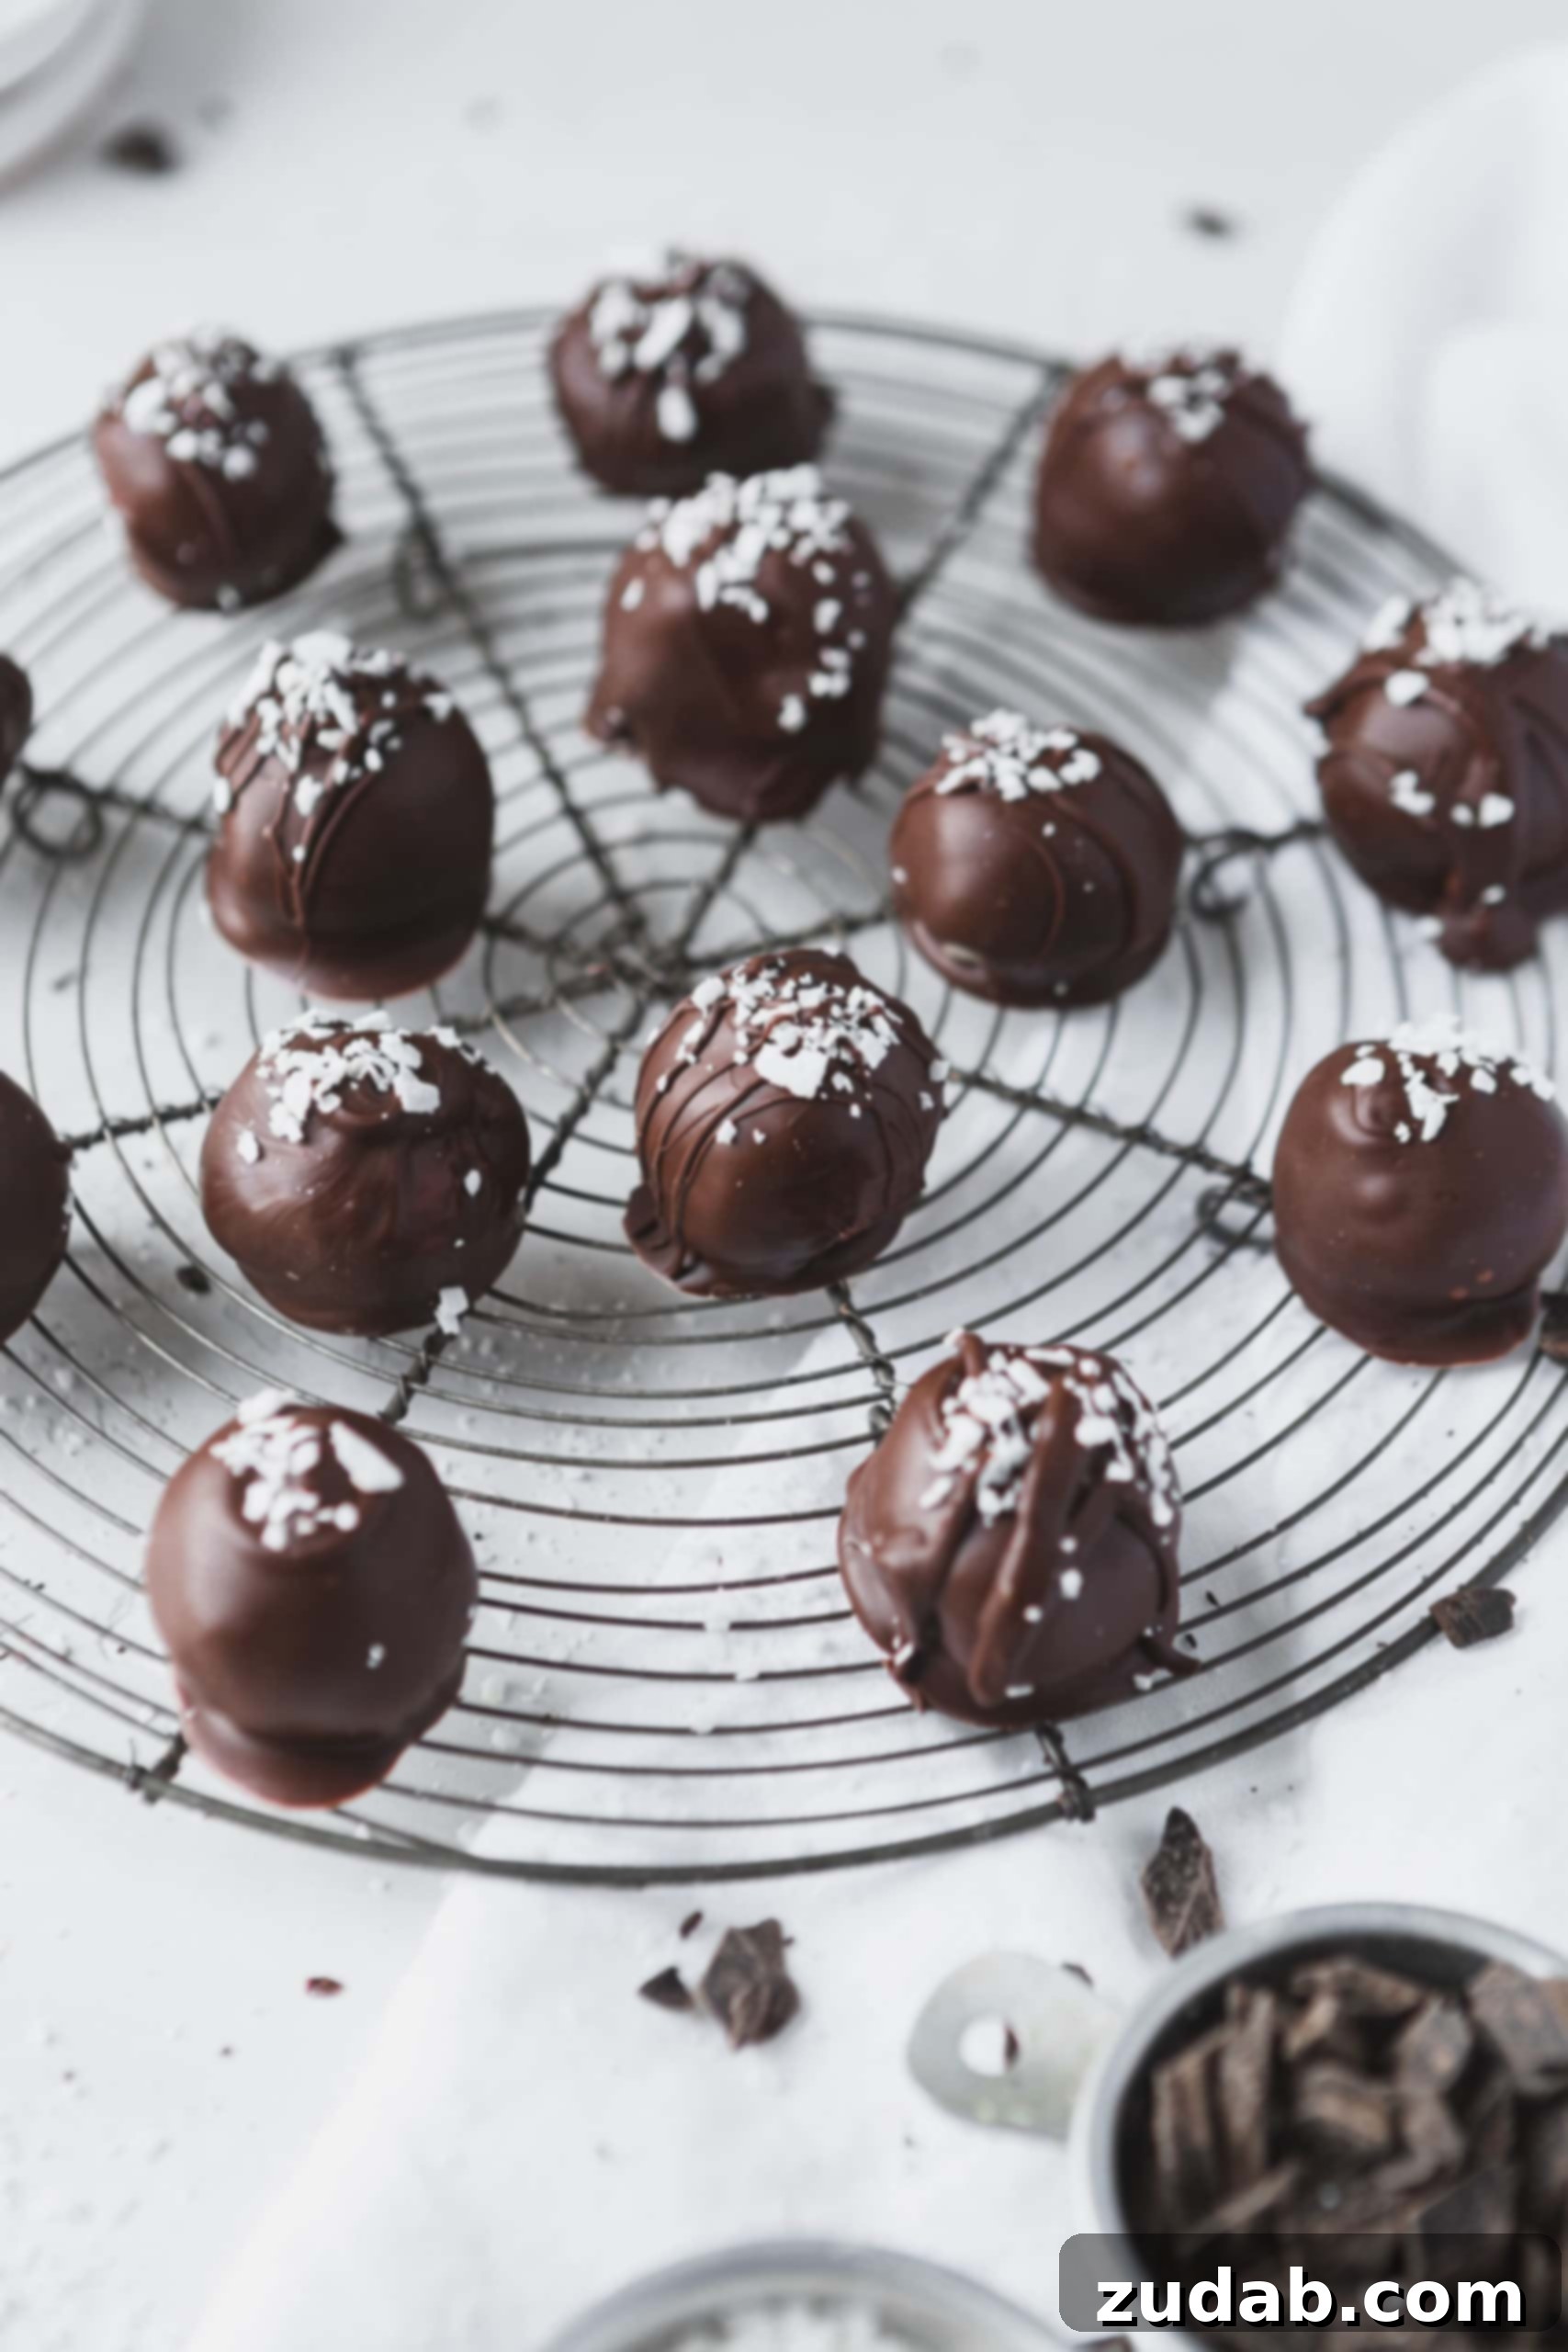
Frequently Asked Questions About Chocolate Covered Coconut Balls
Can You Use Chocolate Chips For Dipping These No-Bake Coconut Treats?
Absolutely, you can use chocolate chips for dipping your **chocolate coconut balls**, but there’s a small but important trick to ensure a smooth, dippable consistency. Unlike almond bark or candy melts, which are formulated for easy melting and setting, regular chocolate chips can be a bit too thick when melted, making them difficult to work with for dipping. To achieve the perfect fluidity and a nice, even coating, you should add about 1 tablespoon of shortening (like Crisco) for every 6 ounces of chocolate chips. The shortening helps thin out the melted chocolate and prevents it from seizing, resulting in a beautiful, glossy finish on your **homemade candy**. This simple addition makes all the difference for perfect dipping results!
How Long Will Homemade Dipped Chocolates Keep Fresh?
When stored properly, these delicious **homemade chocolate covered coconut balls** have an impressive shelf life! If kept in a cool, dark place within an airtight container, your homemade chocolates can remain fresh and enjoyable for a month or even longer. The key is to protect them from heat, light, and air, which can cause the chocolate to bloom (develop a whitish film) or the coconut filling to dry out. Keeping them in a cool environment helps maintain their texture and prevents the chocolate from becoming soft or sticky. This makes them an excellent make-ahead treat for holiday gatherings or to simply enjoy over an extended period.
Should Chocolate Covered Coconut Balls Be Stored In The Refrigerator?
While it might seem intuitive to store chocolates in the refrigerator to keep them cool, it’s generally not recommended for these **chocolate covered coconut balls** or most other homemade chocolates. The refrigerator environment can actually be detrimental to the chocolate’s quality and appearance. Fluctuations in temperature can cause “sugar bloom,” where moisture from condensation draws sugar to the surface, resulting in a gritty, dull, or streaky finish. Additionally, chocolate can absorb odors from other foods in the fridge, affecting its delicate flavor.
For optimal freshness, texture, and appearance, **chocolate covered coconut balls** should always be stored in an airtight container in a cool, dry, and dark location. A pantry shelf or a cool cupboard away from direct sunlight and heat sources is ideal. This ensures the chocolate remains smooth and glossy, and the coconut filling stays moist and flavorful, just as intended. If your home is particularly warm, and you have no other cool storage options, refrigerating might be a last resort, but always ensure they are in an extremely well-sealed container to minimize moisture and odor absorption, and bring them to room temperature before serving for the best taste experience.
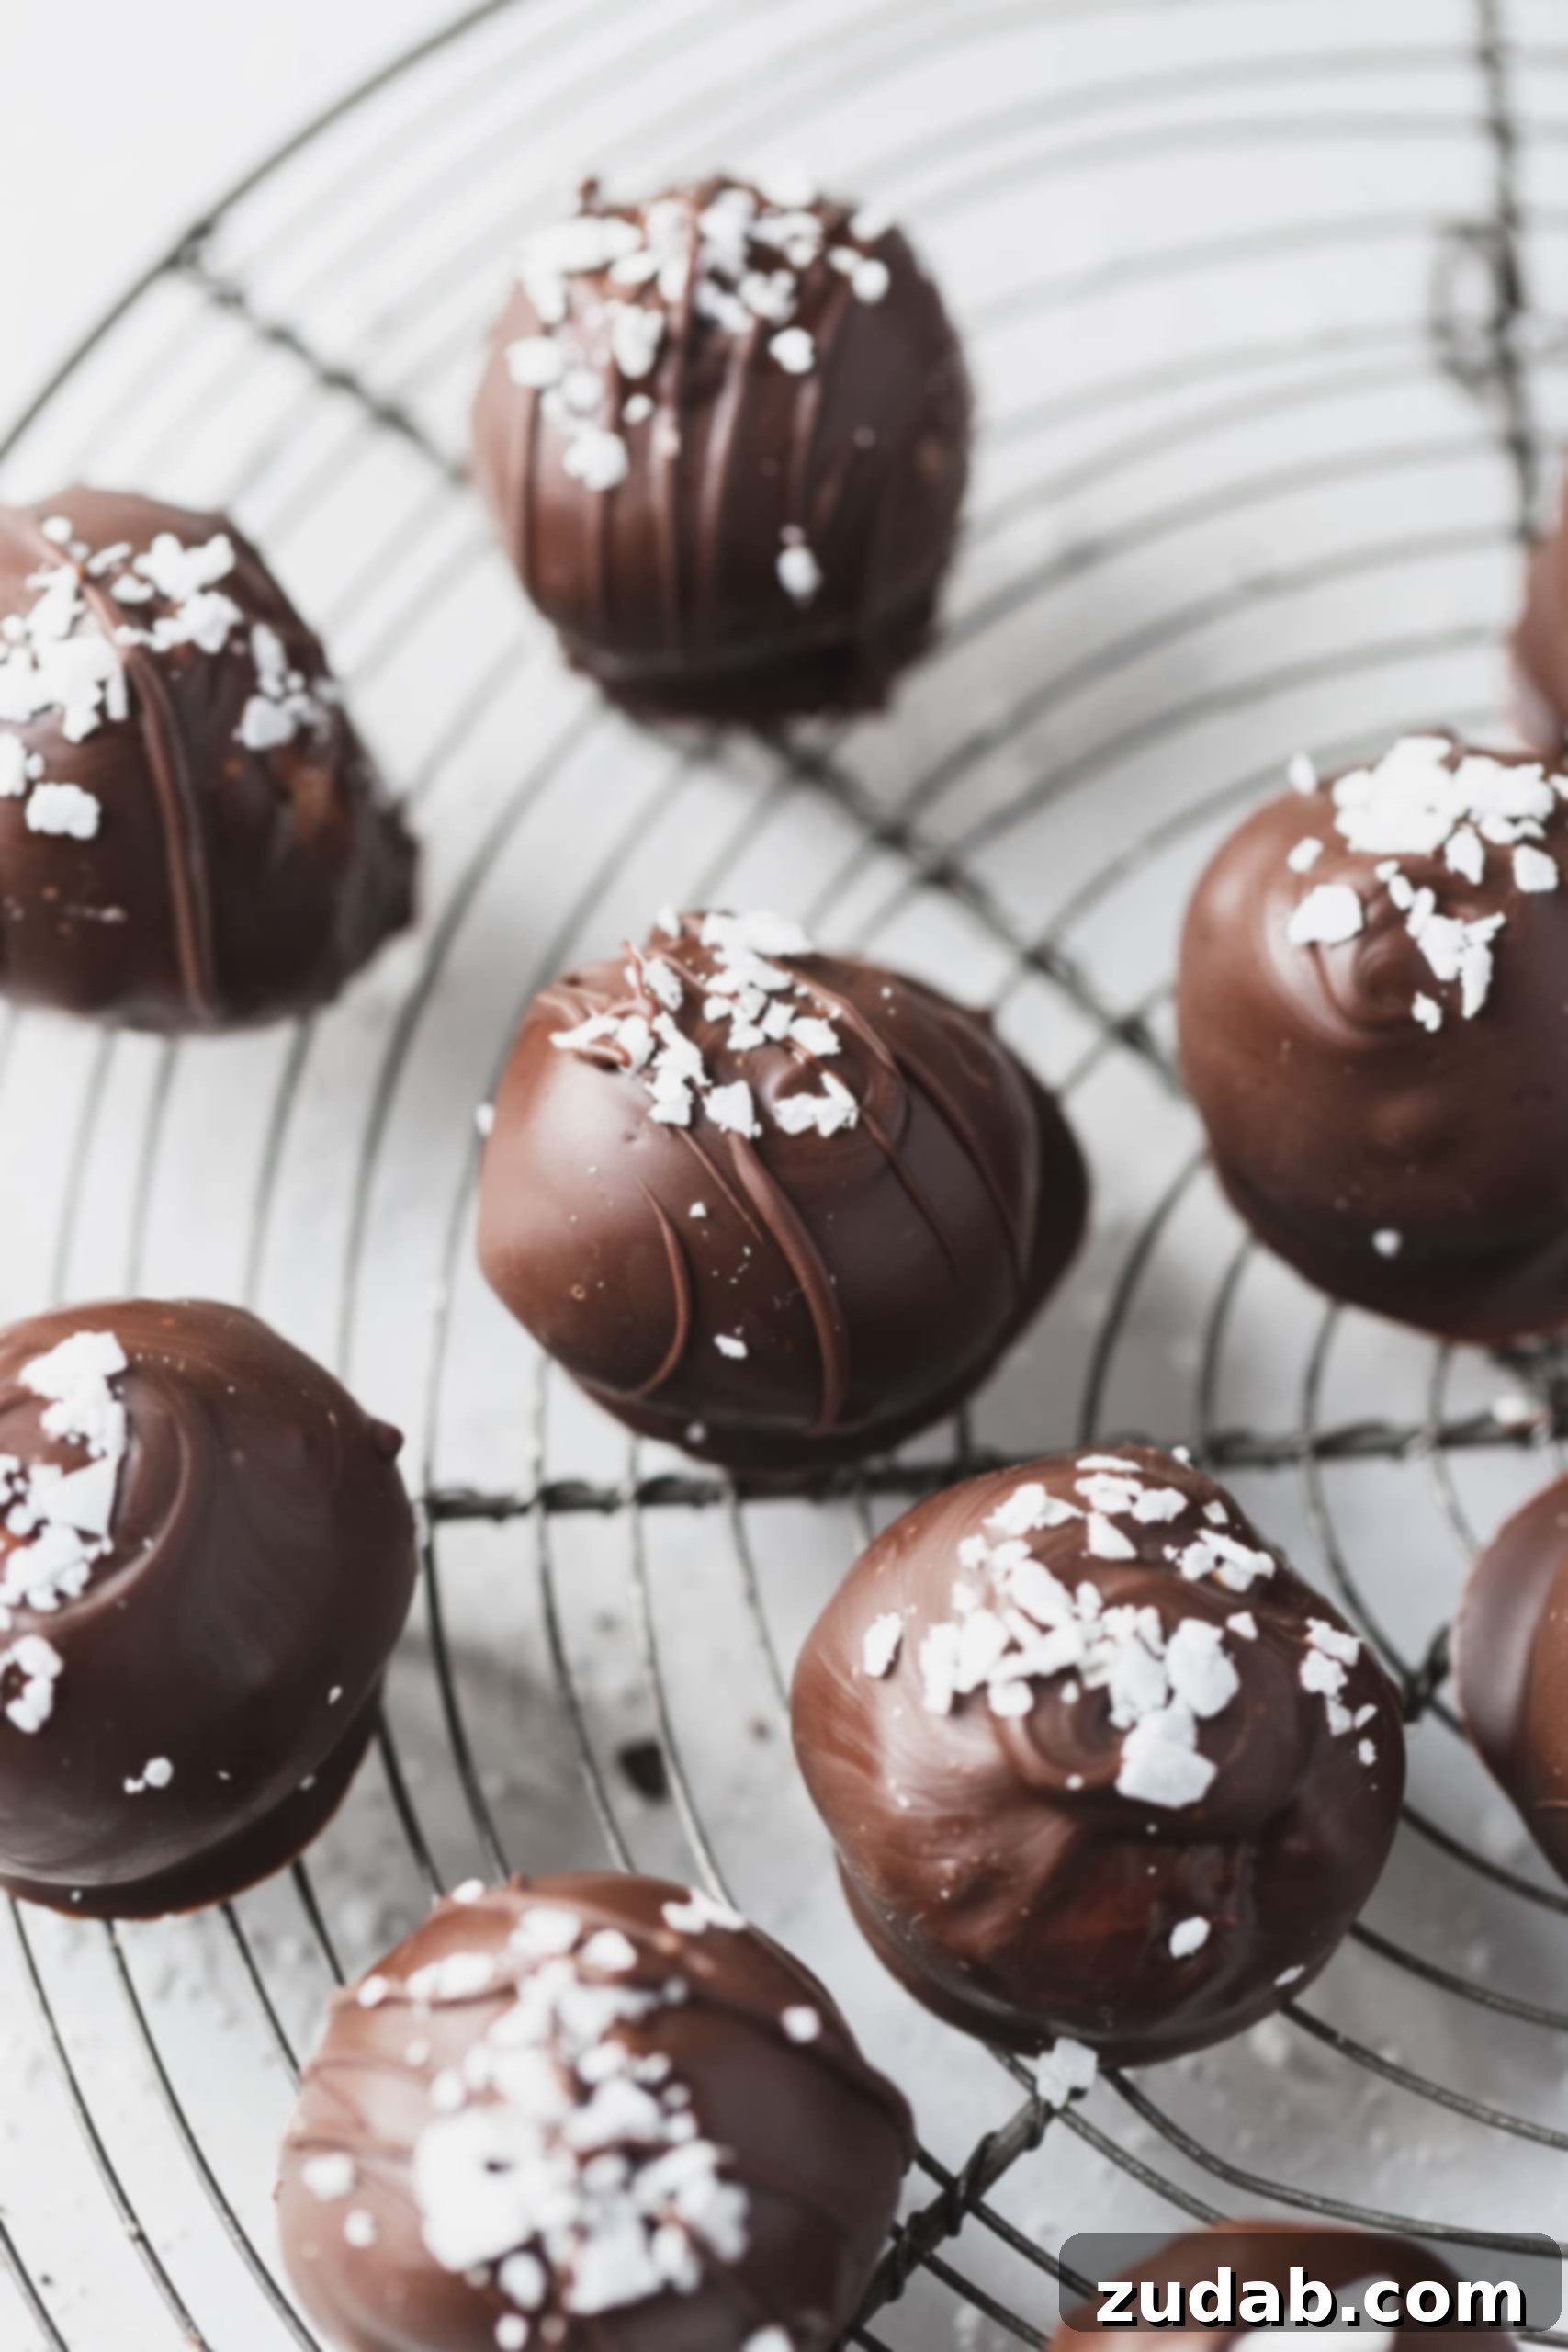
Possible Variations to Customize Your Chocolate Covered Coconut Balls
One of the best things about these **no-bake chocolate coconut treats** is how incredibly versatile they are! While the classic recipe is divine, there are many ways to customize them to your personal taste or to suit a specific occasion. Don’t hesitate to experiment and make these delightful **homemade candies** truly your own:
- Chocolate Type: We often prefer rich **dark chocolate** for our coconut balls, as its slight bitterness beautifully complements the sweet coconut filling. However, feel free to use creamy **milk chocolate** for a sweeter, more traditional candy flavor. For a truly decadent experience, why not make a batch of both? A mix of dark and milk chocolate-dipped balls offers a lovely variety and caters to all preferences. You could even use white chocolate for a different aesthetic and flavor profile, perhaps adding a touch of food coloring for a festive touch.
- Nutty Surprises: To mimic the beloved Almond Joy candy bar, simply stick a **whole almond** on top of each coconut ball before the chocolate sets. The crunch of the almond adds a fantastic textural contrast to the soft coconut. You could also mix finely chopped almonds or other nuts (like pecans or walnuts) directly into the coconut mixture for an added layer of flavor and crunch throughout.
- Enhanced Coconut Flavor: If you’re a true coconut enthusiast and crave an even more intense tropical flavor, consider adding a half teaspoon of **coconut extract** to the coconut mixture along with the vanilla. This will deepen the natural coconut notes, making each bite even more aromatic and satisfying.
- Citrus Zest: For a bright, refreshing twist, incorporate a teaspoon of finely grated lemon or orange zest into the coconut mixture. The citrus notes will cut through the sweetness and add a lovely tang.
- Spice It Up: During the holidays, a pinch of cinnamon or nutmeg in the coconut filling can add a wonderfully warm, festive spice.
- Decorative Toppings: Beyond simple shredded coconut, get creative with your garnishes! Sprinkle with colorful **sprinkles** for a celebratory look, or a delicate dusting of cocoa powder for a sophisticated finish. A touch of sea salt flakes sprinkled over the wet chocolate can also enhance the chocolate’s flavor and add a trendy gourmet touch. Chopped candy canes for Christmas, or a drizzle of contrasting white chocolate, are also fun options.
The beauty of these **easy chocolate covered coconut treats** lies in their adaptability. You can truly make them just how you like them, ensuring every bite is a personalized delight. So, put on some festive Christmas music, turn on the twinkling lights of your Christmas tree, and gather your loved ones in the kitchen. Create cherished memories together as you craft these delightful **chocolate covered coconut balls**! One day, your children will look back on these sweet moments with as much love and nostalgia as I do now, and these simple candies will become a treasured part of your family’s story.
More Delicious Candy Recipes You’ll Love:
If you’ve enjoyed making these delightful chocolate covered coconut balls, you’re in for a treat with our other homemade candy recipes. Perfect for holidays, gifting, or simply satisfying your sweet tooth, these recipes are designed to bring joy and deliciousness to your kitchen:
- Classic Chocolate Fudge
- Irresistible Oreo Peanut Butter Truffles
- Festive White Chocolate Peppermint Cream Cheese Mints
- Sweet and Salty Salted Caramel Pretzel Snaps
- Decadent Red Velvet Truffles
- Rich Salted Milk Chocolate Homemade Caramels
- Chunky Rocky Road Fudge
- Quick 6 Minute Microwave Caramels
- Addictive Twix Ritz Bites
- Classic Chocolate Peanut Butter Truffles
- Explore all our delightful CANDY RECIPES here for endless inspiration!
Chocolate Covered Coconut Balls
By Sweet Basil
Prep Time: 2 hours 10 mins
Total Time: 2 hours 40 mins
Servings: 48 balls

Chocolate covered coconut balls are a delightful no-bake recipe from childhood, perfect for holiday gifting or a sweet indulgence. This easy candy brings back nostalgic memories and creates new ones.
Ingredients
- 1 Cup Butter (2 sticks), at room temperature
- 1/2 teaspoon Vanilla Extract
- 2 ¼ Pounds Powdered Sugar (Confectioners’ Sugar)
- 1 Can Sweetened Condensed Milk (14oz)
- 1 Bag Sweetened Shredded Coconut (14oz)
- 1 Package Chocolate Almond Bark, or Hershey’s Chocolate for dipping, or high-quality dipping chocolate
Instructions
- In a large bowl, cream together the softened butter, vanilla extract, and powdered sugar until smooth and fluffy using an electric hand mixer.
- Add the sweetened condensed milk and the shredded coconut to the mixture.
- Mix all ingredients thoroughly until well combined and a cohesive, sticky coconut mixture forms.
- Roll the mixture into bite-sized balls. For consistent size, use a small cookie scoop. If the mixture is too sticky, dust your hands with powdered sugar to prevent sticking.
- Place the rolled coconut balls onto a baking sheet lined with parchment paper. Freeze for at least 2 hours, or up to overnight, until firm.
- Once the coconut balls are frozen, melt the chocolate coating. Place the almond bark or dipping chocolate in a microwave-safe bowl. Microwave for 1 minute, then stir. Continue heating in 30-second intervals, stirring thoroughly after each, until the chocolate is completely melted and smooth.
- Dip each frozen coconut ball into the melted chocolate, ensuring it’s fully coated. Use a fork or chocolate dipping tools to lift and allow excess chocolate to drip off.
- Place the chocolate-dipped coconut balls back onto the parchment-lined baking sheet. Allow the chocolate to set completely at room temperature.
- Once the chocolate has set, transfer the chocolate covered coconut balls to an airtight container and store in a cool, dry place.
Recipe Notes
- The coconut filling will be sticky when rolling. You may refrigerate it for a short period before rolling, or simply dust your hands with powdered sugar to make handling easier.
- These chocolate covered coconut balls can be stored in an airtight container in a cool, dark place for 1-2 months. Avoid refrigeration, as it can affect the chocolate’s texture and appearance.
Nutrition
- Serving: 1 ball
- Calories: 110kcal
- Carbohydrates: 26g
- Protein: 1g
- Fat: 1g
- Saturated Fat: 1g
- Cholesterol: 3mg
- Sodium: 11mg
- Potassium: 31mg
- Sugar: 25g
- Vitamin A: 22IU
- Vitamin C: 1mg
- Calcium: 24mg
- Iron: 1mg
Nutrition information is an approximation and can vary based on specific ingredients and preparation methods.
REMEMBER TO SUBSCRIBE TO our FREE Oh Sweet Basil NEWSLETTER AND RECEIVE EASY RECIPES DELIVERED INTO YOUR INBOX EVERY DAY! Don’t miss out on more delightful **homemade candy recipes** and family favorites.
When you try a recipe, please use the hashtag #ohsweetbasil on INSTAGRAM for a chance to be featured in our stories! FOLLOW OH, SWEET BASIL ON FACEBOOK | INSTAGRAM | PINTEREST | TWITTER FOR ALL OF OUR LATEST CONTENT, RECIPES AND STORIES. We love connecting with our community and seeing your delicious creations!