
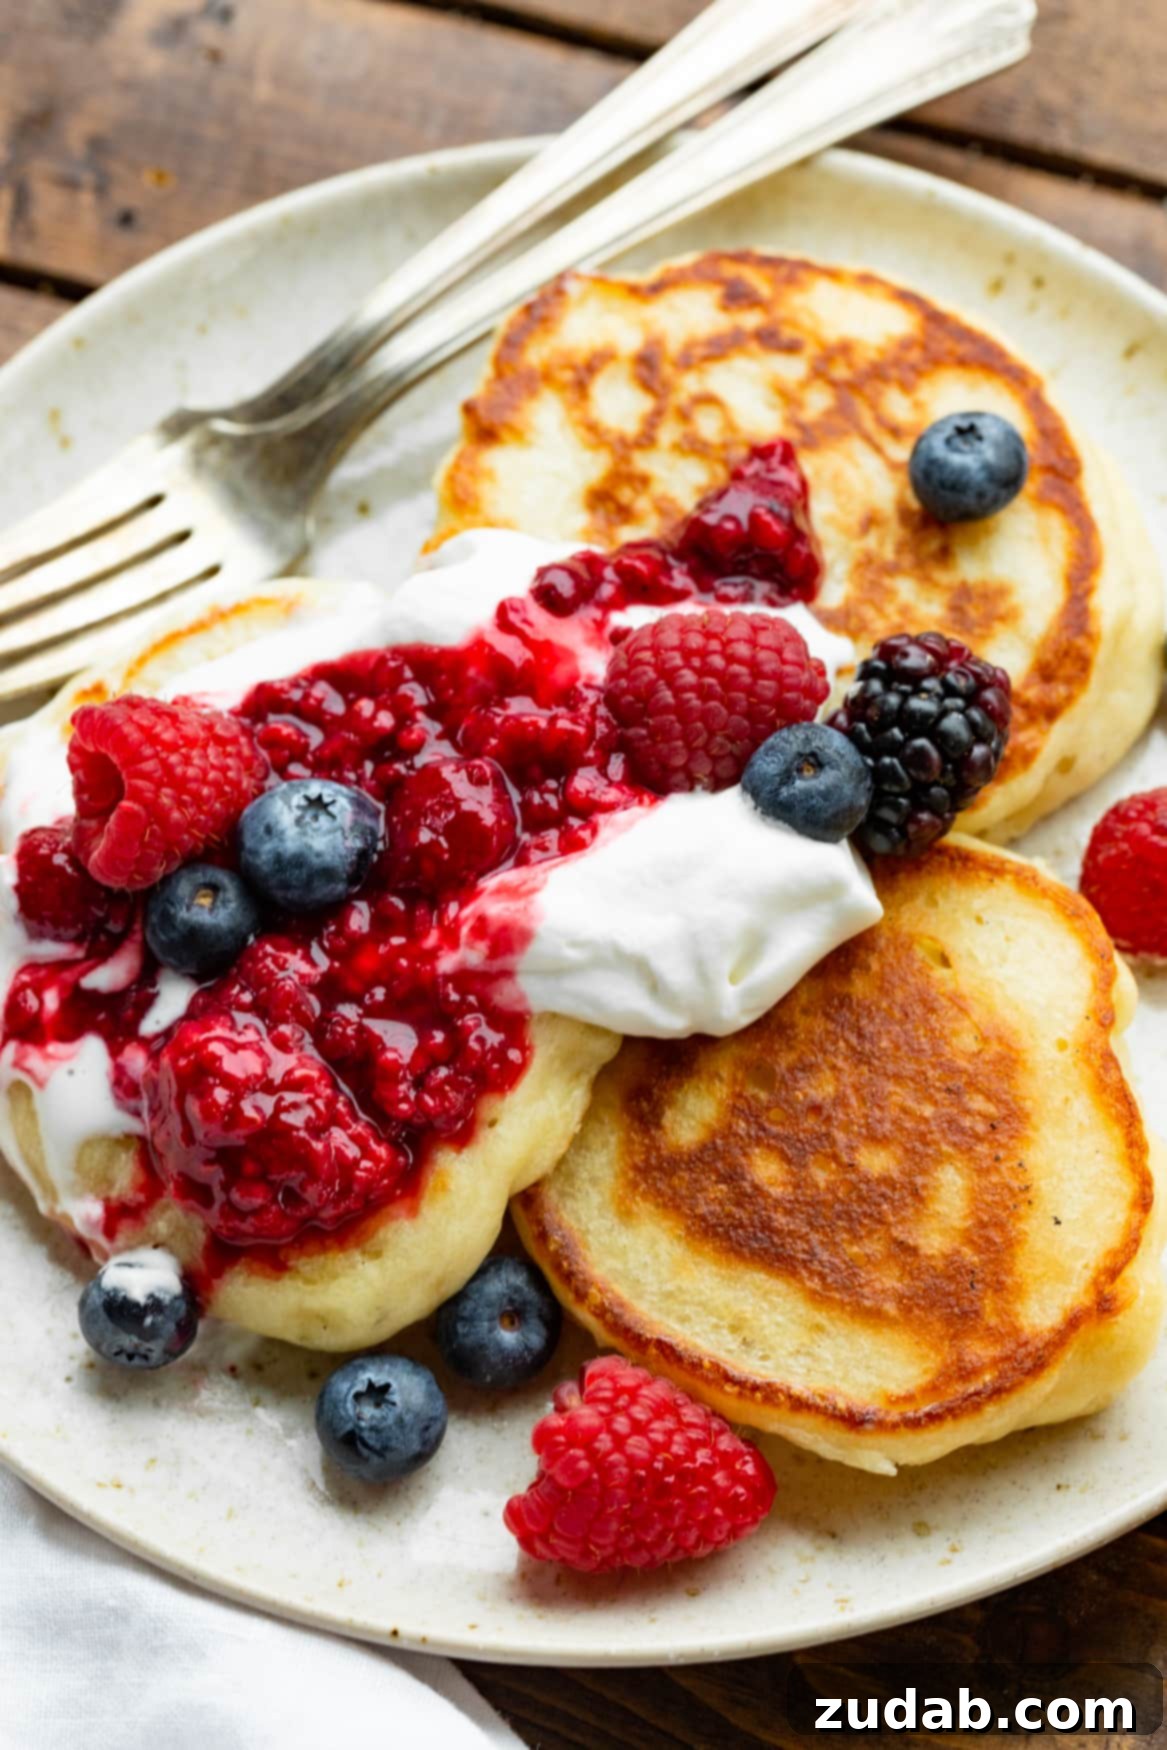
Prepare to be enchanted by a truly special breakfast delight: fluffy **Ukrainian pancakes**, traditionally known as **Oladi**. These irresistible treats boast a delightful contrast – irresistibly crispy golden edges that give way to a soft, tender, and utterly delicious interior. But here’s the exciting twist: unlike your typical American flapjacks, these pancakes are made with **yeast**! Don’t let the mention of yeast intimidate you, though. This recipe is surprisingly straightforward, proving to be as simple to whip up as your favorite **quick bread**. In fact, since discovering their unique charm and comforting flavor, Oladi have quickly ascended to become my absolute new favorite **breakfast recipe**!
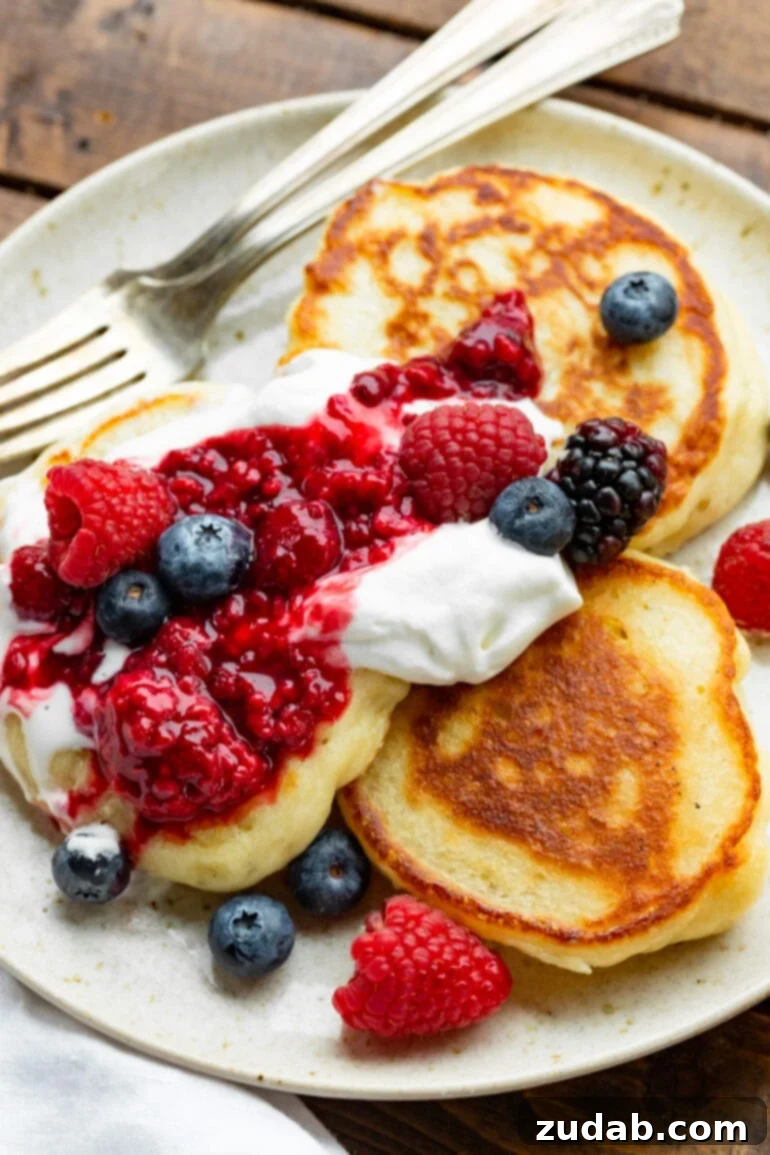
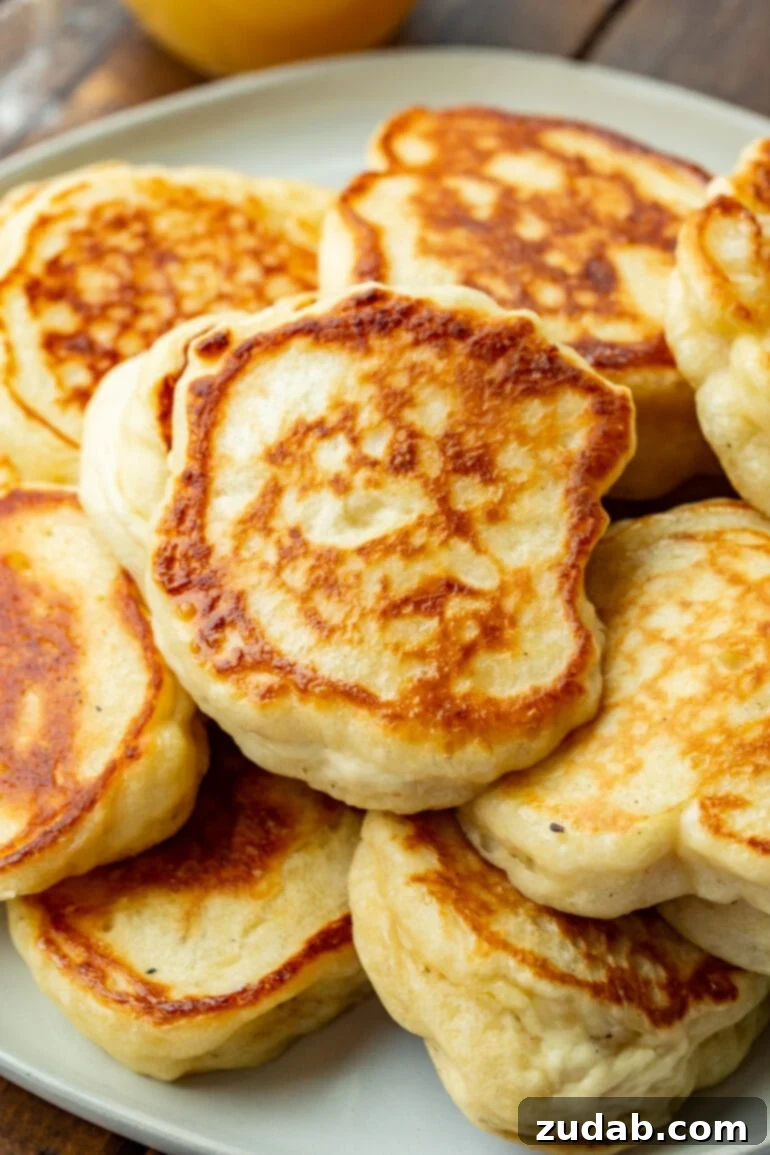
While our beloved buttermilk pancake recipe remains a perennial favorite on the blog, cherished for its melt-in-your-mouth texture, these Ukrainian pancakes offer an entirely different, captivating experience. They’ve genuinely stolen my heart and completely captivated my tastebuds with their distinctive character. These yeasted pancakes are cooked with a slightly more generous amount of oil compared to standard American pancakes, a technique that allows them to develop those signature almost-fried, incredibly crispy edges. The subtle, slightly tangy hint of sourdough from the yeast adds an unparalleled depth of flavor. Picture this: a golden-brown exterior, almost like a delicate fritter, giving way to a wonderfully airy and pancake-like center. Seriously, where have these glorious Ukrainian pancakes been hiding all my life? My culinary journey now definitely includes a deeper exploration into more authentic **Ukrainian food** traditions!
Discovering Oladi: A Taste of Eastern European Tradition
What exactly is **Oladi**? This cherished dish refers to a type of small, thick pancake or fritter, deeply rooted in the culinary traditions of Ukraine and Russia. Unlike thin crepes, Oladi are designed to be plump and satisfying. Traditionally, they are prepared using kefir, a fermented milk product made from unique kefir grains, which is a staple in many Eastern European households. Kefir lends a distinct tang and helps create the characteristic fluffy texture. For this particular recipe, we’ve opted for readily available buttermilk as a fantastic substitute, delivering a similar rich flavor and aiding in the pancakes’ beautiful rise. However, if you happen to have kefir on hand or wish to embrace the authentic touch, feel free to use it! These delightful pancakes are typically pan-fried to a golden perfection and are most commonly served with a dollop of cool sour cream and a spoonful of sweet fruit jam.
It’s important to distinguish Oladi from another famous Russian pancake, the much thinner blini. While both are delicious, blini are delicate, often paper-thin, and typically associated with savory toppings such as luxurious caviar, smoked salmon, or various meat fillings. Oladi, on the other hand, are thicker and softer. While they *can* certainly accommodate savory accompaniments, they shine brightest and are most frequently enjoyed as a **sweet breakfast** treat or a delightful snack, offering a comforting and wholesome experience.
How to Make Oladi Ukrainian Pancakes
Crafting these wonderful Ukrainian pancakes is a rewarding culinary adventure. While a step-by-step video can provide excellent visual guidance, the written instructions below will walk you through each stage to ensure your Oladi turn out perfectly fluffy and delicious.
Essential Ingredients for Your Ukrainian Pancakes
Hearing “Ukrainian pancakes” might conjure images of exotic ingredients, but I’m thrilled to share some fantastic news: this **pancake recipe** relies almost entirely on readily available **pantry staples**! Chances are, you already have most of what you need in your kitchen right now, making it easy to start whipping up a batch of these delectable Oladi without a special grocery run. Here’s a comprehensive look at the simple ingredients you’ll need and the vital role each plays:
- Water: Warm water is absolutely crucial for activating the **instant yeast**. It creates the ideal environment for the yeast to “wake up” and begin its work, leading to a beautifully risen, fluffy batter. Ensure it’s warm, but not too hot, to avoid killing the yeast.
- Buttermilk: This ingredient is a cornerstone for both flavor and texture. Buttermilk adds a lovely tangy depth to the pancakes and reacts with the yeast to enhance their rise, resulting in an exceptionally tender crumb. If you don’t have buttermilk, you can easily make a substitute by adding a tablespoon of lemon juice or white vinegar to regular milk and letting it sit for 5-10 minutes.
- Egg: A large egg, ideally at room temperature, plays a significant role in binding all the ingredients together. It contributes to the richness of the batter, adds moisture, and helps create a more uniform structure, preventing the pancakes from crumbling.
- Extra-light Olive Oil: This oil serves a dual purpose. A small amount is incorporated into the pancake batter to add a touch of fat, which contributes to the pancakes’ tenderness and moistness. Additionally, a more generous amount is used for frying the pancakes in the pan, ensuring those coveted crispy edges. Vegetable oil or any neutral oil with a high smoke point makes an excellent substitute.
- Sugar: Just a touch of sugar is added to the batter. It’s not just for sweetness; sugar also feeds the yeast, helping it to activate and proof more effectively, which in turn contributes to the fluffy texture of the Oladi.
- Instant Yeast: This is the star ingredient that makes these pancakes exceptionally **fluffy** and gives them their unique, slightly sourdough-like character. Instant yeast doesn’t require proofing beforehand, making the process quick and easy, much like a quick bread.
- Fine Sea Salt: Salt is essential in almost any baking recipe. Here, it doesn’t just add seasoning; it expertly enhances and balances all the other flavors in the batter, making the Oladi taste incredibly rich and well-rounded.
- All-Purpose Flour: As the primary dry ingredient, all-purpose flour provides the necessary structure to the pancakes. It creates the framework that holds the air bubbles from the yeast, resulting in light and airy Oladi that hold their shape beautifully.
This overview provides insight into each ingredient’s purpose. For precise measurements and comprehensive preparation details, please refer to the detailed recipe card located at the conclusion of this article.
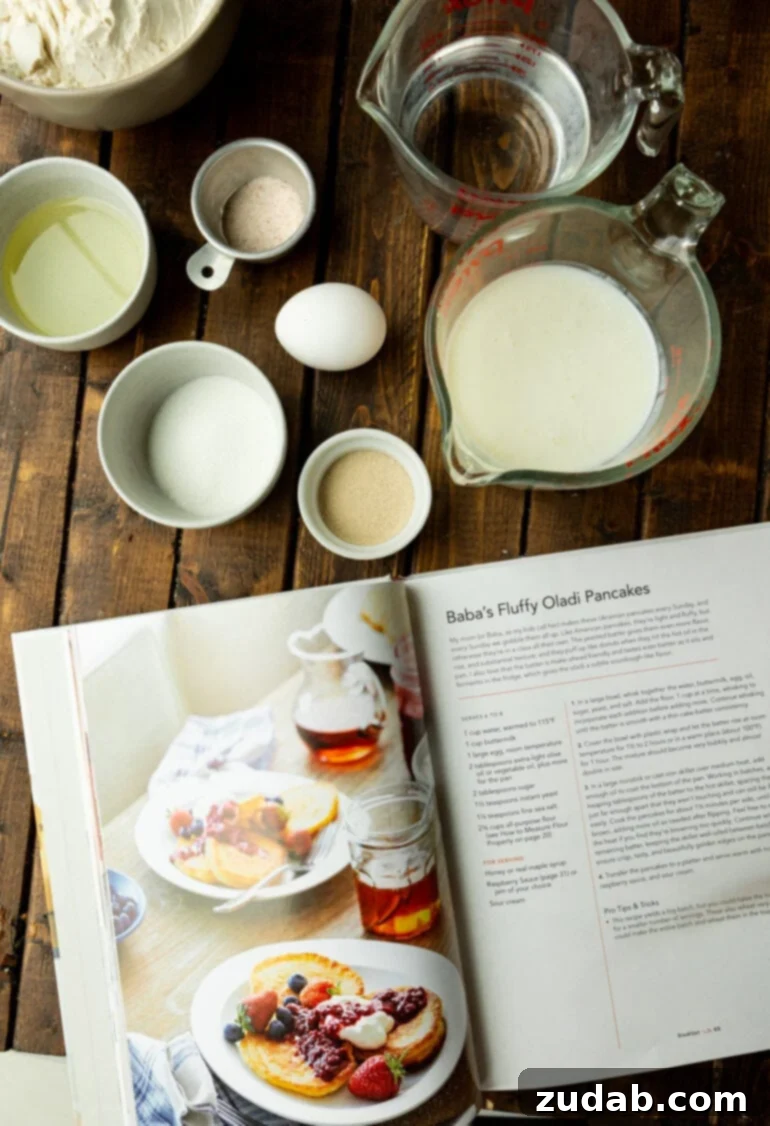
Inspired by Natasha’s Kitchen: A Cookbook for Authentic Home Cooking
My dear friend Natasha recently unveiled her highly anticipated cookbook, **Natasha’s Kitchen**, and it has been an absolute joy to delve into its pages. Natasha’s approach to cooking is truly remarkable; her recipes are not only timeless and straightforward but also profoundly delicious. This philosophy is, in my opinion, the hallmark of a truly successful cookbook – one that lives up to its full potential by delivering genuine flavor and satisfaction. Natasha has remained authentic since the very beginning, and this genuine spirit is beautifully reflected in her food. There are no pretensions here, no “Instagram food” that prioritizes visual appeal over actual taste, looking alluringly gooey or succulent but ultimately under-delivering on flavor. Instead, Natasha’s recipes are the kind that will undoubtedly become cherished staples in your home, loved by everyone around the table. Their success lies not just in their incredible taste, but also in their reliance on easily accessible ingredients, making them a practical and joyful addition to any kitchen.
Among the many treasures within “Natasha’s Kitchen,” a few have particularly captured my affection:
- Oladi Pancakes (of course!)
- California BLT Salad
- Coconut Chicken Strips
Now, with a nod to the inspiration behind this wonderful recipe, let’s dive back into the detailed steps for making our perfect Oladi!
Crafting Your Oladi: Step-by-Step Instructions
Since this unique pancake batter incorporates yeast, it requires a little time to rest and rise, allowing the yeast to work its magic. Therefore, it’s wise to plan your breakfast preparations accordingly, giving the batter adequate time to develop its signature fluffy texture.
- Prepare the Batter with Precision: Begin by combining all the wet ingredients and the active dry ingredients (water, buttermilk, egg, oil, sugar, instant yeast, and fine sea salt) in a large mixing bowl. Whisk them together until they are well combined and smooth. Next, gradually incorporate the all-purpose flour, adding it a cup at a time while continuously whisking to ensure every bit of flour is thoroughly moistened and integrated. The goal is a batter with a smooth, thin consistency, very much like a rich cake batter. Take care to avoid overmixing, as this can develop the gluten too much, resulting in tougher pancakes.
- PRO TIP: This is an excellent moment to introduce any delightful additions to your Oladi batter. Consider incorporating plump raisins, tangy craisins, or finely diced apple bits for an extra burst of flavor and texture. Ensure any add-ins are small enough to cook through evenly and distribute nicely within the pancake.
- Allow the Batter to Rest and Rise: Once your batter is perfectly mixed, cover the bowl tightly with plastic wrap. This seal helps to maintain a warm, moist environment crucial for yeast activity. Let the batter rest at room temperature until it has visibly increased in volume, almost doubling in size. This process typically takes between 1.5 to 2 hours, or less in a very warm spot. You’ll know it’s ready when the batter appears wonderfully bubbly and light, indicating that the yeast has done its job. Don’t rush this crucial step, as it’s key to the Oladi’s characteristic fluffiness.
- Cook the Pancakes to Golden Perfection: When your batter has beautifully risen, it’s time to cook! Place a cast-iron skillet or a large non-stick skillet over medium heat. Pour enough extra-light olive oil (or vegetable oil) into the pan to generously coat the bottom, creating a shallow pool for frying. Once the oil is hot and shimmering (but not smoking), carefully drop heaping tablespoons of the risen batter into the skillet. Make sure to space them far enough apart to prevent them from touching, allowing for easy flipping and even cooking. Cook each side until it achieves a gorgeous golden-brown hue, usually about 1.5 minutes per side. Add more oil as needed between batches to maintain consistent crispiness, and remember: **don’t overcrowd** the pan, as this lowers the temperature and can lead to soggy pancakes.
- Serve Warm with Your Favorite Toppings: As each batch of Oladi finishes cooking, transfer them to a platter. Serve them immediately while they’re warm and at their absolute best. Present a variety of favorite toppings alongside, allowing everyone to personalize their delicious Ukrainian pancake experience.
For a complete breakdown of measurements and all the intricate details, please refer to the comprehensive recipe card conveniently located at the end of this post.
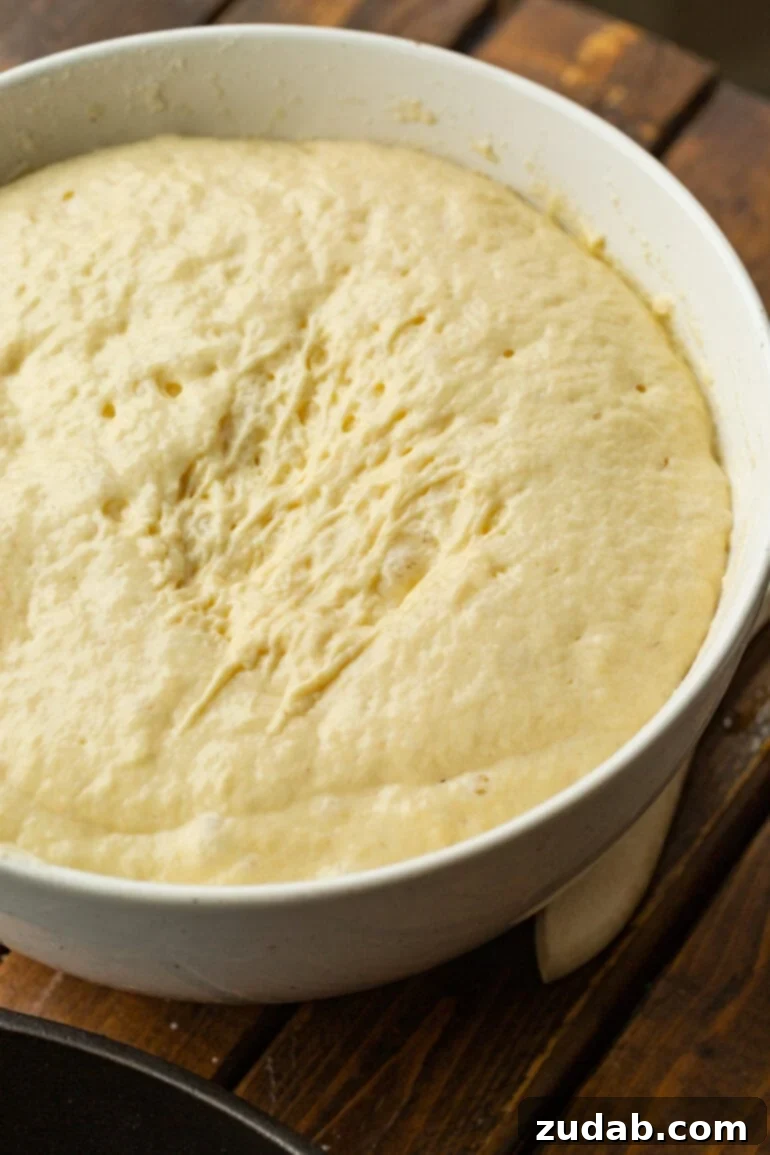
Expert Tips and Tricks for the Ultimate Oladi
Achieving truly spectacular Oladi involves a few key techniques and considerations. Follow these expert tips to ensure your Ukrainian pancakes are perfectly fluffy, crispy, and flavorful every single time:
- **Prioritize the Rest and Rise of the Batter**: This step is non-negotiable for authentic Oladi texture. Allowing the batter ample time to rest and rise enables the yeast to produce carbon dioxide, creating tiny air pockets throughout the dough. This process is what yields that wonderfully light, airy, and fluffy interior that distinguishes Oladi from standard pancakes. Skipping this step will result in dense, heavy pancakes, so patience is truly a virtue here.
- **Master the Art of Frying with Sufficient Oil**: The amount and type of oil used for cooking are paramount to achieving the signature crispy edges and golden-brown exterior. Oladi are meant to be almost pan-fried, not just lightly greased. Ensure you add enough neutral oil (like extra-light olive oil or vegetable oil) to generously coat the bottom of your skillet, creating a shallow layer. As you cook successive batches, the oil will be absorbed, so continuously replenish it. Adequate oil ensures consistent heat distribution, preventing sticking, and guaranteeing that each pancake develops that irresistible fried crispness.
- **Utilize a Cookie Scoop for Uniformity**: For perfectly uniform Oladi, a cookie scoop is your best friend. I find that the largest size scoop from a standard pack works wonderfully for consistent portions. This tool helps you drop equal amounts of batter into the hot pan, ensuring all pancakes cook at the same rate and come out beautifully shaped. If you encounter any issues with the batter sticking to the scoop, a quick spray with cooking spray between scoops can solve the problem. Even better, keep a hot glass of water near your cooking station. Dip your cookie scoop or spoon into the hot water before each scoop; the heat will warm the metal, allowing the batter to slide off effortlessly. I highly recommend trying this technique on your next batch!
- **Embrace the Small Size for Optimal Texture**: Unlike their larger American counterparts, traditional Oladi are meant to be quite small. Aim for a circumference roughly the size of a baseball. This smaller size is crucial for ensuring the pancakes cook all the way through, developing that delightful crispy crust while maintaining a soft, cooked interior. If you make them too large, the center may remain doughy or undercooked, compromising the unique textural contrast that makes Oladi so special. Stick to small, manageable portions for the best results.
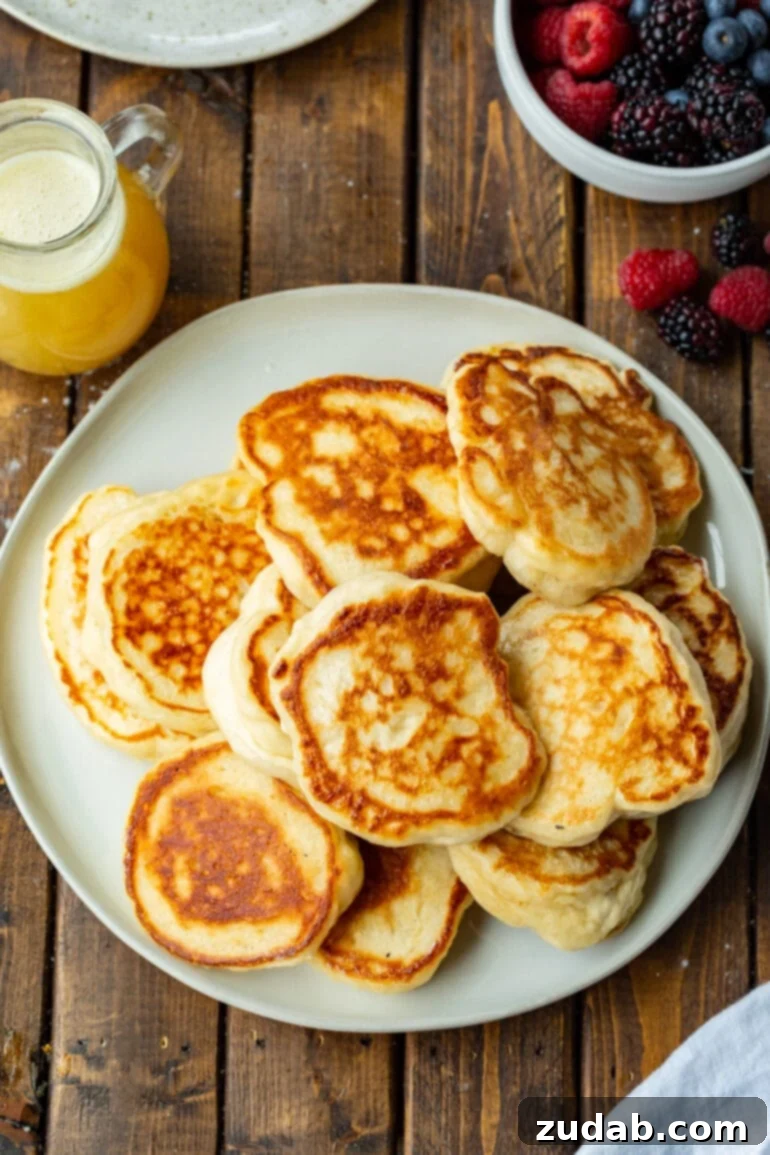
Serving and Pairing Your Delicious Oladi
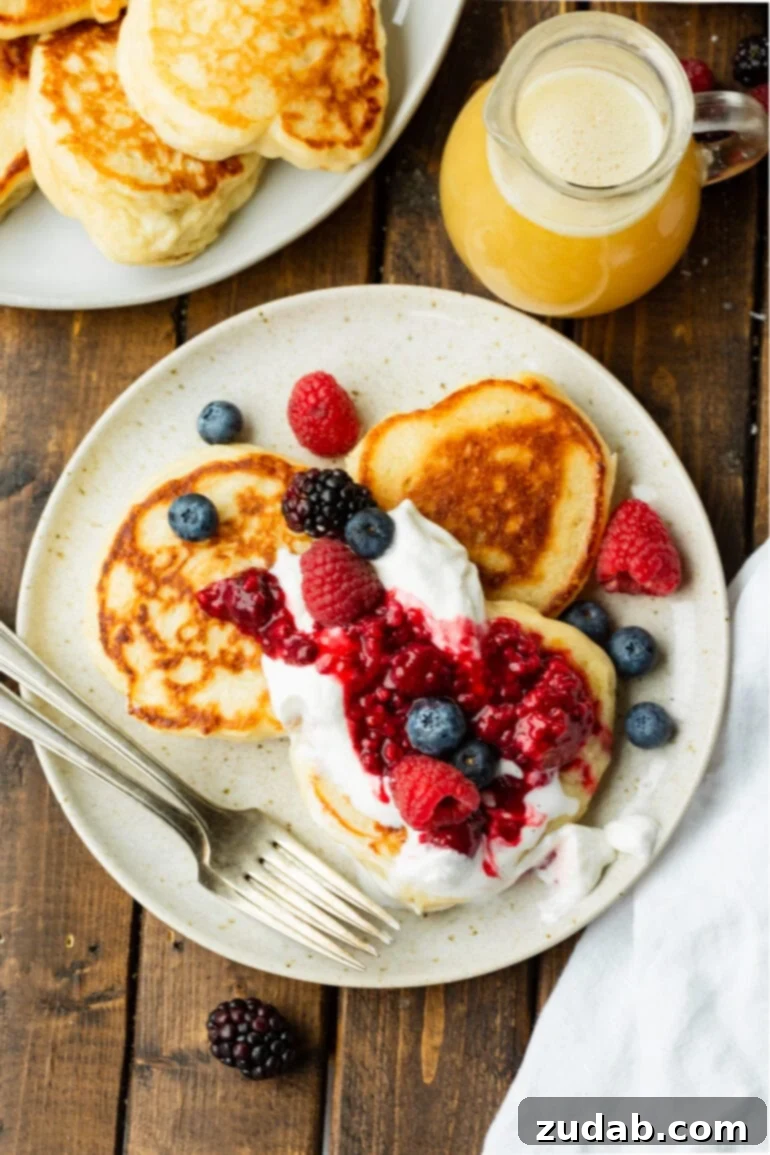
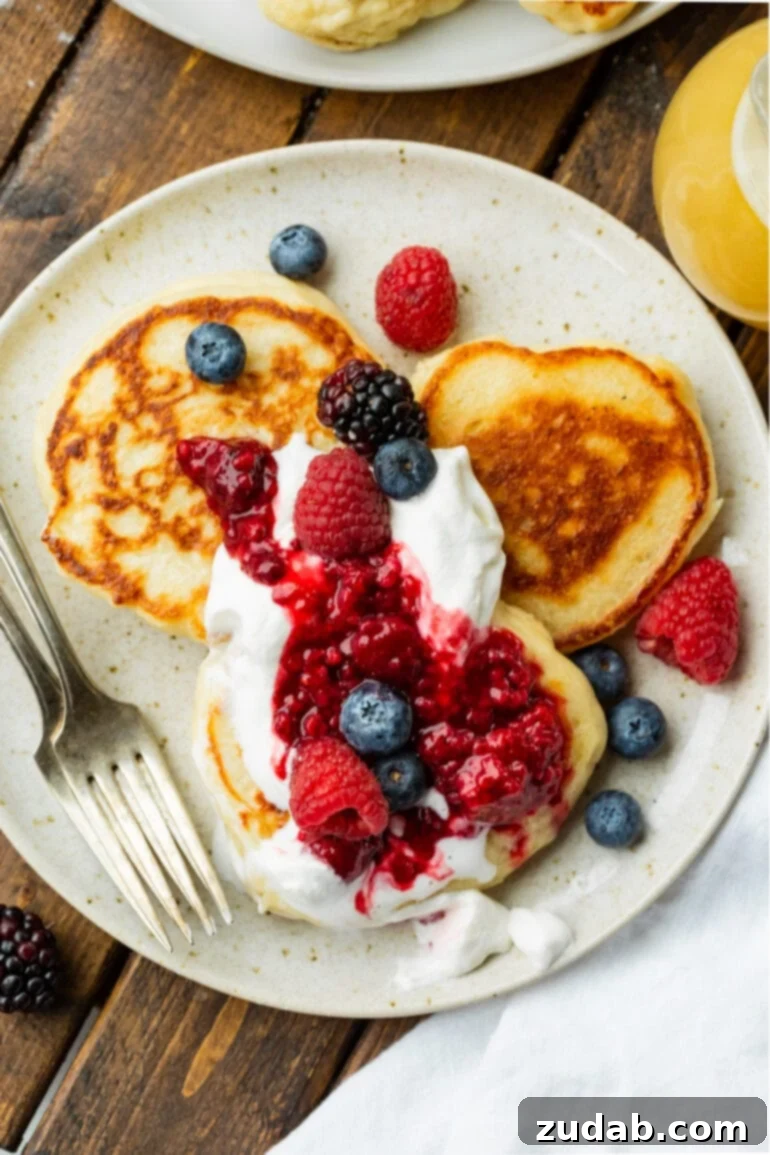
While Oladi are traditionally enjoyed with a dollop of sour cream and a spoonful of fruit jam – a classic combination that perfectly balances the tangy and sweet – these versatile pancakes are fantastic with a wide array of toppings. Feel free to customize them with whatever your family adores. Here are a few more delightful ideas to elevate your Oladi experience:
- **Honey**: A drizzle of rich, golden honey adds natural sweetness and a beautiful sheen, enhancing the subtle tang of the pancakes.
- **Real Maple Syrup**: The classic pancake companion, pure maple syrup offers a comforting, familiar sweetness that complements Oladi wonderfully.
- **Nutella**: For a decadent and indulgent treat, a generous spread of creamy Nutella brings a delightful chocolate-hazelnut flavor.
- **Chocolate Chips**: Melted into the warm pancakes, chocolate chips create pockets of gooey sweetness that kids and adults alike will love.
- **Peanut Butter**: A dollop of peanut butter adds a rich, nutty flavor and a boost of protein, making for a more satisfying snack.
- **Buttermilk Syrup**: This homemade syrup offers a creamy, tangy, and sweet profile that mirrors the buttermilk in the pancakes, creating a harmonious flavor experience.
- **Fresh Berries**: A medley of fresh strawberries, blueberries, raspberries, or blackberries adds vibrant color, juicy sweetness, and a touch of refreshing tartness.
- **Sliced Bananas**: Soft, sweet banana slices pair beautifully with Oladi, offering a creamy texture and natural sweetness.
- **Chopped Nuts**: A sprinkle of toasted walnuts, pecans, or almonds provides a delightful crunch and earthy flavor contrast.
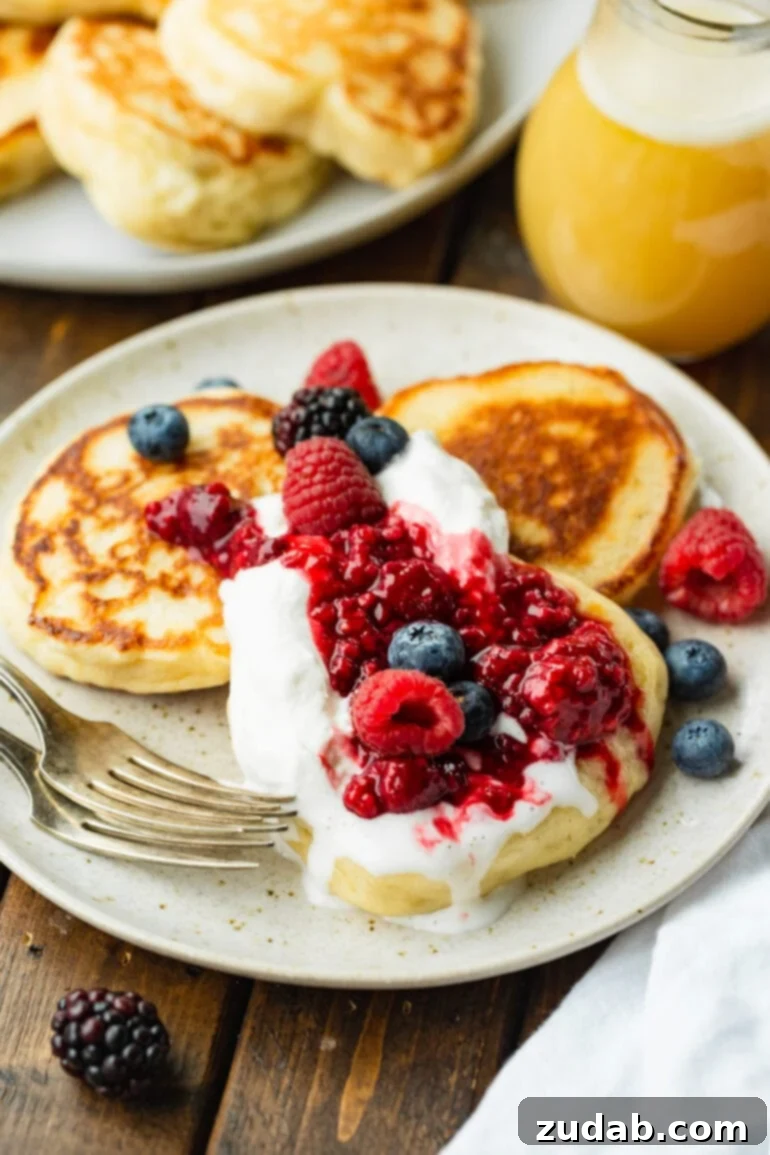
Beyond sweet toppings, Oladi can also be incorporated into more substantial meals. If you’re looking to add a protein boost to this delightful breakfast recipe, these pancakes pair wonderfully with classic savory sides. Imagine them alongside crispy bacon, perfectly fluffy scrambled eggs, or savory sausage links. My children absolutely adore Oladi as a “breakfast for dinner” option, served with a simple side dish and a refreshing glass of chocolate milk or orange juice. It’s a guaranteed hit at the dinner table every single time!
Make-Ahead, Storage, and Reheating Tips for Oladi
One of the many appealing aspects of Oladi is their versatility for meal planning and batch cooking. Yes, this truly is a fantastic **make-ahead pancake recipe**, perfect for busy mornings or unexpected cravings! You have a couple of excellent options for preparing them in advance.
You can prepare the entire pancake batter ahead of time. After allowing it to rise as instructed, simply cover the bowl tightly with plastic wrap or transfer it to an airtight container and store it in the refrigerator. The yeast activity will slow down significantly in the cold, allowing the batter to keep beautifully for up to 2-3 days. When you’re ready to cook, simply let the batter come to room temperature for about 30 minutes, give it a gentle stir (don’t overmix!), and proceed with frying.
Alternatively, you can cook all the pancakes ahead of time. Once cooked, let them cool completely to room temperature before storing. This prevents condensation which can lead to sogginess. For storage, arrange the cooled Oladi in a single layer or stack them with parchment paper in between to prevent sticking. Place them in a ziplock bag or an airtight container. They will stay fresh in the refrigerator for 2-3 days.
These pancakes also **freeze** exceptionally well, making them ideal for long-term storage and quick breakfasts. After cooling, arrange them in a single layer on a baking sheet and freeze until solid. Then, transfer the frozen pancakes to a freezer-safe ziplock bag or an airtight container, again using parchment paper between layers if stacking. Properly stored, they will maintain their quality for up to 3 months.
To **reheat** these delightful pancakes, you have a couple of convenient methods. While the microwave offers a quick solution, I personally and highly recommend using a toaster or toaster oven. Reheating in the toaster effectively revitalizes those crispy edges, bringing them back to their original glorious texture. If using a microwave, reheat in short bursts (15-30 seconds) until warmed through, being careful not to overcook them, which can make them tough.
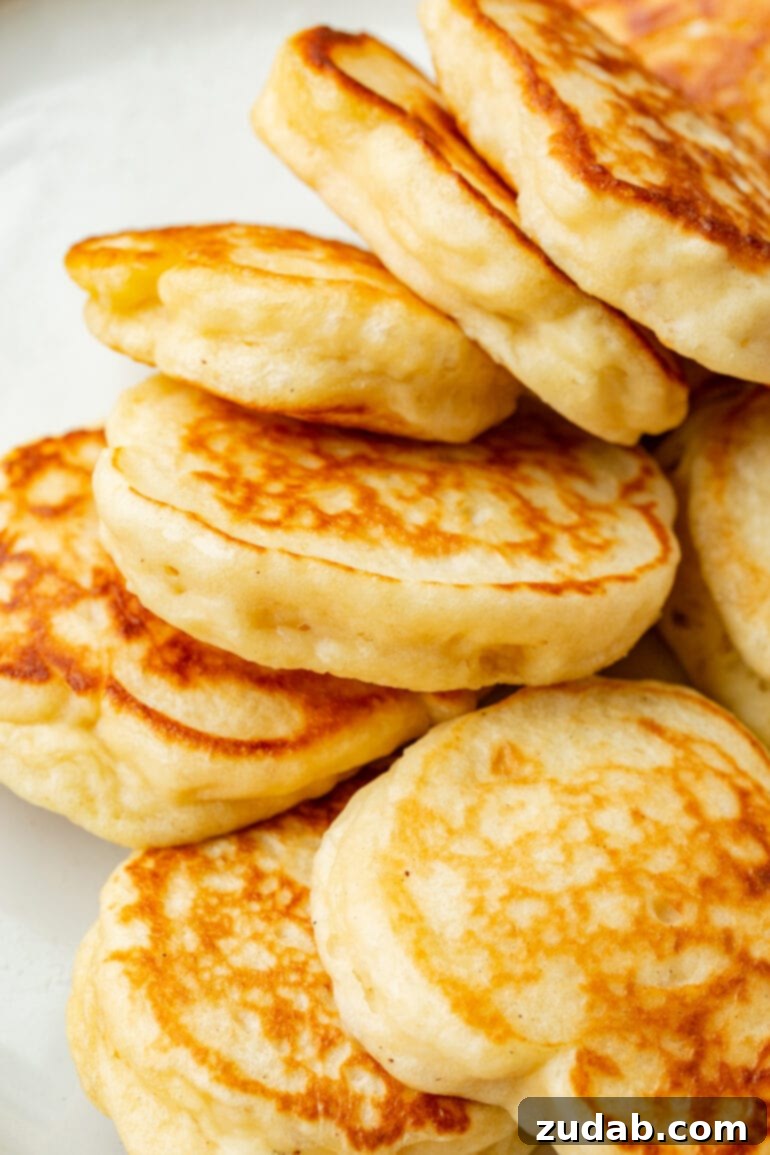
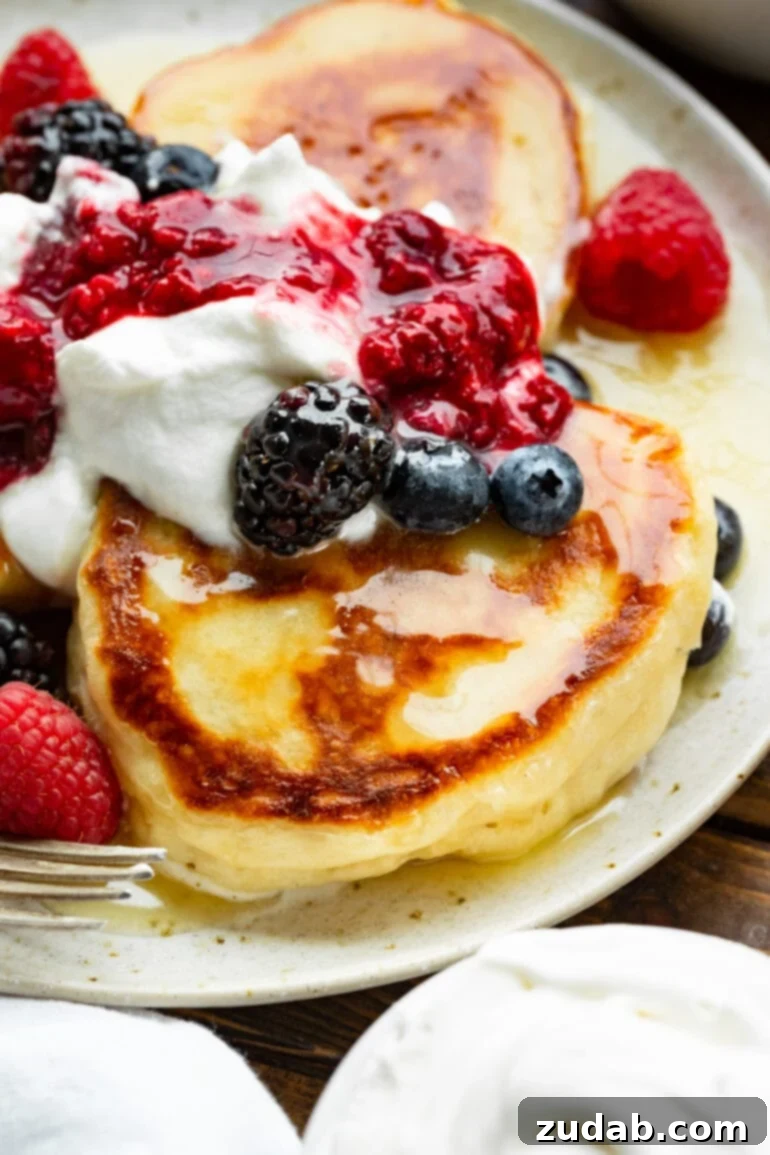
Embark on a culinary journey and experience the comforting, authentic taste of Ukraine with these traditional **Oladi pancakes**. This cherished recipe, lovingly passed down through generations, has found a special place in my kitchen, and I’m confident it will in yours too! With their fluffy interior, perfectly crispy edges, and delightful flavor, these yeast-risen pancakes are simply perfect for a leisurely breakfast, a satisfying brunch, or even a wholesome snack at any time of day.
More Delicious Pancake Recipes to Enjoy
If you’ve fallen in love with these Ukrainian Oladi and are eager to explore the vast world of pancakes, we have a collection of other fantastic recipes that promise unique flavors and textures:
- Dutch Baby Pancakes
- Sour Cream Pancakes
- Swedish Pancakes
- Japanese Cloud Pancakes
- Finnish Pancakes
- Buttermilk Pancakes
- Cottage Cheese Pancakes
- Gluten Free Pancakes
Baba’s Fluffy Oladi Pancakes (Ukrainian)
Ingredients
6-8 Servings
- 1 Cup Water, warmed to 115°F
- 1 Cup Buttermilk
- 1 Large Egg, room temperature
- 2 Tablespoons Extra-light Olive Oil, or vegetable oil, plus more for the pan
- 2 Tablespoons Sugar
- 1 1/2 teaspoons Instant Yeast
- 1 1/4 teaspoons Fine Sea Salt
- 2 3/4 Cups All-Purpose Flour
- Honey, Real Maple Syrup, Raspberry Sauce or Jam
- Sour Cream
Instructions
-
In a large bowl, whisk together the water, buttermilk, egg, oil, sugar, yeast, and salt.1 Cup Water, 1 Cup Buttermilk, 1 Large Egg, 2 Tablespoons Extra-light Olive Oil, 2 Tablespoons Sugar, 1 1/2 teaspoons Instant Yeast, 1 1/4 teaspoons Fine Sea Salt
-
Add the flour, 1 cup at a time, whisking to incorporate each addition before adding more. Continue whisking until the batter is smooth with a thin cake-batter consistency.2 3/4 Cups All-Purpose Flour
-
Cover the bowl with plastic wrap and let the batter rise at room temperature for 1½ to 2 hours or in a warm place (about 100°F) for 1 hour. The mixture should become very bubbly and almost double in size.
-
In a large nonstick or cast-iron skillet over medium heat, add enough oil to coat the bottom of the pan. Working in batches, add heaping tablespoons of the batter to the hot skillet, spacing them just far enough apart that they aren’t touching and can still be flipped easily.
-
Cook the pancakes for about 1½ minutes per side, until golden brown, adding more oil as needed after flipping. Feel free to reduce the heat if you find they’re browning too quickly.
-
Continue with the remaining batter, keeping the skillet well-oiled between batches to ensure crisp, tasty, and beautifully golden edges on the pancakes.
-
Transfer the pancakes to a platter and serve warm with honey, raspberry sauce, and sour cream.Honey, Real Maple Syrup, Raspberry Sauce or Jam, Sour Cream
Recipe Notes
These also reheat very well, so you could make the entire batch and reheat them in the toaster.
Nutrition
Nutrition information is automatically calculated, so should only be used as an approximation.