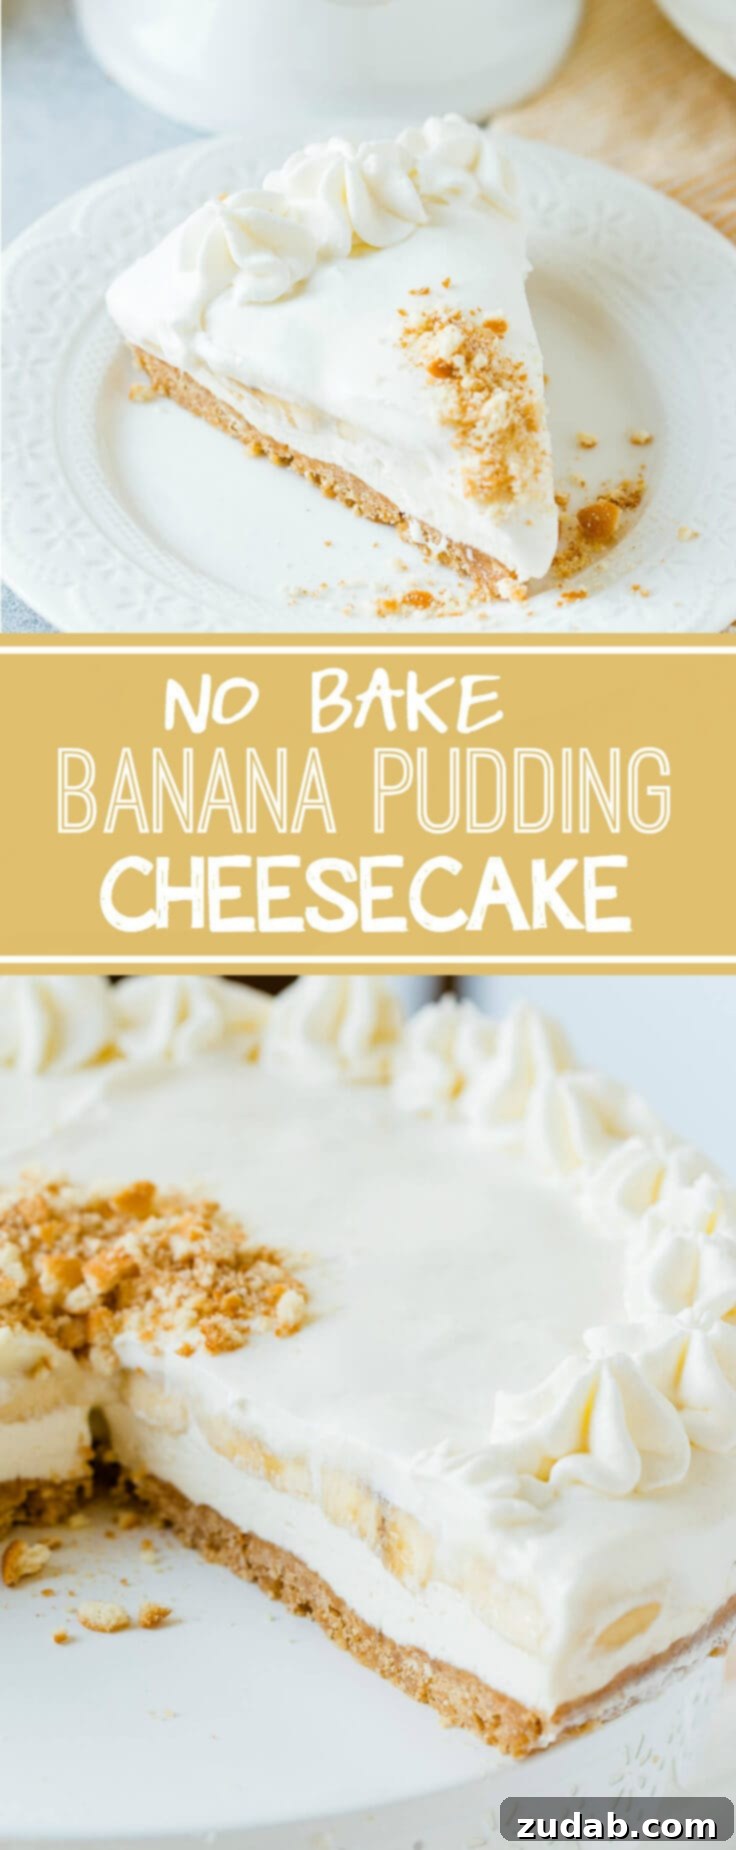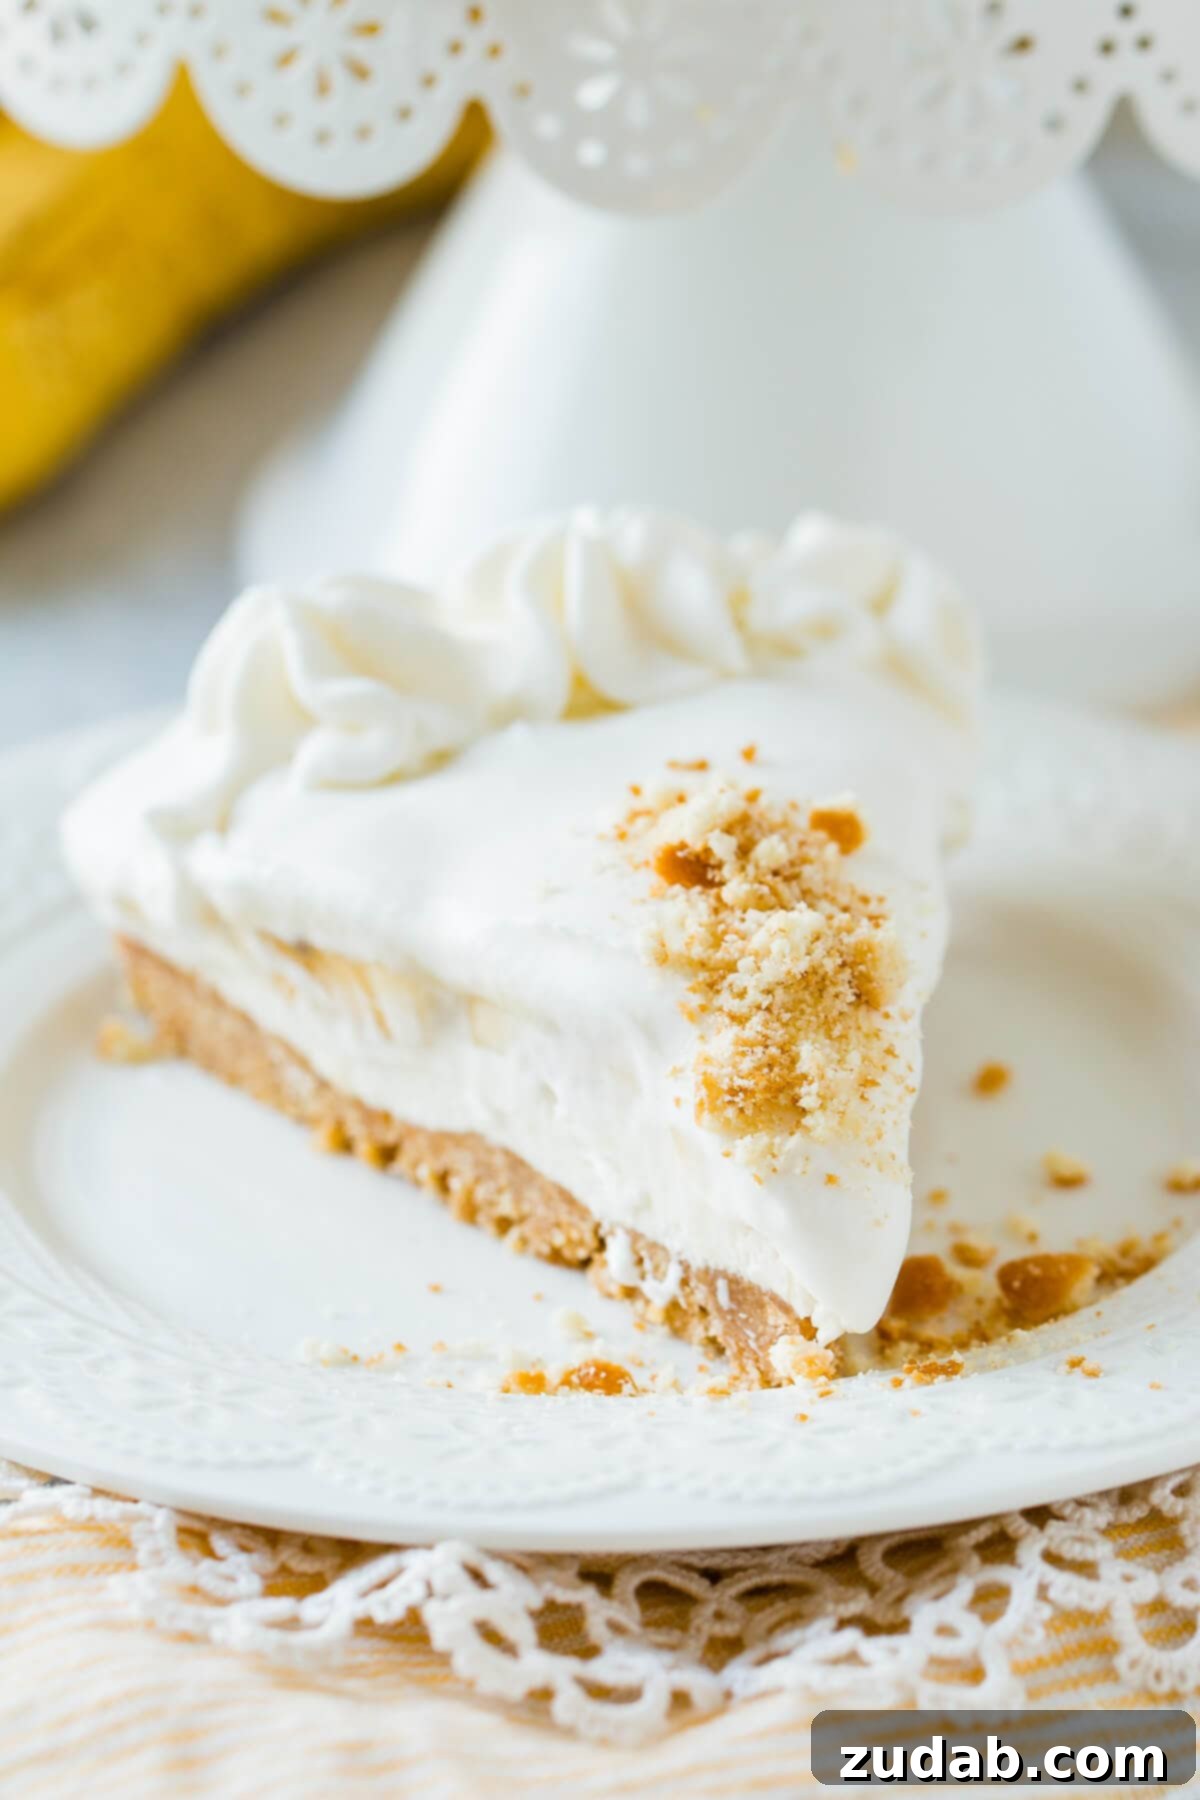
Craving a delightful dessert that doesn’t demand hours in the kitchen or the use of an oven? Look no further! This incredibly easy **no-bake banana pudding cheesecake** offers all the creamy, dreamy indulgence of a classic cheesecake, but can be whipped up in a fraction of the time. It’s the ultimate hassle-free treat, perfect for impressing guests or simply satisfying your sweet tooth without the baking fuss.
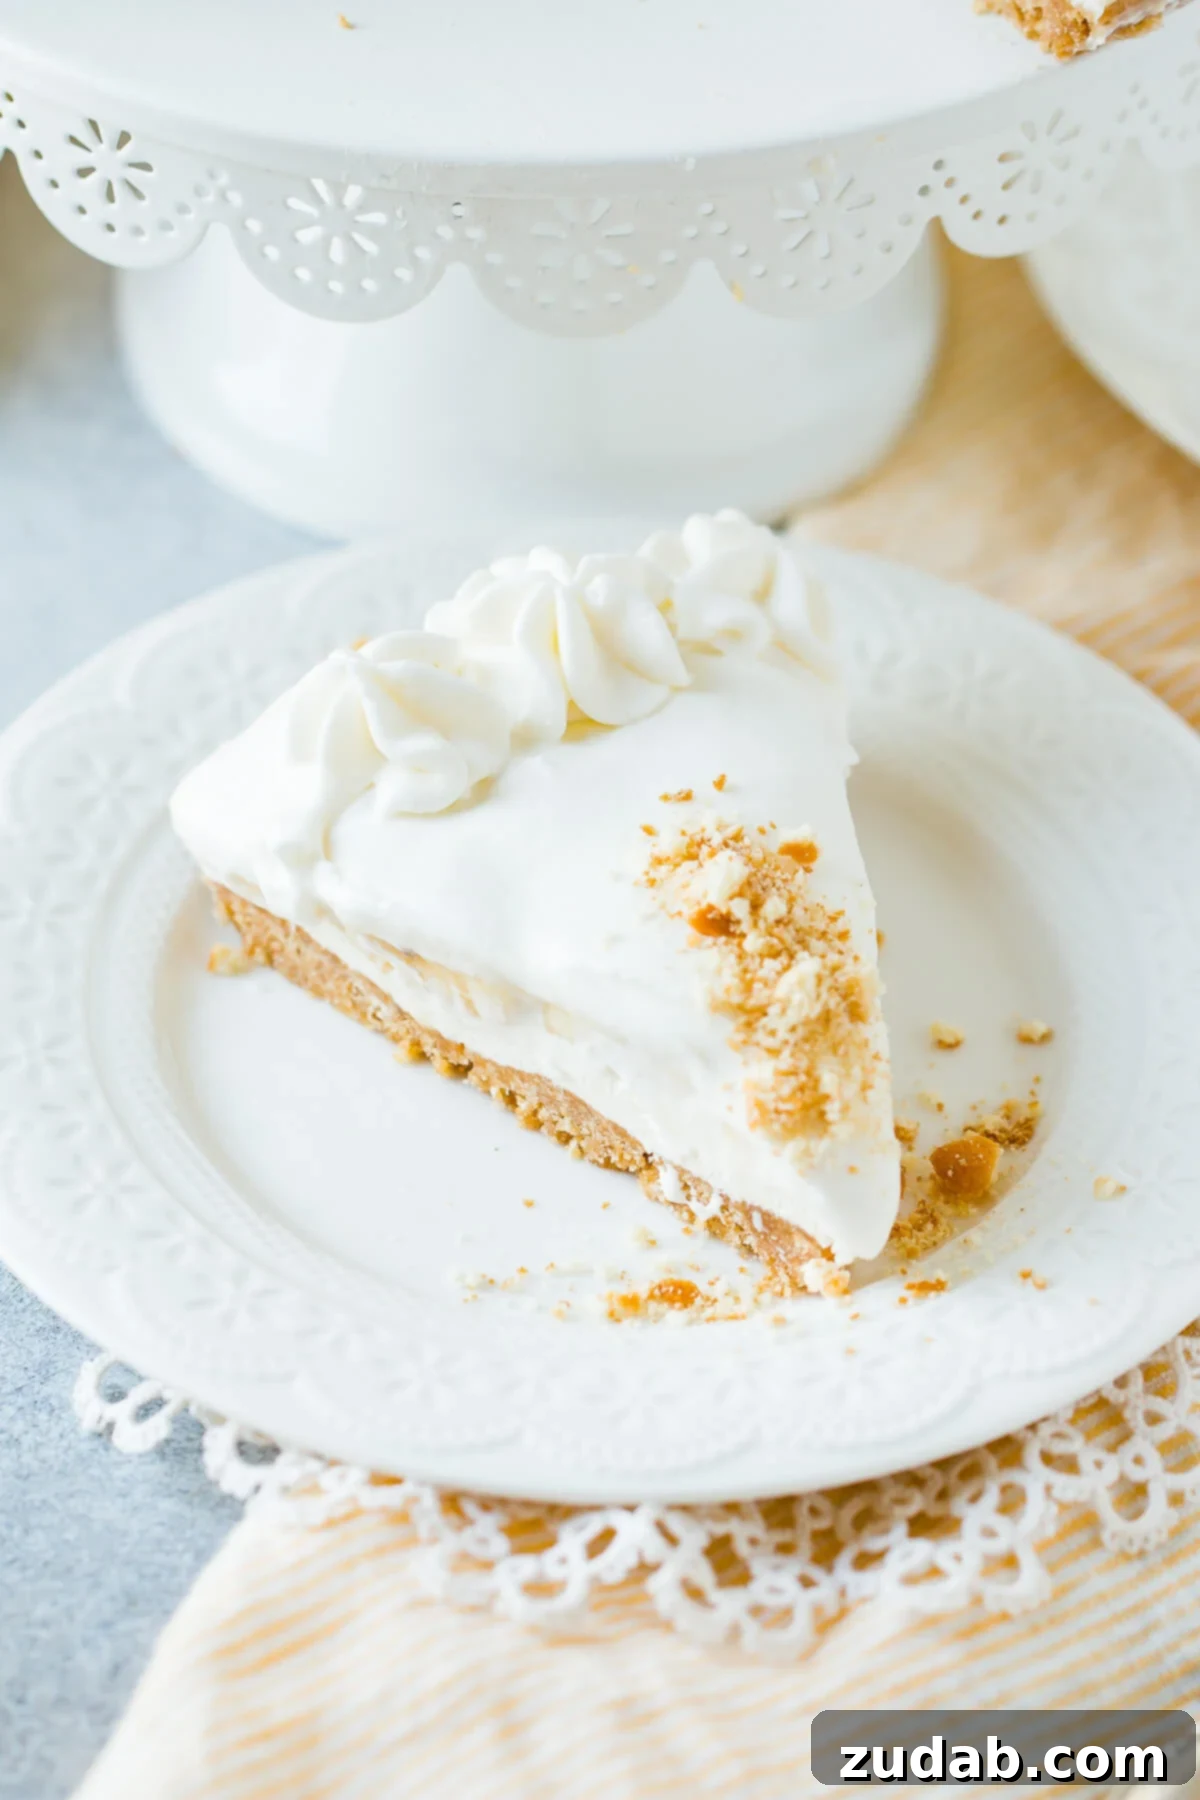
Effortless No-Bake Banana Pudding Cheesecake: A Sweet Escape
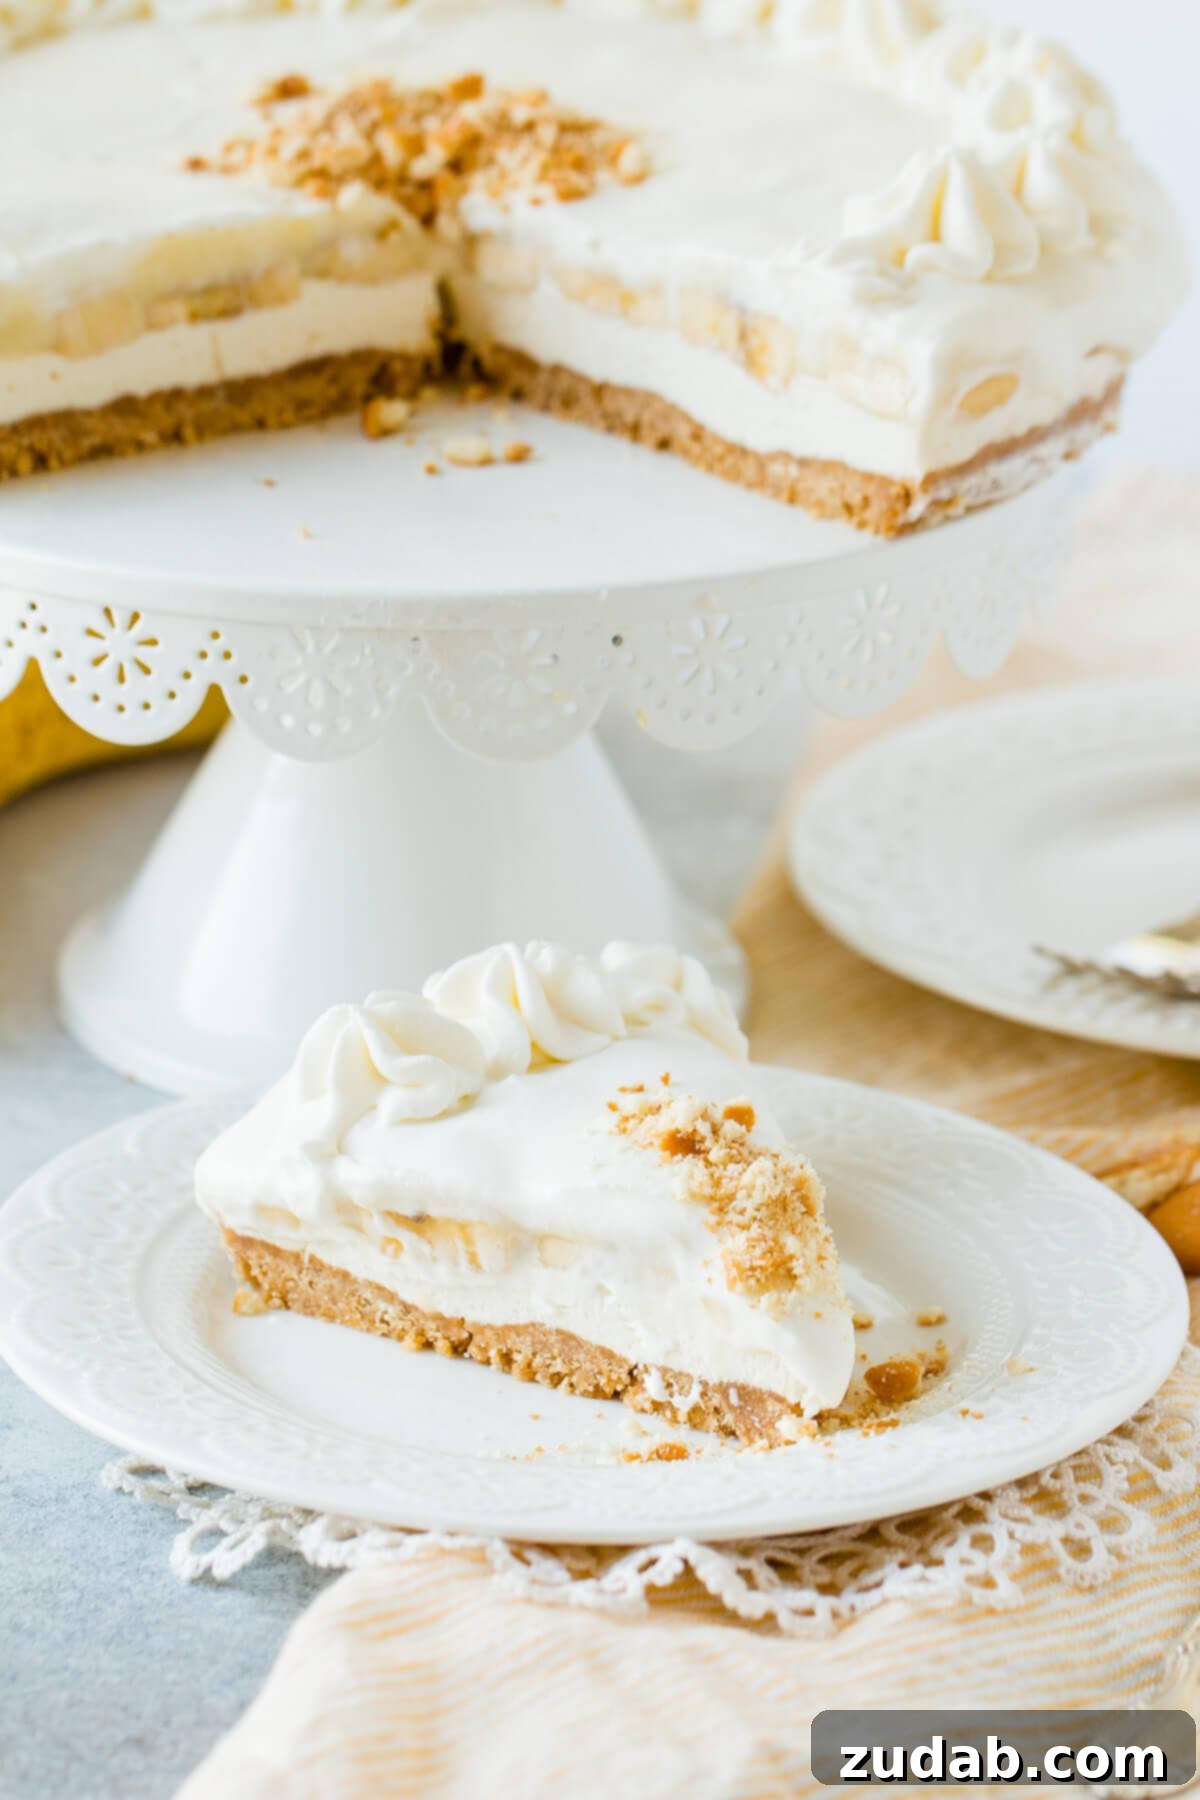
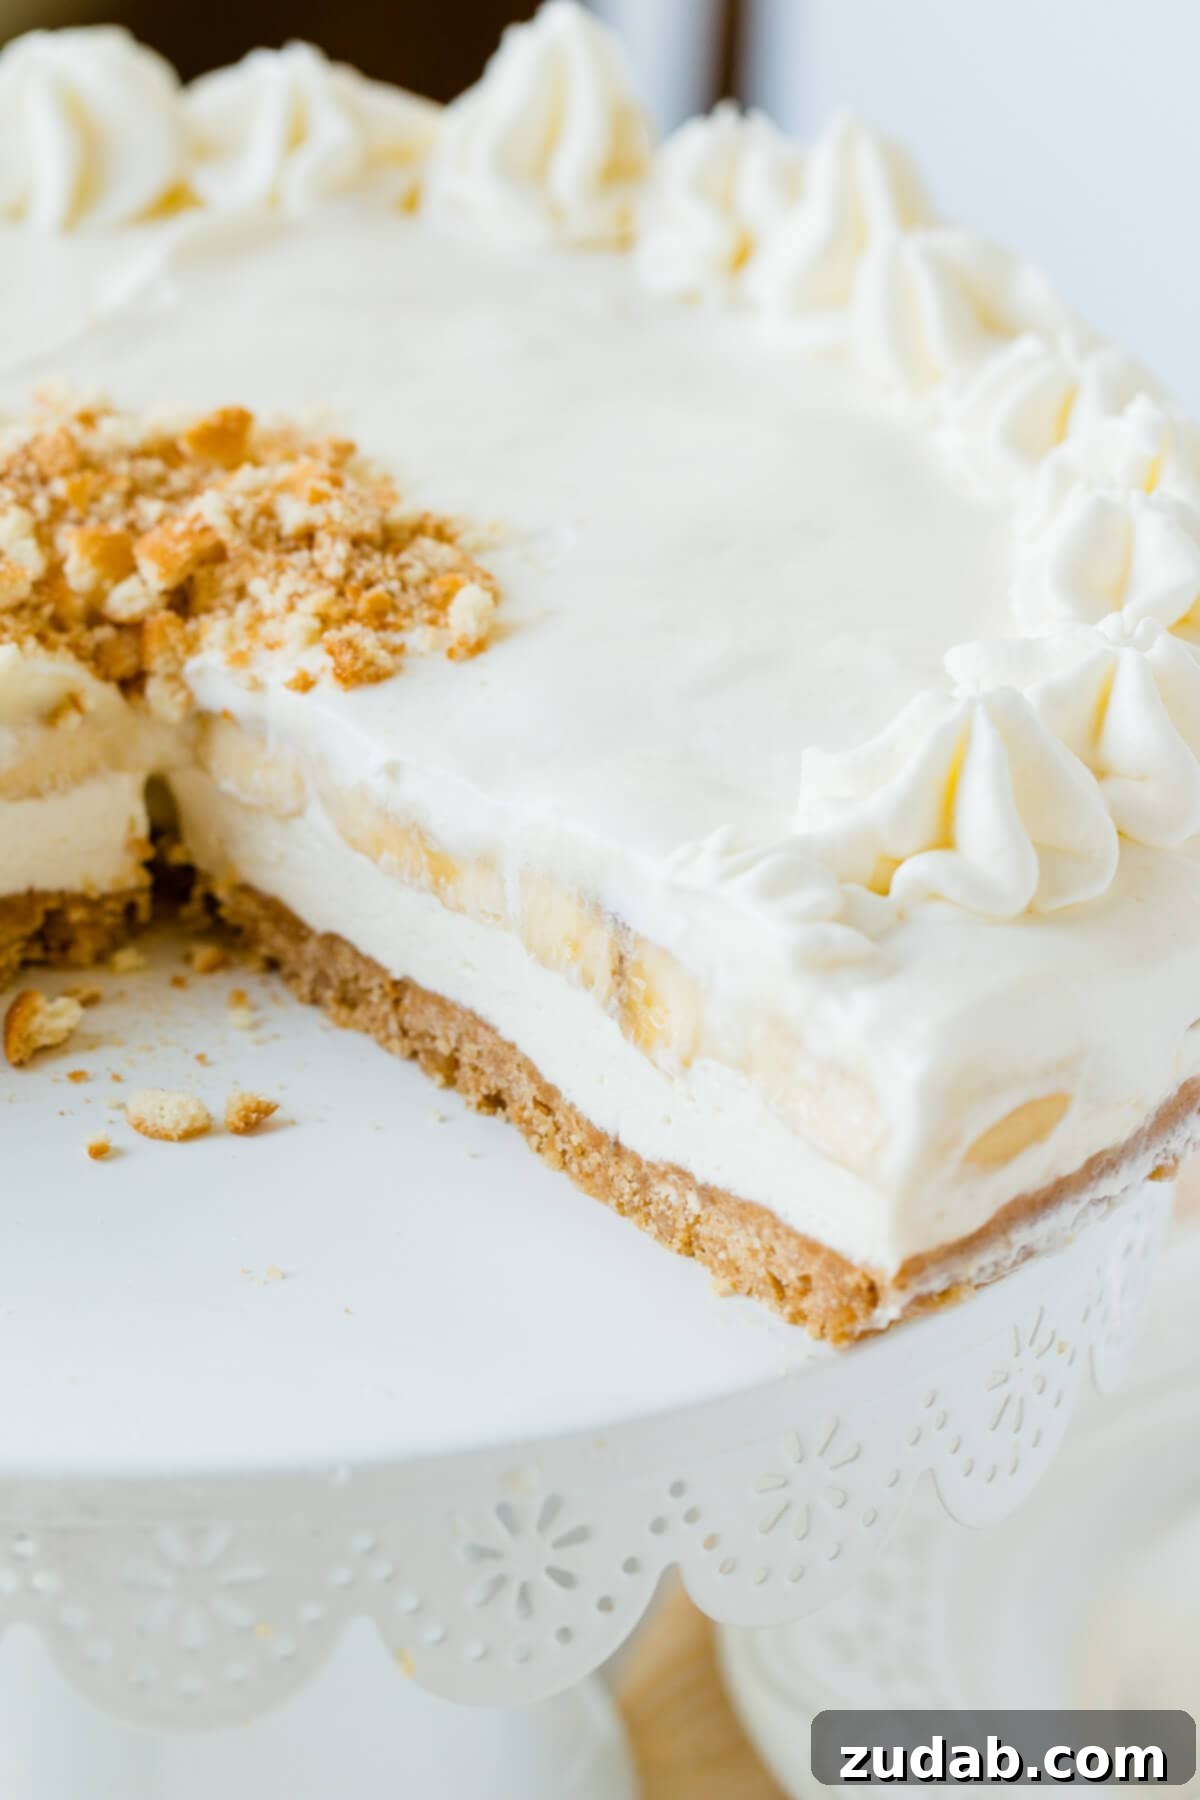
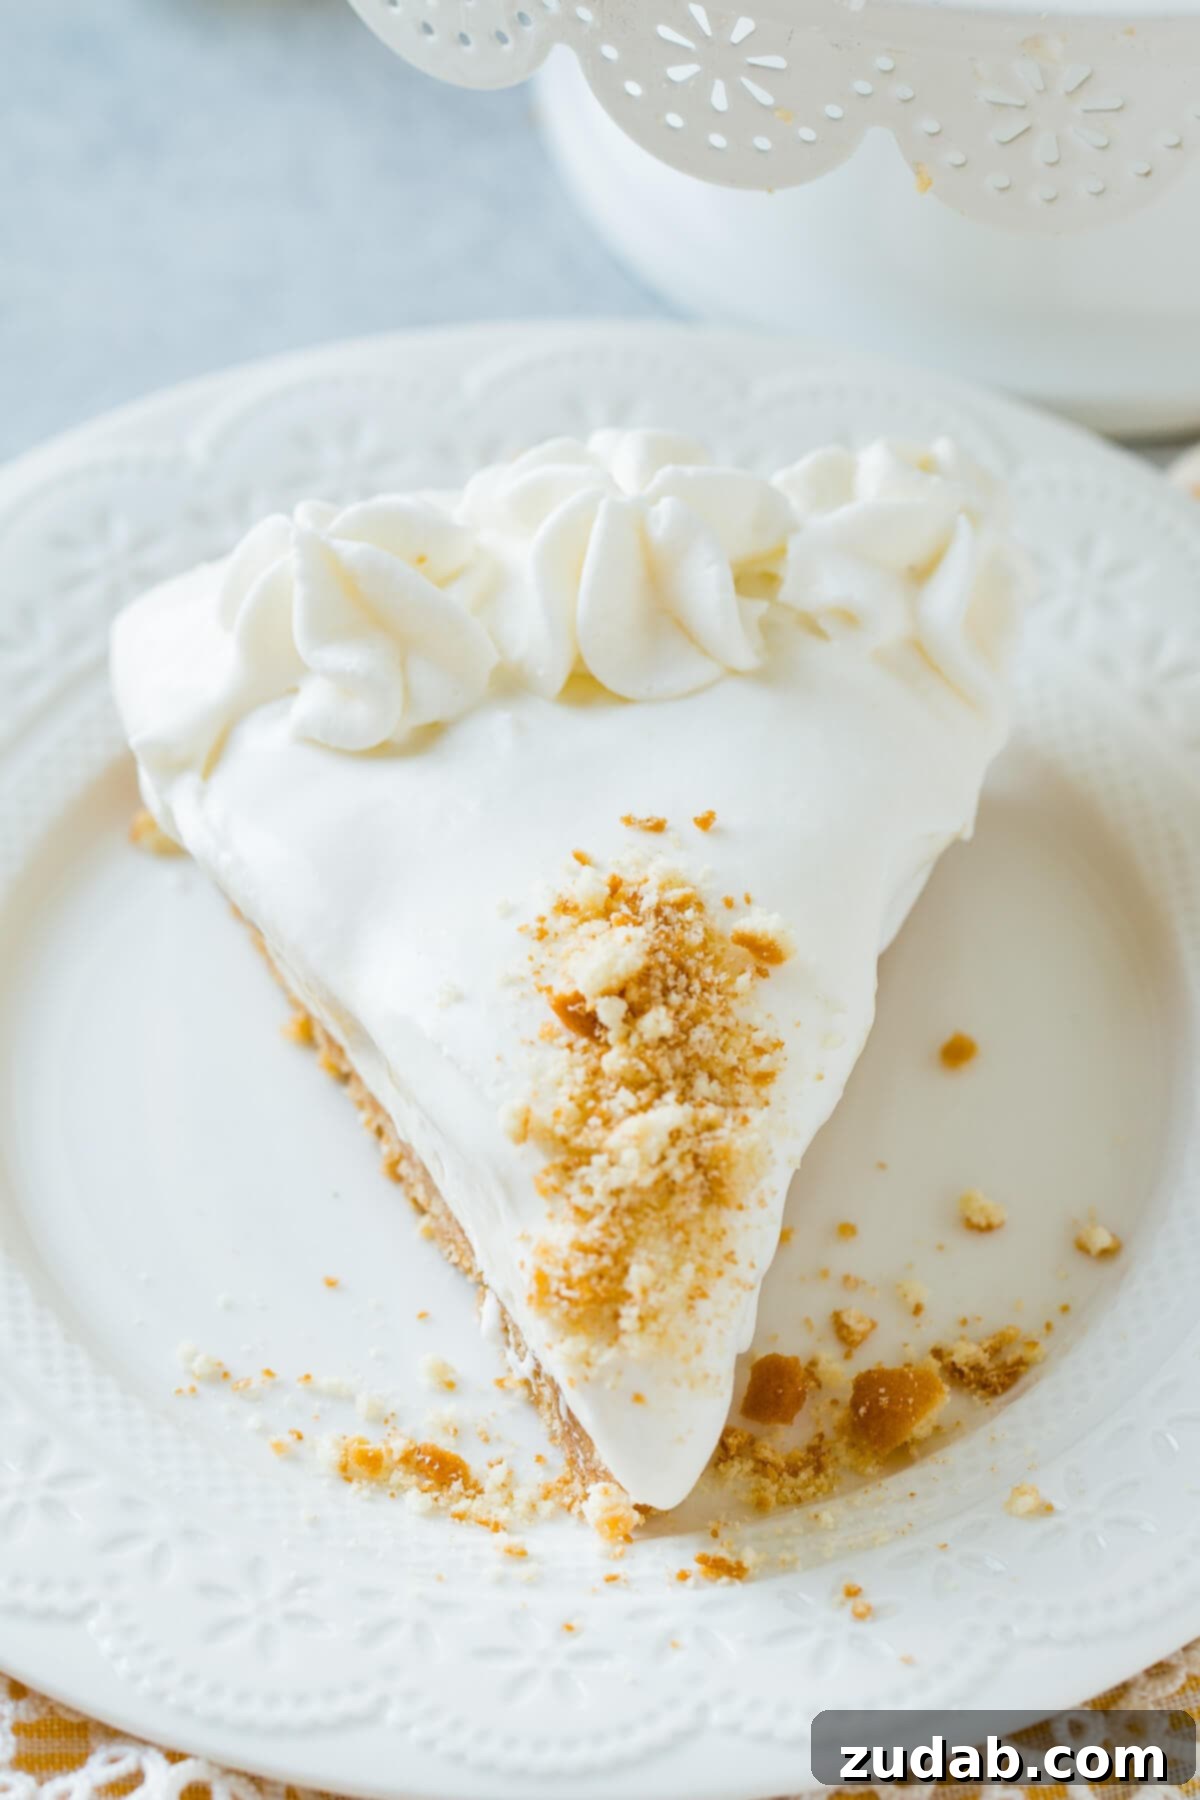
Creating a homemade no-bake cheesecake opens up a world of possibilities, and this particular recipe shines as a true crowd-pleaser. It masterfully combines the beloved flavors of traditional banana pudding with the luxurious texture of a cheesecake, all built upon a delightfully crunchy vanilla wafer crust. Imagine distinct layers of a silky cheesecake filling, fresh slices of sweet banana, and a rich, homemade vanilla pudding, all crowned with a cloud of freshly whipped cream. Each bite is a harmonious blend of creamy, fruity, and crunchy textures, making it an unforgettable dessert experience.
While many cheesecake enthusiasts traditionally gravitate towards a classic graham cracker crust, this recipe introduces an irresistible twist with its Nilla Wafer base. Inspired by Julianne’s No Bake Treats cookbook, this vanilla wafer crust adds a unique depth of flavor and a satisfying crunch that perfectly complements the banana and vanilla notes in the filling. It’s a revelation that might just convert even the most loyal graham cracker fans. We’ve amassed a considerable collection of cookbooks over the years, making us quite selective about what earns a permanent spot on our shelves. A dedicated no-bake dessert book was an absolute necessity, as we often find ourselves needing to bring a show-stopping treat to gatherings without the time-consuming complexities of traditional baking.
We’ve been ardent followers of Julianne’s culinary journey since her early days, so the announcement of her cookbook filled us with excitement. Every recipe featured in No Bake Treats is accompanied by a stunning, vibrant photograph, clear and concise instructions, and features dishes that are genuinely practical for everyday life. There’s truly no wasted page in her collection.
This particular no-bake banana pudding cheesecake has become a staple in our kitchen, having been made no less than three times. It’s here that I must confess a slight mishap. Every single cheesecake we made was an absolute triumph – visually stunning, with perfectly defined layers and an exquisite topping. That is, until the day we prepared one specifically for photography. It looked like a dream, and the pictures were turning out phenomenal. Then, in a moment of unfortunate oversight, I deleted them. Usually, I’m diligent about uploading photos the same day they’re taken, but this time we were headed for Italy, and I simply didn’t get the chance. Upon our return, my memory card was full, so I formatted it. The instant I did, I knew I had made a terrible mistake.
But the story, unfortunately, gets worse. Spurred by the need for new photos, I immediately whipped up another cheesecake. As I spread the pudding layer, it looked acceptable, though I sensed something was slightly amiss. The moment I opened the springform pan, my fears were confirmed: I hadn’t allowed the pudding to thicken completely. UGH! Despite this minor setback, the cheesecake still turned out beautifully, a testament to the robustness and deliciousness of the recipe itself. I debated whether to make it a third time, but ultimately decided against it. We value our connection with our readers, and we believe we share a common understanding – we’re all good people striving to do good things, often balancing life’s demands. Making another cheesecake would have meant sacrificing a promised movie date and snuggles on the couch for more work. So, please forgive us if the layers in the accompanying photos aren’t as perfectly defined as they could be.
However, consider this a silver lining: even when the baker made a mistake, the recipe prevailed! It truly is fail-proof, which is an incredible quality for any dessert. The cheesecake tasted utterly delicious, and any lingering remorse vanished with the first bite. In fact, after snapping a few quick pictures, we devoured the rest with a pile of forks, completely forsaking plates. I’d confidently say it was still a resounding success. This truly is a cookbook worth adding to your collection.
Essential Ingredients for Your Banana Pudding Cheesecake Masterpiece
This decadent no-bake banana pudding cheesecake is a symphony of four distinct yet complementary layers: the crisp Nilla Wafer crust, the luscious homemade vanilla pudding, the rich and tangy cheesecake layer, and the light, airy banana topping. Each component plays a crucial role in creating the overall flavor and texture profile. Here’s a detailed breakdown of what you’ll need to assemble this magnificent banana cheesecake:
- **Egg Yolks:** These are vital for creating a creamy, rich homemade vanilla pudding, providing both color and a smooth consistency.
- **Granulated Sugar:** Sweetens both the pudding and the cheesecake layers, balancing the flavors.
- **All-Purpose Flour:** Acts as a thickening agent for the homemade vanilla pudding, ensuring it sets perfectly.
- **Salt:** A pinch of salt enhances all the sweet flavors, preventing the dessert from tasting flat.
- **Heavy Whipping Cream:** Essential for both the pudding and the whipped cream topping, contributing to the dessert’s luxurious richness and airy texture. Do not substitute with lighter alternatives if you want the best results.
- **Vanilla Extract:** A foundational flavor for both the pudding and the cheesecake, adding a warm, aromatic note.
- **Nilla Wafers:** The star of our unique crust, providing a sweet, slightly caramelized flavor and a delicate crunch.
- **Butter:** Melded with the crushed Nilla Wafers, it binds the crust together, ensuring it holds its shape.
- **Cream Cheese:** The heart of any cheesecake. Use full-fat, brick-style cream cheese, softened to room temperature, for the perfect creamy, smooth texture.
- **Powdered Sugar:** Used in the whipped cream topping for a fine, silky texture that dissolves beautifully.
- **Bananas:** Fresh, ripe bananas are crucial for the authentic banana pudding flavor and the visual appeal of the topping. Choose bananas that are yellow with a few brown speckles for optimal sweetness.
Crafting Your No-Bake Banana Pudding Cheesecake: Step-by-Step Guide
While this no-bake banana cream cheesecake is wonderfully simple to assemble, it does require a bit of patience due to the necessary chilling times for each layer to set properly. Planning ahead is key to achieving those beautifully defined layers and a firm, sliceable dessert. Here’s a detailed walkthrough of the basic steps to creating this show-stopping no-bake banana pudding cheesecake:
- **Prepare the Homemade Vanilla Pudding:** Begin by whisking together the egg yolks, flour, salt, and granulated sugar in a bowl. In a medium saucepan, combine the heavy cream and vanilla extract and heat gently until warm and the sugar is dissolved. Gradually temper the egg yolk mixture by slowly pouring a small amount of the warm cream mixture into the yolks while whisking vigorously. This prevents the eggs from scrambling. Then, pour the tempered egg mixture back into the saucepan with the remaining cream. Continue to heat over medium heat, whisking constantly, until the pudding thickens significantly – it should coat the back of a spoon and be visibly thick like classic pudding. Strain the warm pudding through a fine mesh sieve into a clean bowl to ensure it’s perfectly smooth and lump-free. Press plastic wrap directly onto the surface of the pudding to prevent a skin from forming, and refrigerate for a minimum of 2 hours, or until thoroughly chilled and firm. This step is critical for layer definition.
- **Assemble the Nilla Wafer Crust:** Lightly spray a 9-inch springform pan with nonstick spray, then wipe it smooth with a paper towel. This helps prevent sticking. Finely crush the Nilla Wafers until they resemble fine sand. You can do this in a food processor or by placing them in a Ziploc bag and crushing them with a rolling pin. Melt the butter and stir it into the crushed wafers until well combined. Press this mixture firmly and evenly into the bottom of the prepared springform pan. Use the back of a spoon or a flat-bottomed glass to ensure a compact crust. Place the pan in the refrigerator to chill while you prepare the remaining layers; this allows the butter to solidify and the crust to firm up.
- **Create the No-Bake Cheesecake Filling:** In a large mixing bowl, beat the softened brick-style cream cheese with an electric hand mixer until it is completely smooth and fluffy. Gradually add the granulated sugar, mixing well and scraping down the sides of the bowl as needed, until the mixture is light and airy. Incorporate the heavy whipping cream and vanilla extract, beating until the cheesecake filling is smooth, light, and holds soft peaks. Pour this creamy cheesecake filling over your chilled Nilla Wafer crust. Smooth the top with an offset spatula. Cover the pan loosely with plastic wrap and refrigerate for at least 2 hours, or until the cheesecake layer is firm enough to support the subsequent layers.
- **Layer with Bananas and Pudding:** Once the cheesecake layer has set, carefully arrange fresh banana slices evenly over the top. Make sure the bananas are not overly ripe to prevent them from becoming too mushy. Next, gently spoon the chilled, thickened homemade vanilla pudding over the banana slices, spreading it to the edges.
- **Add the Whipped Cream Topping:** For the freshest whipped cream, place a mixing bowl and whisk attachment (for a stand or hand mixer) in the fridge for 10-15 minutes before you begin. Once chilled, pour the heavy whipping cream into the cold bowl and beat on medium-high speed until soft peaks begin to form. Gradually add the powdered sugar and continue beating until stiff peaks are achieved. Separate out about 1 ¼ cups of whipped cream for decoration later, if desired. Carefully spread the majority of the whipped cream over the pudding layer, creating a beautiful, fluffy topping. Chill the entire cheesecake for another 2-4 hours, or preferably overnight, to ensure all layers are perfectly set and the flavors have fully melded.
- **Garnish and Serve:** Just before serving, garnish your magnificent no-bake banana pudding cheesecake with extra crushed Nilla Wafers, or even some banana slices. This adds both visual appeal and an extra textural element. Slice and enjoy!
Expert Tips for Removing Your No-Bake Cheesecake From a Springform Pan
If you’re new to the wonderful world of easy no-bake cheesecakes, the idea of cleanly removing your masterpiece from a springform pan might seem a little daunting. Fear not, it’s a straightforward process with a few simple tricks! Achieving a picture-perfect presentation for your banana cream cheesecake is entirely within reach. Here’s how to safely and effortlessly release your cheesecake:
- **Chill Overnight for Optimal Firmness:** This is perhaps the most crucial step and makes the biggest difference in your banana cheesecake’s final appearance and ease of removal. A thoroughly chilled cheesecake (ideally overnight, or at least 6-8 hours) will be much firmer and less prone to collapsing or cracking.
- **Loosen the Sides with Precision:** Before unlatching the springform, gently run a thin, sharp knife around the inner edge of the pan. For an even cleaner edge, dip the knife in hot water and wipe it dry before each pass. The warmth helps to slightly melt and release any sticking.
- **Use Heat to Release from the Base (Optional but Recommended):** If your cheesecake base seems particularly stubborn, you can carefully use gentle heat. For example, you can briefly warm the bottom of the pan over a low flame on your stovetop (just for a few seconds) or place the pan on a warm, damp towel. Be very careful not to overheat, as this can melt the crust too much.
- Release the Springform Sides: Once the sides are loosened, unlatch and gently lift the springform ring straight up and away from the cheesecake. Avoid twisting or tilting.
- **Transfer to a Serving Platter:** With the ring removed, you’ll still have the cheesecake on the bottom plate of the springform pan. You can serve it directly on this base, or for an elegant presentation, carefully slide the banana pudding cheesecake onto your desired serving platter using a wide, thin spatula.
Hint: For an even easier removal from the base, cut a piece of parchment paper slightly larger than the bottom of your springform pan. Line the pan with this parchment paper before pressing in the crust and assembling the cheesecake. Leave a small overhang of parchment paper on two opposite sides. These “handles” will allow you to gently lift the entire cheesecake off the metal base and onto a serving plate when it’s done chilling, ensuring a flawless transfer.
Do I Need a Springform Pan for This No-Bake Cheesecake?
While a springform pan is highly recommended for its ease of use in releasing a beautifully intact cheesecake, it is certainly not a strict requirement for this no-bake banana pudding cheesecake. Any regular cake pan or pie plate will work just fine as a substitute. To ensure you can effortlessly remove the cake once it’s set, simply line the pan generously with aluminum foil or parchment paper. Make sure to leave a good length of foil or paper hanging out over the edges of the pan – these overhangs will serve as convenient “slings” or handles, allowing you to gently lift the entire cheesecake out of the pan once it’s thoroughly chilled and firm. This method ensures a clean removal and an impressive presentation, even without specialty bakeware.
Can You Freeze No-Bake Banana Pudding Cheesecake?
Absolutely, freezing no-bake cheesecake is a fantastic way to prepare it in advance or preserve any delicious leftovers. This recipe is particularly well-suited for freezing, offering both convenience and a delightful frozen treat. To freeze the entire cheesecake, ensure it is fully set and chilled. Wrap it tightly first in plastic wrap, then in a layer of aluminum foil, ensuring no air can get in to prevent freezer burn. For individual slices, place them on a baking sheet to freeze solid for about an hour, then wrap each slice individually in plastic wrap and foil. The cheesecake can be stored in the freezer for up to 1-2 months. When you’re ready to enjoy, simply transfer the frozen cheesecake (or individual slices) to the refrigerator and let it thaw for several hours, or overnight, until it reaches your desired creamy consistency. This makes it an ideal make-ahead dessert for entertaining or for enjoying a sweet treat whenever the craving strikes.
Pro Tips for Perfecting Your Banana Pudding Cheesecake
Achieving a truly exceptional no-bake banana pudding cheesecake is easy with a few insider tips:
- **Crust Creativity:** If Nilla Wafers aren’t available or if you prefer a different flavor, feel free to use a traditional graham cracker crust instead. The buttery, slightly spicy notes of graham crackers also pair wonderfully with banana and vanilla. If neither option is readily available in your area, consider other crisp, mildly sweet cookies like shortbread, digestive biscuits, or even vanilla sandwich cookies (with the cream filling removed) as excellent substitutes for the crust. The key is to have a sturdy yet crumbly base.
- **Cream Cheese Choice is Crucial:** For the cheesecake layer, it is imperative to use full-fat, brick-style cream cheese. Avoid “lite” or whipped cream cheese varieties, as they contain more water and less fat. These alternatives will significantly alter the texture of your cheesecake, preventing it from setting properly and resulting in a watery, less luxurious consistency. Ensure your brick cream cheese is softened to room temperature for a lump-free, silky-smooth filling.
- **Heavy Whipping Cream for Indulgence:** The same logic applies to your choice of cream. While this no-bake banana cheesecake isn’t designed to be the lightest of desserts, the use of real, full-fat heavy whipping cream is non-negotiable for achieving the correct creamy texture and rich flavor in both the pudding and the topping. Substituting with half-and-half or whole milk will lead to a runny pudding and a topping that lacks stability and decadent mouthfeel. Embrace the richness for this ultimate treat!
- **Banana Selection & Browning Prevention:** Choose ripe bananas (yellow with a few brown spots) for the best flavor, but avoid overly soft ones. To prevent the sliced bananas from browning, you can lightly toss them in a small amount of lemon juice or a fruit fresh solution before layering them. This simple step helps maintain their appealing color.
- **Optimal Chilling is Key:** While individual layers require chilling, the final extended chill (preferably overnight) is crucial. This allows all the flavors to meld beautifully and ensures the cheesecake is firm enough to slice cleanly and maintain its structural integrity. Patience is a virtue when making no-bake desserts!
- **Flavor Enhancements:** A tiny hint of rum extract or a touch of banana extract can intensify the banana flavor in the pudding or cheesecake layers if you desire. Just use sparingly!
- **Garnish Galore:** Beyond crushed Nilla Wafers, consider other garnishes. Fresh banana slices (prepared just before serving to avoid browning), a drizzle of caramel sauce, a sprinkle of toasted coconut flakes, or even a dusting of cinnamon can elevate the presentation and add extra flavor dimensions.
Explore More No-Bake Cheesecake Creations:
If you’ve fallen in love with the simplicity and deliciousness of this no-bake banana pudding cheesecake, you’ll be thrilled to discover other effortless recipes that deliver maximum flavor with minimal effort:
- No-Bake Mini Peanut Butter Cheesecakes
- No-Bake Mini Chocolate Cheesecakes
- No-Bake Lemon Blueberry Cheesecake
- No-Bake Mini Cheesecakes with Raspberry Sauce
- No-Bake Peanut Butter Nutella Cheesecake
Discover More Irresistible Banana Dessert Recipes:
For those who can’t get enough of the sweet, comforting flavor of bananas, here are some other delightful dessert recipes featuring this versatile fruit:
- The BEST Banana Cake
- Double Chocolate Banana Bread
- Banana Pudding Bundt Cake
- Dulce de Leche Banana Cream Pie
- Banana Cream Icebox Cake
No-Bake Banana Pudding Cheesecake
Print Recipe
Ingredients
For the Pudding
- 2 Large Egg Yolks, slightly beaten
- 2 Tablespoons All-Purpose Flour
- Dash of Salt
- 1/3 Cup Granulated Sugar
- 1 1/2 Cups Heavy Whipping Cream
- 1/2 teaspoon Vanilla Extract
For the Crust
- 11 Ounces Vanilla Wafers
- 8 Tablespoons Butter
For the Cheesecake
- 16 Ounces Cream Cheese, 2 bricks, softened
- 1/2 Cup Granulated Sugar
- 2 Tablespoons Heavy Whipping Cream
- 1 teaspoon Vanilla
For the Topping
- 2 Cups Heavy Whipping Cream
- 1 1/2 Cups Powdered Sugar
- 2 Whole Bananas, sliced
- 6-8 Vanilla Wafers , for garnish
Instructions
For the Pudding
-
Measure out all of the ingredients before starting the recipe so you can quickly go through the pudding without stopping.
-
Place the egg yolks in a bowl.2 Large Egg Yolks
-
In a medium saucepan over medium heat, add the flour, salt and sugar and whisk to combine. Add the heavy cream and vanilla and whisk. Heat the mixture until the sugar is dissolved.2 Tablespoons All-Purpose Flour, Dash of Salt, 1/3 Cup Granulated Sugar, 1 1/2 Cups Heavy Whipping Cream, 1/2 teaspoon Vanilla Extract
-
Pour a little of the mixture into the yolks, while whisking vigorously. Now pour the egg mixture into the cream in the saucepan and heat while whisking until thickened. Make sure it’s thick like pudding before removing from the heat.
-
Strain the pudding through a fine mesh sieve in order to get out any lumps.
-
Place in a clean bowl and press plastic wrap down on it, then straight into the fridge for two hours.
For the Crust
-
Prepare a 9 inch spring form pan by spraying it with nonstick spay and then wiping it smooth with a paper towel.
-
Crush the vanilla wafers into fine crumbs like sand and melt the butter. Stir everything together and press into the prepared pan. Place the pan in the fridge while you prepare the rest of the recipe.11 Ounces Vanilla Wafers, 8 Tablespoons Butter
For the Cheesecake
-
Beat the cream cheese in a bowl, using an electric hand mixer until smooth and fluffy.16 Ounces Cream Cheese
-
Slowly add the sugar while mixing, scraping down the bowl as needed.1/2 Cup Granulated Sugar
-
Next, add in the whipping cream and vanilla.2 Tablespoons Heavy Whipping Cream, 1 teaspoon Vanilla
-
Beat until the mixture is light and fluffy.
-
Pour over the crust and cover and refrigerate for 2 hours.
For the Topping
-
Place a mixing bowl and whisk attachment for a stand or hand mixer in the fridge.
-
Once chilled, beat the cream until soft peaks form.2 Cups Heavy Whipping Cream
-
Add the powdered sugar and beat until the mixture turns to stiff peaks.1 1/2 Cups Powdered Sugar
-
Separate out 1 1/4 cups for the decoration.
-
Place banana slices over the cheesecake and spread the pudding on top.2 Whole Bananas
-
Cover with the whipped cream.
-
Using a piping bag filled with the remaining 1 1/4 cups of whipped cream, decorate the outside edge.
-
Refrigerate for 2-4 hours or until set.
-
Remove from the fridge and sprinkle the cookie pieces on top.6-8 Vanilla Wafers
-
Serve and enjoy!
Recipe Notes
Nutrition
Serving: 1g
,
Calories: 868kcal
,
Carbohydrates: 71g
,
Protein: 7g
,
Fat: 64g
,
Saturated Fat: 37g
,
Polyunsaturated Fat: 5g
,
Monounsaturated Fat: 17g
,
Trans Fat: 1g
,
Cholesterol: 232mg
,
Sodium: 401mg
,
Potassium: 251mg
,
Fiber: 1g
,
Sugar: 50g
,
Vitamin A: 2225IU
,
Vitamin C: 3mg
,
Calcium: 110mg
,
Iron: 1mg
Nutrition information is automatically calculated, so should only be used as an approximation.
Like this? Leave a comment below!