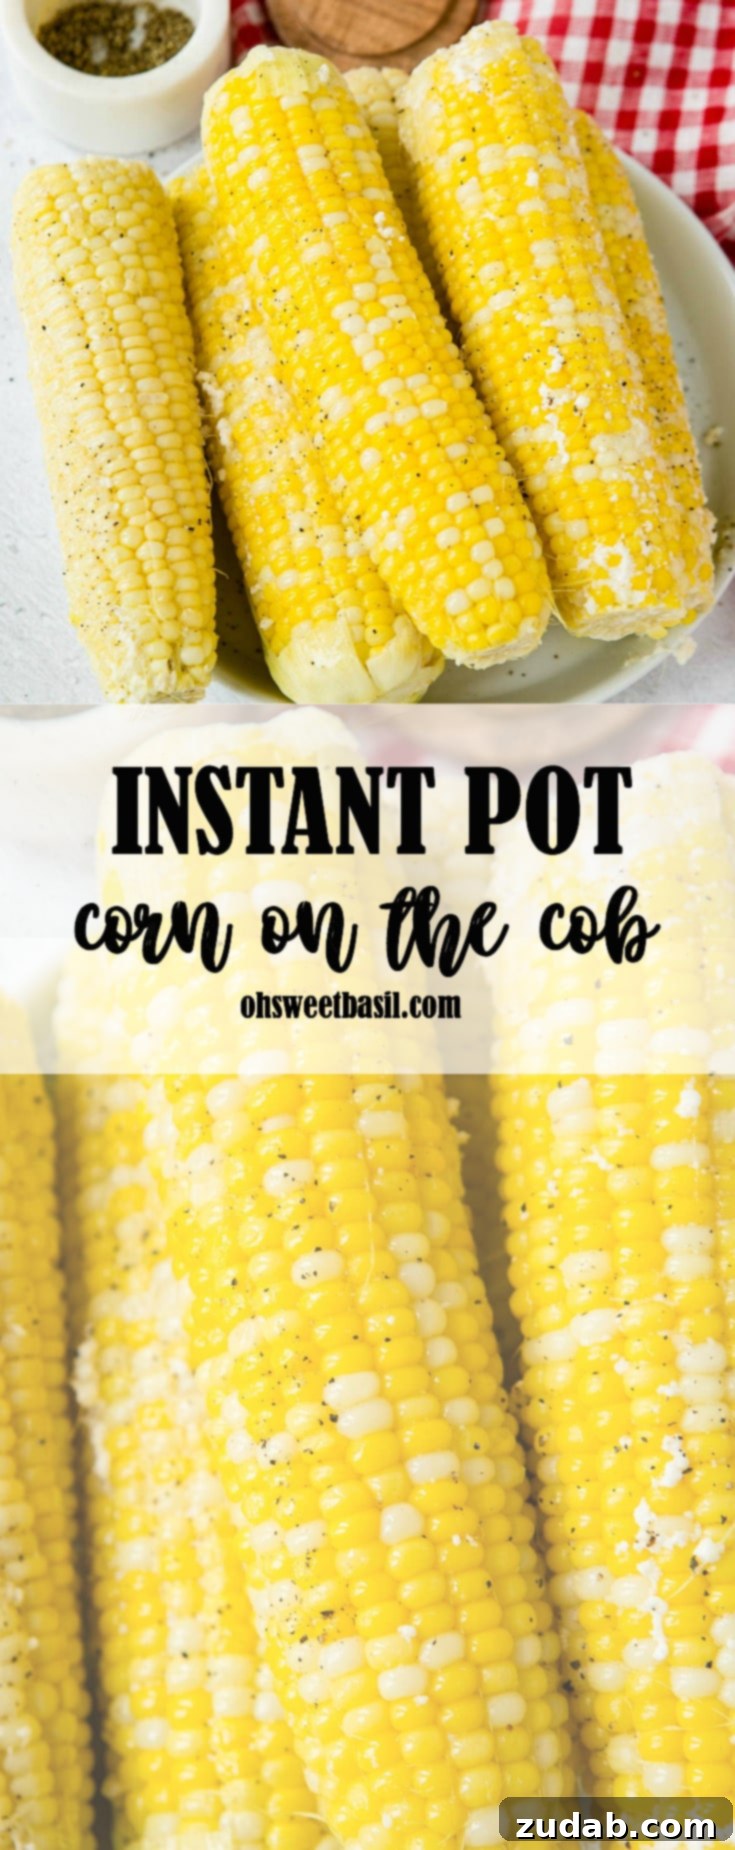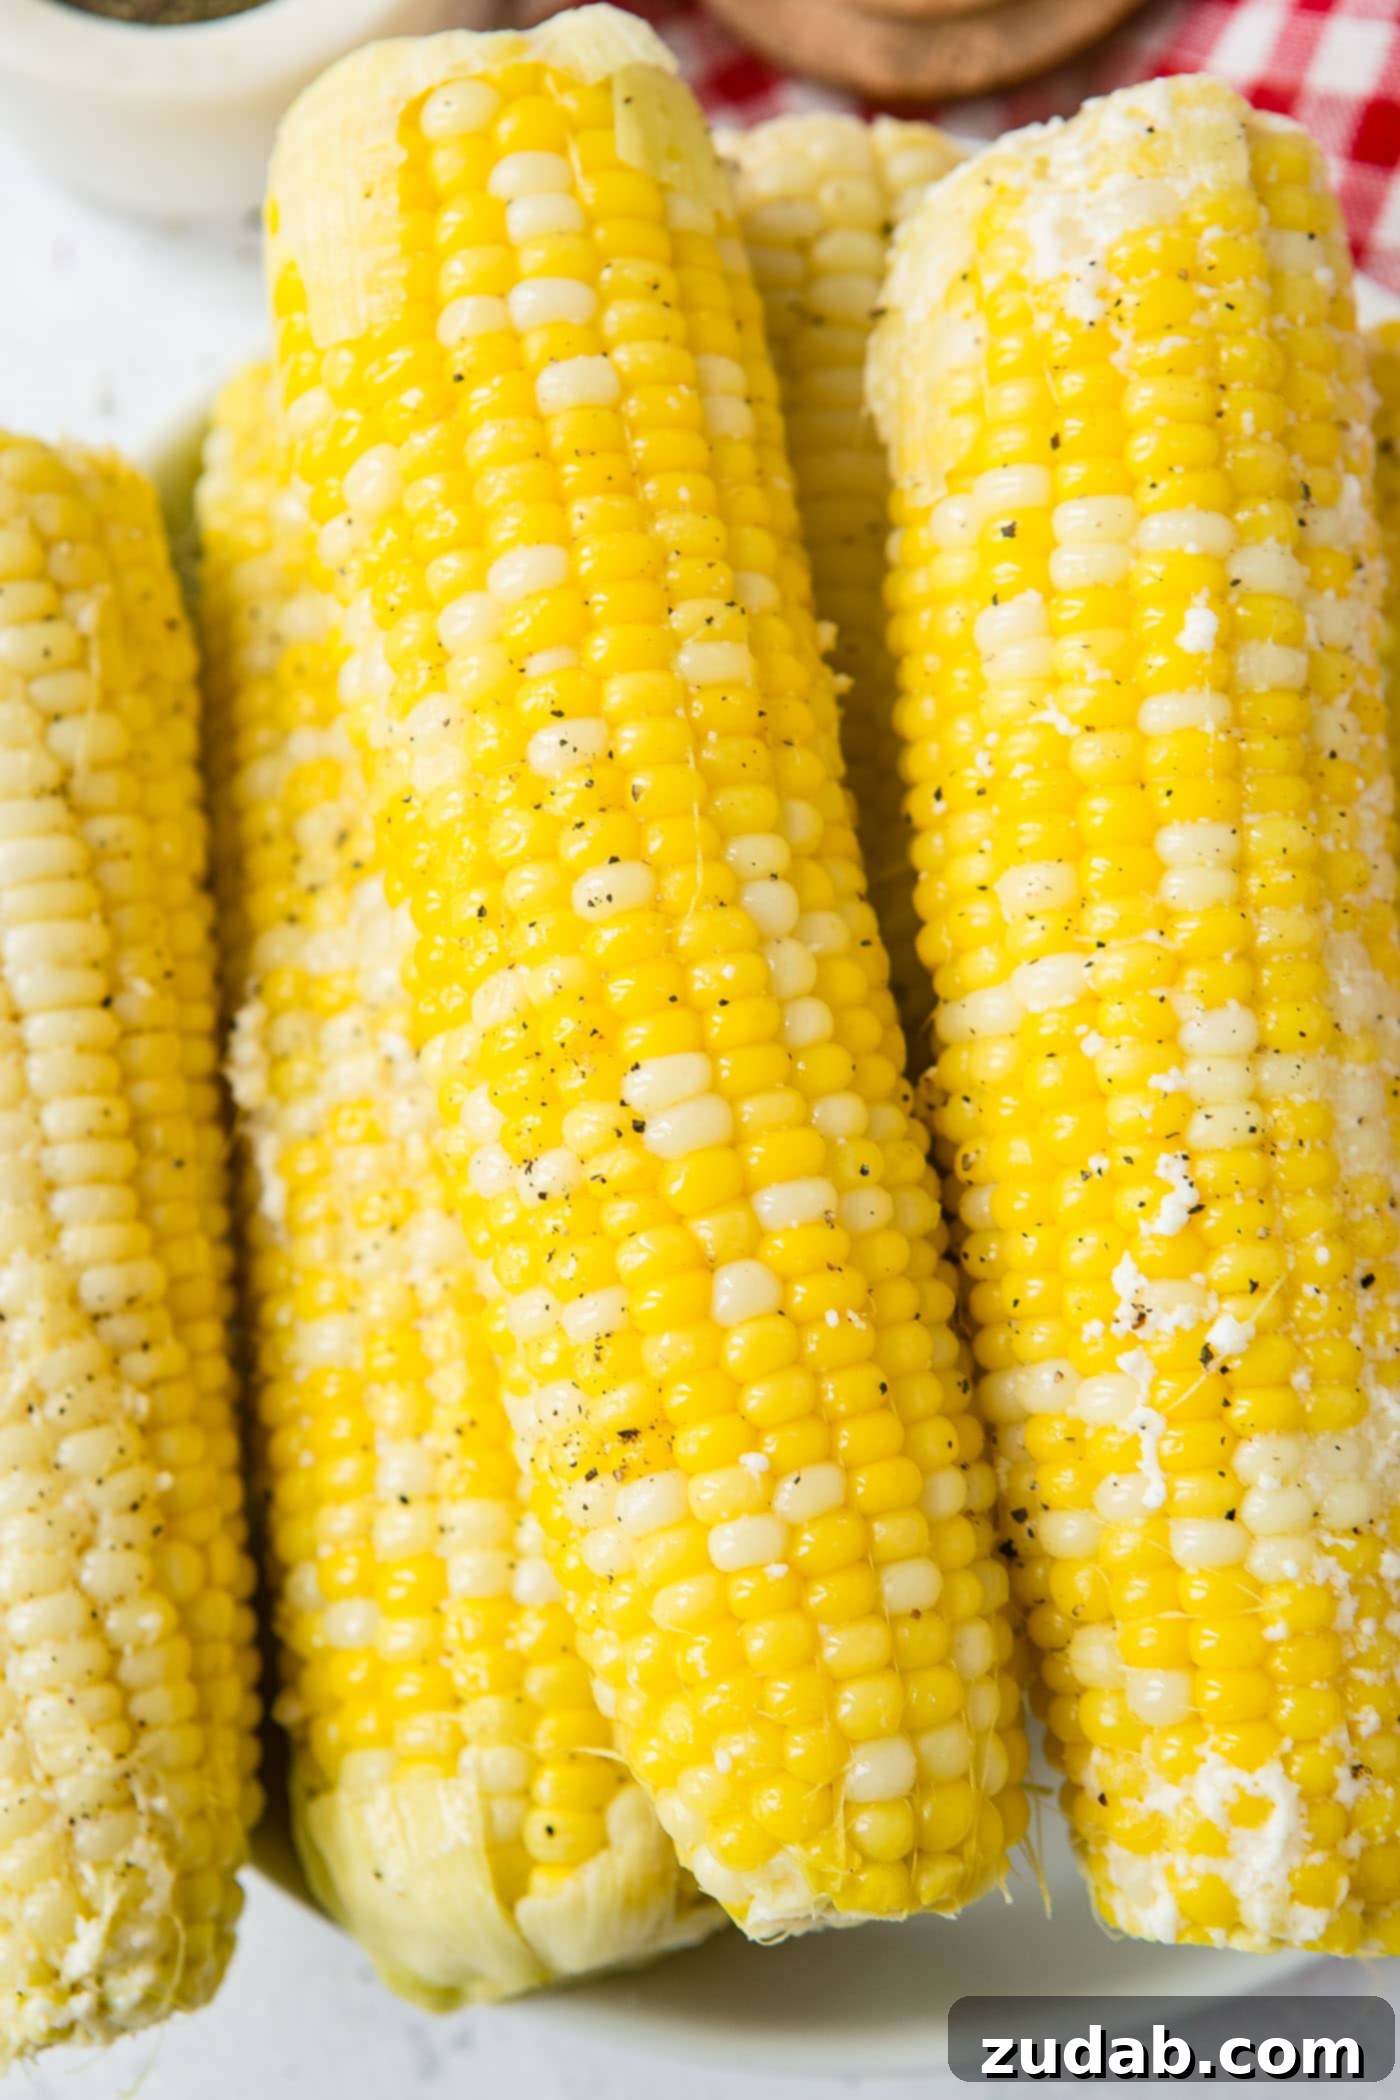
I can hardly believe I’m sharing this, but my grill has been taking a backseat when it comes to preparing one of summer’s most cherished delights: corn on the cob. Instead, I’ve discovered the sheer brilliance of making corn in the Instant Pot, and it’s truly a game-changer. Instant Pot Corn on the Cob isn’t just easy; it’s astonishingly convenient, consistently delicious, and perfect for any summer gathering. This method promises perfectly cooked, tender, and juicy ears every single time, making it an essential technique for busy weeknights or large backyard barbecues alike. Get ready to embrace a new, simpler way to enjoy this beloved seasonal staple.
The Irresistible Charm of Fresh Corn on the Cob
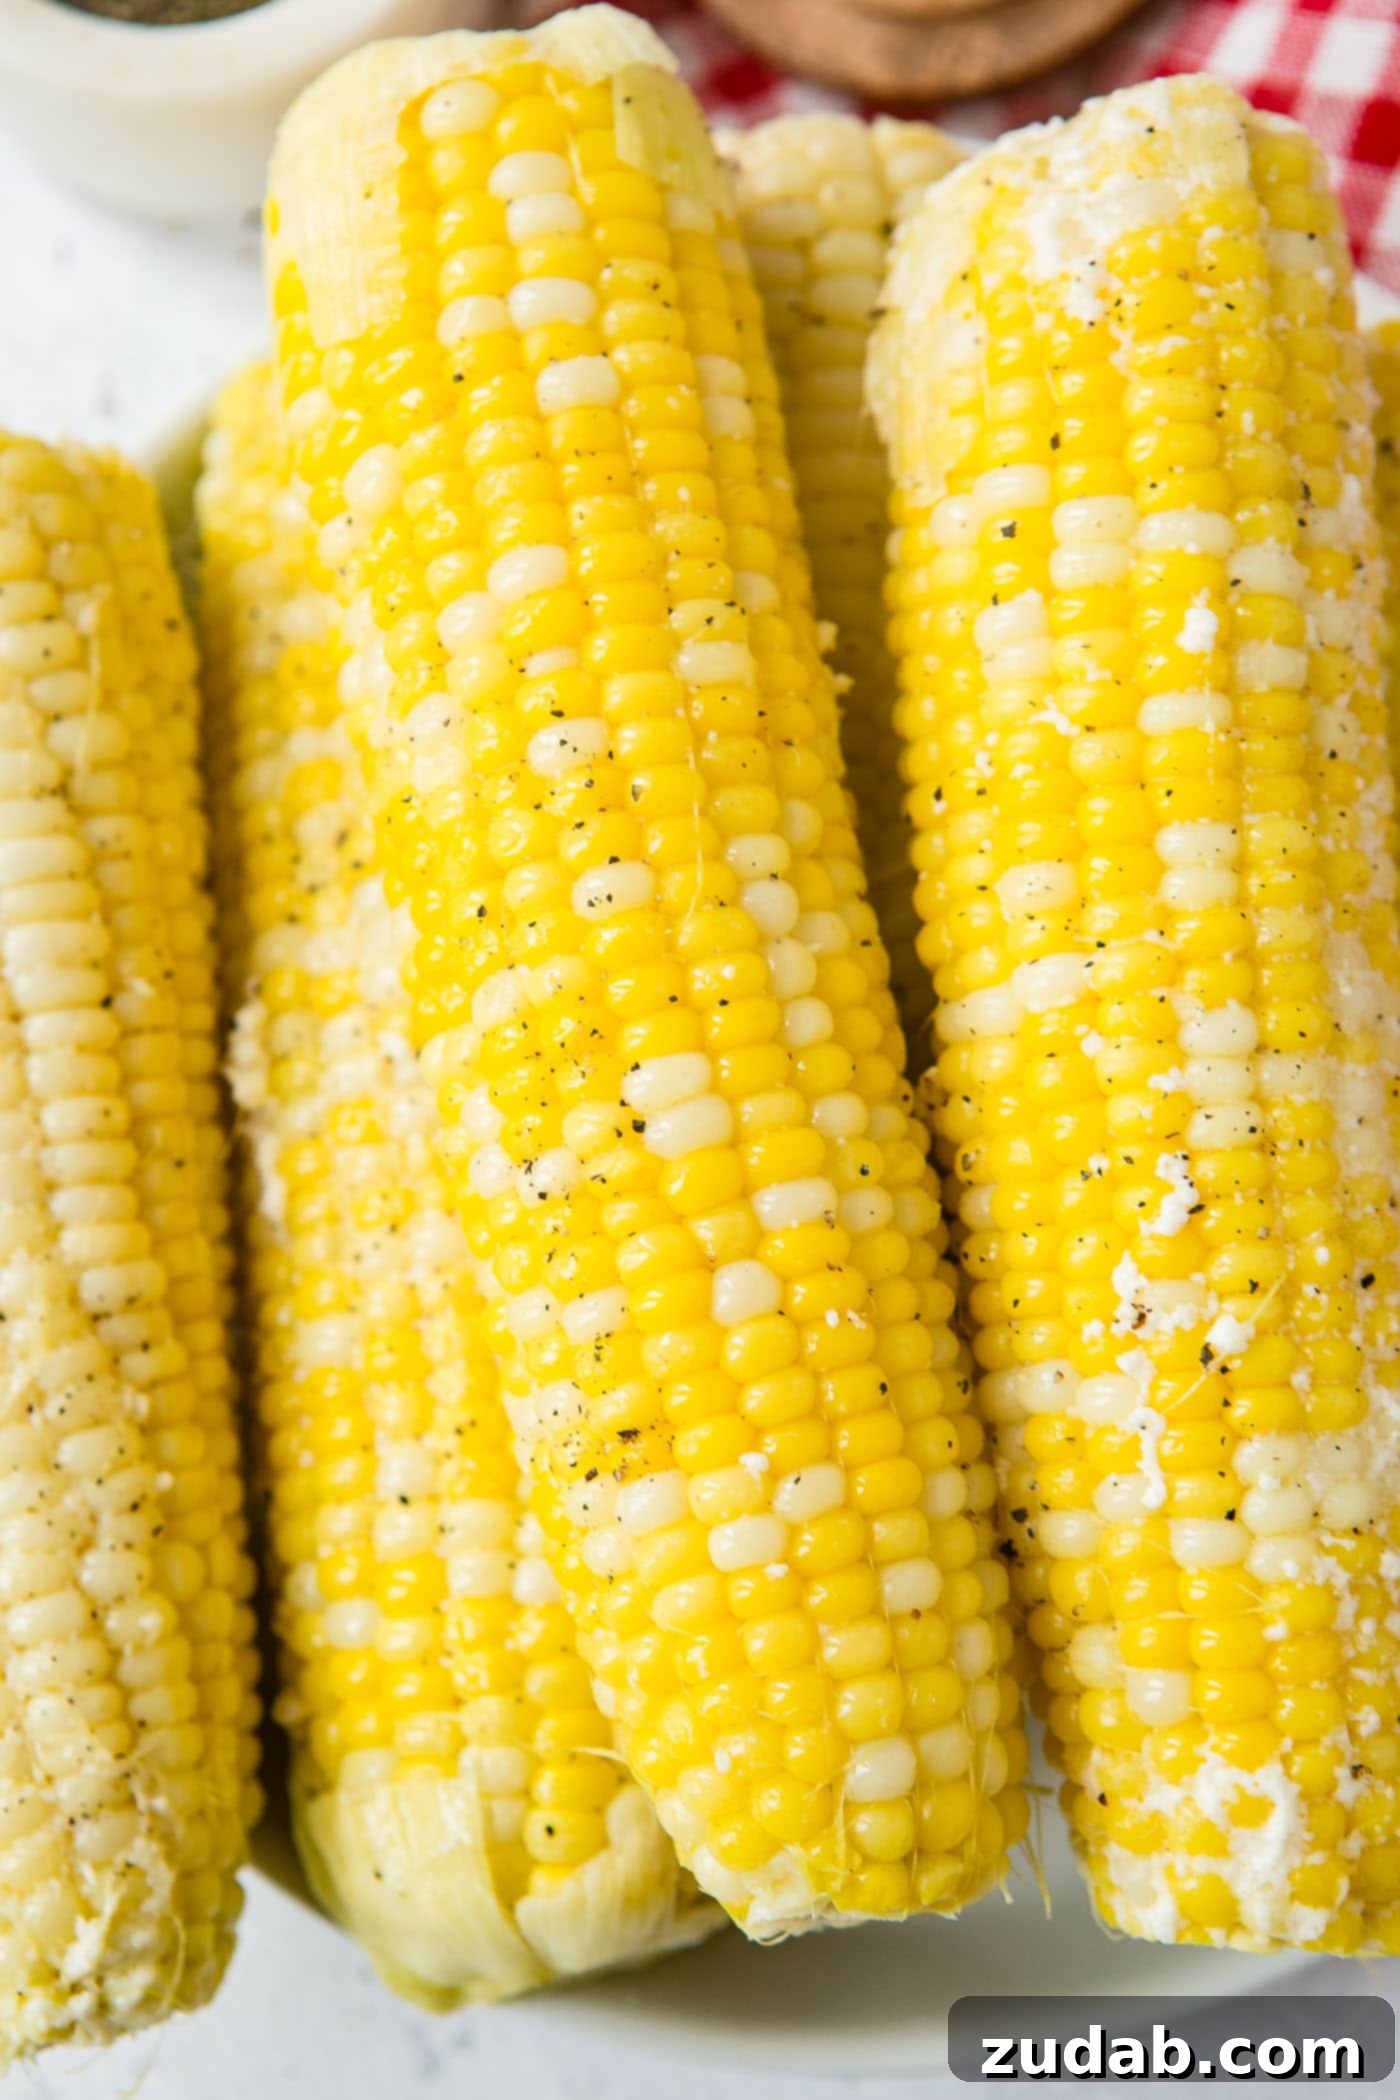
Corn on the cob stands as an undisputed highlight of any summer meal, evoking feelings of nostalgia and pure culinary joy. There’s truly nothing that compares to the taste of fresh, sweet corn picked straight from the fields, its kernels bursting with flavor. For many, including myself, memories of summer are inextricably linked with this golden treasure. I recall being a young girl, eagerly participating in the family ritual of shucking corn. My mom would set up a small stool or chair for me, and I’d delight in pulling back the vibrant green husks, meticulously removing every strand of silken tassel, and then proudly plunking the gleaming, cleaned ears into a large bucket, ready for the evening feast. This simple act was not just a chore but a cherished part of preparing for those memorable summer dinners, fostering a deep appreciation for fresh produce and shared family moments. Its sweet, earthy aroma simmering or grilling instantly signals the arrival of warmer days and carefree evenings.
Mastering the Selection: How to Choose the Best Corn on the Cob
Picking out the perfect ears of corn can feel a bit like a mystery, especially when you see people aggressively pulling back husks in the grocery store – a practice that frankly, bugs me! It’s unnecessary and can damage the corn for others. You don’t need to peel back the husks to find good corn. Instead, here’s a respectful and effective way to select the freshest and sweetest corn on the cob, ensuring a delightful culinary experience:
- Feel for Fullness: Gently squeeze the ear of corn through the husk, holding it firmly in your hand. You’re checking for any missing kernels or gaps. If you feel uneven patches or areas where kernels should be but aren’t, indicating underdeveloped or damaged corn, it’s best to set that ear aside and choose another. A good ear will feel plump and firm all around.
- Examine the Silks: Look at the cornsilk tassels peeking out from the top of the husk. Ideal silks should be light brown or golden, slightly damp, and sticky to the touch. This indicates fresh, ripe corn. If the silks are dry, brittle, black, or have a slimy texture, it’s a strong sign that the ear is old, possibly overripe, or has been sitting for too long, and you should definitely pass on it.
- Check for Plump Kernels: While you don’t need to strip the husk, you can often feel the plumpness of the kernels through the outer layers. A ripe ear will feel robust and plentiful with firm, round kernels packed tightly together, rather than feeling thin or sparse.
- Observe the Husks: The husks themselves offer valuable clues. They should be bright green, wrapped tightly against the corn, and have a slightly damp, healthy appearance. Avoid any ears with husks that are starting to yellow, feel dry, or are loose, as these are indicators of older corn.
- Inspect for Blemishes: Give the entire ear a quick visual scan for any small holes, especially near the bottom, which could be an entry point for worms or insects. Also, steer clear of any dark spots, molds, or areas of decay on the husk, as these can signal damage to the kernels underneath.
Exploring Corn Cooking Methods: Beyond the Grill and Boil
While the Instant Pot offers an incredible way to prepare corn, it’s worth appreciating the versatility of this beloved vegetable. There are numerous delightful methods to cook corn on the cob, each imparting its unique flavor and texture. I encourage you to experiment with a few to discover your personal favorite, but for now, let’s start with our star recipe: Instant Pot Corn on the Cob. However, understanding other techniques can broaden your culinary horizons and allow you to tailor your corn preparation to any occasion or preference.
Classic Grilling: Infusing Smoky Flavor
To truly capture that quintessential summer smoky flavor, grilling corn on the cob is a fantastic choice. The high heat of the grill caramelizes the sugars in the corn, creating a beautiful char and a depth of flavor that’s hard to beat. You can grill corn in its husk for a steamed effect, or shuck it first for direct charring. While it might take an extra step compared to some other methods, the payoff in taste is immense. For detailed instructions and tips on achieving that perfect grilled sweetness, I highly recommend referring to our dedicated post on how to grill corn on the cob. I promise it yields the most incredibly yummy, juicy corn imaginable.
Traditional Boiling: Simple and Sweet
The pot-boiled corn method is perhaps the most straightforward and timeless. This technique results in tender, succulent kernels with a pure, unadulterated corn flavor. Simply dunk your cleaned ears of corn into a large pot of boiling water, or for an extra creamy touch, use a mixture of milk and water. Boil until the kernels turn a vibrant yellow and are perfectly tender to the bite. Adding a pinch of sugar to the boiling water can also enhance the natural sweetness of the corn, making it even more delectable.
Oven Roasting: A Different Approach to Sweetness
For a hands-off approach that brings out a concentrated sweetness, consider oven roasting your corn on the cob. You can roast it directly on the oven rack, wrapped in foil, or even in its husk. Roasting at a high temperature (around 400°F or 200°C) for about 20-30 minutes allows the corn to gently caramelize, resulting in a slightly chewier texture and an intensified flavor profile. Brushing the shucked corn with a little butter or olive oil before roasting adds an extra layer of richness and helps achieve a beautiful golden hue. This method is excellent for those who appreciate a slightly drier, more robust corn experience without the need for outdoor grilling.
Instant Pot Corn on the Cob: Revolutionizing Your Summer Kitchen
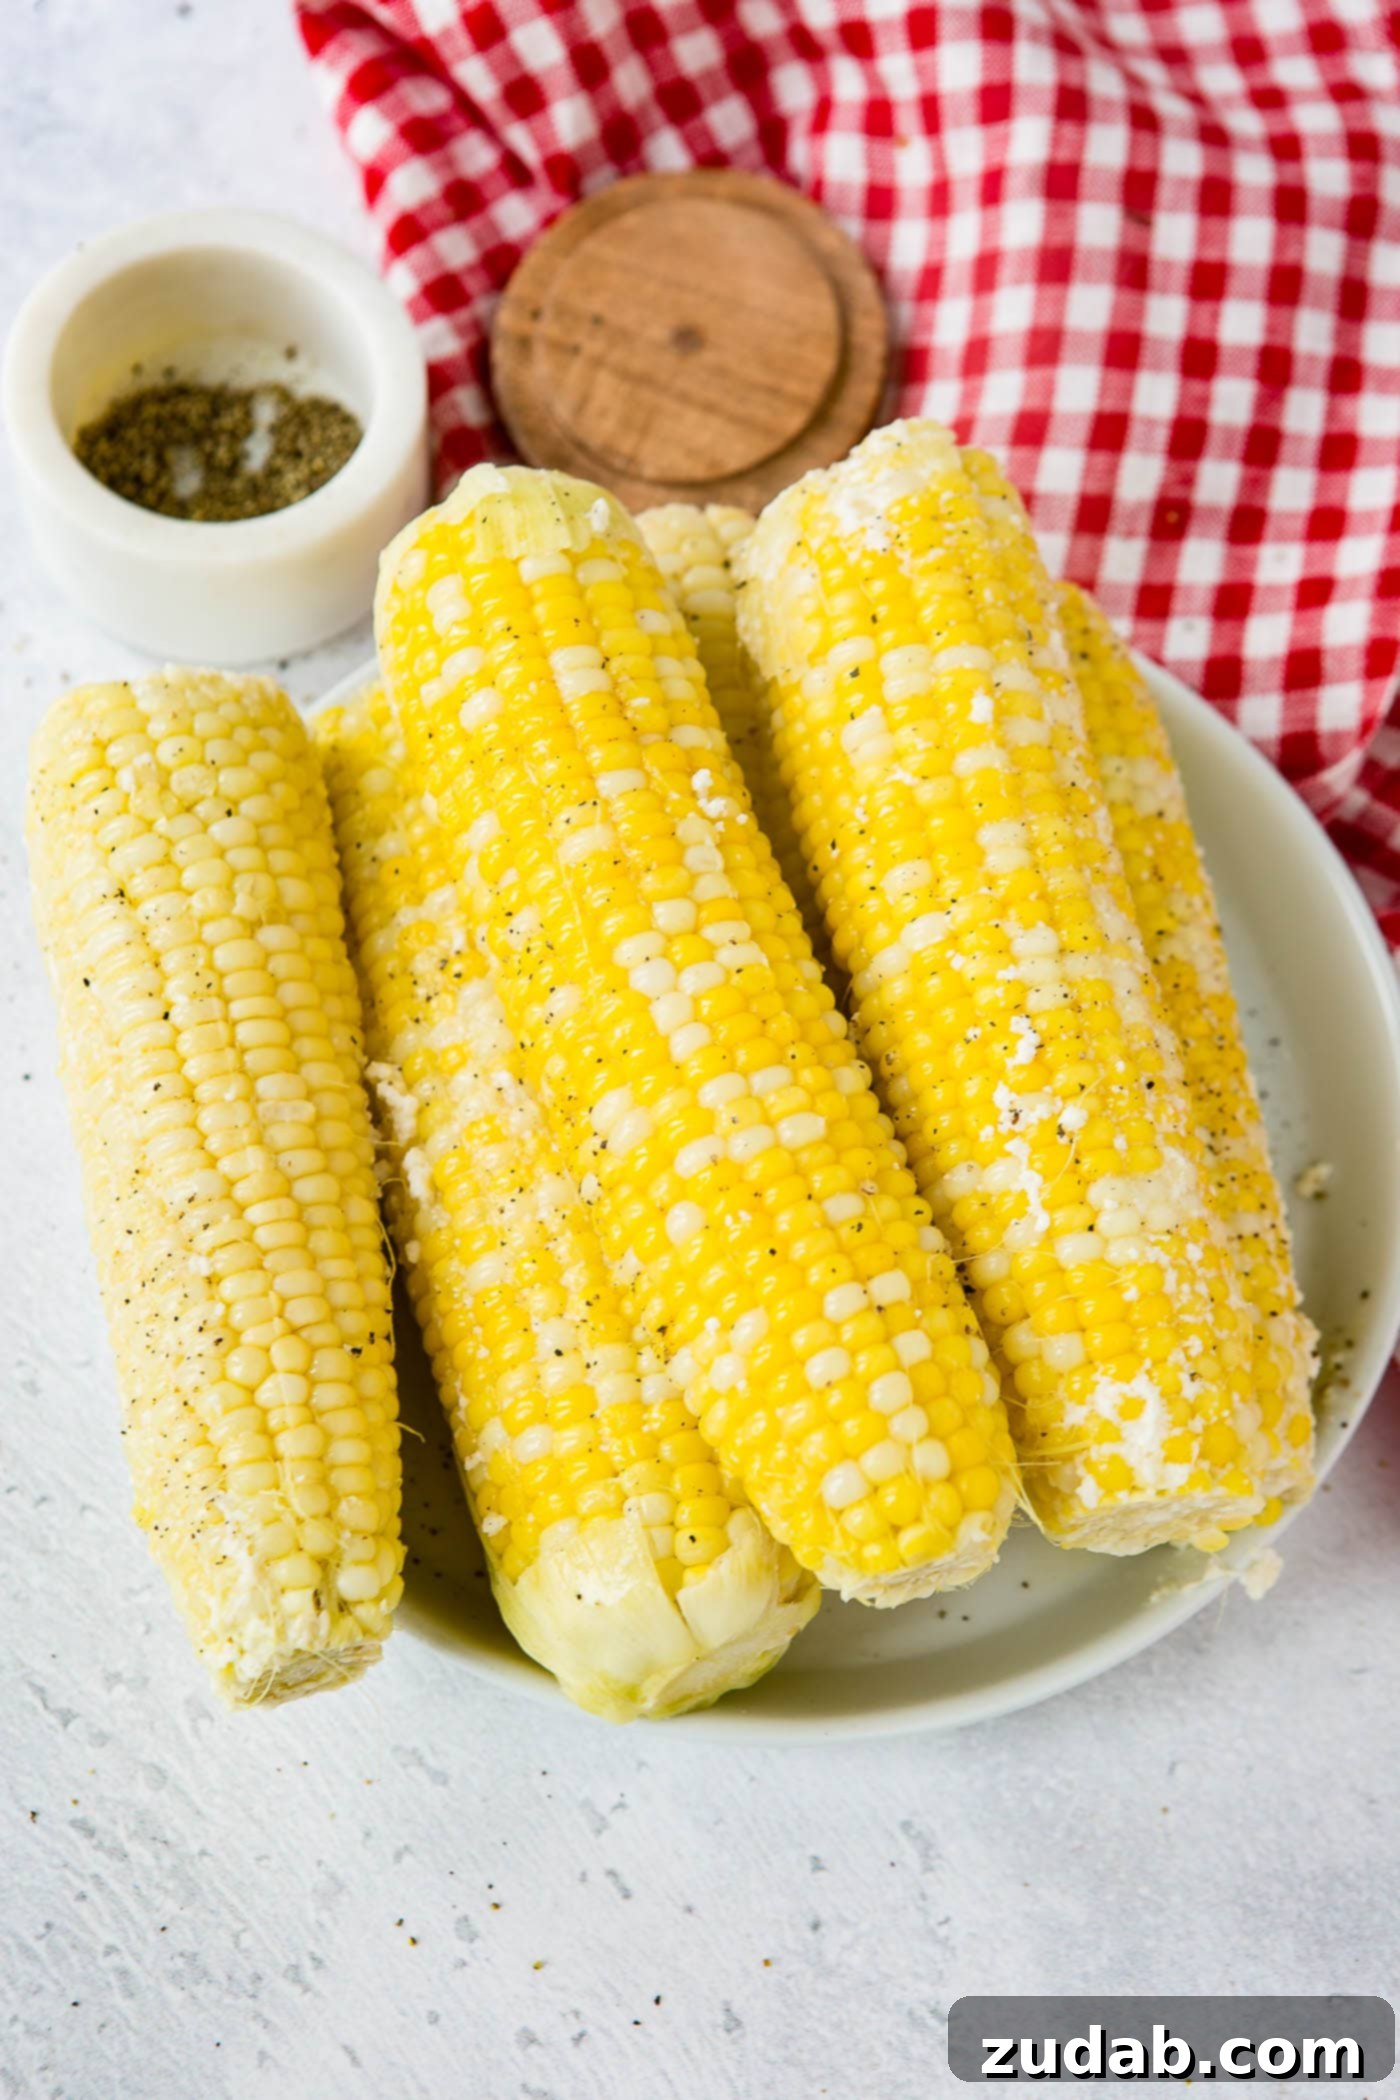
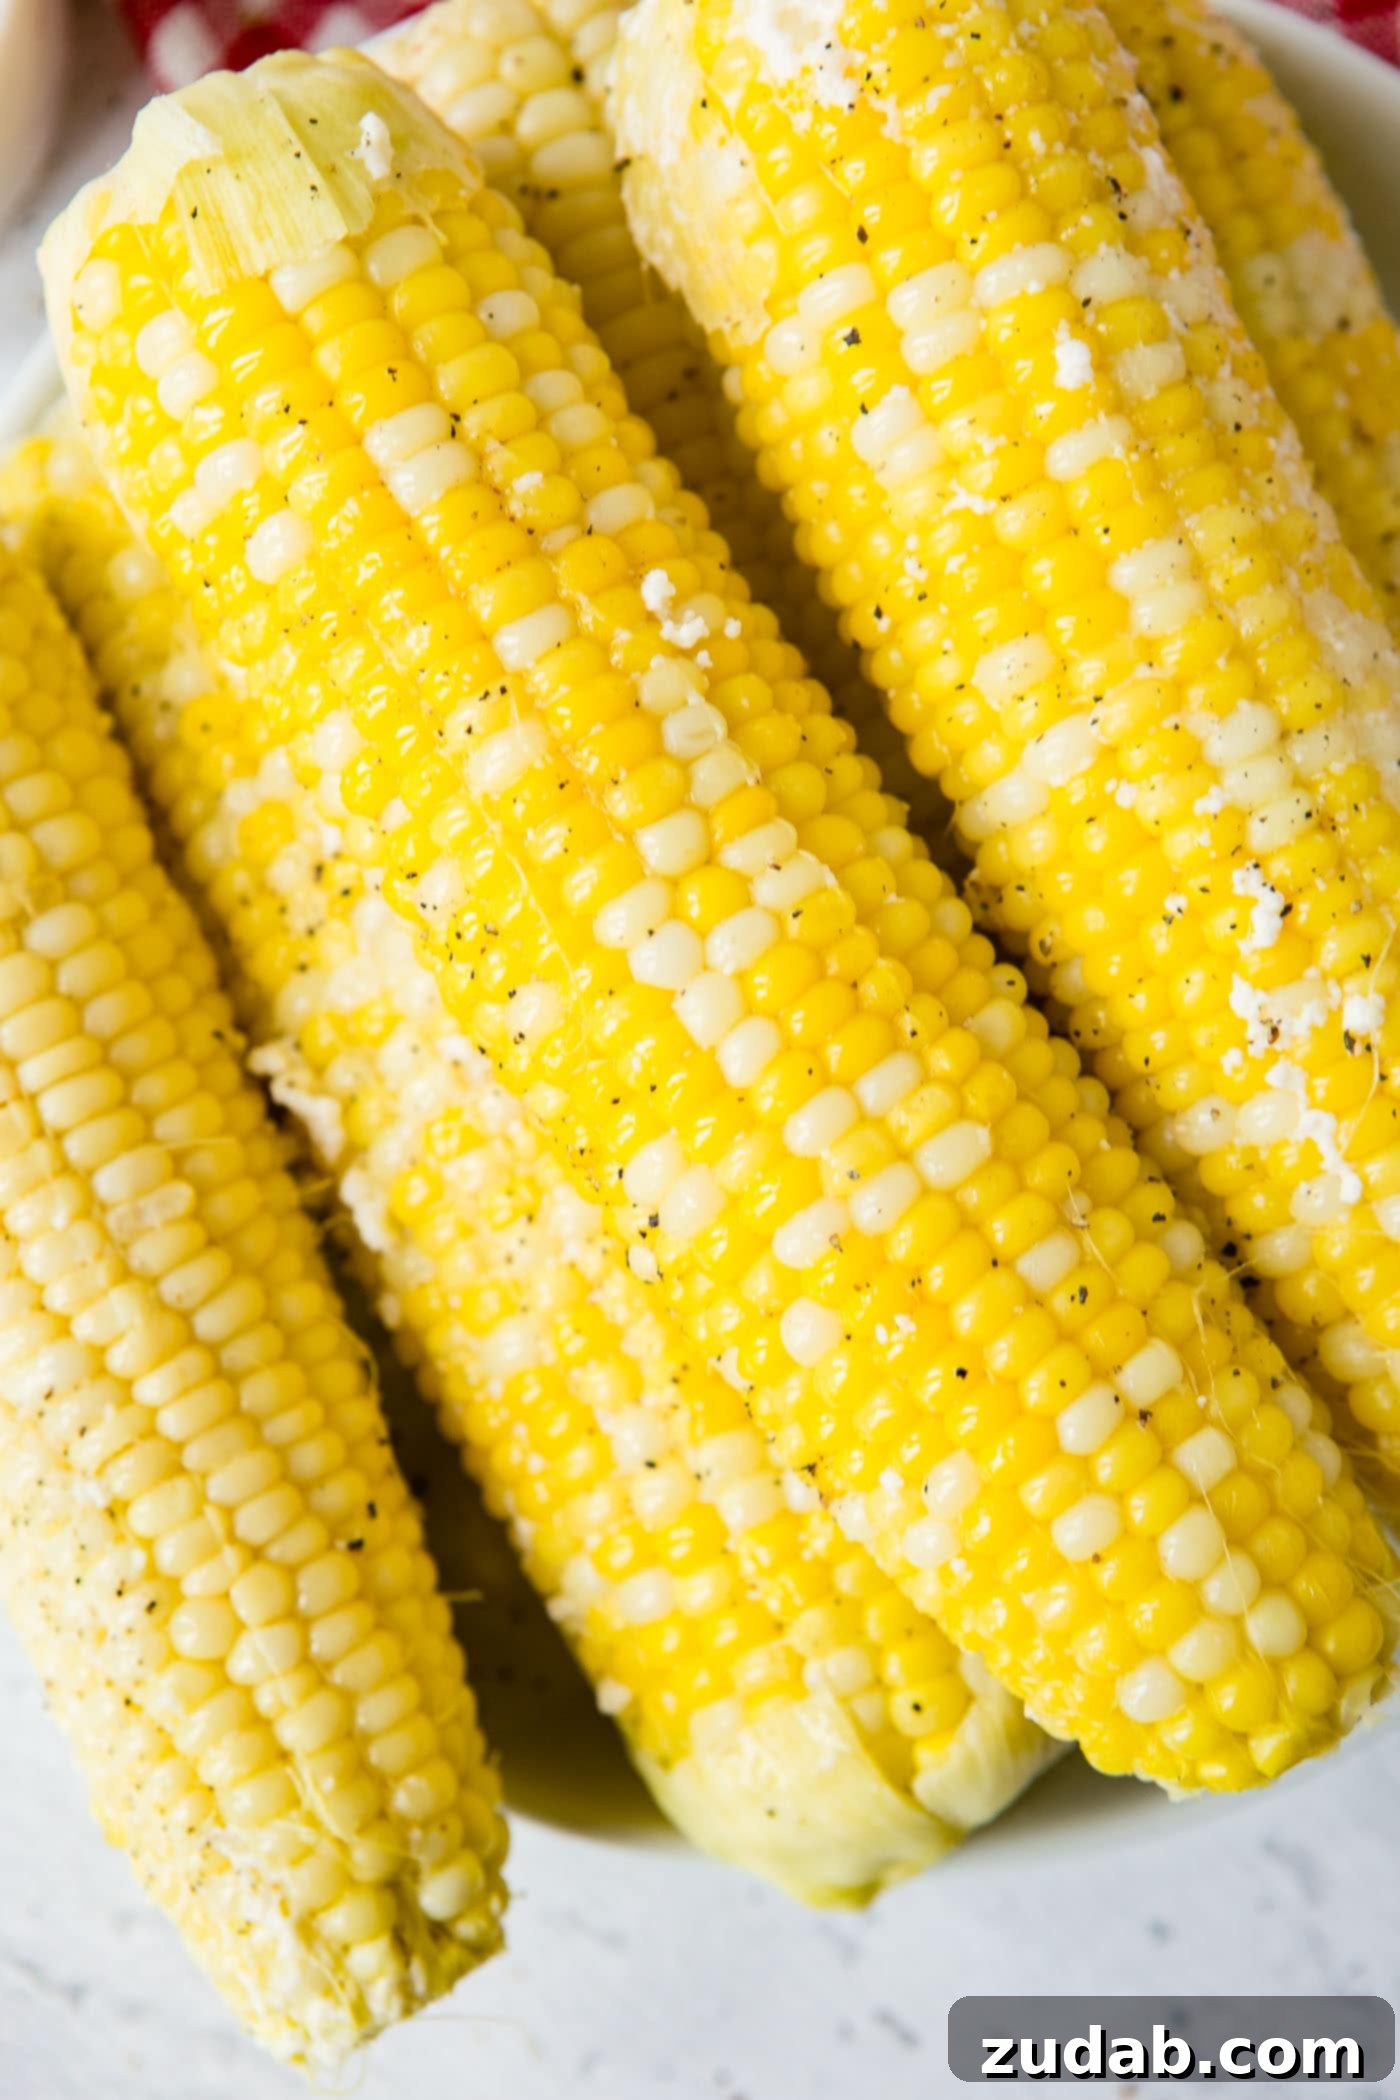
Now, let’s dive into the star of the show: preparing perfect corn on the cob using your Instant Pot. This method is incredibly fast, efficient, and delivers consistently tender and flavorful results, making it ideal for busy cooks who still crave that fresh summer taste. The pressure cooking environment ensures even cooking and locks in moisture, preventing the corn from drying out, which can sometimes happen with other methods. It’s truly a revelation for quick side dishes or large batch cooking. Here’s a step-by-step guide to achieving flawless Instant Pot corn:
- Prepare the Instant Pot: Begin by placing a trivet (the metal rack that comes with your Instant Pot) at the bottom of the inner pot. This crucial step prevents the corn from sitting directly on the bottom, which could lead to scorching and ensures even steam distribution around the ears.
- Add the Liquid and Flavor Enhancers: Pour in the liquid and butter. You have flexibility here: you can use all milk for a richer, creamier flavor, all water for a classic taste, or a combination of both. Many find that a half-and-half mixture of milk and water, along with a few tablespoons of butter, strikes the perfect balance for sweetness and richness.
- Season the Liquid: Add the salt to the liquid mixture and stir gently to combine. The salt will infuse into the corn as it cooks, enhancing its natural sweetness and overall flavor. Feel free to adjust the amount of salt to your preference.
- Arrange the Corn: Carefully lower the shucked corn ears into the Instant Pot, stacking them if necessary. Try to arrange them so they are not fully submerged but are sitting on the trivet, allowing the steam to circulate effectively. Once the corn is inside, secure the lid, ensuring the sealing ring is properly in place, and turn the steam release valve to the “seal” position.
- Cook and Serve: Set your Instant Pot to Pressure Cook (or Manual) on high pressure for just 2 minutes. For corn that is cooked in its husk, you might want to increase the cooking time to 3-4 minutes. Once the cooking cycle is complete, you have two options: allow for a natural pressure release (NPR) for 5 minutes for slightly softer corn, or perform a quick release (QR) by carefully turning the valve to “venting” to release the pressure rapidly. Once the pressure is fully released, open the lid, carefully remove the hot corn, and serve immediately with extra butter, salt, and pepper to taste.
FAQs About Cooking and Storing Corn on the Cob
Can You Cook Corn in the Husk in an Instant Pot?
Absolutely! Cooking corn in its husk is a fantastic way to retain moisture and flavor, regardless of your cooking method. You can microwave, boil, grill, and yes, even use your Instant Pot to cook corn directly in the husk. Many people prefer this method, especially for grilling, as the husk acts as a natural protective layer, preventing the corn from drying out and enhancing its steamed, tender quality. When using the Instant Pot, cooking corn in the husk will typically require an additional minute or two compared to shucked corn. This slight increase in cooking time allows the heat to penetrate the husk and thoroughly cook the kernels inside, resulting in deliciously tender corn that’s easy to peel and enjoy.
Reheating Leftover Corn on the Cob
Corn on the cob reheats remarkably well, making it perfect for meal prep or enjoying leftovers. One simple and effective method is to bring a pot of water to a rolling boil. Once boiling, carefully drop the cooked corn on the cob into the water. Allow it to boil for just 2-3 minutes, or until it is thoroughly heated through. This method gently reheats the corn without overcooking it, preserving its texture and sweetness. Alternatively, you can reheat corn on the cob in the microwave. Wrap individual ears loosely in a damp paper towel and microwave on high for 30-60 seconds, or until hot. This helps maintain moisture and prevents the corn from becoming rubbery.
For an even more convenient reheating tip, especially if you anticipate leftovers, consider cutting the corn kernels off the cob after it’s cooked. Store these loose kernels in an airtight container in the fridge. When you’re ready to reheat, simply warm them up in the microwave or sauté them quickly in a pan on the stove until hot. This approach is excellent for adding to salads, salsas, or as a quick side dish.
Best Practices for Storing Fresh and Cooked Corn
Proper storage is key to extending the freshness and quality of your corn on the cob. Fresh, uncooked corn on the cob (in its husk) should be stored in an airtight container or a plastic bag in the refrigerator. This minimizes moisture loss and keeps the corn fresh for a few days, ideally consumed within 3-5 days for optimal flavor. If you’ve already cooked the corn, allow it to cool completely before storing. You can store full cooked ears in an airtight container in the fridge for 3-4 days. For longer storage, consider cutting the kernels off the cob. These loose kernels can be stored in an airtight container in the fridge for a few days or transferred to a freezer-safe bag or container for freezing.
How Long Does Frozen Corn Last?
When properly stored, frozen corn can last for an extended period, allowing you to enjoy summer’s bounty all year long. For the best quality and flavor, frozen corn should ideally be eaten within a year of placing it in the freezer. While it can technically remain safe to eat for longer, consuming it within this timeframe helps to avoid the formation of ice crystallization, which can affect the texture and taste of the corn. To freeze fresh corn, shuck and blanch the ears briefly, then cut off the kernels or freeze whole cobs. Flash freezing individual kernels on a baking sheet before transferring them to a freezer bag can also prevent them from clumping together.
Elevate Your Instant Pot Experience
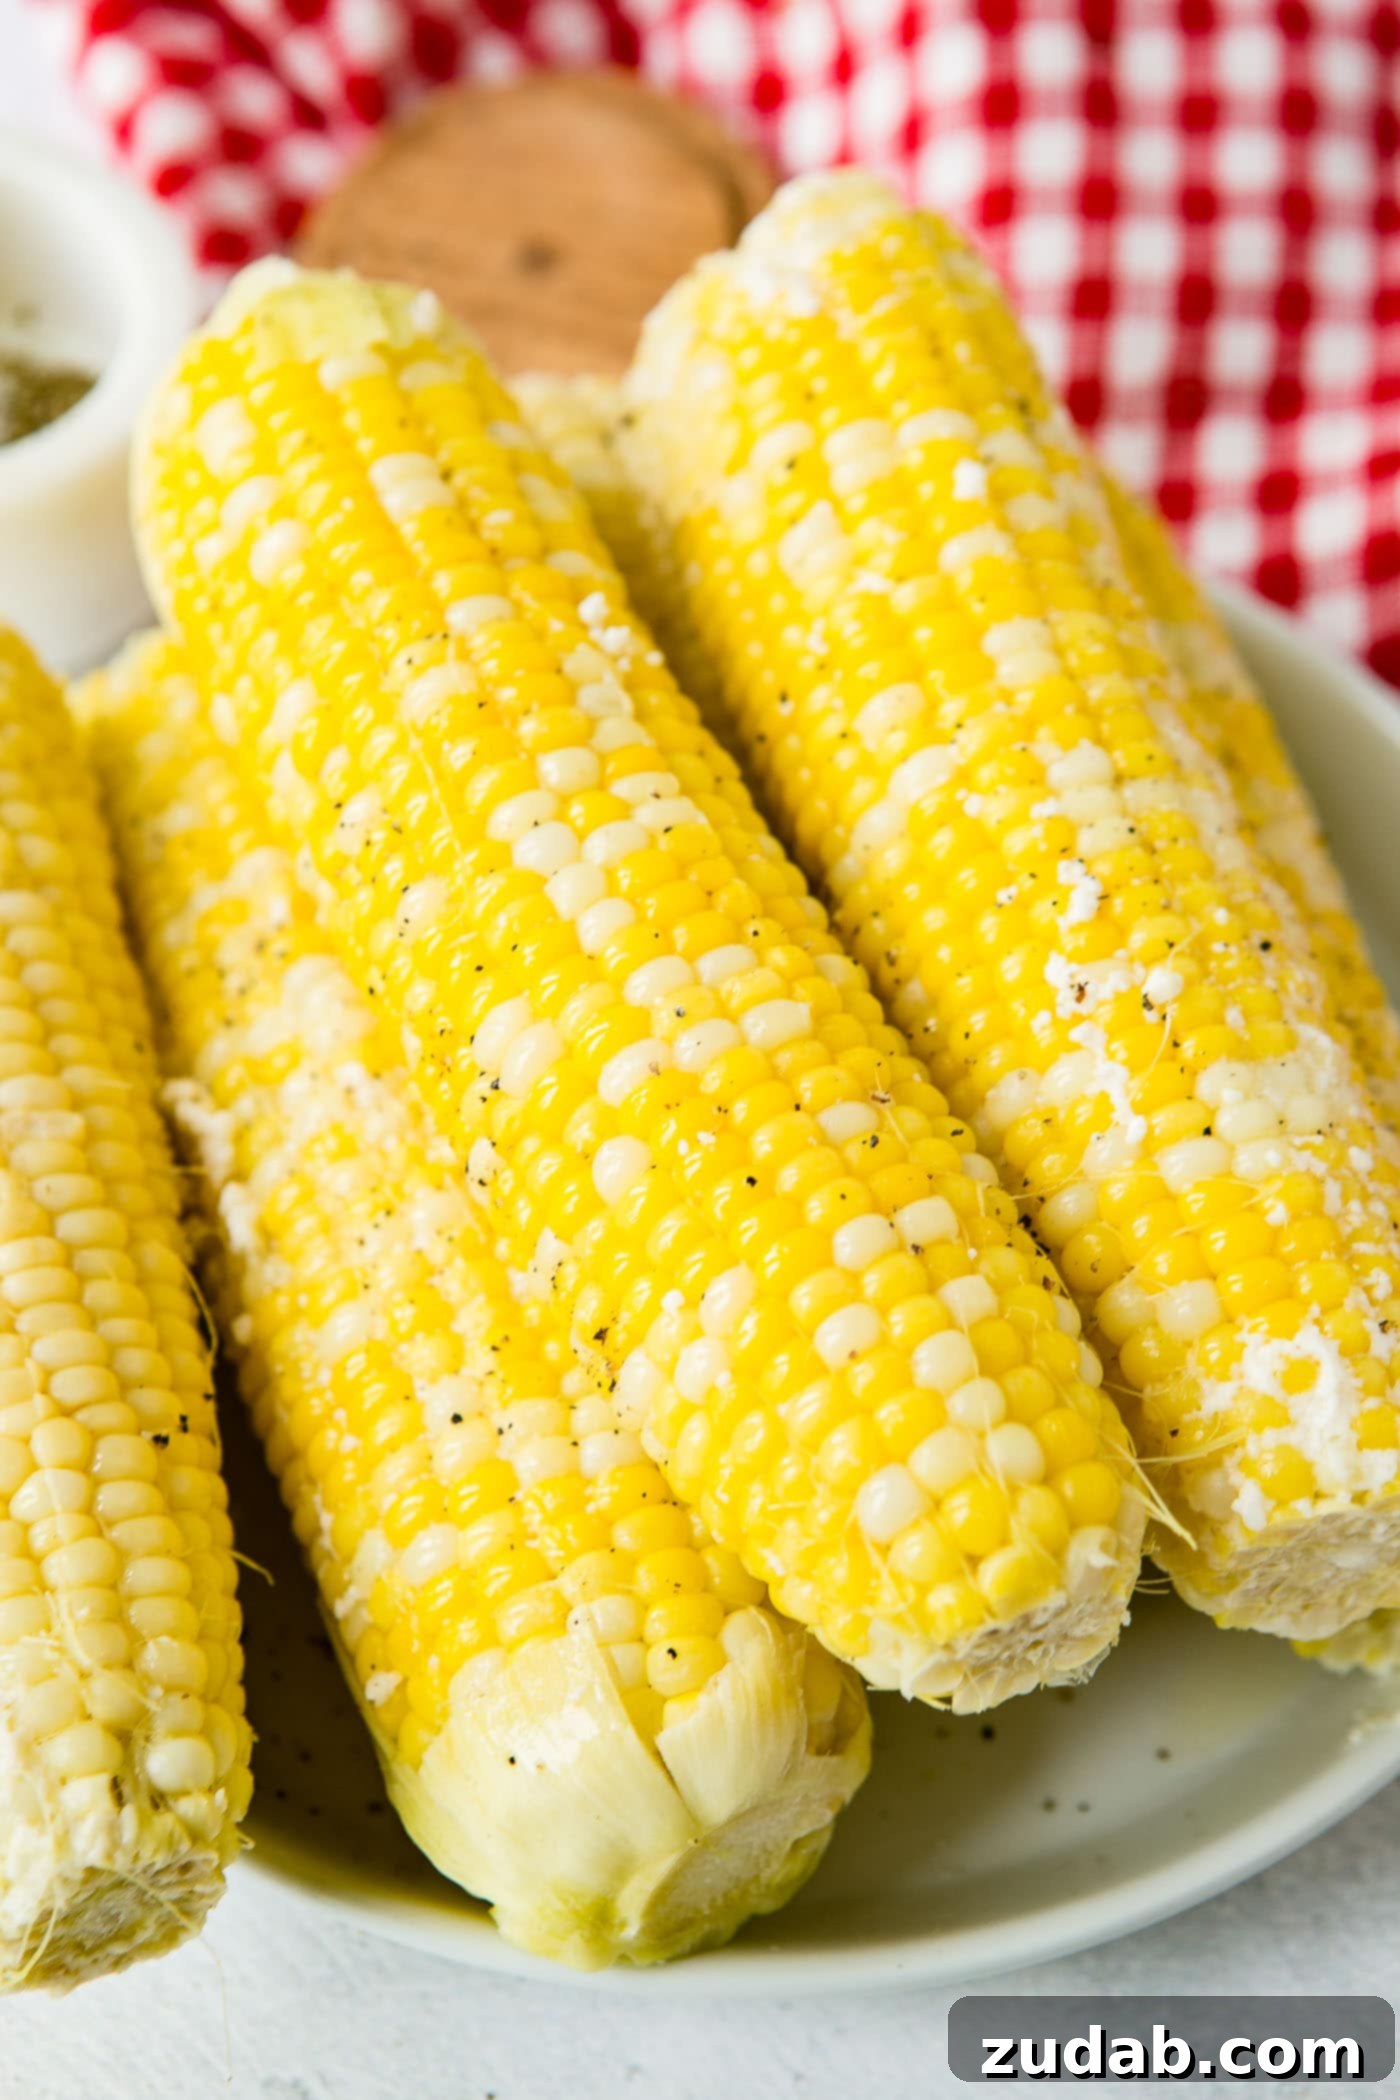
Mastering the Instant Pot is easier than you think, and cooking corn is just the beginning. For everything you need to know about preparing all the basic staples in your pressure cooker, be sure to check out our comprehensive Instant Pot Cheat Sheet. It’s packed with essential cooking times and tips to make your pressure cooking journey seamless and enjoyable. Trust me, it truly doesn’t get any simpler or more efficient than making this perfect Instant Pot Corn on the Cob.
More Delicious Instant Pot Recipes
Once you’ve experienced the convenience and quality of Instant Pot cooking, you’ll want to explore even more possibilities. Here are some of our favorite Instant Pot recipes to expand your culinary repertoire:
- Ground Beef and Pasta
- Simple Instant Pot Refried Beans
- Instant Pot Green Beans
- Chicken Burrito Bowls
- Ribs in the Instant Pot
Irresistible Corn Recipes for Every Occasion
Corn is incredibly versatile and can be used in a myriad of delicious ways beyond just eating it on the cob. Explore these fantastic corn-centric recipes that are perfect for any meal or gathering:
- Elote Salad
- Mexican Street Corn
- Cilantro Butter Corn
- Jalapeno Bacon Corn Salad
- Grilled Corn and Tomato Salad
Instant Pot Corn On The Cob
By Sweet Basil
Prep: 5 mins | Cook: 3 mins | Total: 8 mins
Servings: 6
I can’t believe I’m saying this, but I’ve been skipping the grill for corn on the cob and making corn in the instant pot instead. Instant Pot Corn on the Cob is so easy!
Ingredients
- 6 Ears Corn
- 1 1/2 Cups Half and Half (or cream or milk)
- 3 Tablespoons Butter
- 1/2 teaspoon Salt
Instructions
- Pour milk, butter, and salt into the Instant Pot and stir to combine.
- Place the trivet into the Instant Pot.
- Stack the ears of corn in the Instant Pot. Close the lid and set the valve to the sealing position.
- Press the Pressure Cook/Manual button and set to 2 minutes (3 to 4 minutes for unshucked corn).
- When finished, turn the valve to a Quick Release.
- Carefully remove the corn. Cover with butter and sprinkle with salt, and enjoy!
Recipe Notes
You can reheat leftover corn on the cob by bringing a pot of water to a boil. Submerge the cooked corn in the boiling water until it’s just heated through. It should only take a minute or two.
Nutrition
Serving: 1 cob, Calories: 130kcal, Carbohydrates: 3g, Protein: 2g, Fat: 13g, Saturated Fat: 8g, Polyunsaturated Fat: 1g, Monounsaturated Fat: 3g, Trans Fat: 1g, Cholesterol: 37mg, Sodium: 269mg, Potassium: 83mg, Fiber: 1g, Sugar: 1g, Vitamin A: 392IU, Vitamin C: 1mg, Calcium: 65mg, Iron: 1mg
Nutrition information is automatically calculated, so should only be used as an approximation.