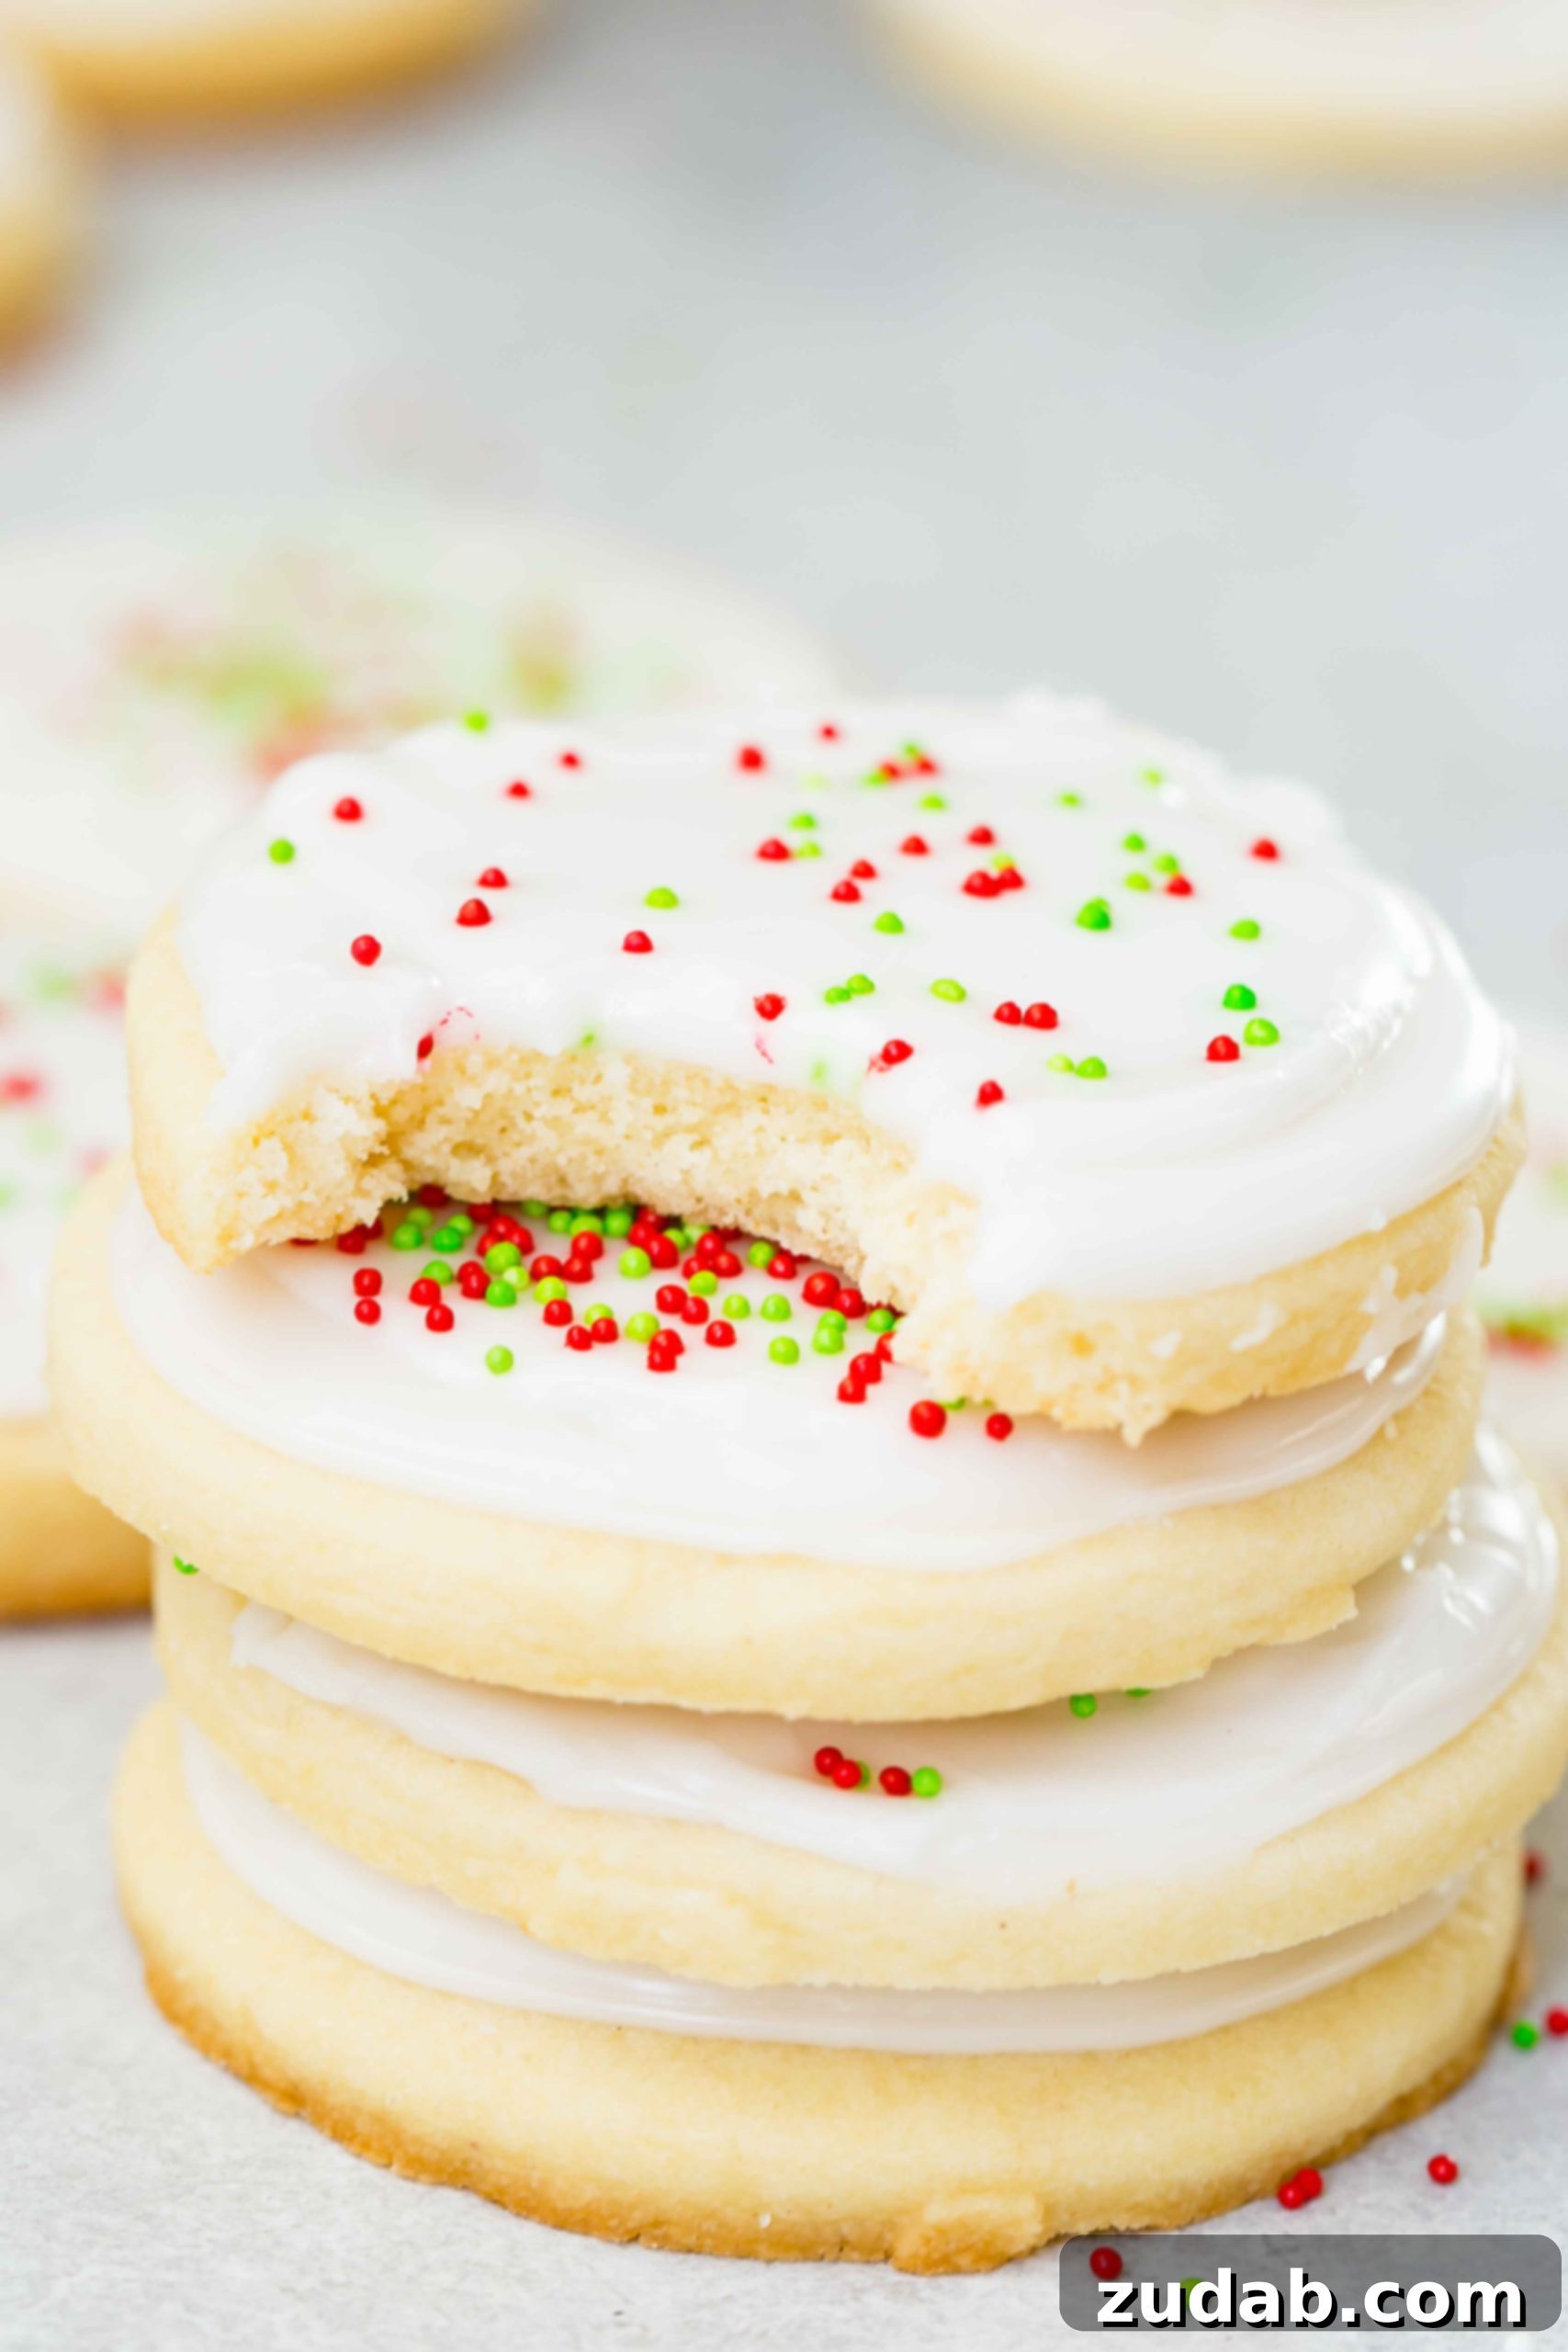
While we cherish the heartwarming nostalgia of classic Christmas cookies, there’s an undeniable thrill in discovering innovative twists on beloved traditions. This holiday season, we’ve embarked on a culinary adventure, transforming the humble sugar cookie into an extraordinary delight: our utterly magical White Chocolate Sugar Cookies with Peppermint Royal Icing!
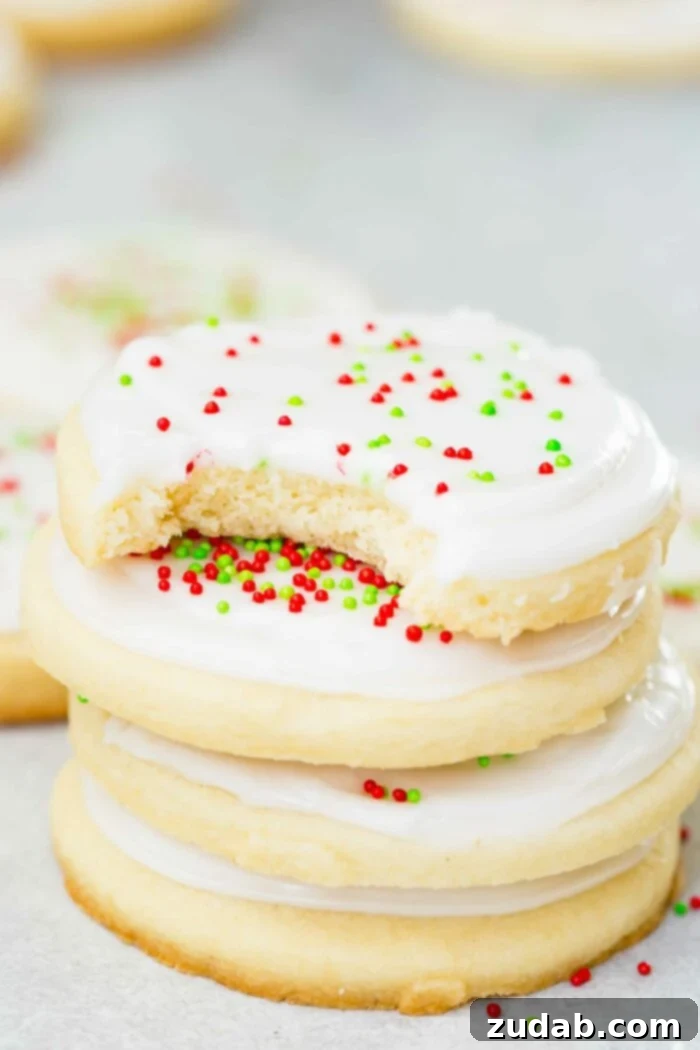
These aren’t just any sugar cookies. The infusion of rich white chocolate elevates their flavor profile, adding a layer of luxurious decadence that melts in your mouth. Paired with a vibrant peppermint royal icing, these cookies encapsulate the very essence of Christmas. They are beautifully soft, wonderfully pillow-y, and possess that ideal melt-in-your-mouth texture that every perfect sugar cookie should have. The royal icing, with its glossy sheen and festive appeal, transforms each cookie into a miniature work of art. We are confident that these delightful treats will quickly become a cherished new favorite in your holiday baking repertoire, bringing joy and a burst of festive flavor to your celebrations.
Baking sugar cookies always conjures a flood of treasured childhood memories. I vividly recall the annual ritual: my mom, a beacon of festive spirit, meticulously preparing batch after batch. Meanwhile, my siblings and I would be happily engrossed in our own creative chaos, cutting out an abundance of paper snowflakes. Tiny scraps of paper would flutter everywhere, a snowy blizzard within the warmth of our kitchen. We held a steadfast belief that hanging these delicate paper creations in our windows was a foolproof way to guarantee a white Christmas, or at the very least, a significant snowfall that year. It was a simple, magical conviction that made the holiday season feel even more enchanting.

Looking back, I sometimes ponder why I was so enamored with the idea of snow. As an adult, my enthusiasm has definitely waned! Perhaps that makes me sound old, or perhaps just a bit boring. Or, more likely, it simply makes me smart! I’m definitely going with smart. Snow, after all, brings with it a host of inconveniences: it’s incredibly cold (and I absolutely detest cold weather), wet, messy, and can make driving treacherous. Before anyone accuses me of being a complete curmudgeon, I must admit its beauty. Freshly fallen snow, dusting trees and rooftops, creates a truly picturesque scene. As long as I can admire this serene winter wonderland from the cozy comfort of my warm home, without having to venture out, then let it snow all it wants! It seems my inner 95-year-old has fully embraced the wisdom of warmth and convenience.
Effortless Elegance: Decorating Your Holiday Cookies
Alright, enough reminiscing about winter weather! Let’s get back to what truly matters: these incredibly easy sugar cookies! Have you ever found yourself captivated by those mesmerizing online videos, showcasing confectionery artists creating the most intricate and breathtaking cookie decorations? I could spend hours watching them, utterly hypnotized by their effortless precision. They make it look so simple, so achievable, that one might believe anyone could replicate their artistry. Then, of course, you try it yourself, and the reality hits! *Hahaha!* Some of my early decorating attempts could easily earn a spot on an episode of “Nailed It!” That’s precisely why I’ve learned to embrace and stick with simpler shapes and elegant, straightforward decorating techniques for these cookies.
Embracing simplicity has another wonderful benefit: it allows the kids to join in the fun! Children absolutely adore every single step of making sugar cookies. And honestly, what’s not to love? From the satisfying process of mixing the dough to the joyful task of rolling it out, selecting and cutting out festive shapes, the anticipation of baking the cookies, and finally, the creative freedom of decorating them – it truly transforms into one big, exciting party in the kitchen. It’s a fantastic way to create lasting memories and enjoy quality time together during the festive season, with delicious results to boot!

Flavorful Adventures: Exploring Extract Possibilities
While our White Chocolate Sugar Cookies with Peppermint Royal Icing unequivocally “scream Christmas” with their festive flavor profile, one of the most remarkable aspects of this recipe is its incredible versatility. The base cookie dough and the royal icing can be effortlessly adapted to suit any holiday, season, or special occasion simply by swapping out the extract. This simple change allows for endless creative possibilities, transforming these cookies into a year-round treat. Here are just a few inspiring ideas to get your imagination flowing:
- LEMON: Perfect for a bright and zesty touch, ideal for spring or summer gatherings, Mother’s Day brunch, or a charming baby or bridal shower. Imagine delicate lemon cookies adorned with pastel icing!
- COCONUT: Transport your taste buds to a tropical paradise! Coconut extract makes these cookies an excellent choice for summer barbecues, beach-themed parties, or a delightful Easter basket addition.
- MAPLE: Embrace the cozy flavors of autumn with a rich maple extract. These cookies would be a comforting treat for fall festivities, Thanksgiving gatherings, or simply a crisp afternoon snack.
- ORANGE: A wonderfully versatile flavor, orange extract adds a bright, citrusy note that’s suitable for practically any reason or season. From summer refreshers to a subtle winter warmth, orange is always a winner.
- CAKE BATTER: Say what?! Yes, I actually spotted cake batter extract at the store the other day, and I can’t resist the idea! I’m convinced this would be an absolutely delicious and fun twist for birthdays, celebratory events, or simply when you crave that nostalgic cake flavor in cookie form.
- RASPBERRY: Infuse a romantic, fruity essence with raspberry extract. These cookies would be stunning for Valentine’s Day, a chic girls’ night in, or any occasion calling for a touch of elegant sweetness.
- ROOT BEER: Because, why not? This unconventional choice promises a uniquely fun and nostalgic flavor experience. I bet they would taste remarkably similar to a classic root beer float – a perfect conversation starter!
- ALMOND: A universally adored classic, almond extract is incredibly versatile and utterly delicious for any and all occasions. Its subtle, nutty aroma enhances almost any baked good, making it a foolproof choice for those who appreciate timeless flavor.

Maximizing Your Baking Efforts: Freezing Sugar Cookies
One of the most frequently asked questions when it comes to sugar cookies is whether they can be frozen for later enjoyment. The answer is a resounding yes! This incredible feature makes sugar cookies a fantastic option for holiday baking, party prep, or simply having a stash of homemade treats ready to go. We’ve successfully frozen both the raw dough and the finished (unfrosted) cookies, and both methods yield excellent results. Freezing is a brilliant way to get ahead of your baking schedule, allowing you to prepare components in advance and reduce stress closer to an event.
Freezing Sugar Cookie Dough:
To freeze the raw dough, first, wrap individual portions of the cookie dough tightly in plastic wrap. Ensure there are no air gaps to prevent freezer burn. Once securely wrapped, place the dough balls or discs into an airtight freezer-safe bag or container. Label with the date. When you’re ready to bake, remember to plan ahead, as the dough will need to thaw slowly overnight in the refrigerator. Once thawed, it will be perfectly pliable and ready to roll out, cut into your desired shapes, and baked according to the instructions in your recipe. This method is ideal for those who love fresh-baked cookies but want to spread out the preparation.
Freezing Baked (Unfrosted) Sugar Cookies:
For freezing baked cookies, follow these simple steps:
- After the cookies have been baked to golden perfection and have cooled completely on a wire rack, arrange them in a single layer on a baking sheet.
- Place the baking sheet in the freezer and freeze until the cookies are solid. This flash-freezing step prevents them from sticking together.
- Once frozen solid, transfer the cookies to an airtight container. To prevent breakage and maintain freshness, place a sheet of parchment paper between each layer of cookies. Alternatively, they can be carefully placed into heavy-duty freezer bags (like Ziplock bags), ensuring as much air as possible is removed before sealing.
- These cookies can be frozen for up to 3 months without compromising their delicious taste or texture.
- When you’re ready to enjoy them, simply take the desired number of cookies out of their container and let them thaw overnight in the refrigerator or for a few hours on the kitchen counter at room temperature.
- Once thawed, prepare your luscious royal icing and decorate the cookies as desired, adding sprinkles or other embellishments for a festive touch.
Troubleshooting Sugar Cookie Dough: Common Issues and Quick Fixes
Even the most experienced bakers can occasionally encounter challenges when working with cookie dough, particularly when it comes to rolling out sugar cookies. Few things are as frustrating as dough that’s either too sticky to handle or so crumbly it falls apart. Don’t worry, these common issues have simple solutions that will get you back to baking perfectly soft sugar cookies in no time!
- Dough is too sticky to roll: This usually indicates that the dough hasn’t been chilled long enough, or it might have a slight excess of liquid relative to the flour.
- SOLUTION: The quickest fix is to cover the dough tightly with plastic wrap and return it to the refrigerator to chill for an additional 30 minutes to an hour. Chilling solidifies the butter, making the dough much easier to handle. In a worst-case scenario, if the dough is still too sticky after chilling, you can gradually add a small amount of flour, a tablespoon at a time, incorporating it thoroughly until you reach a workable consistency. Be careful not to add too much, as this can make the cookies tough.
- Dough is too dry or crumbly: Conversely, dough that’s too dry or crumbly typically has too much flour, or perhaps not enough liquid or fat.
- SOLUTION: To rehydrate and soften the dough, carefully dribble in a very small amount of vegetable oil (or even softened butter or a tiny bit of milk/water), about half a teaspoon at a time. Work it into the dough until it comes together and achieves the desired smooth, pliable consistency. This restores the balance of wet and dry ingredients.
- Dough cracks when you roll it: If your well-chilled dough is cracking around the edges as you try to roll it, it means it’s too cold and stiff directly from the refrigerator.
- SOLUTION: Simply cover the dough and allow it to sit at room temperature for 10-15 minutes. This brief rest will allow the butter to soften slightly, making the dough more flexible and easier to roll without cracking, while still maintaining enough chill to prevent excessive spreading during baking.
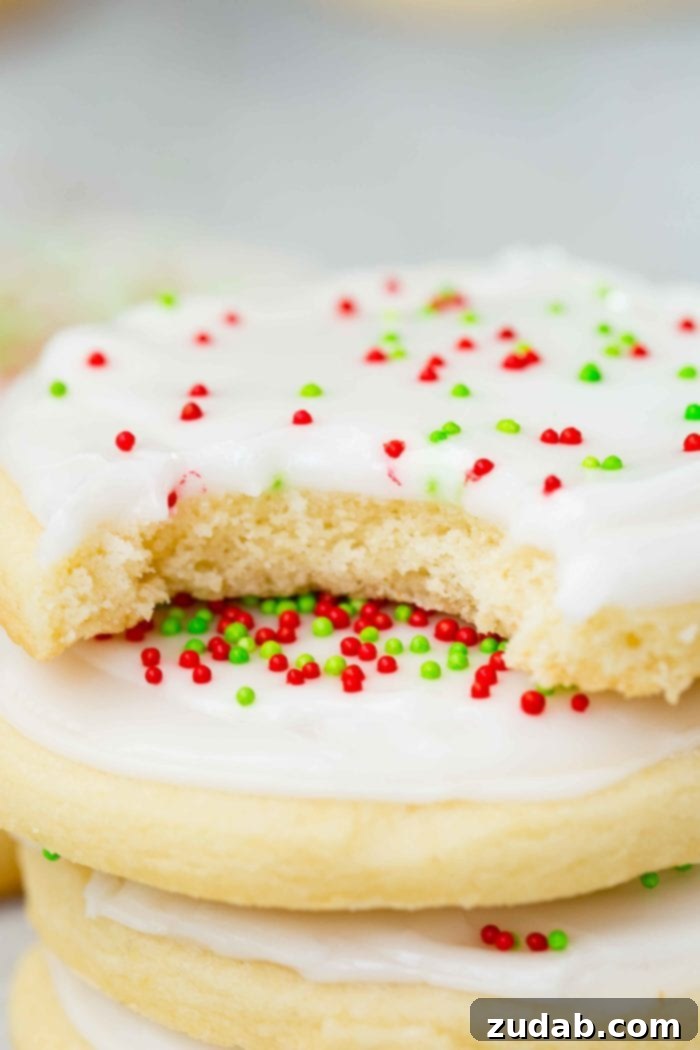
Remember, these cookies are designed to be soft, tender, and melt-in-your-mouth! If you’re looking for a more dense, crisp, or firm cookie, you might prefer our White Chocolate Peppermint Shortbread cookies, which offer a different delightful texture.
Achieving Perfection: Rolling Out Your Sugar Cookie Dough
The thickness of your sugar cookie dough is a critical factor in determining the final texture of your baked cookies. For this particular recipe, aiming for a consistent 1/2-inch thickness is key to achieving that perfectly soft, pillow-y result we all crave in a classic sugar cookie. Here’s why precision matters:
- Rolling too thick: If the dough is rolled out thicker than 1/2-inch, the cookies will take longer to bake through, leading to uneven cooking. You might end up with cookies that are raw in the center or simply too doughy.
- Rolling too thin: Conversely, if the dough is rolled out too thin, the cookies will bake much faster, often resulting in hard, crispy, and potentially dry cookies that lack that delightful softness. They might also brown too quickly around the edges.
By adhering to the recommended 1/2-inch thickness, you ensure that the cookies bake evenly and thoroughly, emerging from the oven with that ideal soft and tender crumb. This precise measurement helps guarantee beautiful, consistent results every single time you bake these delicious treats.
The Magic of Chilling: Why Sugar Cookie Dough Needs to Chill
Chilling sugar cookie dough isn’t just a suggestion; it’s a crucial step that profoundly impacts the texture, shape, and overall success of your cookies. Many new bakers might be tempted to skip this seemingly tedious step, but understanding the science behind it reveals its importance. When you place sugar cookie dough in the refrigerator to chill, several vital transformations occur:
- Solidifying the Fat: The primary reason for chilling is to firm up the fat (butter) in the dough. When butter is cold, it’s solid. As the cookies bake, this solid fat takes a longer time to melt in the oven. This slower melting process is precisely what we want for sugar cookies!
- Preventing Spread: If the butter were soft or melted before baking, the cookies would spread out rapidly and excessively in the hot oven, resulting in thin, flat, and often overly crispy cookies that lose their defined shapes. By keeping the fat solid for longer, chilling significantly reduces how much the cookies spread. This allows your beautifully cut shapes to maintain their integrity, from intricate snowflakes to festive stars.
- Developing Flavor: While less dramatic than the structural benefits, chilling also allows the flour to fully hydrate and the flavors in the dough to meld and develop more thoroughly. This can subtly enhance the overall taste of your finished cookies.
So, next time your recipe calls for chilling sugar cookie dough, embrace it! This simple step is your secret weapon for achieving perfectly shaped, wonderfully soft, and consistently delicious sugar cookies.
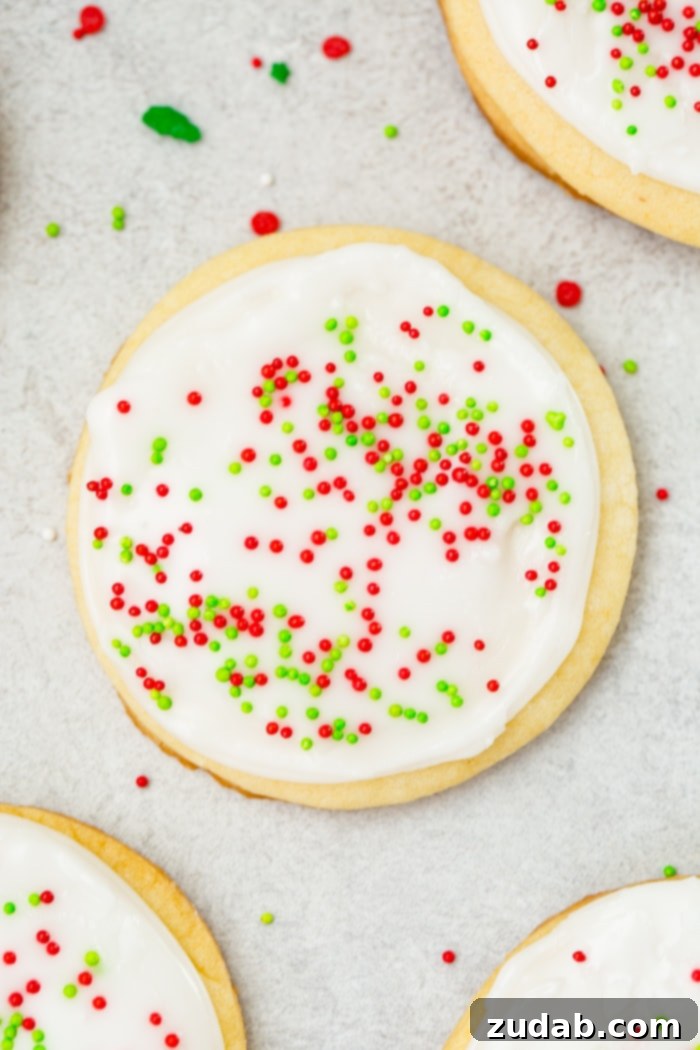
Royal Icing 101: A Simpler, Egg-Free Approach
For many, the term “royal icing” immediately brings to mind a classic recipe primarily consisting of powdered sugar, egg whites, and a touch of extract. Indeed, that’s the foundation for your traditional royal icing. However, for these cookies, we’ve opted for a slightly modified approach that eliminates the use of raw egg whites. This adjustment makes the icing more accessible and addresses concerns about consuming uncooked eggs, without sacrificing any of the beautiful qualities of traditional royal icing.
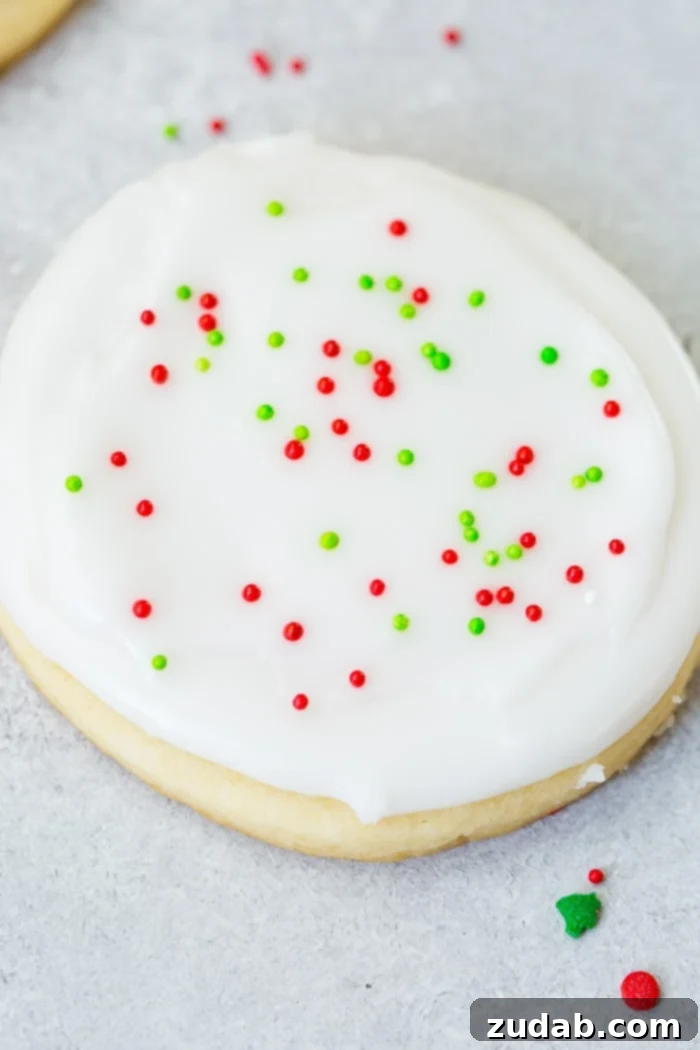
In our recipe, we’ve ingeniously replaced the raw egg whites with a combination of a small amount of corn syrup and room temperature water. This brilliant substitution still allows you to achieve that highly coveted, professional-looking glossy finish that sets and hardens slightly as it dries, creating a crisp, protective layer on your cookies. The best part? It tastes absolutely delicious, offering a sweet, smooth, and perfectly peppermint-flavored topping that complements the white chocolate sugar cookies beautifully. While meringue powder is another popular alternative to egg whites for royal icing, we’ve found our corn syrup method to be incredibly effective and convenient, especially since meringue powder isn’t a pantry staple for everyone.
Mastering Royal Icing: Understanding Consistencies
Working with royal icing can seem intimidating at first, but understanding the different consistencies is key to successful decorating. Each consistency serves a unique purpose, allowing you to achieve various decorative effects. Here are the three main types of royal icing consistency, and how to achieve them:
- Flood Consistency: This is the thinnest consistency of royal icing, specifically designed to fill in large areas on your cookies. It spreads easily and smoothly, creating a perfectly flat and even base layer for further intricate decorating. To test for flood consistency, scoop up some icing with a spoon and let it drip back into the bowl. It should fully disappear and blend back into the rest of the icing within approximately 10 seconds. If it takes longer, add a tiny bit more water; if it disappears too quickly, add a little more powdered sugar.
- Piping (Outline or Medium) Consistency: Slightly thicker than flood consistency, this icing is primarily used for creating outlines. It acts as a crucial barrier to contain your thinner flood icing, preventing it from running off the edges of your cookie. This consistency is also ideal for piping text, simple details, or small decorative elements. When testing, the icing should disappear back into itself in about 15-20 seconds. A good visual reference is that it should have a consistency similar to that of toothpaste – firm enough to hold a shape, but still pliable for piping.
- Stiff Consistency: This is the thickest and firmest consistency of royal icing, designed for piping highly detailed elements. It holds its shape impeccably, making it perfect for creating intricate designs such as delicate leaves, elaborate flowers, ruffles, or any decoration that requires a strong, defined structure. If you pipe this icing straight up, it will stand tall and stiff, maintaining its form without collapsing. This consistency is not typically used for outlining or flooding, but rather for adding those intricate final touches.
For these wonderfully simple yet elegant White Chocolate Sugar Cookies with Peppermint Royal Icing, you’ll primarily be using the piping (outline) consistency to define your cookie shapes and the flood consistency to fill them in with a smooth, even layer. No stiff consistency is needed for these delightful treats, making the decorating process even more approachable and fun!
So, gather your ingredients, clear your schedule, and make your way to the kitchen to whip up a batch of these exquisite white chocolate sugar cookies! We are absolutely thrilled to imagine and would love to see photos of all your beautiful creations! Don’t hesitate to share your festive masterpieces with us!
More Seasonal Cookie RECIPES to Inspire Your Baking
- Decadent Peppermint Double Chocolate Cookies
- The BEST Soft Gingerbread Cookies
- Vibrant Red White and Blue Red Velvet Cookies
- Irresistible S’mores Chocolate Chip Cookies
- Bright and Zesty Lemon Drop Cookies
- Charming Easy Easter Nest Cookies
- Classic White Chocolate Peppermint Shortbread
- The Best Pumpkin Chocolate Chip Cookies
Rating: 3.96 from 22 votes
White Chocolate Sugar Cookies with Peppermint Royal Icing

Print Recipe
Ingredients
- 4 Ounce White Chocolate
- 2 3/4 Cups Flour
- 1/2 teaspoon Baking Powder
- 1/2 teaspoon Salt
- 1 Cup Butter, Room Temp
- 1/2 Cup Sugar
- 1 Large Egg
- 1/2 teaspoon Vanilla Extract
- Sprinkles for decorating
Peppermint Royal Icing
- 1 1/2 Cups Powdered Sugar
- 1 teaspoon Corn Syrup
- 2-3 Tablespoons Water, Room Temp
- 1/2 teaspoon Peppermint Extract
Instructions
-
Chop the 4 Ounce White Chocolate bar into chunks.
-
Place the white chocolate in a small bowl and microwave in 30-second intervals for 2 minutes or until melted.
-
In a bowl, whisk together the 2 3/4 Cups Flour, 1/2 teaspoon Baking Powder and 1/2 teaspoon Salt.
-
In a standing mixer, beat together the 1 Cup Butter and 1/2 Cup Sugar on medium speed for 3-4 minutes.
-
Scrape down the sides of the bowl and add the 1 Large Egg and 1/2 teaspoon Vanilla Extract. Mix again.
-
Pour the melted and slightly cooled white chocolate and mix.
-
Add the flour, baking powder and salt mixture and mix a final time until the dough just comes together.
-
Place a piece of plastic wrap on the counter and put half of the dough on it. Cover the entire ball of dough and gently pat into a disk.
-
Repeat with remaining dough and place in the fridge for 1 hour or up to overnight.
-
Preheat the oven to 350 degrees F (175 degrees C).
-
Line a baking sheet with parchment paper.
-
Unwrap the dough and sprinkle a little powdered sugar on the counter to avoid sticking.
-
Using a rolling pin dusted with powdered sugar, roll the dough out to 1/2″ thick.
-
Using cookie cutters, cut the dough and place on the baking sheet.
-
Bake for 10-12 minutes and remove from the oven, repeating with remaining dough.
-
Meanwhile, prepare the icing.
Royal Icing
-
In a bowl, add the 1 1/2 Cups Powdered Sugar, 1 teaspoon Corn Syrup, 1/2 teaspoon Peppermint Extract and 2-3 Tablespoons Water. Mix together until smooth, shiny and when you lift the spoon a ribbon of icing stays on the top of the icing before finally melting back in. Adjust water for desired consistency (see section above).
-
Frost cookies using a piping bag and small tip. Add Sprinkles for decorating if desired.
Recipe Notes
Nutrition Information (Approximate per serving)
Nutrition information is automatically calculated, so should only be used as an approximation.
REMEMBER TO SUBSCRIBE TO our FREE Oh Sweet Basil NEWSLETTER AND RECEIVE EASY RECIPES DELIVERED INTO YOUR INBOX EVERY DAY!
When you try a recipe, please use the hashtag #ohsweetbasil on INSTAGRAM for a chance to be featured in our stories! FOLLOW OH, SWEET BASIL ON FACEBOOK | INSTAGRAM | PINTEREST | TWITTER FOR ALL OF OUR LATEST CONTENT, RECIPES AND STORIES.