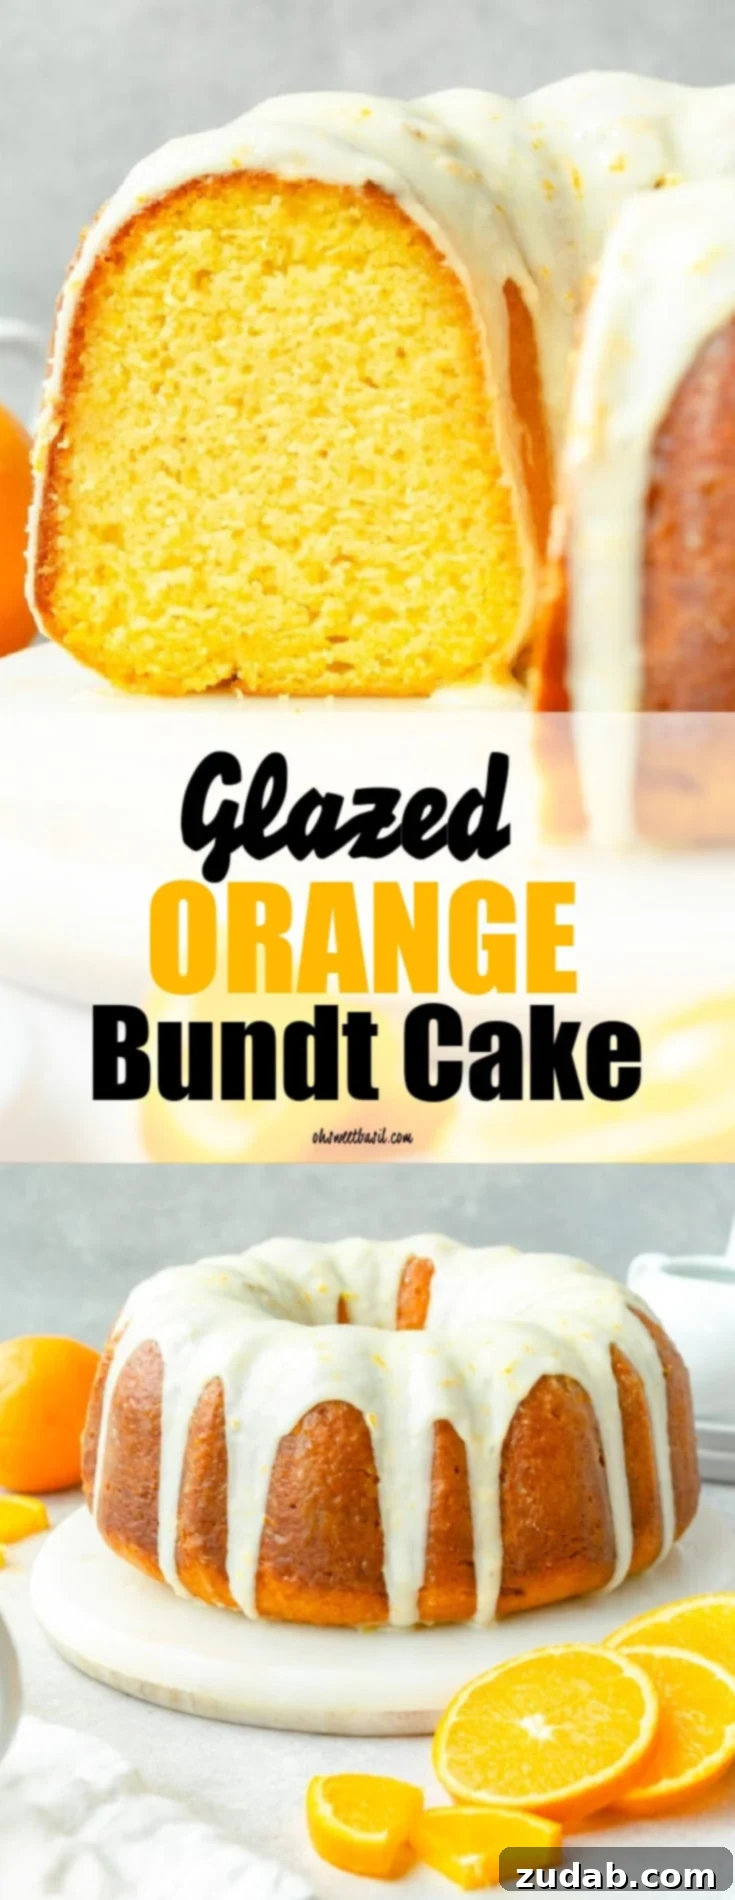
The Ultimate Glazed Orange Bundt Cake: A Zesty, Moist, and Unforgettable Dessert
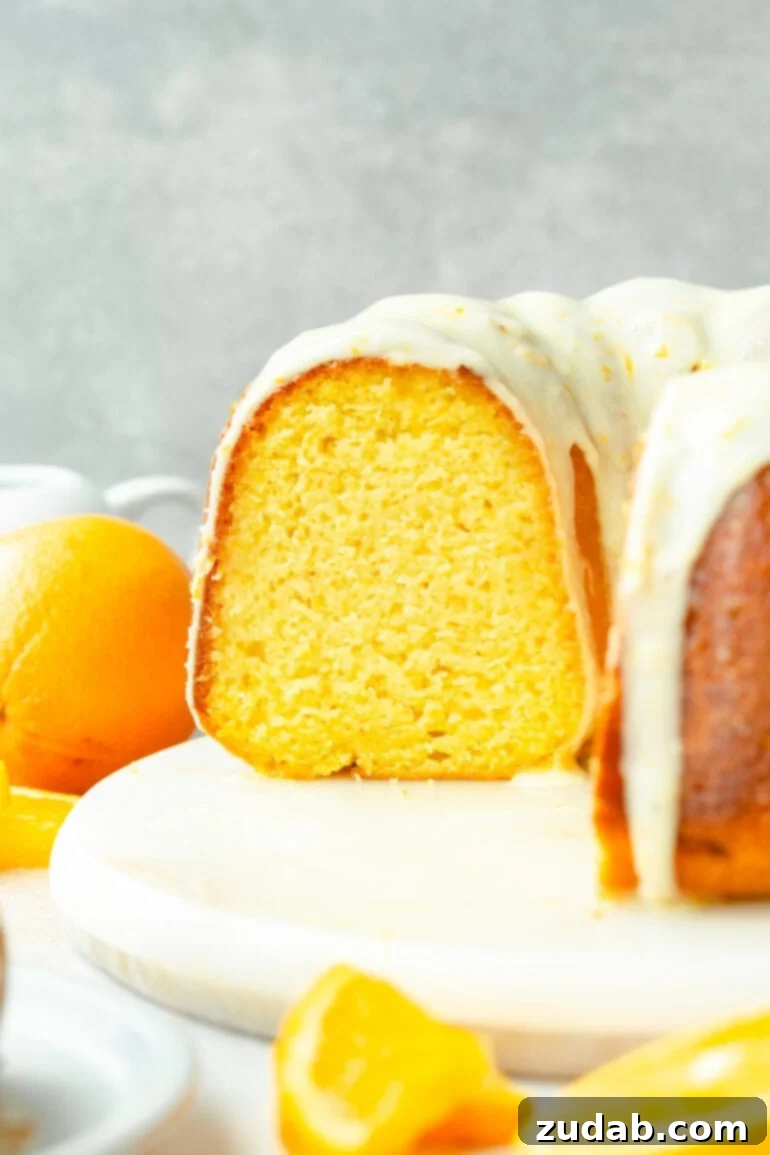
Prepare to be enchanted by the ultimate **Glazed Orange Bundt Cake**, a dessert masterpiece that boasts an incredibly moist crumb and an exhilarating burst of fresh orange flavor. This classic recipe, perfected after extensive experimentation, is designed to deliver a truly unforgettable culinary experience. From its tender texture to its vibrant, citrus-infused glaze, every bite promises a refreshing and delightful sensation, making it the ideal centerpiece for any gathering, be it a cheerful brunch or a sophisticated dinner.
My journey to perfecting this **orange bundt cake** involved countless hours in the kitchen, exploring every possible variation. I meticulously tested different fats—butter, oil, and sour cream—to achieve the ideal moisture. I experimented with various orange components, from whole oranges to just the zest and juice, and even tried versions with ricotta. Each attempt brought me closer to understanding the nuanced interplay of ingredients. After exhaustive trials and adjustments, I am thrilled to present a recipe that truly stands out, embodying the perfect balance of delicate crumb and bright, zesty sweetness.
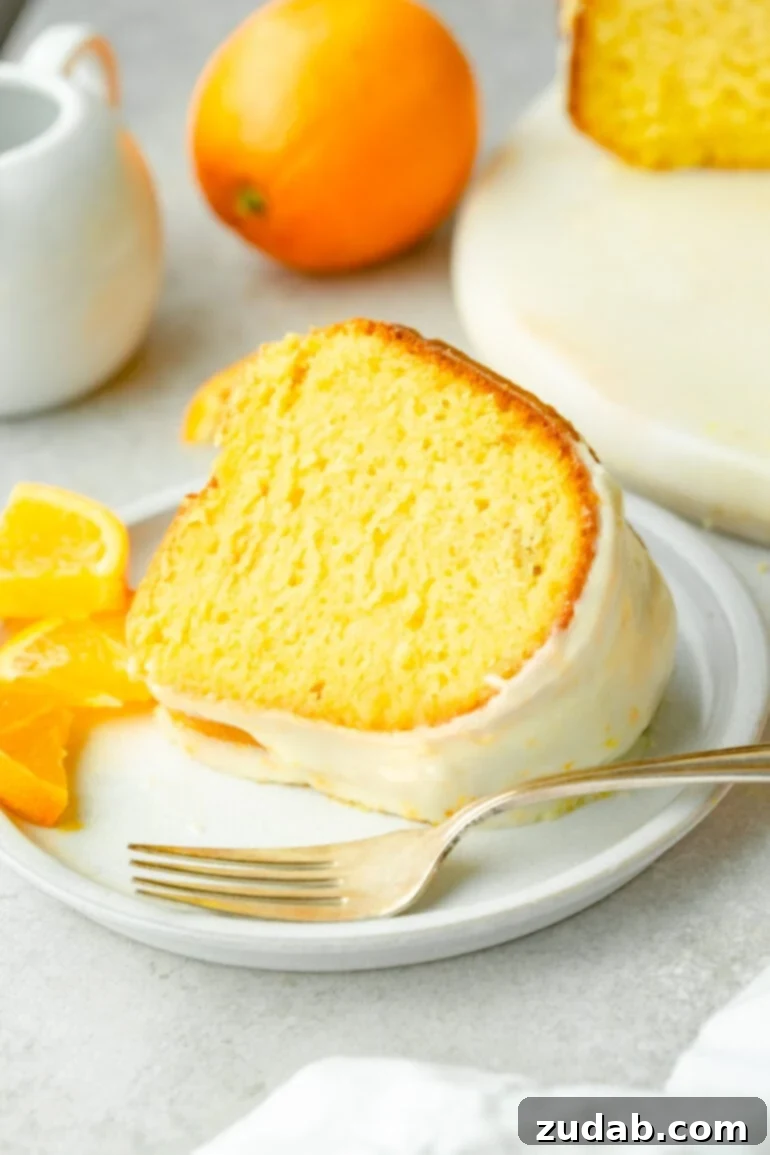
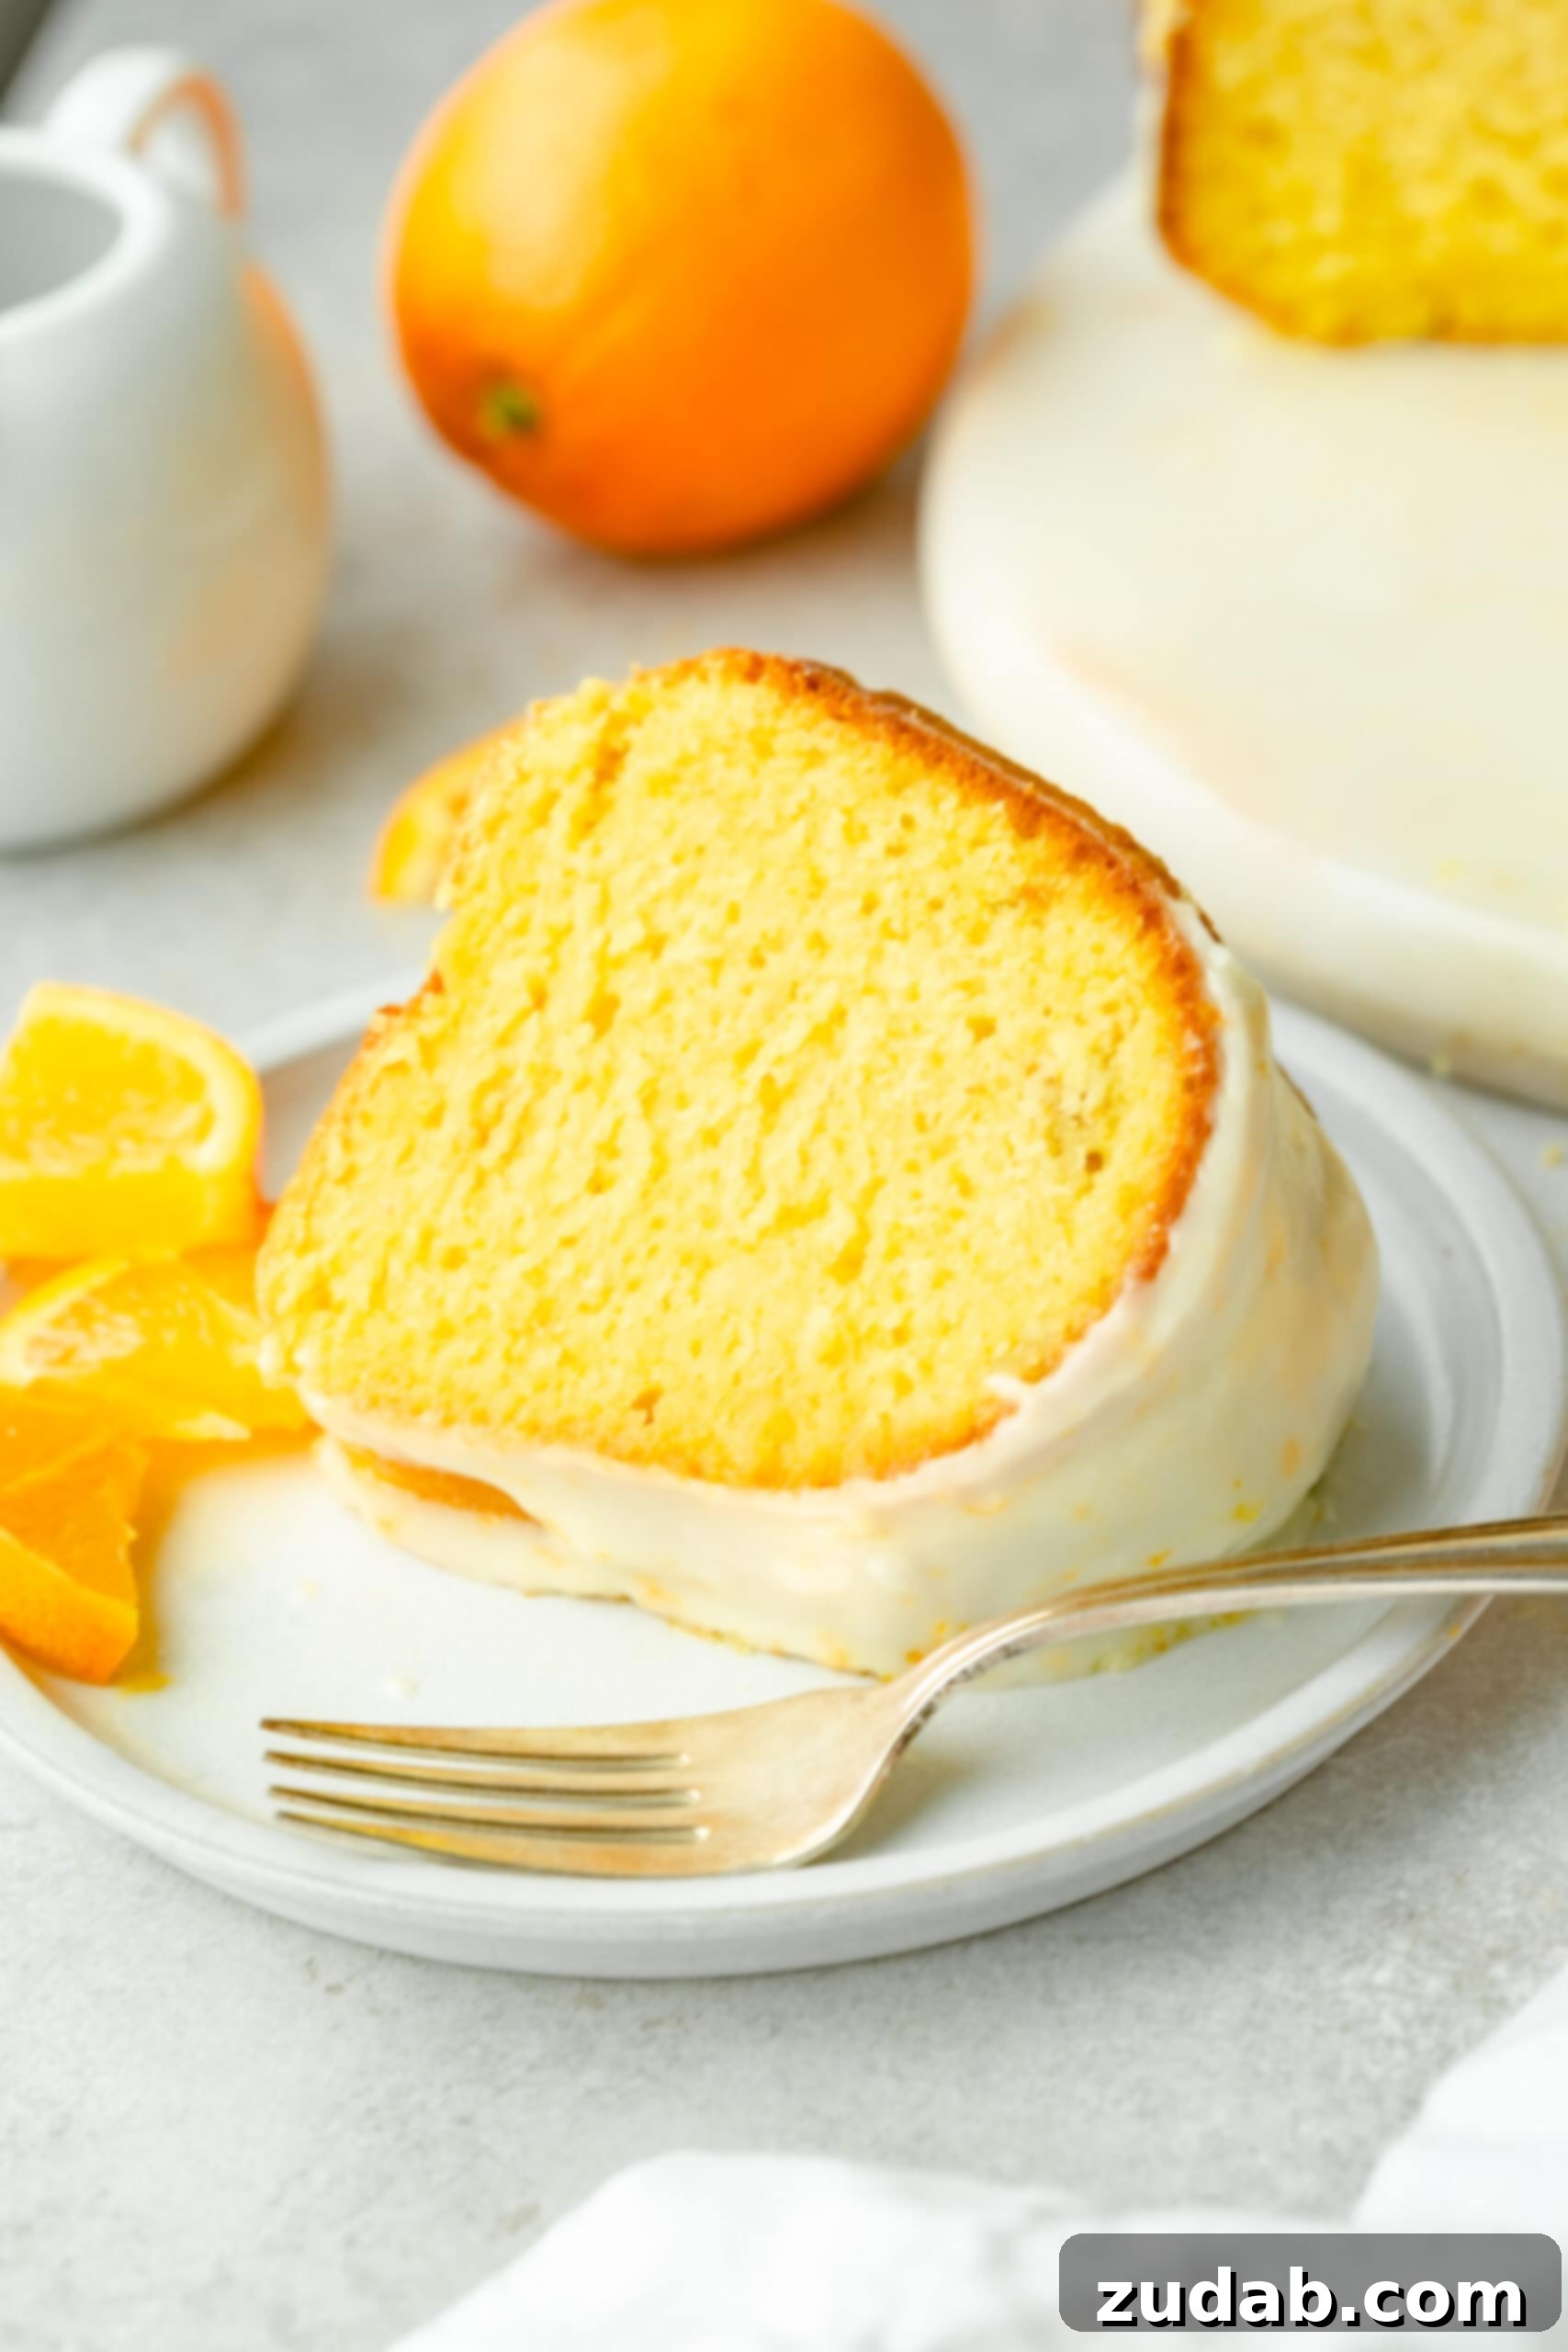
Through my rigorous testing, I uncovered a crucial insight: while many recipes advocate for using whole oranges in bundt cakes, this approach often yields a less-than-ideal result. I initially hoped for the best, but incorporating whole oranges consistently led to a cake that was denser and heavier than intended. While not technically dry, it lacked the **light, melt-in-your-mouth moisture** that defines a truly exceptional bundt cake. Moreover, the presence of bitter white pith often muted the vibrant orange flavor I was striving for. My goal was a cake that felt airy and bright, a taste that wouldn’t weigh you down, even if it meant a slightly shorter shelf life. This refined recipe ensures that every element of orange flavor shines through without any unwanted bitterness or heaviness, guaranteeing a delightful texture that melts on the tongue.
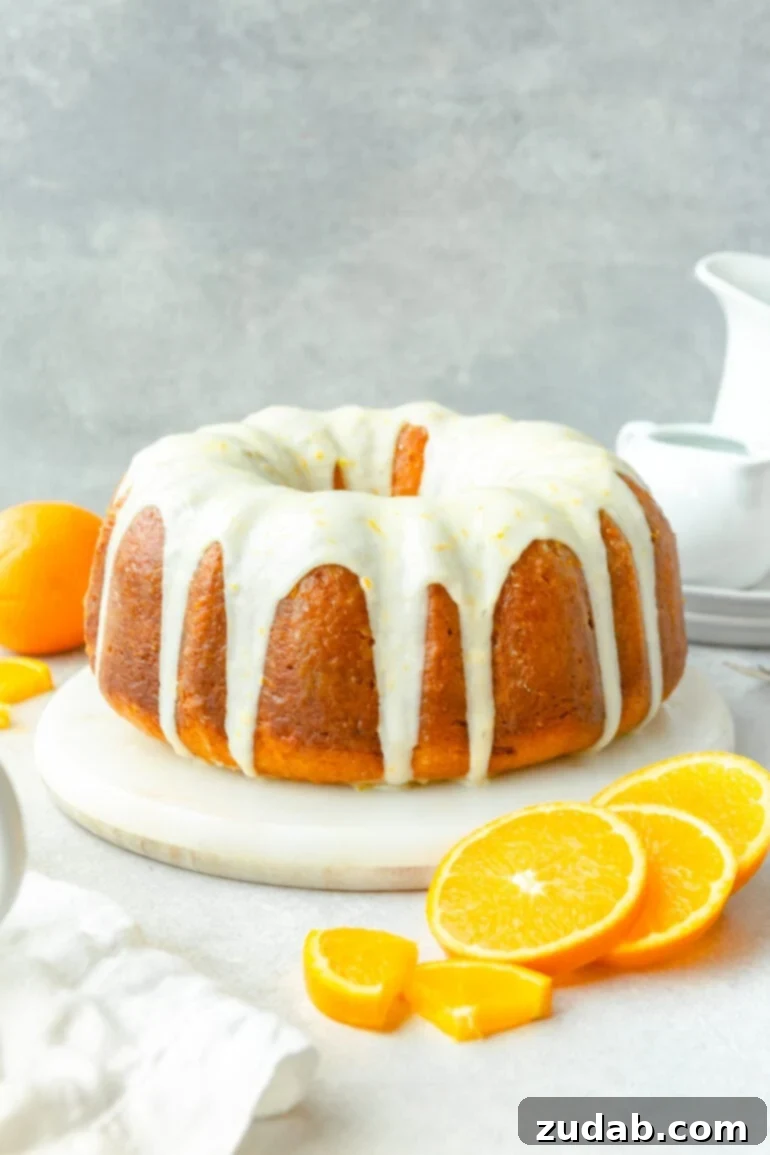
What Is the Difference Between a Bundt Cake and a Regular Cake?
The primary distinction between a bundt cake and a regular cake lies in the pan used for baking! Bundt cakes are characterized by their distinctive fluted, ring-shaped pans, featuring a central tube. This unique design isn’t just for aesthetics; the central tube allows heat to penetrate the cake more evenly from both the outside and the inside, resulting in a perfectly cooked and consistently moist crumb throughout. This even heat distribution often means bundt cakes don’t dry out as quickly and develop a beautiful, slightly caramelized crust. Regular cakes, on the other hand, are baked in a variety of standard pans like round layers, square sheets, or loaf pans, offering immense versatility for different designs and structures.
Beyond the pan, bundt cakes often boast a richer, denser texture and are ideal for showcasing robust flavors from fruits, nuts, and spices. Their impressive shape makes them naturally stunning, often requiring only a simple glaze or a dusting of powdered sugar to create a showstopping dessert. Regular cakes, while equally delicious, can range from light and airy sponge cakes to rich, multi-layered creations. While regular cakes sometimes demand intricate frosting and elaborate decoration, a bundt cake effortlessly achieves an elegant presentation with minimal effort, making it a favorite for bakers seeking both beauty and ease.
What Ingredients Do I Need for This Glazed Orange Bundt Cake?
This exquisite **orange cake recipe** is meticulously crafted in three distinct parts to maximize the fresh citrus flavor: the cake itself, a luscious orange simple syrup, and a vibrant orange glaze. To ensure the boldest, brightest taste, you’ll want to plan on using approximately 10-12 medium-sized fresh oranges, depending on their juiciness, to acquire all the necessary zest, juice, and peels. Each component plays a vital role in building the rich, multi-dimensional orange profile of this unforgettable bundt cake. Let’s delve into the specific ingredients required for each section:
Orange Cake: The Foundation of Flavor
The cake itself is where the primary orange flavor is infused, creating a tender and moist base.
- Sugar: Standard granulated sugar provides sweetness and helps tenderize the cake, contributing to its delicate texture.
- Orange Zest: This is a powerhouse of flavor. You’ll need the zest from about 2 oranges. The magic truly happens when you rub the zest with the sugar, releasing the essential oils and intensifying the citrus aroma and taste throughout the batter. Don’t skip this critical step for maximum flavor.
- Fresh Orange Juice: The vibrant liquid gold! Approximately 6-8 oranges will yield enough fresh juice for this recipe. While freshly squeezed is highly recommended for unparalleled flavor, you can opt for high-quality, pulp-free orange juice without added sugar if fresh oranges are unavailable. Excess sugar could make your cake overly sweet.
- Eggs: Essential for structure, eggs bind the ingredients and contribute to the cake’s rise and overall stability, ensuring a perfect bundt shape.
- Vanilla Extract: A touch of pure vanilla extract enhances the overall flavor profile, adding warmth and depth that complements the bright orange notes.
- Almond Extract: This optional ingredient adds a subtle, sophisticated counterpoint to the orange. If you’re not a fan of almond flavor, feel free to omit it without compromising the cake’s quality.
- Vegetable Oil: The secret to an exceptionally moist cake! Oil, unlike butter, is 100% fat and contains no water, which means it doesn’t evaporate during baking. This results in a consistently tender and soft crumb that stays moist for days.
- All-Purpose Flour: The structural backbone of the cake. Sifting the flour into the wet ingredients ensures a light, airy texture and prevents lumps, resulting in a smooth batter.
- Baking Powder & Baking Soda: These dual leavening agents work in harmony to give the cake its beautiful rise and fluffy texture, reacting with the acidic orange juice.
- Salt: A pinch of salt is crucial for balancing and enhancing all the sweet and tangy flavors, preventing the cake from tasting flat.
Orange Simple Syrup: Adding Unmatched Moisture and Flavor
This infused syrup is drizzled over the warm cake, penetrating every crevice and boosting both moisture and intense orange flavor.
- Orange Peels: The peels from about 2 oranges are simmered in the syrup, releasing their aromatic oils and imparting a deep, natural orange essence that permeates the cake.
- Fresh Orange Juice: Another 3-4 oranges are needed for this syrup, ensuring every layer of flavor is unmistakably fresh and citrusy.
- Water: Forms the base of the simple syrup, allowing the sugar to dissolve and the orange flavors to meld.
- Sugar: Sweetens and thickens the syrup, creating a glossy finish and a delightful texture.
Orange Glaze: The Zesty, Sweet Crown
The final touch that brings the entire cake together with a smooth, bright finish.
- Unsalted Butter: Softened unsalted butter provides a rich, creamy base for the glaze, contributing to its luxurious texture.
- Powdered Sugar: Also known as confectioners’ sugar, this finely milled sugar creates a smooth, pourable glaze that sets beautifully.
- Heavy Cream: Adds richness and helps achieve the perfect consistency for drizzling, ensuring the glaze isn’t too thick or too thin.
- Orange Zest: Fresh orange zest is folded into the glaze, adding tiny flecks of bright orange and an aromatic punch that enhances the visual appeal and flavor.
- Orange Juice: A final boost of fresh orange juice ensures the glaze delivers a tangy counterpoint to the sweetness.
- Vanilla Extract: A touch of vanilla complements the orange and adds a hint of classic sweetness to the glaze.
The precise measurements for each of these ingredients can be found in the detailed recipe section below. This thoughtful layering of fresh orange in every component truly makes this **Glazed Orange Bundt Cake** exceptional.
What Type of Oranges Should I Use for Your Glazed Orange Bundt Cake?
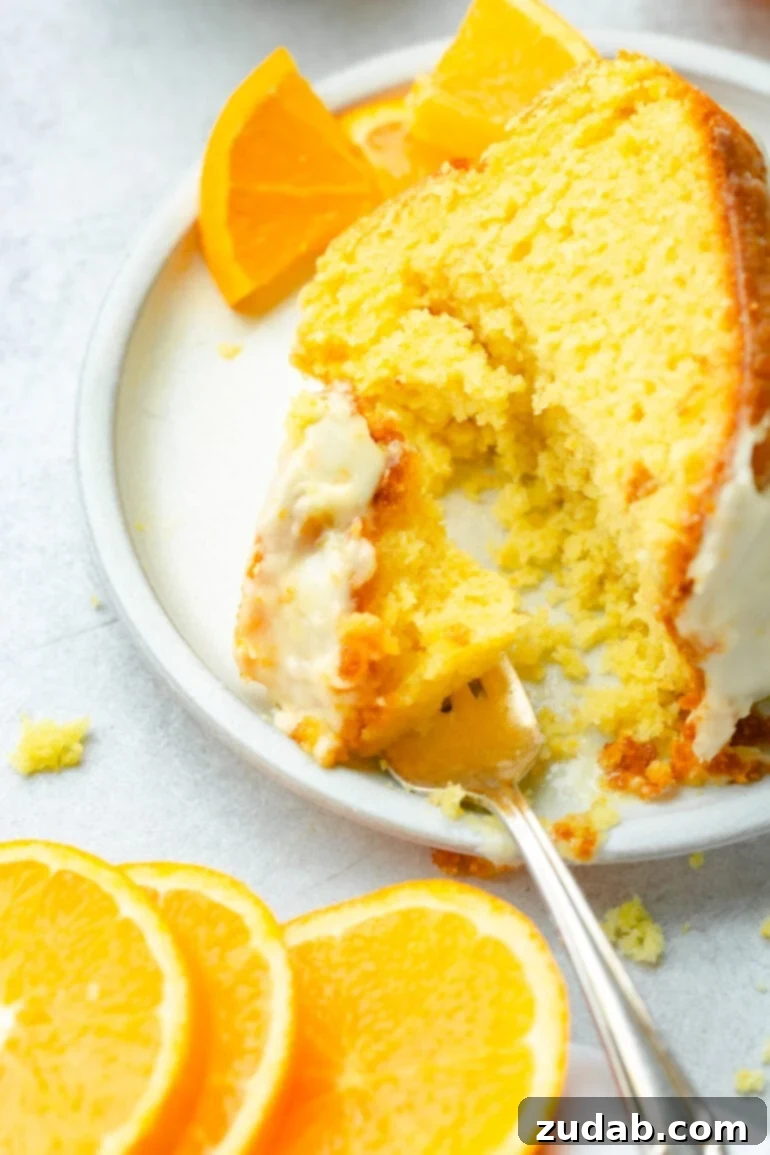
When it comes to selecting the perfect oranges for this recipe, personal preference certainly plays a role, but for the most consistently delicious results, I highly recommend **Navel oranges**. They are my absolute go-to for their unparalleled sweetness, abundant juiciness, and easy-to-remove zest. Their balanced flavor profile ensures a sweet, bright, and genuinely refreshing taste that permeates every layer of the cake, syrup, and glaze.
However, if Navel oranges aren’t readily available, you have other excellent options. Valencia oranges are another fantastic choice, particularly prized for their juiciness, though their zest might be a bit more subtle. Cara Cara oranges, with their distinctive pinkish-red flesh and berry-like undertones, can also add an intriguing complexity to your bundt cake. Whichever variety you choose, always prioritize fresh, firm, and fragrant oranges, as their quality directly impacts the final flavor of your **homemade orange bundt cake**. Lately, I’ve found that Trader Joe’s often carries some of the best-quality navel oranges, consistently delivering on flavor and juiciness.
How to Make This Zesty Glazed Orange Bundt Cake: Step-by-Step Guide
Crafting this delightful Glazed Orange Bundt Cake is a rewarding process broken down into three main stages: preparing the cake batter, simmering the simple syrup, and whisking together the vibrant glaze. Follow these steps for a perfect, moist, and flavorful citrus dessert.
For the Cake: Building the Moist Foundation
- **Infuse the Sugar with Zest:** Begin by combining the granulated sugar with the fresh orange zest in a large mixing bowl. Use your fingertips to rub the zest into the sugar. This crucial step releases the essential oils from the orange peel, infusing the sugar with intense citrus fragrance and flavor. Do not skip this!
- **Combine Wet Ingredients:** In the bowl of a stand mixer (or a large bowl with a hand mixer), add the fresh orange juice, large eggs, vanilla extract, almond extract (if using), the fragrant sugar-zest mixture, and vegetable oil. Beat these ingredients on medium speed for 3-4 minutes until the mixture is well combined and has lightened in color, becoming pale and slightly frothy. This aeration helps create a tender cake.
- **Incorporate Dry Ingredients:** Sift together the all-purpose flour, baking powder, baking soda, and salt directly into the wet ingredients. Sifting ensures no lumps and a lighter cake texture. Mix on low speed until *just* combined. Be very careful not to overmix the batter; overmixing can develop the gluten in the flour too much, leading to a tough cake. Stop mixing as soon as no dry streaks of flour remain.
- **Prepare Your Bundt Pan:** This step is vital for a clean release. Generously spray every nook and cranny of your bundt pan with baking spray, ensuring full coverage. Alternatively, you can coat the pan thoroughly with regular cooking spray and then dust it with about 1/4 cup of all-purpose flour, swirling it around to adhere to all surfaces. Tap out any excess flour. Pour the prepared cake batter evenly into the pan.
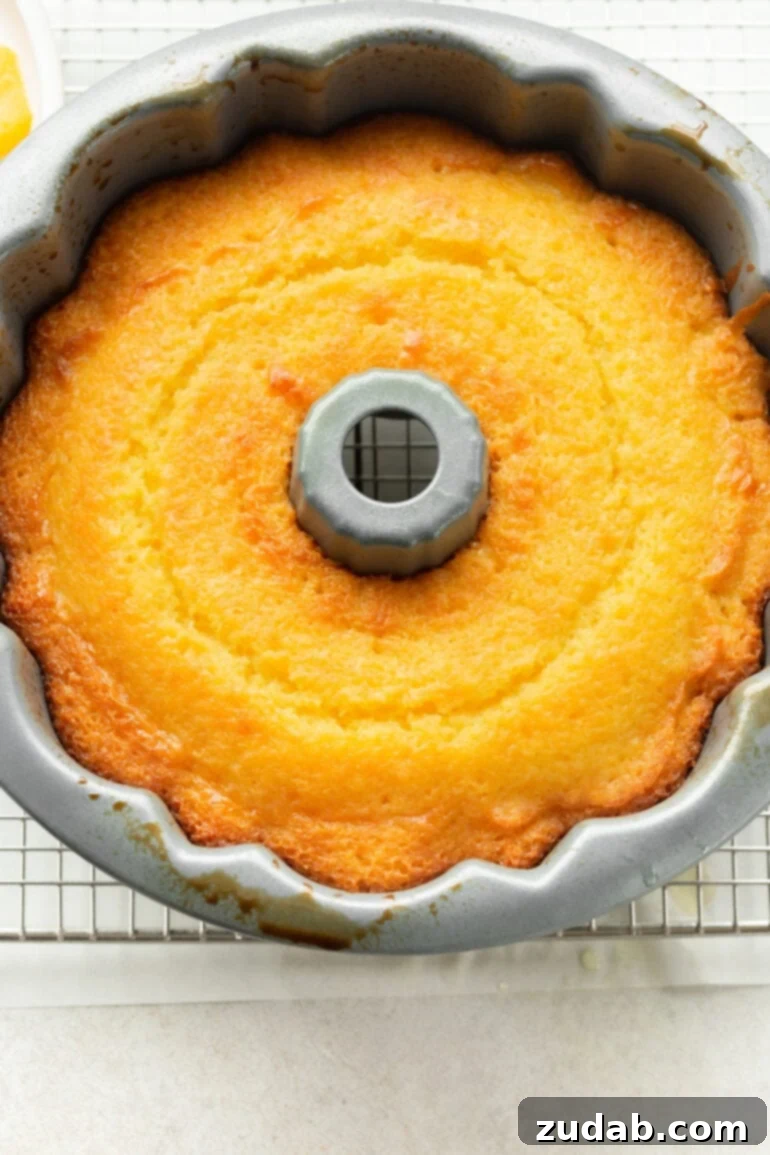
- **Bake the Cake:** Bake in a preheated oven at 350°F (175°C) for 50-60 minutes. The cake is done when a wooden skewer or toothpick inserted into the center comes out clean or with a few moist crumbs attached. While the cake bakes, move on to prepare the orange simple syrup.
For the Orange Simple Syrup: The Moisture Enhancer
- **Combine Syrup Ingredients:** In a small saucepan, combine the orange peels, fresh orange juice, water, and granulated sugar. Place the saucepan over medium-low heat.
- **Simmer to Dissolve:** Bring the mixture to a gentle simmer, stirring occasionally, until all the sugar has completely dissolved. Remove the saucepan from the heat and set the syrup aside to cool slightly.
- **Syrup Infusion:** Once the cake is out of the oven, immediately remove the orange peels from the warm syrup. While the cake is still warm and in its bundt pan, use a skewer or toothpick to prick holes all over the surface of the cake. Slowly and evenly pour the warm orange syrup over the entire cake, allowing it to soak into the pricked holes. This infusion process is key to the cake’s incredible moisture and deep orange flavor.
- **Cooling Process:** Let the cake cool in the pan with the absorbed syrup for at least 30 minutes. This allows the cake to fully set and maintain its structural integrity before being inverted. After 30 minutes, carefully invert the cake onto a wire cooling rack and allow it to cool completely to room temperature before applying the glaze. This step is crucial; if the cake is warm, the glaze will simply melt and run off.
For the Orange Glaze: The Bright Finishing Touch
- **Whisk Glaze Ingredients:** In the bowl of a stand mixer (or a medium bowl with a hand mixer), combine the softened unsalted butter, powdered sugar, heavy cream, orange zest, orange juice, and vanilla extract. Whisk until all ingredients are well combined and the glaze is smooth and pourable. Adjust the consistency with a tiny bit more powdered sugar for thicker glaze, or a splash more orange juice or cream for a thinner glaze.
- **First Glaze Drizzle:** Place a piece of parchment paper or aluminum foil on your countertop, then place the wire cooling rack with the completely cooled bundt cake on top of it. Drizzle about half of the orange glaze generously over the top of the cake, allowing it to drip down the sides and collect on the parchment paper below.
- **Second Glaze Drizzle:** Let the cake sit for a few minutes to allow the first layer of glaze to slightly set. Then, carefully move the cooling rack (with the cake still on it) to a fresh piece of parchment paper. Gather the excess glaze from the first sheet of parchment paper and pour it back over the cake. Repeat this process, moving the cake to new parchment paper and reusing the glaze, until all the glaze is used up and the cake is beautifully coated. This method ensures a thick, even layer of glaze without excessive waste.
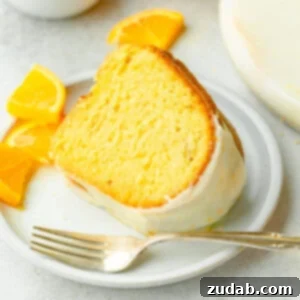
Once glazed, allow the cake to sit for a few more minutes until the glaze is fully set. Your magnificent **Glazed Orange Bundt Cake** is now ready to be sliced and enjoyed!
How to Keep a Bundt Cake from Sticking to the Pan
The dreaded moment: your beautiful **orange bundt cake** gets stuck in the pan! Preventing this is key to a flawless presentation. The secret lies in diligent pan preparation before pouring in the batter. Over the years, I’ve found that proper greasing and flouring are non-negotiable for ensuring your cake releases cleanly every time.
My top recommendation is to use **baking spray**, which combines oil and flour in one convenient aerosol. I spray every single curve, crevice, and corner of the bundt pan from multiple angles, ensuring a comprehensive, even coat. When done correctly, this method has never failed me, providing a perfect release without any sticking.
If you don’t have baking spray on hand, a simple yet effective alternative is to use regular cooking spray combined with all-purpose flour. First, spray the entire interior surface of the bundt pan thoroughly with cooking spray. Then, add approximately 1/4 cup of all-purpose flour to the pan. Swirl and tap the pan, rotating it in all directions, until the flour completely coats all greased surfaces. This creates a non-stick barrier. Be sure to invert the pan and gently tap out any excess flour before adding the cake batter, as too much flour can create a dry, dusty crust on your cake.
Another reliable method involves using softened butter and flour. Generously rub softened butter all over the inside of the bundt pan, ensuring every part, including the intricate designs and the central tube, is well coated. Once buttered, proceed to dust the pan with flour as described above, swirling and tapping to ensure full coverage and removing any excess. Regardless of the method you choose, always remember to pay special attention to the central tube of the bundt pan, as it’s a common sticking point. A well-prepared pan is your best friend for achieving a picture-perfect **glazed bundt cake**.
What Size Bundt Pan Should I Use for This Recipe?
Bundt pans come in a variety of sizes, typically measured by their top diameter and the volume of batter they can hold. For this specific **Glazed Orange Bundt Cake recipe**, a 9-10 inch diameter pan with a 10-12 cup volume is ideal. This size allows the cake to bake evenly and rise beautifully, resulting in a perfectly fluffy and moist texture.
While a 10-12 cup pan is recommended, other sizes can work with slight adjustments to baking time and potential changes in cake texture. An 8-cup bundt pan can be used, but be aware that the cake will likely be a bit denser and rise higher, requiring a slightly longer baking time. If you opt for a larger 12-cup pan, your cake will appear shorter but will still bake perfectly, potentially needing a slightly shorter baking time. Always keep an eye on the cake during the final 10-15 minutes of baking and rely on the toothpick test to determine doneness, rather than strictly adhering to the time. Remember, the goal is a fully cooked, golden-brown exterior with a moist interior.
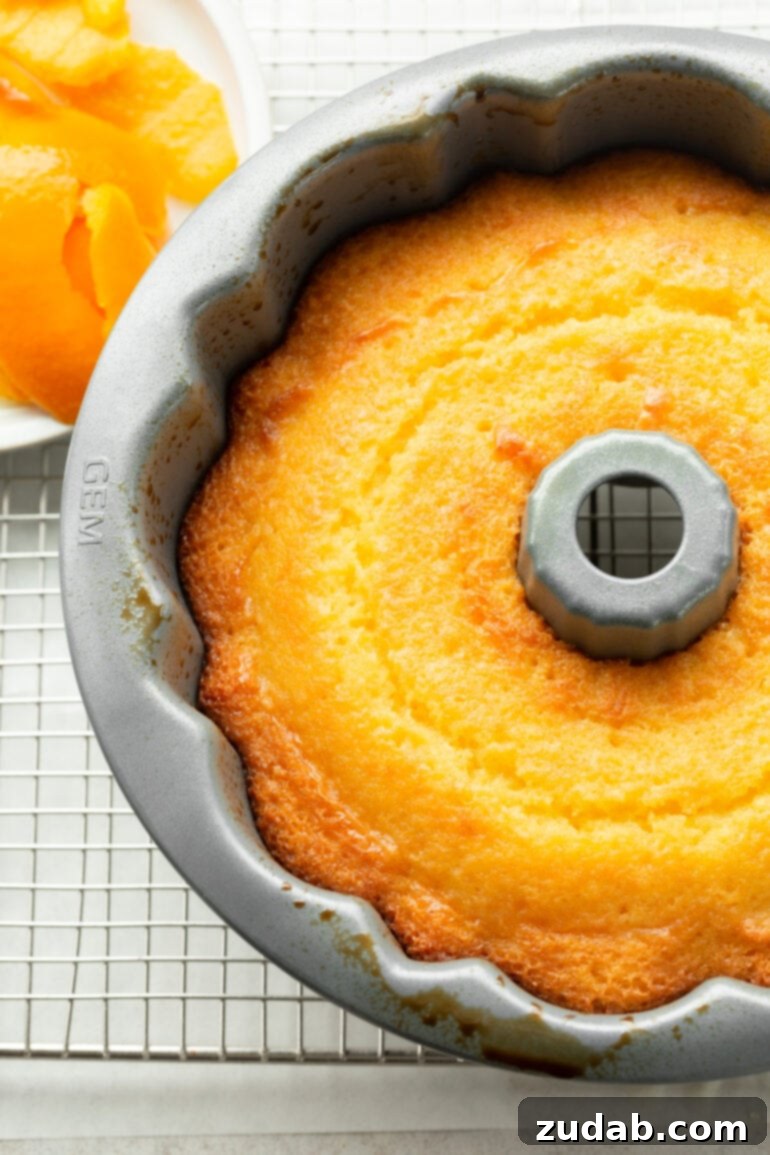
Can I Make This as a Loaf Cake or a 9×13 Pan?
It’s completely understandable to feel a bit intimidated by bundt cakes – there’s definitely pressure to get that perfect, clean release! But don’t let that deter you from enjoying this incredible **orange cake recipe**. The good news is that this versatile batter can absolutely be adapted for other pan types if a bundt pan isn’t your preference or simply unavailable. While the charming fluted shape is unique to a bundt pan, the fantastic flavor and moist texture of this recipe will shine in any form. You can confidently use this recipe to create a variety of other delicious treats, including a classic 9×13 inch sheet cake, two standard loaf pans, two 9-inch round cake pans for a layered creation, individual cupcakes, or even adorable mini bundt cakes.
While the baking temperature (350°F / 175°C) remains consistent across all pan types, the baking time will naturally vary depending on the pan’s size and shape. Smaller or shallower pans will cook more quickly, while larger or deeper pans will require more time. Always rely on the visual cues—like a golden-brown top and edges pulling away slightly from the pan—and the trusty toothpick test (inserted into the center, it should come out clean) to determine doneness. Here are approximate baking time estimates for common alternative pan sizes to guide you:
- **9×13 inch Pan:** Approximately 27-30 minutes
- **Standard Loaf Pans (two):** Approximately 45-50 minutes
- **9-inch Round Cake Pans (two):** Approximately 30-35 minutes
- **Standard Cupcakes:** Approximately 15-20 minutes
- **Mini Bundt Cakes:** Approximately 18-22 minutes
Remember that these are estimates, and oven temperatures can vary. Keep a close watch on your cake, especially towards the end of the suggested baking time, to prevent over-baking and ensure a perfectly moist result, regardless of the pan you choose.
Essential Tips for the Best Glazed Orange Bundt Cake
Achieving the perfect **Glazed Orange Bundt Cake** is simple when you follow these expert tips. Each step is designed to maximize flavor, moisture, and presentation:
- **Always Use Fresh Oranges:** This is perhaps the most crucial tip. The vibrant, bold flavor comes directly from fresh orange juice and zest. Bottled juices and dried zest simply cannot replicate the aromatic intensity that fresh citrus provides.
- **Zest Before Juicing:** It’s significantly easier and more efficient to zest your oranges while they are whole and firm. Once juiced, oranges become soft and difficult to handle for zesting, often leading to wasted zest.
- **Avoid the White Pith:** When zesting, be sure to only grate the bright orange part of the peel. The white pith underneath is quite bitter and can impart an unpleasant flavor to your cake, detracting from the fresh orange taste.
- **Embrace Vegetable Oil for Moisture:** This recipe specifically calls for all oil, rather than butter, in the cake batter. Oil is 100% fat, whereas butter contains water that evaporates during baking, which can lead to a drier cake. Using oil guarantees an exceptionally moist and tender crumb that stays fresh longer.
- **Cool in the Pan with Syrup:** After pouring the warm orange simple syrup over the baked cake, allow it to cool in the bundt pan for at least 30 minutes. This critical resting period allows the cake to fully absorb the syrup, enhancing moisture and setting its structure before you attempt to invert it, significantly reducing the risk of sticking.
- **Master the Inversion:** To safely remove the cake from the bundt pan, place a wire cooling rack directly on top of the pan. Then, with a firm grip, quickly and confidently flip both the rack and the pan over together. A well-prepared pan and this swift motion will ensure a clean release.
- **Chill Before Glazing:** Ensure the bundt cake has cooled completely to room temperature before drizzling on the orange glaze. If the cake is even slightly warm, the glaze will melt and run off, resulting in a thin, messy coating instead of a beautiful, glossy finish.
- **Patience is a Virtue (Especially for Flavor):** While tempting to devour immediately, this **Glazed Orange Bundt Cake** miraculously tastes even better on the second day! Allowing it to rest overnight at room temperature (covered) lets the orange flavors meld and deepen, becoming even more bold and bright. Consider making it a day ahead for peak deliciousness.
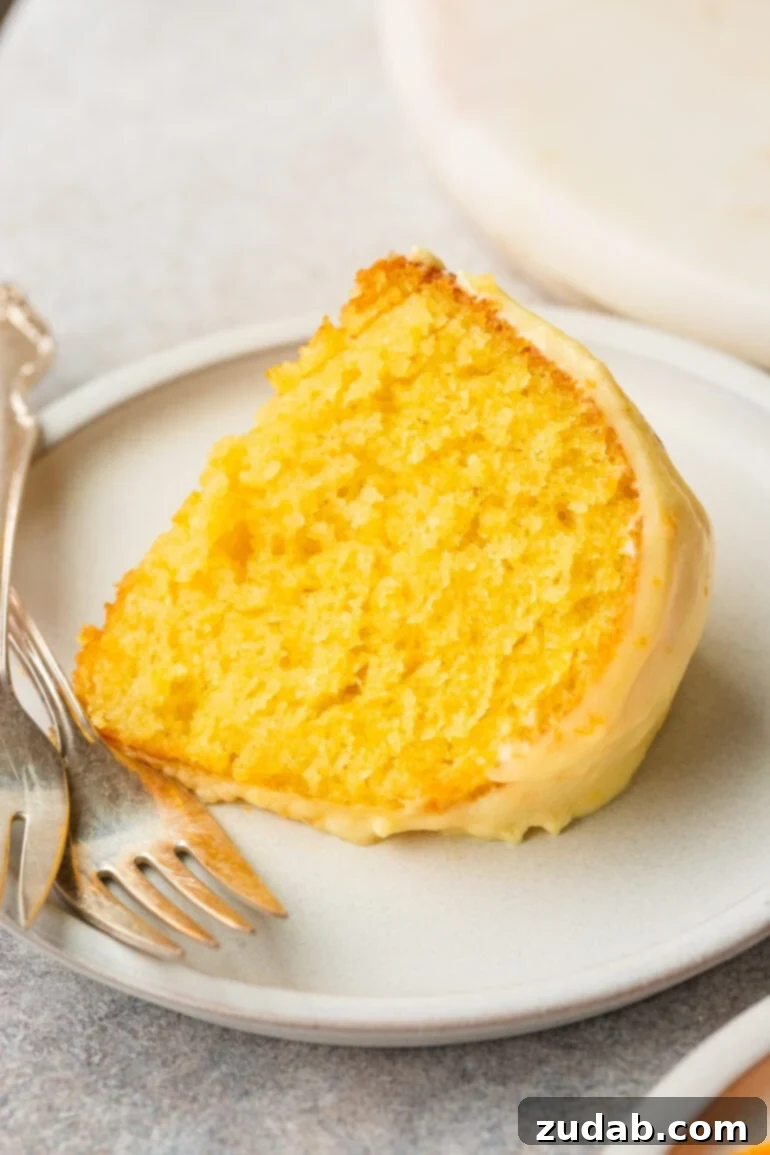
Why You Will Absolutely Love This Glazed Orange Bundt Cake
This isn’t just another cake recipe; it’s a celebration of citrus, crafted to perfection. Here’s why this **Glazed Orange Bundt Cake** will become an instant favorite in your kitchen:
- **Unmatched Flavor:** Every single bite is a vibrant explosion of bold, fresh citrus. By incorporating fresh orange juice and zest into the cake, the simple syrup, and the glaze, we achieve an unparalleled depth of orange flavor that is both bright and comforting. It’s truly an orange lover’s dream come true.
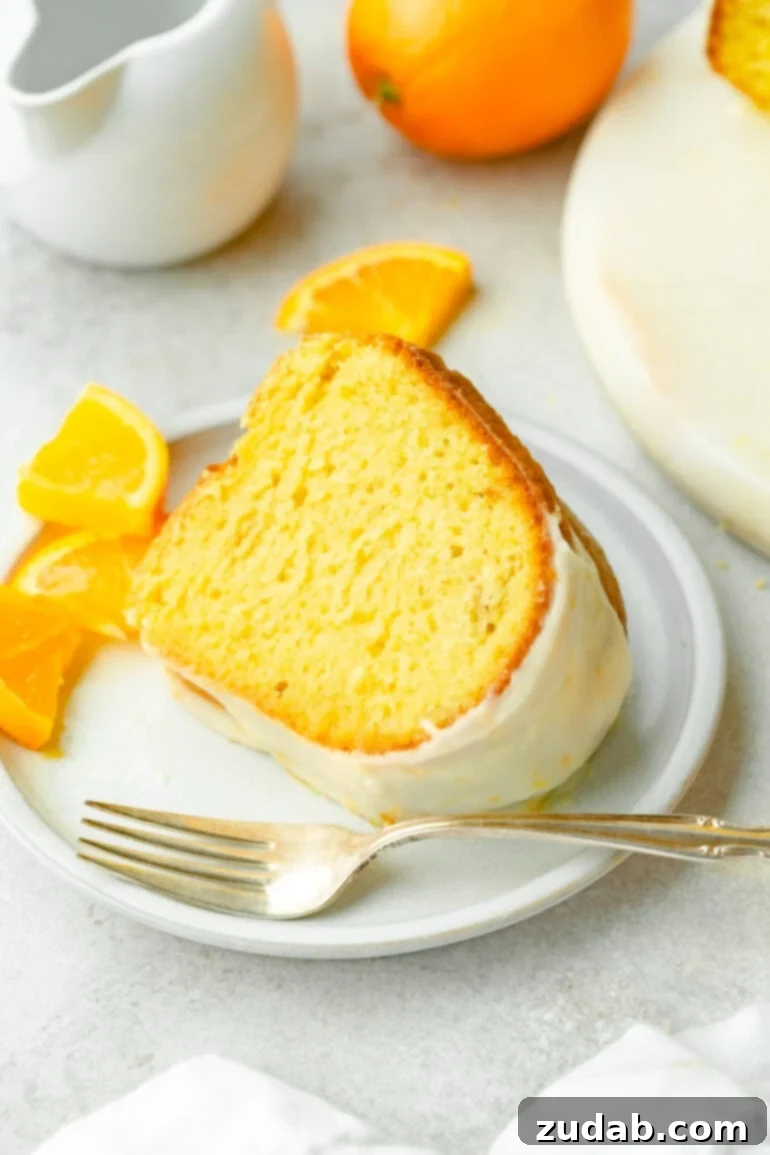
- **Perfect Texture:** Forget dry, crumbly cakes. This recipe delivers an incredibly moist and tender crumb, striking the perfect balance between density and delicate fluffiness. The orange simple syrup ensures an enduring softness that you’ll savor with every forkful.
- **Incredibly Versatile:** This elegant bundt cake is remarkably adaptable for any occasion. It’s sophisticated enough for a holiday feast, charming for a weekend brunch, and always a welcome sweet ending to a family dinner. Its beautiful presentation requires minimal fuss, making it ideal for entertaining.
- **Excellent for Making Ahead:** Planning ahead is a breeze with this cake. Its flavors actually improve over time, so you can bake it a day in advance and store it at room temperature (well-covered) for maximum flavor development. This makes it a stress-free option for busy schedules.
- **Freezes Exceptionally Well:** Beyond just making it a day ahead, this cake is a freezer champion! You can bake the cake and infuse it with the simple syrup, then allow it to cool completely. Wrap the cake tightly in plastic wrap, followed by a layer of aluminum foil, and store it in the freezer for up to 3 months. When a craving strikes or guests arrive unexpectedly, simply thaw it at room temperature for an hour or two, then prepare and drizzle the fresh orange glaze right before serving. This convenience makes it a perfect dessert to have on hand.
Can I Use Other Citrus for this Recipe?
Absolutely! While this recipe is perfected for a delightful **Glazed Orange Bundt Cake**, its fundamental structure allows for fantastic variations with other citrus fruits. If you’re a fan of lemons or limes, you can confidently swap out all the orange juice, zest, and peels for an equal amount of fresh lemon or lime juice and zest. The vibrant acidity and aromatic oils of these fruits will transform the cake into an equally refreshing and zesty dessert. Keep in mind that lemons and limes are typically more tart than oranges, so you might consider a slight adjustment to the sugar in the cake or glaze, tasting as you go, to achieve your preferred balance of sweet and tangy.
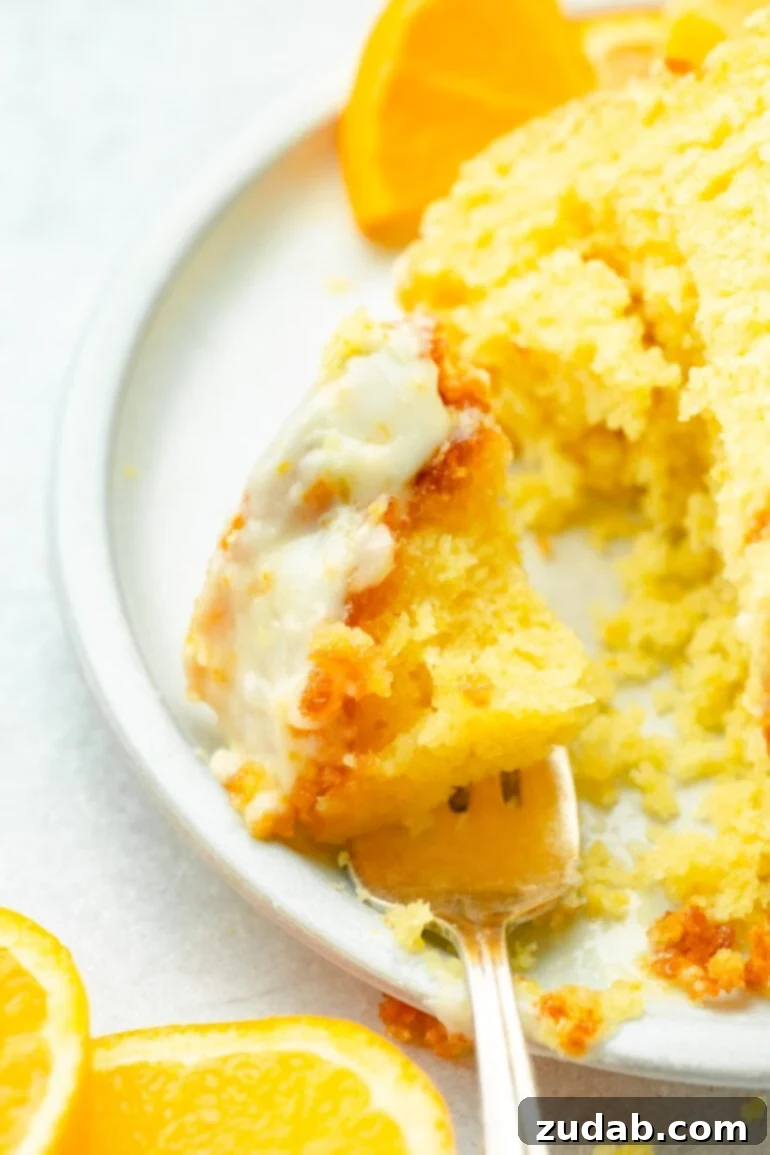
How to Store and Freeze Your Glazed Orange Bundt Cake
Proper storage is essential to maintain the exceptional freshness and flavor of your **Glazed Orange Bundt Cake**. Whether you plan to enjoy it over a few days or save it for a special occasion, these guidelines will ensure it stays delicious.
For short-term storage, this cake will keep beautifully at **room temperature** for up to 1-2 days. To protect its moisture and prevent it from drying out, always store it in an airtight container. If you anticipate keeping it longer, transfer it to the **refrigerator** in an airtight container, where it will remain fresh for up to a week. The refrigeration may slightly firm up the cake, but its moist crumb will still be delightful.
This cake also **freezes exceptionally well**, offering a fantastic make-ahead option. You can freeze it either whole or cut into individual slices, and it will maintain its quality in the freezer for up to 3 months. If you’re freezing the entire bundt cake, I highly recommend omitting the glaze until you are ready to serve it. Thaw the cake at room temperature for several hours or overnight in the refrigerator, then prepare and apply the fresh orange glaze just before serving for the best texture and appearance. For leftover slices, individually wrap each piece tightly in plastic wrap, then place them in an airtight freezer bag or container. This individual wrapping makes it incredibly convenient to grab just one slice whenever a craving strikes, allowing you to enjoy this delicious **orange bundt cake** whenever you desire.
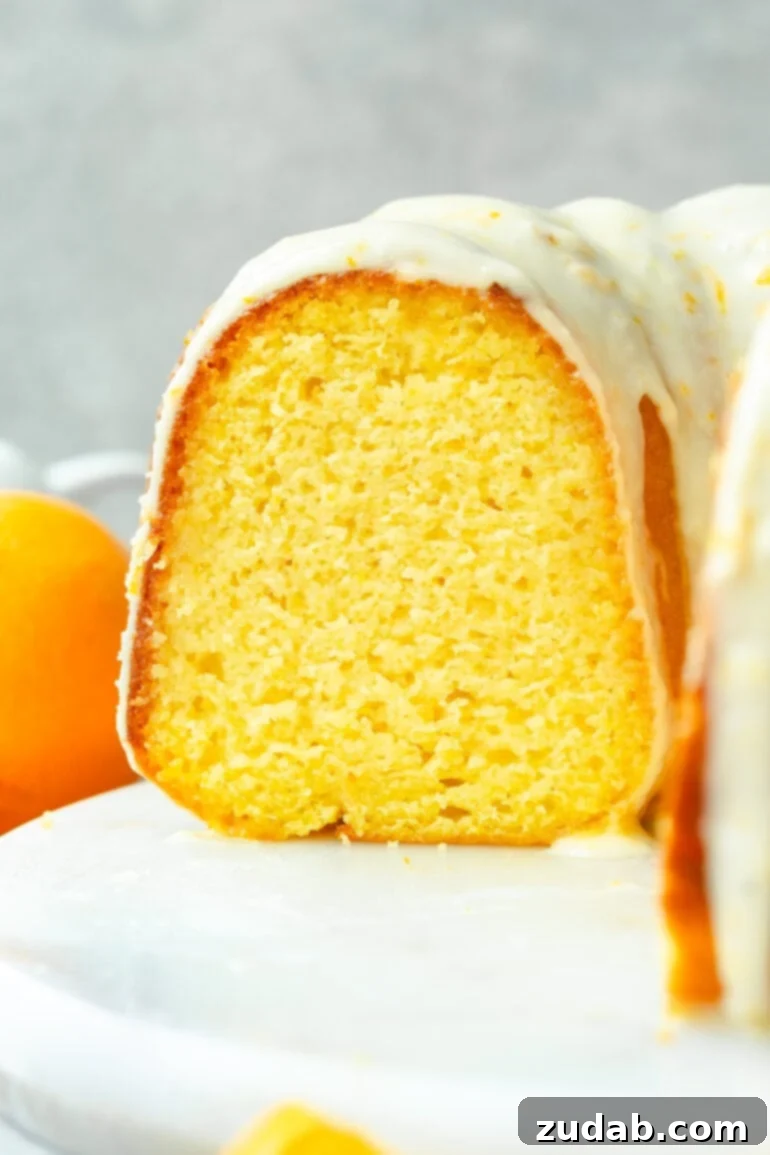
After countless tests and careful refinements, I am 1000% confident that this is truly *the* best **Glazed Orange Bundt Cake** recipe you will ever try. The simple orange syrup generously infuses the cake with incredible flavor and unparalleled moisture, while the bright, zesty glaze quite literally and figuratively acts as the perfect crowning touch. It’s a dreamy, vibrant dessert that promises to impress and delight with every tender bite!
More Irresistible Orange Desserts You Will Love:
- Orange Creamsicle Cookies
- Orange Sweet Rolls
- Glazed Cranberry Orange Bread
- Orange Cinnamon Butterflake Rolls
- Orange Creamsicle Cupcakes
- Cranberry Orange Cake
- Cranberry Orange Pull Apart Bread
Classic Glazed Orange Bundt Cake
Ingredients
Orange Cake
- 1 ¼ Cup Sugar
- 2 Tablespoons Orange Zest, about 2 oranges
- 1 Cup Fresh Orange Juice, 6-8 oranges juiced
- 3 Large Eggs
- 1 ½ teaspoon Vanilla Extract
- 1/4 teaspoon Almond Extract
- 1 Cup Vegetable Oil
- 2 ½ Cups All Purpose Flour
- 1 ¾ teaspoons Baking Powder
- 1/2 teaspoon Baking Soda
- 1 teaspoon Salt
Orange Simple Syrup
- 2 Oranges, just the peels
- 3 Tablespoons Fresh Orange Juice
- 1/2 Cup Water
- 1/2 Cup Granulated Sugar
Orange Glaze
- 1 Tablespoon Butter, softened
- 1 ¼ Cups Powdered Sugar
- 2 Tablespoons Heavy Cream
- 1 Tablespoon Orange Zest
- 1-2 Tablespoons Orange Juice
- 1/4 teaspoon Vanilla
Instructions
For the Cake
-
In a bowl, use your fingers to rub the sugar and zest together until it becomes fragrant and well combined.
-
In a large bowl, or standing mixer, add orange juice, eggs, vanilla, almond extract, sugar with zest and oil. Mix for 3-4 minutes until pale in color.
-
Sift in flour, salt, baking powder, baking soda and salt. Mix well until combined but do not over mix.
-
Spray a bundt pan with baking spray or coat it with nonstick spray and flour, turning the pan to ensure an even coating. Then, pour the batter into the prepared bundt pan.
-
Bake at 350°F for 50-60 minutes, or until a toothpick inserted in the center comes out clean. While the cake is baking, get started on preparing the syrup.
For the Syrup
-
Add all the ingredients to a small saucepan over medium low heat.
-
Bring to a simmer, stirring occasionally until the sugar is totally dissolved. Set aside until cake is done baking.
-
When the cake is done, remove it from the oven and, while it’s still warm, use a skewer to prick the surface all over. Pour the syrup evenly over the cake, allowing it to soak in. Let the cake cool in the pan for 30 minutes before carefully turning it out onto a cooling rack. Allow it to cool completely before serving.
For the Glaze
-
Add all the ingredients to the bowl of a stand mixer and using the whisk attachment, mix until well combined and smooth.
-
Place a piece of parchment paper next to the cooling rack. Carefully transfer the cooling rack with the cake onto the parchment, then drizzle the glaze generously over the top of the cake.
-
Let the cake sit for a moment to allow the glaze to set. Then, place another piece of parchment paper or a Silpat next to the cake and carefully transfer it onto the clean sheet.
-
Pour the remaining glaze from the parchment onto the cake, and repeat this step as needed until you’ve drizzled as much of the glaze as possible over the top.
Nutrition
Serving: 1 slice, Calories: 330kcal, Carbohydrates: 72g, Protein: 5g, Fat: 3g, Saturated Fat: 2g, Polyunsaturated Fat: 0.4g, Monounsaturated Fat: 1g, Trans Fat: 0.04g, Cholesterol: 46mg, Sodium: 266mg, Potassium: 202mg, Fiber: 1g, Sugar: 50g, Vitamin A: 233IU, Vitamin C: 27mg, Calcium: 52mg, Iron: 2mg
Nutrition information is automatically calculated, so should only be used as an approximation.