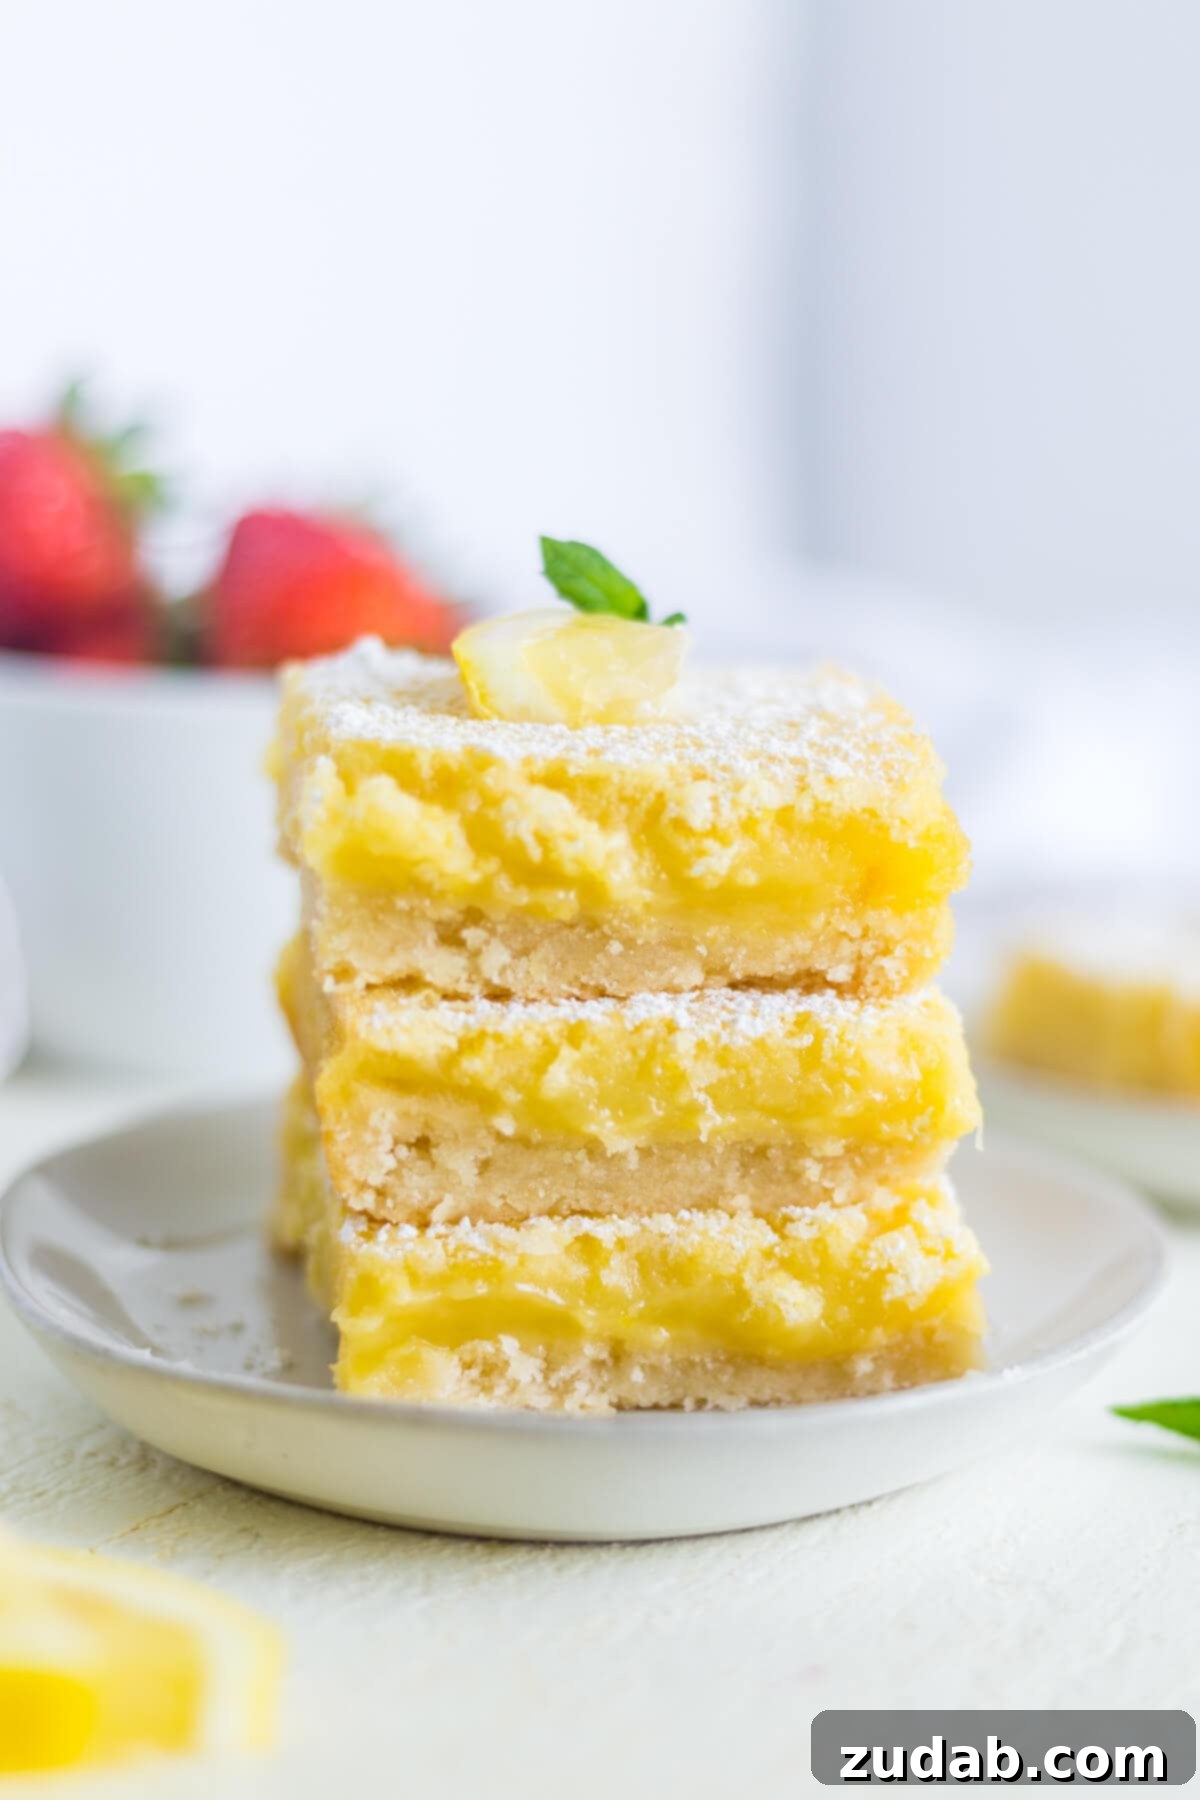
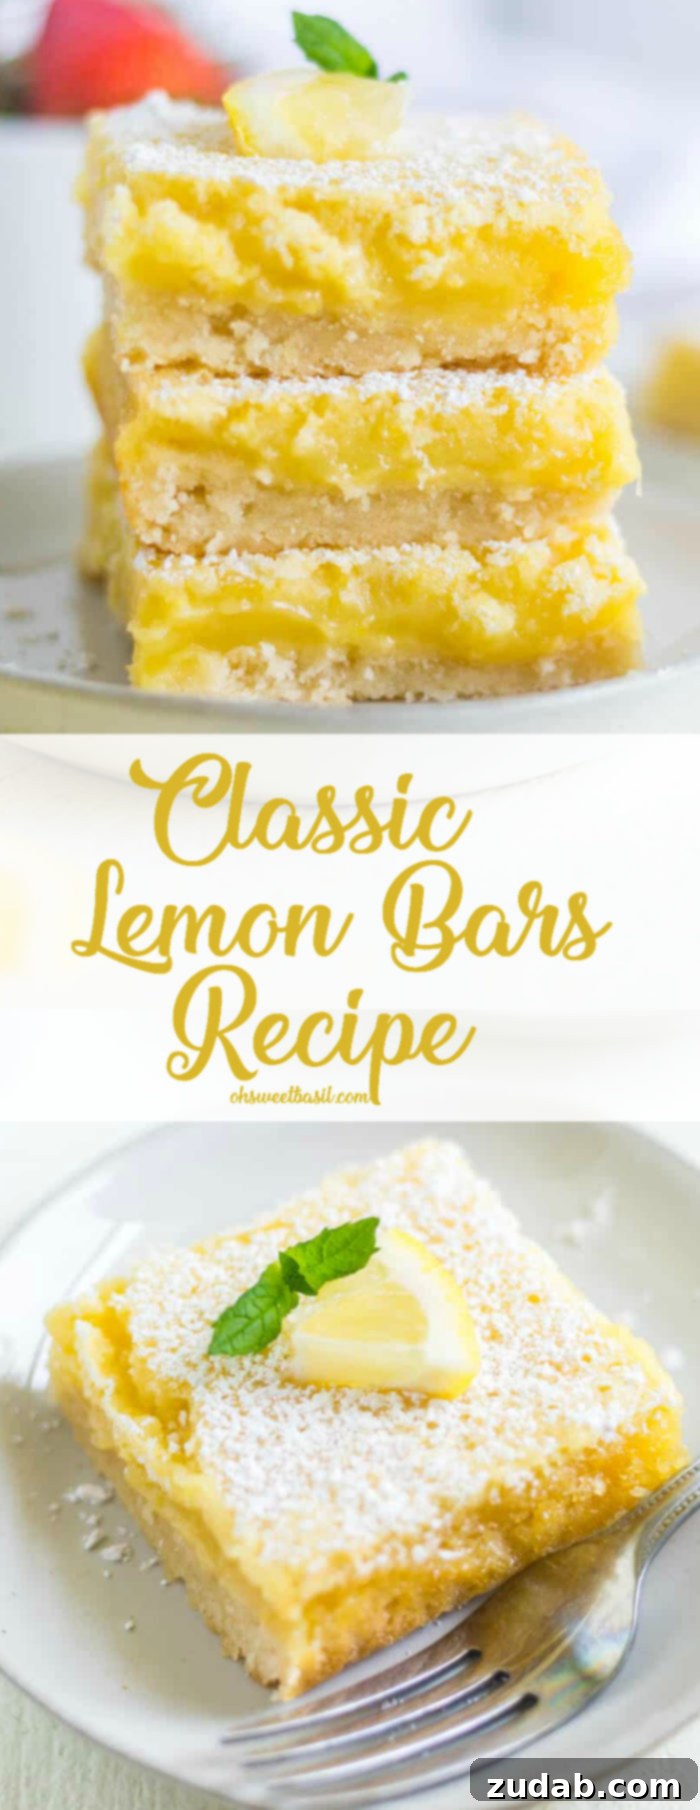
Welcome to the ultimate guide for creating the best lemon bars you’ve ever tasted! This truly is a classic spring recipe, though its bright, zesty appeal makes it a beloved treat year-round. Imagine a perfect harmony of textures and flavors: a rich, tender, and impossibly buttery shortbread crust generously topped with a luscious, gooey lemon filling. A delicate dusting of powdered sugar on top not only adds a touch of elegance but also perfectly balances the vibrant tartness of the lemon. This lemon bar recipe promises an effortlessly easy yet incredibly delicious spring dessert, ideal for brightening any occasion.
As the days lengthen and the air fills with the promise of warmer weather, our culinary thoughts often turn to the refreshing taste of citrus. April and May signal the perfect time to indulge in delightful lemon desserts. From the sophisticated tang of iced lemon cake to the nostalgic comfort of lemon meringue pie, and the chewy sweetness of lemon cheesecake cookies, lemon is the star. Among these citrusy stars, homemade lemon bars shine brightest. There’s truly nothing quite like a sweet and tart lemon recipe to provide a refreshing conclusion to a spring gathering or a summer dinner party. Their vibrant flavor offers a delightful contrast to heavier meals, leaving a clean, invigorating palate.
The Irresistible Allure of Classic Lemon Bars
Lemon bars are more than just a dessert; they are an iconic culinary experience. When you picture classic lemon treats, these buttery, tart, and sweet squares almost certainly come to mind – and for excellent reason! Their widespread popularity isn’t accidental; it’s a testament to their utterly delicious and satisfying nature. They strike a perfect balance that appeals to almost everyone, from those who adore intensely sour flavors to those who prefer a subtler tang.
What makes a lemon bar so universally adored? It’s the delightful interplay of textures – the crumbly, substantial shortbread base giving way to the silky, almost molten lemon custard. And then there’s the flavor: a burst of sunny citrus, tempered by just the right amount of sweetness, creating a refreshingly bold yet comforting taste. This simple elegance makes them perfect for various occasions, from casual family desserts to elegant party platters. They require minimal fuss but deliver maximum impact, making them a favorite for both novice and experienced bakers.
The Secret to Crafting Truly Exceptional Lemon Bars
While the concept of lemon bars is straightforward, achieving that truly spectacular taste hinges on one crucial element: an abundance of fresh lemon juice and fragrant lemon zest. This isn’t just a suggestion; it’s the golden rule for elevating your lemon bars from good to unforgettable. Bottled lemon juice simply cannot replicate the vibrant, multifaceted flavor and aromatic complexity that comes from freshly squeezed lemons. The essential oils found in the zest are powerful flavor enhancers, adding a depth that juice alone cannot provide. Therefore, investing in good quality, fresh lemons is perhaps the most critical step in this recipe.
Beyond the filling, you’ll also want a genuinely soft, rich, and buttery crust to cradle that luscious lemon topping. A great crust provides the perfect counterpoint to the gooey, tart filling, offering a satisfying texture and a foundational flavor. It needs to be sturdy enough to hold the filling but tender enough to melt in your mouth. This harmonious combination of a robust, flavorful crust and an intensely lemony filling is what truly defines the best lemon bar recipe. Neglecting either component will diminish the overall experience, so attention to detail in both layers is paramount.
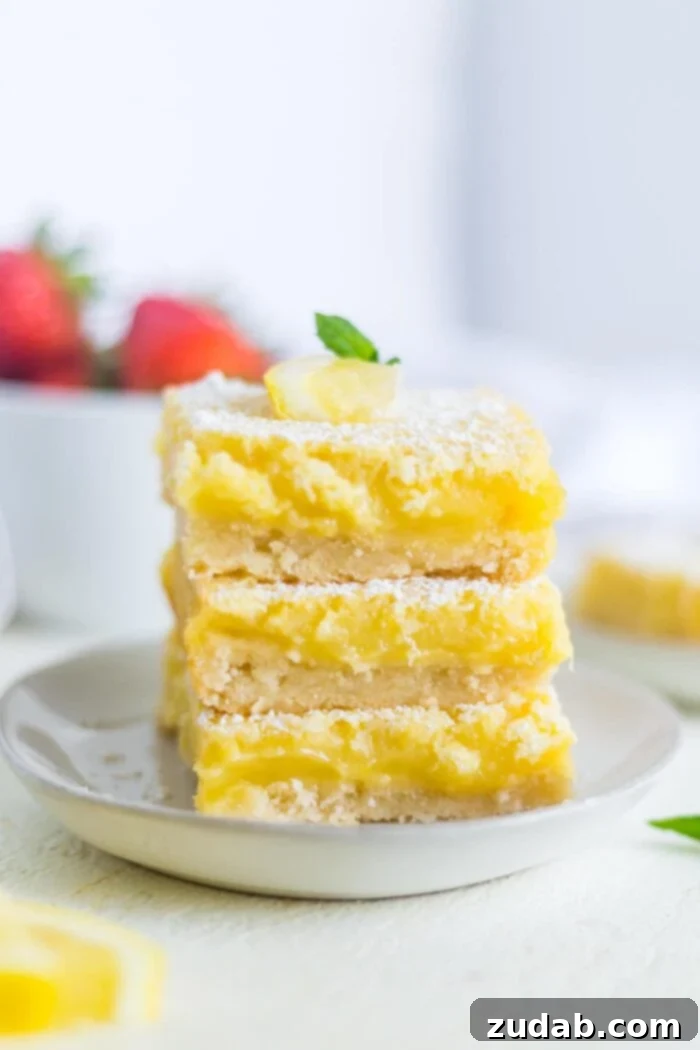
Essential Ingredients for the Best Lemon Bars
To embark on your journey to create these delightful lemon bars, you’ll need a collection of standard basic baking ingredients, alongside a generous supply of bright, fresh lemons. The quality of your ingredients significantly impacts the final outcome, so choose wisely. Here’s a detailed look at what you’ll need to assemble this truly delicious recipe:
For the Perfectly Buttery Crust:
- Unsalted Butter: Crucial for a rich, tender, and flavorful shortbread base. Ensure it’s softened to room temperature for proper creaming and a smooth dough consistency. High-quality butter makes all the difference in taste and texture.
- Granulated Sugar: Provides essential sweetness to the crust, balancing the richness of the butter and contributing to its delicate crumb.
- All-Purpose Flour: The structural backbone of your crust. Standard all-purpose flour works perfectly to create a firm yet crumbly base that holds its shape.
- Salt: A pinch of salt is vital. It doesn’t just cut through the sweetness and tartness; it actively enhances all the flavors, bringing out the best in the butter and lemon.
- Fresh Lemon Juice: A small amount of lemon juice (from about 1 lemon) adds a subtle hint of lemon to the crust itself, tying it beautifully to the filling and helping the dough come together.
For the Luscious Lemon Filling:
- Large Eggs: These are key to creating the rich, creamy, and custard-like texture of the filling. Using room temperature eggs helps them incorporate more smoothly into the mixture.
- Granulated Sugar: Adds the necessary sweetness to balance the intense tartness of the lemons, resulting in a perfectly palatable filling.
- All-Purpose Flour: A small amount of flour helps thicken the filling during baking, giving it that classic gooey yet set structure without being overly firm.
- Salt: Just like in the crust, salt is essential here to enhance and round out the complex flavors of the lemon and sugar.
- Fresh Lemon Juice: This is where the magic happens! You’ll need a substantial amount, preferably from 3-4 large, ripe lemons, to ensure a vibrant and genuinely lemony flavor. Freshly squeezed is non-negotiable for the best results.
- Lemon Zest: Don’t skip the zest! The aromatic oils in the zest (from about 1 lemon) contribute immensely to the bright, fresh lemon flavor and aroma, adding depth that juice alone cannot achieve.
- Powdered Sugar: Used primarily for garnish after baking. A generous dusting not only adds a beautiful visual appeal but also provides a final touch of sweetness, delicately softening the lemon’s tart edge.
Exact measurements for each ingredient, along with detailed step-by-step instructions, can be found in the comprehensive recipe card located at the end of this post. As a BONUS tip for those with dietary considerations: if you’re seeking a delightful gluten-free option, be sure to explore our dedicated gluten-free lemon bar recipe for equally delicious results.
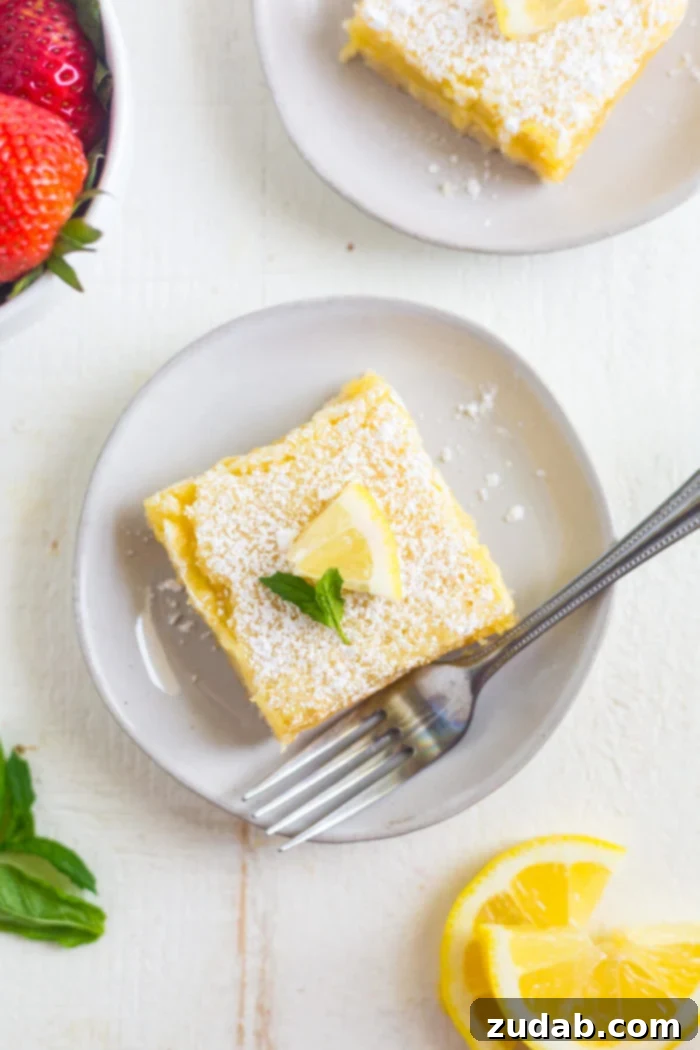
How to Master the Art of Making Lemon Bars
Creating these delectable lemon bars is a wonderfully straightforward process, typically divided into two simple yet distinct stages: preparing the crust and crafting the filling. Both components are designed to be approachable, even for novice bakers, ensuring a rewarding experience. Here’s a detailed breakdown of each step, guaranteeing a perfect batch every time:
Crafting the Buttery Crust:
Your journey begins by preheating your oven to 350°F (175°C), ensuring it’s ready when your dough is. Next, prepare a 9×13 inch baking pan by lining it with parchment paper, leaving an overhang on the sides. This simple trick will make lifting the baked bars out of the pan incredibly easy later on. In a large mixing bowl, either with a hand mixer or a stand mixer fitted with the paddle attachment, begin to cream together 2 sticks of softened unsalted butter with the granulated sugar. Beat them until the mixture is light, fluffy, and well combined, typically for about 1-2 minutes. This creaming process is the essential foundation for creating a truly tender, melt-in-your-mouth crust.
Once the butter and sugar are perfectly creamed, reduce your mixer speed to low. Gradually add in the all-purpose flour, salt, and the small amount of lemon juice. Continue mixing just until the ingredients are incorporated and a cohesive dough begins to form. The dough at this stage may appear a little crumbly, but don’t worry. The small addition of lemon juice helps moisten it slightly, allowing it to come together more easily. It should eventually form a soft ball that pulls away cleanly from the sides of the bowl. Gently press this dough evenly into the prepared baking dish, making sure to extend it about 1/2 inch up the sides to form a slight border. This creates a neat base for your lemon filling. Bake the crust by itself for 20-25 minutes, or until the edges are lightly golden brown and the center appears set. Remove it from the oven and allow it to cool slightly on a wire rack while you prepare the filling, but keep the oven on.
Preparing the Zesty Filling:
While your crust cools, it’s time to prepare the star of the show: the lemon filling. In another large bowl, simply whisk all the filling ingredients together: the large eggs, granulated sugar, all-purpose flour, salt, fresh lemon juice, and the aromatic lemon zest. Whisk diligently until the mixture is thoroughly combined and smooth. At first glance, the mixture will appear quite runny, and this is perfectly normal. There’s no need for concern; it will gracefully thicken and set as it bakes in the oven, transforming into that signature gooey texture you crave.
Once the filling is prepared and the crust has had a few minutes to cool, carefully pour the liquid lemon mixture evenly over the pre-baked crust. Return the baking dish to the preheated oven and continue baking for an additional 30 to 35 minutes. To determine if your lemon bars are perfectly baked, gently jiggle the dish. The lemon filling should be mostly set with only a slight, very subtle jiggle in the very center, indicating it’s fully cooked. Remove the pan from the oven and place it on a wire rack to cool completely to room temperature. This cooling process is critical for the filling to fully set and achieve its ideal texture. Once completely cool, and just before serving, generously dust the top of the bars with powdered sugar. Then, using the parchment paper overhang, carefully lift the entire slab of lemon bars out of the pan, place it on a cutting board, and slice them into neat squares. Serve and enjoy!
For your convenience, these detailed instructions, along with the complete ingredient list, are readily available in the printable recipe card at the very end of this post. You can also easily save or print the recipe from there for future reference.
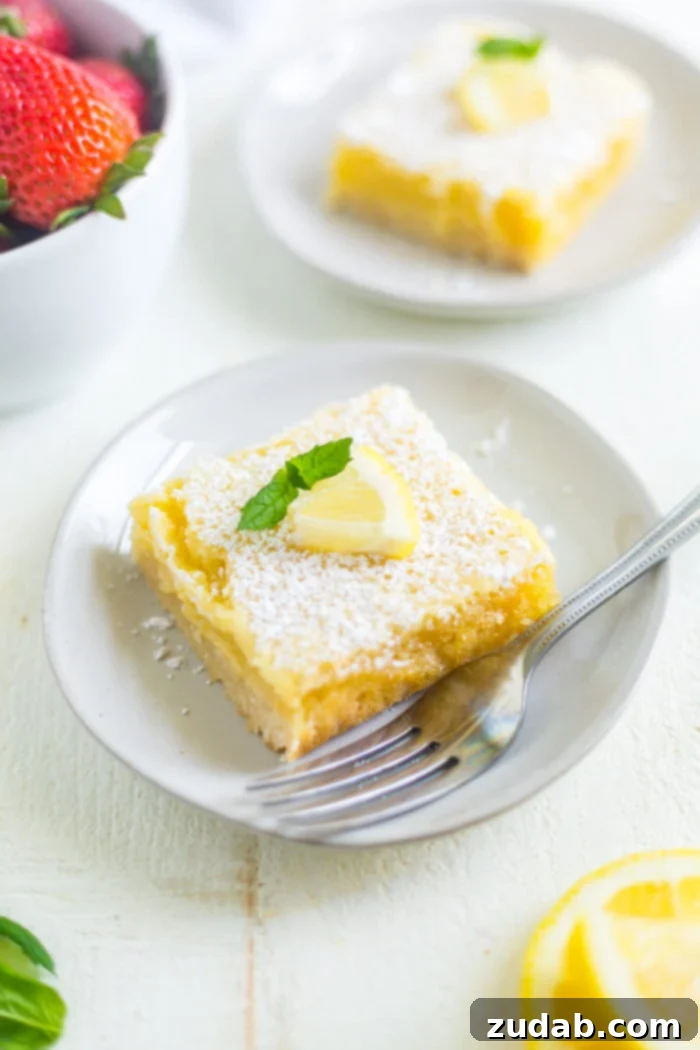
Are Lemon Bars Supposed to Be Gooey?
Yes, absolutely! The defining characteristic of a truly fantastic lemon bar is its signature gooey, custard-like lemon layer. This vibrant top layer is essentially a baked lemon curd, sitting gloriously atop a crisp, shortbread crust. So, it is entirely expected for them to be soft and wonderfully gooey, offering a delightful contrast to the firm base.
However, there’s a fine line between perfectly gooey and undercooked. To prevent your lemon bars from being excessively runny, it is paramount that you allow them to set completely after removing them from the oven. You’ll know your lemon bars are perfectly done when, upon gently nudging the pan, the filling exhibits only a slight, minimal jiggle in the center, rather than a liquid wave. The residual heat will continue to cook the custard as it cools. For the cleanest cuts and the best set texture, wait until the lemon bars are completely cooled to room temperature before slicing them. For an even firmer and more set consistency, which also enhances the flavors, consider chilling them in the refrigerator for at least a couple of hours before cutting and serving. This patience will be richly rewarded with beautifully structured and incredibly delicious bars.
Can I Make Lemon Bars in a Muffin Pan for Individual Servings?
Yes, you can absolutely create charming individual lemon bar portions using a muffin tin! This method is perfect for parties or when you want perfectly portioned treats. When using a standard muffin tin, it’s advisable to line each cup with paper liners or grease and flour them well to ensure easy removal. The baking times will, of course, need to be adjusted due to the smaller size.
For the crust, you’ll press a smaller amount of dough into the bottom of each muffin cup and pre-bake it for approximately 8-10 minutes, or until lightly golden. Then, pour the lemon filling over the pre-baked crusts and return them to the oven for another 12-15 minutes. It’s crucial to monitor them closely, as individual portions can overcook quickly. Look for a barely perceptible jiggle in the center of each, similar to the full pan method. Once baked, cool them completely before dusting with powdered sugar and serving. This individual format makes for an elegant and convenient dessert presentation.
Optimal Storage Methods for Lemon Bars
Should you find yourself with the delightful problem of having leftover lemon bars (a rare occurrence!), proper storage is key to maintaining their fresh taste and perfect texture. You have excellent options for keeping them fresh, either in the refrigerator or for longer periods in the freezer.
To store in the refrigerator: Place your cooled lemon bars in an airtight container. If you have multiple layers, separate them with sheets of parchment paper or wax paper to prevent sticking. Stored this way, they will remain wonderfully fresh and delicious for up to 3 days in the fridge. Bringing them to room temperature for about 15-20 minutes before serving can enhance their texture.
To store in the freezer: Freezing is an excellent option for long-term enjoyment. Start by arranging individual lemon bars on a baking sheet, ensuring they are not touching. Place the baking sheet in the freezer for 2-3 hours, or until the bars are completely frozen solid. This prevents them from sticking together. Once frozen, wrap each bar individually in plastic wrap, then transfer them to a sealable freezer bag or an airtight freezer-safe container. They will maintain their quality in the freezer for up to 3 months. When you’re ready to enjoy them, simply thaw them overnight in the refrigerator. A fresh dusting of powdered sugar just before serving will revitalize their appearance and taste.
Remember, always apply the powdered sugar garnish just before serving, especially if you’ve stored them. Humidity in the fridge can cause the sugar to dissolve, so a fresh dusting ensures that beautiful, classic finish. By following these storage steps, you’ll ensure that you can enjoy the best lemon bars recipe at their peak flavor and texture for as long as possible!
Can I Prepare Lemon Bars in Advance?
Absolutely! A classic lemon bars recipe is an ideal candidate for a make-ahead dessert, which is one of their many appealing qualities. Their flavors tend to meld and deepen slightly overnight, often making them taste even better the next day. The cooling and setting time is quite significant, so preparing them ahead allows the filling to firm up perfectly, making for cleaner slices and a more enjoyable texture.
You can easily prepare and bake the lemon bars the day before your event. Once they have cooled completely to room temperature, cover the baking pan snugly with plastic wrap or transfer the cut bars to an airtight container. Then, simply pop the lemon bars into the fridge to keep them chilled until they’re ready for serving. Remember, because this is a fresh, bright-tasting dessert with a custard-like filling (unlike a more stable baked cookie), you should aim to make lemon bars about a day ahead of time for optimal freshness and quality. This allows ample time for chilling and setting, ensuring they are at their absolute best when presented to your guests.
Perfecting Your Lemon Bars: Additional Tips for Success
Achieving truly exemplary lemon bars involves a few key details that can make a significant difference. Firstly, always use room temperature ingredients for both the crust and the filling. Softened butter creams more effectively, and room temperature eggs blend more smoothly, creating a more uniform and consistent batter and custard. When zesting your lemons, be careful to only remove the bright yellow outer layer, avoiding the bitter white pith underneath. For the juicing, pressing and rolling your lemons on the counter before cutting them can help extract maximum juice. If your dough is too crumbly for the crust, a tiny splash more of lemon juice or even a touch of cold water can help it come together. When pressing the crust, an even layer is crucial for uniform baking and a stable base.
For the filling, whisking well is important, but over-whipping can introduce too much air, which might lead to a less dense custard. A gentle, thorough whisk is best. The baking environment also plays a role; ovens can vary, so keep an eye on your bars during the final baking stage. The “slight jiggle” test is your best indicator of doneness. Lastly, patience during the cooling phase cannot be overstated. Rushing to cut warm lemon bars will result in a messy, unset filling. Allow them to cool completely, and for truly pristine squares, chill them in the refrigerator. These small steps ensure that your homemade lemon bars are nothing short of perfection.
Serving Suggestions and Culinary Pairings
Classic lemon bars, with their exquisite balance of sweet and tart, are incredibly versatile and can be served in a myriad of ways to enhance any dining experience. They make a fantastic standalone dessert, delightful on their own, especially when dusted with that essential powdered sugar. For an added touch of decadence, consider serving them alongside a dollop of freshly whipped cream or a scoop of vanilla bean ice cream. The creamy notes perfectly complement the bright lemon. A scattering of fresh berries – raspberries, blueberries, or sliced strawberries – can introduce another layer of flavor and visual appeal, making the dessert even more vibrant and seasonal.
Lemon bars are perfect for a wide range of occasions. They are a staple for spring and summer potlucks, garden parties, and barbecues, thanks to their refreshing quality. Their make-ahead nature also makes them ideal for busy hosts, allowing you to prepare them in advance and simply present them when needed. They pair beautifully with a cup of hot tea or coffee for an afternoon treat, or as a light and zesty conclusion to a rich dinner. Whether enjoyed casually or as part of a formal spread, these lemon bars are guaranteed to be a crowd-pleaser, embodying simple elegance and unforgettable flavor.
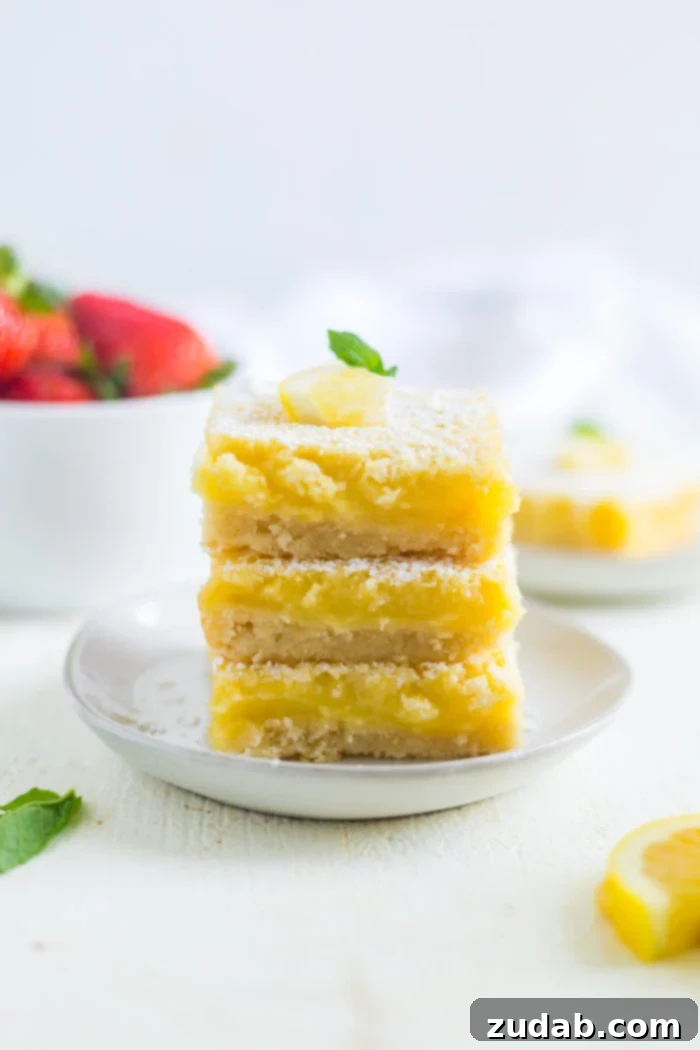
If you have an undeniable love for vibrant lemon desserts, then these classic lemon bars are destined to become your new obsession! It’s genuinely difficult to fathom that creating the best lemon bars could be such an incredibly easy process, yet yield results that are so utterly mouthwatering and delicious. Each bite is a symphony of flavors and textures: delightfully sweet and perfectly tart, wonderfully buttery and rich, culminating in a creamy, chewy bliss that is nothing short of total indulgence. Prepare to fall in love with this timeless treat!
If you love these, then you have to try these other BAR DESSERTS:
- Scotcheroos Peanut Butter Rice Krispies Treats
- Mom’s Famous Caramel Brownies
- Fruity Pebbles Rice Krispie Treats
- Lemon Raspberry Bars
- Brookie Bars
- Snickerdoodle Cheesecake Bars
- Snickers Caramel Brownies
- Peach Oatmeal Bars
- Peanut Butter Cheesecake Oreo Brownies
- Peanut Butter Caramel Brownies
- Twix Caramelita
- Raspberry Lemon Bars
Lemon Bars
Ingredients
Crust:
- 1 Cup Unsalted Butter, room temperature
- 1/2 Cup Sugar
- 2 Cups All Purpose Flour
- 1/2 teaspoon Salt
- 2 Tablespoons Lemon Juice, about 1 lemon
Filling:
- 6 Large Eggs, room temperature
- 2 1/2 Cups Granulated Sugar
- 1 Cup All Purpose Flour
- 1/2 teaspoon Salt
- 1 Cup Fresh Lemon Juice, about 3 large lemons
- 2 Tablespoon Lemon Zest, about 1 large lemon
- Powdered Sugar, for garnish
Instructions
-
Preheat the oven to 350°F.
-
Line a 9×13 inch baking pan with parchment paper and set aside.
To make the crust:
-
Cream the butter and sugar together in a large bowl with a hand mixer or stand mixer fitted with the paddle attachment for 1-2 minutes.1 Cup Unsalted Butter, 1/2 Cup Sugar
-
With the mixer on low, add the flour, salt and lemon juice and beat until just mixed.2 Cups All Purpose Flour, 1/2 teaspoon Salt, 2 Tablespoons Lemon Juice
-
Dump the dough into the prepared baking pan and press the dough to the edges of the pan to build up 1/2 inch on the bottom of the pan.
-
Bake for 20-25 minutes or until edges start to turn golden brown.
-
Remove from oven, leave the oven on and cool on a wire rack.
To make the filling:
-
Whisk together the eggs, sugar, flour, salt, lemon juice and lemon zest in a large bowl. Mixture will be very runny.6 Large Eggs, 2 1/2 Cups Granulated Sugar, 1 Cup All Purpose Flour, 1/2 teaspoon Salt, 1 Cup Fresh Lemon Juice, 2 Tablespoon Lemon Zest
-
Pour over the baked crust and bake for another 30 to 35 minutes, until the filling is set and doesn’t move when shaken.
-
Allow to cool completely at room temperature.
-
Dust with powdered sugar and cut into squares before serving.Powdered Sugar
Recipe Notes
Nutrition
Nutrition information is automatically calculated, so should only be used as an approximation.
Lemon Cake with Lemon Cream Cheese Frosting
This lemon cake with lemon cream cheese frosting has a soft cake crumb and delicious lemon flavor. The cream cheese frosting is smooth & creamy for the perfect pairing.