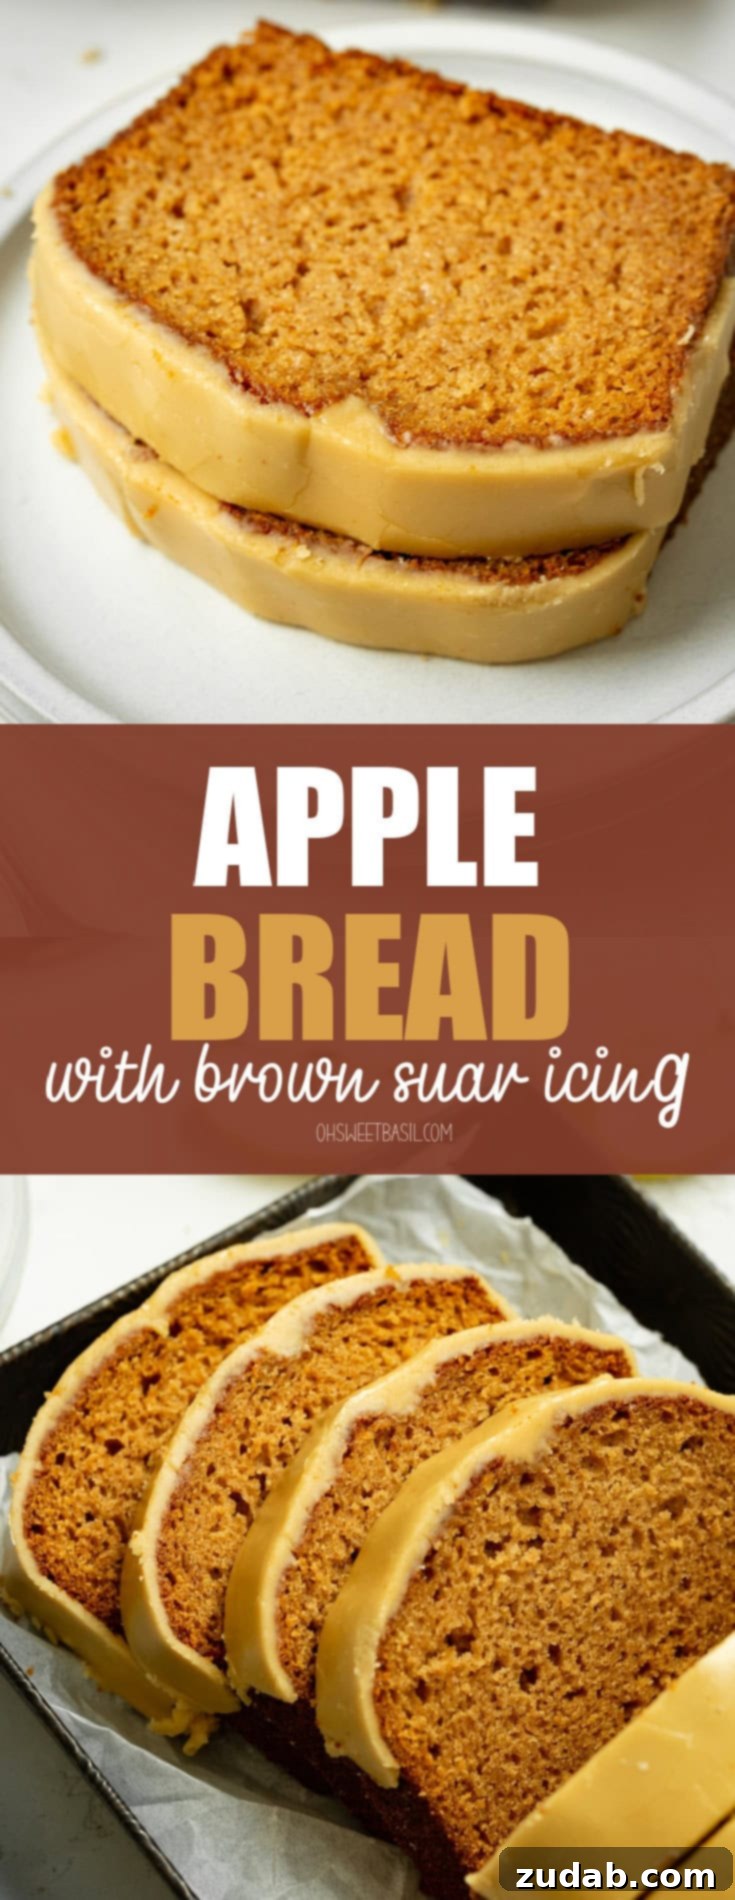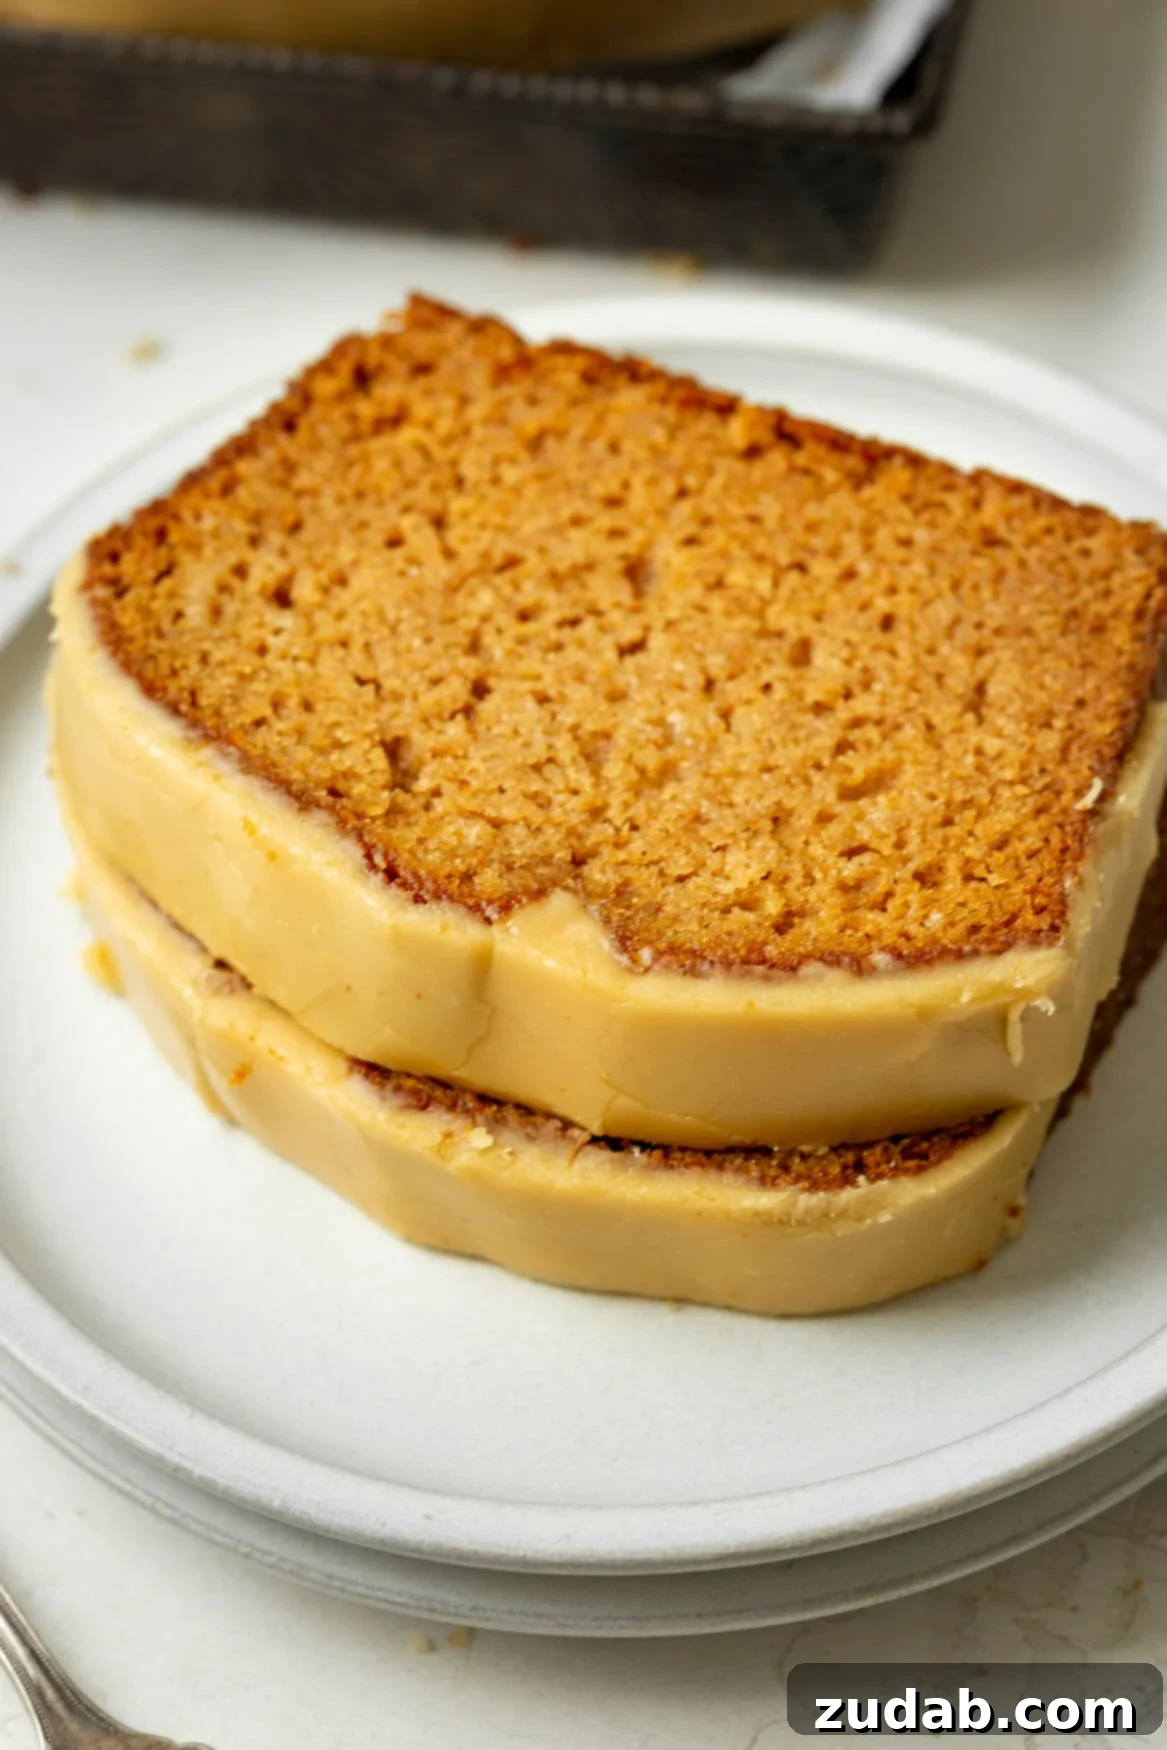
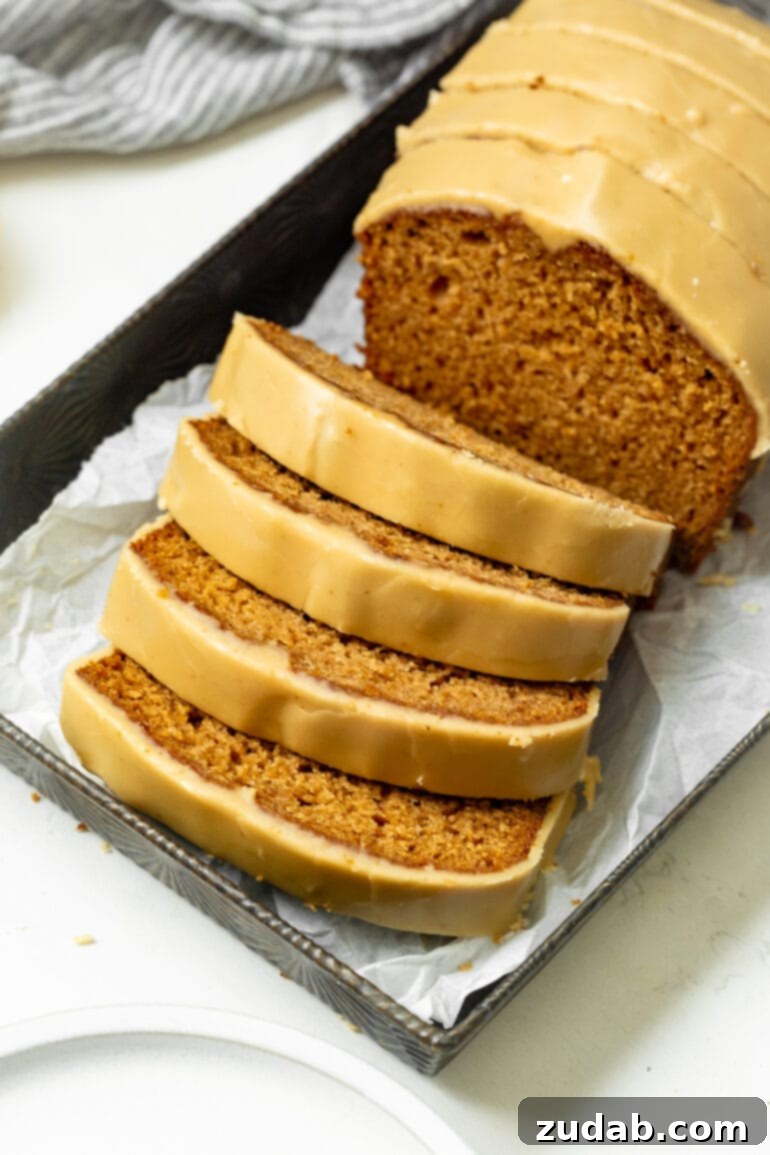
As autumn arrives and crisp air fills the senses, a delightful craving for warm, comforting apple desserts inevitably takes hold. This particular **homemade apple bread recipe** is a true standout, perfectly spiced to evoke those cherished fall flavors, and generously laden with the tender, aromatic essence of baked apples. But what truly elevates this autumnal delight is its luxurious **brown sugar icing**, a decadent topping that will have everyone reaching for another slice.
I’ve envisioned creating this perfect **apple quick bread** for years, and the wait has been entirely worth it! While any apple-infused treat is wonderful, the true magic for me lies in that rich, cooked brown sugar icing. It’s a flavor that transports me back to childhood.
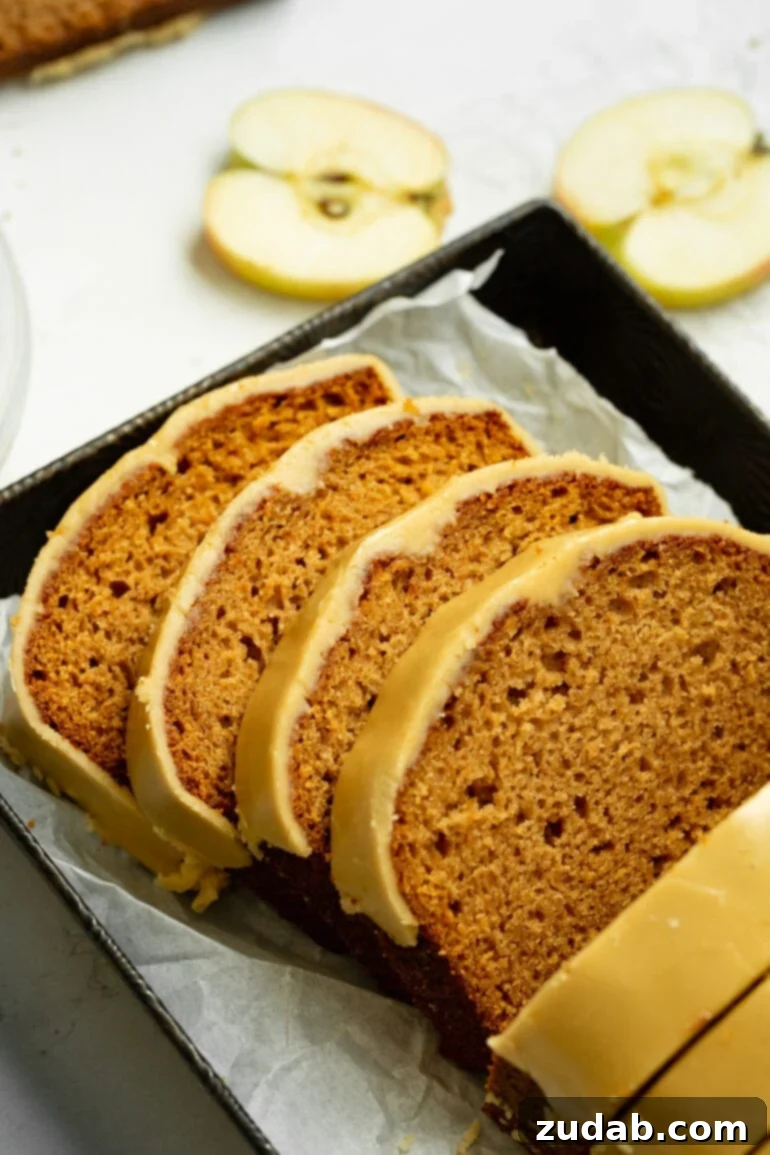
Growing up, my dad would often request a classic spice cake for his birthday. My mom always crowned it with a cooked frosting that tasted reminiscent of a thick, luscious caramel. For some reason, the combination of **cozy spices** and that rich, warm brown sugar icing became deeply nostalgic for me. Even though Mom wasn’t typically a huge fan of cooked apples, I knew I could craft a version that would win her over entirely. Thus, this incredible **spiced apple bread with brown sugar icing** was born, designed to capture those comforting flavors in a delicious, easy-to-make loaf.
To ensure your success with this incredibly moist and flavorful **quick bread recipe**, I’ve included essential tips and tricks throughout this guide. Make sure to read on so you don’t miss any of these valuable insights!
Recommended Equipment for Perfect Apple Bread:
Having the right tools can make all the difference in your baking experience and the final outcome of your apple bread. Here’s what you’ll need:
- Bread Loaf Pans: Standard 8.5×4-inch loaf pans are ideal for baking two perfectly sized loaves of this delightful apple bread.
- Light Colored Pot: A light-colored saucepan is highly recommended for browning butter. This allows you to easily observe the color changes as the butter toasts, preventing it from burning and ensuring that rich, nutty flavor develops perfectly.
Before You Begin Baking: Essential Prep Steps
Starting with these foundational steps will set you up for success and ensure your **homemade apple bread** turns out incredibly flavorful and moist. These initial preparations are crucial for integrating the rich, complex flavors of browned butter and the deep apple essence into your quick bread.
First and foremost, you’ll want to prepare your **browned butter**. This step is a game-changer, infusing both the bread and the icing with an unparalleled nutty, caramel-like depth that transforms the entire dessert. You’ll find a detailed section below on how to perfectly brown butter. It’s best to brown a whole stick of butter at the outset. Once complete, you will set aside 3 tablespoons for the luscious brown sugar icing and use the remainder directly in your apple bread batter. Having it ready before you start mixing ensures a smooth baking process.
Secondly, ensure you have apple butter on hand. Whether you opt for a homemade batch, bursting with concentrated apple flavor, or a high-quality store-bought variety, apple butter is a key ingredient that provides natural sweetness and a deep, authentic apple taste without the need for fresh apple chunks (though we’ll cover that option too!). If apple butter is unavailable, unsweetened applesauce can be used as a substitute, though the apple flavor in your finished bread may be less intense.
What Ingredients Do I Need to Make This Delicious Apple Bread?
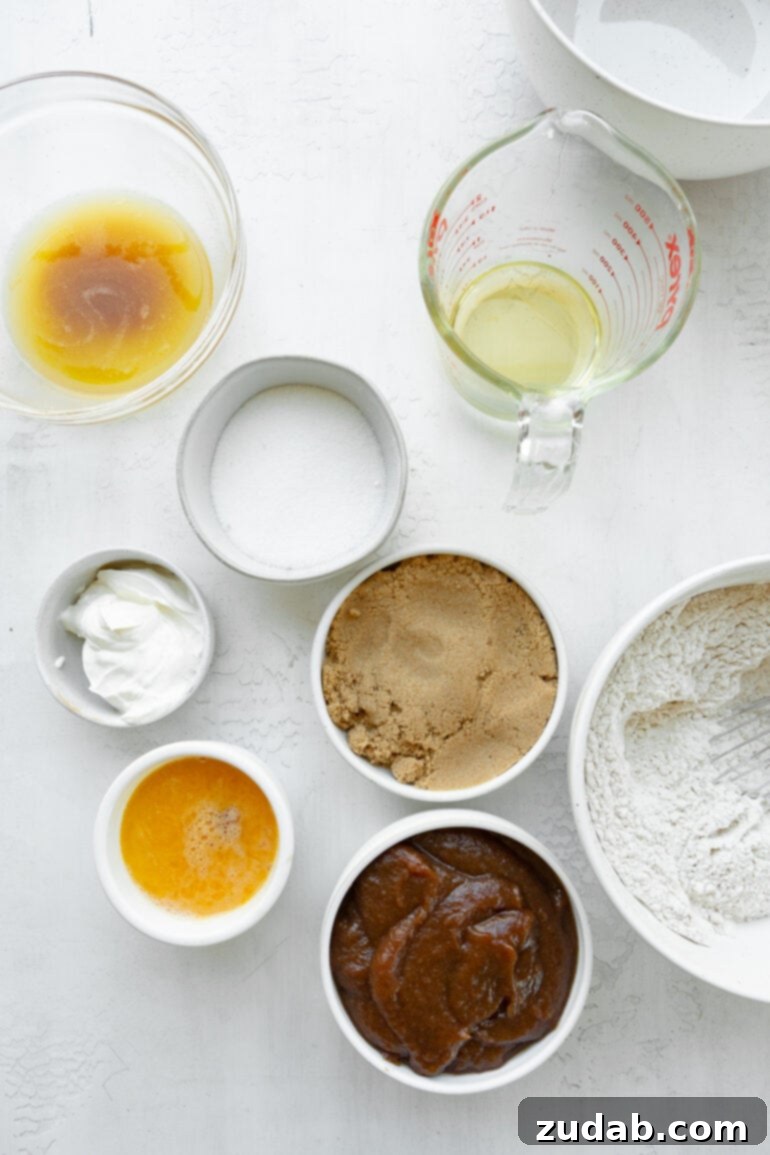
Crafting this **moist apple bread with brown sugar icing** relies on a combination of pantry staples and a few star ingredients that lend it its signature fall flavor and tender texture. I’ve divided the ingredients into two distinct groups to make your preparation seamless: those for the incredibly flavorful bread, and those for the irresistible, gooey brown sugar icing. Here’s a comprehensive list of what you’ll need to create this ultimate fall treat:
For the Spiced Apple Bread Loaf:
- All-Purpose Flour: The foundation of our quick bread, providing essential structure and a tender crumb.
- Baking Soda: A crucial leavening agent that reacts with acidic ingredients (like sour cream and apple butter) to give the bread its beautiful rise and airy fluffiness.
- Salt: A pinch of salt is vital for balancing and enhancing all the sweet and savory flavors in the bread, making them truly pop.
- Warm Fall Spices: A harmonious blend of ground cinnamon, nutmeg, and cloves creates that classic, comforting autumnal aroma and taste we all adore in a **spiced apple bread**. These spices are key to capturing the essence of fall baking.
- Browned Butter: This transformative ingredient, prepared in advance, infuses the bread with a deep, rich, and nutty flavor that ordinary butter simply cannot achieve. It adds incredible depth.
- Vegetable Oil: Works alongside the browned butter to ensure the bread remains exceptionally moist and tender, preventing it from drying out during baking.
- Brown Sugar: Contributes a wonderful sweetness with rich molasses undertones, adding moisture and a caramel-like depth to the bread.
- Granulated Sugar: Provides additional sweetness, ensuring the bread is perfectly balanced without being overly rich.
- Large Eggs: Act as binders, giving the bread loaves their structure and helping to create a cohesive batter while adding richness.
- Apple Butter: The star of the show! It delivers an intense, concentrated natural apple flavor that permeates every bite of the bread. If unavailable, unsweetened applesauce can be used, but note that the apple flavor will be less pronounced.
- Sour Cream: A secret weapon for moisture! Its acidity activates the baking soda, while its fat content contributes to an incredibly moist and tender crumb. Buttermilk can be used as an excellent substitute.
For the Irresistible Brown Sugar Icing:
This cooked icing is truly the crown jewel of this apple bread, offering a unique texture and flavor profile that sets it apart.
- Light Brown Sugar (packed): Provides the primary sweetness and that signature rich, molasses-infused brown sugar flavor that forms the base of the caramel-like icing.
- Whole Milk: Thins the icing to the perfect pourable consistency while adding a touch of creaminess.
- Browned Butter: Just like in the bread, browned butter is essential here, infusing the icing with a warm, comforting, and nutty flavor that makes it utterly irresistible. Make sure to reserve some from your initial batch!
- Vanilla Extract: Enhances the sweetness and depth of the brown sugar, adding a fragrant, warm note to the icing.
- Powdered Sugar: Gives the cooked icing its smooth, luscious texture and adds necessary structure, allowing it to set beautifully on top of the bread.
Specific measurements for all these ingredients can be conveniently found in the detailed recipe card at the end of this comprehensive guide. This **easy apple bread recipe** is designed for clarity and delicious results.
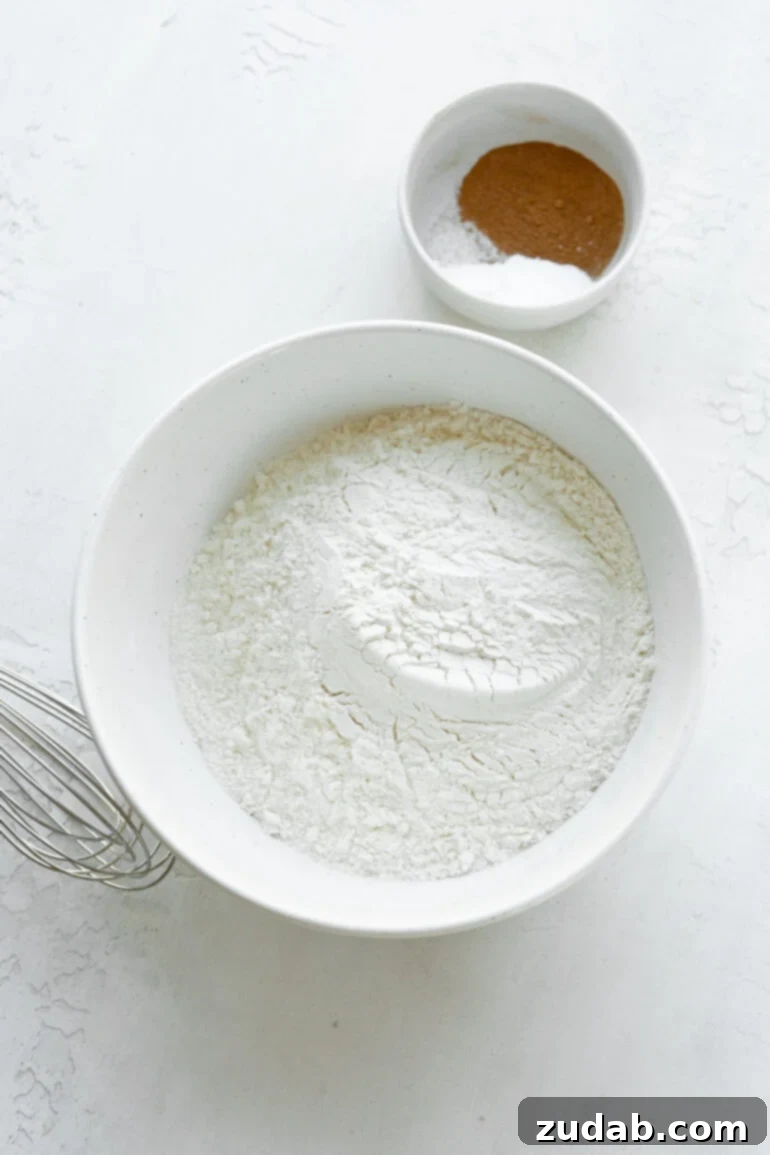
How to Make This Easy Apple Bread from Scratch
Baking this delightful **homemade apple bread** is surprisingly straightforward, even for novice bakers. The entire process of making this **easy apple bread recipe from scratch** can be broken down into four simple and manageable steps, ensuring a moist and perfectly spiced loaf every time:
- Preparation is Key: Begin by preheating your oven to the specified temperature. This ensures the oven is consistently hot, promoting an even bake. Thoroughly spray two standard loaf pans (typically 8.5×4 inches) with a nonstick baking spray. This crucial step prevents the bread from sticking and guarantees easy removal after baking.
- Combine Dry Ingredients: In a large mixing bowl, measure out all your dry ingredients – flour, baking soda, salt, cinnamon, nutmeg, and ground cloves. Using a whisk, thoroughly combine these ingredients. This step is essential to ensure that the leavening agent and spices are evenly distributed throughout the batter, leading to a consistent texture and flavor in every bite of your **spiced apple bread**.
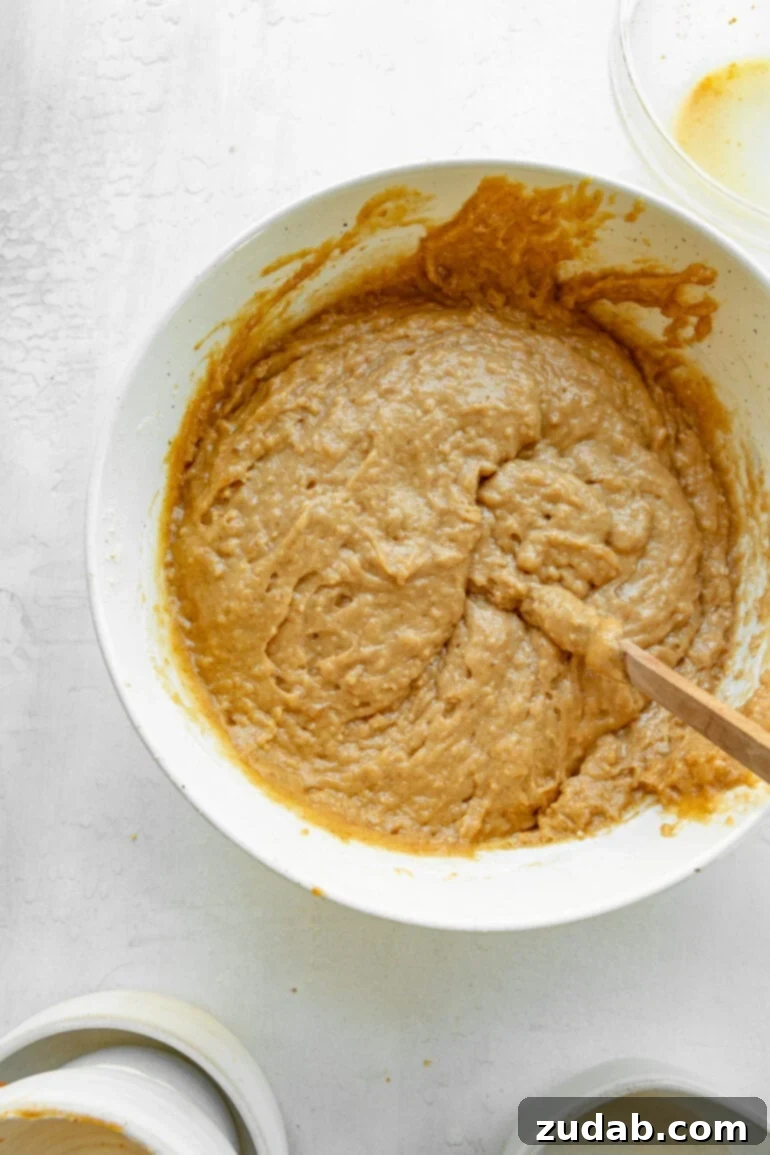
- Mix Wet Ingredients and Combine: In a separate bowl, whisk together all the wet ingredients along with the sugars. This ensures they are fully incorporated before mixing with the dry components. Once smooth, add this wet mixture to the dry ingredients. Using a wooden spoon or spatula, gently stir until the ingredients are *just combined*. It’s perfectly normal if a few streaks of flour remain; overmixing can lead to a dense, tough bread, which we want to avoid for a truly **moist apple bread**.
- Rest and Bake: Allow the prepared batter to rest on the countertop for about 10-20 minutes. This resting period allows the flour to fully hydrate and the leavening agents to begin activating, resulting in a lighter, more tender crumb. After resting, pour the batter evenly into your two prepared loaf pans. Bake in the preheated oven for the recommended time until golden brown and cooked through.
How to Make the Delicious Cooked Brown Sugar Icing
A cooked icing, like the one we use on our famous Texas sheet cake, offers a truly unique depth of flavor and a wonderfully smooth, slightly chewy texture that sets it apart from simple powdered sugar glazes. This **brown sugar icing** is the perfect complement to our **spiced apple bread**, adding a rich, caramel-like finish that is simply irresistible. Here are the steps to create this incredible topping:
- Boil the Base: In a small saucepan, combine all the icing ingredients except for the powdered sugar (that’s your light brown sugar, whole milk, browned butter, and vanilla extract). Place the saucepan over medium heat and bring the mixture to a rolling boil, whisking continuously. This ensures everything is well combined and the sugars dissolve properly.
- Sift and Combine: Once the mixture reaches a boil, immediately remove the saucepan from the heat. Carefully sift in the powdered sugar, whisking vigorously as you add it. Sifting prevents lumps and helps create a perfectly smooth, velvety icing. Continue whisking until all the powdered sugar is fully incorporated and the icing is uniform.
- Cool to Thicken: Allow the icing to cool for a few minutes, stirring occasionally. As it cools, the icing will gradually thicken to the desired consistency – it should be thick enough to generously coat the back of a spoon, yet still pourable.
- PRO TIP: This icing sets up quickly as it cools, so don’t let it cool for too long! You want it warm enough to pour smoothly but thick enough to cling to the bread without running off completely.
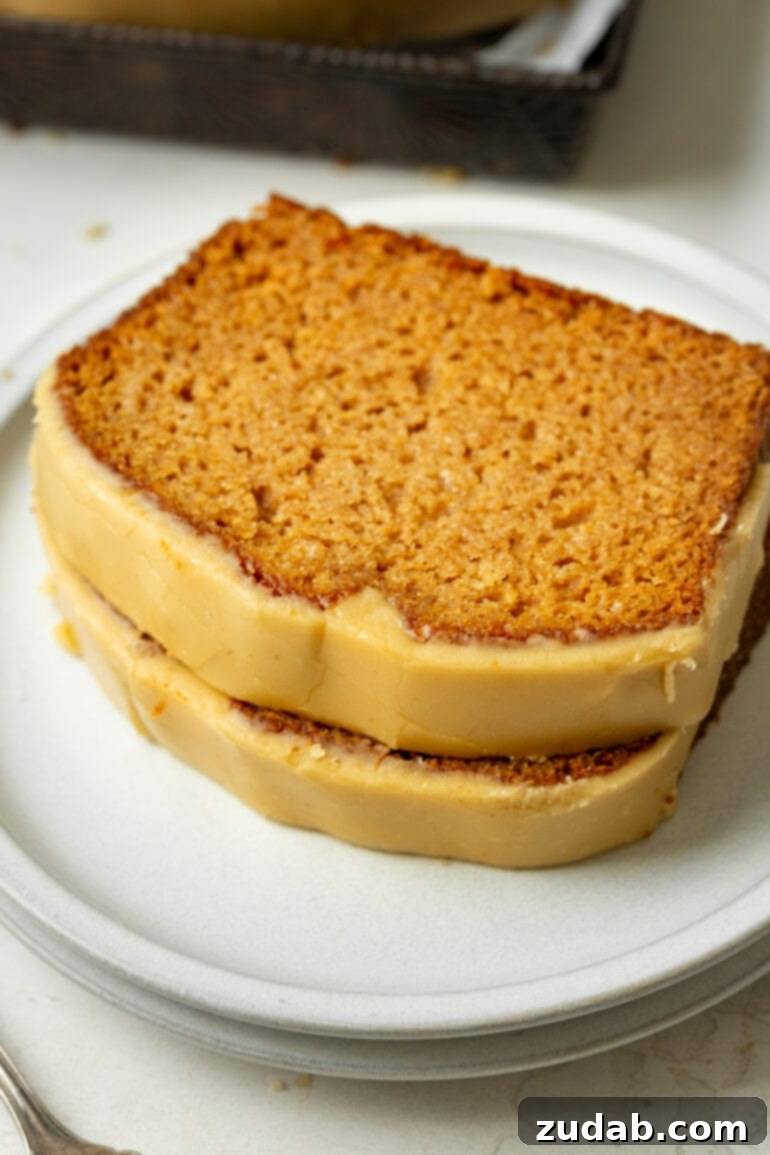
- Pour Evenly: Once the icing reaches the ideal consistency, pour it warm over the tops of your cooled or slightly warm apple bread loaves. You can do this while the loaves are still in their pans or after transferring them to a wire cooling rack. Work quickly and try your best to create an even layer, avoiding any heavy layering of the icing in one spot.
- NOTE: You have flexibility here! You can pour the warm icing over warm bread loaves, either directly in the pan or on a wire rack for excess to drip. Alternatively, you can wait until the bread is completely cooled before icing. The choice affects how quickly the icing sets and its final appearance.
- The Hardest Part: Wait!: Allow the luscious brown sugar icing to set for at least 15-20 minutes before attempting to slice your **apple bread**. This waiting period is crucial; it allows the icing to firm up, preventing it from sticking to your knife and ensuring clean, beautiful slices. Patience will be rewarded with perfectly coated bread!
Detailed, step-by-step instructions for both the bread and the icing, along with ingredient measurements, can be printed or saved from the full recipe card located at the conclusion of this article. Enjoy creating this comforting **fall dessert**!
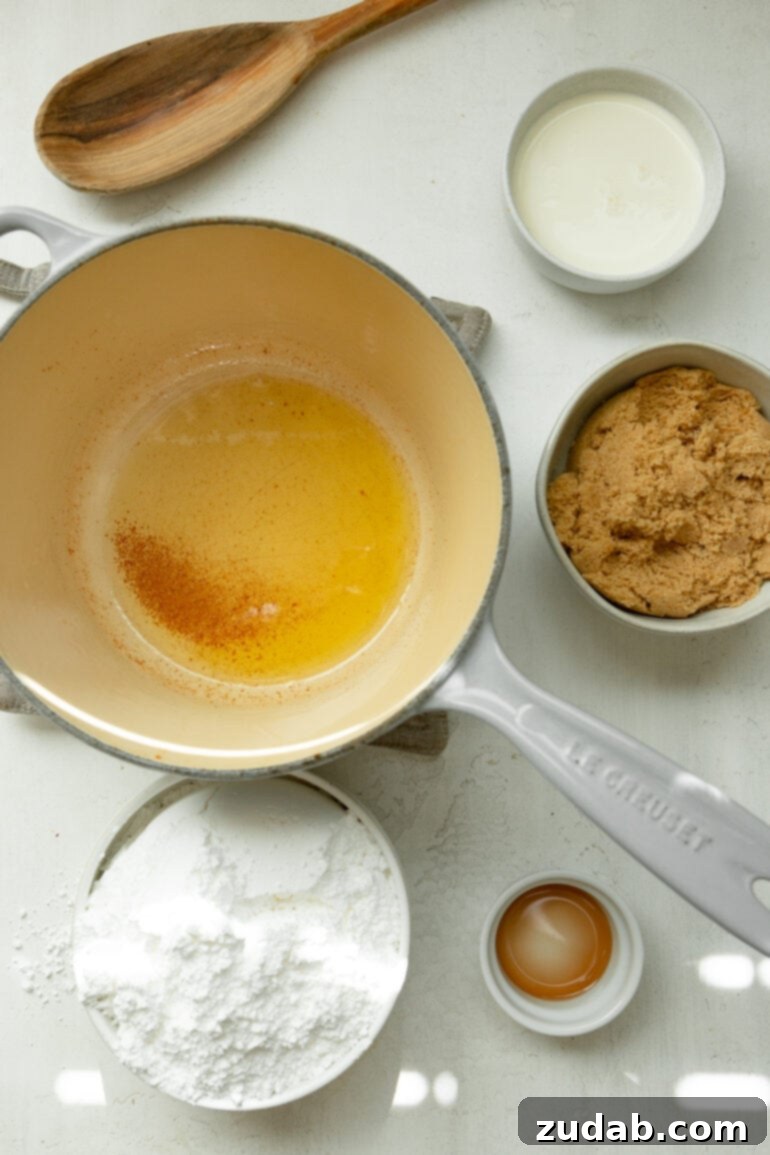
How to Brown Butter for Unbeatable Flavor
Browning butter is a simple technique that yields incredible depth and nutty flavor, transforming any dish it graces – especially this **apple bread recipe**! It adds a toasted, caramel-like note that regular melted butter just can’t replicate. Here’s how to do it perfectly, ensuring you don’t burn it:
- Preparation: Start with room temperature butter. Cut it into evenly sized pieces. This allows the butter to melt at a consistent rate, preventing some pieces from browning too quickly while others are still melting.
- Choose Your Pan Wisely: Select a light-colored saucepan. This is key because it allows you to clearly see the color of the butter as it changes. In a dark pan, it’s much harder to discern the subtle shifts from melted to golden to perfectly browned, making it easier to accidentally burn.
- Melt and Stir: Place the pan over medium heat. As the butter begins to melt, stir it frequently. Keeping the butter moving helps it melt evenly and prevents the milk solids from sticking and burning at the bottom of the pan too soon.
- Watch for the Transformation: As the butter completely melts, you’ll notice it start to foam around the edges. Keep stirring. The foam will subside, and you’ll then see tiny brown flecks beginning to appear on the bottom of the pan. This is when the magic happens!
- Remove from Heat Promptly: The moment those brown flecks appear and the butter smells wonderfully fragrant and nutty – reminiscent of toasted hazelnuts or caramel – remove the pan from the heat immediately. The butter will continue to cook for a few seconds even off the burner due to residual heat, so acting quickly is crucial to avoid burning.
Congratulations, you’ve successfully made rich, aromatic **browned butter**, ready to elevate your **homemade apple bread** and its delightful icing!
Recipe Secrets for the Best Apple Quick Bread
While this is an **easy quick bread recipe**, there are a few subtle techniques and ingredient choices that make a significant difference in achieving a truly exceptional loaf. These “secrets” ensure your **moist apple bread** is tender, flavorful, and rises beautifully every single time:
- The Right Apples (or Apple Butter!): For fresh apple additions, you can indeed choose any apple variety that suits your preference. However, I’ve found that a sturdy, naturally sweet apple with a good crunch – such as Honeycrisp or Pink Lady – truly transforms this bread, offering excellent flavor and texture when baked. For the primary apple flavor in this recipe, we rely on homemade apple butter, which provides a concentrated, rich apple essence. While our base recipe omits fresh apple chunks to highlight the apple butter, you absolutely can add them! If you choose to, instructions are provided in the recipe card for preparing and evenly distributing them throughout the batter.
- Never Overmix!: This is perhaps the most crucial rule for any quick bread. I know, stirring can be incredibly satisfying and even therapeutic, but with quick breads, less is definitely more. Seriously, if you keep stirring beyond just combining the wet and dry ingredients, you will develop the gluten in the flour. This leads to a deflated batter and a dense, tough, rubbery bread rather than a light, tender, and **moist apple bread**. Stir just until no dry streaks of flour remain, then stop!
- Give the Batter a Rest: Speaking of dough development, allowing the batter to **rest** on the countertop for up to 20 minutes before baking is a simple yet powerful step. This brief pause gives the flour time to fully hydrate and allows the leavening agents (like baking soda) a head start in activating. The result? A bread that stands up beautifully, with a more consistent crumb structure and an impressive, appealing rise.
What are the Best Apples to Use for Apple Bread?
When incorporating fresh apples into your bread (if you choose to, in addition to or instead of apple butter), the type of apple you select can significantly impact the final flavor and texture. We generally lean towards sweet apples that boast a robust apple flavor, as they hold up well during baking and contribute wonderfully to the overall taste profile of this **fall dessert**. Excellent choices include:
- Honeycrisp: Known for its crisp texture and perfectly balanced sweet-tart flavor, Honeycrisp apples maintain their shape beautifully and infuse the bread with a bright, fresh apple taste.
- Pink Lady: These apples are firm, sweet, and offer a slight tartness, making them another fantastic option that provides great texture and flavor.
- Braeburn: With a pleasant crunch and a sweet, subtly spicy flavor, Braeburn apples are ideal for baking as they don’t become mushy.
If you prefer a more tart apple flavor to cut through the sweetness of the bread and icing, **Granny Smith** apples are an excellent choice. They are firm, hold their shape, and provide a lovely zing. Mixing a tart variety with a sweet one can also create a wonderfully complex flavor profile in your **apple cinnamon bread**.
Can I Add Fresh Apple Chunks to This Apple Bread Recipe?
Absolutely, yes! While our recipe primarily uses apple butter for its concentrated flavor, adding fresh apple chunks is a fantastic way to introduce bursts of tender fruit throughout your loaf, enhancing both texture and taste. Here’s how to do it effectively to prevent them from sinking to the bottom:
- Peel and Dice: Start by peeling your chosen apples. Then, cut them into relatively small, uniform chunks (about 1/4 to 1/2 inch). Smaller pieces distribute more evenly and cook through nicely.
- Flavor and Coat: In a small bowl, toss the apple chunks with a spoonful or two of cinnamon sugar (or just cinnamon, if you prefer less sweetness).
- Lightly Flour: Next, toss the spiced apple chunks with 1-2 tablespoons of the all-purpose flour from your recipe. This light coating of flour is key! It helps to absorb excess moisture from the apples and creates a barrier that prevents them from sinking to the bottom of the pan during baking, ensuring they remain suspended throughout your **homemade apple bread**.
- Gentle Folding: Incorporate the prepared apple chunks into your batter as the very last ingredient, just before pouring it into the loaf pans. Fold them in gently with a spatula, mixing just enough to distribute them evenly. Remember the “never over-stir” rule applies here too!
By following these steps, you’ll enjoy a delicious **apple bread** with tender apple pieces beautifully integrated throughout the moist crumb.
Troubleshooting: Why Does My Apple Bread Fall in the Middle?
If your otherwise perfect **homemade apple bread** consistently sinks in the middle, creating a crater, the most common culprit is almost always **underbaking**. While it might look beautifully golden on the outside, the center hasn’t had enough time to fully cook and set its structure. Here’s how to prevent this common baking mishap:
- Bake for the Full Recommended Time (and Beyond, if needed!): Always adhere to the baking time specified in the recipe. Ovens can vary significantly, so this is a guideline, not an absolute.
- Perform the Toothpick Test: The best way to check for doneness is the classic toothpick test. Insert a wooden toothpick (or a thin skewer) into the very center of the loaf.
- Clean Toothpick: If the toothpick comes out completely clean, your bread is perfectly baked.
- Moist Crumbs: A few moist crumbs clinging to the toothpick are also acceptable; this often indicates a perfectly tender and **moist apple bread**.
- Wet Batter: If the toothpick comes out with wet batter, the bread needs more time.
- Add Time Gradually: If your bread is still underbaked, return it to the oven and add 5-10 minutes to the baking time. Test again, repeating this process until the toothpick comes out clean. Sometimes, covering the top loosely with foil during the last part of baking can prevent over-browning while the center catches up.
By ensuring thorough baking, you’ll achieve a beautifully risen and fully cooked loaf of **spiced apple bread** every time.
Why is My Apple Bread Dense and Not Light and Fluffy?
A dense, heavy quick bread is a common disappointment, especially when you’re aiming for a light and airy **moist apple bread**. There are typically two primary reasons why your **homemade apple bread** might turn out dense, and both are easily avoided with careful technique:
- Overmixing the Batter: This is the most frequent offender. When you combine the wet and dry ingredients, it’s crucial to stir them *just enough to moisten the flour*. Stop mixing as soon as no dry streaks of flour are visible. Overmixing develops the gluten in the flour, making the batter tough and elastic, which translates into a dense, chewy, and less tender bread. It’s perfectly fine, even desirable, if a few small lumps or streaks of flour remain in the batter; they will typically disappear during baking.
- Overbaking the Loaf: While underbaking causes sinking, overbaking can also lead to a dense, dry texture. When bread bakes for too long, too much moisture evaporates, and the proteins become overly set and tough.
- Use Your Senses: Keep a close eye and nose on your loaf as it bakes. You can often smell when a quick bread is nearing completion – a rich, fragrant aroma will fill your kitchen.
- Doneness Check: Always rely on the toothpick test (as described above) to confirm doneness, but check a few minutes before the minimum bake time. Once the toothpick comes out clean or with a few moist crumbs, your bread is done. Remove it promptly from the oven to preserve its moisture.
By being mindful of mixing and baking times, you’ll consistently achieve a wonderfully light, tender, and **moist apple bread** that melts in your mouth.
Storage Tips for Your Apple Cinnamon Bread
Proper storage is essential to keep your **apple cinnamon bread** fresh and delicious for as long as possible. Luckily, this quick bread stores wonderfully, making it perfect for meal prepping or enjoying over several days. Here are the best ways to keep your loaves moist and flavorful:
- Room Temperature Storage: For short-term storage, allow the bread to cool completely before storing. Place the entire loaf (or individual slices) in an airtight container or wrap it tightly with plastic wrap. Stored at room temperature, your **homemade apple bread** will maintain its freshness, moisture, and delightful flavor for 4-5 days. Keep it away from direct sunlight or heat sources.
- Freezing for Longer Preservation: This **apple quick bread** freezes exceptionally well, making it a fantastic make-ahead option. To freeze, ensure the bread is completely cooled.
- Wrap Tightly: First, wrap each loaf (or slices, if you prefer) tightly in plastic wrap, ensuring no air can get in.
- Add a Second Layer: Next, wrap the plastic-wrapped loaf in aluminum foil. This double layer provides extra protection against freezer burn.
- Freezer Bag Protection: For maximum freshness, place the double-wrapped loaf into a large freezer-safe ziploc bag.
Properly frozen, your **apple bread** will keep for up to 3 months. When you’re ready to enjoy it, simply pull it out of the freezer and let it thaw at room temperature for several hours or overnight. Once thawed, slice and serve for a taste of fall anytime!
There’s nothing quite like the comforting aroma and taste of **homemade apple bread** as fall descends. A warm, fragrant, and perfectly sweet loaf of this **spiced apple bread** is a seasonal joy in itself. But when you crown that moist, tender bread with a quick, easy, and utterly delicious **brown sugar icing**, you elevate it to an extraordinary level. This delightful creation makes a perfect, indulgent brunch item, a satisfying after-school snack, or a truly memorable **fall dessert**. Its blend of warm spices, tender apples, and rich caramel-like icing makes it a quintessential taste of autumn that everyone will adore.
More Easy Quick Bread Recipes to Try:
- Best Banana Bread
- Glazed Poppy Seed Bread
- Classic Zucchini Bread
- Peanut Butter Banana Bread
- Pumpkin Bread
- Snickerdoodle Bread
- Amish Friendship Bread
Apple Bread with Brown Sugar Icing
15 mins
50 mins
1 hr 20 mins
20 slices
Ingredients
For the Bread
- 3 Cups Flour
- 1 1/2 teaspoon Baking Soda
- 3/4 teaspoon Salt
- 2 teaspoons Cinnamon
- 1/4 teaspoon Nutmeg
- 1/8 teaspoon Ground Cloves
- 1/2 Cup Browned Butter, (see note on how to make it), reserve 3 Tablespoons for the icing and add the rest to the bread
- 1/4 Cup Vegetable Oil
- 1 Cup Brown Sugar
- 1/2 Cup Sugar
- 3 Large Eggs, whisked
- 1 3/4 Cups Apple Butter, or applesauce
- 1/2 Cup Sour Cream, or buttermilk
Brown Sugar Icing
- 3/4 Cup Light Brown Sugar, packed
- 6 Tablespoons Whole Milk
- 3 Tablespoons Browned Butter, (see note for dividing the butter), saved from above
- 1/2 teaspoon Vanilla
- 2 Cups Powdered Sugar
Instructions
For the Bread
- Preheat the oven to 350 degrees F (175 C). Spray 2 8.5×4″ bread pans with nonstick spray.
- In a large bowl, whisk together the flour, baking soda, salt, cinnamon, nutmeg and cloves. Set aside.
- Whisk together all wet ingredients and sugars (browned butter, vegetable oil, brown sugar, sugar, eggs, apple butter, sour cream). Stir the wet ingredients into the dry ingredients using a wooden spoon or spatula until just combined. Do not overmix.
- Pour the batter into the prepared bread pans and bake at 350 degrees F (175 C) for 50-60 minutes, or until a toothpick inserted into the center comes out clean or with a few moist crumbs.
For the Icing
- In a small saucepan, bring the light brown sugar, milk, 3 tablespoons browned butter, and vanilla to a boil, whisking constantly to combine. Remove from the heat and sift in the powdered sugar, whisking vigorously until smooth.
- Allow the icing to cool for 3-5 minutes, stirring occasionally, or until it has thickened to a pourable consistency that coats the back of a spoon.
- The icing will set very quickly once slightly cooled, so work fast to get the loaf evenly iced. Pour the warm icing over the top of the loaves as quickly as you can until the surface is covered, doing your best to avoid layering the icing. (See note below on pouring).
- Allow the icing to set for around 15 minutes before you slice for clean cuts.
Recipe Notes
How to Brown Butter: Cut your room temperature butter into evenly sized pieces so that it melts evenly. I like to use a light colored pan so I can see the color of the butter and watch it change. Place the pan over medium heat. Stir the butter around to keep it moving while it melts.
As it melts, you will start to see foam and sizzling around the edge and brown flecks will appear on the bottom of the pan. Remove it from the heat immediately. It should be very fragrant. You have made browned butter!
Dividing the Butter: Brown a whole stick of butter together, then remove three tablespoons and set it aside for the frosting. Use the remaining browned butter for the bread batter.
Pouring the Frosting: You can pour the icing over warm bread loaves either in the pan or sitting on a wire cooling rack. You can also wait until the bread is completely cooled and pour the icing over. The warmth of the bread will slightly melt the icing, allowing it to absorb a bit more, while pouring over cooled bread creates a more distinct top layer.
Nutrition
Nutrition information is automatically calculated, so should only be used as an approximation.