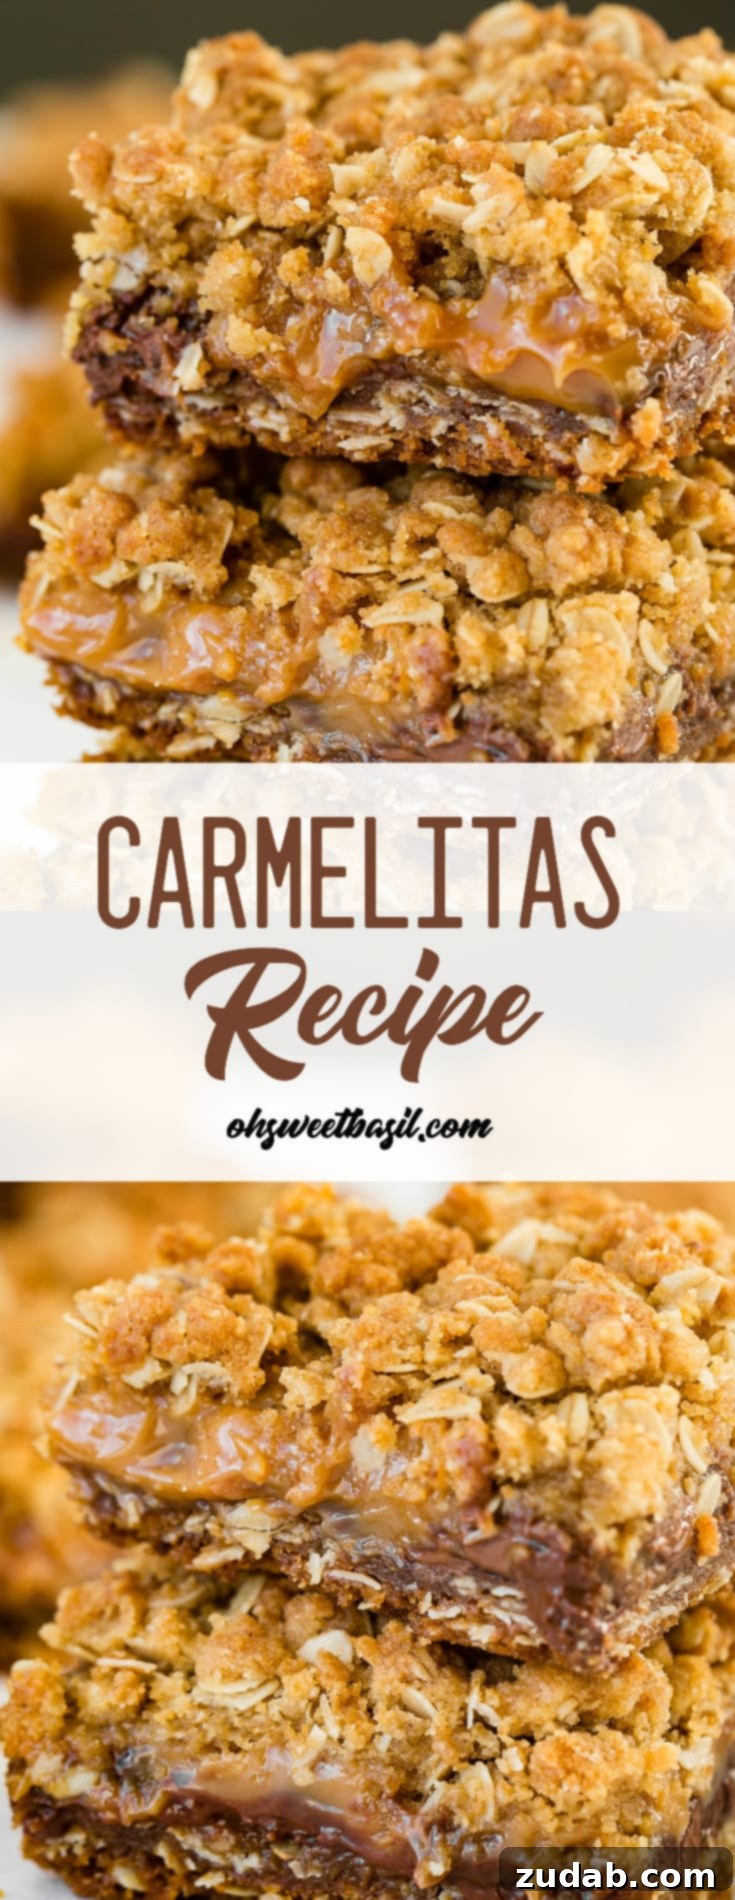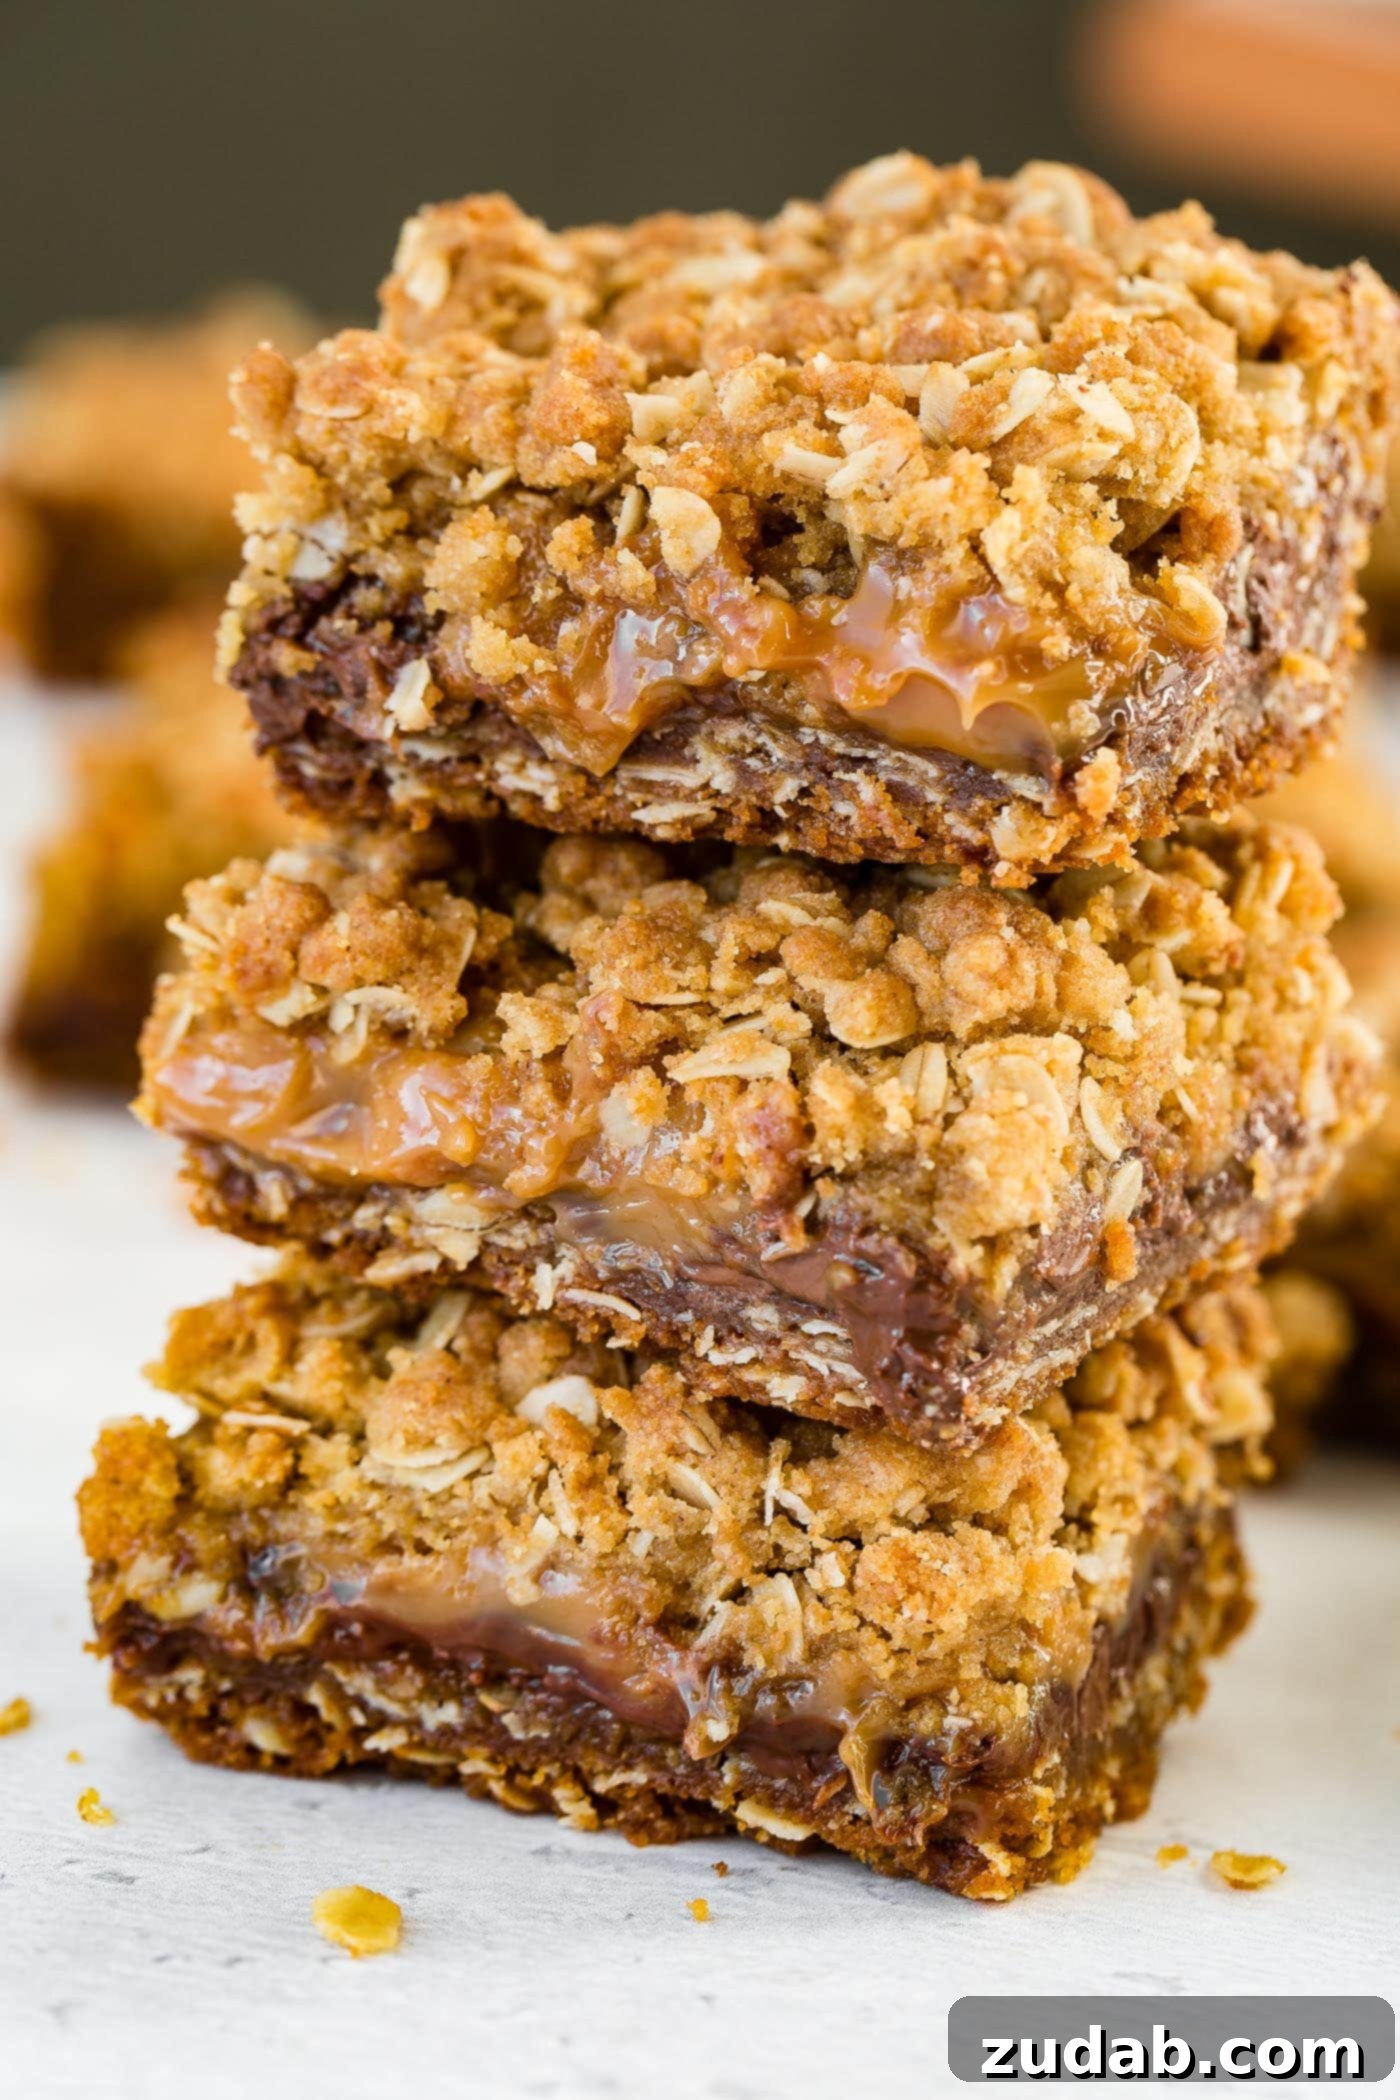
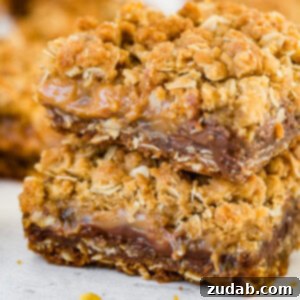
Carmelitas are truly a revelation in the world of dessert bars, offering an irresistible symphony of flavors and textures. Imagine a rich, buttery oat base, infused with the subtle warmth of brown sugar, providing a delightful chew and crispness. This sturdy yet tender foundation cradles a lusciously gooey filling where silky, molten chocolate chips meet decadent, stretchy caramel. To complete this masterpiece, another layer of the buttery oat crumble is generously scattered on top, creating a perfect textural contrast and a golden, inviting finish. Each bite delivers a harmonious blend of sweet, salty, and comforting notes that make Carmelitas an unforgettable treat. These aren’t just any dessert bars; they are a culinary experience designed to captivate your taste buds and leave you craving more, establishing themselves as a must-try for any dessert enthusiast seeking a unique indulgence.
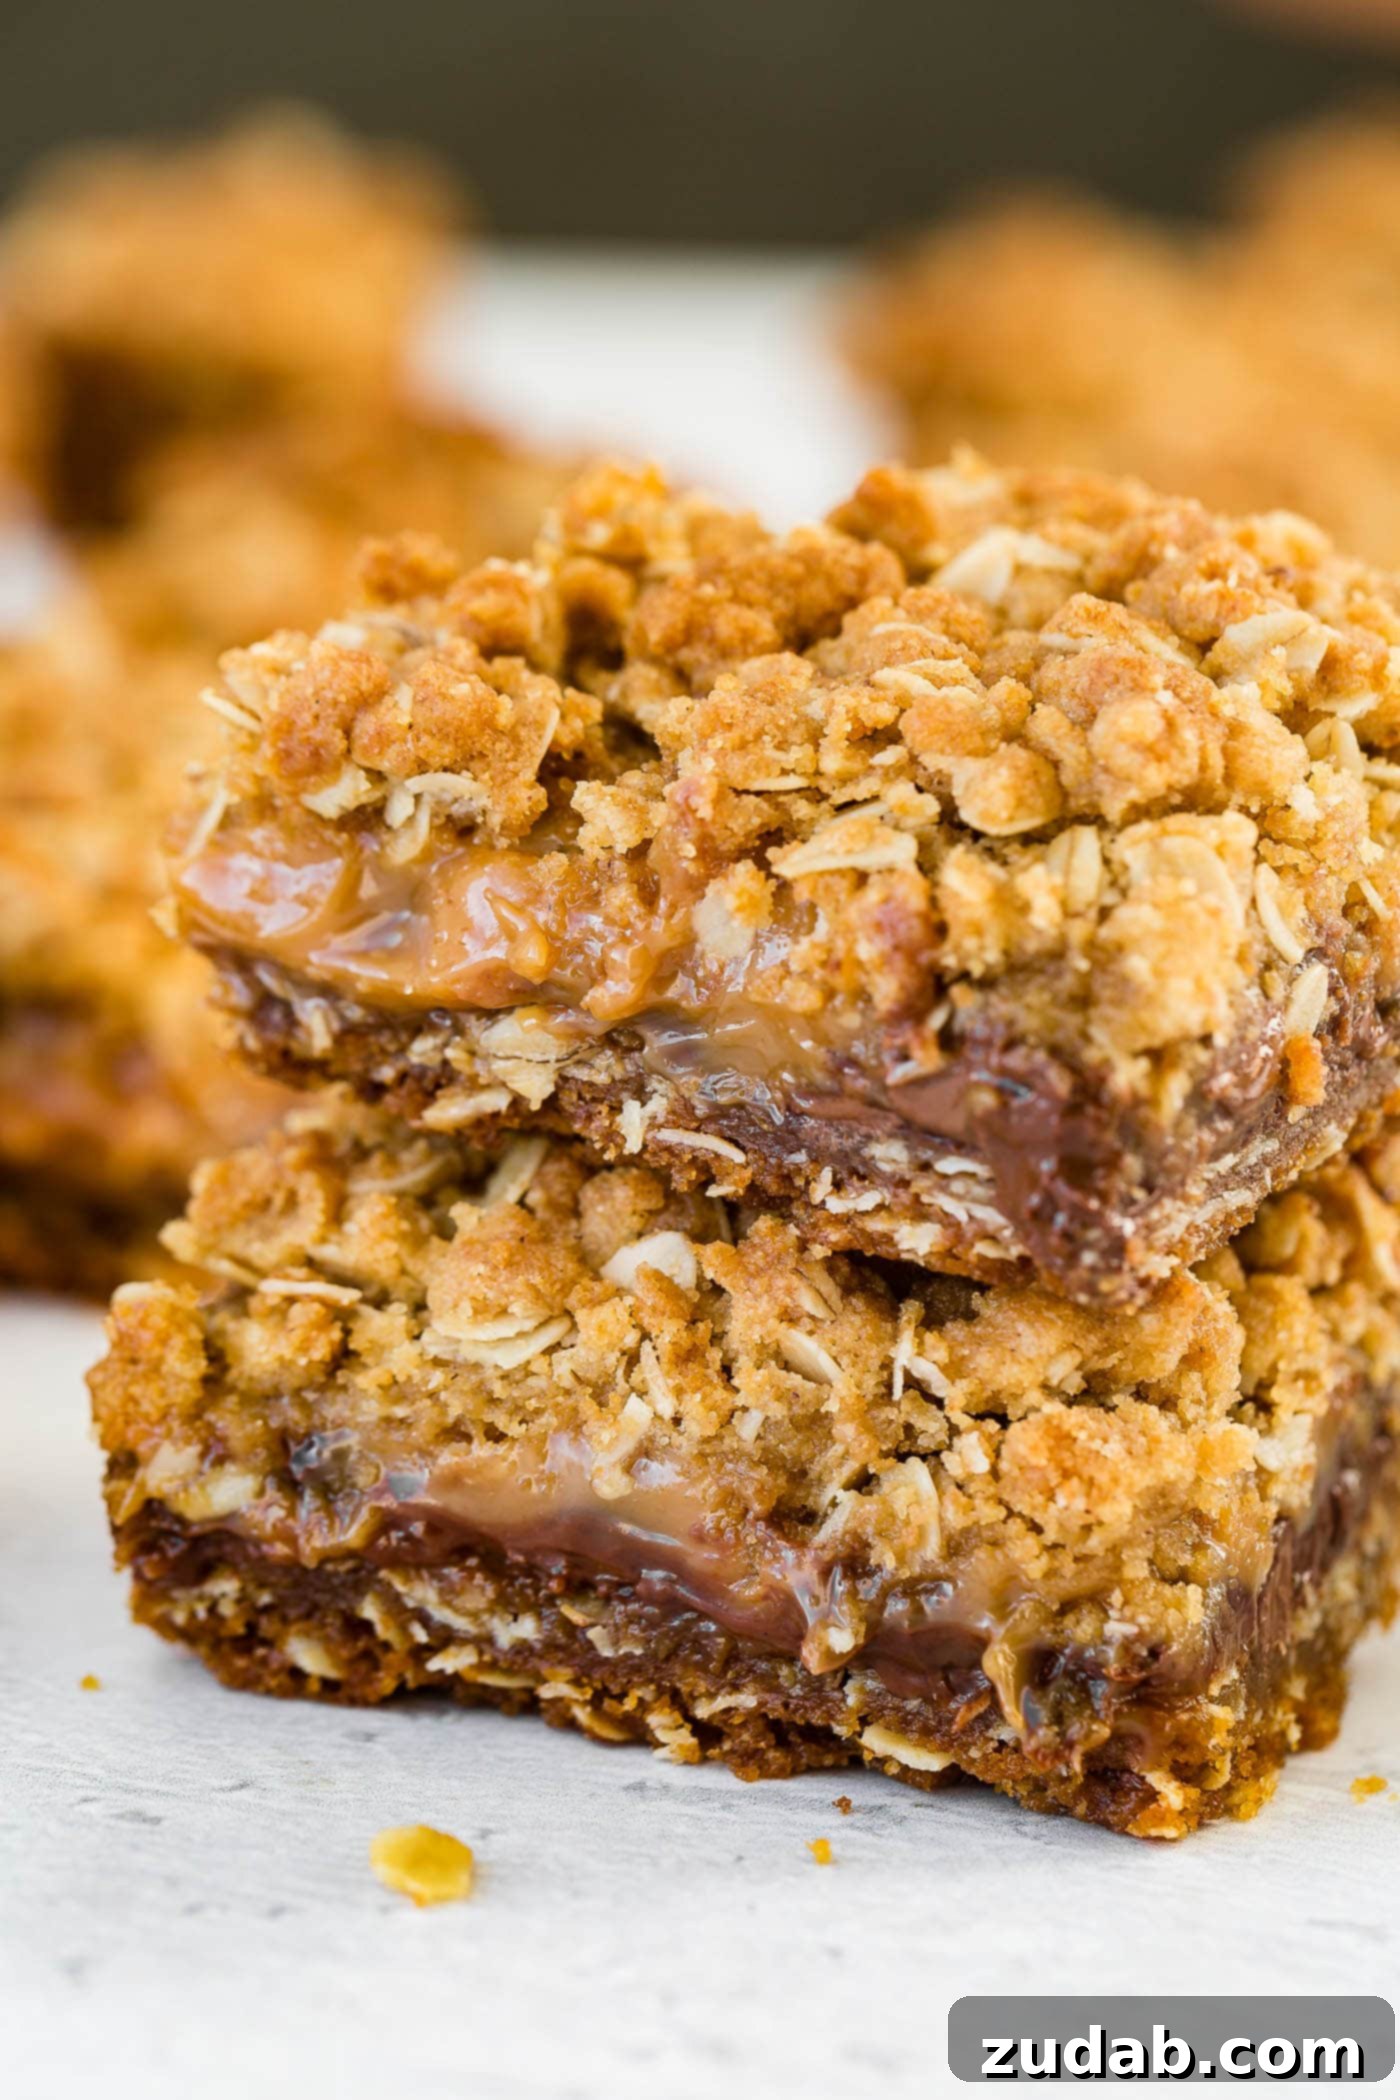
For those who love to explore beyond the usual dessert suspects, Carmelitas offer a refreshing and exciting change. While classic chocolate chip cookies and rich brownies are undeniably delicious staples, sometimes your sweet tooth yearns for something a little different, a dessert that brings a new dimension of indulgence. That’s precisely where Carmelitas shine! My own introduction to these magnificent bars happened during a casual game night with friends a few weeks back. They brought over a tray of these golden beauties, and my husband and I were instantly smitten. The combination of chewy oats, gooey chocolate, and molten caramel created a sensation that was both familiar and wonderfully novel. It was a moment of pure dessert bliss, reminding us that there’s always something new and fantastic to discover in the culinary world, and these caramel-chocolate oat bars quickly secured a spot among our absolute favorites.
The ingenuity of Carmelitas lies in their perfectly structured and complementary layers. The top and bottom components provide a satisfying oatmeal crisp texture, reminiscent of a comforting oat cookie, but elevated with a rich, buttery profile. Nestled deliciously between these delightful oat crumbles is the true heart of the Carmelita: a decadent, melt-in-your-mouth layer of gooey chocolate and rich, buttery caramel. This irresistible filling creates a delightful contrast against the firm, chewy crust, making each bite an adventure. It’s more than just a dessert; it’s an exquisite balance of textures and intense flavors, delivering sheer deliciousness and an honest-to-goodness moment of dessert perfection. These bars effortlessly combine the warmth of home-baked goodness with a touch of gourmet indulgence.
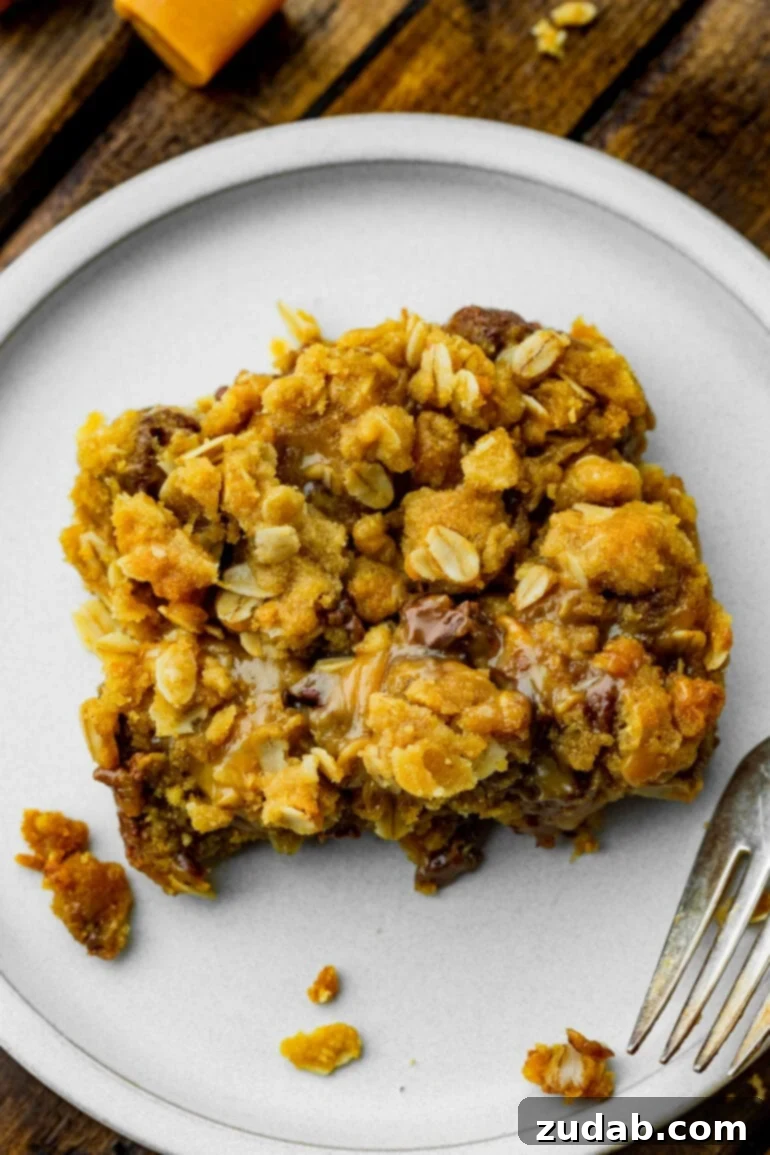
Essential Ingredients for Irresistible Carmelitas
The delightful news about baking Carmelitas is that you likely already have most of the necessary ingredients in your pantry. These bars rely on common baking staples, making them a convenient and accessible choice for a spontaneous sweet craving or a planned gathering. This also means fewer trips to the grocery store and more time enjoying the baking process. Here’s a closer look at the key components that come together to create these incredible dessert bars, along with a brief explanation of their essential role in achieving the perfect Carmelita:
- All-Purpose Flour: This forms the primary structure of our oat crumble. Regular all-purpose flour works perfectly, providing the necessary body and tenderness for both the base and topping of your Carmelita bars. It ensures a stable, yet tender, framework for the gooey filling.
- Old-Fashioned Oats: These are crucial for the signature chewy texture and rustic appeal of Carmelitas. Their larger, flatter flakes offer a more substantial and satisfying bite than quick oats, contributing significantly to the bar’s overall character and a pleasant toothsomeness. While quick oats can be used if absolutely necessary, we highly recommend old-fashioned for the best results.
- Ground Cinnamon (Optional but Recommended): A sprinkle of cinnamon adds a warm, inviting spice note that beautifully complements the brown sugar and caramel flavors. It introduces a subtle complexity, elevating the flavor profile without overpowering the main stars. Feel free to adjust the amount or omit it if you prefer a simpler taste.
- Salt: A small but mighty ingredient, salt is absolutely essential for balancing the intense richness and sweetness of the brown sugar, chocolate, and caramel. It acts as a flavor enhancer, preventing the bars from being overly cloying and bringing out the best in every component.
- Baking Soda: This leavening agent provides a slight lift and helps to create a tender, crisp texture in the oat layers, ensuring they are light and crumbly rather than dense. It reacts with the acidic components in the brown sugar to achieve that ideal airy quality.
- Brown Sugar (Firmly Packed): The primary sweetener for the oat layers, brown sugar is vital for its deep, molasses-rich sweetness, which pairs perfectly with the oats and butter. It also contributes significantly to the chewy texture and the beautiful golden-brown color of the crumble. Always remember to pack it firmly when measuring for accuracy.
- Unsalted Butter (Melted): Butter is the “glue” that binds our delicious oat crumble together, infusing it with an incredibly rich, irresistible flavor that forms the backbone of the crust. Using unsalted butter allows precise control over the overall saltiness of the bars. Margarine can be used as a convenient substitute if preferred, offering a similar binding and richness.
- Caramel Squares: These form the heart of the wonderfully gooey center! You’ll need individually wrapped, soft caramel candies. The recipe calls for approximately 37 pieces, which typically equates to about 1.5 standard 11-ounce bags. These melt down to form the glorious, stretchy, and utterly delicious caramel layer.
- Evaporated Milk: This ingredient is key to achieving a perfectly smooth, pourable, and ultimately gooey caramel layer that remains soft and luscious even after the bars cool. It helps to thin out the melted caramel squares without adding too much moisture.
- Heavy Cream: Adding heavy cream to the caramel mixture contributes to an even richer, more luxurious, and incredibly decadent caramel consistency. It adds a silken mouthfeel that elevates the entire filling. If heavy cream isn’t available, simply substitute it with an equal amount of additional evaporated milk for a still-delicious and gooey result.
- Chocolate Chips: We highly recommend using a combination of milk chocolate chips and semi-sweet chocolate chips. The milk chocolate provides a creamy, comforting sweetness, while the semi-sweet offers a slight bitterness that beautifully balances the intense sweetness of the caramel and brown sugar. This blend creates a more complex and satisfying chocolate experience. Feel free to experiment with dark chocolate for a bolder flavor, or even butterscotch for a different twist.
You’ll find precise measurements for each of these ingredients in the comprehensive recipe details provided later in this article, ensuring you have everything you need for successful and delicious Carmelita baking.
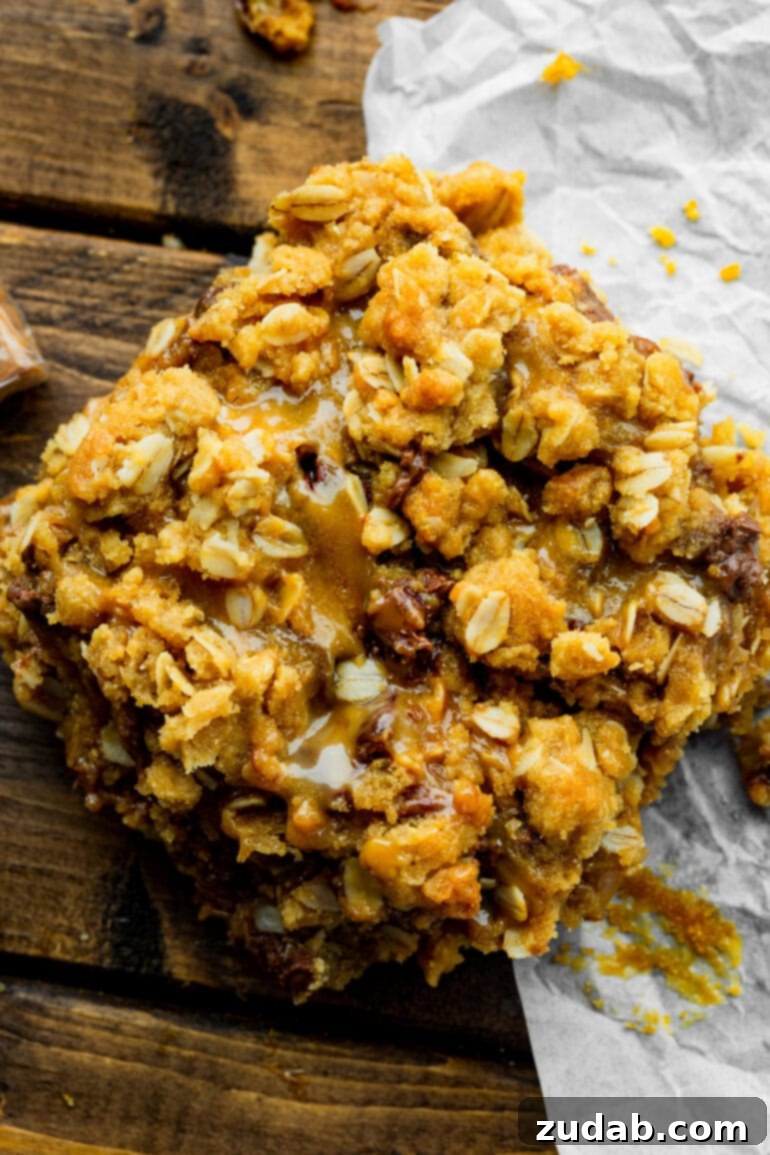
Crafting Your Own Carmelitas: A Simple Guide
One of my favorite things about this Carmelitas recipe is how remarkably quick and straightforward they are to prepare. Despite their impressive layered appearance, the entire process is designed to be effortless, making them a perfect choice for bakers of all skill levels, whether you’re a seasoned pro or just starting out. Here’s a detailed, step-by-step overview of the basic process, ensuring a smooth and enjoyable baking experience from start to finish:
- Prepare Your Pan and Oven: Begin by preheating your oven to 350°F (175°C). This ensures the oven is at the correct temperature when your pan goes in, crucial for even baking. Next, line a 9×13-inch baking pan with parchment paper. It’s best to leave an overhang on the sides – this parchment paper “sling” will be your secret weapon for easily lifting the cooled bars out of the pan, making clean cuts a breeze and preventing any sticky caramel from adhering to the pan.
- Assemble the Oat Crumble Layers: In a large mixing bowl, combine the all-purpose flour, old-fashioned oats, ground cinnamon (if you’re using it for that extra warmth), salt, baking soda, firmly packed brown sugar, and melted butter. Mix these ingredients thoroughly using a sturdy spoon or your hands until a cohesive, crumbly mixture forms. The melted butter will evenly coat the dry ingredients, creating that signature buttery oat texture that holds together beautifully.
- Form and Bake the Bottom Crust: Press exactly half of the prepared oat mixture evenly into the bottom of your parchment-lined pan. Ensure it forms a compact, uniform layer from edge to edge. A flat-bottomed glass or your hands can help here. Bake this bottom crust in the preheated oven for approximately 10 minutes. This initial bake helps set the crust and creates a perfect, slightly crisp foundation that won’t become soggy once the luscious, gooey filling is added.
- Prepare the Irresistible Caramel Filling: While your bottom crust is baking, it’s time to create the dreamy caramel layer. In a medium saucepan, combine the individually wrapped caramel squares, evaporated milk, and heavy cream (or extra evaporated milk if you’re substituting). Place the saucepan over low heat and stir frequently. Continue stirring until the caramels are completely melted and the mixture is smooth, glossy, and beautifully combined. This gentle, consistent stirring prevents scorching and ensures a silky, pourable caramel sauce.
- Layer the Chocolate and Caramel: Once the bottom crust is lightly golden and has been removed from the oven, immediately sprinkle an even layer of both milk and semi-sweet chocolate chips over it. The residual heat from the freshly baked crust will start to melt them slightly, preparing them to meld with the caramel. Then, carefully pour the warm, smooth caramel mixture evenly over the chocolate chips, spreading it gently with a spatula to ensure full coverage. Don’t worry if it looks like a generous amount of gooey goodness – that’s precisely what makes Carmelitas so irresistible!
- Add the Top Crumble and Finish Baking: Finally, evenly sprinkle the remaining half of the oat mixture over the caramel layer. Gently press it down very lightly, just enough to ensure it adheres to the caramel without compacting it too much. Return the pan to the oven and bake for an additional 15 to 20 minutes, or until the top oat layer is beautifully golden brown and the caramel is visibly bubbly and set around the edges.
- Cool Completely Before Cutting: This is arguably the most critical step for achieving perfect, cleanly sliced Carmelitas. Once baked, remove the bars from the oven and allow them to cool *completely* at room temperature for several hours, or even better, overnight. Patience is absolutely key here! If you attempt to cut them while warm, the caramel and chocolate will be too fluid and runny, resulting in a sticky, messy outcome. For a slightly faster set, once they’ve cooled sufficiently at room temperature to avoid shocking them, you can place the pan in the refrigerator for an hour or two before slicing.
For a detailed breakdown of exact quantities and precise timings, please refer to the comprehensive recipe card that follows this section.
Expert Tips for Baking the Best Carmelitas
Achieving Carmelita perfection is surprisingly simple, and a few insider tips can elevate your homemade bars from great to absolutely extraordinary. These insights will help you navigate common baking questions and ensure a truly phenomenal result:
- Embrace the Egg-Free Charm: You might notice the deliberate absence of eggs in this recipe, which is unusual for many baked goods like brownies or cookies. However, for Carmelitas, it’s not a mistake; it’s a defining feature! The egg-free oat crumble contributes to the unique crisp yet chewy texture that perfectly contrasts the soft, gooey filling. Don’t be tempted to add eggs; the recipe is meticulously designed to shine brilliantly without them, allowing the butter and brown sugar to truly bind the oats.
- Boost Texture and Flavor with Nuts: For an added layer of crunch, a delightful nutty aroma, and a more complex flavor profile, consider incorporating finely chopped pecans or almonds into your oat crumble mixture. About ½ to 1 cup would be a fantastic addition, providing a delightful textural counterpoint to the soft caramel and chocolate. Simply mix them in with the other dry ingredients for the oat layers.
- A Touch of Sea Salt for Sweet-Salty Bliss: If you, like many dessert aficionados, are a connoisseur of the irresistible sweet and salty combination, a delicate sprinkle of flaky sea salt on top of the bars immediately after they come out of the oven is an absolute game-changer. The salt crystals melt slightly onto the warm caramel, enhancing its richness and cutting through the sweetness, creating an addictive flavor dimension that will have everyone reaching for more.
- Customize Your Chocolate Experience: Don’t feel confined to just one type of chocolate chip. While our recipe suggests a mix of milk and semi-sweet for a balanced sweetness, you can tailor it precisely to your preference. If you prefer a richer, less intensely sweet bar, feel free to use all semi-sweet or even dark chocolate chips. For an extra indulgent and creamy treat, all milk chocolate chips will provide maximum comfort, just be mindful of the increased sweetness. White chocolate chips or butterscotch chips can also offer exciting and unique flavor variations.
- The Golden Rule: Cool Completely: We cannot stress this enough – allowing your Carmelita dessert bars to cool *completely* is the most critical step for perfect, cleanly sliced results. This means several hours at room temperature, or ideally, overnight. The caramel needs ample time to set up and solidify enough to hold the layers together for neat, precise cuts. If you attempt to cut them while still warm, the caramel and chocolate will be too fluid, resulting in a sticky, gooey, and potentially frustrating mess. For a slightly quicker set, you can place the fully cooled pan in the refrigerator for an hour or two before slicing, but never cut them hot.
- Serve with a Refreshing Accompaniment: These bars are incredibly rich and wonderfully decadent on their own. However, pairing them with a tall, cold glass of milk, a scoop of creamy vanilla bean ice cream, a dollop of whipped cream, or a hot cup of coffee makes for an even more exquisite and balanced indulgence. The contrasting temperatures and flavors enhance the overall experience.
- Don’t Overmix the Oat Crumble: When combining the ingredients for the oat layers, mix until the ingredients are just combined and appear crumbly. Overmixing can develop the gluten in the flour too much, leading to a tougher, less tender crumble texture, which is not what we want for that delightful crispness.
- Accurate Caramel Melting: When melting the caramel, always maintain low heat and stir consistently and patiently. High heat can cause the caramel to seize, crystalize, or even burn, leading to a grainy texture or a bitter flavor. Patience is truly key here for achieving a perfectly smooth, pourable, and silky caramel layer.
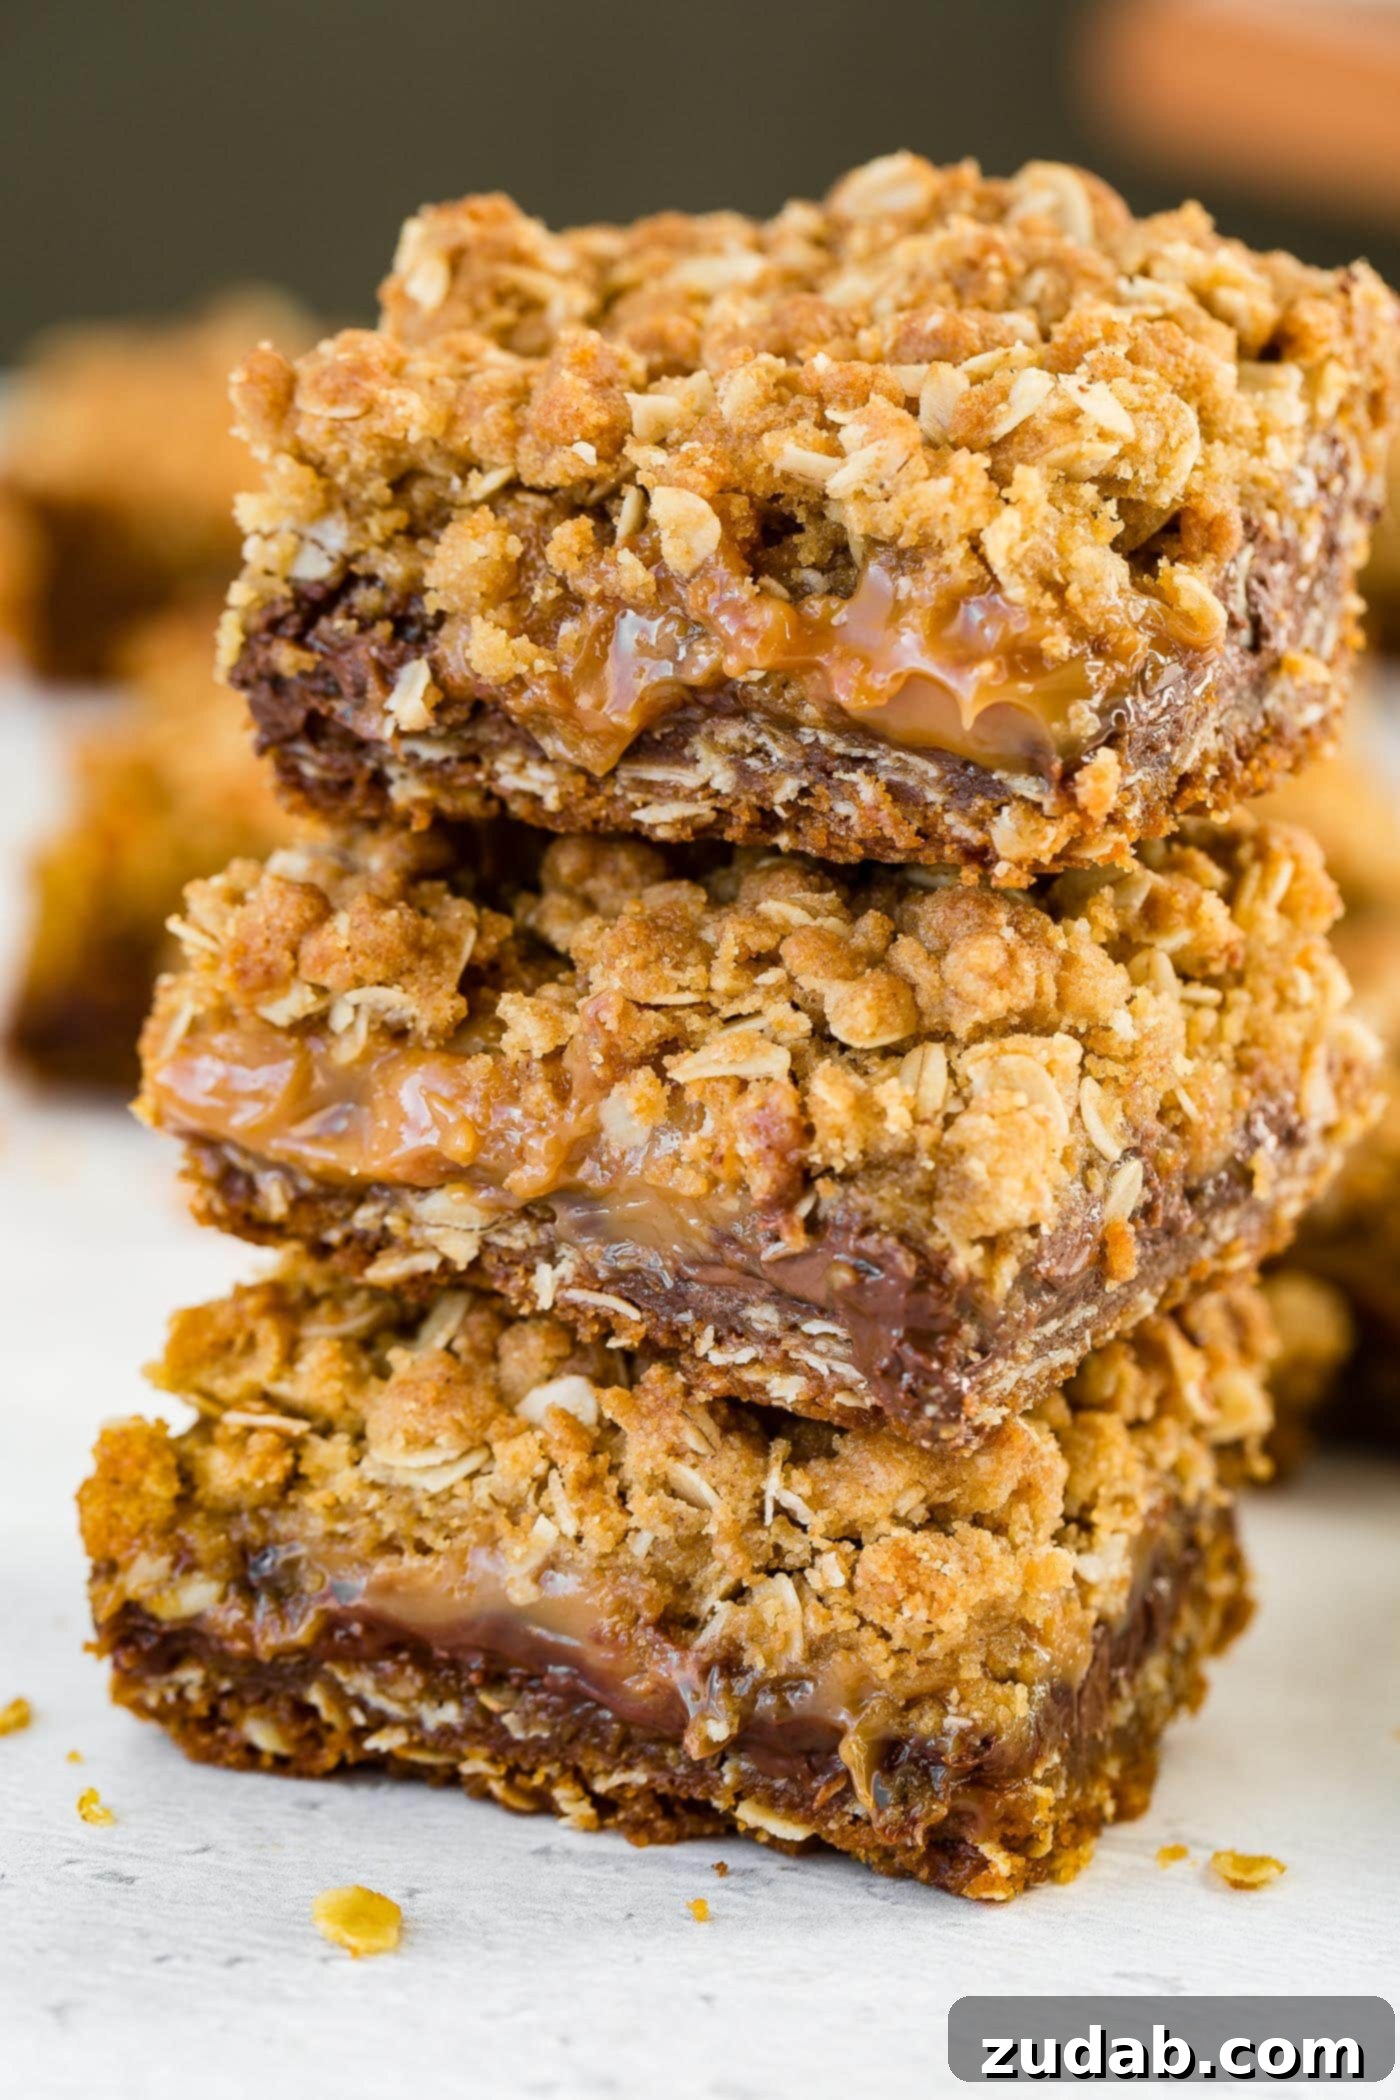
Why You’ll Fall in Love with This Carmelita Recipe
There are countless reasons why Carmelitas consistently rank as a beloved dessert, and why this particular recipe is destined to become a staple in your baking repertoire. Their unique combination of simplicity and indulgence makes them truly special:
- A Symphony of Textures and Flavors: Each bite of a Carmelita is a delightful journey for your senses. You’ll first experience the satisfying crunch and wholesome chew from the brown sugar oat crumble, followed immediately by the irresistible gooeyness of melted chocolate, and finally, the rich, stretchy, buttery caramel. It’s a completely divine experience that tantalizes every part of your palate, offering a perfect balance of sweet, rich, and comforting notes.
- Effortlessly Easy to Make: Despite their impressive, multi-layered appearance and complex flavor profile, Carmelitas are surprisingly simple and quick to prepare. Even with assembling different components, the steps are straightforward and manageable, making them an ideal dessert for when you crave something extraordinary without embarking on a huge, time-consuming kitchen project. They prove that you don’t need to be an expert baker to create something truly spectacular.
- No Special Equipment Needed: Forget about pulling out heavy stand mixers, food processors, or other fancy kitchen gadgets. All you truly need for this recipe is a large mixing bowl, a sturdy wooden spoon or spatula, a saucepan for the caramel, and a baking pan. This accessibility makes baking Carmelitas a fuss-free and enjoyable activity for anyone, anytime.
- A Guaranteed Crowd-Pleaser: Carmelitas are universally loved and possess an undeniable charm that makes them a surefire hit at any gathering, party, potluck, or family event. Their rich, comforting flavors and delightful textures are appealing to almost everyone. I can honestly say I’ve never brought a batch to an event and returned home with leftovers – they simply vanish in record time! They’re perfect for celebrations, casual get-togethers, bake sales, holiday tables, or just a cozy night in with loved ones.
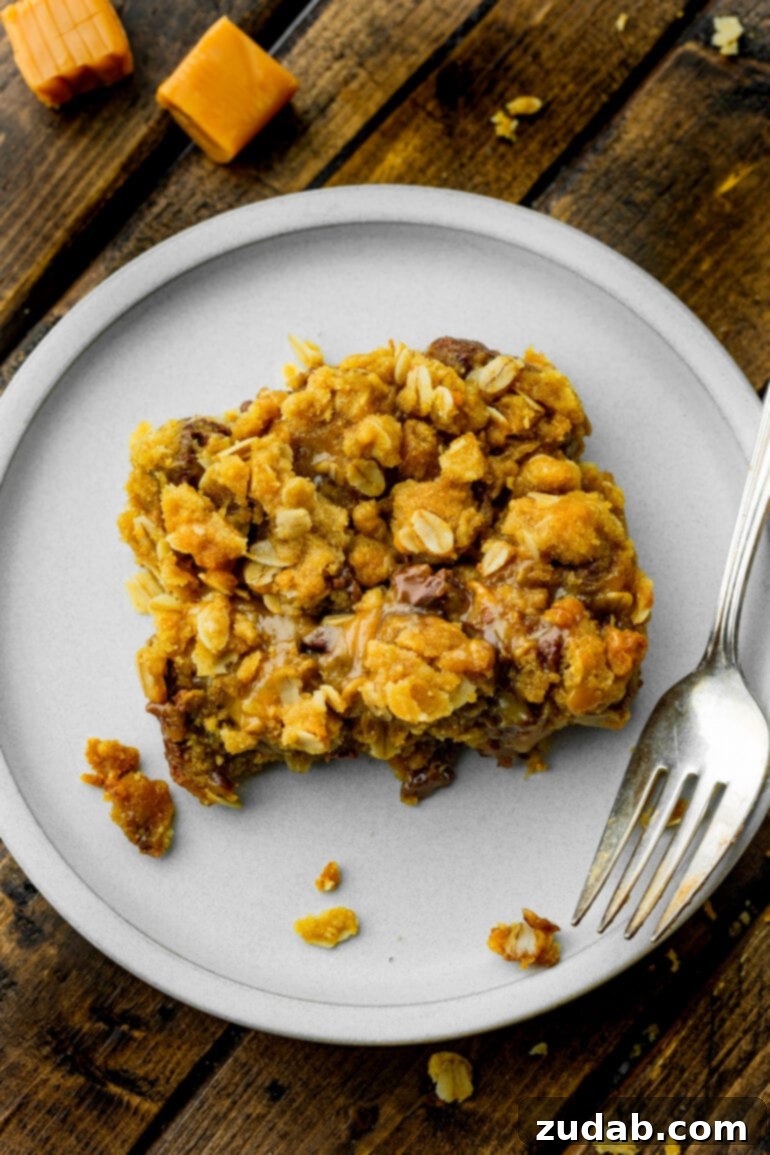
Storing Your Delicious Carmelitas
To ensure your homemade Carmelitas remain fresh, moist, and utterly irresistible for as long as possible, proper storage is key. These bars keep exceptionally well, allowing you to enjoy their delightful flavors for days to come or conveniently save them for a future craving:
- Room Temperature Storage: Once completely cooled (this is crucial!), Carmelitas can be stored in an airtight container at room temperature for up to a week. To prevent them from sticking together, especially if stacking, place a piece of parchment paper between each layer of bars.
- Refrigeration for Firmer Texture: For a slightly firmer texture, particularly if you’re in a warmer climate or simply prefer your dessert bars chilled, store them in an airtight container in the refrigerator. They will remain fresh and delicious for up to 10 days when refrigerated.
- Freezing for Long-Term Enjoyment: Carmelitas freeze beautifully, making them an excellent make-ahead dessert option for future events or personal treats. To freeze, first allow the bars to cool completely. Then, wrap individual bars or a whole slab tightly in plastic wrap, followed by another layer of aluminum foil, or place them in a heavy-duty freezer bag. They can be frozen for several months (up to 3 months for optimal quality). Thaw frozen bars at room temperature for a few hours or overnight in the refrigerator before serving.
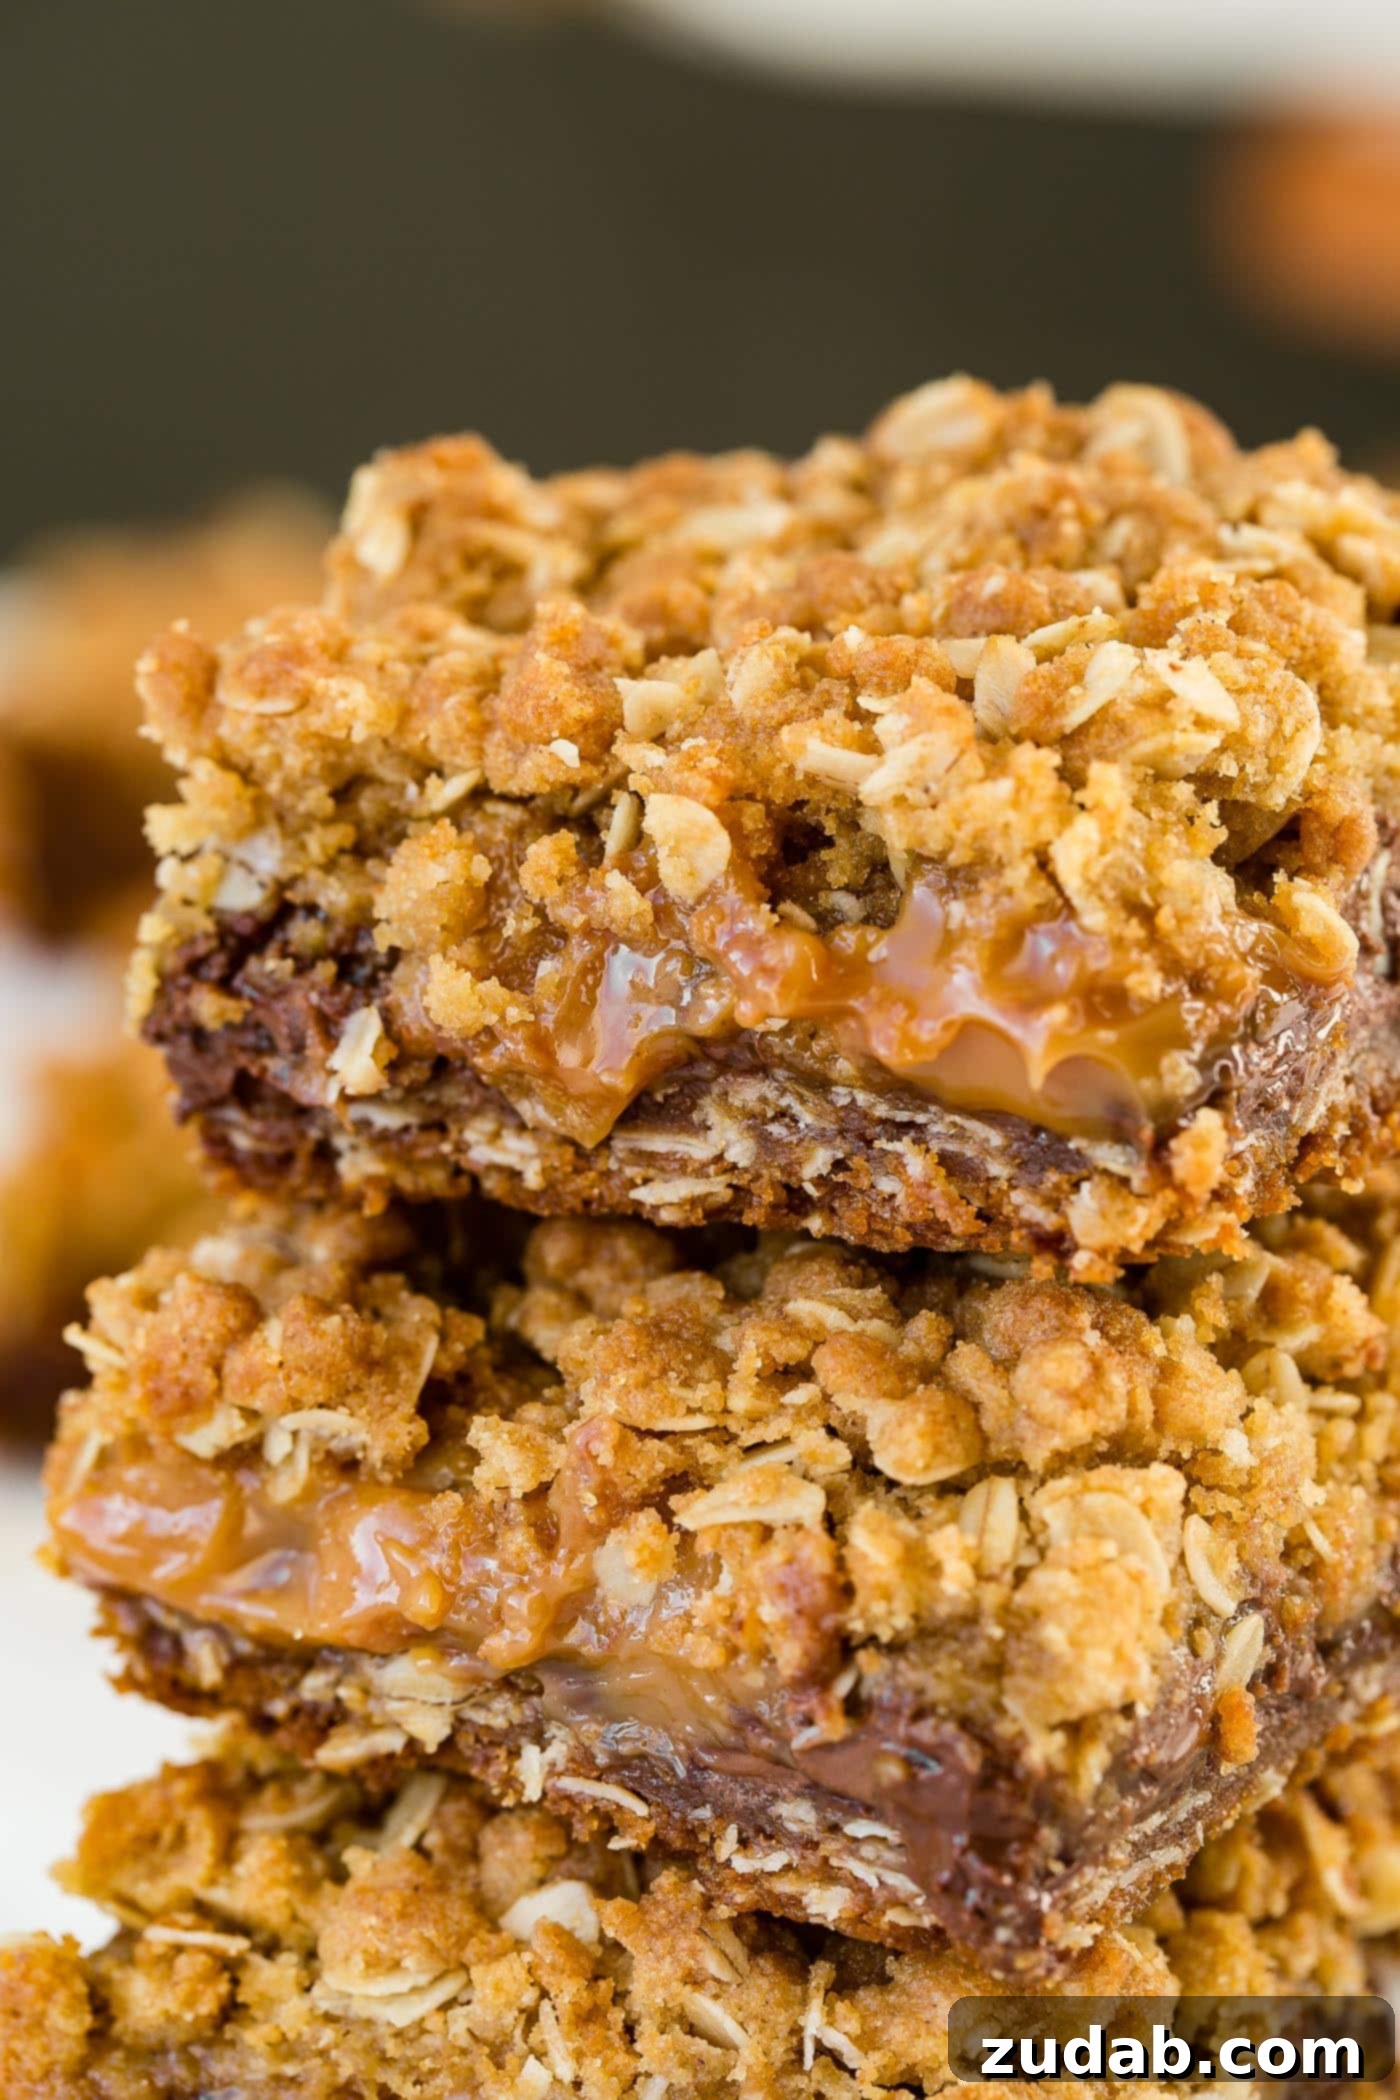
Every single morsel of these homemade Carmelitas bars is an expression of pure culinary love. From the moment you take that first bite, you’ll experience the delightful crunch and rich chew of the buttery brown sugar oat bottom, transitioning into the incredibly gooey and intensely rich combination of melted chocolate and luscious caramel in the middle, and finally, the comforting texture of that golden oat crumble topping. These dessert bars are truly a celebration of sweet and satisfying indulgence, a perfect blend of comfort and decadence. We are confident that you and everyone you share them with are going to become huge fans of this amazing and easy-to-make recipe, making Carmelitas a regular fixture in your dessert rotation!
Frequently Asked Questions (FAQs) About Carmelitas
Here are some common questions you might have when preparing these delightful Carmelita bars, along with helpful answers to ensure your baking success:
- Can I use quick oats instead of old-fashioned oats? Yes, you can. Quick oats will result in a slightly less chewy and more uniform texture in the oat crumble layers, as they are cut finer and absorb liquid more quickly. However, the flavor will still be delicious. For the signature rustic chewiness and a more pronounced oat flavor, old-fashioned oats are definitely preferred.
- What kind of caramel squares should I use? For this recipe, look for individually wrapped, soft caramel candies. These are typically found in the candy or baking aisle of most grocery stores. Popular brands like Kraft Caramels work perfectly, as they melt smoothly and provide the ideal gooey consistency for the filling. Avoid hard caramels or caramel sauces not intended for melting into a thick layer.
- Why do my Carmelitas crumble or fall apart when I cut them? This is the most common issue and almost always happens if the bars haven’t cooled completely. The caramel needs ample time to firm up and solidify to act as a binder, holding all the layers together. Ensure they are fully cooled at room temperature for several hours, or even better, chilled in the refrigerator for 1-2 hours after initial cooling, before attempting to slice them. Patience truly pays off here.
- Can I make these bars gluten-free? To adapt this recipe to be gluten-free, you would need to substitute the all-purpose flour with a high-quality gluten-free all-purpose flour blend (ensure the blend contains xanthan gum or add it separately as per package instructions). Additionally, make sure to use certified gluten-free oats to avoid cross-contamination. Please note that results may vary slightly in texture and density compared to the traditional recipe.
- Can I use homemade caramel instead of store-bought squares? Absolutely! If you have a tried-and-true homemade caramel recipe that sets up firm enough to handle and can be poured when warm, it would be a wonderful and even more gourmet addition. Just ensure your homemade caramel reaches a pourable consistency when heated with the evaporated milk and cream. Test its setting ability beforehand if you’re unsure.
- How do I prevent the caramel from being too hard or too runny? The precise amounts of evaporated milk and heavy cream (or extra evaporated milk) specified in the recipe are crucial for keeping the caramel layer perfectly soft, gooey, and spreadable, without becoming overly firm or runny. Additionally, ensure you maintain low heat and avoid overcooking the caramel mixture during the melting process, as excessive heat can cause it to thicken too much or seize.
- Can I add other ingredients to the chocolate or caramel layer? Yes, get creative! Beyond nuts, you could sprinkle a layer of toasted coconut flakes with the chocolate chips for added flavor and texture. A pinch of espresso powder added to the melted caramel can deepen the chocolate flavor, or a touch of bourbon for an adult twist.
More Decadent Dessert Bar Recipes You’ll Love:
- Irresistible Peanut Butter Bars
- Delicious Brookie Bars
- Classic Lemon Bars
- Easy No-Bake S’more Bars
- Fantastic Snickerdoodle Cheesecake Bars
- Bright Raspberry Lemon Bars
Carmelitas
Ingredients
- 2 Cups All-Purpose Flour
- 2 Cups Old-Fashioned Oats
- 1/4 teaspoon Ground Cinnamon (optional)
- 1/4 teaspoon Salt
- 2 teaspoons Baking Soda
- 2 Cups Brown Sugar, firmly packed
- 1 1/3 Cups Unsalted Butter, melted (or margarine)
- 1.5 Bags Caramel Squares (approx. 37 individually wrapped caramels, 11 ounce bags)
- 1/2 Cup Evaporated Milk
- 1/4 Cup Heavy Cream (or substitute with more evaporated milk)
- 1 Cup Milk Chocolate Chips
- 1 Cup Semi-Sweet Chocolate Chips
Instructions
- Preheat oven to 350°F (175°C). Line an 8×11 or 9×13 inch baking pan with parchment paper, leaving an overhang on the sides for easy removal.
- In a large bowl, combine the flour, old-fashioned oats, cinnamon (if using), salt, baking soda, brown sugar, and melted butter. Mix well until a crumbly mixture forms.
- Press half of the oat mixture evenly into the bottom of the prepared pan. Bake for 10 minutes. Remove from the oven.
- While the crust is baking, melt the caramel squares, evaporated milk, and heavy cream (or extra evaporated milk) in a saucepan over low heat, stirring often until smooth and completely combined.
- Sprinkle both milk chocolate and semi-sweet chocolate chips evenly over the baked bottom crust.
- Carefully pour the melted caramel mixture over the chocolate chips, spreading it gently to cover the surface.
- Evenly sprinkle the remaining half of the oat mixture over the caramel layer.
- Return the pan to the oven and bake for an additional 15 minutes, or until the top is golden brown and the caramel is bubbly around the edges.
- Allow the Carmelitas to cool completely at room temperature for several hours (ideally overnight) before attempting to cut them. For faster cooling, you can refrigerate them once they have cooled to room temperature.
Recipe Notes
Nutrition
Calories: 381kcal,
Carbohydrates: 52g,
Protein: 4g,
Fat: 18g,
Saturated Fat: 11g,
Polyunsaturated Fat: 1g,
Monounsaturated Fat: 4g,
Trans Fat: 0.4g,
Cholesterol: 34mg,
Sodium: 253mg,
Potassium: 158mg,
Fiber: 2g,
Sugar: 36g,
Vitamin A: 392IU,
Vitamin C: 0.2mg,
Calcium: 74mg,
Iron: 2mg
Nutrition information is automatically calculated and should be used as an approximation.