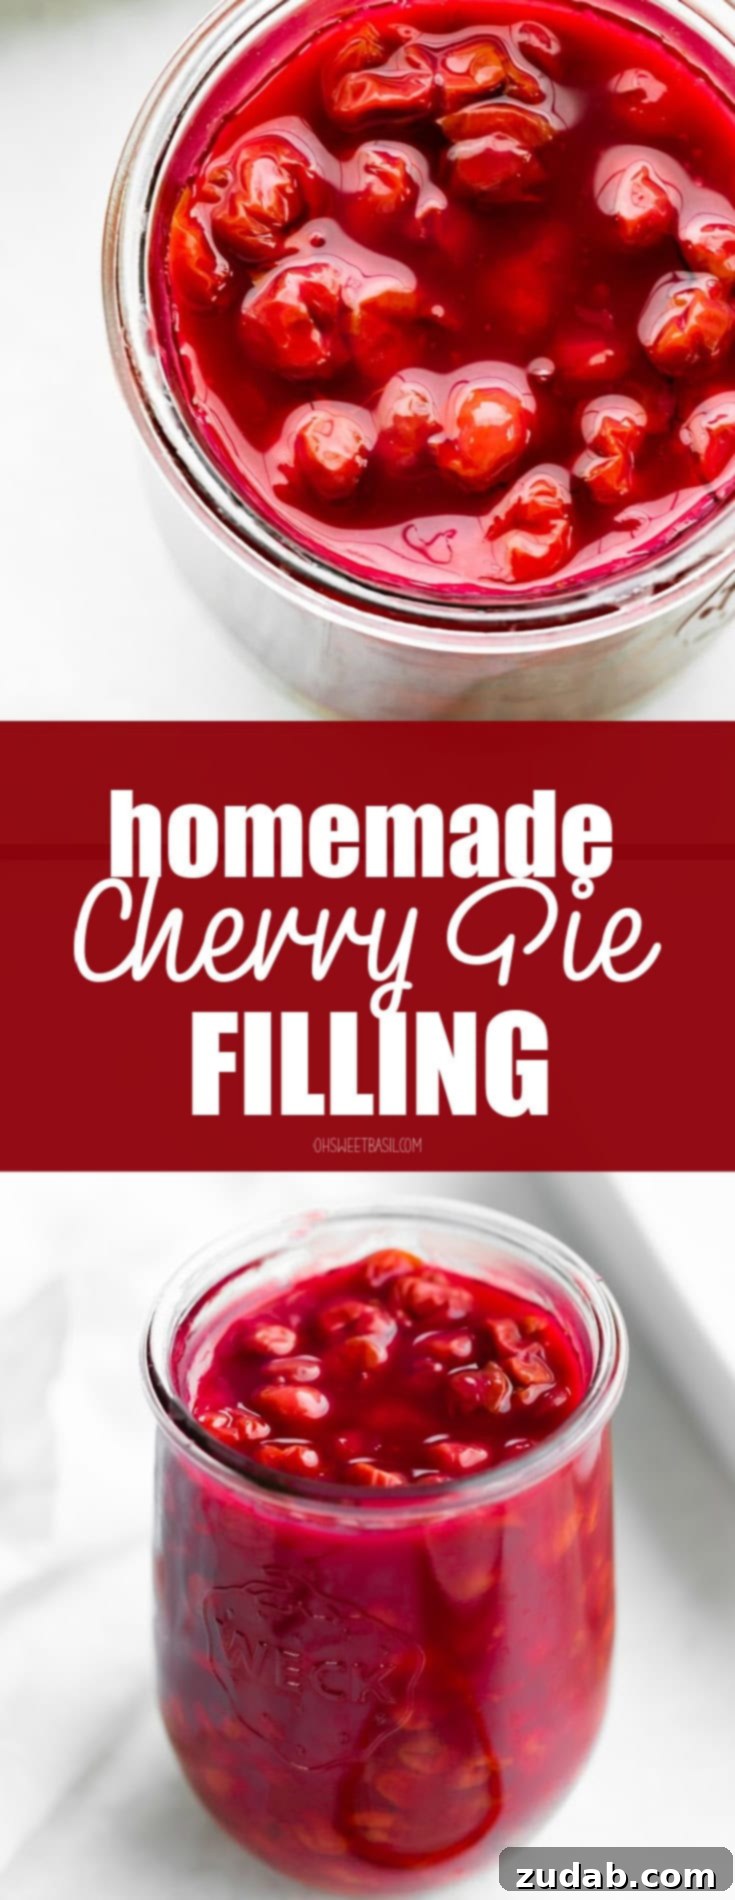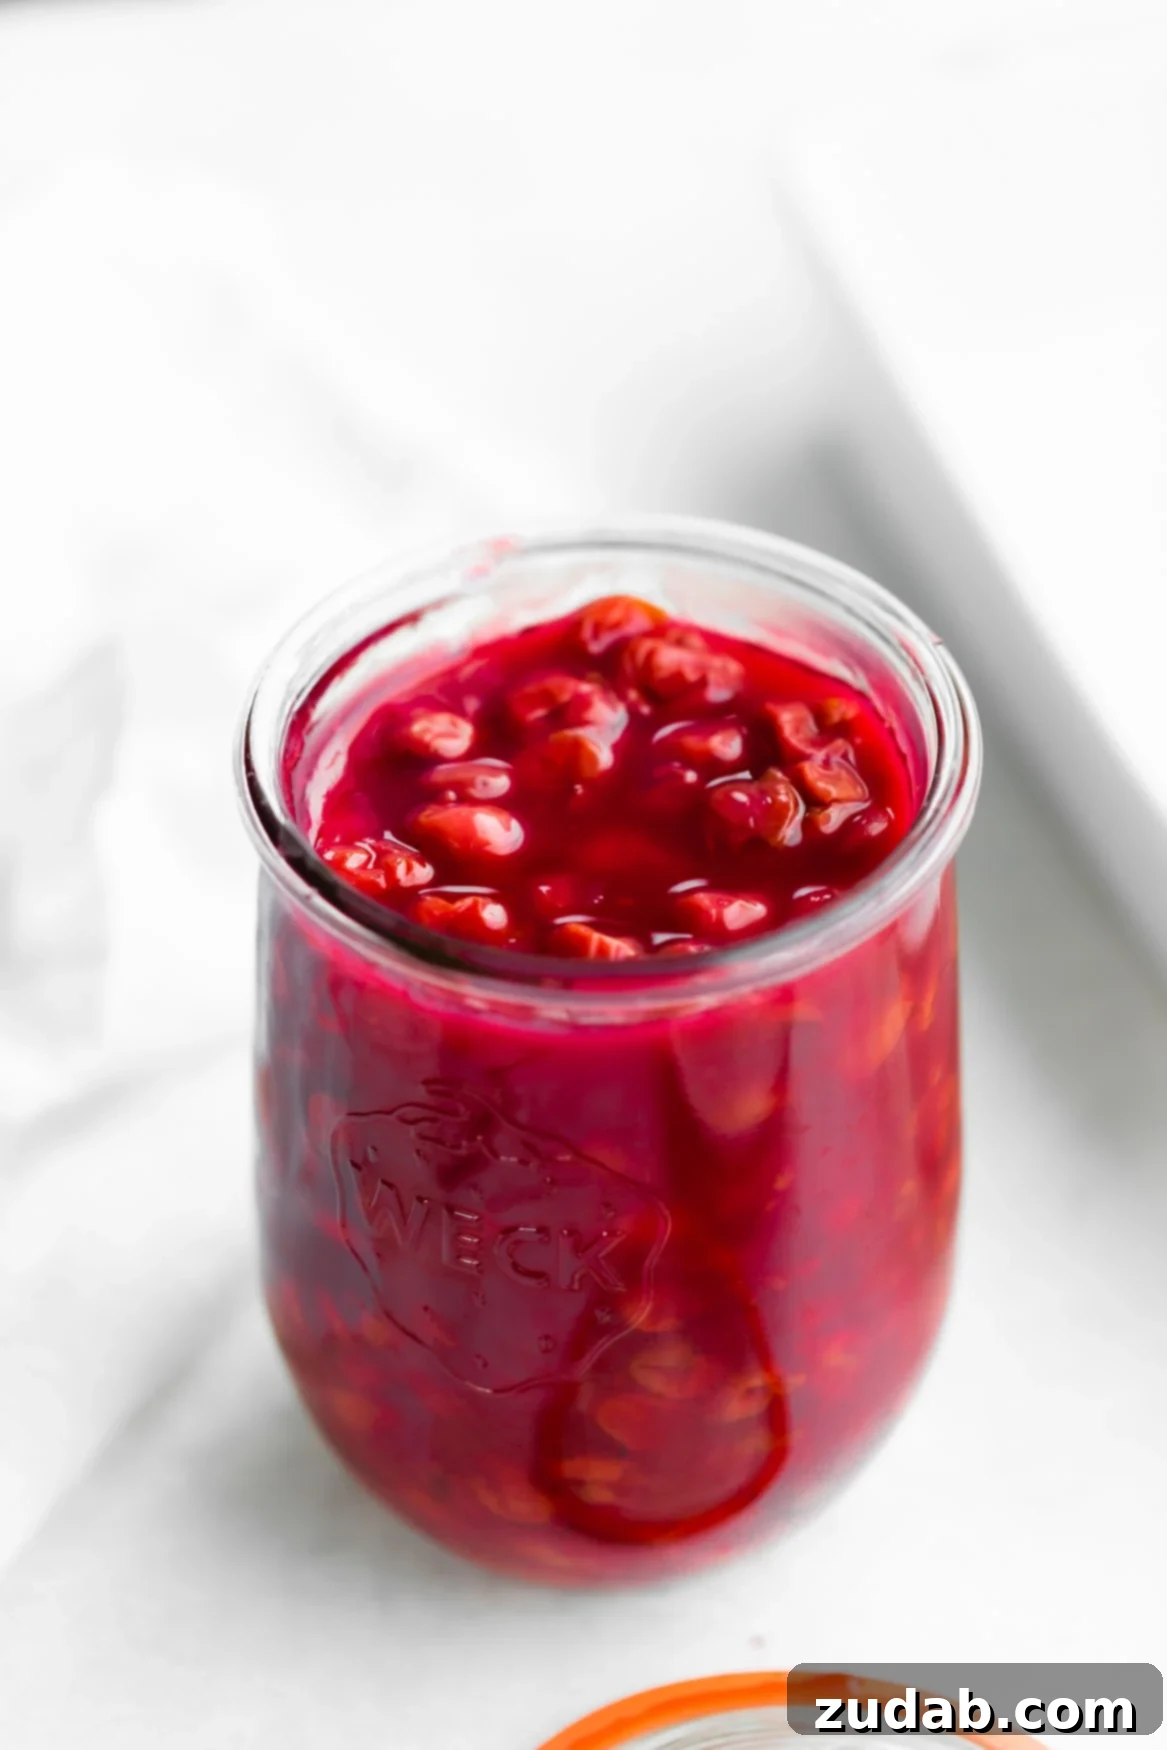
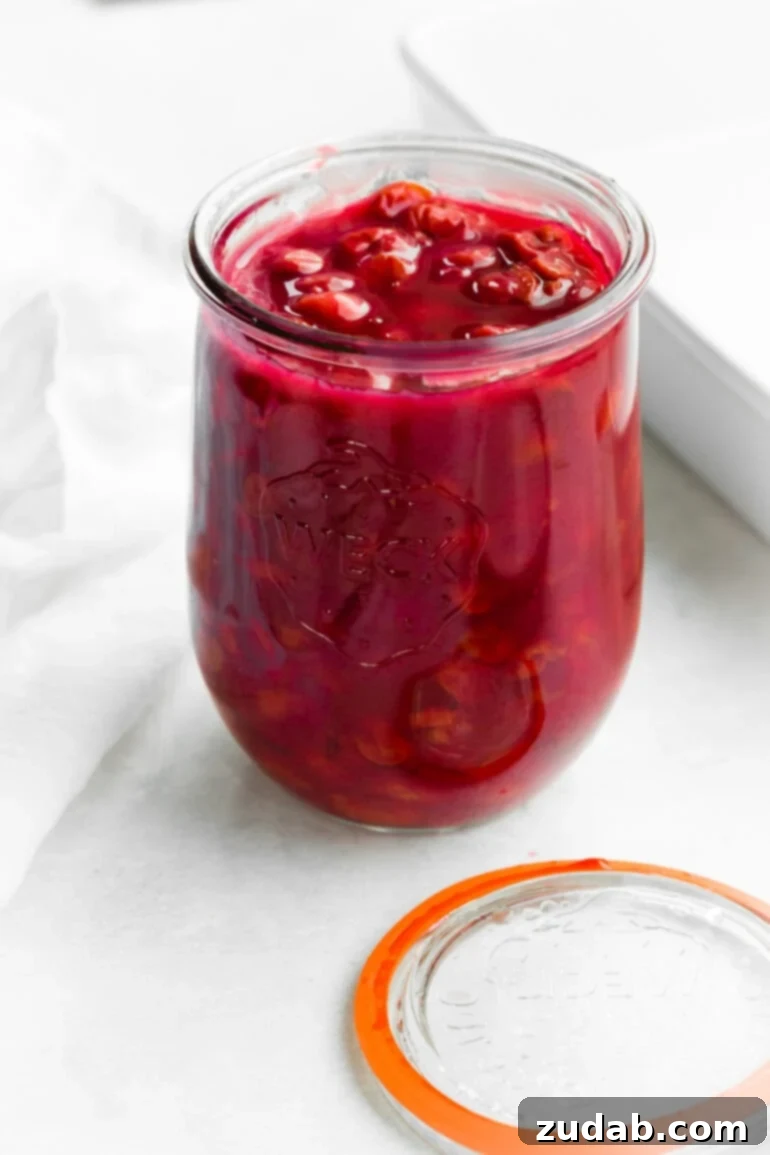
Unlock the secret to an unforgettable dessert experience by crafting your own rich and flavorful homemade cherry pie filling. Say goodbye to bland, store-bought cans and embrace the vibrant taste and luscious texture that comes from making it from scratch. This easy cherry pie filling recipe is your gateway to baking show-stopping pies, tarts, and countless other delightful treats that will earn you rave reviews.
There’s a unique satisfaction in preparing ingredients with your own hands, especially when it results in something as magnificent as a perfectly glossy and smooth cherry pie filling. It’s not just about the incredible taste; it’s about controlling the quality of every component, ensuring freshness, and customizing the sweetness and spice to your exact preference. Whether you’re a seasoned baker or just starting, this guide will show you how to create the best cherry pie filling with minimal effort and maximum reward.
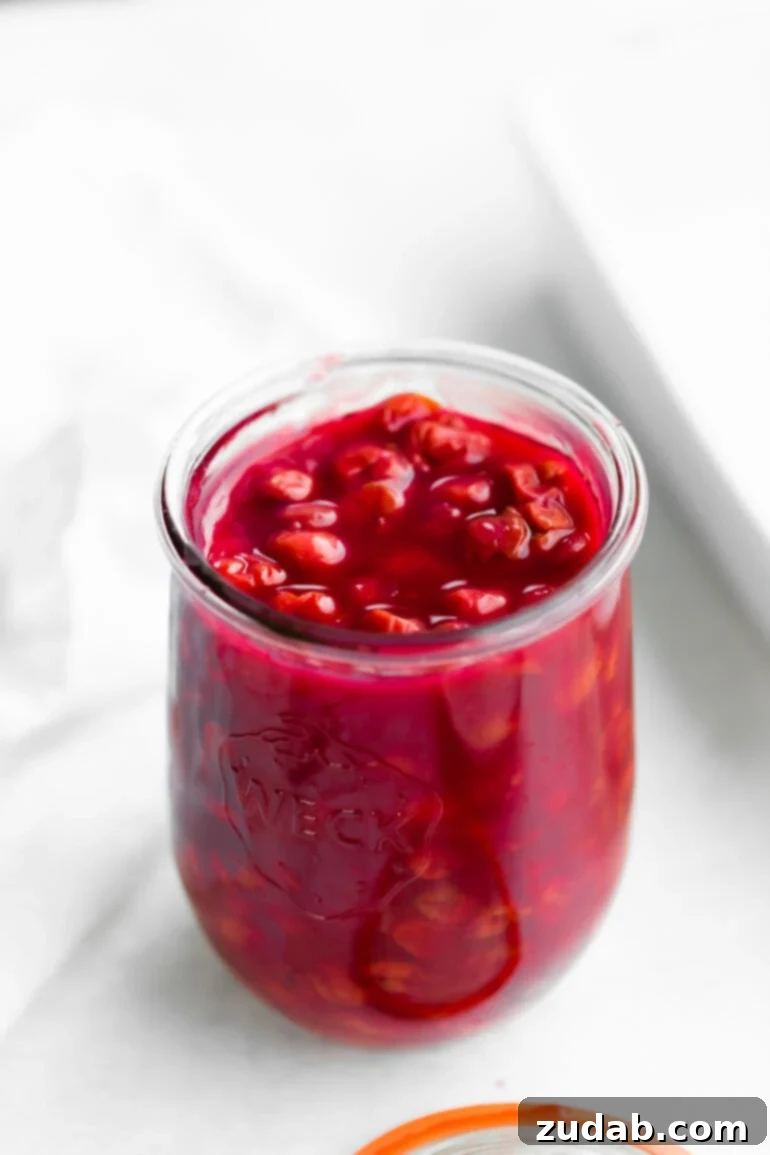
For many, the memory of cherry pie evokes a sense of nostalgia, often tied to childhood holidays or family gatherings. Growing up, a can of cherry pie filling was a pantry staple, a quick fix for desserts. I remember the creativity it inspired – from mom’s no-bake cheesecake topped with that familiar crimson goo to my own experimental cherry-stuffed burritos, fried and glazed (a delightful memory I might just recreate!). While those memories are cherished, the discovery of homemade pie filling transformed my baking. It revealed that the true depth of flavor and ideal texture in a dessert comes from fresh, thoughtfully prepared ingredients. The secret ingredient to elevating any cherry dessert, I’ve learned, is to use vibrant, tart cherries; they promise a brighter, more authentic cherry flavor that sweet varieties simply can’t match.
Why Choose Homemade Cherry Pie Filling?
Opting for homemade cherry pie filling over its canned counterpart offers a multitude of benefits, elevating your desserts from good to absolutely extraordinary. Firstly, the **flavor profile** is unparalleled. Canned fillings often rely on artificial flavors and excessive sugar to compensate for a lack of genuine fruit taste. When you make it from scratch, you harness the natural, intense flavor of fresh or frozen cherries, allowing their inherent tartness and sweetness to shine through. This results in a filling that tastes genuinely like cherries, not just “cherry-flavored.”
Secondly, **texture control** is a huge advantage. Store-bought fillings can be overly gelatinous or watery. With a homemade recipe, you can achieve that perfect balance of glossy, thick, and luscious consistency, ideal for holding its shape in a pie or gracefully topping a dessert. The cornstarch in our recipe ensures a smooth, silky finish that clings beautifully to every bite.
Furthermore, **ingredient transparency** is key. You know exactly what goes into your filling – real fruit, natural sweeteners, and a touch of spice, without any obscure preservatives, artificial colors, or high-fructose corn syrup. This not only makes for a healthier dessert but also allows you to adjust the sweetness to your liking, catering to personal preferences or dietary needs.
Lastly, there’s the **joy of creation**. The vibrant aroma of simmering cherries and cinnamon filling your kitchen is an experience in itself. Plus, presenting a dessert made entirely from scratch, with a filling that boasts such rich color and authentic taste, is incredibly rewarding. It’s a testament to your culinary passion and skill, turning a simple dessert into a memorable culinary highlight.
Essential Ingredients for the Best Cherry Pie Filling
Crafting a truly exceptional homemade cherry filling requires just a handful of quality ingredients and a little bit of your time. This simple list focuses on maximizing flavor and achieving that ideal consistency, proving that sometimes, less truly is more when it comes to deliciousness. Here’s a closer look at what you’ll need:
- Pitted Sour Cherries: This is the star of our show, and choosing the right type of cherry makes all the difference. While it might seem counterintuitive, **tart cherries** (also known as sour cherries) are superior for baking. Their natural acidity provides a bright, intense cherry flavor that mellows beautifully with sugar and heat, delivering that classic, beloved cherry taste in your desserts. Sweet cherries, on the other hand, can result in a filling that lacks depth and becomes cloyingly sweet. You can use fresh sour cherries when in season, but high-quality frozen pitted sour cherries work equally well and are often more convenient, as they come pre-pitted, saving you valuable prep time.
- Cornstarch: This humble ingredient is crucial for achieving the perfect, thick, and glossy consistency for your pie filling. As it heats, cornstarch acts as a thickening agent, turning the released cherry juices and sugar into a beautiful, spoonable sauce. It creates a smooth texture that won’t separate or become watery, ensuring your pie slices hold their shape and look as good as they taste.
- Sugar: A vital component, sugar serves multiple purposes beyond just sweetness. It balances the inherent tartness of the sour cherries, creating a harmonious flavor profile that is neither too sharp nor overly sweet. Additionally, sugar helps draw out the natural juices from the cherries during cooking, contributing to the rich liquid base of the filling. The amount can be adjusted slightly based on the sweetness of your cherries and your personal preference.
- Cinnamon: Just a hint of cinnamon transforms the filling, adding a warm, inviting, and subtly spiced undertone that complements the cherries wonderfully. It enhances the fruit’s natural sweetness and complexity, providing a depth of flavor that elevates the entire dessert. Don’t underestimate the power of this spice to bring a comforting aroma and taste to your homemade filling.
The precise measurements for each of these ingredients are detailed in the comprehensive recipe card located further down this page. Keep scrolling to access all the specifics for this delightful cherry pie filling recipe.
How to Make the Best Homemade Cherry Filling
Creating this magnificent homemade cherry filling is surprisingly straightforward, proving that gourmet results don’t always require complicated steps. With just these four ingredients, you’re minutes away from a vibrant, flavorful filling that will transform your baking. Here’s the simple, step-by-step process:
- **Simmer the Cherries:** Begin by placing your pitted sour cherries (whether fresh or frozen) into a medium saucepan. Place the saucepan over medium heat. Allow the cherries to cook gently, stirring occasionally, until they begin to release their beautiful ruby-red juices and start to simmer. This initial cooking step helps soften the cherries and builds the flavorful liquid base for your filling.
- **Prepare the Thickening Mixture:** While the cherries are simmering, combine the remaining ingredients – cornstarch, sugar, and cinnamon – in a small bowl. Stir them thoroughly until well combined. This prevents the cornstarch from clumping when added to the hot cherries, ensuring a smooth, lump-free filling.
- **Thicken and Finish:** Once the cherries are actively simmering and plenty of juice has been released, gradually add the cornstarch/sugar/cinnamon mixture to the saucepan. Stir continuously as you add it, ensuring it is fully incorporated. Continue to cook, stirring frequently, until the mixture comes to a full boil and visibly thickens, becoming glossy and bubbling. This usually takes only a few minutes. Once it reaches your desired thick consistency, remove the saucepan from the heat immediately.
That’s it! Your luscious, homemade cherry pie filling is now ready. Allow it to cool completely before using it in your favorite recipes. These clear instructions are also available in the recipe card below, where you can easily save or print the recipe for future reference.
Choosing the Best Cherries for Pie Filling
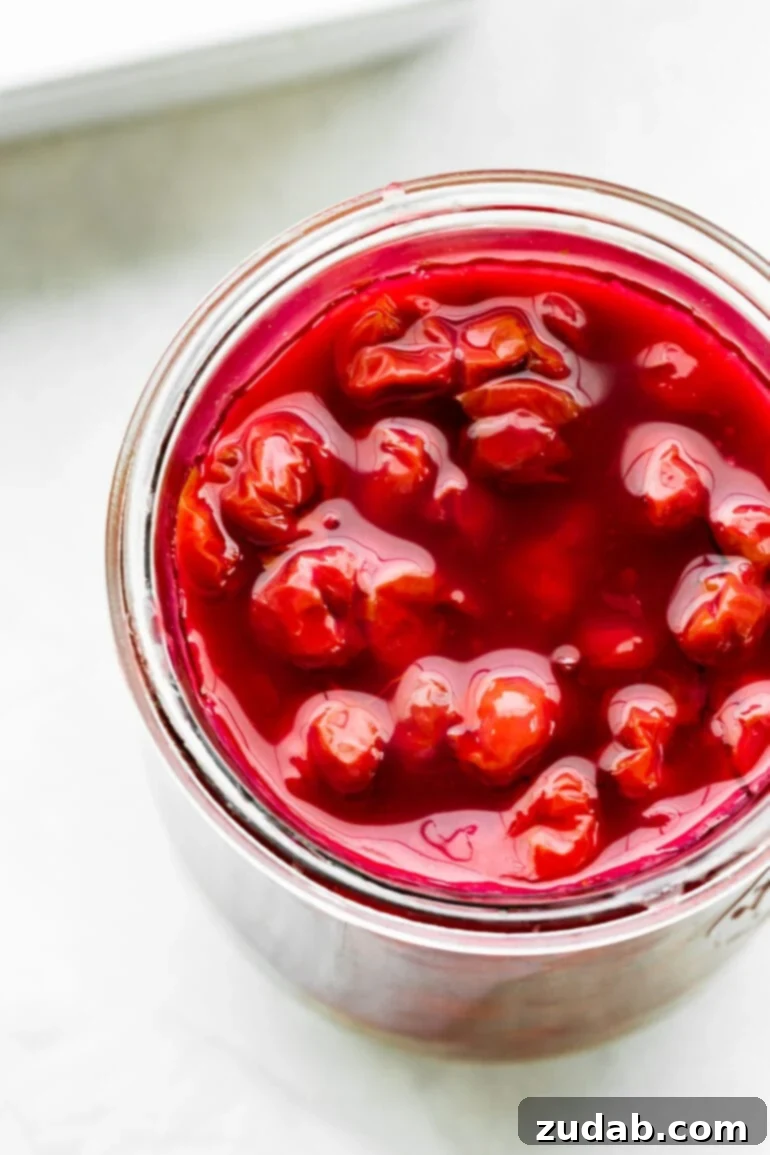
The success of your homemade cherry pie filling largely depends on the type of cherries you select. For baking, especially pies, **sour cherries** are undeniably the superior choice. Their distinct tartness provides the perfect counterbalance to sugar, resulting in a rich, complex flavor that sweet cherries can’t quite achieve. When baked, sour cherries maintain their bright, tangy essence, which is the hallmark of a truly great cherry pie.
Among sour cherry varieties, **Montmorency** is widely regarded as the gold standard for pies. These bright red cherries are known for their firm flesh and intense tart flavor. Other excellent sour cherry varieties include **Morello** and **Amarelle** cherries. While these can sometimes be challenging to find fresh outside of peak season or specific regions, they are often available frozen, which is a fantastic and convenient alternative for making pie filling year-round. Frozen sour cherries typically come pre-pitted, saving you significant prep time.
If sour cherries are completely unavailable, some recipes suggest using a blend of sweet and tart cherries (like Bing and a bit of lemon juice) to mimic the desired flavor profile. However, if you must use only sweet cherries, such as **Bing** or **Rainier**, be prepared to adjust the sugar content, as they are naturally much sweeter. Rainier cherries, with their beautiful yellow-red blush, offer a milder sweetness and can work in a pinch, though they still don’t provide the same depth of flavor as a true sour cherry. Bing cherries, being quite sweet, should be considered a last resort for pie filling, as they can result in a dessert that lacks that signature tangy zest.
Always prioritize pitted sour cherries, whether fresh or frozen, to achieve the most authentic and delicious cherry pie filling.
Effortlessly Remove Cherry Pits
If you’re using fresh cherries for your homemade cherry pie filling, the task of pitting them is essential. While it might seem daunting, there are several easy methods to get the job done efficiently. The goal is to remove the pit while preserving as much of the cherry’s flesh as possible.
One common manual method is to simply **slice the cherries in half** with a small knife and then carefully pop the pit out using your fingers or the tip of the knife. This works well for smaller batches and gives you precise control over each cherry.
However, for larger quantities, or if you prefer to keep your cherries whole (which can be visually appealing in some dishes), a **cherry pitter** is an invaluable tool. This inexpensive gadget makes the process incredibly fast and mess-free. My favorite little tool for this is a dedicated cherry pitter. It’s designed to neatly push the pit right out through the bottom of the cherry, leaving the fruit intact and minimizing juice loss. It’s a small investment that pays off in convenience, especially during cherry season.
If you don’t have a pitter, you can also try using a **straw, chopstick, or a clean paperclip**. Simply push the blunt end of the straw or chopstick (or the opened end of a paperclip) through the stem end of the cherry, aiming for the pit, and it should pop out the other side. Whichever method you choose, pitting fresh cherries is a crucial step that ensures a delightful and smooth pie-filling experience.
Creative Ways to Use Your Homemade Cherry Pie Filling
Once you’ve crafted a batch of this vibrant homemade cherry pie filling, your culinary possibilities are truly endless! Beyond its traditional use in a classic cherry pie, this versatile filling can elevate a wide array of sweet and savory dishes. Here are some fantastic ideas to inspire your next kitchen adventure:
- **Classic Baked Goods:**
- **Cherry Pie:** Of course, the quintessential use! Pair it with a flaky, buttery crust for an unbeatable dessert.
- **Cherry Crisp or Crumble:** A simpler alternative to pie, topped with a buttery oat crumble.
- **Cherry Cobbler:** A rustic dessert with a biscuit-like topping.
- **Cherry Pie Bars:** Perfect for potlucks, these portable squares feature a shortbread crust and crumb topping.
- **Turnovers or Hand Pies:** Individual pastries, ideal for on-the-go treats.
- **Muffins or Scones:** Swirl the filling into batter for a fruity burst in your breakfast or brunch items.
- **Donut Filling:** Transform plain donuts into gourmet delights by filling them with your homemade cherry goodness.
- **Breakfast and Brunch Enhancers:**
- **Pancakes** & **French Toast** & **Waffles:** Drizzle generously over a stack for a luxurious start to your day.
- **Yogurt:** Stir a dollop into plain yogurt for a flavorful and healthy breakfast.
- **Cherry Cheese Danish Sliders:** A quick and easy way to enjoy Danish flavor with minimal effort.
- **Oatmeal or Porridge:** A spoonful adds natural sweetness and fruit to your morning oats.
- **Dessert Toppings and Accompaniments:**
- **Ice Cream:** The warm or cool filling is exquisite over vanilla bean ice cream.
- **Cheesecake:** A beautiful and delicious topping for classic or no-bake cheesecakes.
- **Panna Cotta or Rice Pudding:** Adds a fruity layer to creamy desserts.
- **Brownies or Blondies:** Spread a thin layer over baked brownies for a cherry-chocolate fusion.
- **Cupcake Filling:** Core cupcakes and fill with cherry pie filling before frosting.
- **Beyond the Sweet (Unexpected Pairings):**
- **Cheese Boards:** Pair with soft cheeses like brie or goat cheese for a delightful sweet and savory contrast.
- **Pork or Duck:** A small amount of tart cherry filling can make an excellent glaze or accompaniment for roasted meats.
- **Cool Completely:** Before freezing, it is vital that the cherry pie filling cools down to room temperature. Placing warm filling directly into the freezer can raise the temperature of other frozen items and potentially affect their quality.
- **Choose the Right Container:** I prefer to pour the cooled filling into heavy-duty **ziploc bags** (freezer-safe bags). This method allows you to lay the bag flat in the freezer, saving space and creating a thin, even layer that thaws more quickly. Alternatively, you can use freezer-safe plastic containers or glass jars, ensuring there is about an inch of headspace if using rigid containers, as the liquid will expand slightly when frozen.
- **Label and Date:** Always label your freezer bags or containers with the contents (e.g., “Cherry Pie Filling”) and the date it was prepared. This helps you keep track of its freshness.
- **Freeze:** Place the sealed and labeled bags flat in the freezer until solid. If using containers, simply place them in the freezer.
- **Adjusting Sweetness:** The sugar amount in the recipe is a guideline. If using particularly tart sour cherries, you might want to add a tablespoon or two more sugar. Conversely, if your cherries are on the sweeter side (though not ideal for this recipe), you might reduce the sugar slightly. Always taste a small amount of the cooked cherry mixture before adding the cornstarch slurry to make adjustments.
- **Preventing Lumps:** To ensure a smooth, glossy filling, always mix the cornstarch thoroughly with the sugar and cinnamon *before* adding it to the simmering cherries. This creates a slurry that dissolves evenly. Pour it in gradually while continuously stirring the cherries, preventing any clumps from forming.
- **Achieving Desired Thickness:** The filling will thicken significantly as it cools. Don’t be alarmed if it seems a bit thin when you first remove it from the heat. However, if after cooling, it’s still too runny, you can gently reheat it over medium-low heat. In a separate small bowl, whisk 1-2 tablespoons of cornstarch with an equal amount of cold water to create a slurry. Gradually whisk this slurry into the simmering filling, stirring constantly, until it reaches your desired consistency. Cook for an additional minute to ensure the cornstarch is fully cooked.
- **Using Cherry Juice:** If using frozen cherries, they often release a lot of liquid. You can use this natural cherry juice as part of your liquid measurement, or drain off some if you prefer a thicker, more fruit-dense filling. If using fresh cherries and the mixture seems too dry, you can add a splash of water or a few tablespoons of store-bought cherry juice.
- **Flavor Enhancements:** For an extra layer of flavor, consider adding a tiny splash of almond extract (cherries and almond are a classic pairing!) or a pinch of nutmeg alongside the cinnamon. A tablespoon of lemon juice can also brighten the flavors if your cherries aren’t very tart.
- **Cooling Completely:** It’s crucial to let the filling cool down entirely before incorporating it into a pie crust or other baked goods. Hot filling can make pie crusts soggy or affect the texture of your dessert.
- Easy Peach Cobbler
- Dutch Oven Peach Crisp
- Strawberry Shortcake
- Mini Lemon Poppy Seed Bundt Cakes
- Simple Blueberry Pie
- Baked Peach Hand Pies
- Brown Sugar Peach Pie Bars
- The Best Fresh Strawberry Pie
- Deep Fried Peaches and Ice Cream
- 4 Cups Pitted Sour Cherries, fresh or frozen (see note)
- 1/4 Cup Cornstarch
- 1 Cup Sugar
- 1/2 teaspoon Cinnamon
-
Cook the cherries in a saucepan over medium heat until simmering.4 Cups Pitted Sour Cherries
-
In a small bowl, stir together the cornstarch, sugar and cinnamon, and then once the cherries are simmering, pour the cornstarch/sugar mixture in and stir until bubbling and thick and removed from the heat.1/4 Cup Cornstarch, 1 Cup Sugar, 1/2 teaspoon Cinnamon
From simple breakfasts to elegant desserts, your homemade cherry pie filling is a versatile ingredient ready to transform everyday dishes into something truly special!
Proper Storage for Your Homemade Cherry Pie Filling
Ensuring the longevity and freshness of your delicious homemade cherry pie filling is crucial for enjoying its vibrant flavor for days or even months. Proper storage methods will help you maximize its shelf life and keep it ready for your next culinary creation.
For immediate use or short-term storage, your homemade cherry filling should be transferred to an **airtight container** once it has cooled completely. Storing it in the refrigerator is essential to prevent spoilage. When properly sealed and refrigerated, the filling will maintain its quality and taste for up to **one week**. Make sure the container is clean and tightly sealed to keep out air and prevent any absorption of other food odors in your fridge.
If you’ve made a larger batch or want to enjoy the taste of fresh cherries beyond their season, cherry filling **freezes exceptionally well**. Freezing is a fantastic way to preserve its quality for an extended period. Here’s how to do it effectively:
When stored correctly in the freezer, your homemade cherry pie filling will keep for up to **three months**. To use frozen filling, simply transfer it to the refrigerator to thaw overnight, or for quicker thawing, place the sealed bag in a bowl of cold water. Once thawed, stir it gently before using. This foresight in storage means you can savor the taste of summer cherries all year long!
Tips for Success and Troubleshooting
Making homemade cherry pie filling is straightforward, but a few expert tips can ensure your filling is consistently perfect. Here are some pointers to help you achieve the best results and troubleshoot common issues:
By keeping these tips in mind, you’ll consistently create a beautiful, perfectly textured, and intensely flavorful homemade cherry pie filling that will impress everyone.
Why settle for mundane, generic store-bought cans when you can easily create your own vibrant and richly flavored cherry pie filling right at home? This quick and easy recipe empowers you to capture the essence of summer, allowing you to enjoy the unparalleled taste of fresh cherries in your favorite desserts all year long. Embrace the simple pleasure of homemade, and let your kitchen fill with the irresistible aroma of this delightful treat!
More Summer Fruit Desserts to Savor:
Homemade Cherry Pie Filling
Ingredients
Instructions
Recipe Notes
Nutrition
Nutrition information is automatically calculated, so should only be used as an approximation.