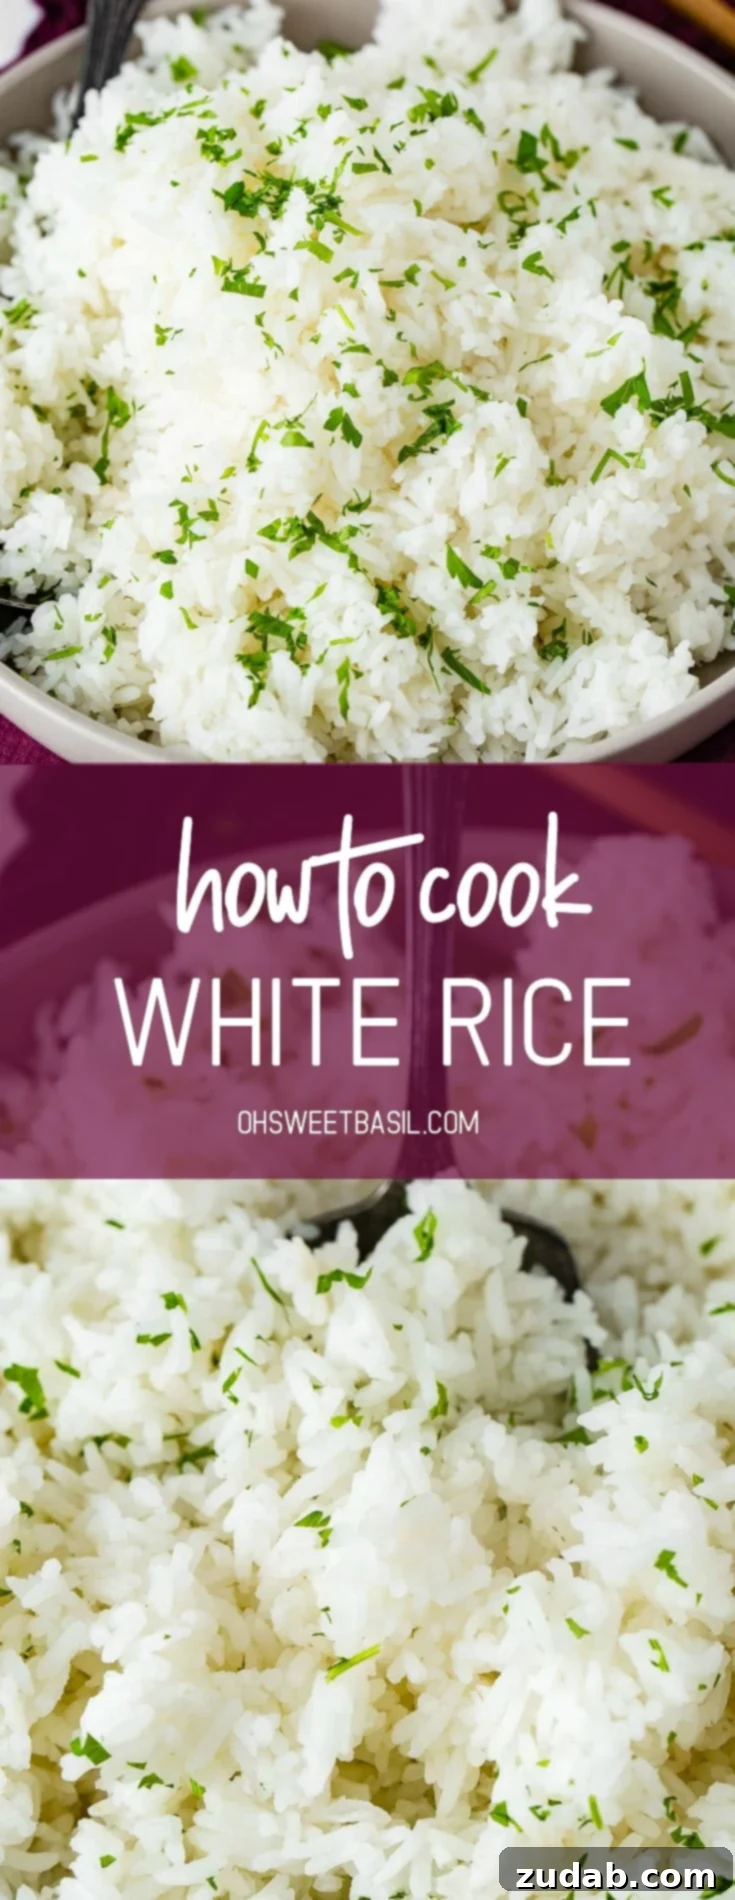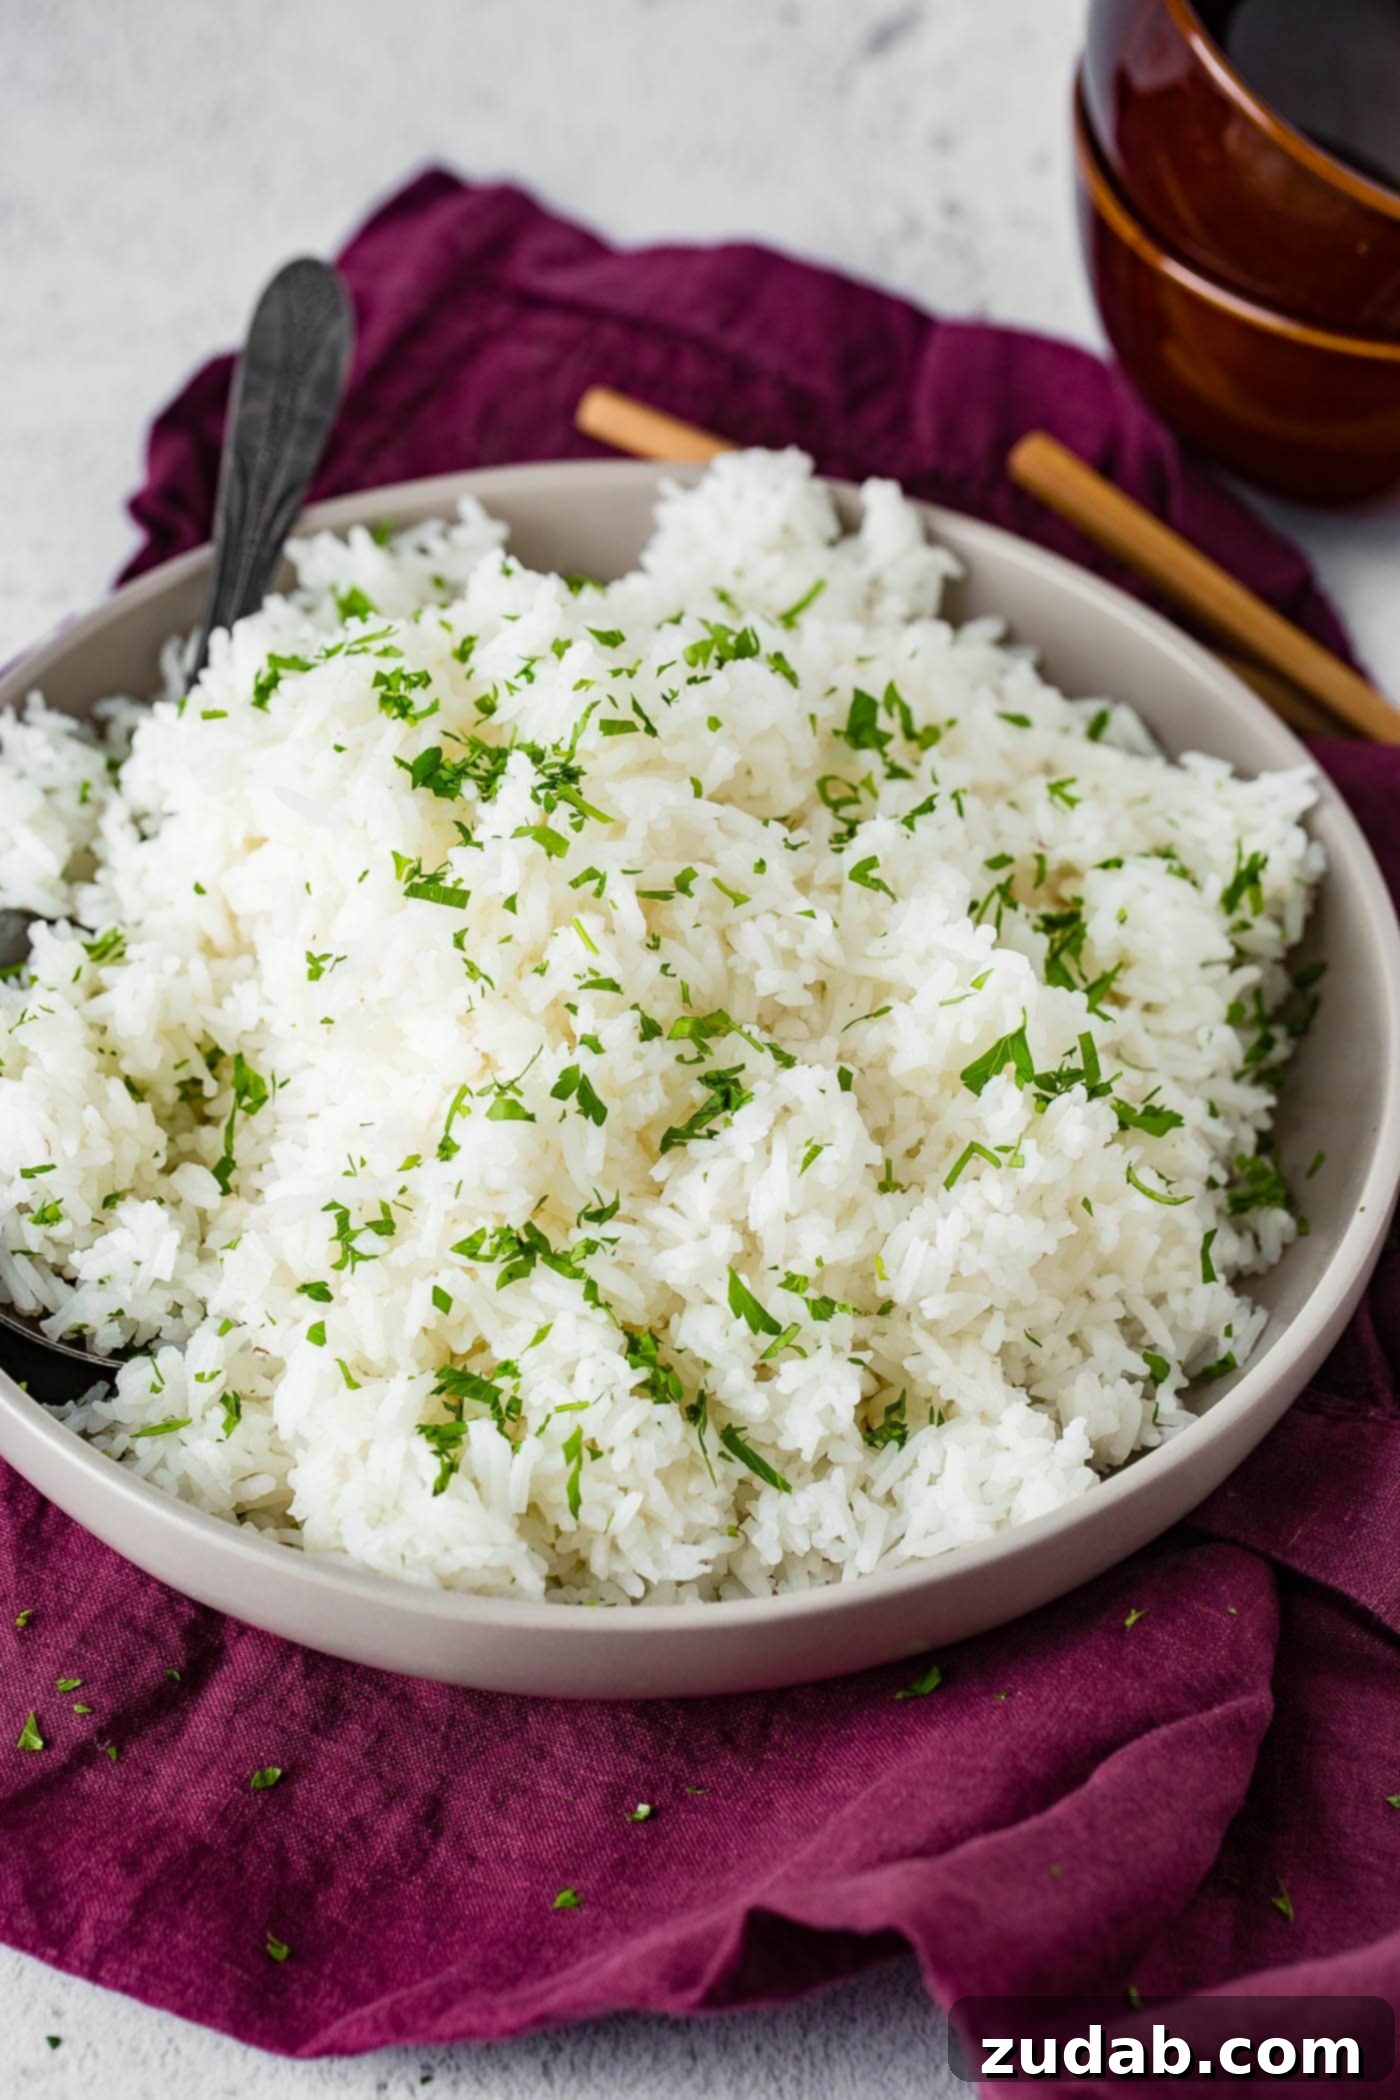
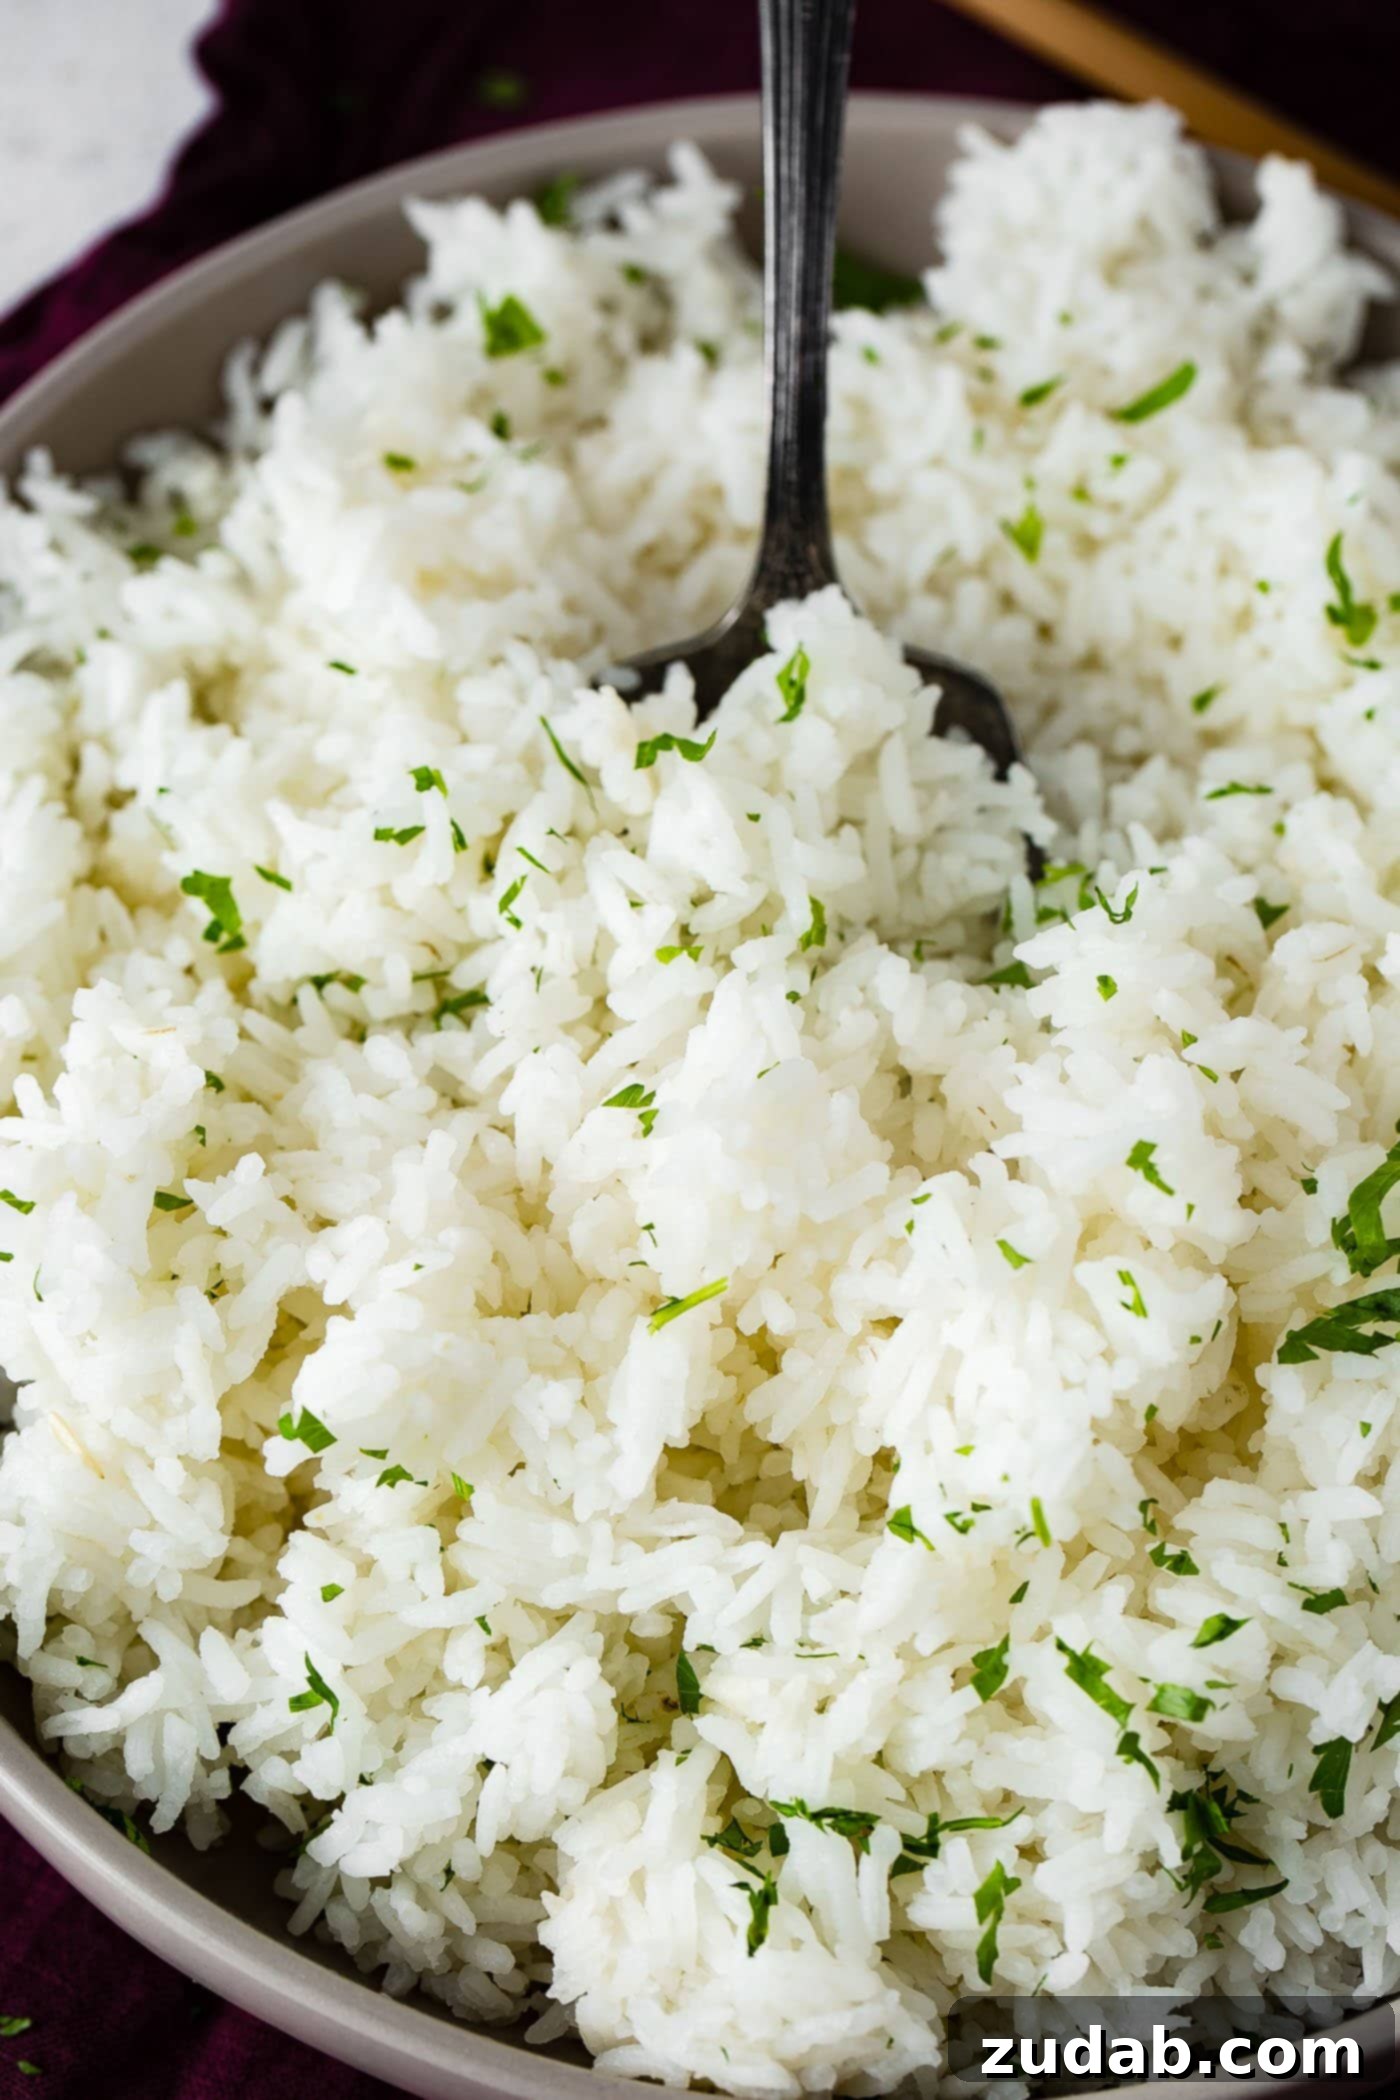
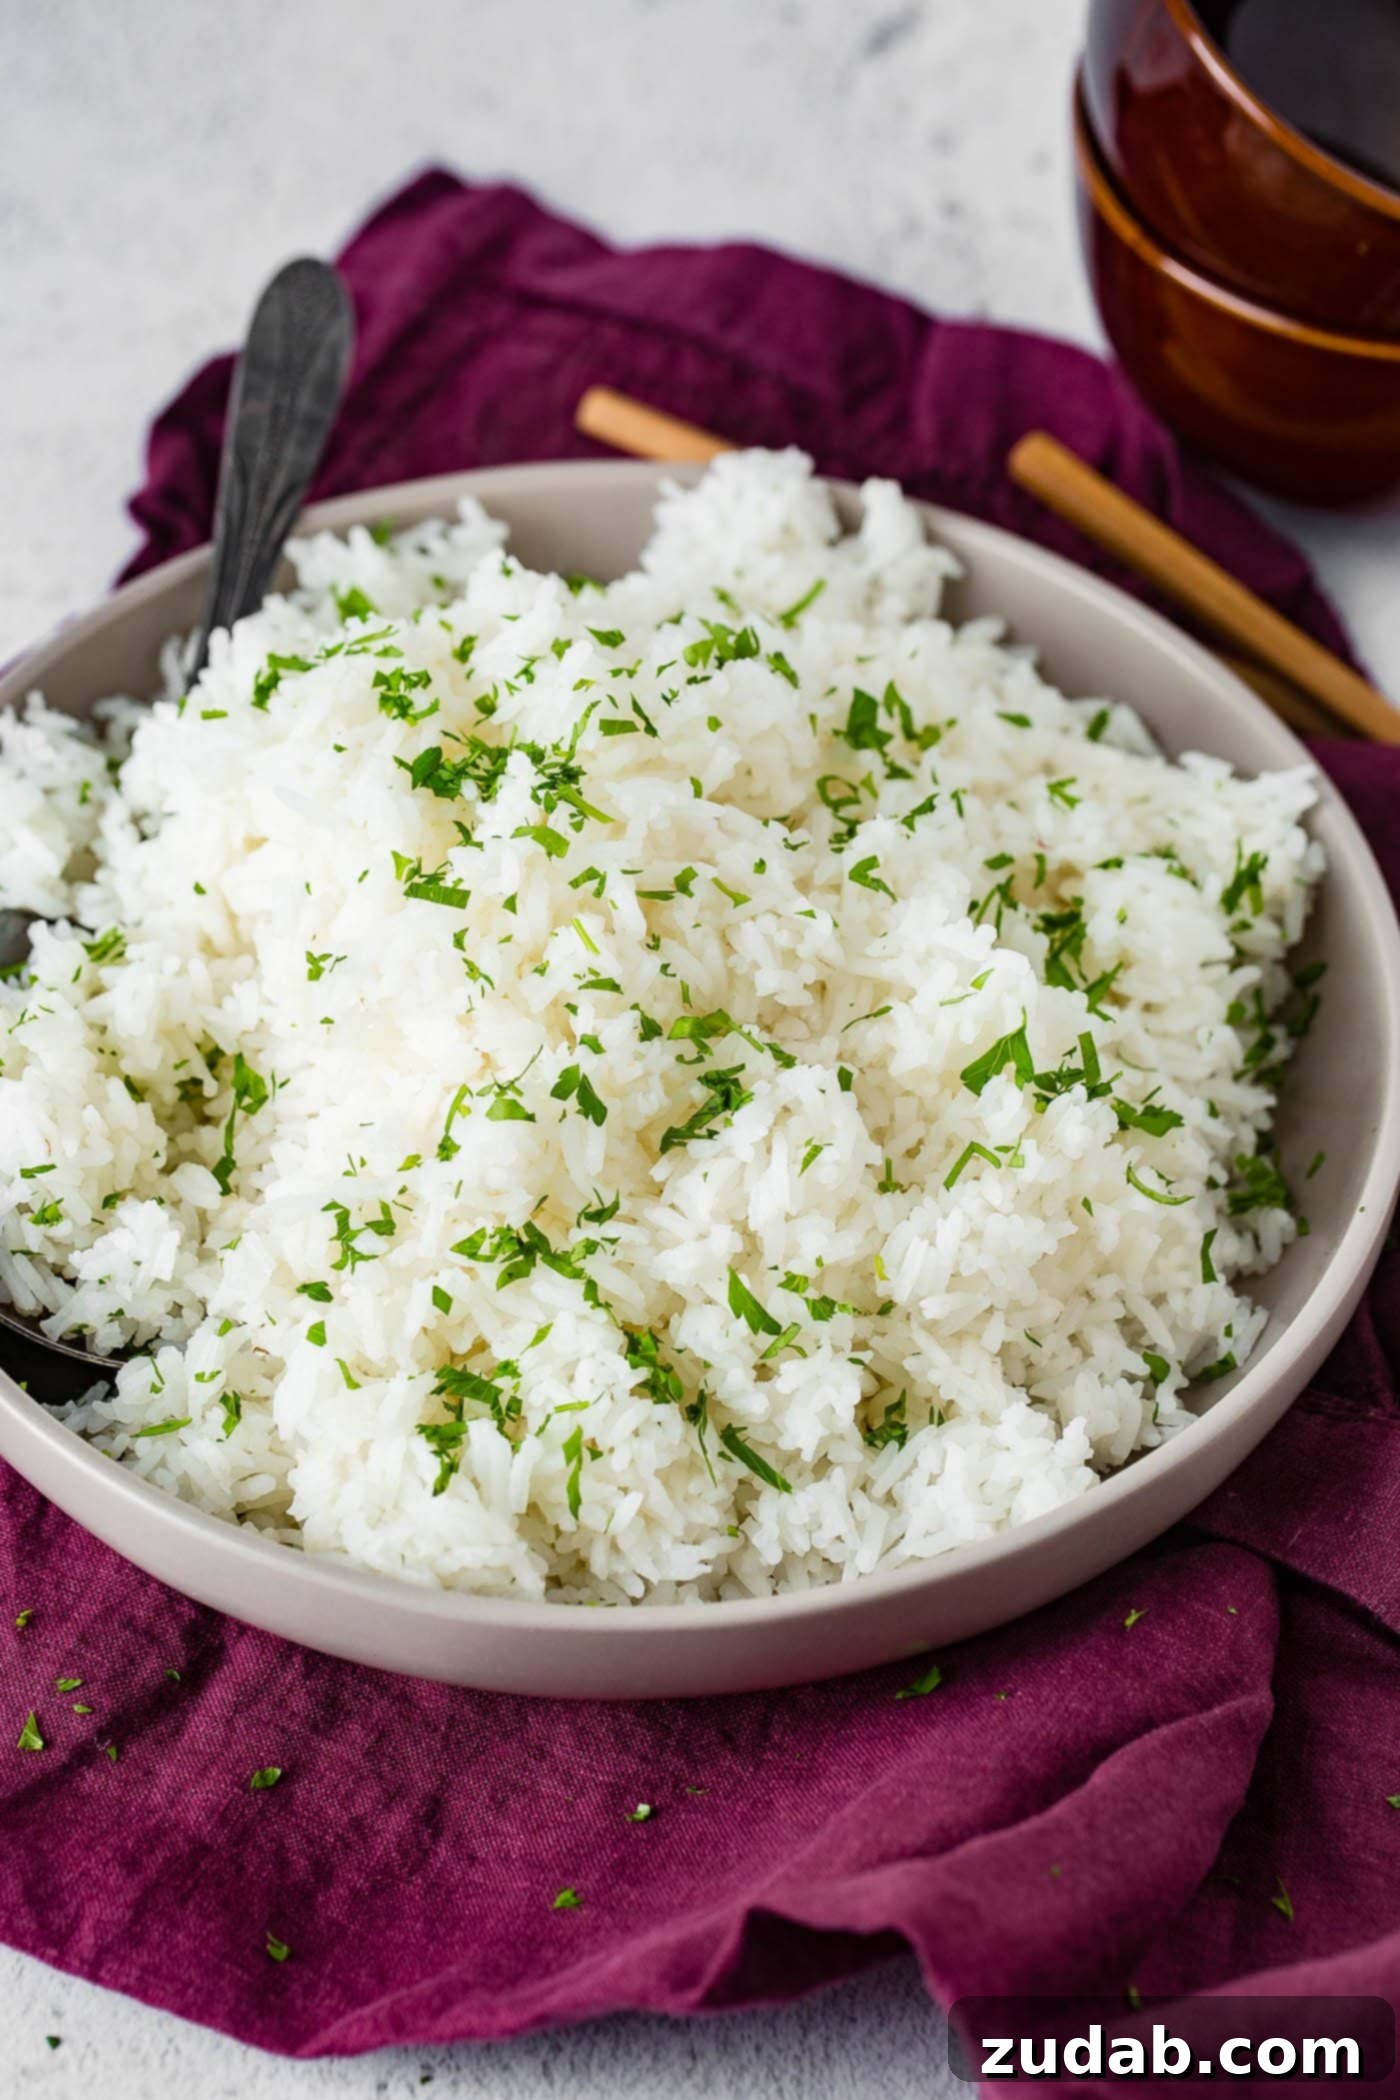
Achieving perfectly cooked, warm, and fluffy white rice is a culinary cornerstone for countless meals. Whether it’s serving as a bed for sticky Asian-inspired chicken or complementing a rich hearty crockpot chicken dish, mastering this simple staple elevates any dining experience. This comprehensive guide will walk you through the precise steps to ensure your white rice is consistently light, tender, and never sticky or mushy.
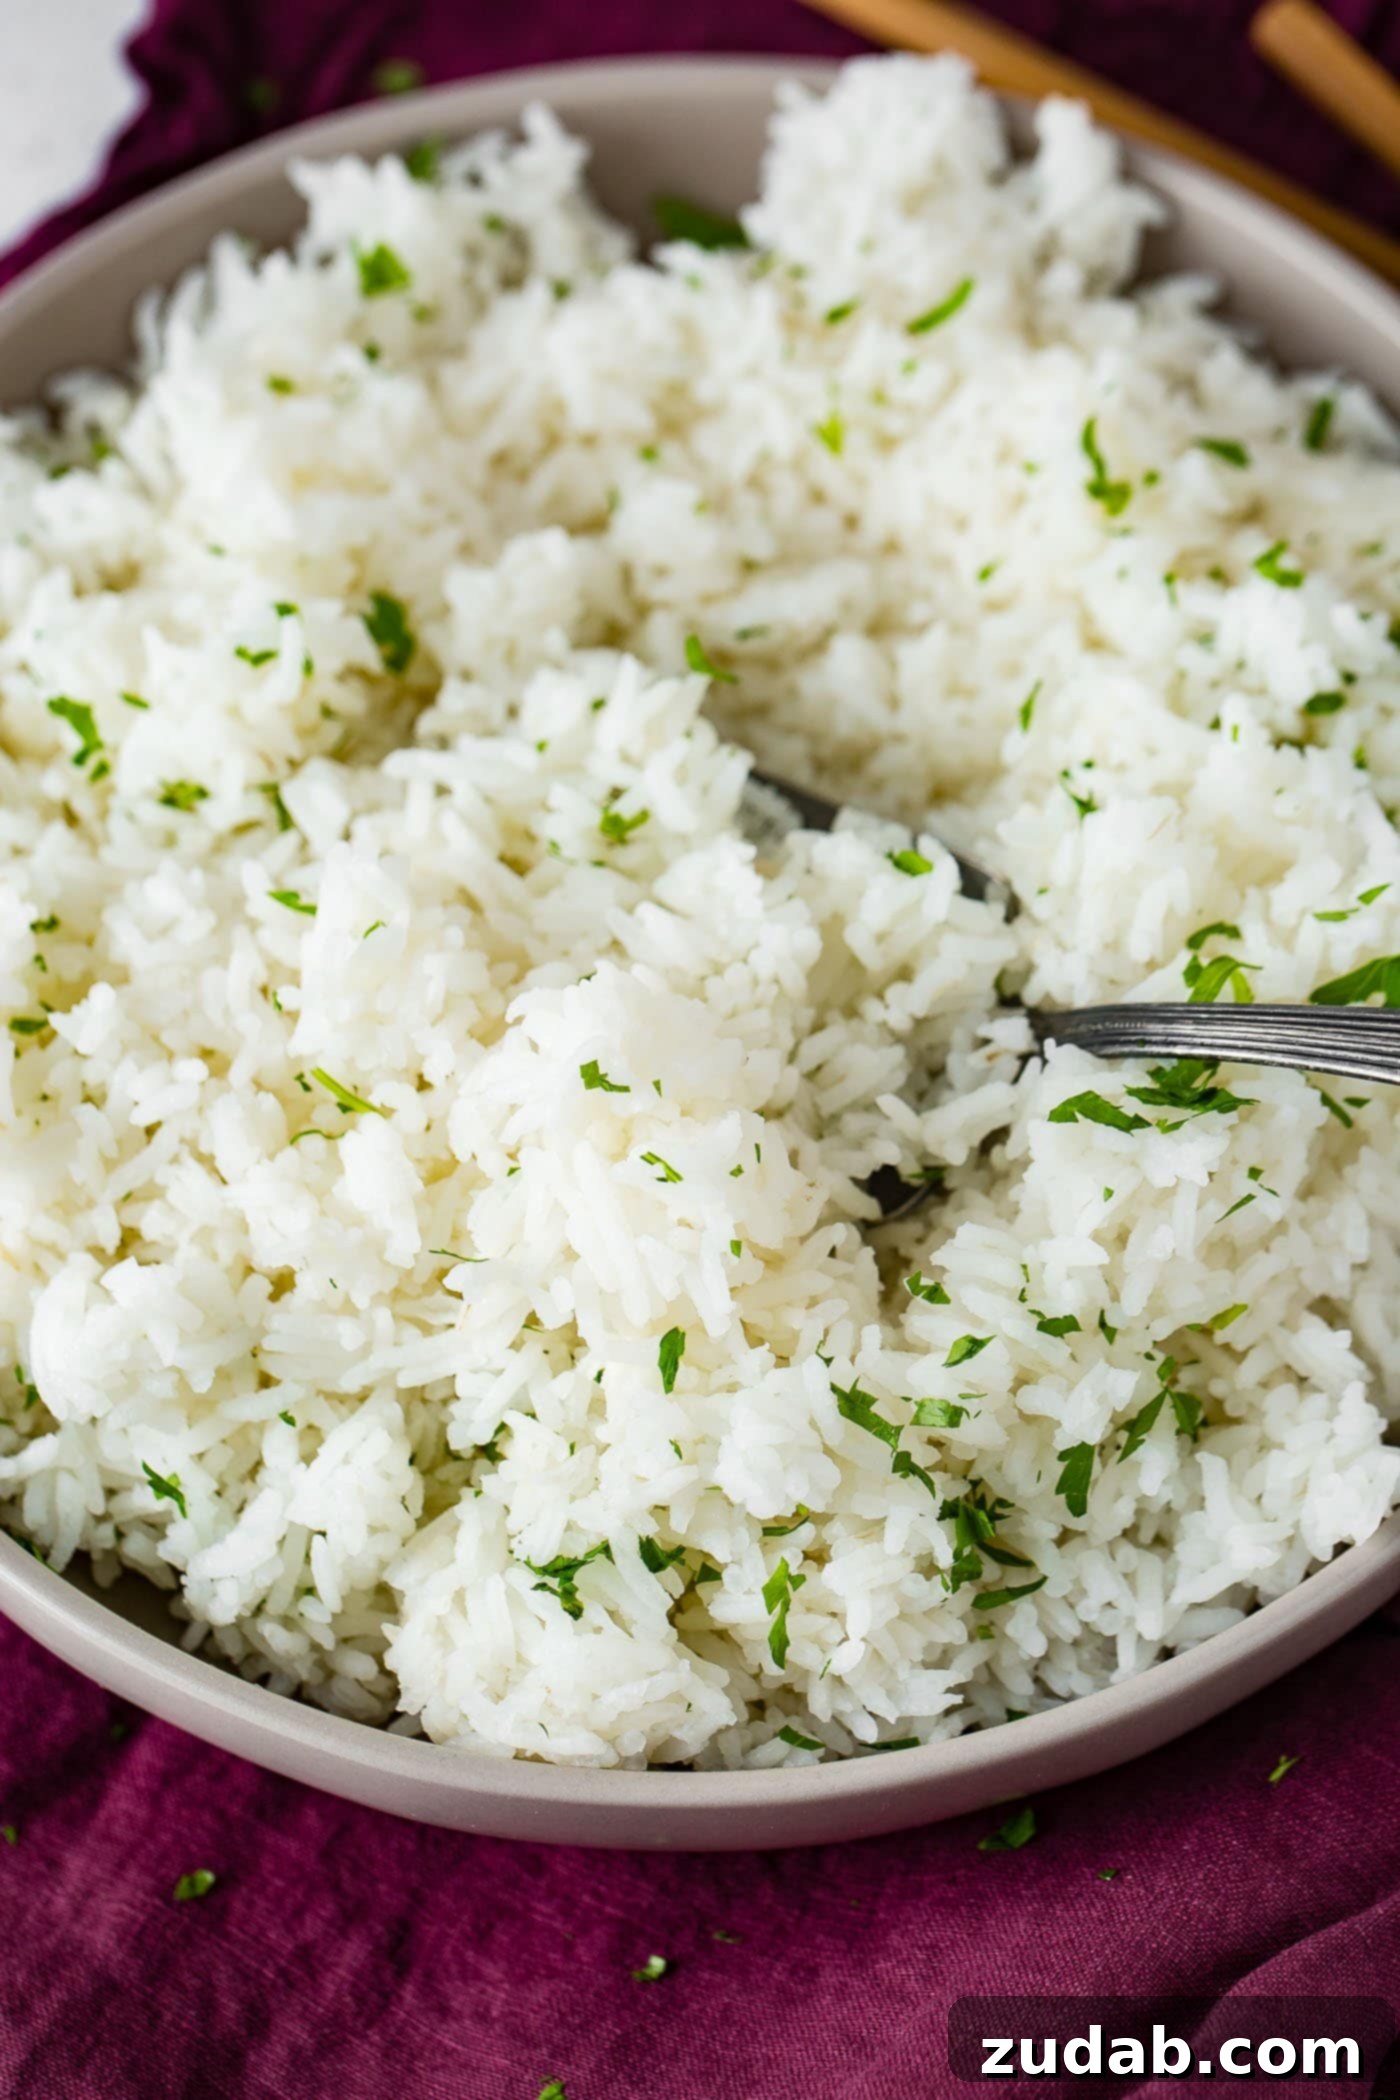
Many home cooks have faced the frustration of rice gone wrong – from an unappetizing gummy mess to a crunchy, undercooked disappointment. My own first attempt resulted in a sticky, clumpy disaster. If you’ve ever found yourself searching for “how to cook white rice perfectly,” you’re in the right place. Rest assured, with a few key techniques, you’ll be cooking flawless rice like a pro.
Rice, a universal grain, serves as a foundational ingredient in cuisines around the globe. Its versatility allows it to transform into a hearty casserole, a simple side dish, or even a comforting soup. Despite its widespread use, cooking rice can be deceptively tricky. It often leads to common pitfalls that can ruin an otherwise excellent meal.
Have you encountered any of these all-too-common rice cooking challenges?
- A stubborn, burnt crust at the bottom of the pot
- Gummy or pasty rice that lacks individual grain definition
- Undercooked, crispy grains that refuse to soften
- Overcooked, bloated rice lacking texture
- An undesirable skin forming on or beneath the rice surface
- Bland, flavorless rice that adds nothing to your dish
I’ve experienced every single one of these issues! Let’s uncover the secrets to consistently cooking perfect white rice every time, transforming a potentially problematic ingredient into a culinary triumph.
The true secret to achieving perfectly cooked white rice lies within the humble lid of your pot. It’s not just about covering the pot; it’s precisely about *when* the lid goes on, *how long* it stays sealed, and *when* it’s carefully removed. This seemingly minor detail is paramount to proper steam circulation and consistent heat, which are essential for fluffy, separate grains.
Trust in this method, and you’ll soon understand why lid management is critical. We’ll cover the fundamental principles first, then delve into specific techniques and address frequently asked questions to ensure your success.
Understanding Different Rice Varieties: Brown vs. White
Not all rice is created equal, and understanding the distinctions between varieties is the first step toward cooking them correctly. Let’s explore the fundamental differences between brown and white rice.
- Brown Rice
Brown rice is a whole grain, meaning it retains its bran and germ layers, which are rich in fiber, vitamins, and minerals. This makes it a heartier, more nutritious option compared to white rice. Brown rice typically has a chewier texture and a slightly nutty flavor. Due to its intact outer layers, it requires more water and a longer cooking time. It’s an excellent choice for those seeking a healthier, more substantial grain to complement their meals, offering sustained energy and digestive benefits.
- White Rice
White rice undergoes a milling process that removes the bran and germ, leaving primarily the starchy endosperm. While this process gives white rice its distinct texture and quicker cooking time, it also strips away many of the grain’s most nutritious parts. Consequently, white rice contains fewer essential nutrients compared to brown rice, which is why brown rice is generally considered a healthier alternative. However, white rice is often enriched with vitamins like B1 (thiamine), B3 (niacin), and iron to restore some nutritional value. Its lighter texture and milder flavor make it incredibly versatile and a popular choice in many cuisines worldwide.
Long Grain, Medium Grain, and Short Grain: Culinary Applications
Beyond the brown-vs-white debate, rice varieties are also categorized by grain length, which significantly impacts their texture and ideal culinary uses. Knowing which type of rice to use for a particular dish is key to achieving the desired outcome.
- Long Grain Rice
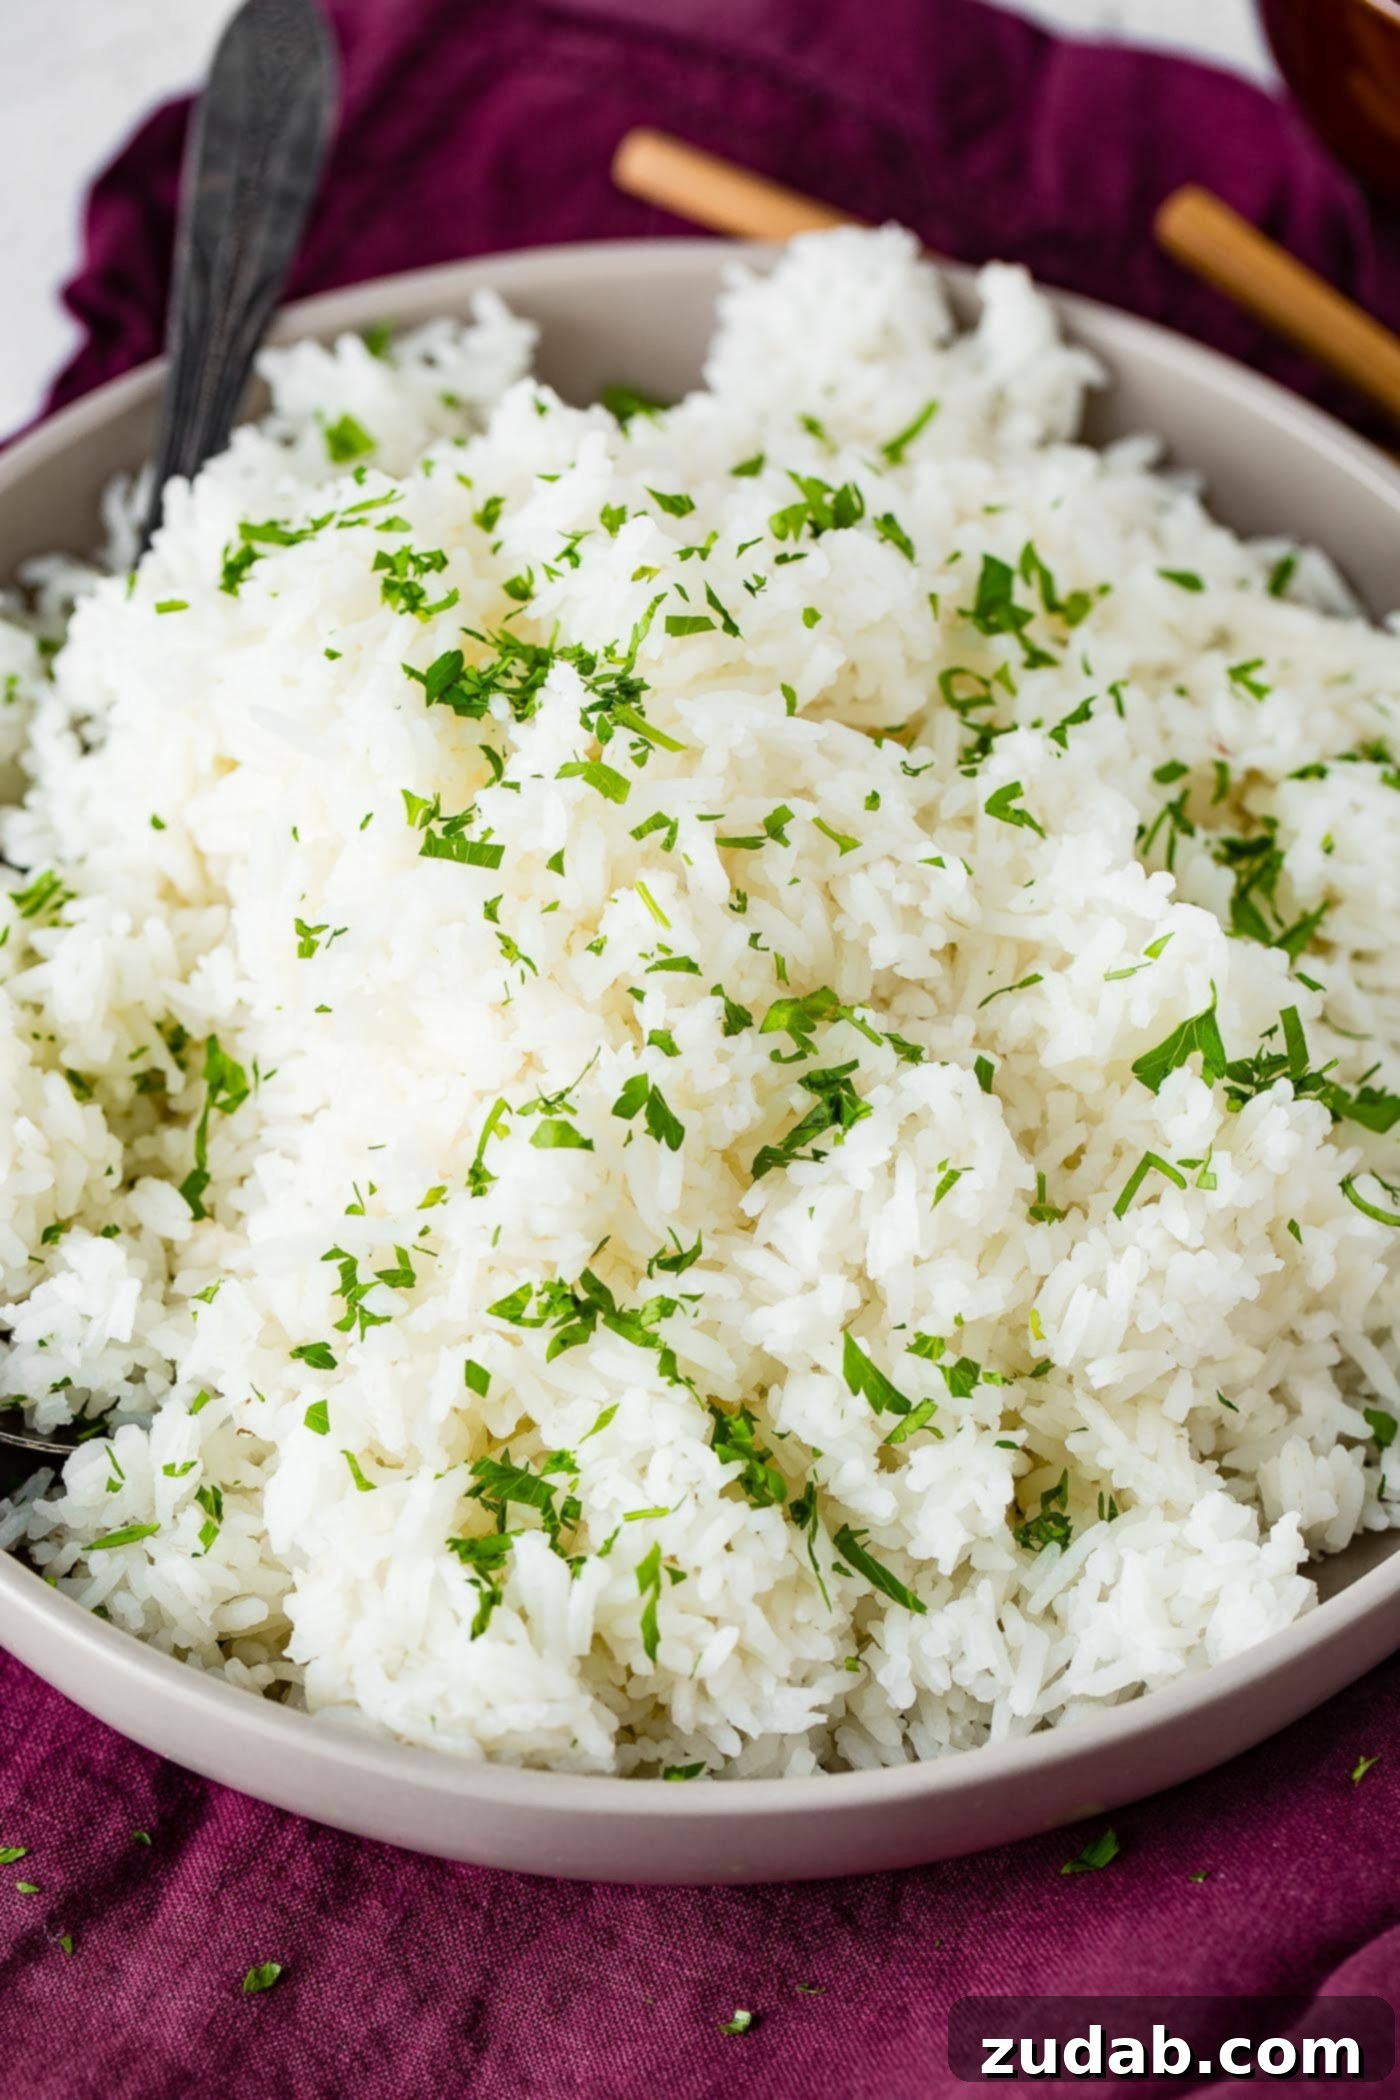
Long grain rice varieties, such as Jasmine, Basmati, and conventional American long-grain white or brown rice, are characterized by their slender, elongated kernels. When cooked correctly, these grains remain separate, light, and fluffy, making them ideal for dishes where you want distinct grains rather than a sticky consistency. Their firm, slightly chewy texture makes them excellent for:
- Jasmine Rice: A fragrant Thai rice with a delicate floral aroma and slightly sticky texture when cooked. It’s perfect for enhancing stews, slow-cooked curries, and serving alongside grilled meats.
- Basmati Rice: An aromatic Indian rice known for its distinctive nutty flavor. It’s often served with curries, biryanis, and other South Asian dishes. Basmati grains elongate significantly during cooking and remain very separate.
- General Long Grain White Rice: A versatile choice for everyday side dishes, pilafs, and casseroles where a light, fluffy texture is desired.
- Medium Grain Rice
Medium grain rice is shorter and wider than long grain varieties, with a kernel length typically two to three times its width. These grains become moist, tender, and slightly sticky when cooked, retaining a pleasant chewiness. You’ll often find medium grain varieties labeled as Arborio or Valencia rice. They are the preferred choice for:
- Arborio Rice: The classic Italian rice for creamy risottos. Its high starch content releases slowly, creating a luxurious, velvety texture.
- Valencia Rice: Essential for authentic Spanish paella. It absorbs liquids beautifully while maintaining its shape and a slight al dente bite.
- Short Grain Rice
Our smallest friend, short grain rice, has plump, nearly round kernels. This variety boasts the highest starch content, resulting in a very soft, moist, and notably sticky texture when cooked. It’s ideal when cohesion and stickiness are desired, rather than individual grains. Short grain rice is indispensable for:
- Sushi Rice: The quintessential choice for sushi rolls and nigiri due to its ability to clump together, making it easy to form and eat with chopsticks.
- Rice Puddings: Its creamy, tender texture makes it perfect for sweet desserts.
- Asian Salads: Where a denser, more cohesive rice component is desired.
The Importance of Rinsing Rice
Before cooking white rice, a crucial step often overlooked is rinsing. Rinsing rice, particularly white rice, helps remove excess starch from the surface of the grains. This excess starch is what often leads to gummy or sticky rice. A quick rinse under cold running water until the water runs clear can dramatically improve the final texture, ensuring each grain cooks separately and remains fluffy.
To rinse: Place your measured rice in a fine-mesh sieve or a bowl. Run cold water over it, swirling the rice gently with your hand. The water will initially appear cloudy. Continue rinsing and draining until the water is mostly clear. This simple step can make a world of difference in achieving that desired fluffy texture.
Mastering the Rice to Water Ratio
Determining the perfect amount of water for cooking rice can seem like a simple question with a complex answer. The ideal ratio isn’t always a straightforward “two parts water to one part rice.” Variables such as the type of rice, the size and shape of your pot, how tightly your lid fits, and even ambient humidity can influence the amount of water needed. You might find that for 2 cups of rice, you need 3 ¾ cups of water rather than a full 4 cups, depending on your equipment.
However, as a general guideline, these ratios serve as an excellent starting point:
- **Long Grain White Rice:** Typically, a 1.5:1 ratio of water to rice (e.g., 1.5 cups water for 1 cup rice).
- **Medium Grain Rice:** Similar to long grain, a 1.5:1 water to rice ratio.
- **Short Grain Rice:** Requires less water due to its higher starch content and desired stickiness, often a 1:1 water ratio.
Remember, these are starting points. Don’t be afraid to experiment slightly with your specific pot and stovetop to find the perfect ratio that works for you. Consistency is key, so once you find your ideal ratio, stick with it!
Step-by-Step Guide: How to Cook Long Grain White Rice on the Stove
Cooking long grain white rice on the stovetop is a fundamental skill that, once mastered, opens up a world of culinary possibilities. Follow these steps for consistently fluffy and perfectly tender rice:
- Begin by measuring the appropriate amount of water (using the 1.5:1 ratio, e.g., 1.5 cups water for 1 cup rice) and bring it to a vigorous rolling boil in a heavy-bottomed saucepan with a tight-fitting lid.
- Once boiling, add salt to taste (a generous pinch per cup of rice is a good starting point) and a tablespoon of butter, if desired, for added flavor and texture. Stir gently to dissolve the salt and melt the butter.
- Carefully add the rinsed white rice to the boiling water. Stir only once to combine the rice with the water, then immediately stop stirring. Excessive stirring can release too much starch, leading to gummy rice. Bring the water back to a gentle boil.
- As soon as the water returns to a boil, place the lid on the pot, ensuring it fits tightly to trap the steam. Immediately reduce the heat to the lowest setting possible. The goal is a very gentle simmer, not a rolling boil.
- Allow the rice to cook undisturbed for exactly 18 minutes. **Do not lift the lid during this cooking time.** Lifting the lid releases precious steam, disrupting the cooking process and potentially leading to undercooked or unevenly cooked rice.
- After 18 minutes, remove the pot from the heat but, again, **do not lift the lid.** Let the pot sit, still covered, for an additional 5 minutes. This resting period allows the steam to redistribute, ensuring even moisture absorption and creating that coveted fluffy texture.
- Finally, remove the lid. You should observe an even layer of cooked rice with small “vent holes” from where the steam escaped. Gently fluff the rice with a fork, separating the grains. Serve immediately and enjoy your perfectly cooked white rice!
Optimal Cooking Times for Different Rice Types
While the method often remains similar, the cooking duration varies significantly between rice types to achieve their ideal texture. Here are general guidelines for stovetop cooking:
- Long Grain White Rice: Cook for 16-18 minutes on low heat, followed by 5-10 minutes of resting off the heat with the lid on.
- Medium Grain Rice: Typically requires about 20 minutes of simmering on low heat, plus a 5-10 minute rest.
- Short Grain Rice: Bring to a boil for 5 minutes, then reduce heat to low and cook for 10 minutes. A quick 30-second burst on high heat at the end can help absorb any remaining liquid, then remove from heat and steam, covered, for an additional 10 minutes.
How to Determine if Your Rice is Done
Knowing when your rice has reached perfection is crucial. There are a few indicators to help you assess its doneness:
Upon removing the lid, you should see an even layer of rice, often with small, uniform vent holes across the surface where steam has escaped. This visual cue suggests the water has been fully absorbed. For the ultimate test, taste a few grains. Perfectly cooked rice will be soft and tender, with a slight chewiness, but not hard or crunchy in the center. If the rice feels chewy or still a bit firm, add a small amount (about ¼ cup) of additional hot water, replace the lid, and cook for another 3-4 minutes on low heat before resting again. Avoid overcooking, which can lead to mushy rice.
Frequently Asked Questions About Cooking Rice
Here are answers to some of the most common questions about cooking and storing rice:
Why Is My Rice Mushy?
Mushy rice is usually the result of too much water, or sometimes, too much stirring during the cooking process. When cooking rice, the water-to-rice ratio is critical. You cannot simply double the water when you double the rice, as some water will always evaporate, and different pots or lids might retain steam more effectively. For instance, a very tight-fitting lid may require slightly less water. It’s a balance of absorption and evaporation. If your rice turns mushy, try reducing the water by a small amount (e.g., ¼ cup less per cup of rice) next time, and ensure you’re using a heavy-bottomed pot with a tight-fitting lid to minimize steam escape. Also, resist the urge to stir the rice once it starts simmering, as this activates starches, making it stickier.
How to Cook Rice in the Microwave
For a quick and convenient method, cooking rice in the microwave is a viable option, especially for smaller portions:
- Combine the rice and water in a microwave-safe container or pot. Ensure the water level is about one inch above the rice. Use a deep container to prevent boil-overs.
- Cover the container with a microwave-safe lid or microwave-safe plastic wrap, leaving a small vent for steam to escape.
- Microwave on high power for 9 minutes. After cooking, let the rice rest, still covered, for 3 minutes (no peeking!). This allows it to finish steaming and absorb any remaining moisture.
- Carefully remove the lid, fluff the rice with a fork, and serve.
How to Cook Rice in the Instant Pot
The Instant Pot offers a hands-off approach to perfectly cooked rice, especially useful for larger batches:
- Measure out your dry rice and set it aside.
- Measure an equal amount of water (a 1:1 ratio for white rice is generally recommended in an Instant Pot due to minimal evaporation). Add the water to the Instant Pot’s inner pot.
- Add the measured rice to the water. **Important:** Never fill your Instant Pot inner pot past the halfway mark, especially when cooking expanding foods like rice.
- Place the inner pot into the cooker base.
- Close the lid, and ensure the steam release valve is set to the “Seal” position.
- Select your pressure cooking time:
- For white rice, use the “Rice” button if available, which automatically sets the time (usually 3 minutes).
- For other types of rice (or if your Instant Pot lacks a “Rice” button), use the “Manual” or “Pressure Cook” Smart Program on High Pressure. Set the time accordingly: 3 minutes for white rice, 22 minutes for brown rice.
- Once cooking is complete, allow a natural pressure release for at least 10 minutes for white rice, or 15 minutes for brown rice, before manually releasing any remaining pressure. Fluff with a fork and serve.
Is Rice Good For You?
Rice can certainly be a healthy part of a balanced diet, with brown rice offering more nutritional advantages than white rice. However, both types provide benefits:
- Blood Sugar Stabilization: Brown rice, with its higher fiber content, helps to slow down sugar absorption, which can contribute to more stable blood sugar levels. While white rice is higher on the glycemic index, when paired with protein and vegetables, its impact can be mitigated.
- Digestive Ease: White rice is easier to digest due to the removal of bran and germ. This can be beneficial for individuals with sensitive digestive systems, certain health conditions, or those recovering from illness, as it causes less gastrointestinal distress compared to high-fiber brown rice.
- Gluten-Free: Both brown and white rice are naturally gluten-free, making them a safe and versatile grain option for individuals with celiac disease, gluten intolerance, or allergies.
- Energy Source: Rice is an excellent source of carbohydrates, providing readily available energy for daily activities and exercise.
Do You Need a Rice Cooker to Cook Rice?
Absolutely not! While a dedicated rice cooker can offer convenience and consistent results with minimal effort, it is by no means essential. A regular heavy-bottomed saucepan or stockpot with a tight-fitting lid is perfectly adequate for cooking delicious rice on the stovetop. The key lies in controlling the heat, measuring ingredients precisely, and resisting the urge to lift the lid during cooking, allowing the steam to do its magic.
How Long Will Rice Keep?
The shelf life of rice varies significantly between uncooked and cooked forms, and also depends on the type of rice:
Uncooked Rice:
- Uncooked brown rice has a shorter shelf life than white rice due to its higher oil content in the germ. It typically lasts 3-6 months at room temperature. Storing brown rice in the refrigerator can extend its freshness to 6-12 months, and in the freezer, up to 12-18 months.
- Uncooked white rice, when stored properly in an airtight container in a cool, dry place, can last for an impressive 4-5 years, or even longer. Its stability comes from the removal of the germ, which prevents oxidation.
Cooked Rice:
- Cooked white rice should be stored in an airtight container in the refrigerator and consumed within 5-7 days.
- For longer storage, cooked white rice can be frozen for up to 6 months. Always cool cooked rice rapidly before refrigerating or freezing to prevent bacterial growth.
Recipe: How to Cook White Rice on the Stovetop
Achieve perfectly fluffy white rice with this simple stovetop method. This recipe yields a delicious side dish that pairs wonderfully with any main course.
Recipe Details
- Yields: 4 servings
- Prep Time: 2 minutes
- Cook Time: 30 minutes
- Total Time: 32 minutes
Ingredients
- 1 1/2 Cups Water
- 1 Tablespoon Butter (optional, for flavor and richness)
- 1 Pinch Salt (to taste)
- 1 Cup Long Grain White Rice (rinsed)
Instructions
- Begin by bringing the measured water to a rolling boil in a heavy-bottomed saucepan over medium-high heat.
- Once boiling, add the butter (if using) and salt. Stir gently to combine until the butter is melted and salt is dissolved.
- Carefully pour the rinsed white rice into the boiling water. Stir only once to ensure all grains are submerged and prevent sticking to the bottom. Bring the water back to a gentle boil.
- Immediately place the lid tightly on the pot and reduce the heat to the lowest possible setting. Allow the rice to simmer undisturbed for 18 minutes. Do not uncover the pot during this period.
- After 18 minutes, remove the pot from the heat. Keep the lid on and let the rice steam for an additional 10 minutes. This resting period is crucial for the grains to fully absorb moisture and become fluffy.
- Finally, remove the lid. You should see an even layer of rice with visible vent holes. Gently fluff the rice with a fork to separate the grains. Serve immediately and enjoy!
Recipe Notes
Cooked rice can be stored in an airtight container in the refrigerator for up to 6 days. Always cool rice rapidly before storing to maintain freshness and safety.
Nutrition Information (Approximate per 0.5 cup serving)
- Calories: 194 kcal
- Carbohydrates: 37 g
- Protein: 3 g
- Fat: 3 g
- Saturated Fat: 2 g
- Polyunsaturated Fat: 1 g
- Monounsaturated Fat: 1 g
- Trans Fat: 1 g
- Cholesterol: 8 mg
- Sodium: 41 mg
- Potassium: 54 mg
- Fiber: 1 g
- Sugar: 1 g
- Vitamin A: 87 IU
- Calcium: 16 mg
- Iron: 1 mg
Nutrition information is automatically calculated and should only be used as an approximation.
We hope this comprehensive guide empowers you to cook perfect white rice with confidence. If you found this helpful, we encourage you to leave a comment below!