
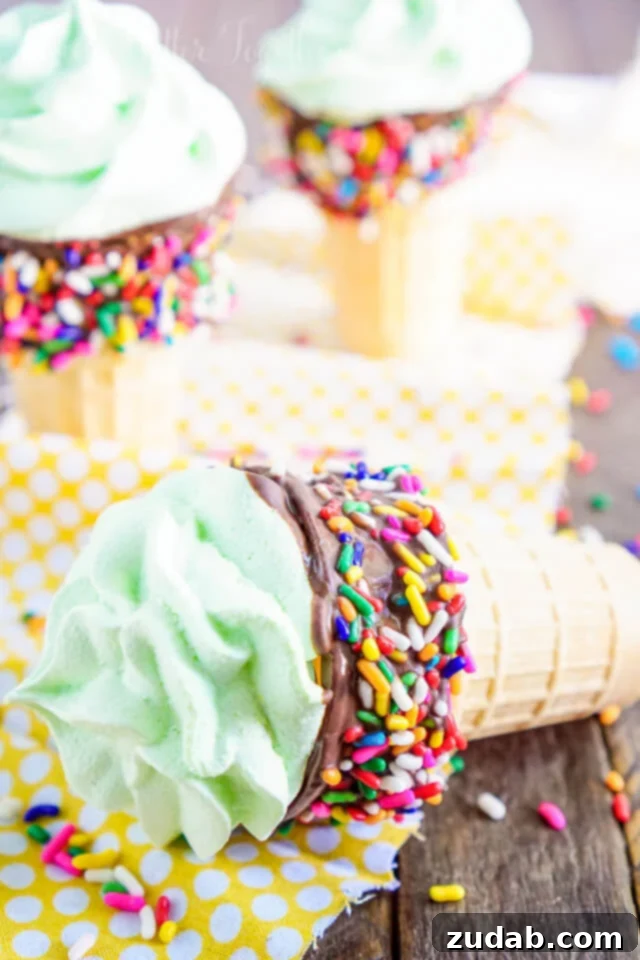
Summer is synonymous with sweet treats, and few delights capture the essence of the season quite like a classic ice cream cone. However, anyone who’s ever chased a melting scoop knows the inevitable mess that often accompanies this beloved indulgence. What if you could enjoy all the fun and flavor of an ice cream cone without the sticky fingers and dripping disasters? Enter these ingenious Meringue Ice Cream Cones!
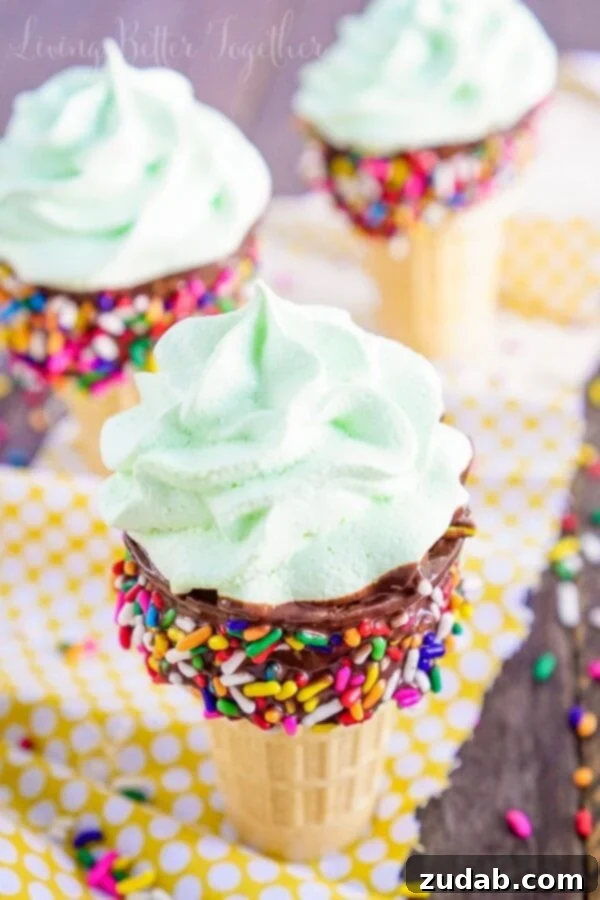
Hey there, friends! It’s Rebecca from Living Better Together, and I’m thrilled to share a recipe that’s bound to become a new summer favorite. It feels like summer just started, yet here we are, already in its peak, with days flying by far too quickly. Up here in Maine, the weather has been a delightful mix of warm days and crisp, cool nights – my absolute favorite kind of summer. These are the days perfect for enjoying a sunny stroll with a sweet treat in hand, then cozying up with a blanket and a good book as the evening cools. And speaking of sweet treats, let’s dive into this incredibly fun, vibrant, and utterly charming recipe I have for you today!
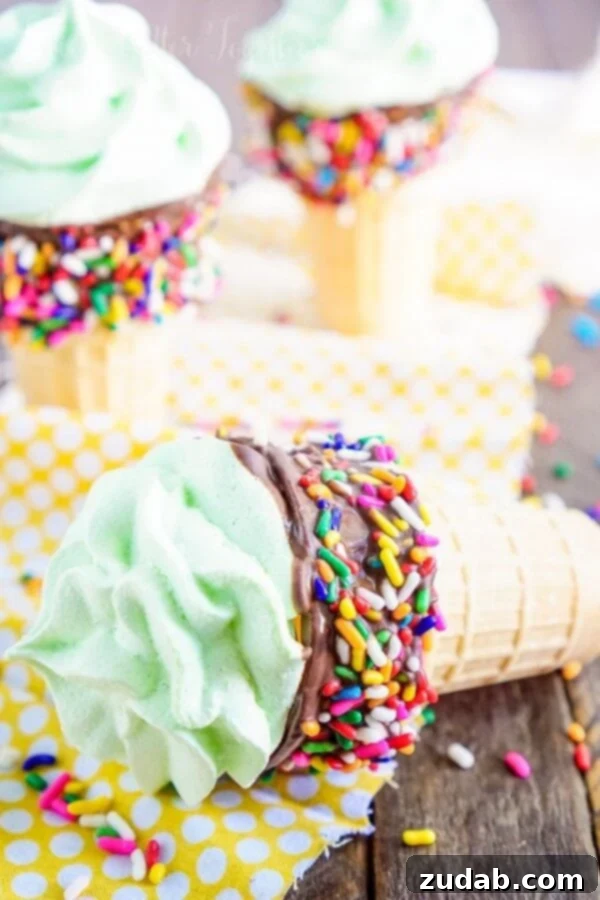
While I don’t have children myself, I’ve seen my friends navigate the delightful chaos that comes with kids, especially when ice cream is involved. Let’s be honest, adults can be just as messy! No matter how quickly you try to devour that melting scoop, it often ends up as a sugary river running down your arm, or worse, splattered all over your shirt. I recently had a similar experience on a trip to Quebec, where my shirt bore the evidence of a rapidly melting cone. It got me thinking: why not create a delightful dessert that perfectly mimics the look of an ice cream cone but eliminates all the mess? This is a treat where kids can truly “go to town” without parents fretting over sticky aftermath. Sounds like a dream, right?

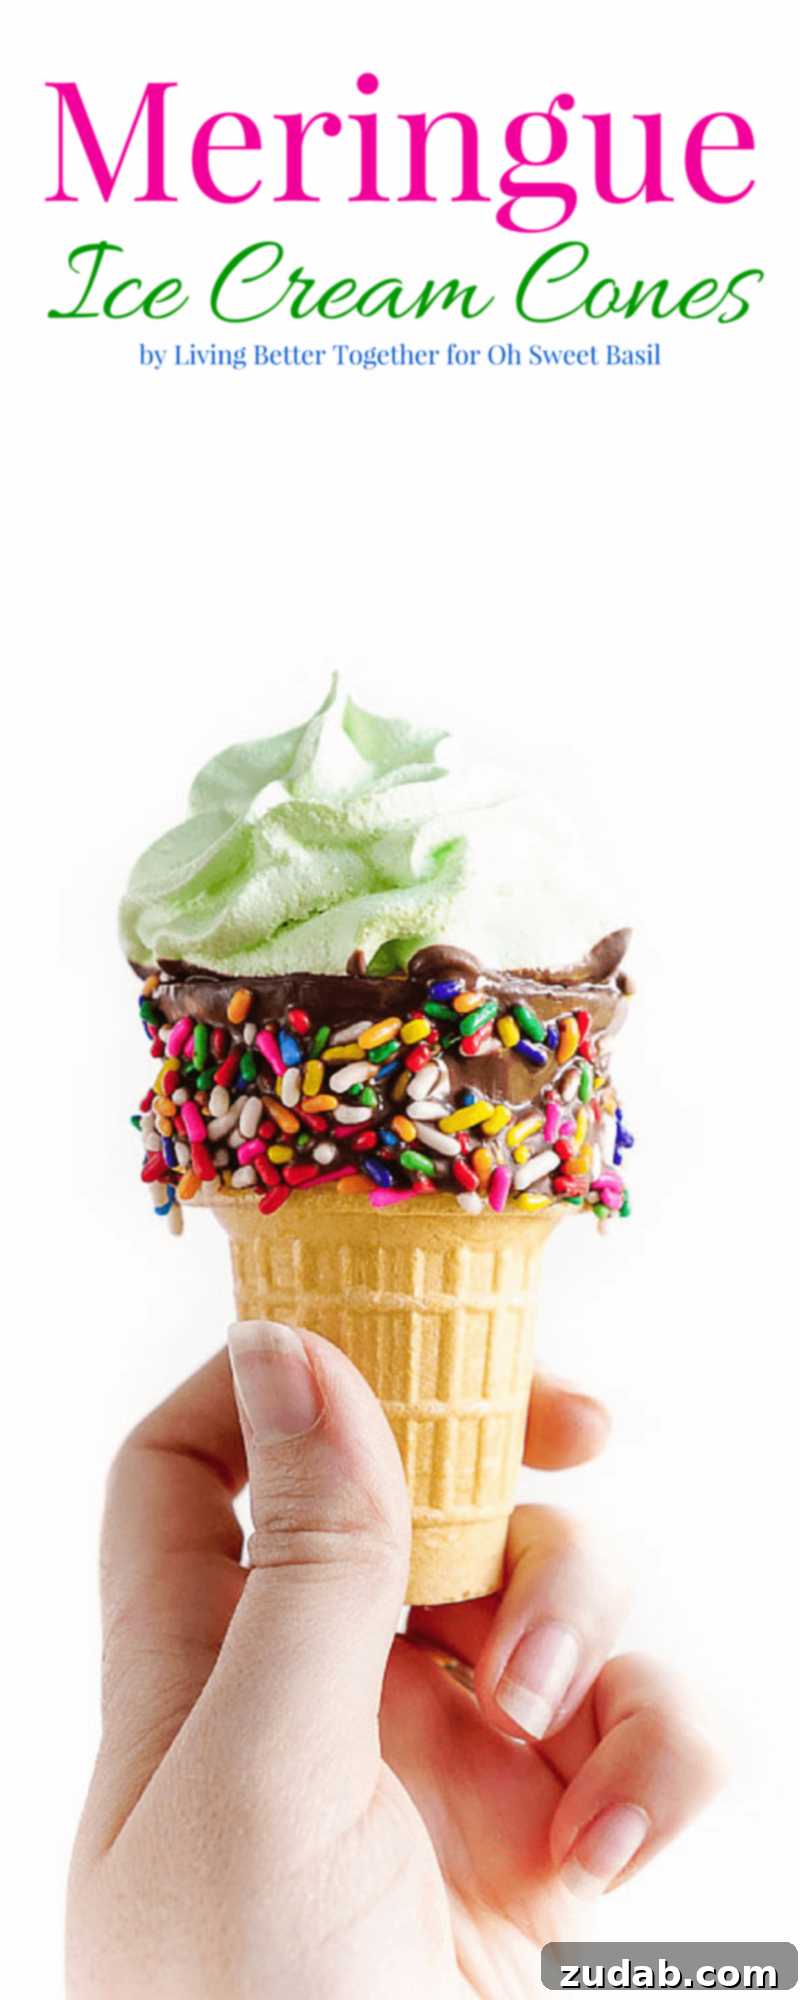
These Meringue Ice Cream Cones are not only adorable but also surprisingly easy to whip up. What makes them truly special is the secret ingredient for their vibrant colors and exciting flavors: Kool-Aid powder! This allows for endless customization, letting you match them to any party theme or simply indulge in your favorite fruity tastes. Imagine a dessert table adorned with an array of colorful, non-melting “ice cream” cones – a hostess’s dream come true, as they can be prepared hours, even days, in advance. The process is straightforward: bake your meringues, dip your sugar cones in melted chocolate, roll them in colorful sprinkles, then dip the base of each cooled meringue in chocolate and secure it atop a prepared cone. The best part? These cones are hollow inside, leaving the perfect cavity to sneak in extra candies or small surprises for an added layer of fun!
Forget the fear of drips and sticky hands; these meringue cones are a game-changer for summer entertaining or just a delightful afternoon treat. They offer the nostalgic joy of an ice cream cone with the elegant, melt-proof charm of a meringue cookie, all while letting your creativity run wild with flavor and color combinations. Whether you’re planning a birthday bash, a casual backyard BBQ, or simply seeking a unique dessert, these customizable delights are sure to impress and bring smiles all around.

Frequently Asked Questions About Meringue Ice Cream Cones
Is Meringue Safe To Eat?
Meringue, when properly cooked, is absolutely safe to eat. The primary concern with meringues, particularly those made at home, lies with the use of raw egg whites, which may contain Salmonella bacteria. Salmonella can cause salmonellosis, leading to symptoms like fever, diarrhea, and abdominal cramps. To ensure safety, meringues should be cooked to an internal temperature of 160°F (71°C), which effectively kills any potential Salmonella bacteria. If a recipe calls for uncooked meringue, such as in certain mousses or frostings, it is crucial to use pasteurized egg whites or a meringue powder made from pasteurized eggs, which are treated to eliminate harmful bacteria. Always refrigerate any uncooked meringue mixture promptly to minimize bacterial growth.
Will Egg Yolk Keep Meringue From Working?
Yes, even a tiny amount of egg yolk can significantly interfere with the successful whipping of egg whites into a stable meringue. Egg yolks contain fat, and fat is the enemy of perfectly whipped egg whites. The proteins in egg whites need to be free of any fat molecules to properly denature and form the stable foam structure required for meringue. If egg yolk (or any other fat, like oil or grease from a bowl) is present, it will prevent the egg white proteins from creating a strong network, resulting in weak, soupy, or runny meringues that won’t hold stiff peaks. If you accidentally get a small speck of yolk into your whites, it’s best to carefully remove it with a clean spoon or a piece of eggshell. While a very minimal amount *might* still allow whipping, it will undoubtedly require much more effort and time, and the final meringue will likely be less stable and airy.
Can Meringue Cookies Be Frozen?
Meringue cookies can indeed be frozen, but it requires careful handling to preserve their delicate texture. The biggest challenge with freezing meringues is moisture absorption, which can cause them to become soft, sticky, or chewy upon thawing. To freeze meringues successfully, allow them to cool completely after baking. Then, place them in an airtight container, preferably lined with parchment paper, in a single layer or with parchment separating layers to prevent sticking. Freeze them for up to one month. When ready to enjoy, thaw the meringues at room temperature within the airtight container. Avoid opening the container until they have fully thawed to prevent condensation from forming on their surface. This method helps them retain their crispness. Humidity is a meringue’s worst enemy, so a dry environment during freezing and thawing is key.
What Causes Meringues to Crack During Baking?
Meringues often crack if they are baked at too high a temperature or if the temperature fluctuates too much during baking. Rapid expansion and contraction can lead to cracking. To prevent this, bake meringues at a low, consistent temperature (around 225-250°F / 107-120°C) and allow them to cool slowly inside the oven once it’s turned off. Sudden changes in temperature or opening the oven door frequently can also cause cracks. Ensuring that your meringues are thoroughly dried out rather than just cooked is the goal for a perfect, crack-free result.
How to Get Vibrant Colors in Meringue?
Achieving vibrant colors in your meringue, especially for a fun treat like these cones, is simple. The key is to use gel food coloring instead of liquid. Liquid food coloring can add too much moisture to the egg whites, which, as we learned, can destabilize the meringue. Gel colors are concentrated and won’t thin out your meringue mixture, allowing you to achieve bright, bold hues without compromising texture. Add the gel coloring after your stiff peaks have formed, gently folding it in to avoid deflating the meringue.
Best Way to Store Meringue Ice Cream Cones?
The best way to store Meringue Ice Cream Cones to maintain their crispness and prevent them from becoming sticky is in an airtight container at room temperature. Humidity is the enemy of meringue, so avoid storing them in the refrigerator, which can introduce moisture and cause them to soften. When properly stored in an airtight container in a cool, dry place, these cones can stay fresh for several days, making them an excellent make-ahead dessert for parties and events.
Meringue Ice Cream Cones Recipe
Meringue Ice Cream Cones

Ingredients
Meringues:
- 2 Egg Whites
- 1/2 Cup Granulated Sugar
- 1/4 teaspoon Cream of Tartar
- 1 teaspoon Kool-Aid Powder, flavor of choice (e.g., cherry, grape, strawberry)
Cones:
- 12 – 18 Ice Cream Cones (waffle or sugar cones work best)
- 1 Cup Chocolate Melting Wafers (or chocolate chips)
- 1/2 Cup Sprinkles (colorful jimmies or nonpareils)
Instructions
-
Preheat your oven to 225°F (107°C). Prepare a baking sheet by lining it with aluminum foil and spraying lightly with non-stick cooking spray. This will prevent your meringues from sticking.
-
In a large, impeccably clean bowl or the bowl of a stand mixer fitted with a whisk attachment, begin beating your 2 egg whites on medium speed. Continue until they become foamy with numerous small bubbles, resembling soapy water.
-
Gradually add the 1/2 cup of granulated sugar, a tablespoon at a time, while the mixer continues to run. Ensure each addition of sugar is fully incorporated before adding the next. This slow incorporation is crucial for a stable meringue.
-
Once all the sugar is added, incorporate the 1/4 teaspoon of cream of tartar. Increase the mixer speed to high and continue beating until stiff, glossy peaks form. The meringue should be thick and hold its shape when the whisk is lifted.
-
Gently fold in the 1 teaspoon of Kool-Aid powder of your chosen flavor. Be careful not to overmix, as this can deflate the meringue. The Kool-Aid will impart both color and a delicious fruity taste.
-
Transfer the meringue mixture into a piping bag fitted with a star tip (or a Wilton Dessert Decorating Tool). To guide your piping, place an ice cream cone upside down on the foil-lined baking sheet and lightly trace its outline. Pipe the meringue onto the aluminum foil, creating shapes roughly the size and height of frosting on a traditional cupcake, using the cone outline as a diameter guide.
-
Bake for 45-60 minutes, or until the meringues are stiff, dry, and possibly very lightly browned at the edges. The exact baking time can vary depending on your oven and the size of your meringues.
-
Once baked, turn off the oven but leave the meringues inside to cool completely with the oven door slightly ajar. This slow cooling prevents cracking and ensures they dry out properly, becoming perfectly crisp.
-
When the meringues are completely cool, melt your 1 cup of chocolate melting wafers (or chocolate chips) in a microwave-safe bowl. Heat in 30-second intervals, stirring thoroughly after each interval, until the chocolate is smooth and fully melted.
-
Pour the 1/2 cup of sprinkles into a small, shallow dish, ready for dipping.
-
Take an ice cream cone and dip its rim into the melted chocolate. Gently rotate and use a spoon to remove any excess chocolate drips. Immediately roll the chocolate-dipped cone into the sprinkles, ensuring an even coating. Set aside to allow the chocolate to set.
-
If you plan to add extra candies or small treats inside the cones (a delightful surprise!), now is the time to fill them.
-
Dip the flat bottom of a cooled meringue into the melted chocolate. Quickly press it onto the top of a prepared, sprinkle-covered cone. Hold for a few seconds to ensure it adheres and the chocolate creates a seal.
-
Repeat this process for all remaining meringues and cones until your delicious Meringue Ice Cream Cones are complete. Allow the chocolate to fully set before serving or storing.
Recipe Notes
For best results and to maintain crispness, store your Meringue Ice Cream Cones in an airtight container at room temperature. Avoid refrigeration as it can introduce moisture.
When separating egg whites, ensure no yolk whatsoever gets into the whites, as fat can prevent them from whipping properly. Use very clean, grease-free bowls and utensils.
Experiment with different Kool-Aid flavors and colors, or even add a drop of food-grade essential oils (like peppermint or lemon) for unique aromatic notes. Gel food coloring provides the most vibrant results without adding excess moisture.
Nutrition
Nutrition information is automatically calculated, so should only be used as an approximation.
Like this recipe? Leave a comment below and share your creations!
More Delightful Dessert Recipes from Living Better Together
If you loved these mess-free meringue cones, you’re in for a treat! Here are a few more irresistible dessert ideas from my kitchen at Living Better Together, perfect for satisfying any sweet craving:
Rocky Road Pudding Cookies
Brownie S’mores Skillet Dip
Refreshing Raspberry Frappe
No-Bake Cheesecake Dip with Raspberry Sauce
Connect with Rebecca from Living Better Together
I love hearing from you and sharing more delicious recipes and lifestyle tips! Stay connected with me through these platforms:
Blog | Newsletter | Instagram | Facebook | Pinterest | Twitter | YouTube