
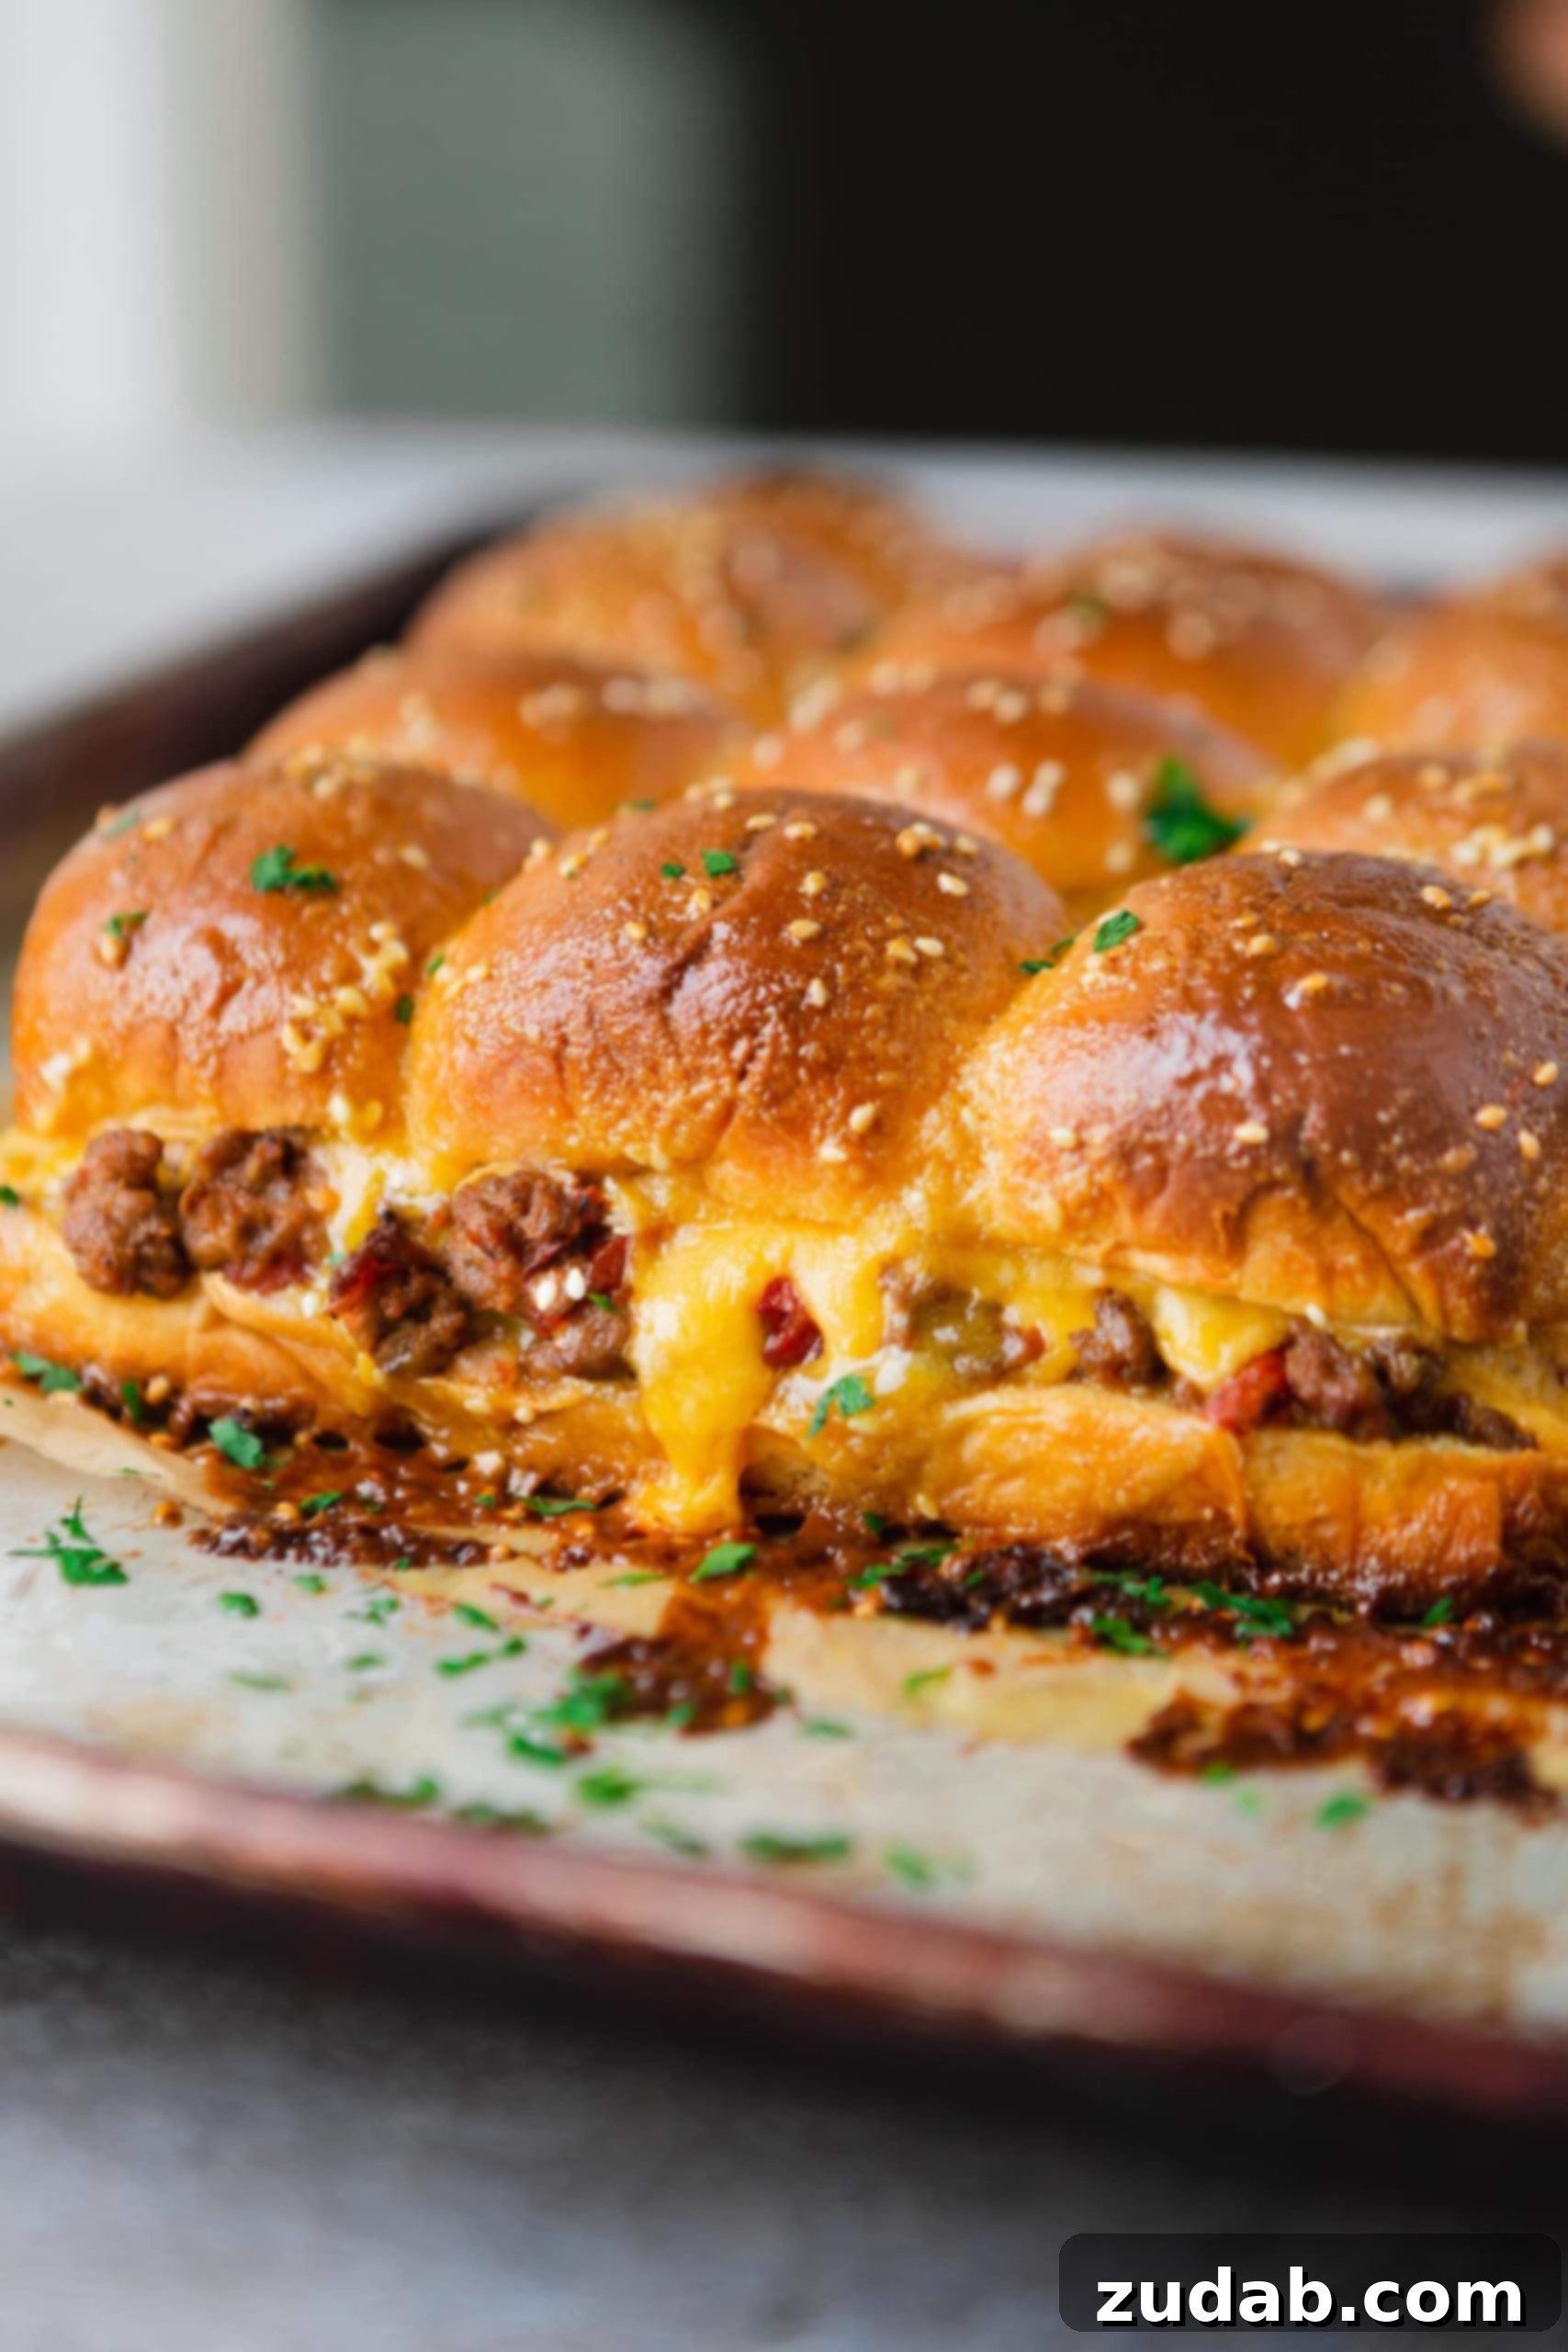
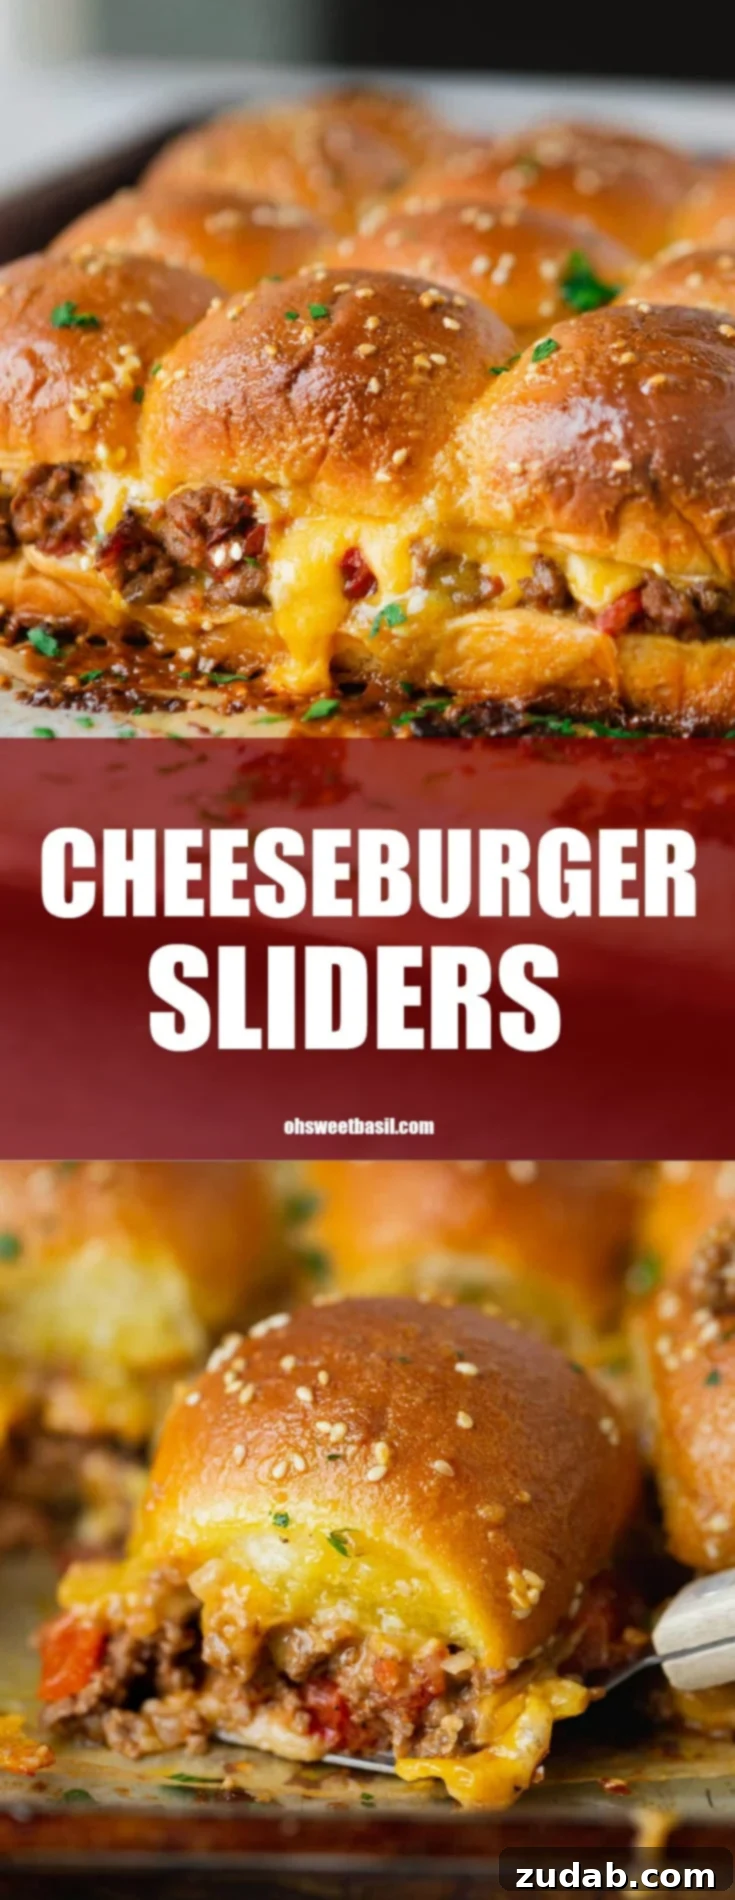
These cheeseburger sliders are undeniably the perfect party food, especially for big game days like the Super Bowl. They bring all the beloved flavors of a classic cheeseburger—rich, savory beef, an abundance of melted cheese, and incredible juiciness—all wrapped up in a convenient, mini package. What makes them truly stand out is their remarkable ease of preparation, a game-changer for anyone hosting a crowd.
Imagine effortlessly feeding a large group without the hassle of firing up the grill, meticulously forming individual patties, or dicing countless toppings. These sliders are designed for maximum flavor with minimal effort, allowing you to enjoy the party alongside your guests. They can even be prepared in advance, so all you need to do is slide them into the oven just before kick-off. Hot, gooey, and utterly delicious cheeseburgers for everyone, straight from the oven!
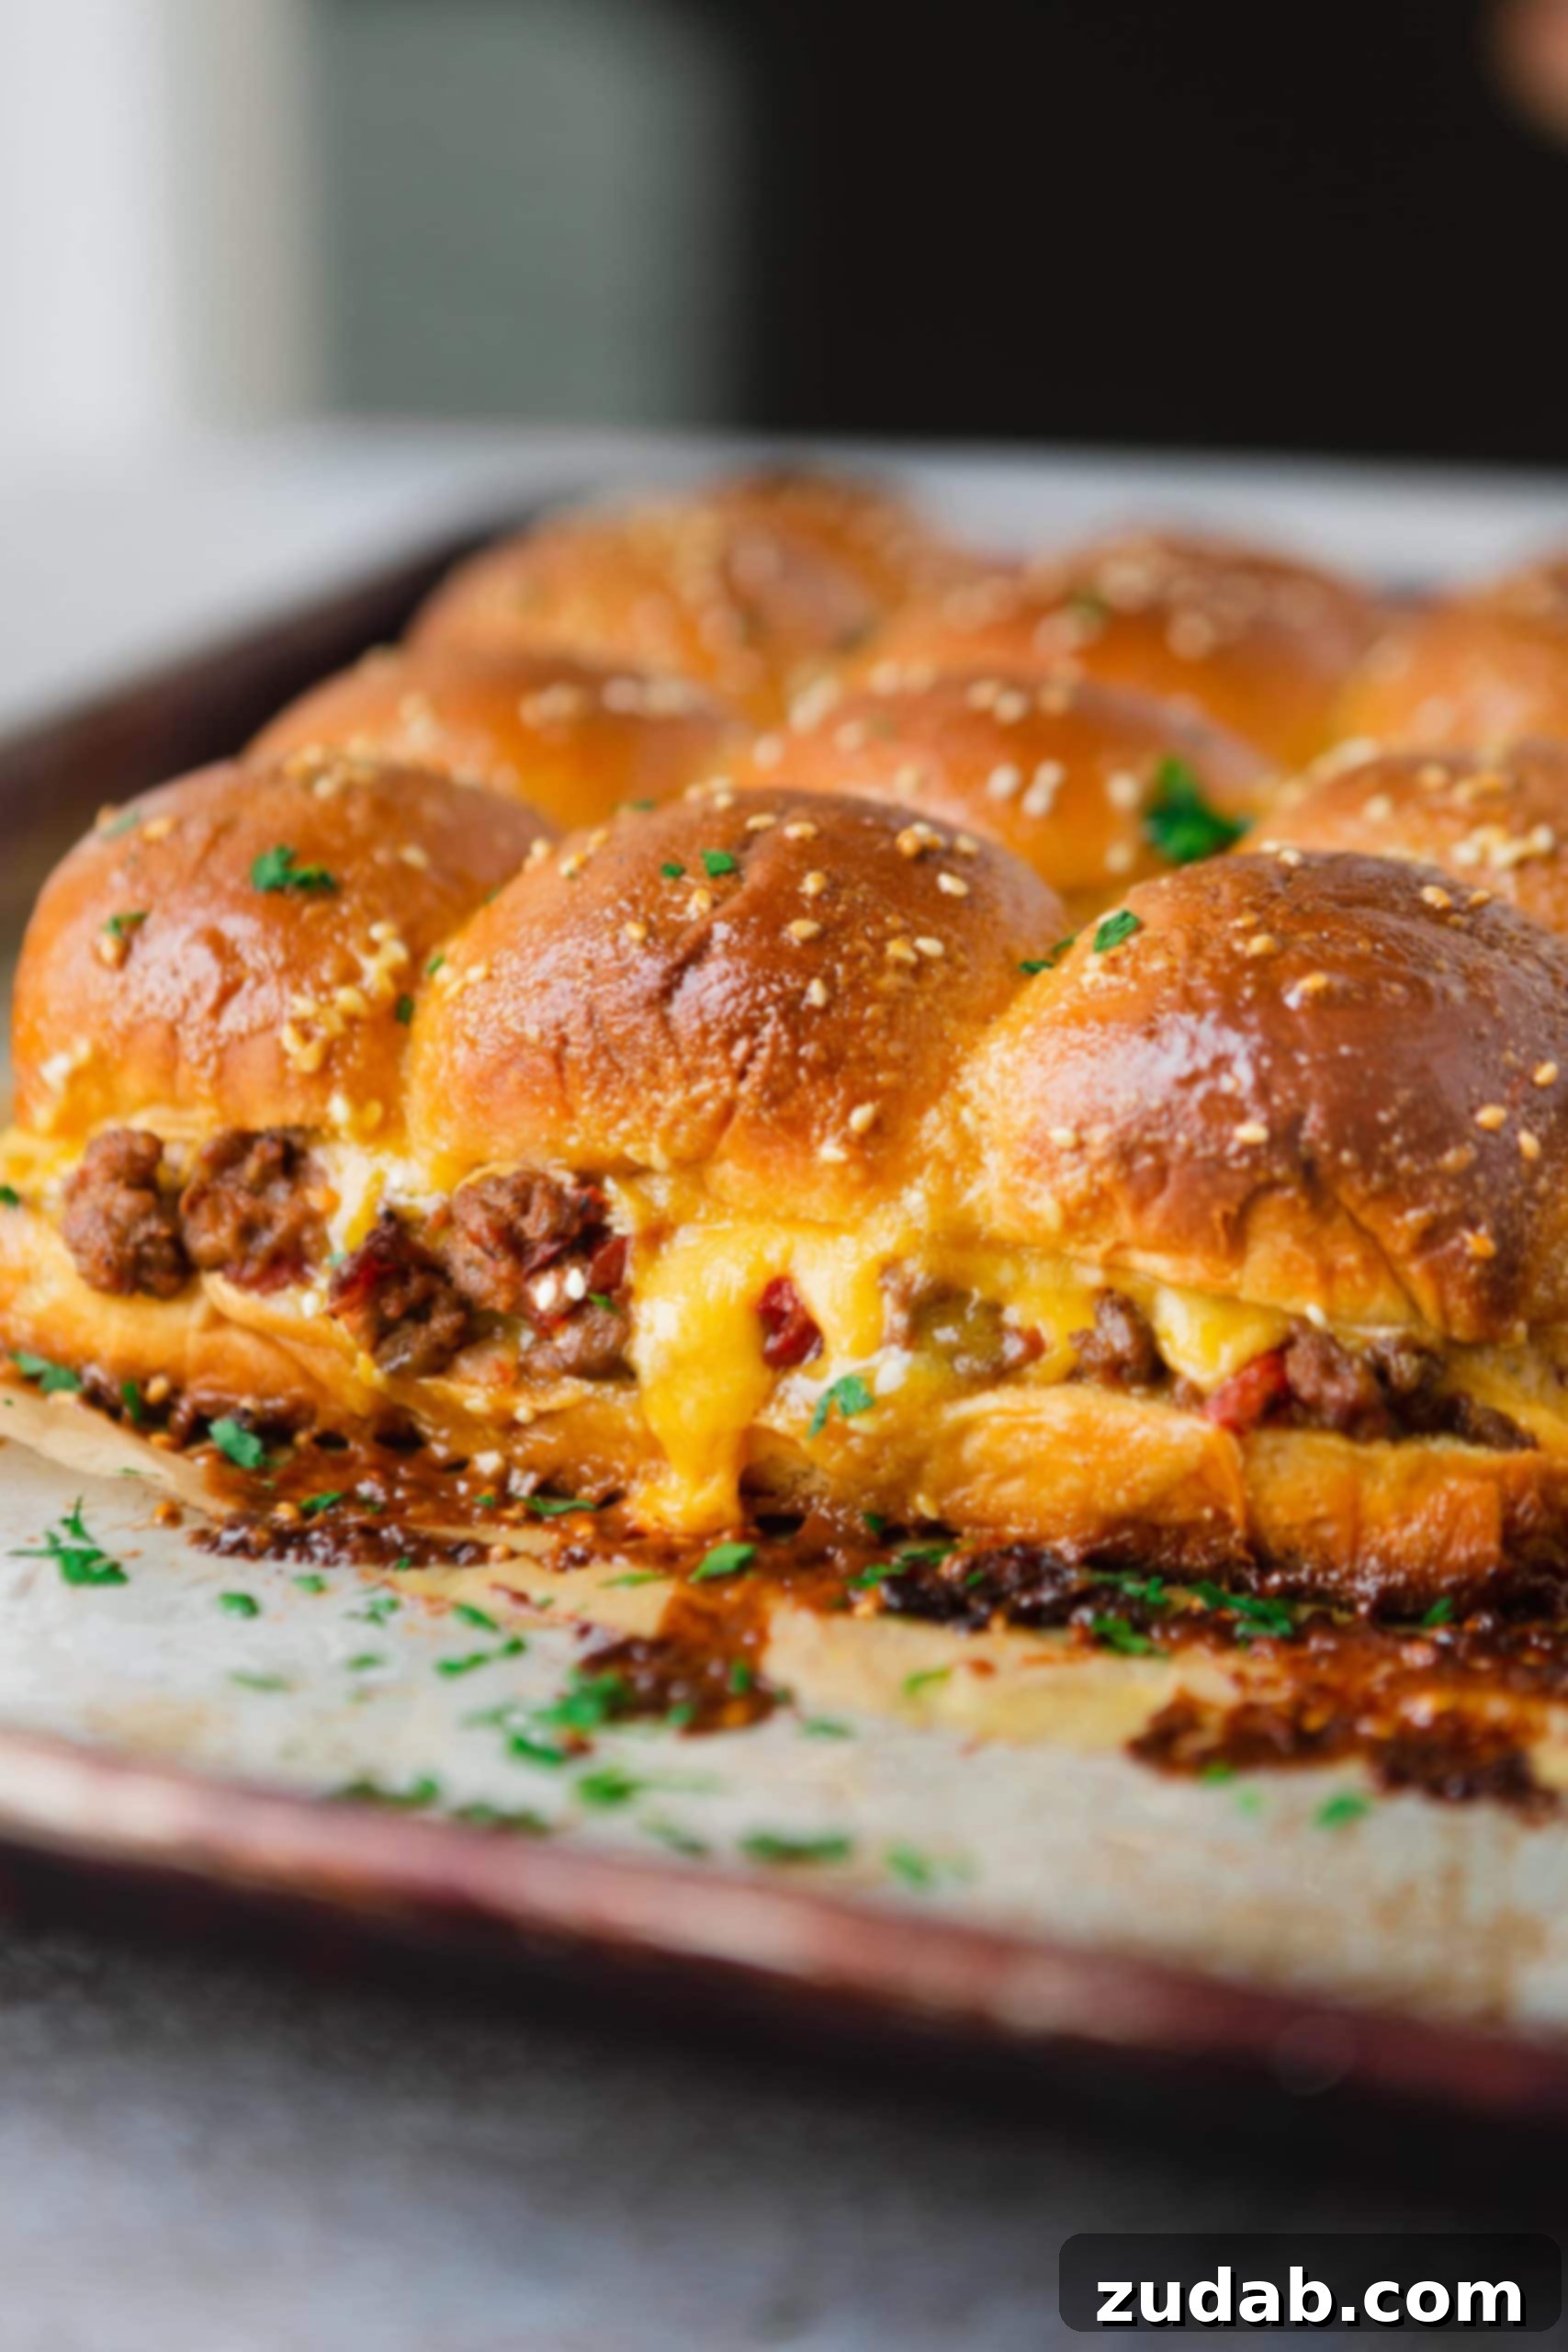
And if football isn’t your thing, no worries! These delightful mini cheeseburgers are incredibly versatile. They are a guaranteed hit for birthday parties, New Year’s Eve celebrations, Father’s Day brunches, casual get-togethers with friends, or simply as a quick and satisfying dinner for the family. Both kids and adults adore these miniature versions of a classic comfort food, making them a universal crowd-pleaser for any gathering.
The beauty of these sliders lies in their simplicity and the incredible flavor they pack into every bite. The combination of perfectly seasoned ground beef, vibrant diced tomatoes, and generous layers of gooey cheddar cheese, all nestled in soft dinner rolls and drenched in a savory-sweet butter sauce, creates an experience that’s far greater than the sum of its parts. They offer a comforting familiarity that everyone loves, but in a format that’s fun, easy to eat, and perfect for sharing.
Forget the stress of elaborate party menus. These sliders offer a solution that’s both delicious and practical. The ability to make them ahead means you spend less time in the kitchen and more time making memories. Plus, the baking method ensures consistent, juicy results every time, eliminating the guesswork often associated with grilling individual burgers. It’s truly a vision realized for stress-free entertaining!
Essential Ingredients for Your Perfect Cheeseburger Sliders
Creating truly outstanding cheeseburger sliders starts with a thoughtful selection of ingredients. We’ve crafted a list that combines classic flavors with a few special touches to elevate your mini burgers to new heights. Below is your complete grocery list for both the savory mini burgers themselves and the irresistible sauce that gets brushed on top, adding a layer of rich, buttery goodness.
Slider Filling: Building the Flavor Foundation
- Ground Beef: The star of the show! We recommend a lean-to-fat ratio of 80/20 for optimal flavor and juiciness without excessive grease. The beef forms the hearty base of our sliders.
- Salt & Pepper: The fundamental seasonings that enhance all the other flavors. Don’t underestimate their power to bring out the best in the beef.
- Cumin: Adds a warm, earthy depth that complements beef beautifully, giving a subtle Tex-Mex twist to the classic burger profile.
- Ground Mustard: A fantastic flavor enhancer for beef, ground mustard brings a slight pungency and sharpness that brightens the overall taste.
- Onion Powder & Garlic Powder: These provide concentrated, aromatic flavors that infuse evenly throughout the meat mixture, ensuring every bite is flavorful.
- Smoked Paprika: Our secret weapon! Smoked paprika adds a wonderful smoky aroma and a hint of sweetness, mimicking the char of a grilled burger without the need for a grill.
- Yellow Onion: Freshly diced yellow onion, cooked until tender, adds a natural sweetness and aromatic foundation to the beef mixture.
- Garlic: Minced fresh garlic takes the savory notes to the next level, providing a pungent, indispensable flavor that pairs perfectly with beef.
- Diced Tomatoes: Drained diced tomatoes are added for moisture, a touch of acidity, and a subtle sweetness that cuts through the richness of the beef and cheese.
- Cheddar Cheese: Sliced cheddar cheese is the quintessential cheeseburger topping, melting into a glorious, gooey layer that holds everything together and provides that classic, tangy cheese flavor. Feel free to experiment with other melty cheeses like American, Colby Jack, or Pepper Jack for a kick.
- Dinner Rolls: The foundation of any great slider! Whether you choose to make your own light and fluffy homemade dinner rolls or opt for your favorite soft, slightly sweet store-bought brand (King’s Hawaiian are a popular choice), the right rolls are crucial for the perfect texture and bite.
Signature Sauce: The Secret to Irresistible Sliders
- Butter: Melted butter forms the rich, glossy base of our topping sauce, ensuring a golden crust and incredible flavor.
- Mayonnaise: Adds creaminess and a subtle tang to the sauce, helping to bind the flavors together.
- Brown Sugar: A touch of brown sugar balances the savory and tangy notes, creating a wonderfully complex sauce that caramelizes beautifully on top of the rolls.
- Yellow Mustard: Essential for that classic burger condiment flavor, yellow mustard provides a zesty kick that complements the beef and cheese.
- Sesame Seeds: Sprinkled on top, sesame seeds add a classic burger bun aesthetic, a subtle nutty flavor, and a delightful textural crunch.
The precise measurements for each ingredient, along with detailed nutritional information, can be found in the comprehensive recipe card located at the end of this post. This recipe is designed to deliver maximum flavor with straightforward ingredients, ensuring success even for novice cooks.
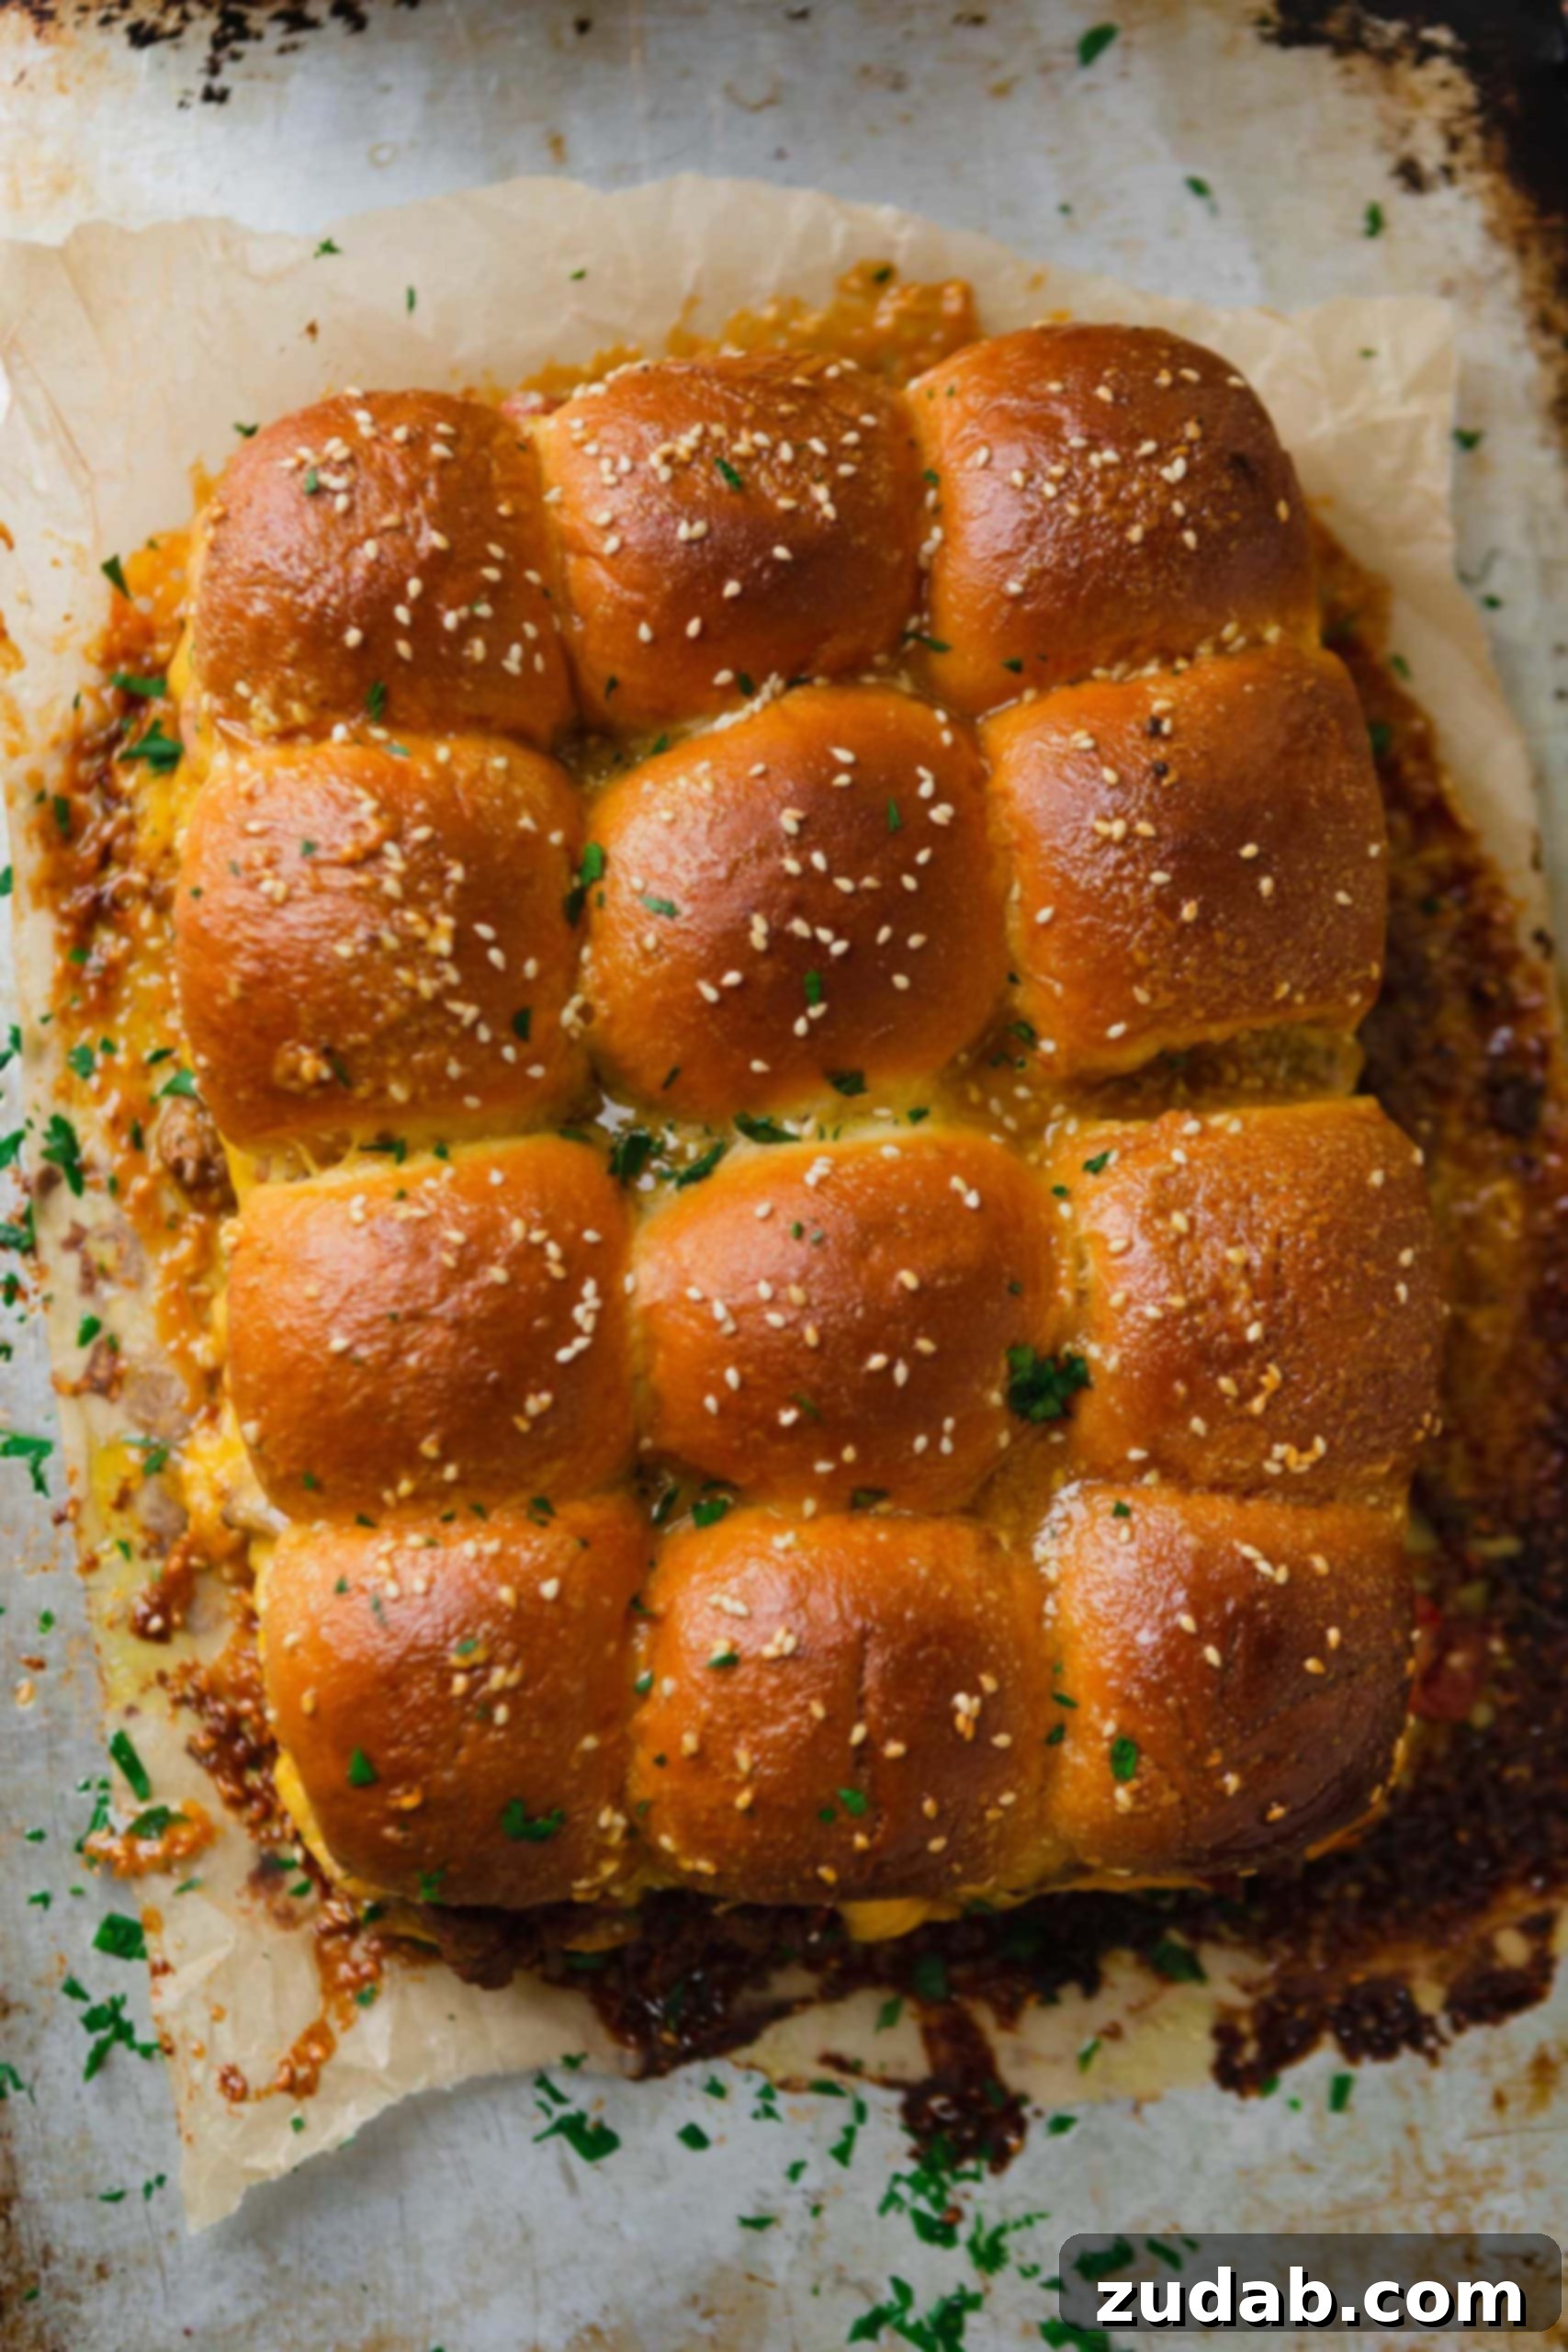
Crafting Your Cheeseburger Sliders: A Simple Step-by-Step Guide
I promised these sliders were easy to make, and now it’s time to walk you through the incredibly simple process. You’ll be amazed at how quickly these come together, leaving you with more time to enjoy your guests or relax with your family. Follow these straightforward steps to create a batch of mouthwatering cheeseburger sliders that everyone will rave about:
- Prepare Your Oven and Baking Dish: Begin by preheating your oven to 350°F (175°C). This ensures the sliders bake evenly and quickly. Next, take a 9×13 inch baking dish and lightly spray it with nonstick cooking spray. This prevents sticking and makes cleanup a breeze.
- Arrange the Rolls: Carefully slice your entire sheet of dinner rolls in half lengthwise, keeping them connected if they came in a pull-apart style. Place the bottom halves of the rolls snugly into the prepared baking dish.
- PRO TIP for Perfect Buns: Packing the rolls tightly into a smaller pan (rather than spreading them out on a cookie sheet) is key. This helps to prevent the savory liquid from the beef mixture and the sauce from saturating the bottom buns, keeping them deliciously soft but not soggy.
- Cook the Beef Mixture: In a large skillet, over medium-high heat, add the ground beef and diced yellow onions. Cook, breaking up the beef with a spoon or a ground beef chopper, until it’s fully browned and the onions are tender and translucent. Once cooked, thoroughly drain any excess grease from the skillet. This step is crucial for preventing overly greasy sliders and ensuring a clean flavor.
- Add Tomatoes and Seasonings: Stir in the minced garlic, salt, pepper, cumin, ground mustard, onion powder, garlic powder, and smoked paprika into the browned beef and onion mixture. Continue to cook for another minute until fragrant. Then, add the drained diced tomatoes to the skillet and stir well to combine all the flavors.
- Layer the Sliders: Evenly spread the seasoned beef mixture over the bottom halves of the dinner rolls in the baking dish. Once the beef is spread, top it generously with the slices of cheddar cheese. The cheese will melt beautifully, creating a delectable seal.
- Complete the Assembly: Gently place the top halves of the dinner rolls back over the cheese and beef mixture, aligning them carefully to form complete mini burgers.
- Prepare the Signature Sauce: In a small saucepan, melt the butter over medium heat. Once melted, stir in the mayonnaise, brown sugar, and yellow mustard until the sauce is smooth and well combined. This is the magical topping that makes these sliders truly special.
- Sauce and Bake: Pour the prepared butter sauce evenly over the tops of the assembled rolls. Ensure every roll gets a good coating. Finally, sprinkle the sesame seeds all over the tops of the rolls for that classic cheeseburger look and a subtle nutty crunch.
- Bake to Golden Perfection: Place the baking dish in your preheated oven and bake for approximately 25 minutes, or until the cheese is melted and bubbly, and the rolls are golden brown and slightly crispy on top. If the tops start browning too quickly, you can loosely tent the dish with aluminum foil.
For more specific measurements and precise timing, please consult the full recipe card at the conclusion of this article. These sliders are designed for ease and flavor, making them a perfect addition to your culinary repertoire!
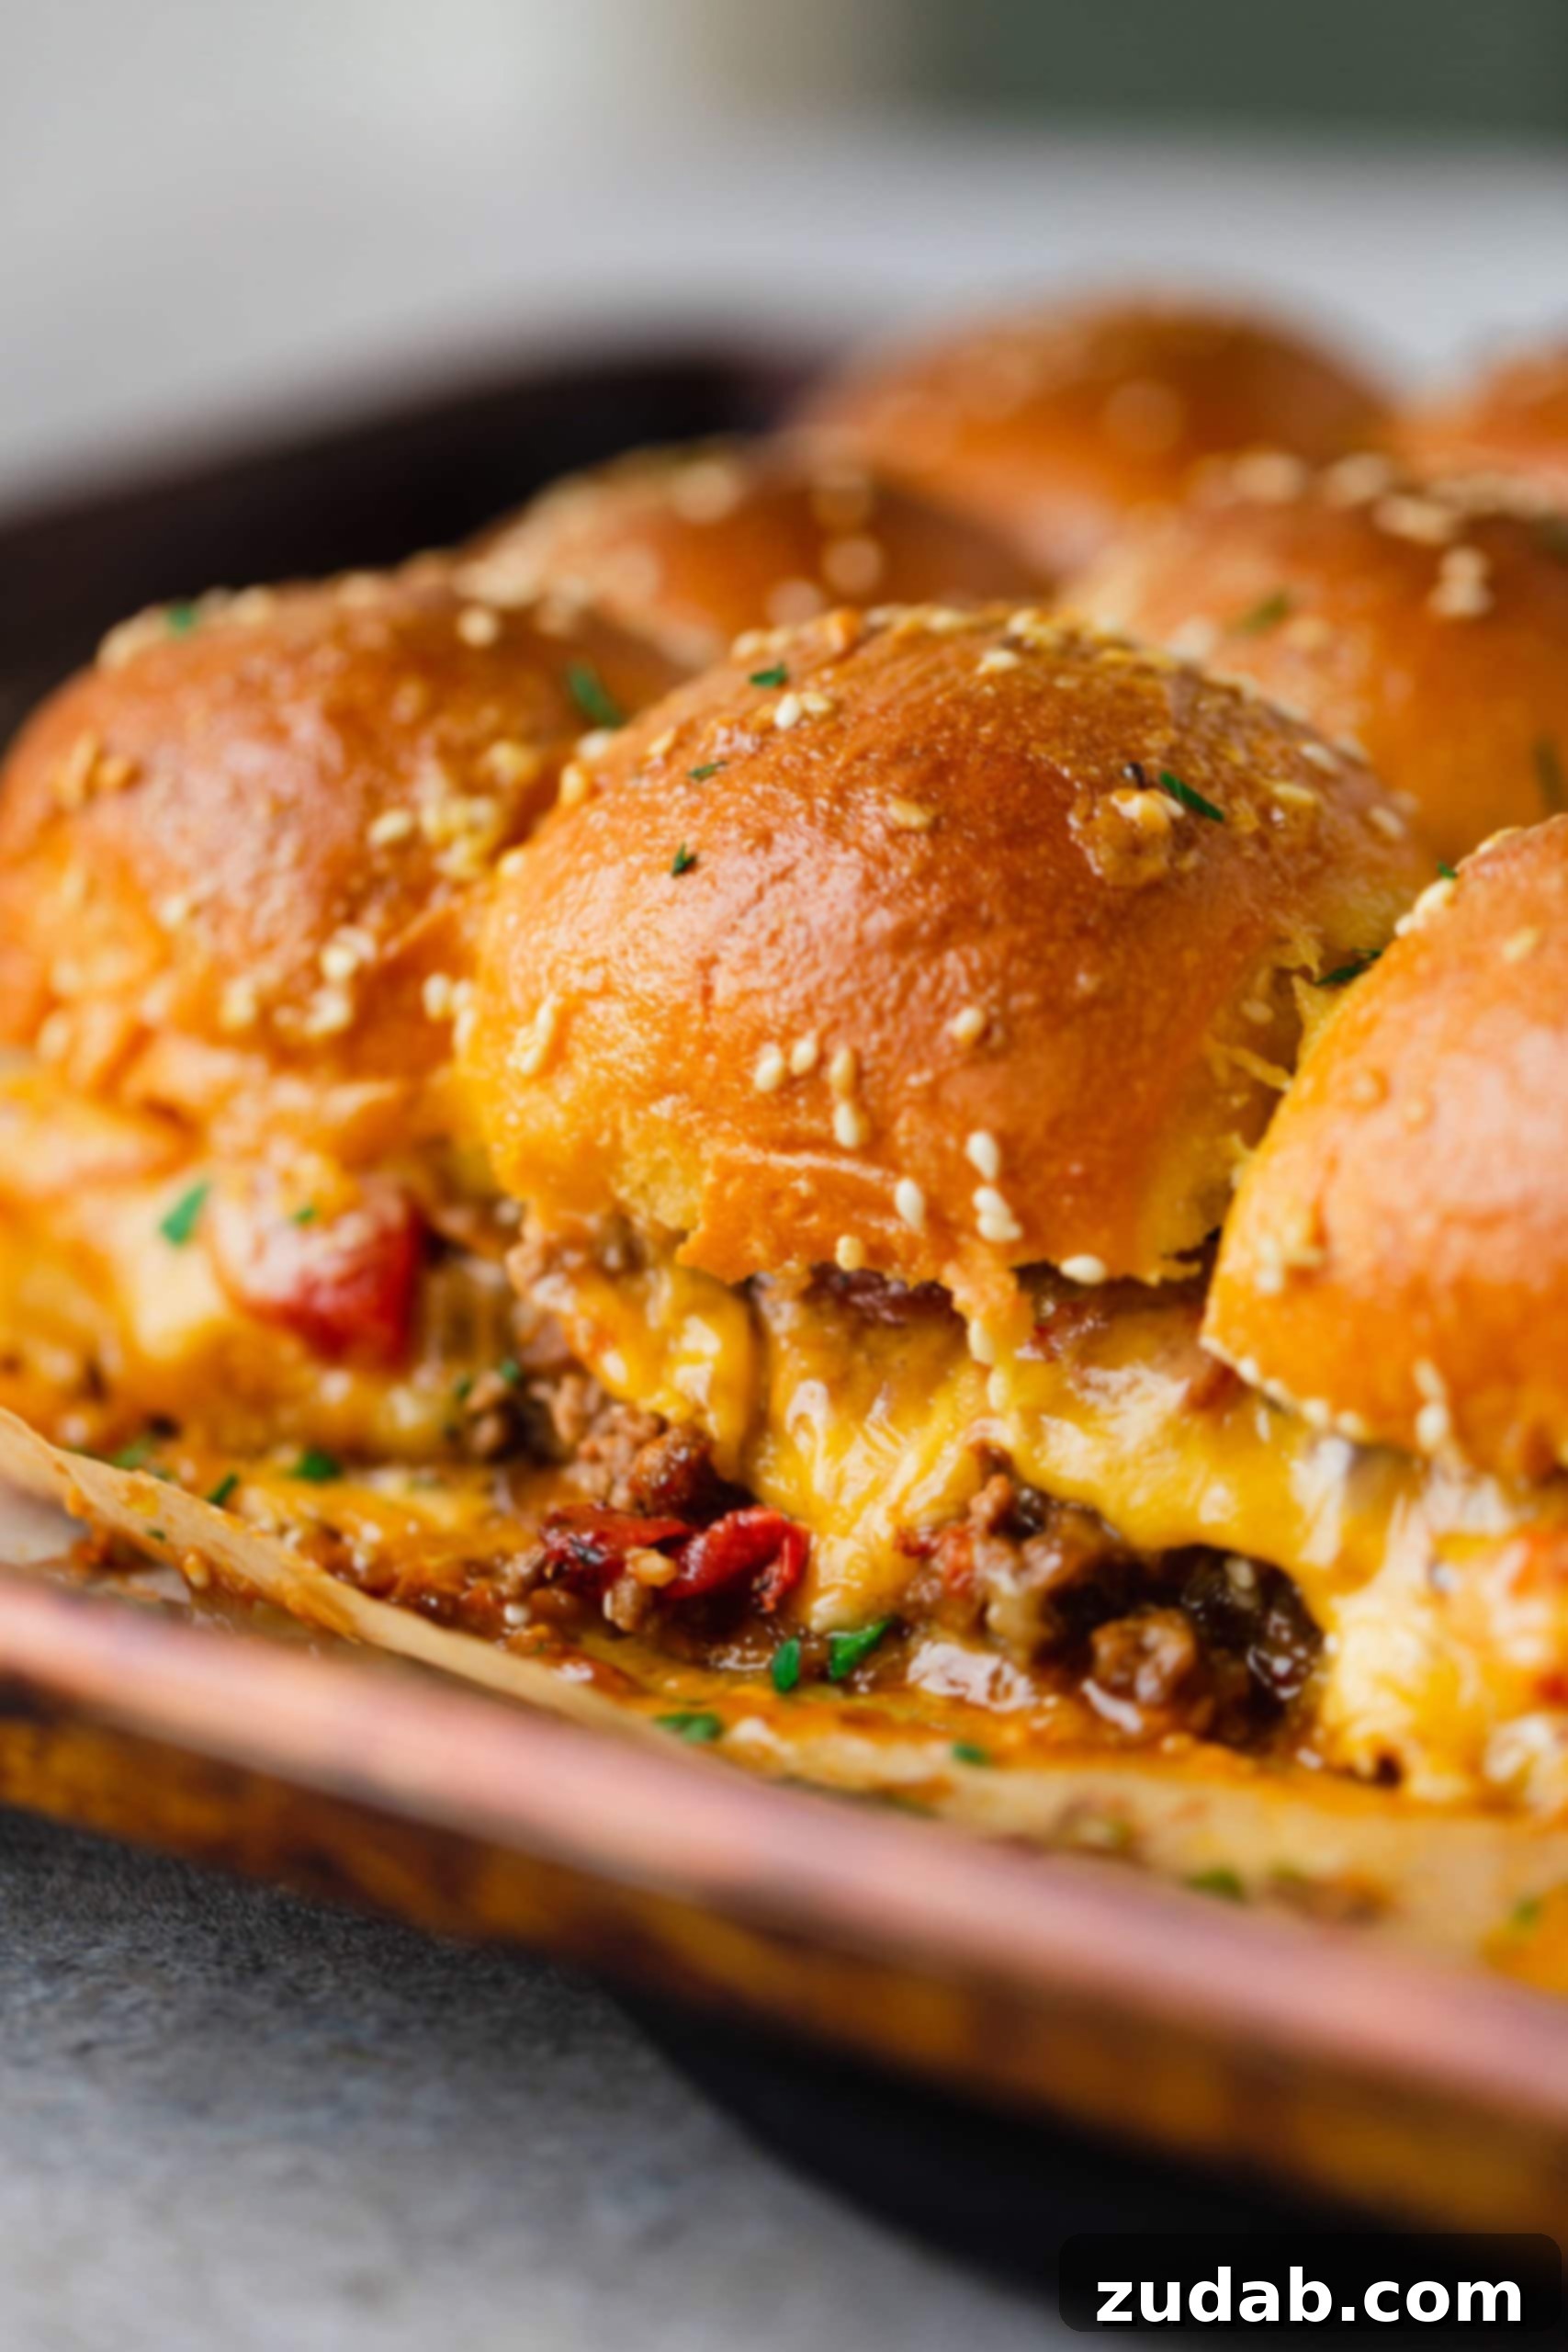
Mastering Make-Ahead Cheeseburger Sliders for Effortless Entertaining
One of the best features of these mini cheeseburgers is how wonderfully they lend themselves to make-ahead preparation. This capability is a lifesaver for busy hosts, allowing you to get most of the work done in advance and simply pop them in the oven when your guests arrive. The key to successful make-ahead sliders is a slight adjustment to the layering process to prevent the bottom rolls from becoming soggy.
To prepare these sliders in advance, I recommend placing the cheese slices directly on the bottom buns first, then adding the seasoned meat mixture on top. This creates a protective barrier, helping to keep the bottom rolls from absorbing too much moisture from the beef and becoming mushy. After layering the cheese and meat, place the top rolls as instructed.
Once your sliders are assembled (but before pouring the butter sauce on top), cover the baking dish tightly with plastic wrap and refrigerate. They can be prepared up to 24 hours in advance. When you’re ready to bake, simply remove them from the refrigerator, pour the delicious butter sauce over the tops, sprinkle with sesame seeds, and bake as directed. You might need to add a few extra minutes to the cooking time since they’ll be going into the oven chilled. Always ensure the internal temperature of the beef is safely reached.
Choosing the Perfect Rolls for Your Slider Buns
The choice of rolls is surprisingly critical to the success of your cheeseburger sliders. A good slider bun should be soft, slightly sweet, and sturdy enough to hold the juicy filling without falling apart. You have a couple of excellent options, depending on your preference and available time.
If you’re a baking enthusiast and enjoy a truly homemade touch, I highly recommend using our classic dinner rolls recipe. These rolls are incredibly soft, flavorful, and robust enough to stand up to the moist filling of the sliders, making them an excellent choice. Plus, the aroma of freshly baked bread will fill your kitchen, adding to the culinary experience.
However, for convenience and to save precious time, store-bought dinner rolls work perfectly and are often the preferred choice for busy hosts. Our absolute favorite brand for sliders is King’s Hawaiian rolls. Their signature sweetness and incredibly soft, pillowy texture are simply ideal for complementing the savory beef and cheese. They also come pre-connected in a sheet, making them super easy to slice and assemble. Other excellent options include brioche slider buns for an extra touch of richness or even potato rolls for a slightly denser, yet still soft, texture.
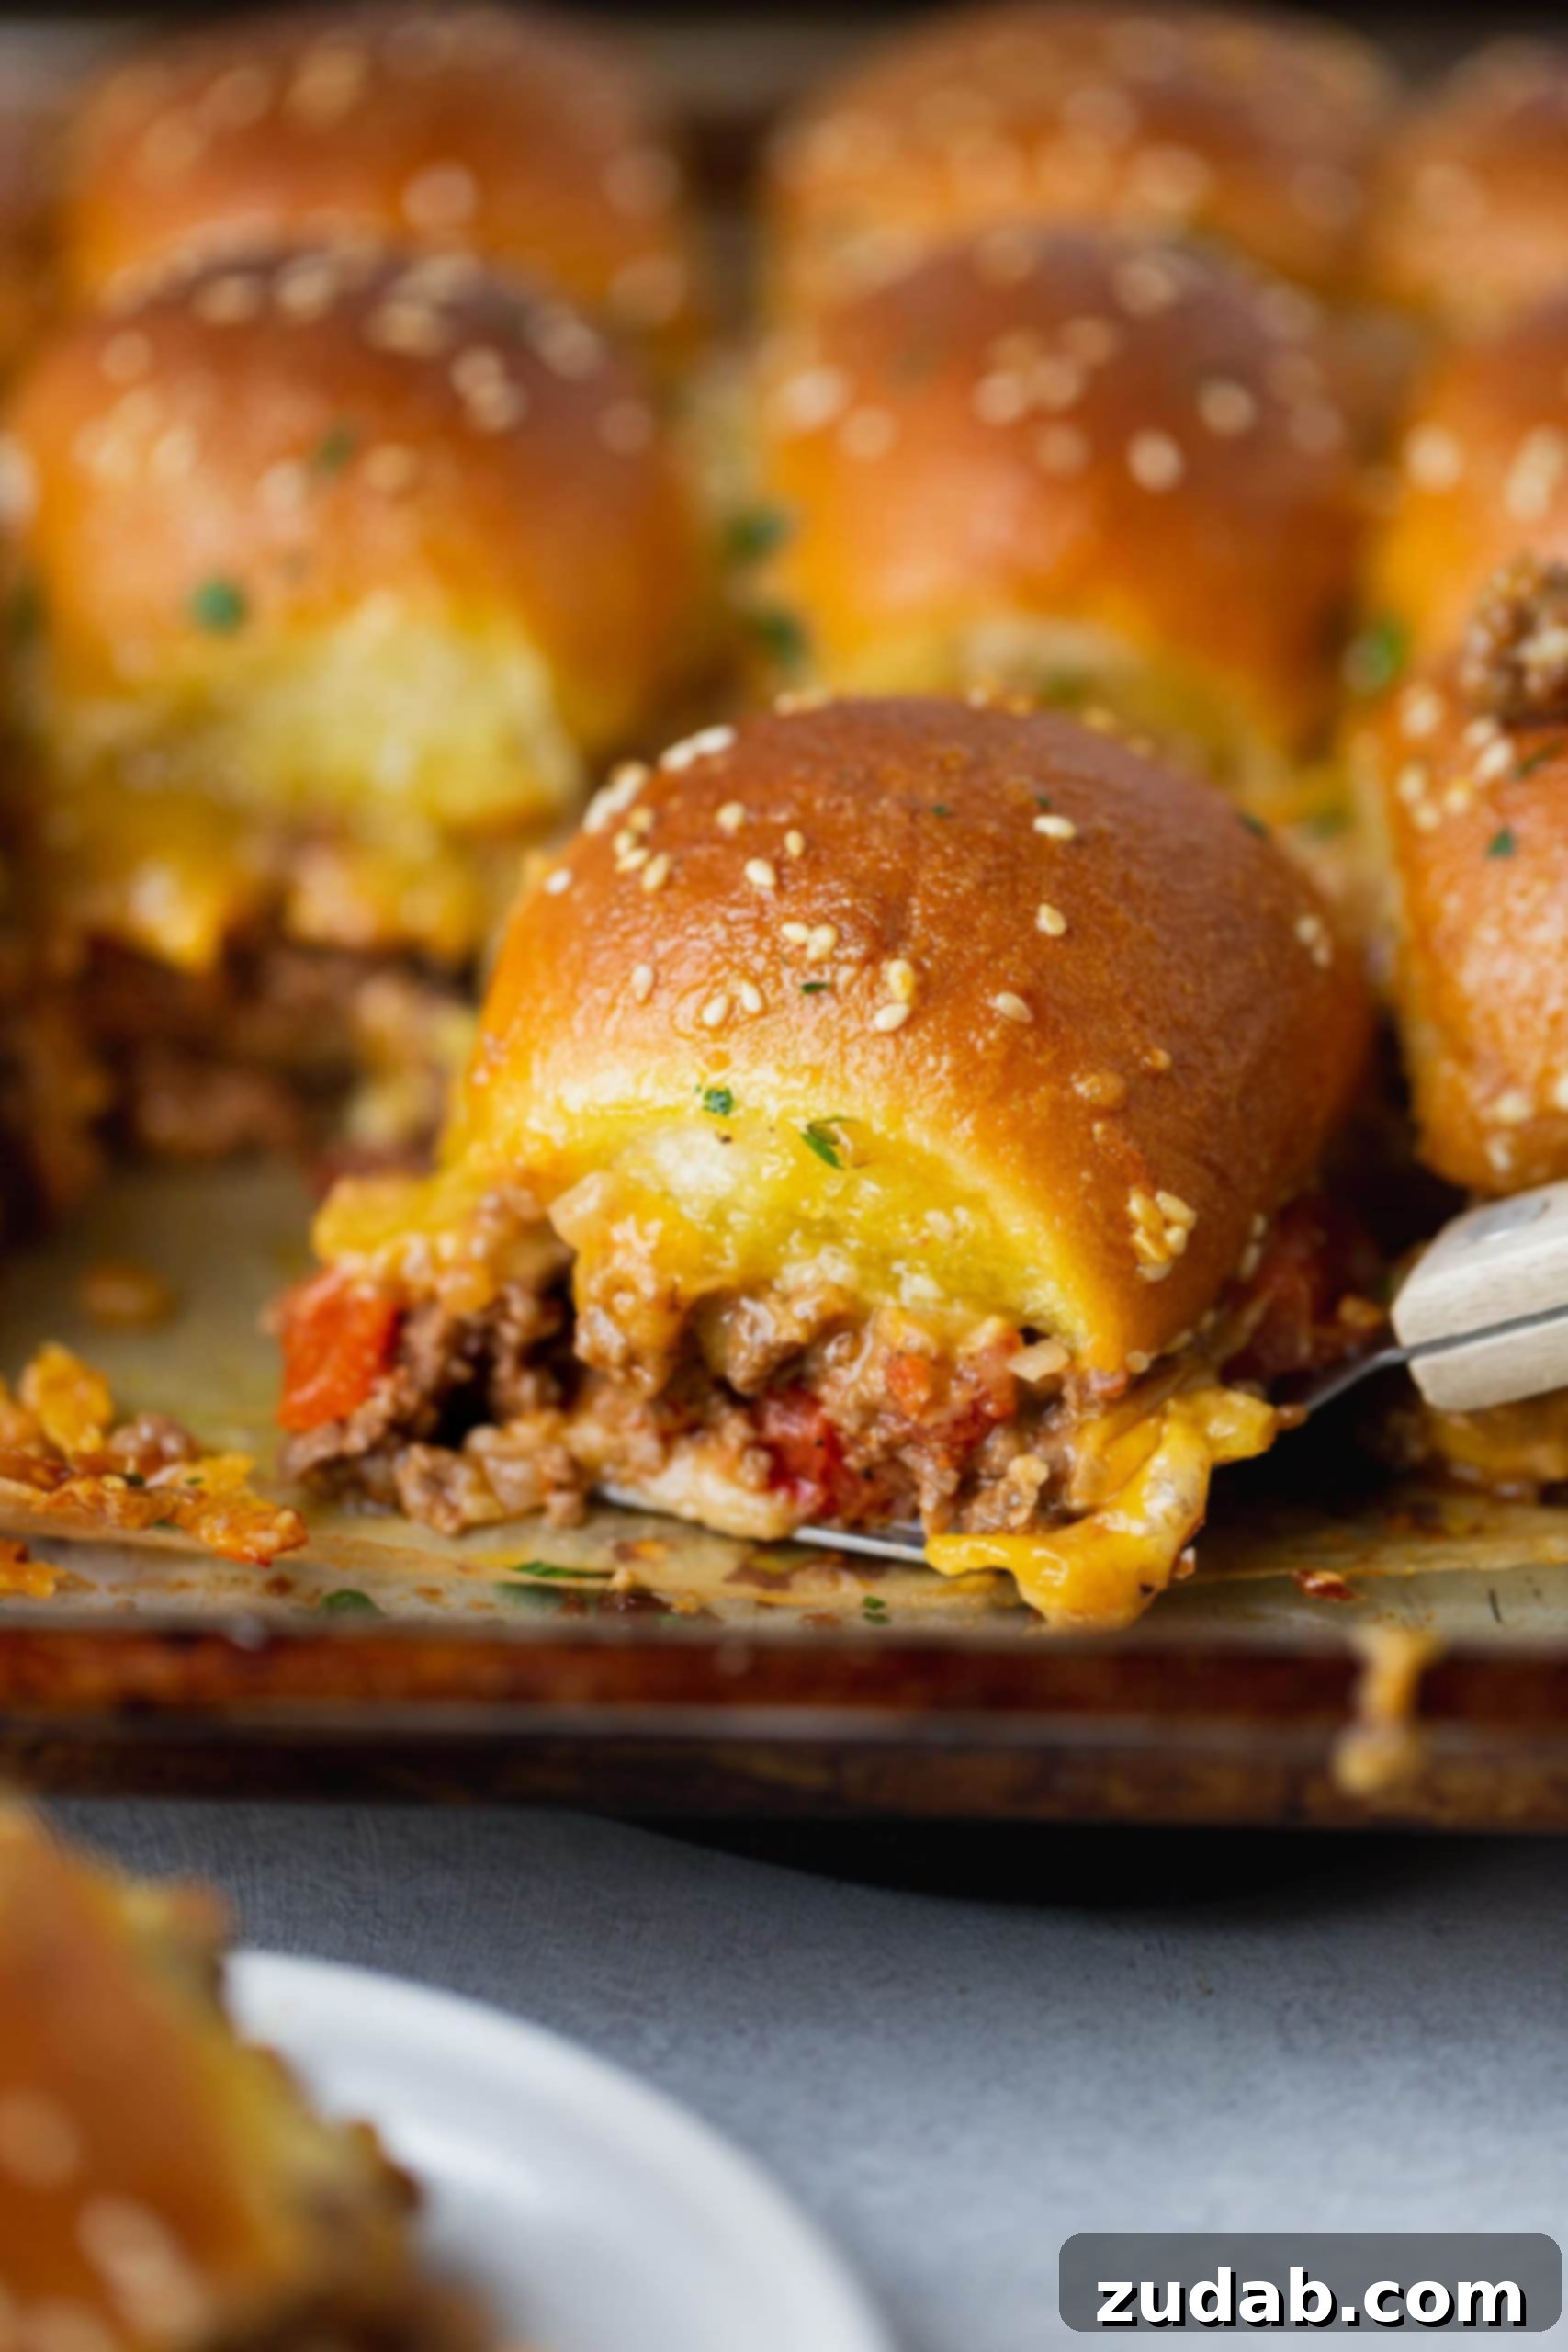
Delectable Sides to Complement Your Mini Burgers
While these mini burgers are fantastic as appetizers, if you’re planning to serve them as a main dish, pairing them with a delicious side or two can elevate the entire meal. Think of classic hamburger accompaniments, but feel free to get creative! Here are a few of our top picks that perfectly complement the rich flavors of cheeseburger sliders:
- Garlic Herb Roasted Potatoes: Crispy on the outside, fluffy on the inside, and bursting with savory garlic and herb flavors, these potatoes are a hearty and incredibly satisfying side. Their rustic charm and robust taste make them a perfect companion to the sliders.
- Killer Burger Sauce with French Fries: A generous pile of hot, golden french fries is practically a requirement with any burger, mini or full-sized! Take them to the next level by serving them with our “Killer Burger Sauce” for dipping. This creamy, tangy, and slightly sweet sauce is addictive and provides an extra layer of flavor that’s simply irresistible.
- Baked Beans: Sweet, smoky, and deeply flavorful baked beans offer a comforting and traditional side. Their rich sauce and tender beans provide a lovely contrast to the savory sliders.
- Grilled Corn on the Cob: For a touch of summery freshness, grilled corn on the cob is a fantastic choice. The sweet, charred kernels add a delightful texture and a vibrant flavor that brightens the meal.
- Macaroni Salad: A creamy, cool macaroni salad with its medley of pasta, vegetables, and tangy dressing offers a refreshing counterpoint to the warm, rich sliders. It’s a classic picnic and BBQ side for a reason!
No matter what sides you choose, ensure they are as easy to prepare and serve as the sliders themselves, keeping the focus on enjoyment and good company. And really, let’s be honest, some hot french fries are always on my menu whenever burgers are being made – they’re just a match made in heaven!
Unleashing Your Creativity: Exciting Cheeseburger Slider Variations
The beauty of these cheeseburger sliders isn’t just in their ease of preparation or their crowd-pleasing taste; it’s also in their incredible versatility. They serve as a fantastic canvas for your culinary creativity, allowing you to easily switch up and augment them to perfectly match your preferences or the theme of your gathering. Don’t hesitate to experiment with different ingredients to make these sliders uniquely your own!
Here are some popular and delicious variations:
- Cheese Swap: While cheddar is a classic, try Pepper Jack for a spicy kick, Swiss for a nutty flavor, provolone for a milder taste, or even a smoked gouda for something truly unique. A blend of cheeses can also create a complex flavor profile.
- Add Pickles: Thinly sliced dill pickles or sweet bread and butter pickles can be added directly onto the cheese layer before baking, providing a wonderful tangy crunch that complements the rich beef.
- Crispy Bacon: Cooked and crumbled bacon is a universally loved burger topping. Sprinkle it over the beef and cheese layer for an extra smoky, salty, and crunchy element.
- Sautéed Mushrooms and Onions: Caramelized onions or sautéed mushrooms add a deep umami flavor and a tender texture that pairs beautifully with beef.
- Jalapeño Kick: For those who love a bit of heat, add thinly sliced fresh or pickled jalapeños to the beef mixture or directly onto the cheese.
- Different Sauces: Instead of, or in addition to, our signature butter sauce, consider a BBQ sauce, a spicy sriracha mayo, a honey mustard, or even a classic thousand island dressing for a “special sauce” vibe.
- Protein Alternatives: While beef is traditional, ground turkey or chicken can be seasoned similarly for a lighter slider. Just be sure to adjust cooking times accordingly and ensure proper internal temperature.
However, there’s one important variation to avoid: adding fresh lettuce. While fresh, crisp lettuce is wonderful on a regular burger, it simply doesn’t hold up well during baking. It will become soggy, wilted, and frankly, unappetizing. And let’s be honest, absolutely no one enjoys hot, slimy lettuce on their burger! Save the fresh greens for serving on the side, if desired, to maintain their appealing texture and coolness.
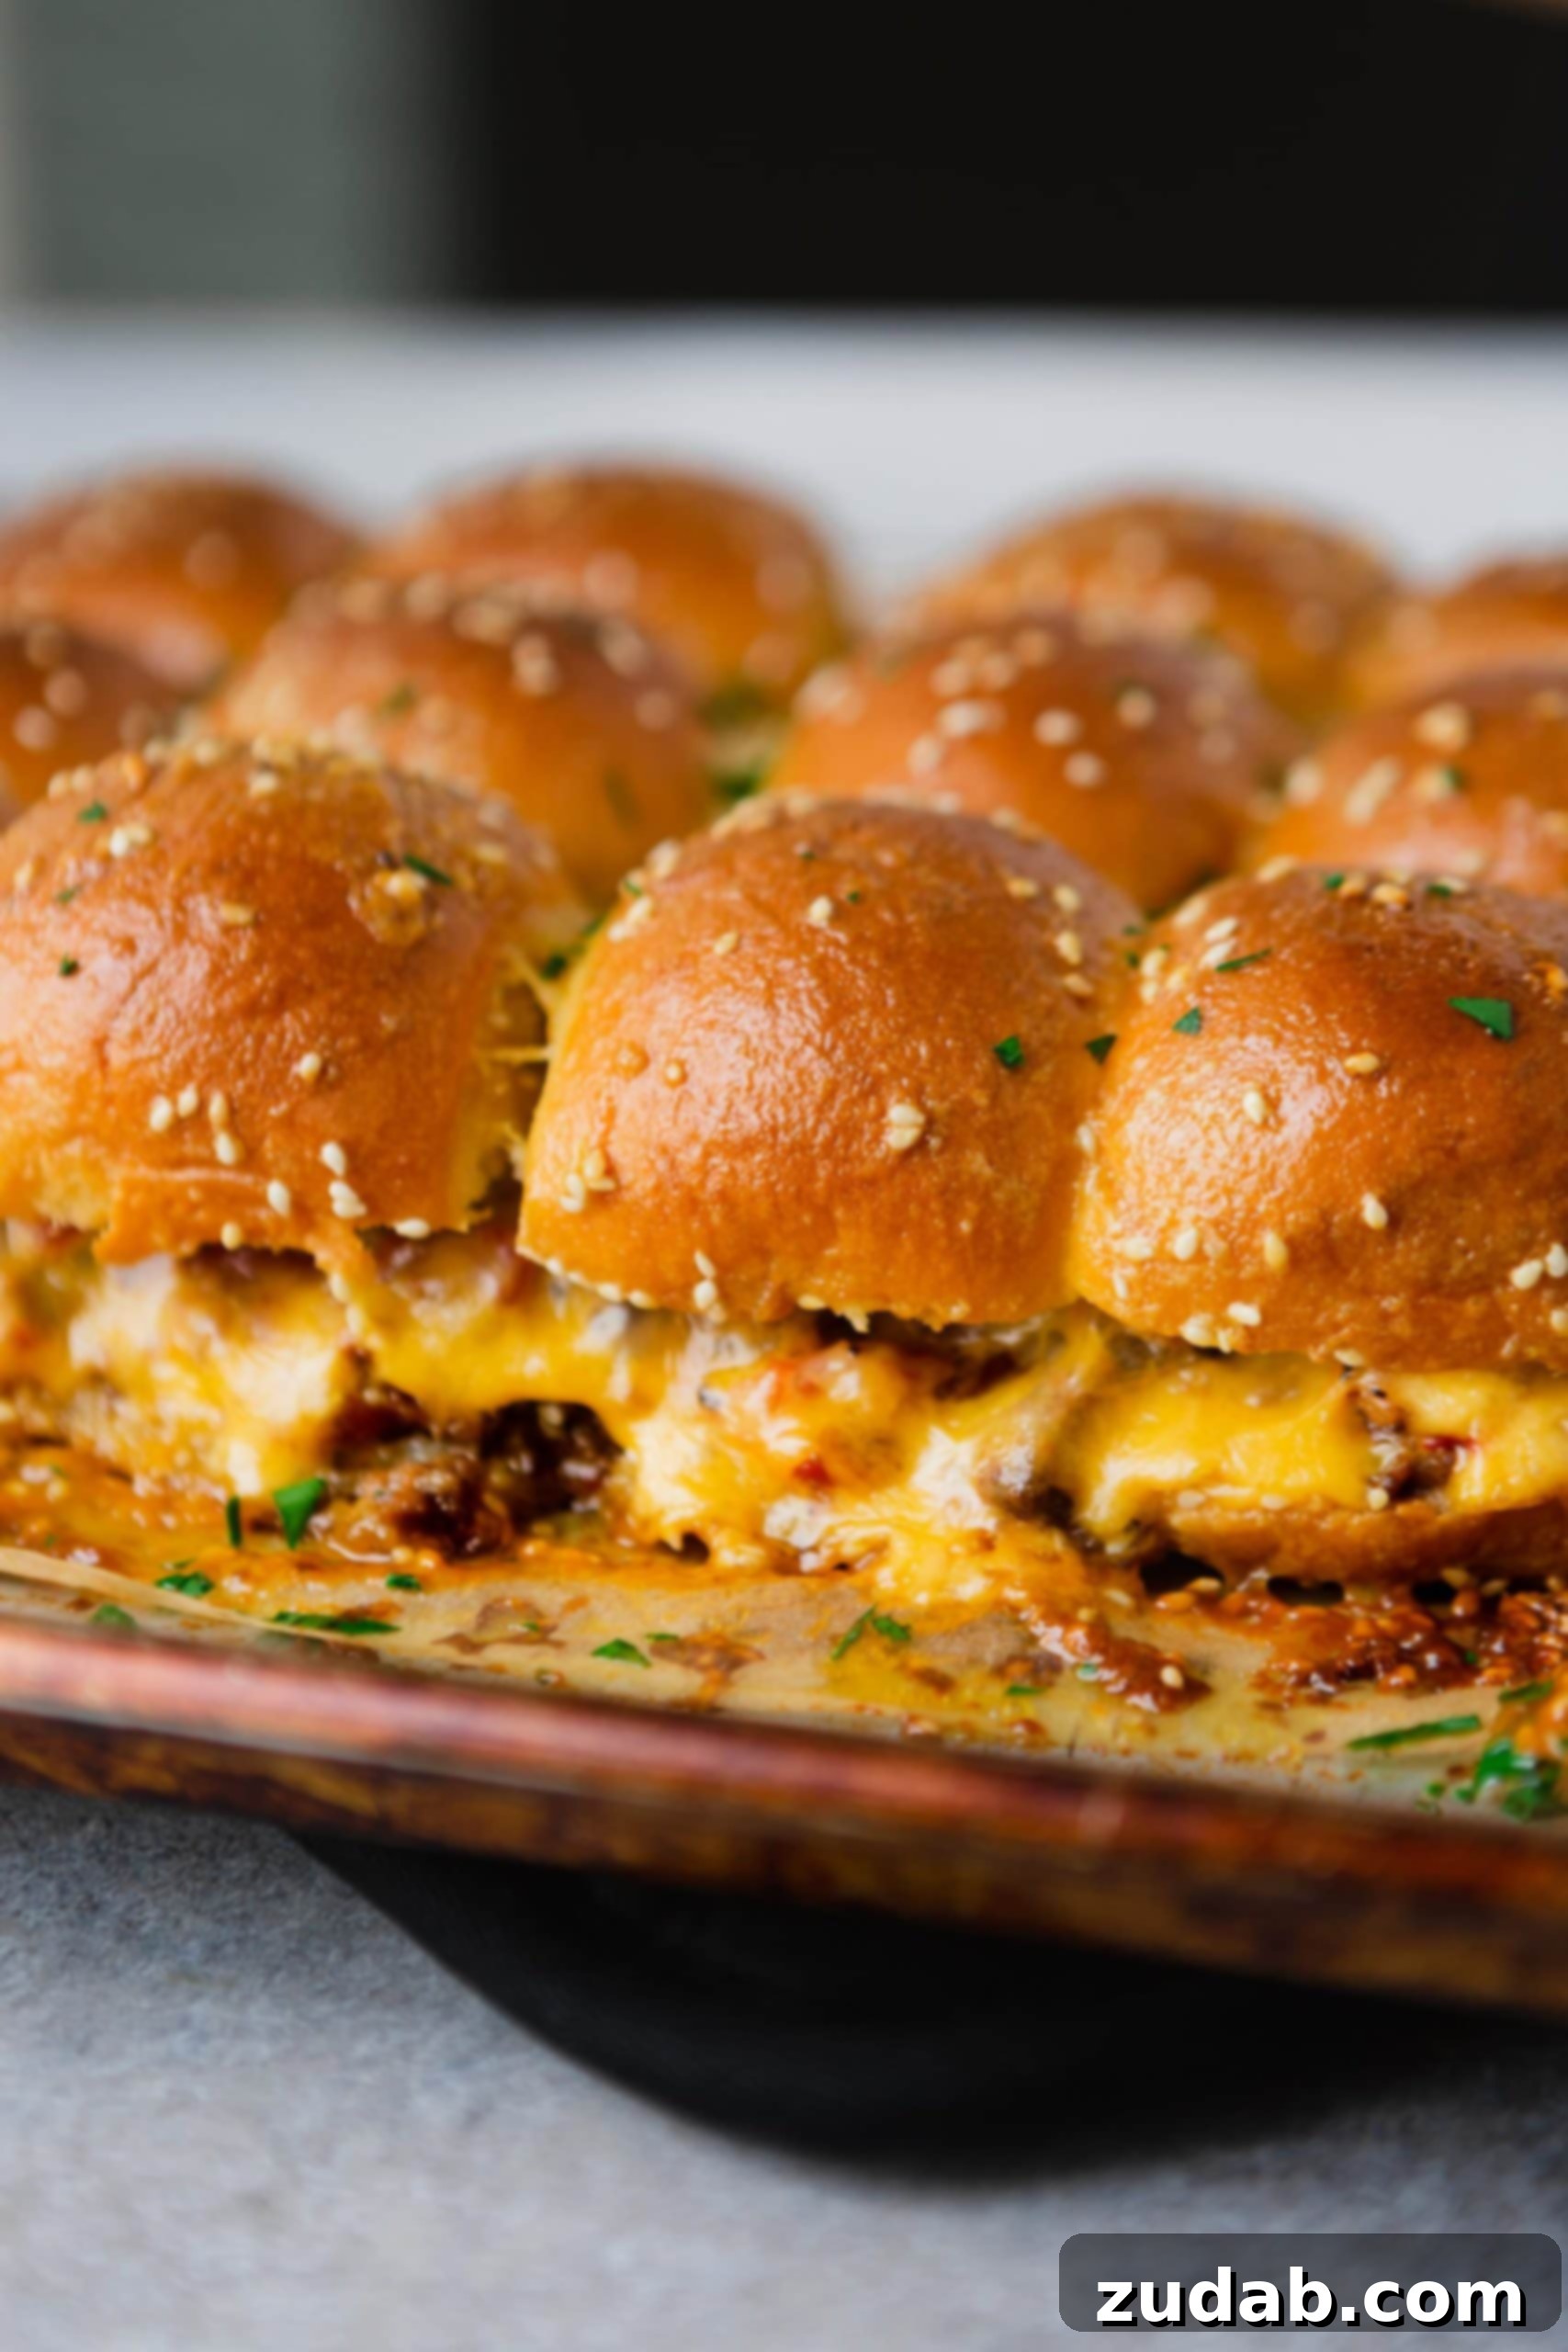
Understanding Sliders: What Makes These Mini Wonders So Popular?
Sliders are more than just small sandwiches; they represent a brilliant culinary concept rooted in convenience, flavor, and shareability. At their core, sliders are miniature sandwiches typically served on small buns, often baked together with a flavorful sauce poured over the top. Think of them as the compact, infinitely charming younger sibling of the classic full-sized hamburger.
The term “slider” is rumored to have originated from the White Castle fast-food chain, which introduced its small, square hamburgers in the early 20th century. These tiny burgers were so greasy they “slid” right down, hence the name. Over time, the concept evolved beyond just tiny burgers to encompass a wide array of mini sandwiches, from pulled pork to ham and cheese, each designed to be a delightful, bite-sized treat.
What sets baked sliders apart is the communal preparation method. Instead of individually assembling each sandwich, a whole tray of buns is loaded with fillings, often covered with cheese, topped with the other half of the buns, and then drenched in a savory butter sauce before being baked. This process allows the flavors to meld beautifully, the cheese to melt into a gooey blanket, and the buns to absorb some of that delicious sauce, resulting in a tender, flavorful, and incredibly satisfying experience.
The Irresistible Allure of Sliders: Why Choose Mini Over Full-Sized?
If you’re wondering why sliders have surged in popularity, it’s because they offer a unique combination of benefits that full-sized sandwiches simply can’t match. They might be mini, but their appeal is monumental!
First and foremost, sandwiches are inherently one of the best things ever – a complete meal packed into a perfect, handheld package. Sliders take this concept and make it even better by being miniature. This means you can indulge in more than one without feeling overly full or guilty! It’s an invitation to savor multiple bites of deliciousness, perhaps even trying different variations if you’ve made a diverse batch.
Beyond portion control, the bread-to-meat ratio in a slider is often superior to that of a full-sized sandwich. The smaller bun size ensures that each bite delivers a harmonious balance of soft bread, juicy filling, and melted cheese, preventing any single component from overwhelming the others. This perfect ratio contributes to a more enjoyable and satisfying eating experience.
Moreover, sliders are incredibly versatile. They are equally at home as a hearty dinner option or as an elegant, yet fun, appetizer. Their small size makes them ideal for parties and gatherings, as guests can easily grab one (or several!) without needing plates and cutlery, encouraging mingling and a more casual dining experience. They are also less messy than their larger counterparts, making them kid-friendly and perfect for game days where hands might be busy with other activities. In essence, sliders are the ultimate expression of delicious convenience and communal enjoyment.
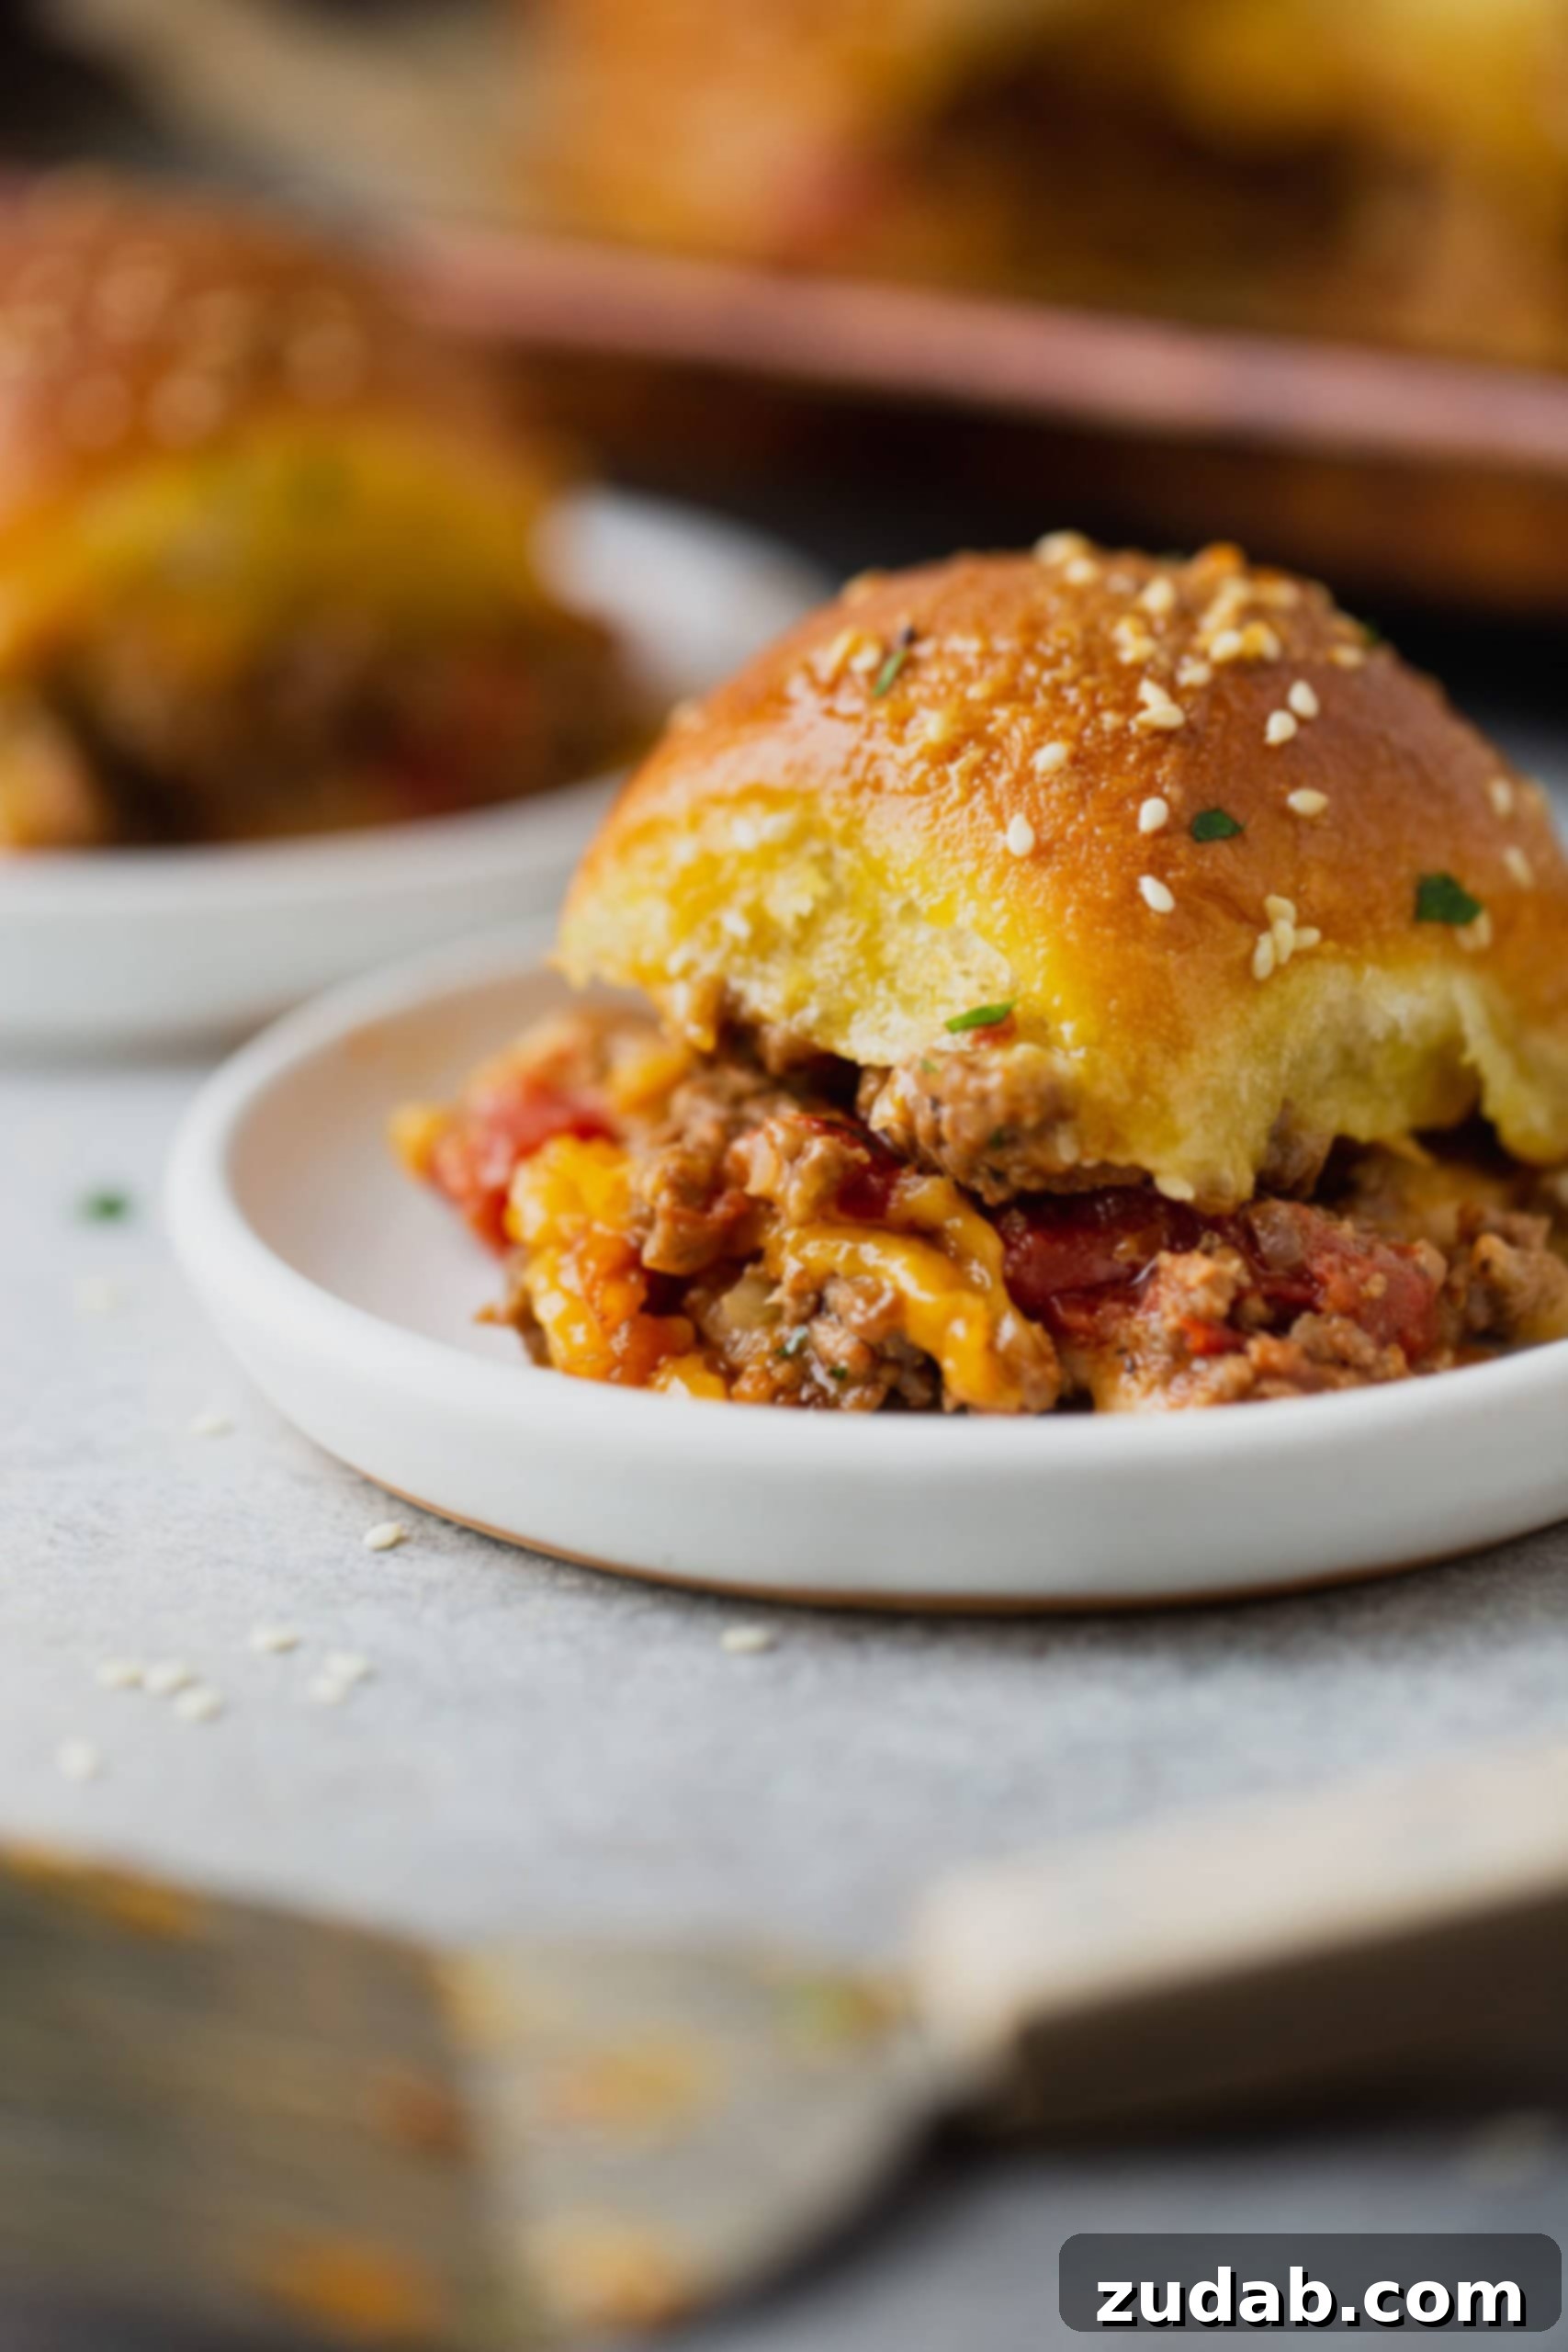
Storage and Reheating Tips for Your Cheeseburger Sliders
These cheeseburger sliders are so delicious, you might not have any leftovers! However, if you do, they store and reheat remarkably well, making them perfect for meal prep or quick snacks later in the week. Proper storage ensures they retain their flavor and texture.
- How Long Will Mini Burgers Keep? Cooked cheeseburger sliders can be safely stored in an airtight container in the refrigerator for up to 4 days. Make sure they are completely cooled before transferring them to the container to prevent condensation, which can make the buns soggy.
- How Do You Reheat Sliders? For best results, reheat sliders in the oven. Preheat your oven to 350°F (175°C). Place the sliders in an oven-safe dish, cover them loosely with aluminum foil to prevent them from drying out, and heat for about 12-15 minutes, or until warmed through and the cheese is re-melted. Microwaving is also an option for a quick reheat, but the buns might become a bit softer, and the texture won’t be as crisp.
- Can Mini Cheeseburgers Be Frozen? Yes, mini cheeseburgers can be frozen, and it’s an excellent way to extend their shelf life. For easier reheating and better quality, it’s best to freeze them individually.
- Freezing Instructions: Allow the cooked sliders to cool completely. Wrap each slider tightly in plastic wrap, then place them in a freezer-safe bag or container. They can be frozen for up to 2-3 months. Importantly, if you plan to freeze them, do not add the butter sauce on top before freezing. The sauce is best made fresh and added just before baking (or reheating if frozen unbaked).
- Reheating Frozen Sliders: To reheat frozen sliders, you have a couple of options. You can transfer them to a baking dish and thaw them in the refrigerator overnight. Alternatively, if you’re in a hurry, you can sit them out at room temperature for about half an hour to partially thaw before baking. Once thawed or partially thawed, add the fresh butter sauce (if not added previously) and sesame seeds, then bake in a 350°F (175°C) oven, covered with foil, for 20-25 minutes, or until hot and bubbly.
With these storage and reheating tips, you can enjoy the deliciousness of your homemade cheeseburger sliders long after the initial feast!
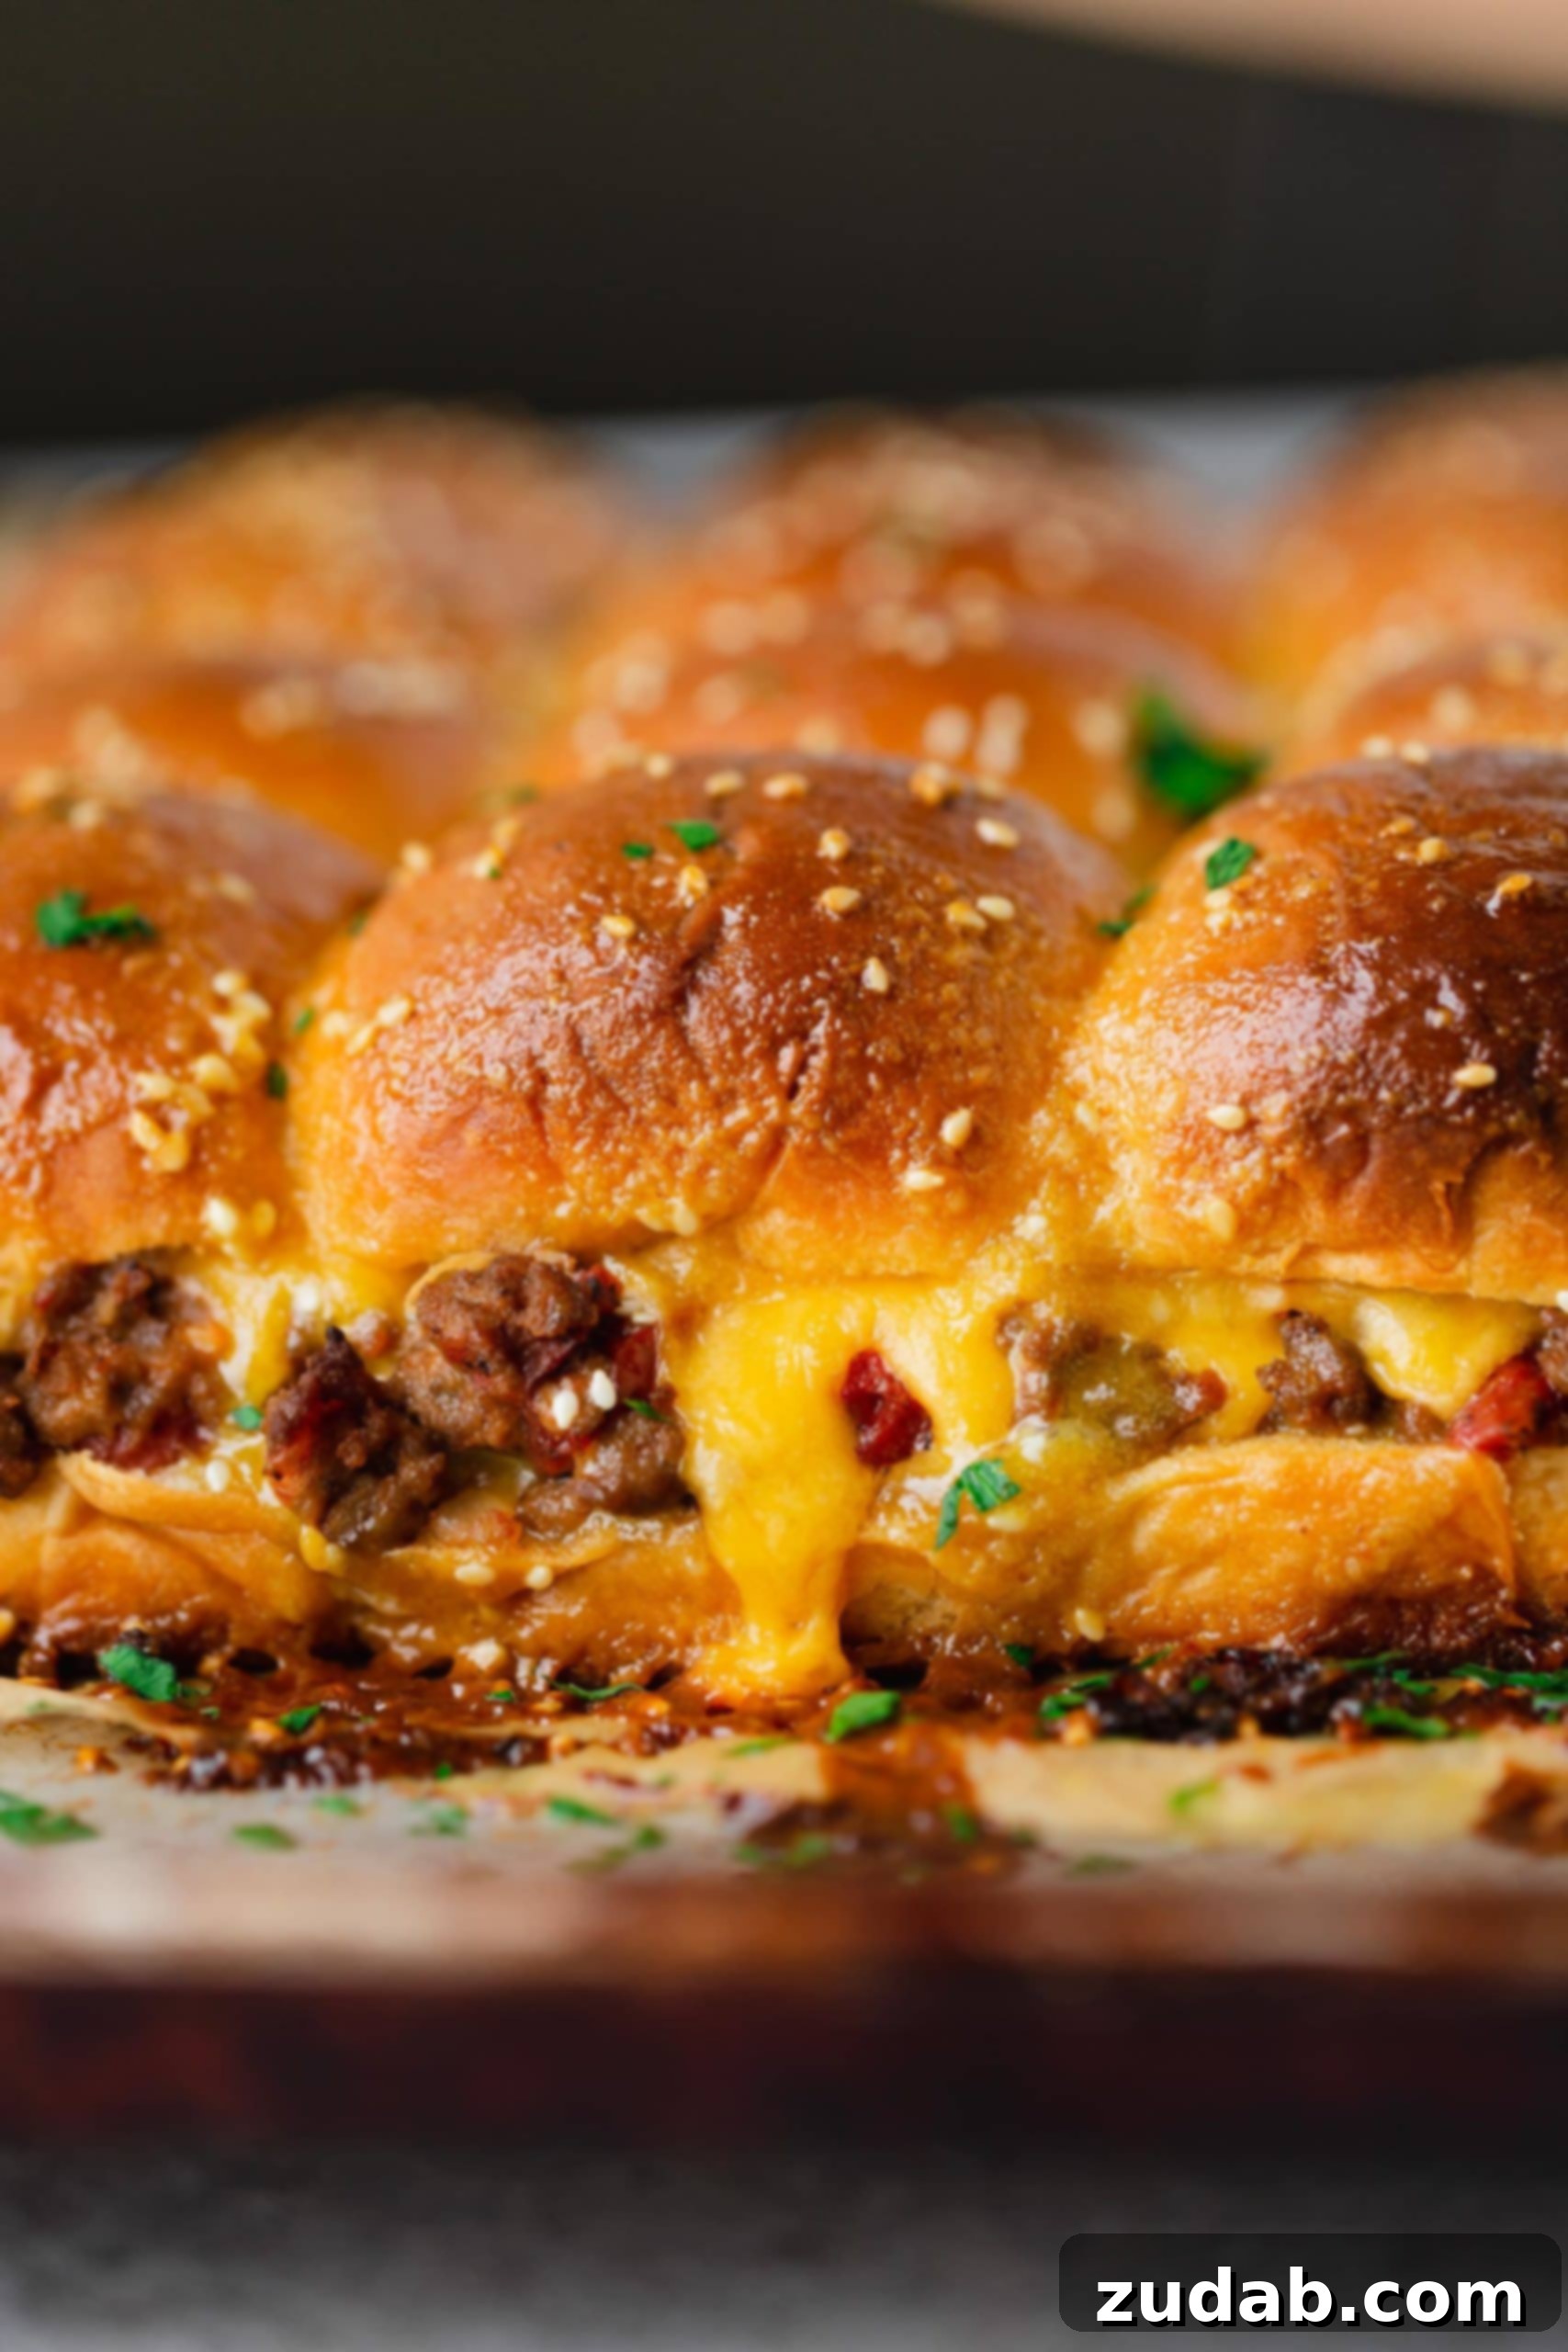
It’s time for football, a festive birthday party, a dazzling New Year’s Eve gathering, or simply a delightful Thursday night dinner with the family! Regardless of the occasion, it’s always the perfect time for these phenomenal cheeseburger sliders. They are incredibly juicy, bursting with rich, savory flavor, and remarkably easy to bring together, ensuring you spend less time cooking and more time enjoying.
Prepare yourself for rave reviews and empty trays, because everyone is going to be coming back for more. With these irresistible mini burgers, you simply can’t stop at just one slider!
Explore More Delicious Slider Recipes
- French Dip Sliders
- Ham and Cheese Sliders
- Sloppy Joe Sliders
- Easy BBQ Meatball Sliders
- Hawaiian Turkey Burgers Sliders
- Chicken Cordon Bleu Sliders
- Cheesy Irish Sliders
- Raspberry BBQ Sliders
- Hawaiian Turkey Sliders
Cheeseburger Sliders
By Sweet Basil
Prep Time: 15 mins
Cook Time: 25 mins
Total Time: 40 mins
Servings: 12
Ingredients
Sliders
- 1 Pound Ground Beef
- 1 Cup Yellow Onion, diced
- 3 Cloves Garlic, minced
- 1/2 teaspoon Salt
- 1/4 teaspoon Pepper
- 1 teaspoon Cumin
- 1 teaspoon Ground Mustard
- 1/4 teaspoon Onion Powder
- 1/2 teaspoon Garlic Powder
- 1/2 teaspoon Smoked Paprika
- 10 oz Diced Tomatoes, drained
- 12 Slices Cheddar Cheese
- 12 Dinner Rolls, Sliced Opened
Sauce
- 1/2 Cup Butter
- 1 Tablespoon Mayonnaise
- 2 Tablespoons Brown Sugar
- 1 Tablespoon Yellow Mustard
- 1 Tablespoon Sesame Seeds
Instructions
- Preheat the oven to 350 degrees F (175 C). Spray a 9×13” pan with nonstick spray and place the bottom halves of the rolls inside the pan. Set aside.
- In a large skillet over medium-high heat, add the ground beef and yellow onions. Cook, stirring often with a ground beef chopper, until browned and the onions are tender. Drain any excess grease. Add the minced garlic and seasonings (salt, pepper, cumin, ground mustard, onion powder, garlic powder, smoked paprika) and stir well. Finally, add the drained diced tomatoes and combine.
- Spread the beef mixture evenly over the bottom halves of the rolls in the baking dish. Top the beef mixture with the 12 slices of cheddar cheese.
- Place the top halves of the rolls over the cheese layer to complete the sliders.
- In a small saucepan over medium heat, melt the butter. Once melted, stir in the mayonnaise, brown sugar, and yellow mustard until the sauce is smooth and fully incorporated.
- Pour the prepared butter sauce evenly over the tops of the rolls. Sprinkle the sesame seeds generously over the sauce. Bake at 350 degrees F (175 C) for 25 minutes, or until the cheese is melted and bubbly and the tops are golden. If needed, tent with foil to prevent over-browning.
Recipe Notes
Note – adapted from Kevin and Amanda
Leftovers can be frozen. Wrap separately and freeze for best results.
Nutrition
Serving: 1 slider, Calories: 383kcal, Carbohydrates: 25g, Protein: 15g, Fat: 25g, Saturated Fat: 12g, Cholesterol: 66mg, Sodium: 578mg, Potassium: 241mg, Fiber: 2g, Sugar: 4g, Vitamin A: 475IU, Vitamin C: 3mg, Calcium: 229mg, Iron: 3mg
Nutrition information is automatically calculated, so should only be used as an approximation.
REMEMBER TO SUBSCRIBE TO our FREE Oh Sweet Basil NEWSLETTER AND RECEIVE EASY RECIPES DELIVERED INTO YOUR INBOX EVERY DAY!
When you try a recipe, please use the hashtag #ohsweetbasil on INSTAGRAM for a chance to be featured in our stories! FOLLOW OH, SWEET BASIL ON FACEBOOK | INSTAGRAM | PINTEREST | TWITTER FOR ALL OF OUR LATEST CONTENT, RECIPES AND STORIES.