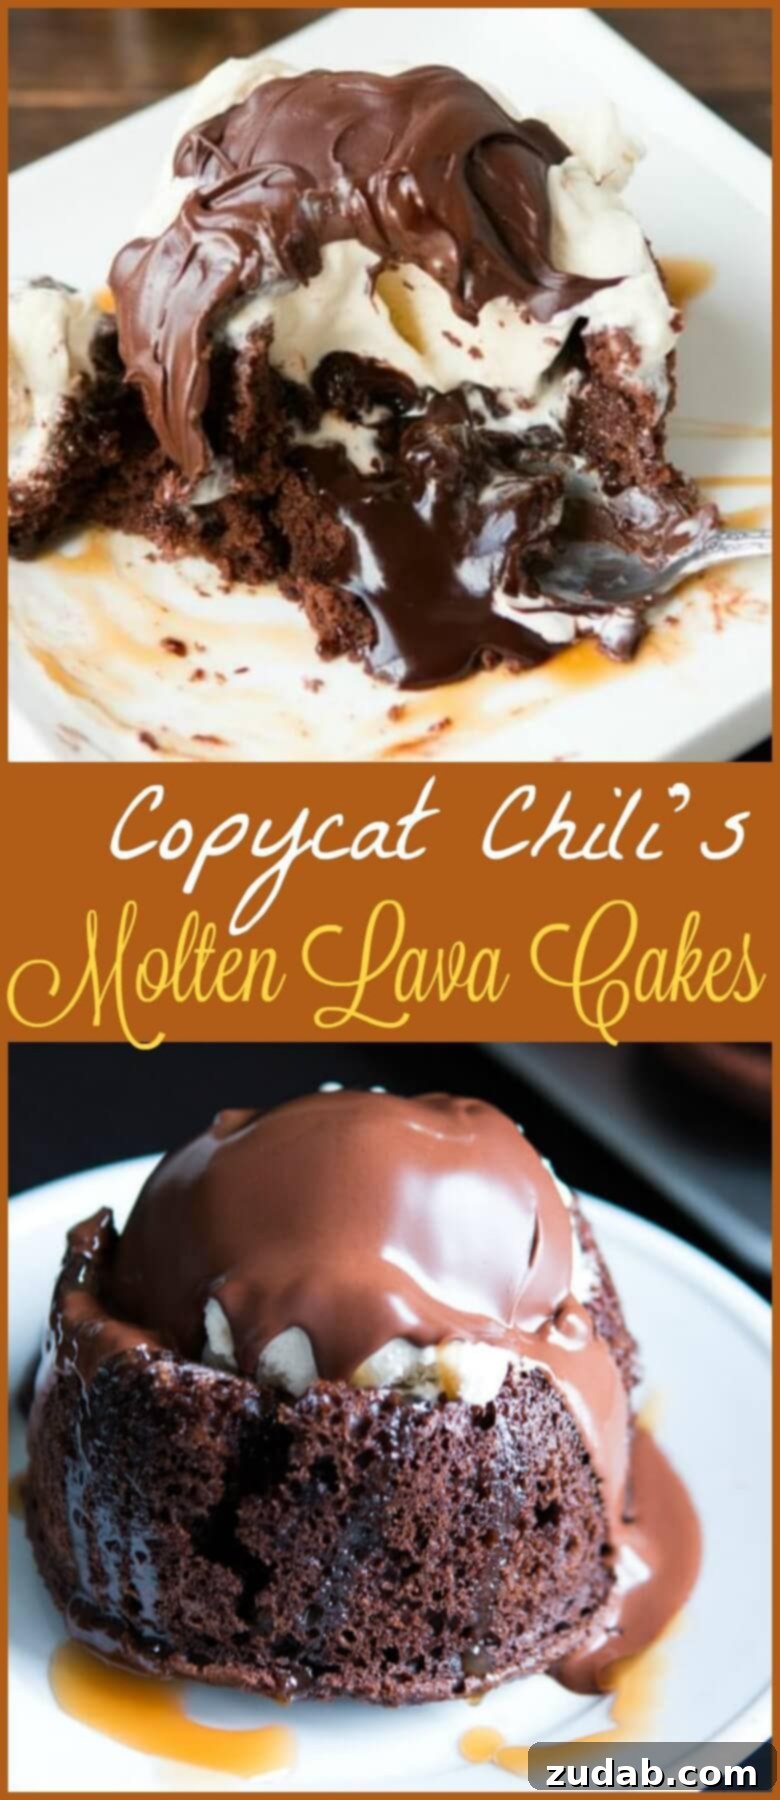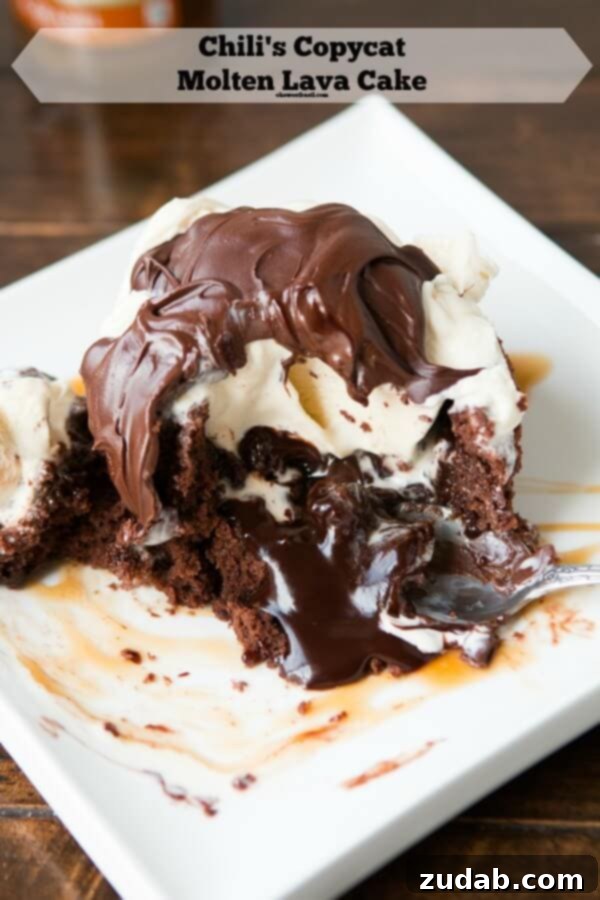
Indulge in Homemade Chili’s Copycat Molten Lava Cakes: Your Ultimate Guide
Prepare to be amazed! Crafting homemade molten lava cakes is significantly simpler than you might imagine. That irresistible hot fudge cascading from the center is a guaranteed crowd-pleaser, perfect for any occasion. For the ultimate dessert experience, don’t forget to serve each warm cake with a generous scoop of creamy vanilla ice cream, creating a delightful contrast of temperatures and textures!
Effortless Molten Lava Cake Recipe: A Chili’s Inspired Delight
If you’ve ever savored Chili’s legendary Molten Lava Cake, you know the pure bliss of that warm, gooey chocolate center. It’s a dessert experience that truly leaves an impression! I vividly recall discovering these heavenly treats years ago while on a trip to Hawaii. Famished after a long journey, the first and only restaurant we stumbled upon was a Chili’s. What a serendipitous find! The molten lava cakes we ordered for dessert were absolutely divine, cementing their place as a favorite.
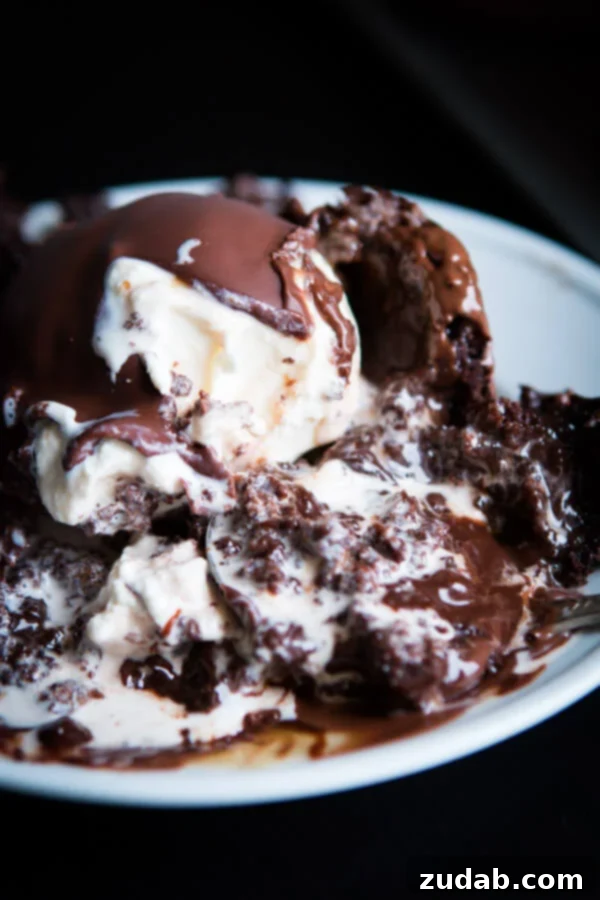
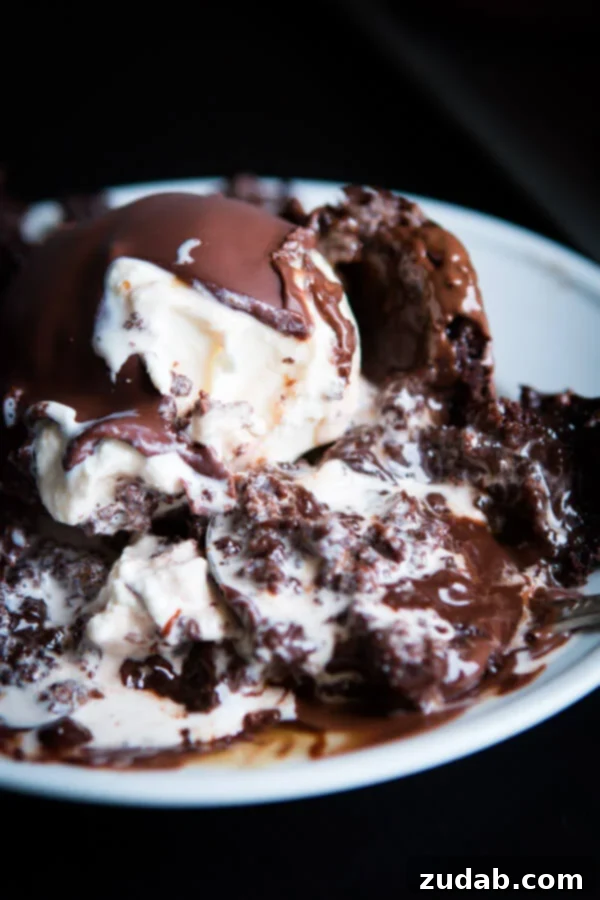
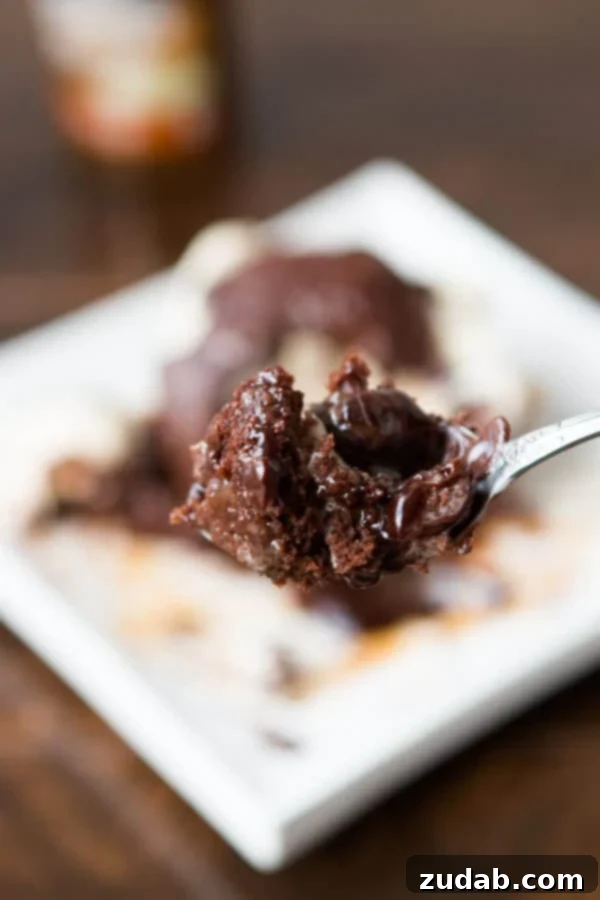
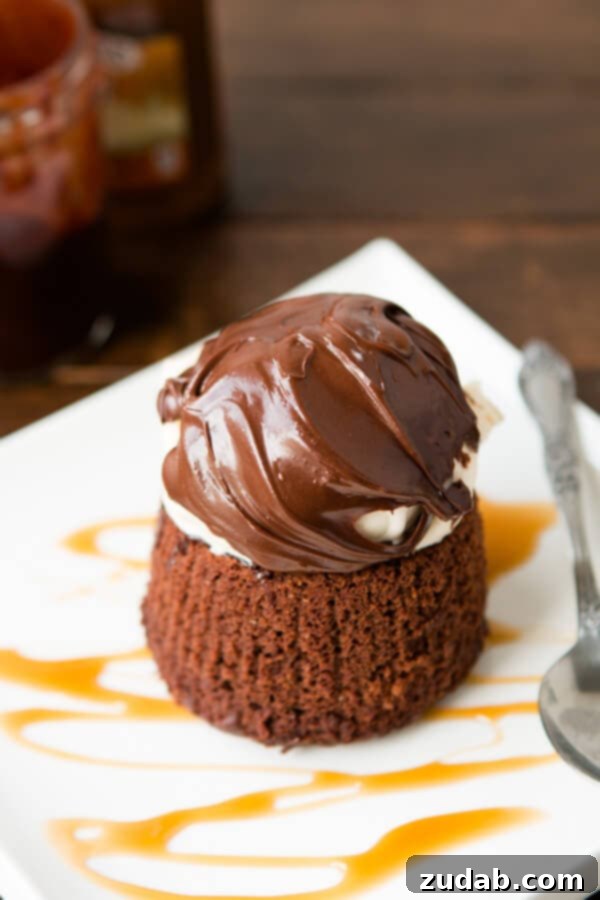
Molten chocolate lava cakes are essentially moist, rich chocolate cakes featuring a surprise filling: a luxurious, warm fudge sauce that erupts when you cut into them. This chocolatey spectacle is typically elevated with a scoop of cool ice cream and a homemade magic chocolate shell, which hardens on contact. The magic of these cakes lies in the delightful contrast—serving them warm allows the cold ice cream to melt slightly, creating an unparalleled symphony of flavors and textures in every bite.
What makes this particular recipe so remarkably easy is our clever use of a boxed cake mix. But don’t let that fool you into thinking it’s anything less than gourmet! We “doctor it up” with a secret ingredient: sour cream. This simple addition transforms the boxed mix into an incredibly moist, tender cake that provides the perfect structure to contain that luscious, flowing fudge center. The sour cream not only adds moisture but also a subtle tang that balances the richness of the chocolate beautifully, making this copycat Chili’s molten lava cake recipe truly exceptional.
The key to achieving that iconic molten “lava” effect is all in the preparation of the hot fudge filling. Rather than simply pouring warm fudge into the baked cakes, we first fill them and then freeze them for a specific duration. This freezing step is crucial. It ensures that when you reheat the individual cakes, the fudge remains distinct and gooey, ready to pour out in a dramatic, delicious cascade, instead of being absorbed into the cake itself. This technique guarantees a spectacular presentation and an even more satisfying chocolate experience.
Imagine a classic poke cake, where the sauce soaks into the cake – that’s certainly delicious in its own right. However, for a true molten lava experience, we want the fudge to remain a distinct, flowing core. By freezing the filled cakes, the hot fudge solidifies just enough to hold its shape within the cake’s core. Then, upon reheating, it liquefies into that perfect, oozing lava consistency, delivering the surprise and decadence that defines a molten lava cake.
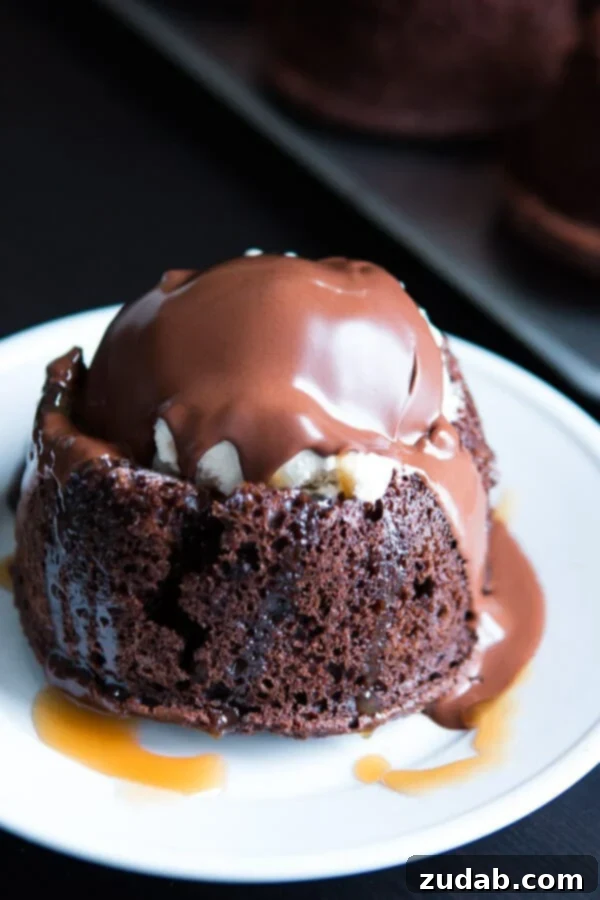
While we’ve included a fantastic homemade hot fudge recipe in the detailed recipe card below, there’s absolutely no judgment if you opt for a store-bought version from the ice cream aisle. Convenience sometimes wins, and a good quality store-bought hot fudge will still deliver a delicious result. However, for the magic chocolate shell, I truly believe it’s far too easy and rewarding to make yourself. It requires just a couple of simple ingredients and minutes of your time, creating a superior, snappier shell that enhances the overall dessert.
To craft your own homemade chocolate magic shell, you simply need chocolate chips and a bit of coconut oil. We often prefer a blend of both milk chocolate and semi-sweet chocolate chips for a balanced flavor, but straight semi-sweet works wonderfully too. Gently melt the chocolate chips with the coconut oil, stirring until smooth and completely combined. Once melted, set it aside. This mixture will harden almost instantly when drizzled over cold ice cream, creating that satisfying, crackling shell. If you need to store your magic shell in the fridge, simply melt it down again gently before spooning it over the ice cream. It will begin to harden right before your eyes, and then all that’s left to do is dig into your own incredibly decadent homemade chocolate molten lava cake!
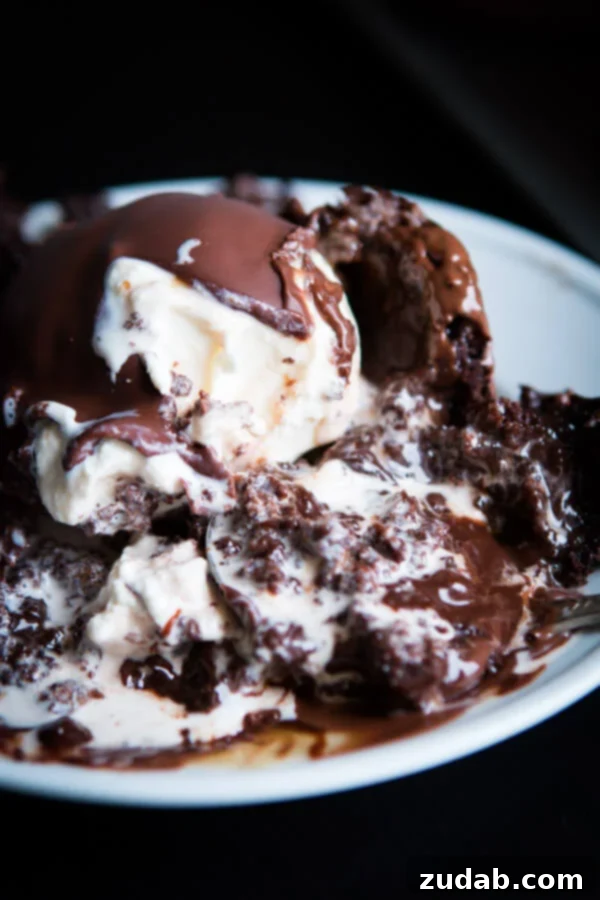
Essential Ingredients for Your Molten Lava Cake
One of the best aspects of this Chili’s copycat molten chocolate lava cake recipe is that it relies on readily available pantry staples. This means you can whip up a batch of these impressive desserts at a moment’s notice, without a special trip to the grocery store. It’s the perfect solution for unexpected guests or a spontaneous craving for something truly decadent!
Here’s a breakdown of the simple ingredients we utilize in this incredibly satisfying homemade lava cake recipe:
- Boxed Hot Fudge Cake Mix: Our preferred choice is Duncan Hines for its consistent quality and rich chocolate flavor. This forms the foundational cake.
- Large Eggs: Essential for structure and richness in the cake batter.
- Milk: Adds liquid to the cake mix, ensuring a smooth batter and tender crumb.
- Vegetable Oil: Contributes to the cake’s moistness and delicate texture.
- Sour Cream: The secret ingredient! It significantly enhances the cake’s moisture content, resulting in an incredibly rich and tender crumb that holds up beautifully to the hot fudge filling.
- Hot Fudge: This is the star of the show, providing that signature molten center. Whether homemade or store-bought, ensure it’s a good quality fudge.
- Vanilla Ice Cream: A classic and indispensable topping that offers a refreshing, creamy contrast to the warm cake.
- Magic Shell: (detailed recipe included in the recipe card below) This homemade chocolate topping hardens instantly on cold ice cream, adding a delightful crunch.
- Caramel Sauce (Optional): For an extra layer of decadence, a drizzle of caramel sauce perfectly complements the chocolate flavors.
Your Step-by-Step Guide: How to Make Molten Lava Cakes
Even after preparing these incredible chocolate molten lava cakes countless times, I am genuinely still surprised at just how simple they are to create right in your own kitchen! Forget complicated pastry techniques; this recipe brings gourmet dessert within everyone’s reach. Here’s the straightforward breakdown of how to achieve those perfect gooey-centered treats:
- Prepare the Batter: In a large mixing bowl, combine the dry boxed cake mix with the eggs, sour cream, milk, and vegetable oil. Whisk these ingredients together thoroughly until just combined and smooth. Be careful not to overmix, as this can lead to a tougher cake.
- Fill and Bake: Lightly grease your cupcake tins (or jumbo muffin pans for a larger cake) to prevent sticking. Fill each cavity approximately three-quarters full with the prepared cake batter. Bake the cakes according to the package instructions on your boxed cake mix, or until a toothpick inserted near the edge comes out clean, but the center still feels slightly soft.
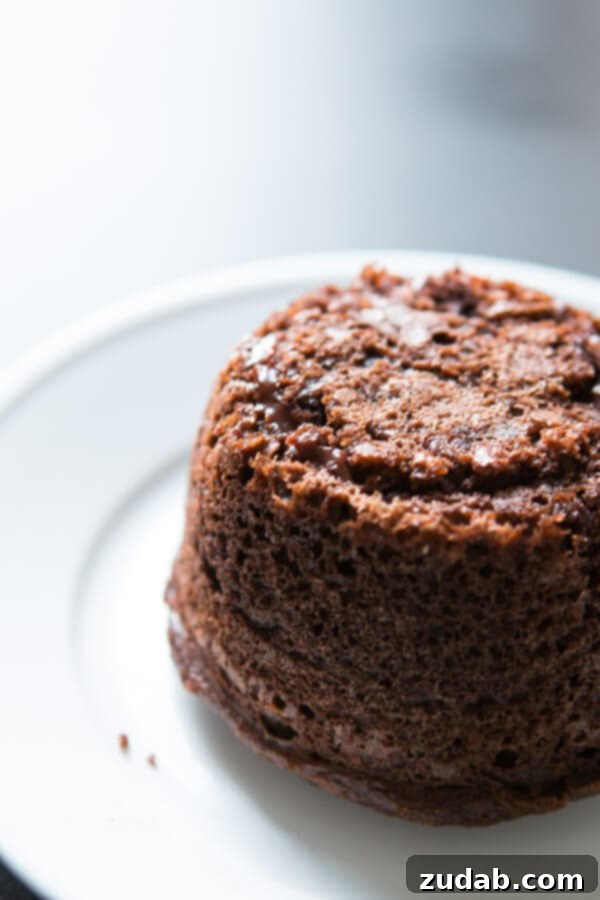
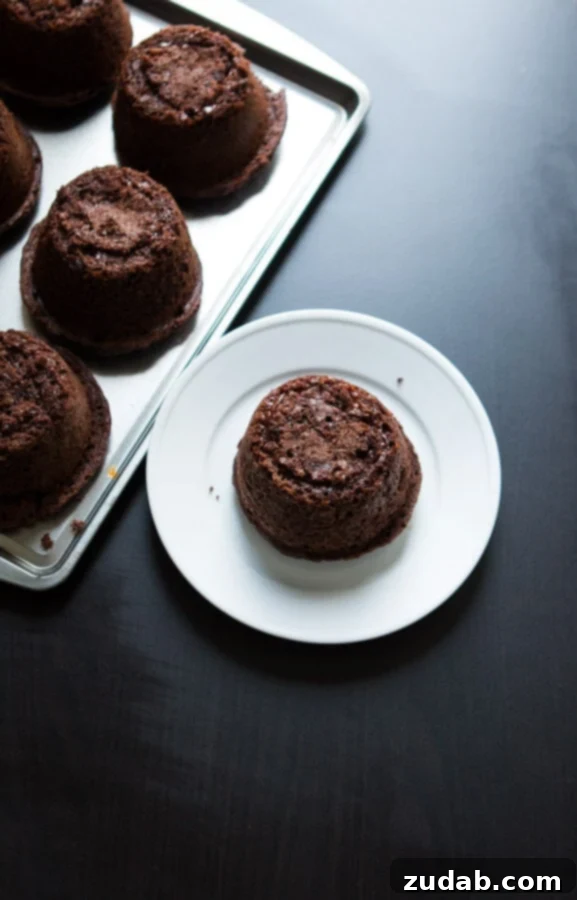
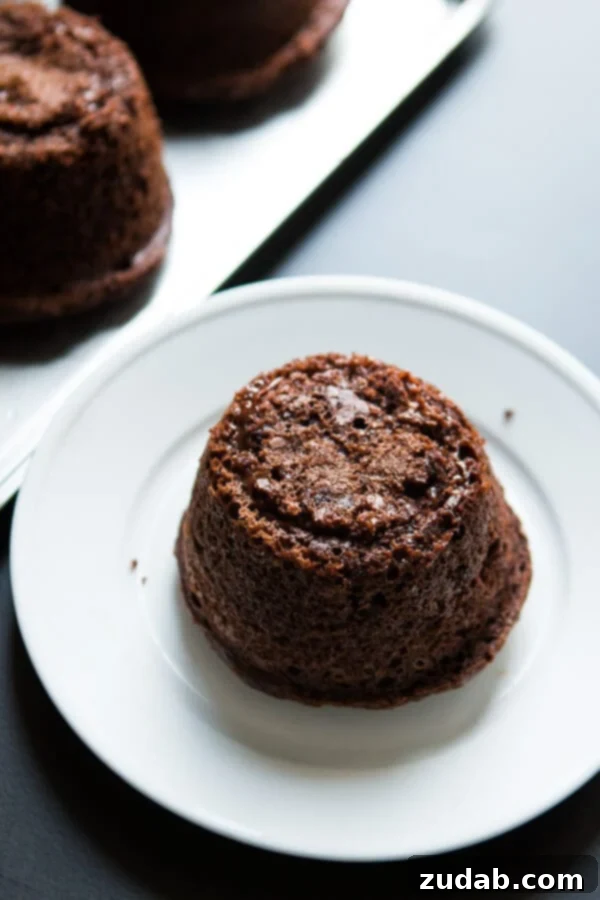
- Create the “Volcano”: Once baked, carefully remove the cakes from the oven. Immediately invert them onto a wire rack or clean surface so they are resting on their tops. This gentle gravity will help flatten the dome and create a slight indentation, naturally forming a “volcano” shape. Allow the cakes to cool completely.
- Hollow the Center: Once cooled, use a small paring knife or a serrated knife to gently cut a hole in the middle of each cake. Be very mindful not to cut all the way through to the bottom. You’re aiming to create a cavity for your molten fudge. Remove the small piece of cake you cut out and set it aside.
- Fill with Hot Fudge: Spoon a generous amount of cooled hot fudge (whether homemade or store-bought) into the hollowed center of each chocolate lava cake. Take the small piece of cake you removed earlier, slice off the bottom circular portion, and use it as a “lid” to cover the hot fudge filling, gently pressing it into place.
- Freeze for Perfection: Place the filled cakes into the freezer for at least 30 minutes. This crucial step solidifies the fudge, ensuring it remains a distinct, gooey center rather than being absorbed by the cake during reheating. You can freeze them for up to 2 days, simply cover the pan with plastic wrap.
- Reheat and Serve: When you’re ready to serve, remove the frozen cakes from the freezer. Reheat them individually in the microwave for about 30 seconds, or until they are warmed through and the hot fudge center is wonderfully gooey and molten.
- The Grand Finale: Transfer each warm lava cake to a serving plate. Top generously with a scoop of vanilla ice cream and, if desired, a drizzle of homemade chocolate magic shell and a touch of caramel sauce. Serve immediately and enjoy the magic!
Planning Ahead: Can I Prep Molten Chocolate Lava Cakes in Advance?
Absolutely! One of the fantastic conveniences of this molten lava cake recipe is its make-ahead potential. You can easily prepare the cakes, fill them with hot fudge, and then freeze them for up to 2 days without compromising their quality or that perfect gooey center. This makes them an ideal dessert for entertaining, as you can do most of the work beforehand and simply reheat them just before serving. To store, arrange the filled cakes in a single layer in an airtight container or wrap the entire pan tightly with plastic wrap to prevent ice crystals from forming. When ready to enjoy, simply retrieve them from the freezer and reheat as you normally would, either in the microwave or oven.
Reheating Options: Can I Reheat Molten Lava Cakes in the Oven?
Yes, while the microwave offers a quick and efficient way to reheat your molten chocolate lava cakes, the oven is also a perfectly viable option, especially if you don’t have a microwave or prefer the texture. To reheat them in the oven, preheat your oven to its lowest possible temperature (typically around 200-250°F or 90-120°C). Place the frozen or refrigerated lava cakes on a baking sheet. Gently cover the baking sheet loosely with aluminum foil. This is crucial to prevent the cakes from drying out while they warm up. Place the covered chocolate molten lava cakes into the preheated oven and warm for approximately 10 to 15 minutes. The exact timing will depend on the wattage of your oven and whether the cakes were frozen or just chilled. You’re looking for the cake to be warm and the fudge center to be delightfully gooey. Be careful not to overbake, as this could solidify the “lava” effect you’re aiming for.
Cake Base Flexibility: Can I Make Lava Cakes From Homemade Cake?
Absolutely! While this recipe champions the ease and convenience of a boxed cake mix for its simplicity, you are certainly welcome to use your favorite homemade chocolate cake recipe as the base. If you opt for a homemade cake, ensure it’s a moist and tender chocolate cake that can be easily shaped and filled after baking. Simply bake your homemade chocolate cake in cupcake or jumbo muffin tins, allow it to cool, and then proceed with the steps of hollowing out the center, filling with hot fudge, and freezing, as outlined in our recipe. This will allow you to enjoy the molten lava experience with your preferred scratch-made cake.
Exploring Other Options: Can I Use Another Type of Boxed Cake Mix?
You can certainly experiment with different types of boxed cake mixes! Our primary recommendation is to stick with a chocolate cake mix of some kind, as it best complements the hot fudge center and creates that classic molten lava cake flavor profile. However, if you’re feeling adventurous, you could try a devil’s food, dark chocolate, or even a German chocolate cake mix for slightly different nuances. If you decide to use another flavor of boxed cake mix and find that it turns out wonderfully, please share your experience by leaving a comment below! We love hearing about your creative variations and successes in the kitchen.
Expert Tips for Molten Lava Cake Perfection
Achieving the perfect molten lava cake is an art, but with these expert tips, you’ll be a master in no time! Pay close attention to these details for a truly show-stopping dessert:
- Boxed Mix Usage: First and foremost, a crucial detail to remember is that the boxed cake mix in this recipe is incorporated as a dry ingredient directly into the batter. You do NOT follow the instructions on the side of the box that call for additional ingredients like eggs or oil separately for the cake mix. You use only the dry cake mix itself, combined with the other specified ingredients (eggs, sour cream, milk, oil) in our molten lava cake recipe. This ensures the unique texture required for our copycat creation.
- Choosing the Right Pan: While you can technically make mini cakes in various types of bakeware, mini bundt pans or Texas-sized cupcake pans are absolutely fantastic for achieving the ideal shape and size. We highly recommend using a jumbo muffin pan, similar to ones often found on Amazon. Investing in a good quality pan is important; cheaper, flimsy pans can quickly brown the cakes unevenly, compromising both taste and appearance. Look for sturdy, non-stick pans that distribute heat evenly.
- Prepping Your Pans: Always generously spray your muffin or cupcake tins with a non-stick baking spray. For an extra layer of non-stick protection, you can also dust the greased cavities with a little cocoa powder, especially if your pans are older or less non-stick. This helps ensure your delicate cakes release cleanly after baking.
- Creating the “Volcano” Indentation: When the cakes are freshly baked and still warm, invert them onto a wire rack. The residual heat and gravity will naturally help flatten the dome tops, creating a more uniform “volcano” shape for easy filling. This technique is much more reliable than trying to slice off the bottoms to flatten them, which can sometimes lead to the fudge seeping out.
- Mindful Hollowing: When you’re cutting the hole in the center of each cooled cake to create the cavity for the hot fudge, exercise extreme caution. It’s surprisingly easy to get carried away and accidentally cut all the way through the bottom of the cake. Use a small paring knife and work slowly, aiming for a depth that leaves a good, solid cake base. This prevents any molten fudge from leaking out prematurely.
- Fudge Temperature: Ensure your hot fudge is cooled before filling the cakes. If it’s too warm, it might partially melt the cake or cause the structure to weaken, leading to potential leaks. A cool, thick fudge is best for maintaining its distinct core during the freezing process.
- Serving Temperature: For the most dramatic “lava” effect, serve your molten lava cakes immediately after reheating. The contrast between the warm cake and hot fudge and the cold ice cream is truly magical.
- Get Creative with Toppings: While vanilla ice cream and chocolate magic shell are classic, don’t hesitate to get creative! Consider toppings like fresh berries (raspberries, strawberries), a dusting of powdered sugar, a dollop of whipped cream, toasted nuts, or even a sprinkle of sea salt to enhance the chocolate flavor.
More EASY CAKE RECIPES:
-
- Chocolate Cherry Cake
- Apple Cake with Caramel Frosting
- Pumpkin Cake with Maple Frosting
- Flourless Chocolate Cake
- The Very Best Banana Pudding Bundt Cake
- My Favorite Carrot Cake
- Chocolate Texas Sheet Cake
- ALL OF OUR CAKE RECIPES!
Chili’s Copycat Molten Lava Cakes: The Full Recipe
Chocolate Molten Lava Cakes
Sweet Basil
1 hr 25 mins
30 mins
1 hr 55 mins
8 large or 16 regular
Homemade molten lava cakes are way easier to make than you’d think, and that hot fudge oozing out is such a crowd pleaser! Don’t forget to serve with a scoop of ice cream!
Ingredients
Molten Lava Cakes
- 1 Box Duncan Hines Fudge Cake Mix
- 3 Large Eggs
- 1/2 Cup Sour Cream
- 1 Cup Milk
- 1/2 Cup Oil (Vegetable)
- Vanilla Ice Cream, for serving
- Chocolate Shell Ice Cream Topping, for serving
- Caramel Sauce, for serving
Hot Fudge
- 1 Can Sweetened Condensed Milk, 14-oz.
- 1 Bag Semi Sweet Chocolate Chips, 12-oz.
- 4 Tablespoons Unsalted Butter
- 1 teaspoon Pure Vanilla Extract
- 1 Pinch Salt
Magic Shell
- 2 Cups Chocolate Chips, (we do half milk, half semi-sweet or all semi-sweet)
- 1/4 Cup Coconut Oil
Instructions
Make the Lava Cakes:
- In a large bowl, stir together the dry cake mix, eggs, sour cream, milk and oil.
- Spray a large Cupcake pan with nonstick spray and evenly distribute batter 3/4 way full. Bake according to package directions.
- Turn the cakes out onto their tops creating a “volcano” and allow to cool completely.
- Using a paring or serrated knife, gently cut a hole out of the center without going clear to the bottom.
- Fill with hot fudge that is cool and then slice off the bottom circle of the piece of cake you removed and place it on the hot fudge hole like a lid.
- Freeze for 30 minutes, up to 2 days with plastic wrap over the pan of cakes.
- Remove the cakes from the freezer and reheat in the microwave until warm, about 30 seconds.
- Top with ice cream, caramel, and magic shell.
Make the Hot Fudge:
- Melt all of the ingredients (Sweetened Condensed Milk, Semi Sweet Chocolate Chips, Unsalted Butter, Pure Vanilla Extract, Salt) in a medium saucepan over medium heat.
- Bring to a boil, stirring constantly.
- Continue to boil and stir for two minutes.
- Remove the pan from the heat and continue to stir for one minute.
- Allow the fudge sauce to cool completely before using.
Make the Magic Shell:
- Place the chocolate chips in a microwave-safe bowl along with the coconut oil and slowly heat for 30-second intervals, stirring often until melted and smooth.
- Serve over cold ice cream, and it will harden instantly.
Recipe Notes
These cakes are fantastic for making ahead of time and freezing. Just remember to cover them tightly with plastic wrap to prevent any ice crystals from forming, preserving their perfect texture.
Nutrition
Calories: 1284kcal,
Carbohydrates: 122g,
Protein: 17g,
Fat: 84g,
Saturated Fat: 40g,
Polyunsaturated Fat: 9g,
Monounsaturated Fat: 29g,
Trans Fat: 1g,
Cholesterol: 120mg,
Sodium: 567mg,
Potassium: 1030mg,
Fiber: 9g,
Sugar: 87g,
Vitamin A: 600IU,
Vitamin C: 1mg,
Calcium: 349mg,
Iron: 9mg
Nutrition information is automatically calculated, so should only be used as an approximation.