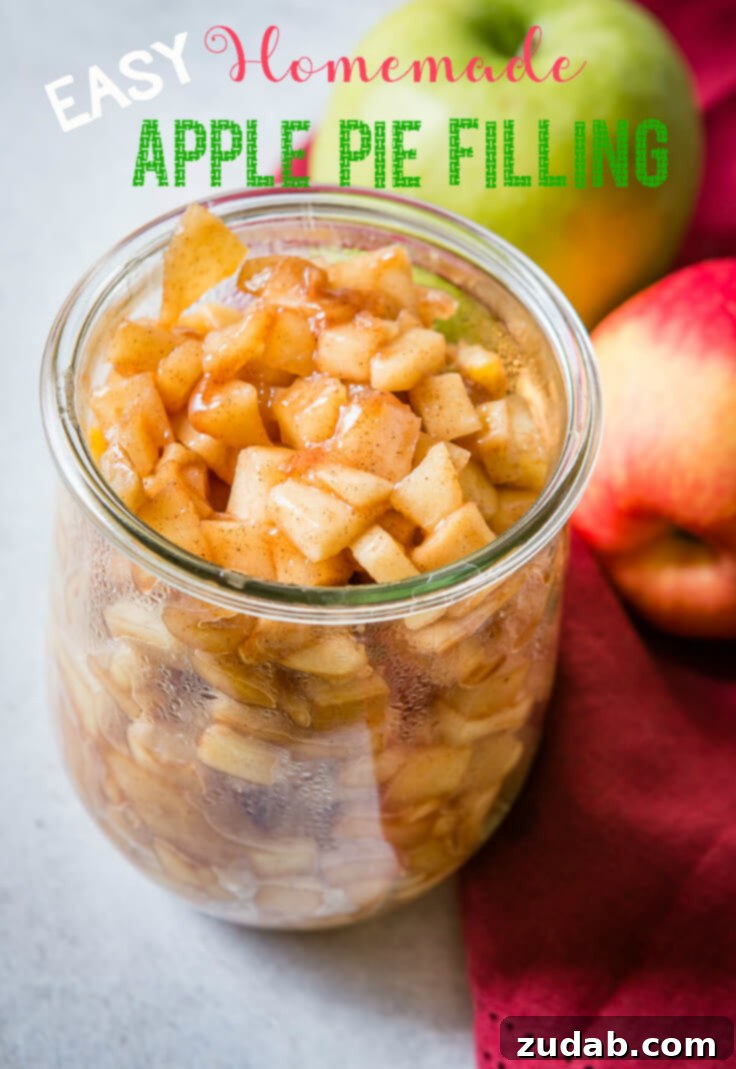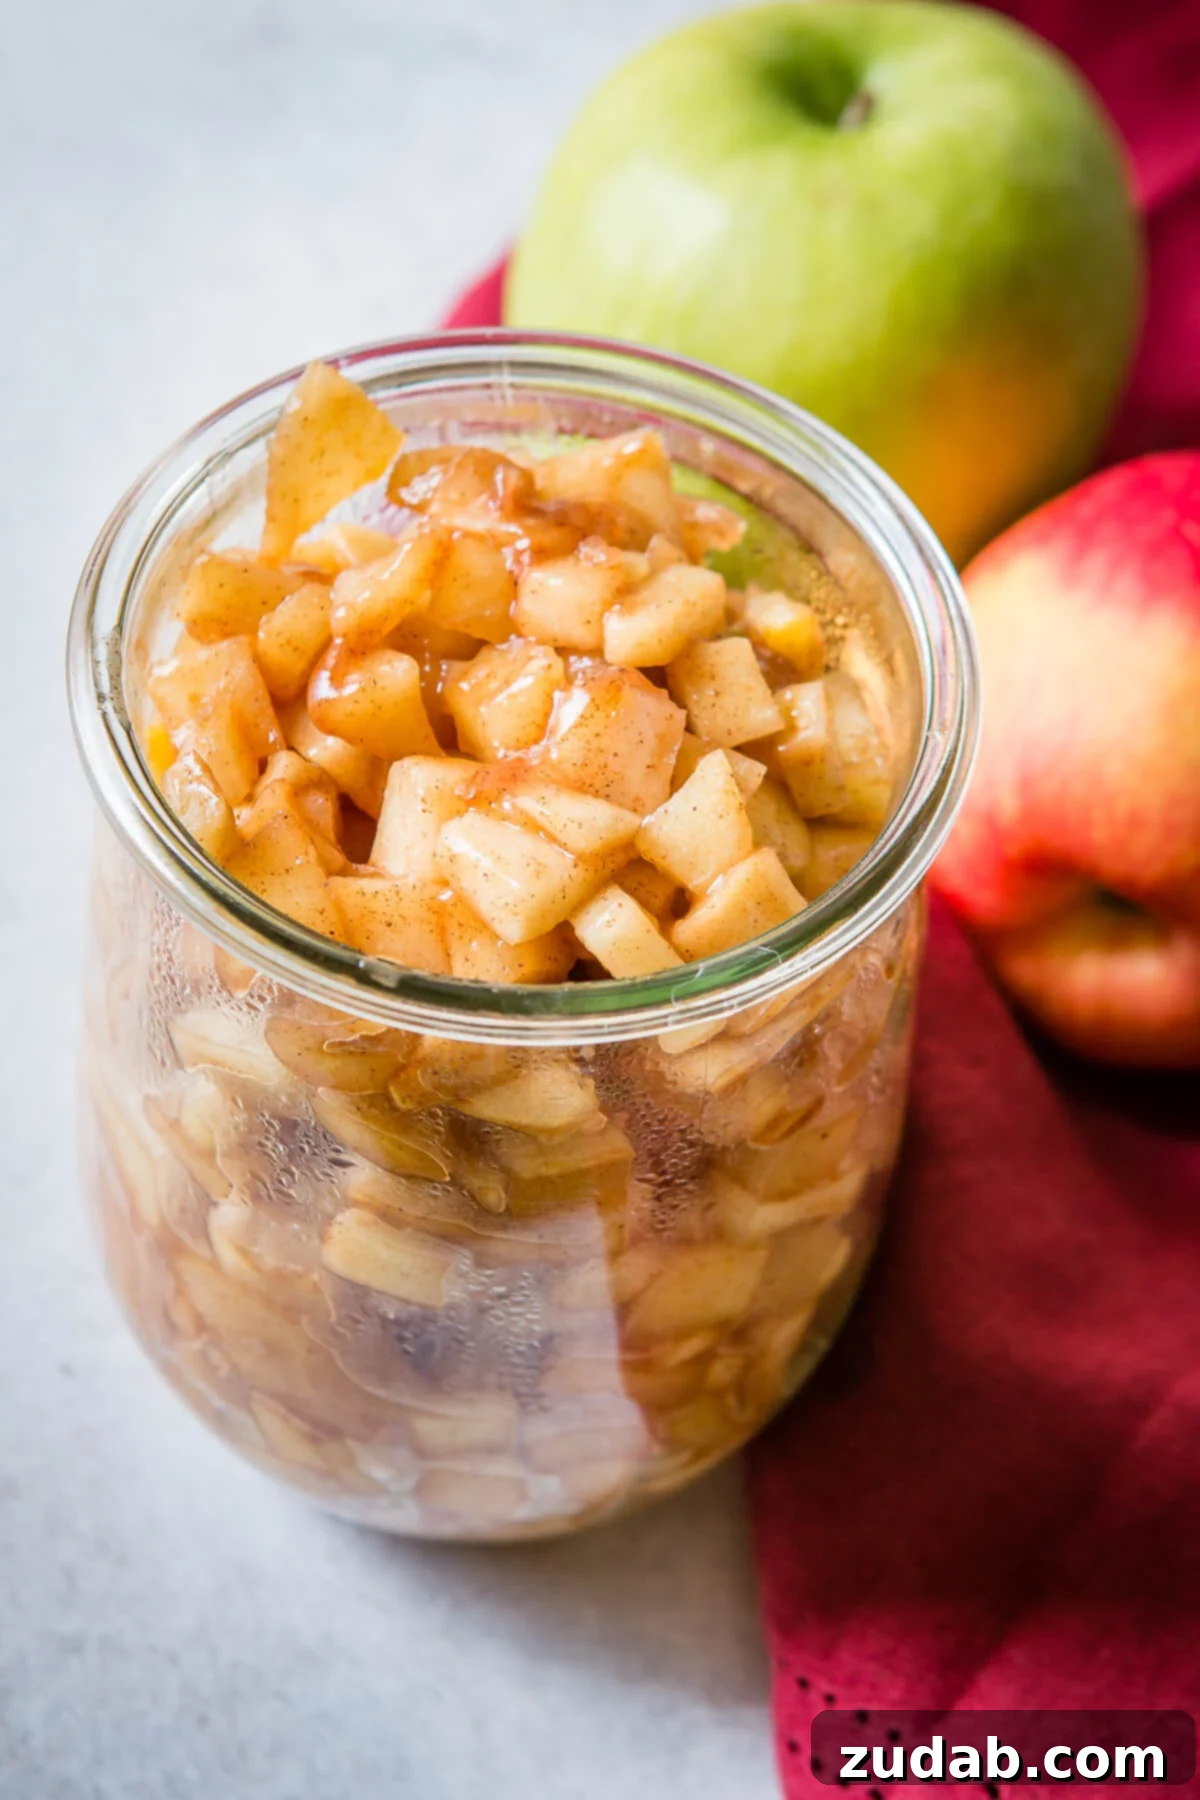
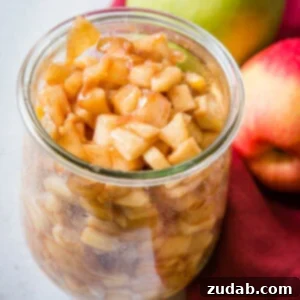
As the crisp autumn air arrives and leaves begin to turn, it heralds the much-anticipated pie season. And what better way to celebrate than by sharing our cherished family recipe for a truly easy homemade apple pie filling? This recipe isn’t just about crafting a delicious treat; it’s about simplicity, flavor, and the wonderful convenience of being able to freeze your pie filling for future enjoyment. Imagine having that rich, spiced apple goodness ready whenever the craving strikes, making homemade apple pie an effortless delight year-round.
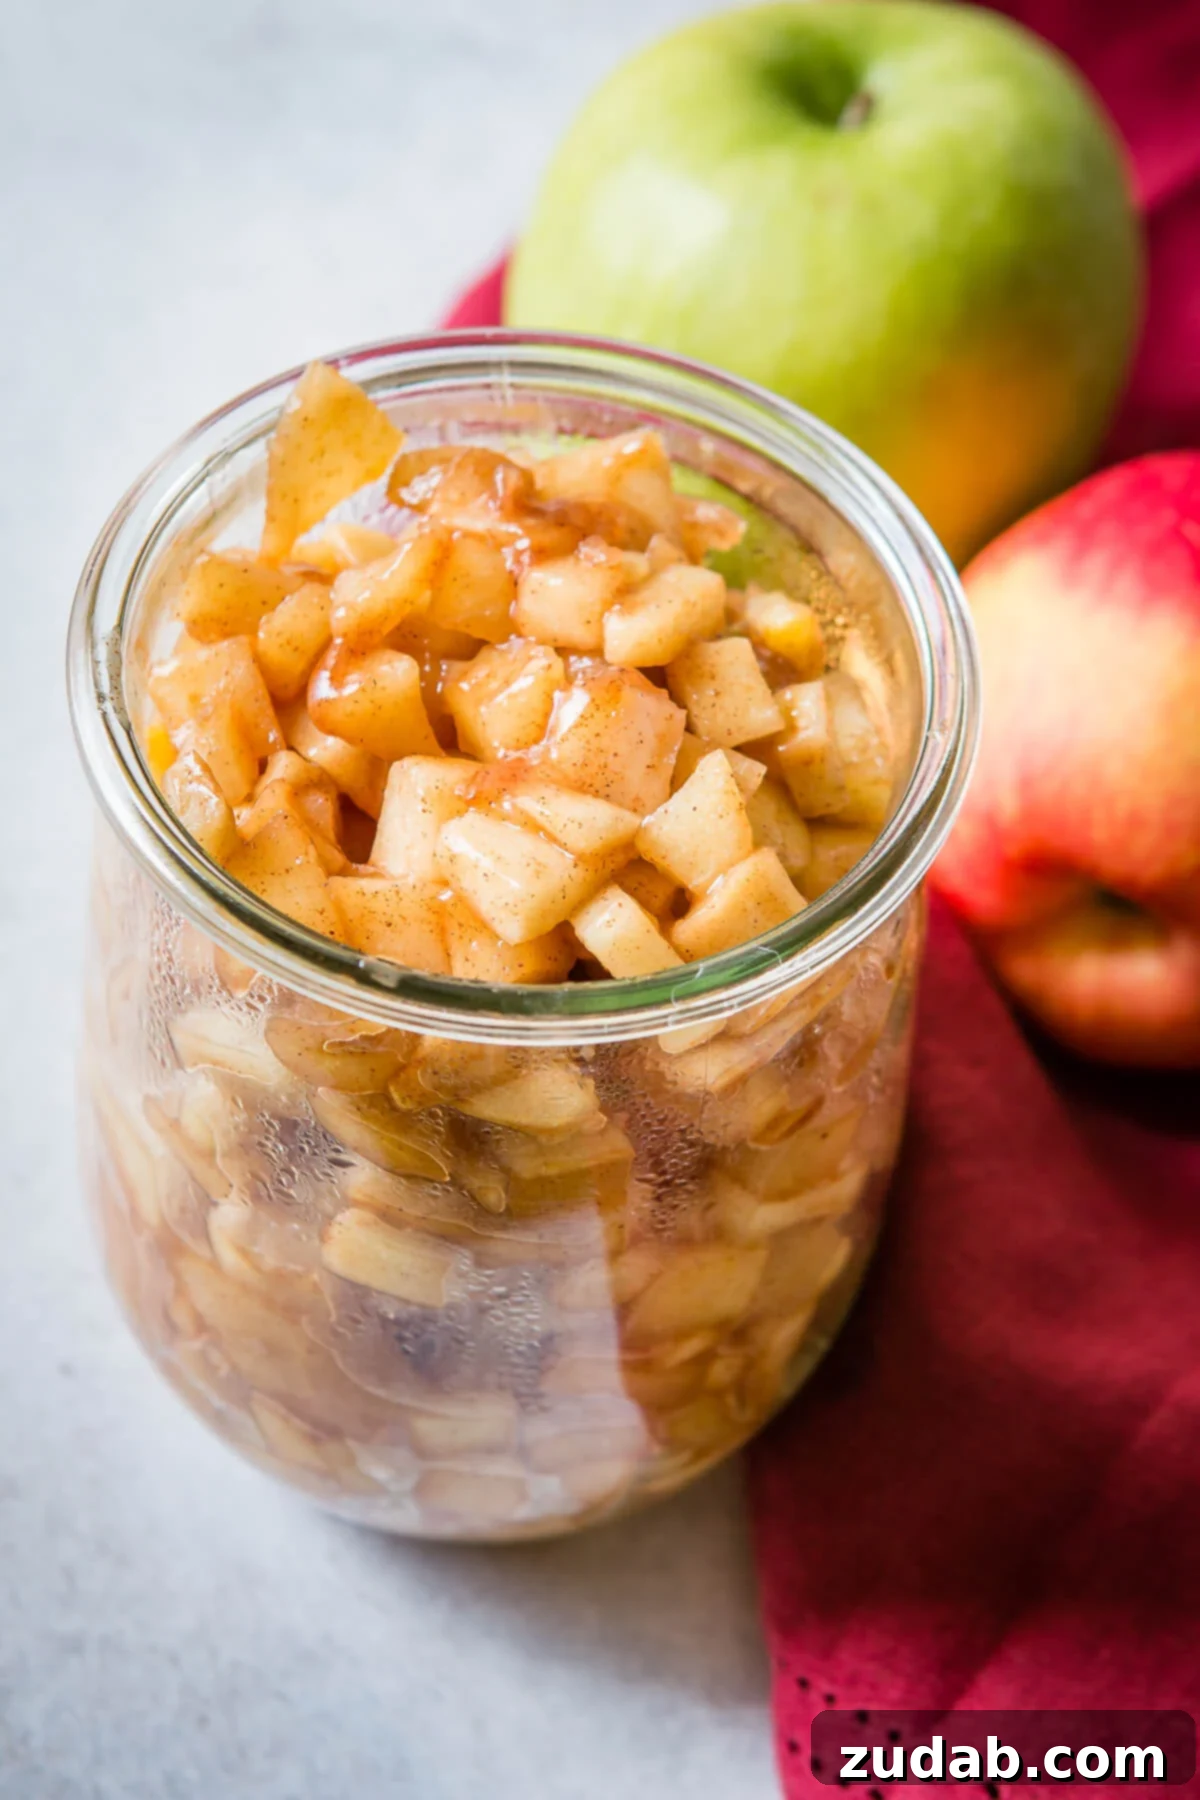
Crafting the Perfect Homemade Apple Pie Filling
Growing up, my home was always filled with the comforting aromas of fresh preserves, especially during the bountiful summer months. My mom was a canning virtuoso, transforming summer’s harvest into deliciousness that lasted us through the long winter. It was an amazing experience, and this easy apple pie filling recipe always brings back those fond memories of her dedication and the wholesome goodness of homemade food.
As children, we often take these traditions for granted. But as adults, we find ourselves eagerly seeking to recapture those flavors, soaking up every recipe, every piece of advice from our parents. While I haven’t quite mastered my mom’s canning techniques (though I truly should, because nothing compares to her fresh canned green beans!), I’ve embraced the art of freezing. This homemade apple pie filling is a testament to that. It’s the perfect way to utilize those freshly picked fall apples, preserving their vibrant flavor and crisp texture for a taste of autumn any time of year. This recipe transforms simple ingredients into an extraordinary experience, bringing a touch of nostalgic comfort to your kitchen.
On that note, I must absolutely share her applesauce recipe with you soon. It’s hands down my favorite applesauce, and nothing store-bought even comes close. It’s like comparing a garden-fresh tomato to one from the supermarket – they’re simply not the same league. The depth of flavor and personal touch in homemade preparations truly makes all the difference.
Essential Ingredients for the Best Apple Pie Filling
Creating an exceptional homemade apple pie filling doesn’t require a long list of exotic items. In fact, the magic often lies in the quality and simplicity of a few key ingredients. Here’s a detailed look at what you’ll need to achieve that perfect balance of sweetness, spice, and tender apple goodness:
- Premium Quality Apples: The foundation of any great apple pie filling. Choosing the right varieties is crucial for both flavor and texture.
- Warming Spices: Typically cinnamon and nutmeg, these provide the classic aromatic profile that defines apple pie. They evoke warmth and comfort with every bite.
- Unsalted Butter: Adds a rich, velvety depth and helps to carry the flavors of the spices throughout the filling. Its creamy texture contributes to a luxurious mouthfeel.
- Cornstarch: Our secret weapon for achieving that perfectly thickened, glossy filling without making it gluey. It creates a smooth consistency that holds the apples together beautifully.
- Fresh Water: Essential for cooking down the apples gently and creating the base for our thickening slurry. It helps to extract and blend the apple flavors.
- Granulated Sugar: Provides the necessary sweetness, balancing the tartness of the apples and enhancing their natural sugars. The amount can be adjusted to your preference and the sweetness of your chosen apples.
When it comes to crafting truly homemade apple pie filling, remember that simple, high-quality ingredients are always the best choice. They allow the natural flavors of the apples and spices to shine through, creating a filling that’s superior to any store-bought alternative.
Selecting the Best Apples for Your Homemade Pie Filling
The heart of any exceptional apple pie filling lies in the apples themselves. Choosing the right variety, or combination of varieties, is paramount to achieving the perfect balance of texture and flavor. You want apples that hold their shape well during cooking, offering a pleasant bite rather than turning into a mushy applesauce-like consistency. Look for apples with a crisp snap when you bite into them – this indicates they have enough firmness to withstand the heat of baking.
Our preferred combination for an ideally balanced apple pie filling is two Granny Smith apples paired with two Honeycrisp apples. The Granny Smiths contribute a delightful tartness that cuts through the sweetness and provides a bright, refreshing counterpoint. Their firm texture also ensures they don’t break down too quickly. Complementing this, the Honeycrisp apples offer a wonderfully sweet flavor and maintain a fantastic, crisp texture even after cooking. This duo creates a perfectly harmonious flavor profile – a beautiful blend of sour and sweet – and a satisfyingly varied texture in your finished apple pie filling.
However, don’t feel limited to just these two! Many other apple varieties excel in pie filling. Consider Braeburns for their crispness and sweet-tart flavor, Fuji apples for their firm texture and sweetness, or Golden Delicious for their mild, sweet taste that blends well with tarter varieties. Jonagold apples also offer a great balance of sweetness and acidity. The key is to experiment and find what you love, always aiming for a mix of textures and flavors. Avoid overly soft or mealy apples, as these will likely become indistinguishable mush in your pie.
Mastering the Art of Making Apple Pie Filling from Scratch
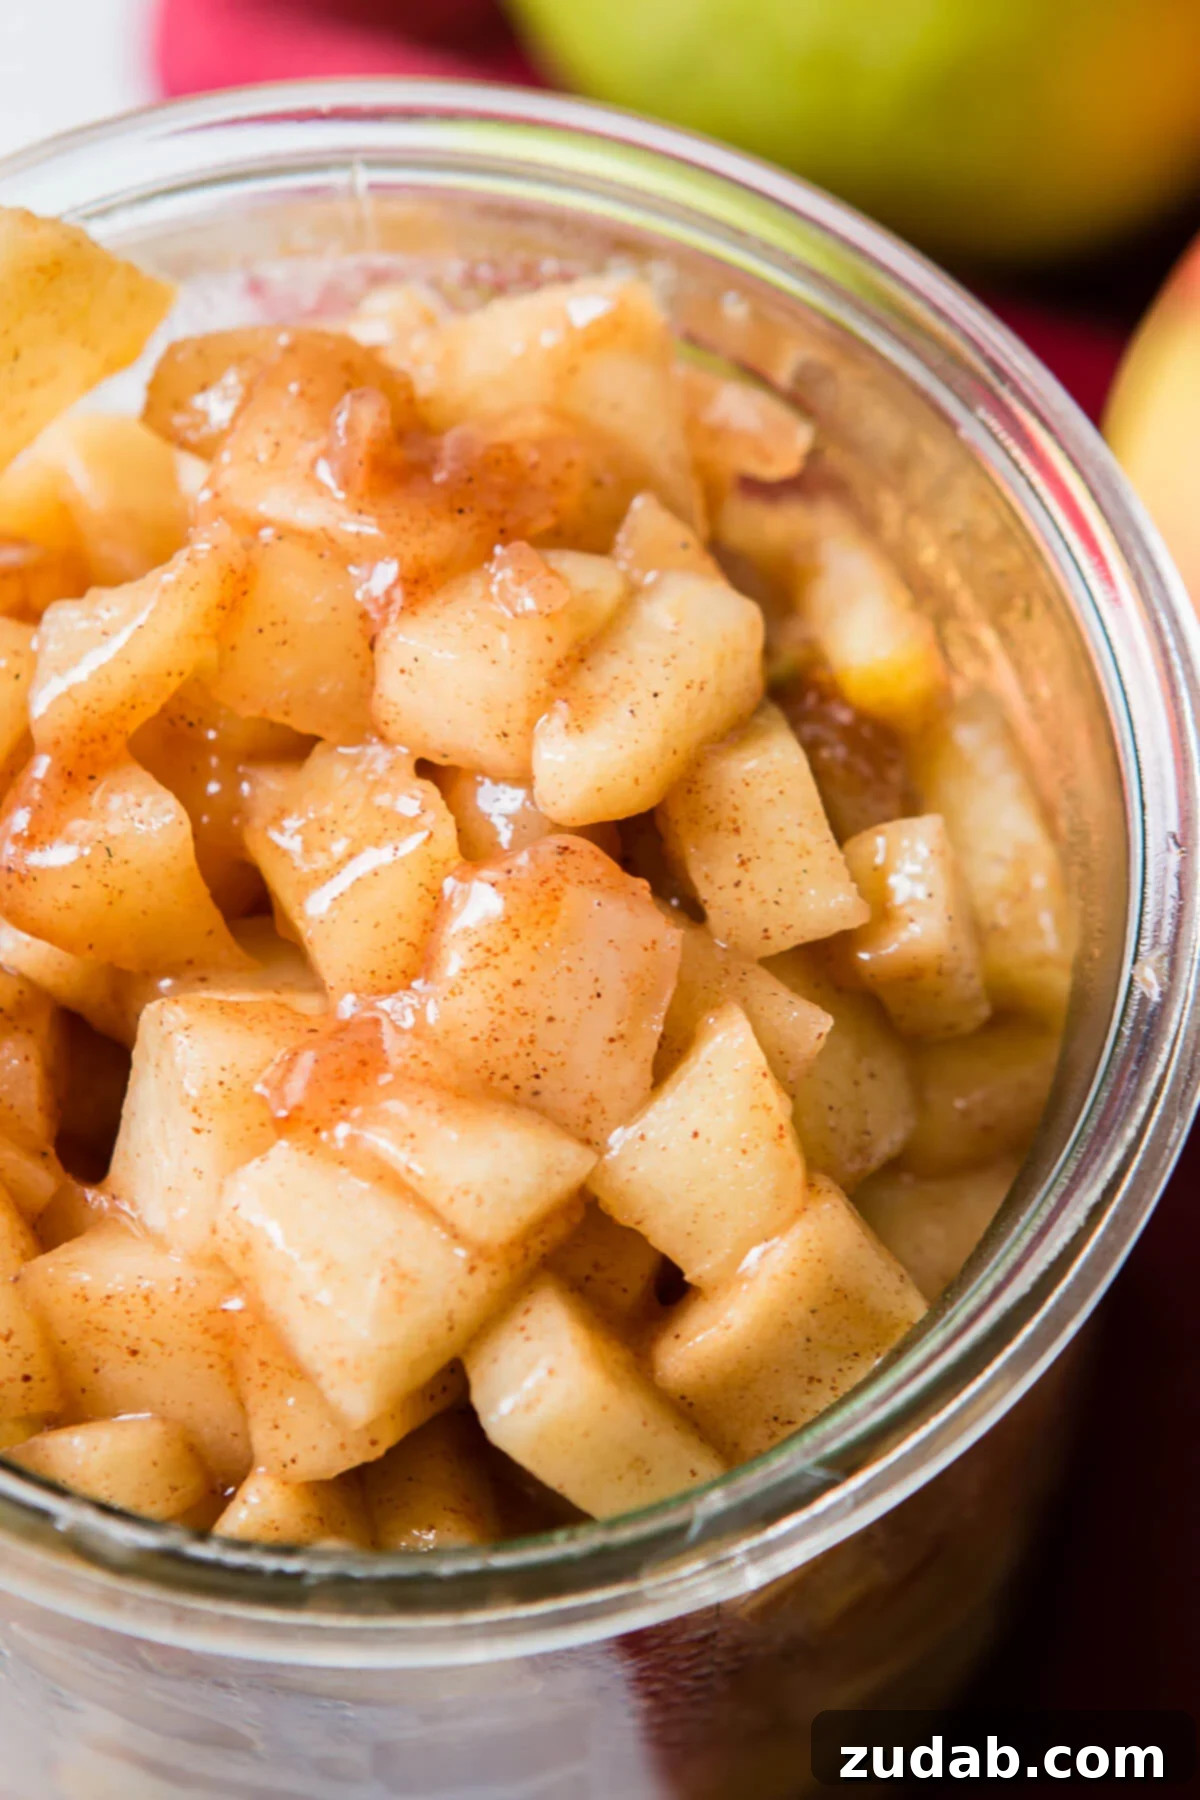
You might think making homemade apple pie filling from scratch is a daunting task, but I promise it’s surprisingly simple and incredibly rewarding. If you can confidently peel and dice apples, you’ve already mastered the hardest part of this recipe! The process is straightforward, yielding a filling far superior to anything you’ll find in a can. Here’s a detailed breakdown of how to create this delectable apple pie filling:
- Prepare Your Apples: Begin by thoroughly washing your chosen apples. Then, peel, core, and dice them into uniform, bite-sized pieces. Consistency in size is important to ensure even cooking, so strive for roughly ¾-inch cubes or slices, depending on your preference. This also helps them soften at the same rate.
- Infuse the Flavors: In a large, non-stick skillet or Dutch oven, melt the butter over medium heat. Once melted, add your preferred warming spices – typically cinnamon and nutmeg. Sauté the spices in the butter for about 30 seconds to a minute, just until they become fragrant. This gentle heating helps to bloom the spices, releasing their full aromatic potential and infusing the butter with rich flavor.
- Combine and Begin Cooking: Add the prepared diced apples to the skillet, along with the granulated sugar and a small amount of water (about 3 tablespoons). Stir everything together gently, ensuring the apples are well coated with the spiced butter and sugar mixture.
- Simmer to Perfection: Cover the skillet and allow the apples to cook down slowly over medium-low heat. This step is crucial for developing flavor and softening the apples without turning them to mush. Cook for about 10-15 minutes, stirring occasionally. You want the apples to be slightly softened but still retain some firmness and shape. Avoid high heat, as it can burn the sugar and compromise the apple texture.
- Prepare the Thickening Slurry: While the apples are simmering, prepare your cornstarch slurry. In a small bowl, whisk together the cornstarch (1 tablespoon + 2 teaspoons) with additional cold water (about 2 tablespoons) until a smooth, lump-free mixture forms. This slurry is what will give your pie filling its characteristic thickness.
- Thicken the Filling: Once the apples have softened to your liking, uncover the skillet. Give the cornstarch slurry another quick whisk, then slowly pour it over the apples in the skillet while stirring continuously. Continue to cook, stirring gently, until the filling begins to thicken and coats the back of a spoon. Let it bubble for just about one minute to ensure the cornstarch is fully cooked and activated. The apples should be tender but still have a slight bite, and the filling should be glossy and thick.
Remove the skillet from the heat and allow the homemade apple pie filling to cool completely before using or storing. The filling will continue to thicken slightly as it cools. This easy process ensures you have a wonderfully flavorful and perfectly textured apple pie filling, ready for your next baking adventure.
Can You Freeze Homemade Apple Pie Filling? Absolutely!
One of the most fantastic aspects of this easy homemade apple pie filling recipe is its incredible freezer-friendliness. Yes, you can absolutely freeze apple pie filling, and we enthusiastically recommend it! Freezing allows you to prepare large batches when apples are in season or when you have extra time, ensuring you always have a ready-to-use filling for spontaneous baking or busy weekdays. It’s a game-changer for meal prep and enjoying the taste of fresh-baked pie whenever the mood strikes.
To properly freeze your homemade apple pie filling, there are a few simple steps to follow to maintain its quality and flavor:
- Cool Completely: After cooking, it’s paramount to let the apple pie filling cool down entirely. Transfer it to a shallow dish or baking sheet to speed up the cooling process, then place it in the refrigerator until it’s thoroughly chilled. Freezing warm or hot filling can lead to ice crystal formation and affect the texture upon thawing.
- Choose the Right Storage: For optimal freezer storage, we prefer using heavy-duty freezer storage bags. You can also use airtight freezer-safe containers. If using bags, measure out portions equivalent to what you’d use for one pie (typically about 4-6 cups, depending on pie size).
- Remove Air and Seal: If using freezer bags, press out as much air as possible before sealing. Lay the bag flat, spreading the filling evenly, then press firmly from the bottom up to force out air. This prevents freezer burn and helps the filling freeze flat, saving valuable freezer space. If using containers, ensure they are filled to allow for a little headspace (about half an inch) as the filling may expand slightly when frozen.
- Label and Date: Always label your bags or containers with the date and contents (“Homemade Apple Pie Filling”). This ensures you use it within its optimal freezer life.
Properly stored, homemade apple pie filling is excellent in the freezer for 1-2 months, retaining its delicious taste and texture. While it can technically last longer, using it within this timeframe ensures the best quality. When you’re ready to use it, simply transfer the frozen filling to the refrigerator to defrost overnight, or use the defrost setting on your microwave. Ensure it’s fully thawed before incorporating it into your recipe. This convenience means a fresh, warm apple pie is never more than a few steps away, even on your busiest days!
Beyond the Pie: Versatile Ways to Enjoy Apple Pie Filling
While the most obvious and undeniably delicious application for this homemade apple pie filling is, of course, in a classic apple pie, its uses extend far beyond the traditional crust! This versatile filling is a fantastic ingredient to have on hand, transforming everyday meals and desserts into something special. Here are some of our favorite creative ways to repurpose and enjoy this easy apple pie filling:
- Apple Pie Bread Pudding with Vanilla Sauce: Layered with stale bread, eggs, milk, and baked to golden perfection, then drizzled with a rich vanilla sauce. A truly comforting dessert. Recipe here!
- Apple Pie Bombs a la Mode: Flaky pastry pockets filled with warm apple goodness, baked until golden, and served with a scoop of melting vanilla ice cream. Pure bliss. Find the recipe here.
- Apple Pie Fried Ice Cream Cake: A creative twist combining the warmth of apple pie with the coolness of fried ice cream. An unexpected delight! Get the recipe.
- Apple Pie Taquitos: Crispy tortillas filled with apple pie filling, baked or fried, and often dusted with cinnamon sugar. A fun, handheld dessert or snack. Recipe details.
- Apple Hand Pies: Individual, portable pies perfect for picnics, lunchboxes, or a quick dessert on the go. Easy to make and always a crowd-pleaser. Try the hand pies recipe.
- Apple Dumplings: Apples wrapped in pastry, baked in a sweet syrup, often with a hint of cinnamon. Serve warm with cream or ice cream. Easy apple dumplings recipe.
- Apple Cheesecake Bars: A luscious combination of creamy cheesecake and spiced apple filling atop a buttery crust. Decadent and delicious. Recipe for apple cheesecake bars.
- Topping for Breakfast Favorites: Elevate your morning with a generous dollop of warm apple pie filling atop fluffy Buttermilk Pancakes, crispy waffles, creamy oatmeal, or even plain yogurt. It’s a delightful way to add flavor and fruit to your breakfast.
- Ice Cream Topping: Warm up the filling slightly and spoon it over vanilla ice cream for a quick, comforting dessert. Add a sprinkle of chopped nuts for extra crunch.
- Crepes or Blintzes: Fill delicate crepes or blintzes with apple pie filling for an elegant breakfast or dessert.
- Oatmeal or Yogurt Parfait: Layer apple pie filling with granola and yogurt for a wholesome and satisfying parfait.
The possibilities are truly endless once you have a batch of this flavorful homemade apple pie filling ready. Don’t be afraid to experiment and discover your own favorite ways to enjoy this versatile ingredient!
Expert Tips for the Most Delicious Apple Pie Filling
Achieving that perfect, restaurant-quality apple pie filling is simpler than you think, especially with a few insider tips. While our recipe is already designed for ease and deliciousness, these additional pointers will elevate your homemade apple pie filling to new heights:
- Patience with the Heat: First and foremost, it’s absolutely crucial to cook your apples slowly over medium-low heat. A common mistake is to rush the process with high heat, which can quickly lead to burnt sugar and apples that are either raw in the center or completely mushy on the outside. The apples need a good 10 to 15 minutes to cook down fully and evenly, softening while still retaining some structural integrity. Be patient, stir the filling occasionally to prevent sticking, and let the flavors meld beautifully without scorching. This slow simmer ensures tender, flavorful apples every time.
- Embrace Spice Customization: The spice blend is where you can truly make this homemade apple pie filling your own. Our recipe provides a fantastic base with cinnamon and nutmeg, but feel free to play around. If you prefer a more intensely spiced filling, don’t hesitate to add a bit more cinnamon or a pinch extra of nutmeg. You could also introduce other warming spices that complement apples wonderfully, such as a touch of allspice, ground ginger, or even a subtle hint of cardamom. Always taste as you go! Just be careful not to overwhelm the star of the show – the apples. The goal is to enhance their natural sweetness and tartness, not mask it with an excessive amount of spice.
- The Magic of Lemon Juice: While not strictly listed in the basic ingredients, a splash of fresh lemon juice is a fantastic addition, especially if you’re using sweeter apple varieties or want to prevent browning. A teaspoon or two of lemon juice can brighten the apple flavor, provide a zesty counterpoint to the sweetness, and help keep your diced apples from oxidizing (turning brown) as you prepare them. Add it in with the water and sugar.
- Uniformity is Key: When peeling and dicing your apples, aim for pieces of roughly the same size. This ensures that all the apple pieces cook evenly, preventing some from becoming mushy while others remain too firm. Whether you prefer thick slices or smaller cubes, consistency is your friend for perfect texture throughout the filling.
- Taste and Adjust Sweetness: Apple varieties vary greatly in sweetness. Before adding all the sugar, taste a small piece of your raw apple. If your apples are particularly tart (like Granny Smiths), you might want to add a touch more sugar. If they are very sweet (like Honeycrisp or Fuji), you might reduce the sugar slightly. You can always add more sugar at the end, but you can’t take it away!
- Freezing vs. Canning vs. Refrigerating: While I’m sure you could can this homemade apple pie filling, we personally find freezing to be the easiest and most convenient method for long-term storage, as detailed above. However, if you’re planning to use the filling within a shorter timeframe, you have options. This fresh apple pie filling will keep beautifully in an airtight container in the refrigerator for up to 2 weeks. This is perfect for making it ahead for a holiday or for enjoying it in various desserts throughout the week without the need for freezing or complex canning processes.
By following these tips, you’ll consistently create an easy homemade apple pie filling that is rich in flavor, perfectly textured, and ready to be the star of your favorite desserts!
More Irresistible Apple Dessert Recipes:
If you’ve fallen in love with the flavor of fresh apples in your pie filling, you’ll be thrilled to discover more delightful ways to incorporate this beloved fruit into your dessert repertoire. From comforting crisps to decadent cakes, apples are incredibly versatile and always a welcome addition to any sweet treat. Here are some other fantastic apple dessert recipes from our collection that we know you’ll adore:
- The Best Apple Crisp Recipe: A timeless classic featuring tender baked apples beneath a buttery, crumbly oat topping. Simple, warm, and utterly satisfying.
- Apple Cake with Caramel Frosting: A moist and flavorful apple cake, elevated with a luxurious, sweet caramel frosting that perfectly complements the apple notes.
- Apple Empty Tomb Rolls: A unique and meaningful recipe, these sweet rolls bake up with a delightful surprise inside.
- Mini Dutch Apple Cheesecakes: Individual cheesecakes topped with a rich Dutch apple crumble, perfect for portion control and elegant presentation.
- Apple Cider Cupcakes with Cinnamon Cream Cheese Frosting: Celebrate autumn with these moist cupcakes bursting with apple cider flavor, crowned with a luscious cinnamon cream cheese frosting.
- Apple Pie Pull-Apart Bread with Maple Glaze: A fun, shareable bread infused with apple pie flavors and finished with a sweet maple glaze – perfect for brunch or dessert.
Easy Homemade Apple Pie Filling
Sweet Basil
5 mins
10 mins
15 mins
1
Liter Jar
Ingredients
-
4
Medium Apples (we recommend 2 Granny Smith, 2 Honeycrisp) -
2
Tablespoons
Unsalted Butter -
1 1/2
teaspoons
Ground Cinnamon -
1/4
teaspoon
Ground Nutmeg -
1/3
Cup
Granulated Sugar -
3
Tablespoons
Water (for cooking apples) -
1
Tablespoon
Cornstarch + 2 teaspoons (for slurry) -
2
Tablespoons
Water (for cornstarch slurry)
Instructions
-
Peel, core, and chop or slice the apples into uniform pieces.
-
Melt butter in a nonstick skillet over medium-low heat. Add cinnamon and nutmeg, and cook for 30 seconds until fragrant. Stir in the chopped apples, sugar, and 3 tablespoons of water.
-
Cover the skillet and cook, stirring occasionally, for 4-6 minutes, or until the apples are very slightly softened but still hold their shape.
-
Meanwhile, in a small bowl, combine the cornstarch (1 tablespoon + 2 teaspoons) and 2 tablespoons of water, whisking until smooth to create a slurry.
-
While stirring the apples, slowly drizzle in the cornstarch slurry. Continue to cook, stirring frequently, until the apples are tender and the filling has thickened to your desired consistency. Let it bubble gently for one minute to ensure the cornstarch is cooked through.
-
Remove from heat and allow the apple pie filling to cool completely before using or storing.
Recipe Notes
Nutrition
Serving:
1/4 cup
,
Calories:
145
kcal
,
Carbohydrates:
29
g
,
Fat:
4
g
,
Saturated Fat:
2
g
,
Polyunsaturated Fat:
1
g
,
Cholesterol:
10
mg
,
Sodium:
32
mg
,
Fiber:
3
g
,
Sugar:
24
g
Nutrition information is automatically calculated, so should only be used as an approximation.