
How to Pan-Sear Chicken Breast to Juicy Perfection: No More Pink Centers!
Have you ever experienced the frustration of slicing into what you thought was a perfectly cooked chicken breast, only to find an unwelcome hint of pink in the center? It’s a common kitchen mishap that can ruin a meal and leave you questioning your cooking skills. But worry no more! This comprehensive guide will teach you the foolproof method for pan-searing chicken breast, ensuring every piece is golden brown, incredibly juicy, and cooked through from edge to edge. Say goodbye to dry, overcooked chicken and hello to consistently delicious results.
Why Pan-Searing is Your Go-To Method for Chicken Breast
Pan-searing is an incredibly versatile and quick cooking method that’s ideal for chicken breasts. It creates a beautiful, caramelized crust on the outside while locking in moisture, resulting in tender, flavorful chicken. Unlike baking or grilling, which can sometimes dry out delicate chicken breast, pan-searing offers precise control over the cooking process, making it easier to achieve that coveted juicy texture. It’s also remarkably fast, often taking less than 20 minutes from start to finish, perfect for weeknight dinners.
This technique isn’t just about speed; it’s about flavor. The high heat of the pan initiates the Maillard reaction, a chemical process responsible for the browning and development of complex flavors that make your chicken irresistibly delicious. Once you master this method, you’ll find yourself turning to it again and again for a variety of dishes, from simple weeknight meals to impressive dinner party entrees.
Essential Tools for Perfect Pan-Seared Chicken
While you don’t need a kitchen full of gadgets, a few key tools will make your pan-searing experience much smoother and more successful:
- Heavy-Bottomed Skillet: A cast iron, stainless steel, or heavy-gauge aluminum skillet is best. These materials retain heat well and distribute it evenly, which is crucial for a consistent sear.
- Meat Mallet or Rolling Pin: Essential for pounding chicken breasts to an even thickness.
- Tongs: For safely flipping the chicken without piercing it and losing juices.
- Cutting Board: For preparing the chicken and allowing it to rest.
- Instant-Read Meat Thermometer: The most reliable way to ensure your chicken is cooked to the safe internal temperature of 165°F (74°C).
The Secret Weapon: Achieving Even Thickness
One of the most critical steps to perfectly cooked pan-seared chicken, and often overlooked, is ensuring your chicken breasts are of uniform thickness. Chicken breasts, especially larger ones, tend to be much thicker at one end and thinner at the other. If you cook them as is, the thinner parts will dry out long before the thicker parts are fully cooked, leading to an uneven and disappointing result.
To solve this, we’ll use a simple technique called “pounding.” Place each chicken breast between two sheets of wax paper or plastic wrap. Using a meat mallet or a heavy rolling pin, gently pound the thickest part of the breast until the entire piece is roughly the same thickness, about 3/4 to 1 inch. This not only promotes even cooking but also helps to tenderize the meat, making it even more succulent.
Mastering the Pan-Searing Technique: Step-by-Step
1. Prepare and Season Your Chicken
Once your chicken breasts are pounded to an even thickness, it’s time to season them. Don’t underestimate the power of good seasoning! A simple sprinkle of salt and freshly ground black pepper on both sides is a great start. For added flavor, consider a dash of garlic powder, onion powder, paprika, or a blend of your favorite herbs like dried thyme or oregano. You can also lightly coat them in a small amount of olive oil before seasoning to help the spices adhere and promote a better crust.
Pro Tip: For even more flavor, season your chicken at least 15-30 minutes before cooking, or even overnight in the refrigerator. This allows the salt to penetrate the meat, enhancing its natural juices and tenderness.
2. Heat Your Skillet to the Perfect Temperature
Place your heavy-bottomed skillet over high heat. Add your preferred cooking fat – a couple of tablespoons of olive oil, butter, or a combination of both. You can also use a high-smoke-point oil like avocado or grapeseed oil. The key here is to get the pan and oil very hot. Wait until the oil begins to shimmer, and you might see a wisp of smoke. This indicates it’s ready for the chicken.
Why high heat? The initial high heat creates an immediate sear, forming that desirable golden crust and locking in the juices. Without enough heat, the chicken will just steam, resulting in a pale, rubbery texture.
3. Sear the First Side (The Crucial Initial Sear)
Carefully place the seasoned chicken breasts into the hot skillet. You should hear an immediate, satisfying sizzle (the louder, the better!). Do not overcrowd the pan; cook in batches if necessary, to ensure each piece has enough space to sear properly. Overcrowding will lower the pan’s temperature and prevent adequate browning.
Immediately after placing the chicken, reduce the heat to medium-low. This is a critical step! The initial high heat gives us the sear, but reducing it allows the chicken to cook through gently without burning the exterior. Let the chicken cook undisturbed for about 5-7 minutes. Resist the urge to peek or move the chicken. Let that crust develop!
4. The Flip and Second Side Cooking
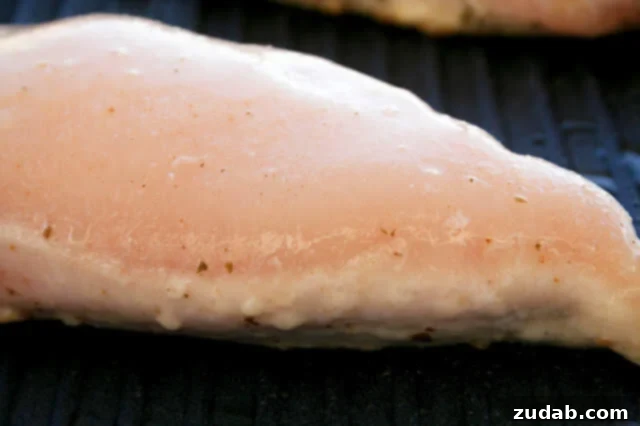
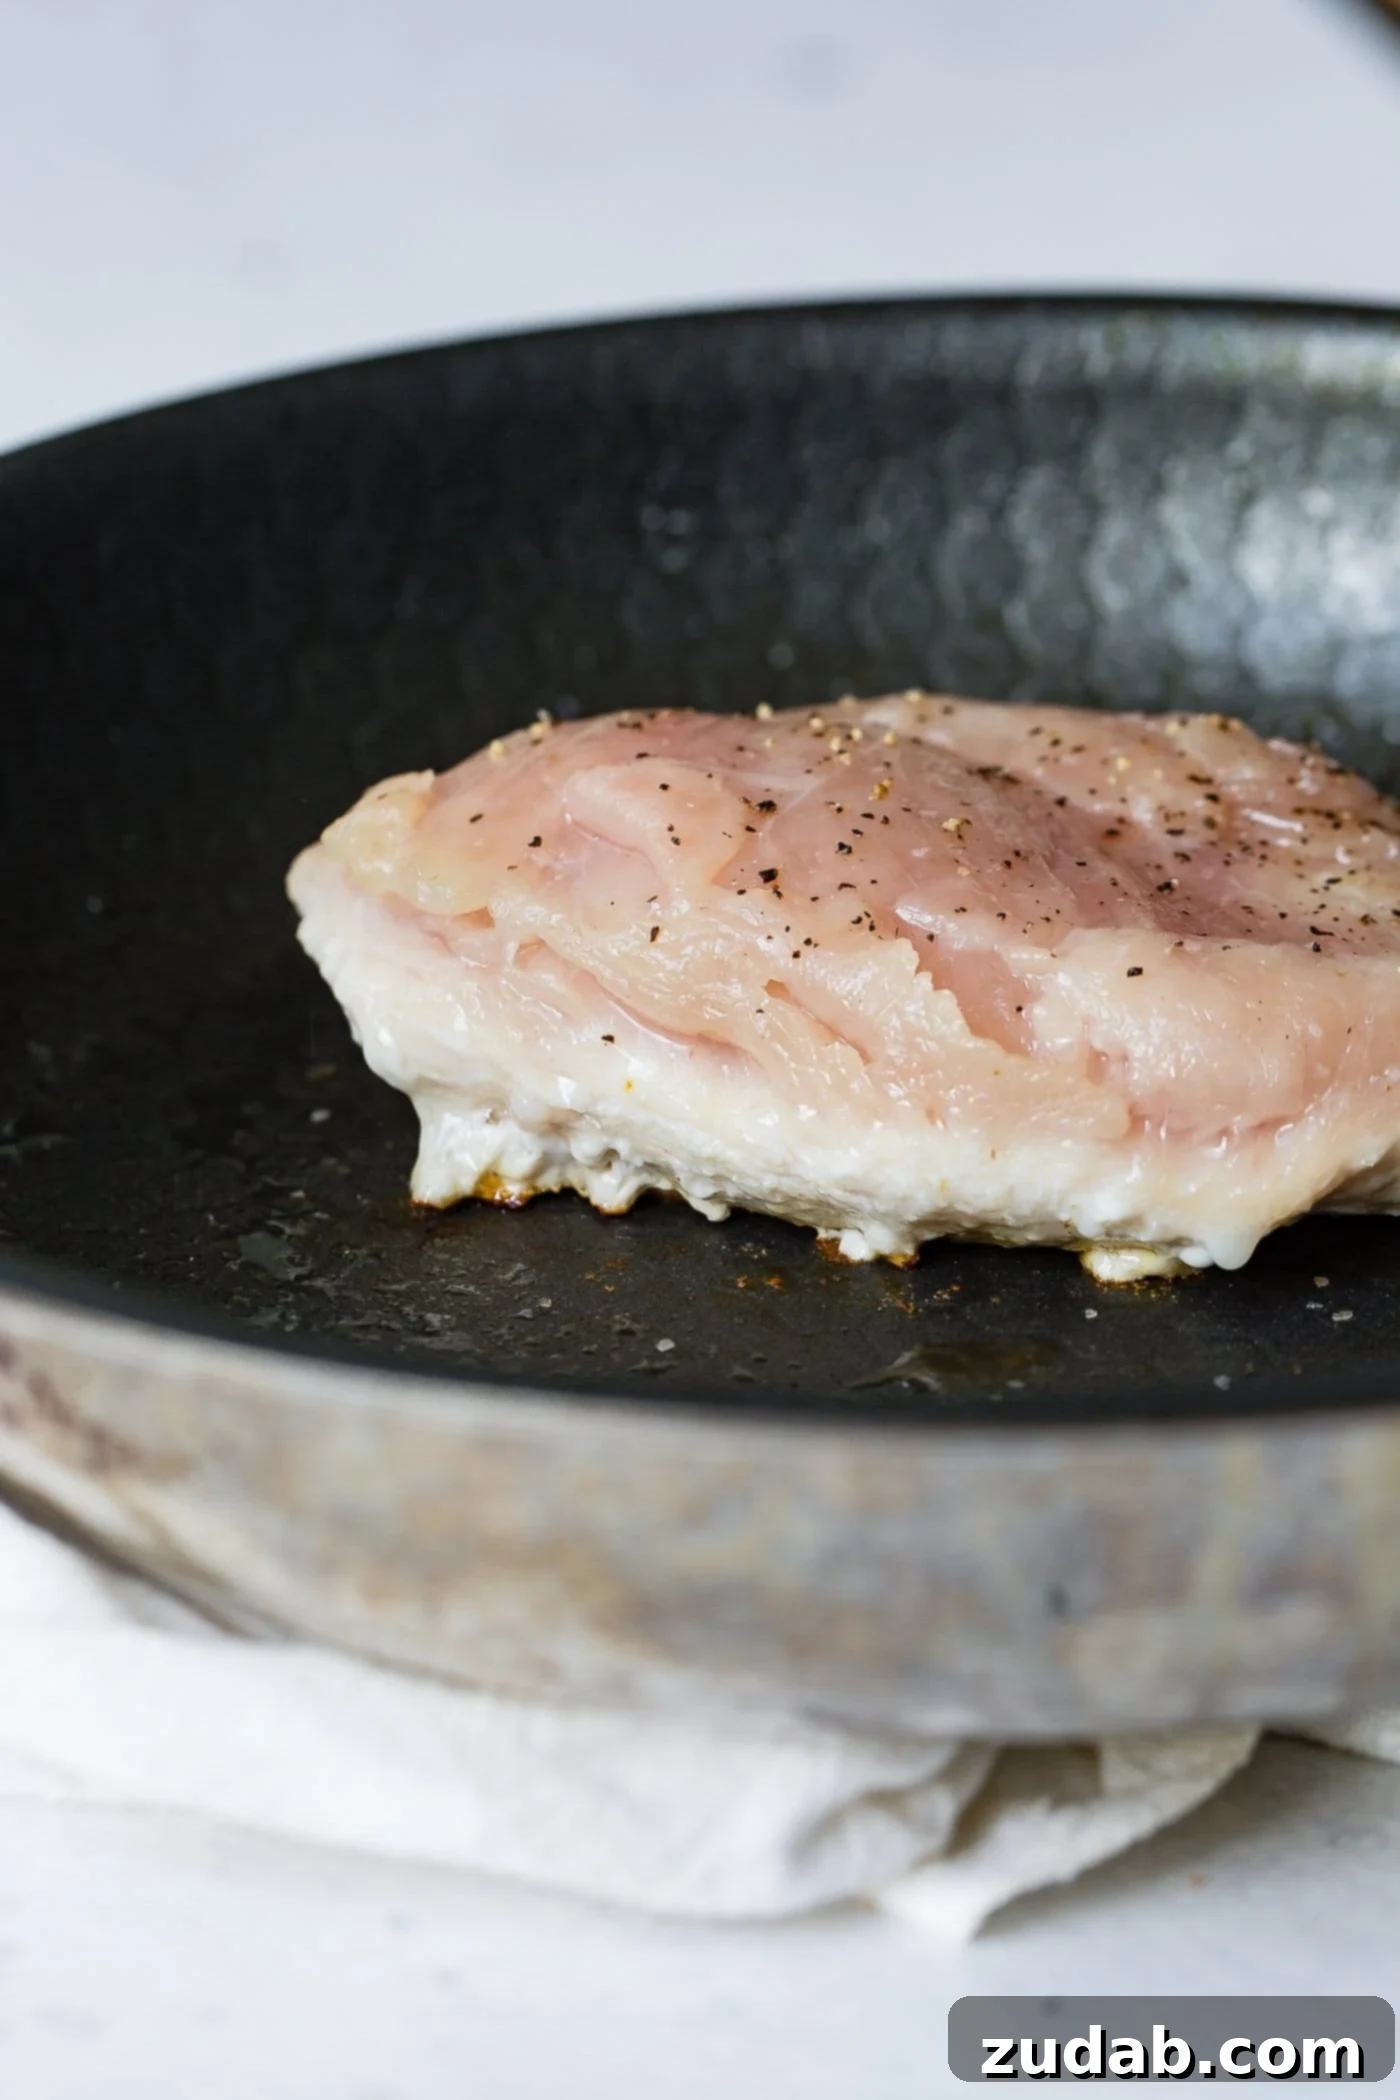
After 5-7 minutes, it’s time to check for doneness. Instead of cutting into the chicken, which lets out precious juices, look at the side of the chicken breast. You should see a white, cooked band extending about halfway up the thickness of the chicken from the bottom. This visual cue tells you that the heat has penetrated roughly halfway through.
Once you observe this white band, use tongs to flip the chicken breasts. Cook for an additional 5-7 minutes on the second side, again over medium-low heat. As the second side cooks, the white cooked portion will continue to rise, meeting the already cooked portion from the first side. This visual merging is a strong indicator that your chicken is cooked through.
5. Rest for Maximum Juiciness
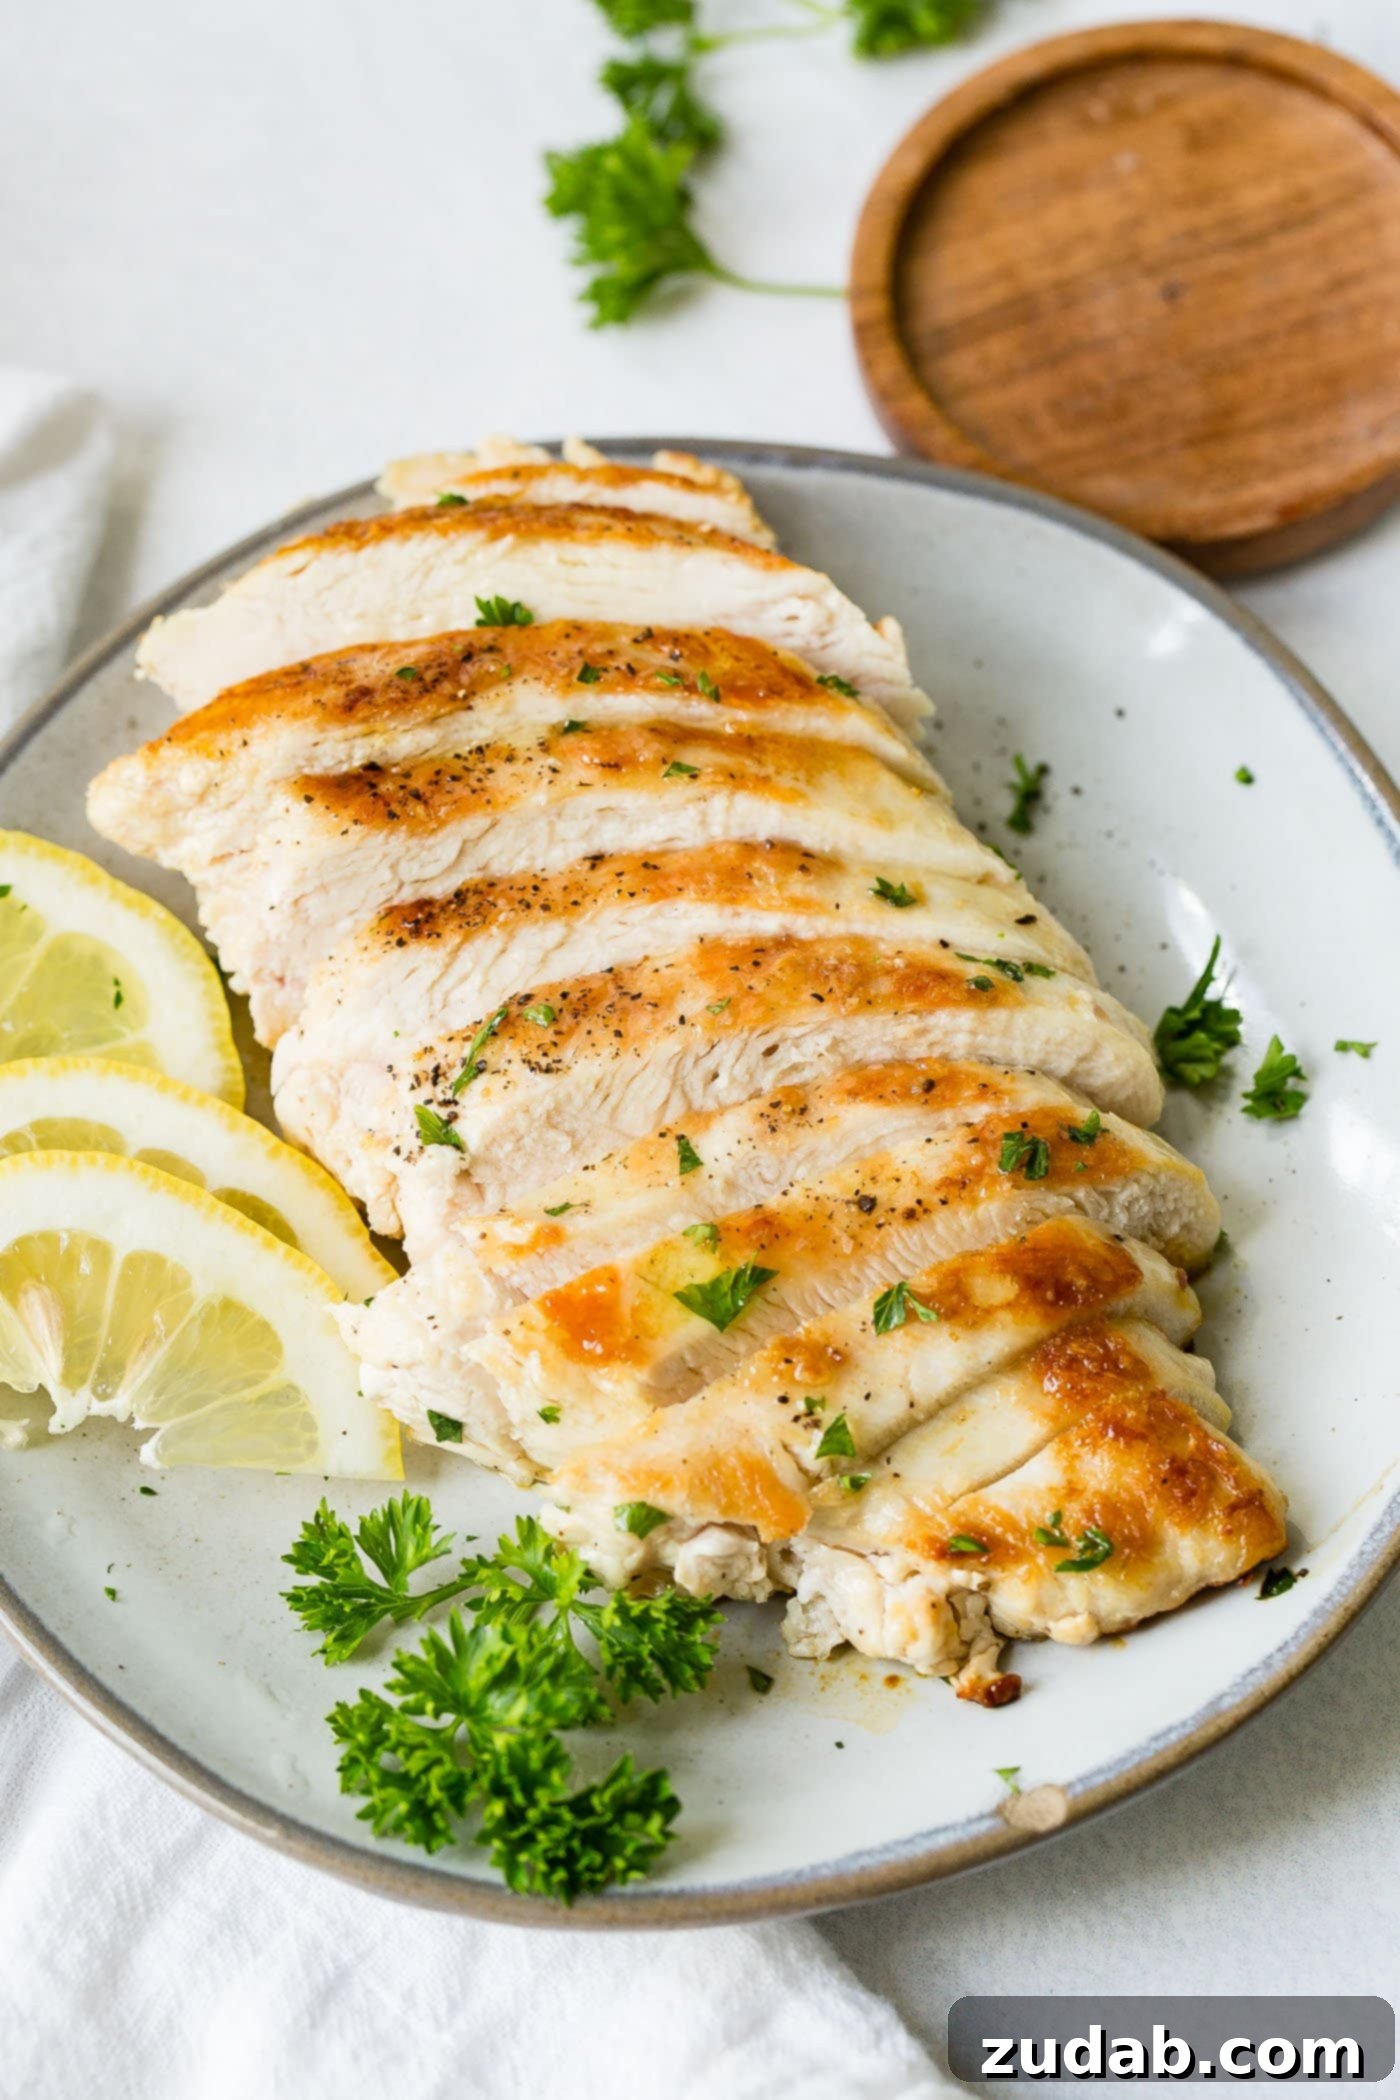
Once the chicken is fully cooked (more on how to confirm this below), remove it from the skillet and place it on a clean cutting board. Allow the chicken to rest for 3-5 minutes before slicing or serving. This resting period is incredibly important!
Why rest? When meat cooks, its muscle fibers contract, pushing the juices towards the center. If you cut into the chicken immediately, these juices will rush out, leaving you with dry meat. Resting allows the muscle fibers to relax and reabsorb those juices, resulting in a significantly juicier and more tender piece of chicken.
How to Confidently Tell When Your Chicken is Done
Beyond the visual cues, there are several ways to ensure your chicken is perfectly cooked and safe to eat:
- Visual Check: As mentioned, look for the opaque white band to meet in the middle, indicating no pink remains.
- Touch Test: Gently press the center of the chicken breast with your finger. If it feels firm with no “jiggle,” it’s likely done. Raw chicken will be soft and squishy. This method requires practice but can become very reliable over time.
- Clear Juices: Pierce the thickest part of the chicken with a knife or fork. If the juices run clear, it’s usually a good sign of doneness. If they are still pink, continue cooking.
- The Gold Standard: Instant-Read Meat Thermometer: For absolute certainty and food safety, an instant-read meat thermometer is your best friend. Insert the thermometer into the thickest part of the chicken breast, avoiding any bones. The chicken is safely cooked when it reaches an internal temperature of 165°F (74°C). This is the most reliable method to ensure proper cooking without overcooking.
Tips for Success and Troubleshooting Common Issues
- Don’t Overcrowd the Pan: As reiterated, this is vital. Cook in batches to maintain high heat and achieve a proper sear.
- Adjust Heat as Needed: While starting high is important, don’t be afraid to slightly adjust the medium-low setting if you notice the chicken browning too quickly or not quickly enough. Every stove is different.
- Use Fresh Chicken: For the best flavor and texture, always use fresh (or properly thawed) chicken breasts.
- Experiment with Seasonings: Don’t limit yourself to salt and pepper. Try different spice blends, herbs, or even a squeeze of lemon juice after cooking to brighten the flavors.
- Avoid Puncturing: Use tongs or a spatula to flip the chicken, not a fork, to prevent juices from escaping.
- What if my chicken is still pink? If, after the recommended cooking time, your chicken is still pink, simply return it to the pan and continue cooking for a few more minutes, checking with a thermometer until it reaches 165°F (74°C).
Flavorful Variations and Serving Suggestions
Once you’ve mastered the basic pan-searing technique, the possibilities for customization are endless. Here are a few ideas to get you started:
- Garlic Herb Chicken: Add minced garlic and fresh herbs like rosemary or thyme to the pan during the last few minutes of cooking, allowing them to infuse the chicken with aromatic flavor.
- Lemon Butter Chicken: After cooking, deglaze the pan with a splash of white wine or chicken broth, then whisk in a knob of butter and a squeeze of fresh lemon juice to create a simple, tangy sauce.
- Spicy Paprika Chicken: Incorporate smoked paprika, cayenne pepper, and a pinch of chili powder into your seasoning blend for a fiery kick.
- Creamy Mushroom Sauce: Remove the cooked chicken, then sauté sliced mushrooms and onions in the pan. Deglaze with broth, add heavy cream, and simmer until thickened for a rich, comforting sauce.
- Serve with: Pan-seared chicken breast pairs beautifully with a variety of sides, including roasted vegetables, mashed potatoes, a fresh green salad, quinoa, or rice.
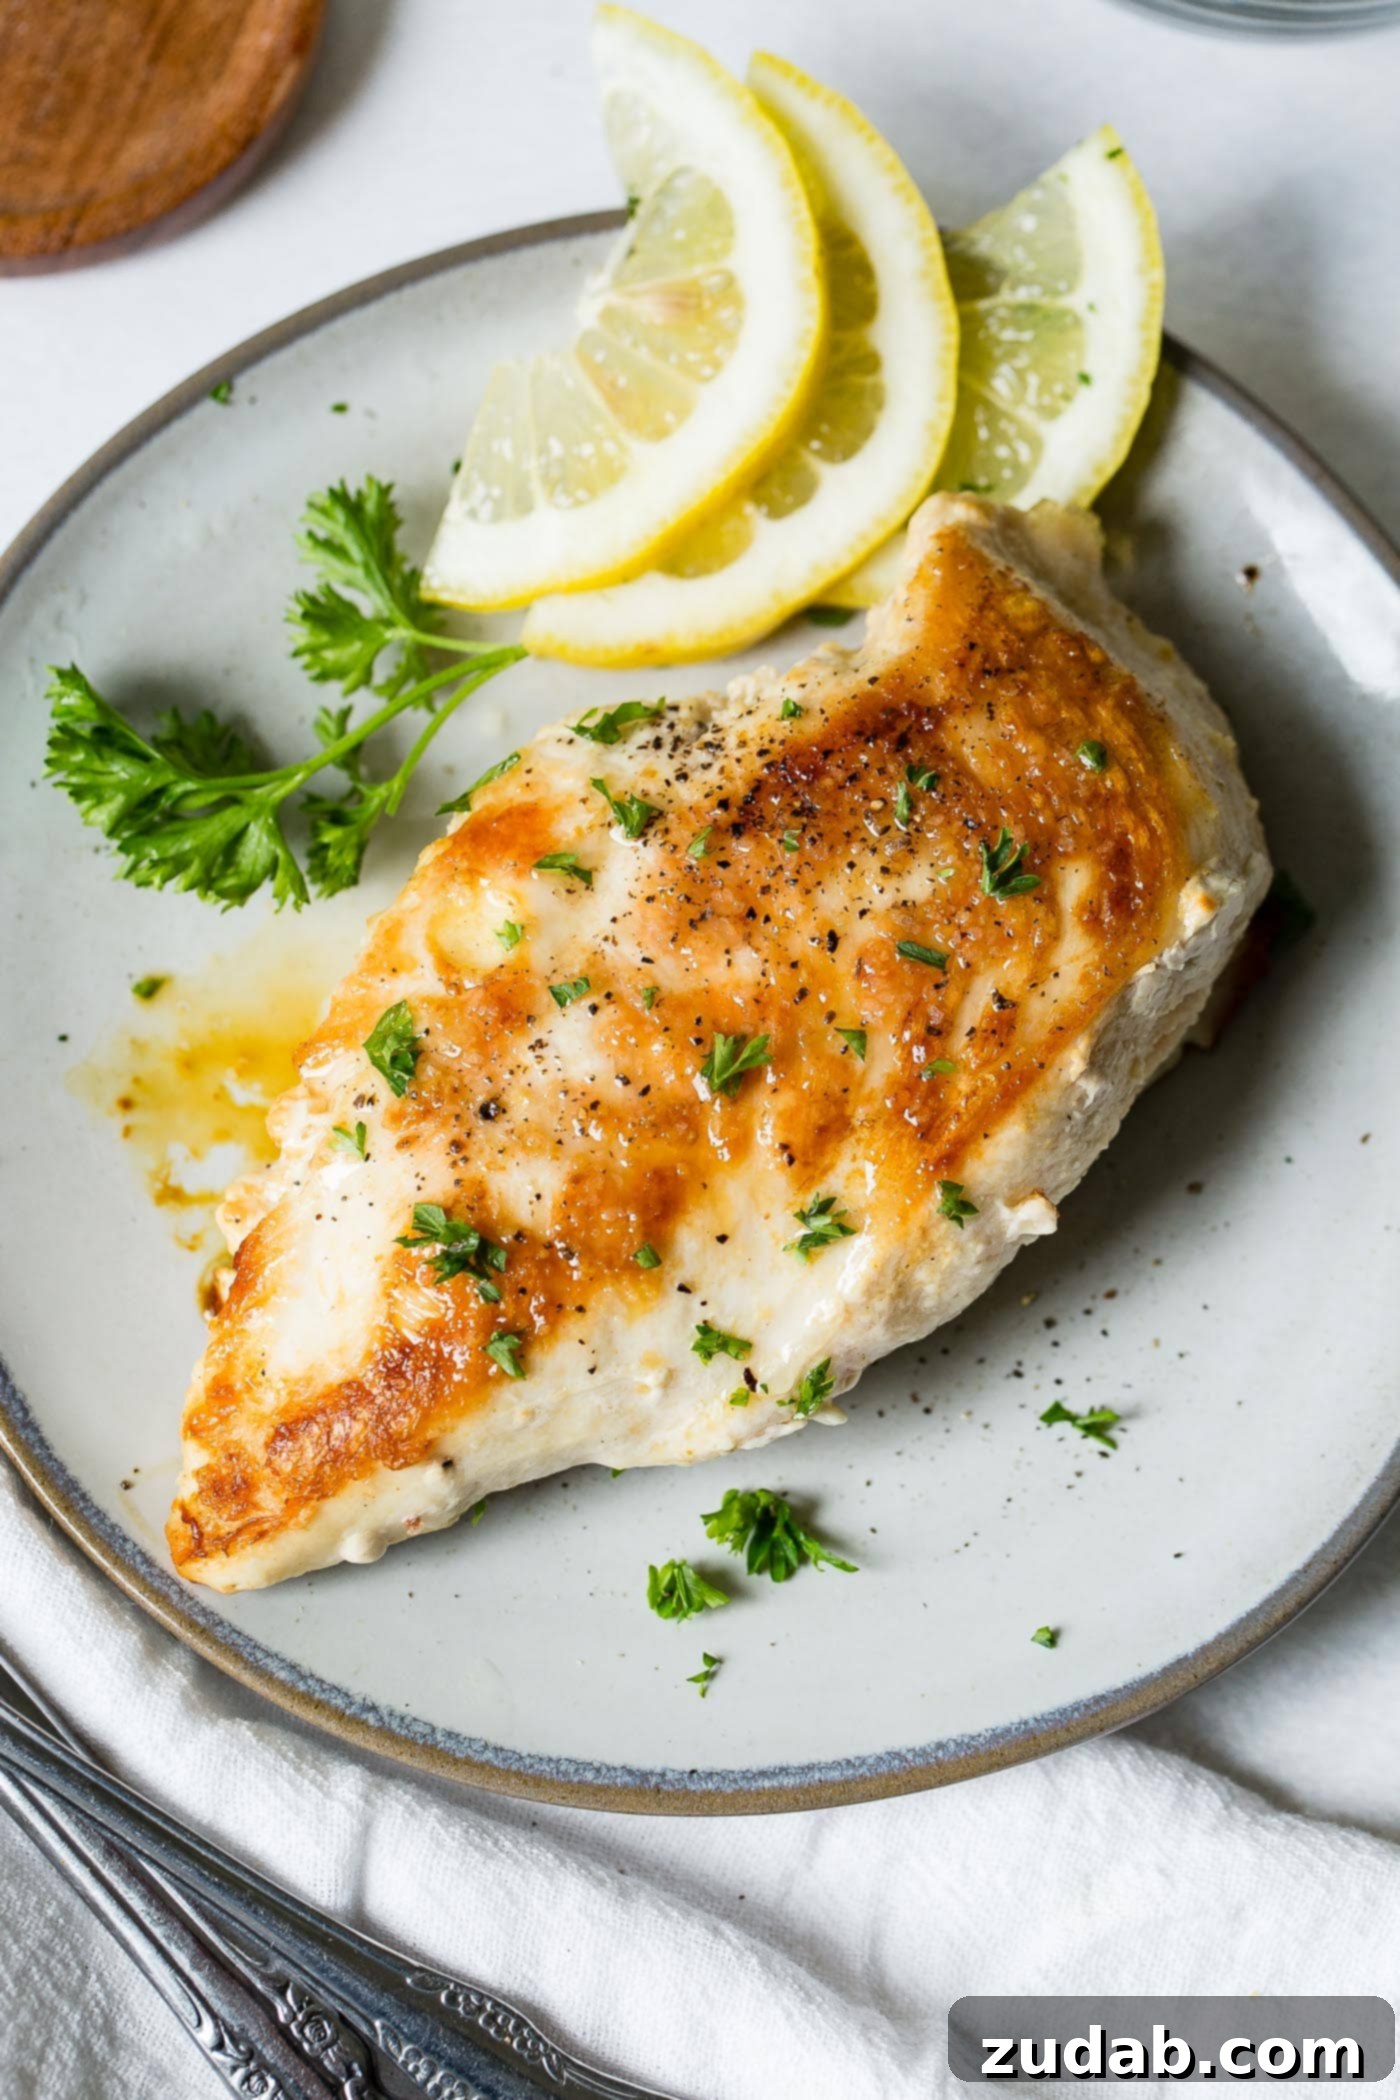
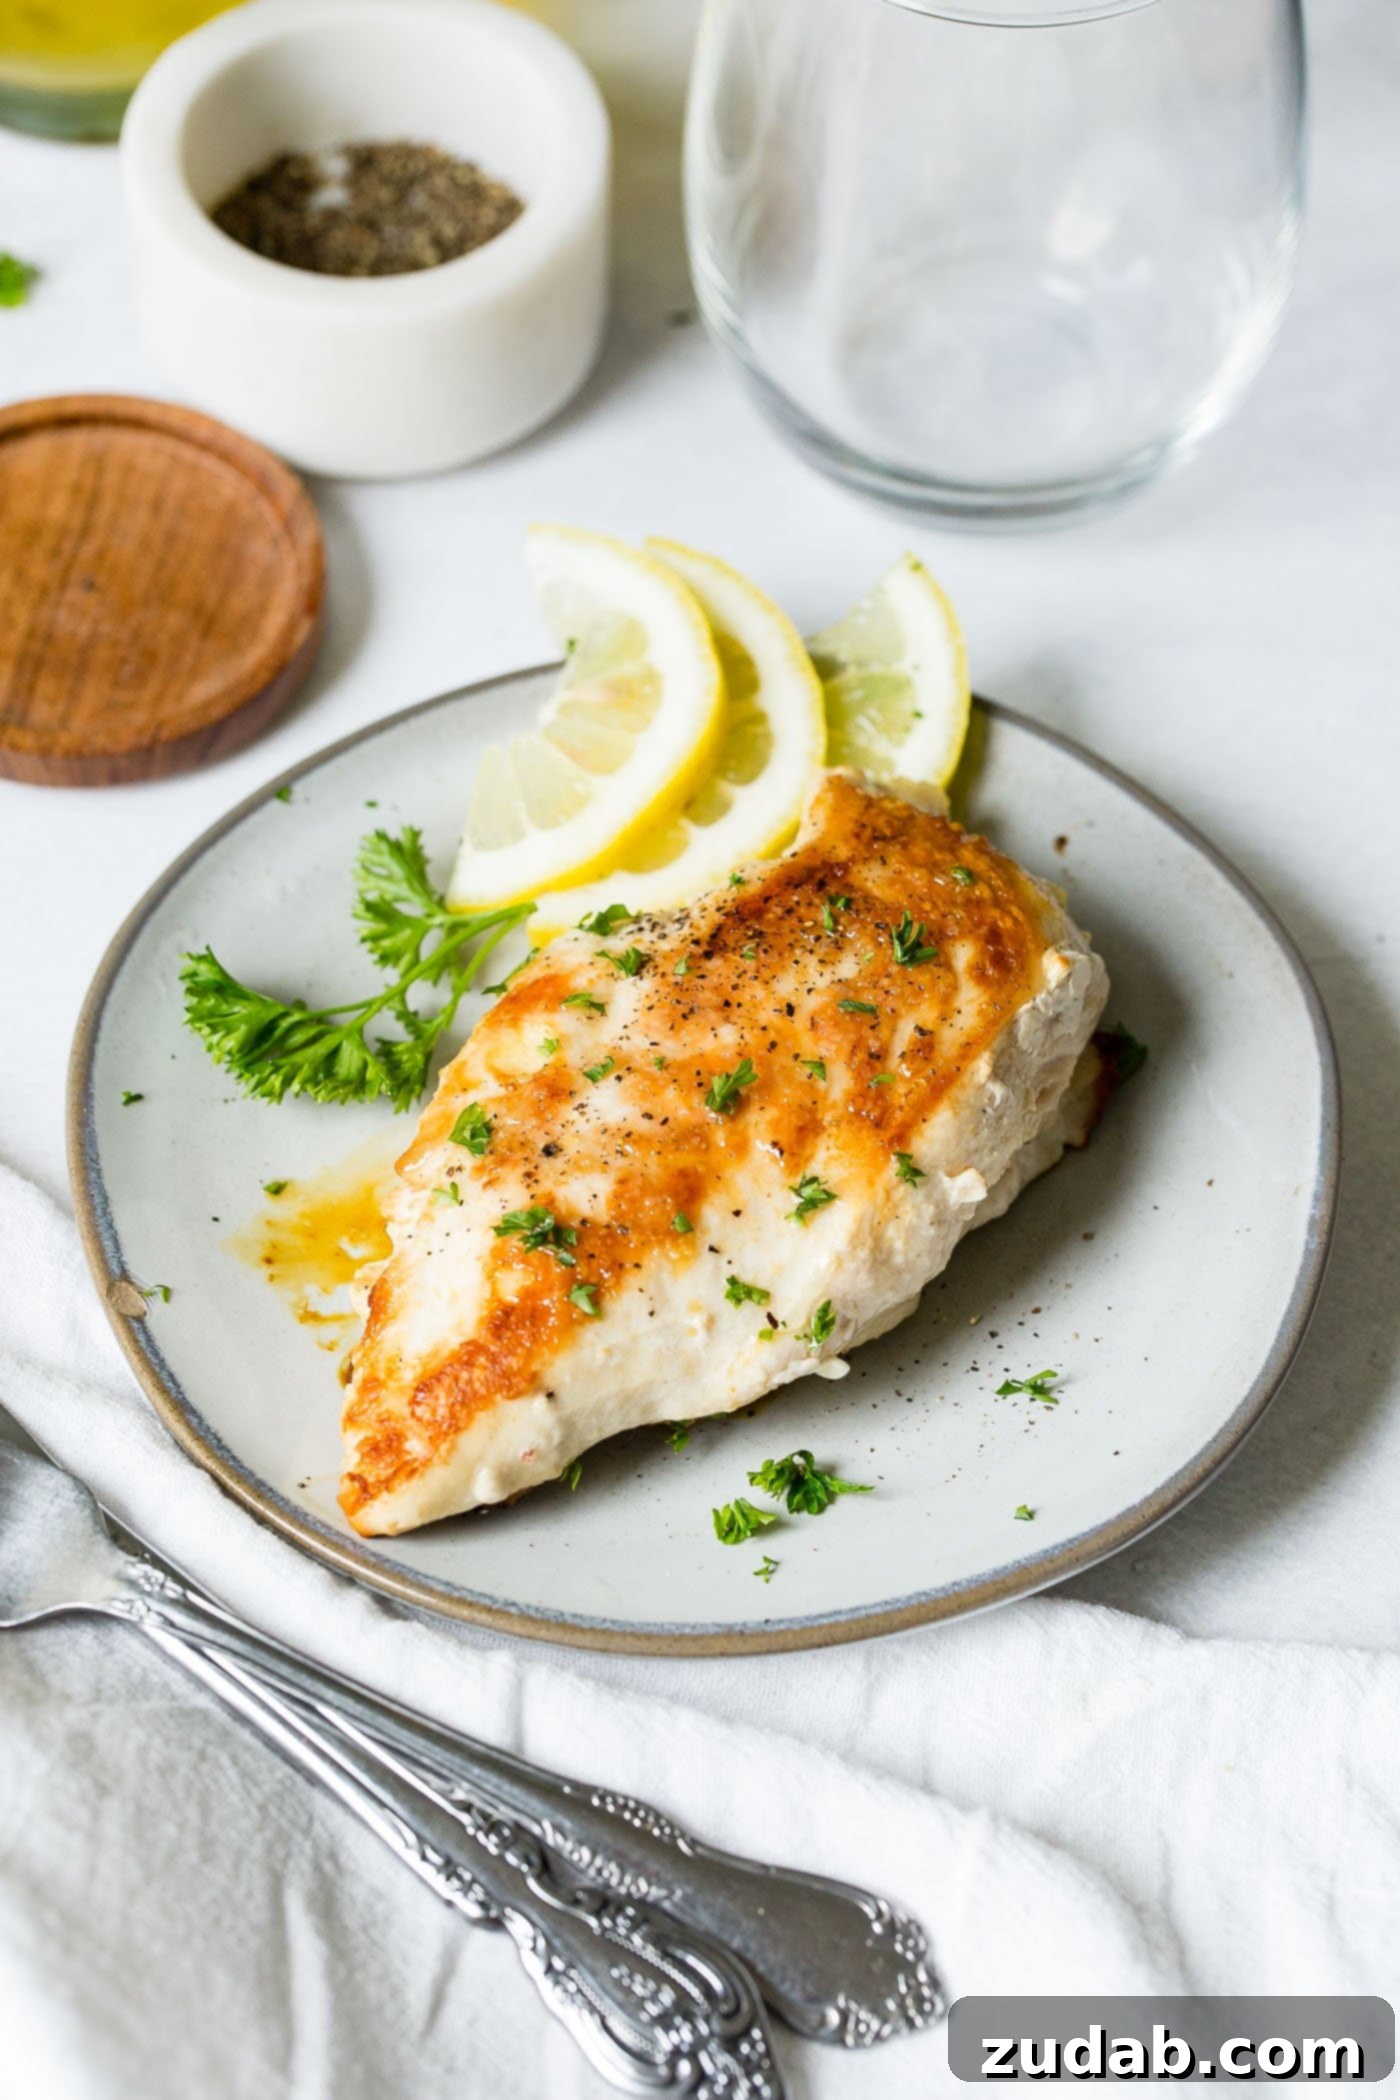
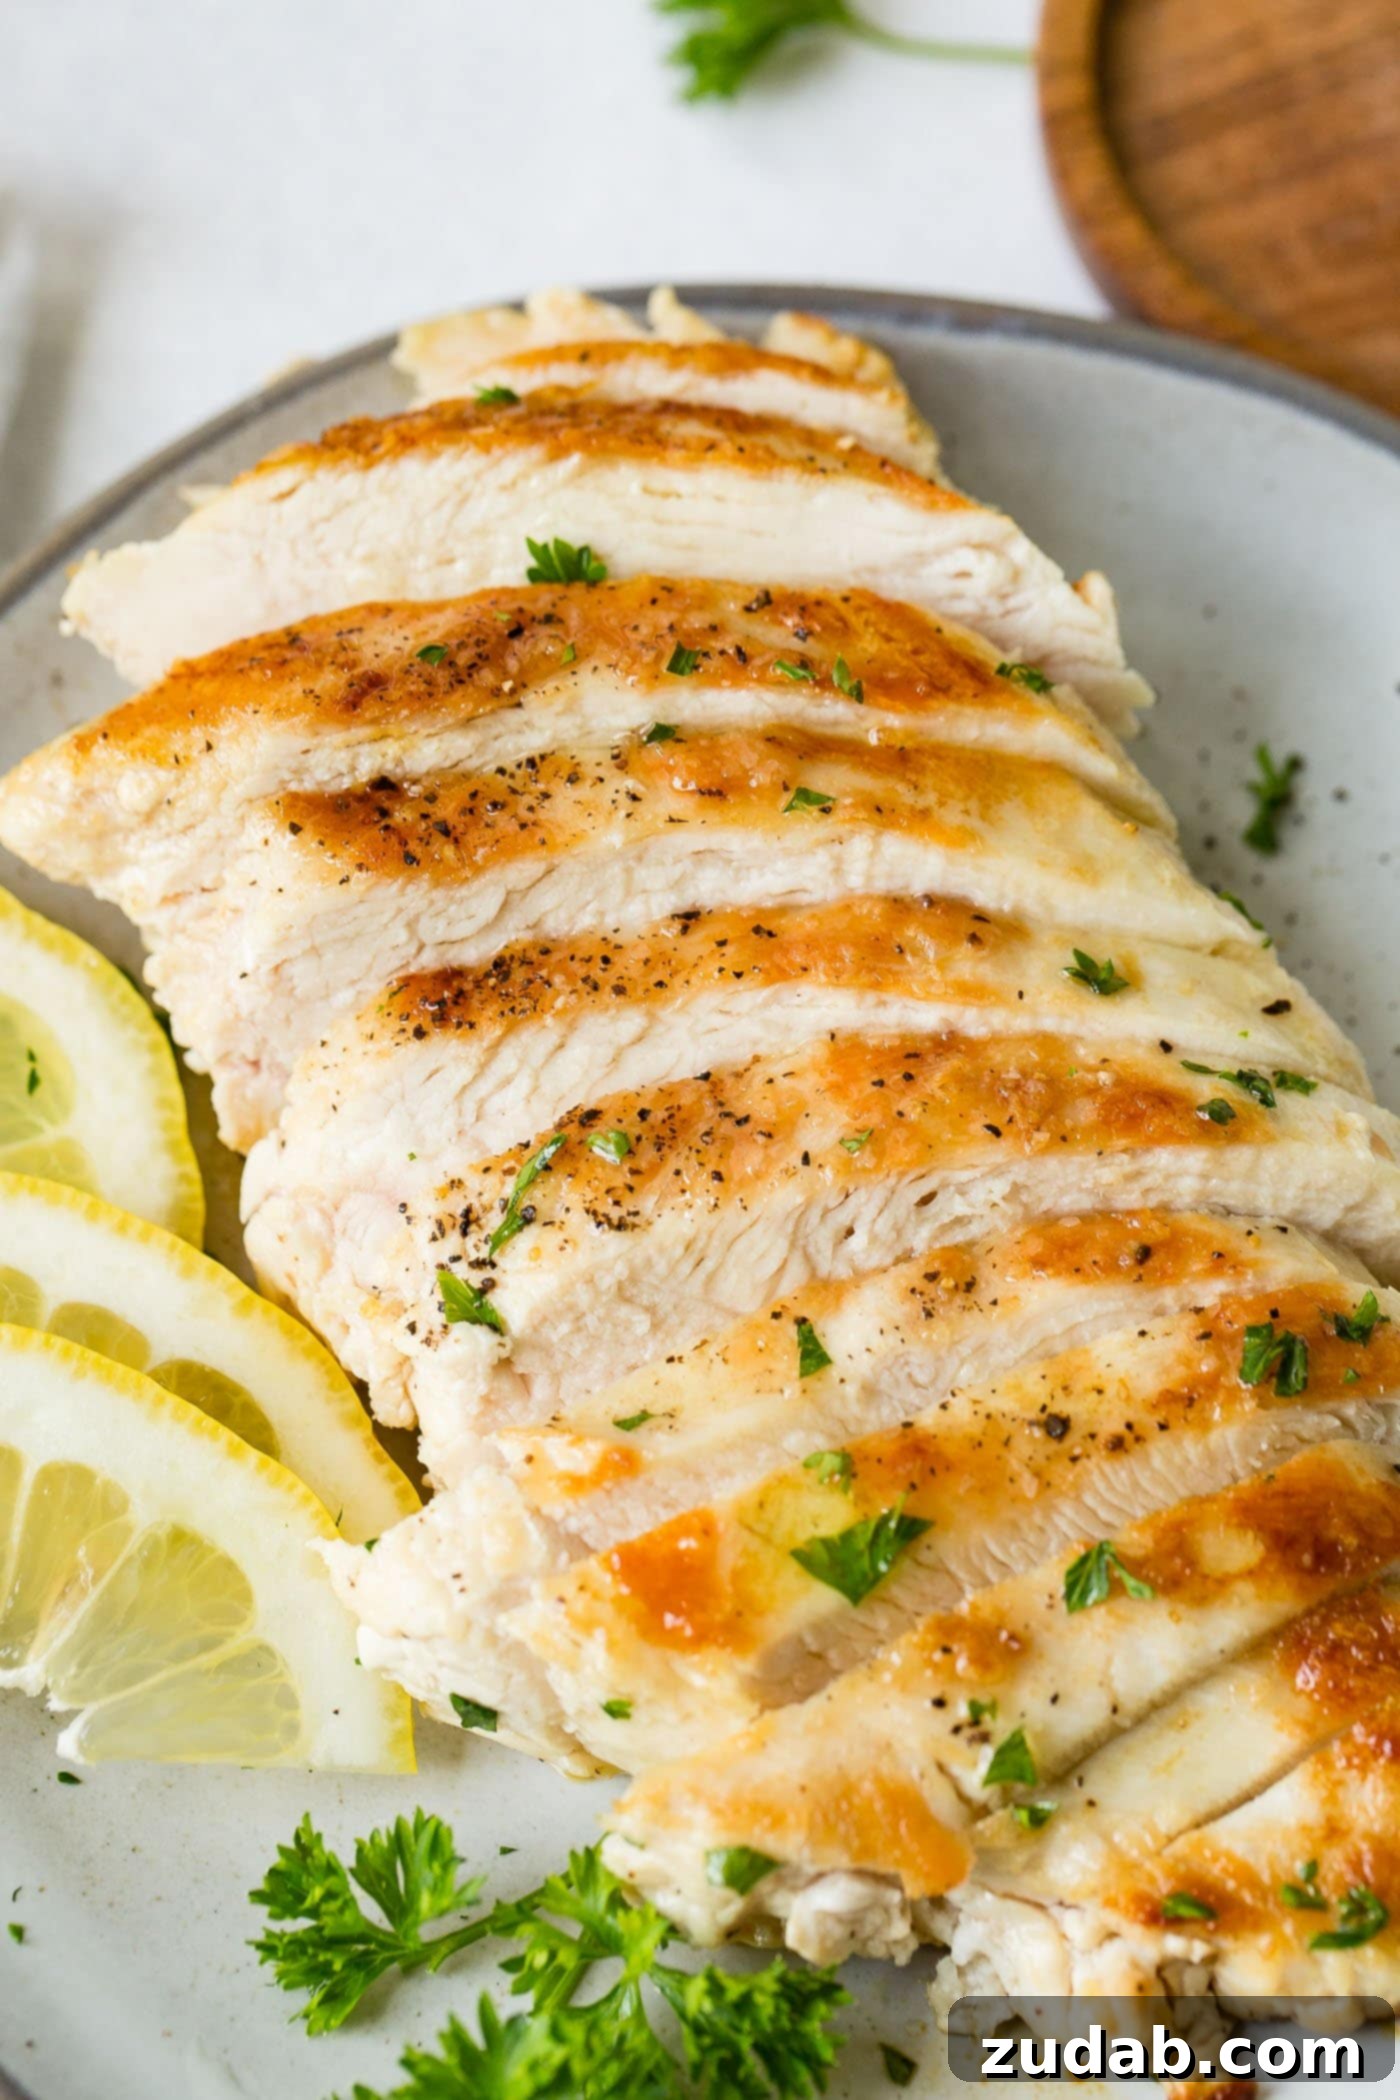
Recipe: Perfectly Pan-Seared Chicken Breast
By: Sweet Basil
Prep Time: 5 minutes
Cook Time: 15 minutes
Total Time: 20 minutes
Servings: 4
Ingredients
- 4 Skinless Chicken Breasts
- 2 Tablespoons Oil (or butter or cooking spray)
- Salt and freshly ground black pepper (to taste)
- Optional: Garlic powder, onion powder, paprika, dried herbs
Instructions
- Prepare Chicken: Place each chicken breast between pieces of wax paper or plastic wrap. Using a meat mallet or rolling pin, pound each chicken breast until it reaches an even thickness of approximately 3/4 to 1 inch.
- Season: Season both sides of the pounded chicken breasts generously with salt, pepper, and any optional spices you desire.
- Heat Skillet: Bring the oil (or butter or cooking spray) to high heat in a heavy-bottomed skillet. Wait until the oil shimmers and just begins to smoke lightly.
- First Sear: Carefully add the seasoned chicken breasts to the hot skillet, ensuring not to overcrowd the pan. You should hear an immediate, strong sizzle.
- Reduce Heat & Cook: Immediately reduce the heat to medium-low and cook the chicken for 5-7 minutes without moving it. Look at the side of the chicken; a white cooked band should extend about halfway up.
- Flip & Finish: Flip the chicken breasts and cook for an additional 5-7 minutes on the second side, or until the internal temperature reaches 165°F (74°C) in the thickest part. The white cooked portion should meet in the middle, indicating no pink remains.
- Rest: Remove the chicken to a cutting board and let it rest for 3-5 minutes before slicing and serving. This allows the juices to redistribute, resulting in a juicier final product.
Recipe Notes
The most important visual cue for doneness is observing the white, cooked portion of the chicken breast extending halfway up from the pan side before flipping. After flipping, ensure this white portion meets in the center and there is no longer a pink rim around the edges. For ultimate accuracy and food safety, always confirm the internal temperature with an instant-read meat thermometer, aiming for 165°F (74°C).
Nutrition
Calories: 191kcal, Protein: 24g, Fat: 10g, Saturated Fat: 1g, Polyunsaturated Fat: 2g, Monounsaturated Fat: 5g, Trans Fat: 1g, Cholesterol: 72mg, Sodium: 131mg, Potassium: 418mg, Vitamin A: 34IU, Vitamin C: 1mg, Calcium: 6mg, Iron: 1mg
Nutrition information is automatically calculated and should only be used as an approximation.
Frequently Asked Questions About Pan-Seared Chicken
Q: Can I use frozen chicken breasts?
A: It’s highly recommended to fully thaw chicken breasts before pan-searing. Frozen chicken will release too much water, preventing a proper sear and leading to a rubbery texture. Thaw overnight in the refrigerator or use the cold water method.
Q: How can I prevent my chicken from sticking to the pan?
A: Ensure your pan is adequately hot before adding the oil, and then make sure the oil is also hot. Using enough fat (oil or butter) and not overcrowding the pan will also help. If you have a well-seasoned cast iron skillet or a good quality non-stick pan, sticking should be less of an issue.
Q: My chicken is browning too quickly on the outside. What am I doing wrong?
A: This usually means your initial heat was too high or you didn’t reduce the heat enough after the initial sear. After placing the chicken, immediately lower the heat to medium-low. If it’s still browning too fast, you can reduce it further to low. Keep a close eye on it!
Q: Can I add vegetables to the pan with the chicken?
A: While you can, it’s generally best to cook chicken and vegetables separately, especially if you’re aiming for a perfect sear on the chicken. Vegetables release moisture, which can steam the chicken instead of searing it. If you want to cook them together, add quick-cooking vegetables (like bell peppers or asparagus) towards the end of the chicken’s cooking time, or sauté them in the pan after removing the chicken.
Q: How long can cooked pan-seared chicken be stored?
A: Cooked chicken can be stored in an airtight container in the refrigerator for 3-4 days. It can also be frozen for up to 2-3 months. Reheat gently to prevent drying out.