
Imagine enjoying the vibrant, sweet taste of summer corn even in the depths of winter. Freezing fresh corn is a remarkably simple yet effective way to preserve its peak flavor and crisp texture for months. This comprehensive guide will walk you through every step, ensuring your frozen corn tastes just as delicious as the day it was picked, ready to elevate your favorite soups, stews, casseroles, and side dishes.
Whether you’re a seasoned gardener looking to save your abundant harvest, a savvy shopper stocking up on seasonal deals, or simply someone who loves fresh produce, mastering the art of freezing corn is a game-changer. Say goodbye to bland, watery canned corn and welcome a freezer full of golden goodness that brings a touch of summer to any meal, any time of year.
Why Freeze Fresh Corn? The Ultimate Preservation Method
When it comes to preserving fresh corn, freezing stands out as the superior method for maintaining its exquisite flavor and satisfying texture. Unlike canning, which often alters the corn’s natural crispness and sometimes mutes its sweetness, freezing locks in these qualities, delivering a near-farm-fresh experience. Here are compelling reasons why freezing corn should be your go-to:
- Taste and Texture Preservation: Freezing halts the enzymatic processes that cause corn to lose its sweetness and become starchy. This means your corn retains its delightful sweetness and a pleasant bite, far surpassing the quality of store-bought frozen or canned alternatives.
- Nutrient Retention: Freezing helps preserve the vitamins and minerals found in fresh corn, ensuring you’re getting nutritional benefits even off-season.
- Cost Savings: Buying corn in bulk during its peak season when prices are lowest and then freezing it can lead to significant savings compared to purchasing out-of-season or processed corn products.
- Convenience: Having pre-prepped, frozen corn kernels or cobs at your fingertips makes meal planning and cooking much faster. No more shucking and cleaning corn when you’re in a hurry!
- Reduced Food Waste: Don’t let excess corn go to waste. Freezing allows you to enjoy every ear, extending its usability for up to a year.
Selecting the Best Corn for Freezing
The quality of your frozen corn starts with the quality of your fresh corn. Choose corn that is at its peak ripeness for the best results. Look for:
- Bright Green Husks: The husks should be vibrant and healthy-looking, tightly wrapped around the cob. Avoid any ears with yellowing or dried husks.
- Plump Kernels: Gently peel back a small section of the husk to check the kernels. They should be plump, juicy, and milky when pricked with a fingernail. Avoid dry, shriveled, or dented kernels.
- Sweet Scent: Fresh corn often has a subtle, sweet aroma.
- Firm Texture: The cob should feel firm and heavy for its size.
Ideally, freeze corn within 24 hours of harvesting or purchasing to capture its maximum sweetness and freshness. The longer corn sits after being picked, the more its sugars convert to starch, diminishing its flavor.
Essential Tools for Freezing Corn
Before you begin, gather these simple tools to make the freezing process efficient and enjoyable:
- Large Pot: For blanching the corn.
- Large Bowl with Ice Water: For rapidly cooling the blanched corn.
- Sharp Knife: For shucking and, if freezing kernels, for slicing them off the cob. A corn stripper tool can also be helpful.
- Cutting Board: A sturdy surface for preparation.
- Freezer-Safe Bags or Containers: High-quality options are crucial to prevent freezer burn.
- Vacuum Sealer (Optional, but highly recommended): For extending shelf life significantly.
- Baking Sheet: For flash-freezing kernels to prevent clumping.
- Labels and Marker: To date your frozen corn for proper rotation.
The Art of Preserving Summer: Step-by-Step Guide to Freezing Corn
Follow these detailed steps to ensure your frozen corn is of the highest quality, ready for any culinary adventure.
Step 1: Shuck and Prepare Your Corn
Begin by carefully removing the husks from each ear of corn. Peel back the green layers, tearing them off at the base. Once the husks are gone, you’ll need to remove the silk. The easiest way to do this is to rub the cobs vigorously with a clean, dry paper towel or a stiff brush. You can also rinse the cobs under cold water and gently rub away any remaining silk strands. Ensure all silk is removed, as it can be unpleasant to eat.
Step 2: Understanding Blanching (and Why It’s Key)
Blanching is a crucial step for almost all vegetables intended for freezing, and corn is no exception. While you *can* freeze raw corn, blanching is highly recommended for superior flavor, color, and texture preservation. Here’s why:
- Enzyme Deactivation: Corn naturally contains enzymes that, even at freezing temperatures, can cause it to lose flavor, color, and nutrients over time. Blanching briefly heats the corn, deactivating these enzymes.
- Color Brightness: It helps set the vibrant yellow color of the kernels.
- Texture Retention: Blanching helps the corn retain its crisp-tender texture, preventing it from becoming mushy when thawed.
- Cleanliness: It further cleanses the corn and removes any lingering pesticides or impurities.
To blanch your corn:
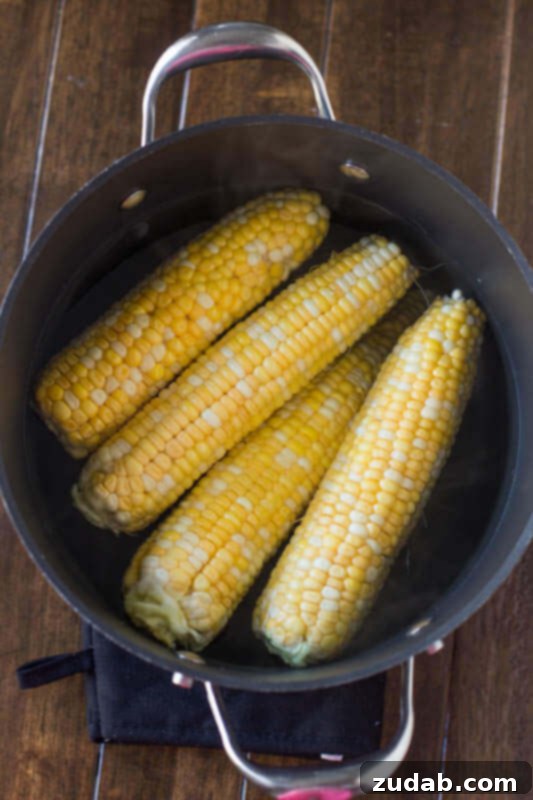
- Bring a large pot of water to a rolling boil. Ensure there’s enough water to completely submerge the corn without drastically lowering the water temperature.
- Carefully add the shucked corn cobs to the boiling water. Do not overcrowd the pot; work in batches if necessary to maintain the boil.
- Blanch for **4-6 minutes** for medium-sized ears. Smaller ears might need 3 minutes, while very large ones might require up to 7 minutes. The goal is to heat the corn through without cooking it completely.
Step 3: Cooling the Blanched Corn
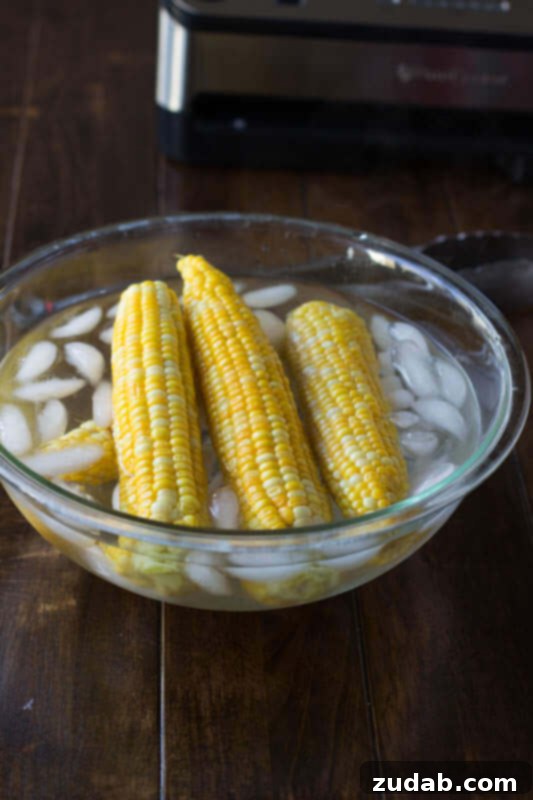
Immediately after blanching, it’s critical to stop the cooking process to maintain the corn’s texture and prevent it from becoming overcooked. Using a slotted spoon or tongs, quickly transfer the blanched corn cobs from the boiling water into a large bowl filled with ice water. Allow them to cool for the same amount of time they were blanched (4-6 minutes) or until they are completely cold to the touch. Once cooled, drain the cobs thoroughly and pat them dry with a clean towel. Excess moisture can lead to ice crystals and freezer burn.
Step 4: Deciding How to Freeze Your Corn (Whole Cobs vs. Kernels)
You have two main options for freezing corn: whole on the cob or as individual kernels. Your choice depends on how you plan to use the corn later.
Option A: Freezing Corn on the Cob
If you prefer to enjoy corn on the cob during colder months, this is the method for you. Once the blanched and cooled cobs are thoroughly dry, simply place them into freezer-safe bags. For best results, remove as much air as possible from the bags using a straw, by hand-pressing, or ideally, with a vacuum sealer. This prevents freezer burn and maintains quality. You can freeze individual cobs or multiple cobs per bag, depending on your typical serving size. Make sure to leave some headspace if using regular bags, as the corn will expand slightly when frozen.
Option B: Freezing Corn Kernels
Freezing kernels is incredibly convenient for recipes like soups, salads, casseroles, and stir-fries. To remove the kernels:
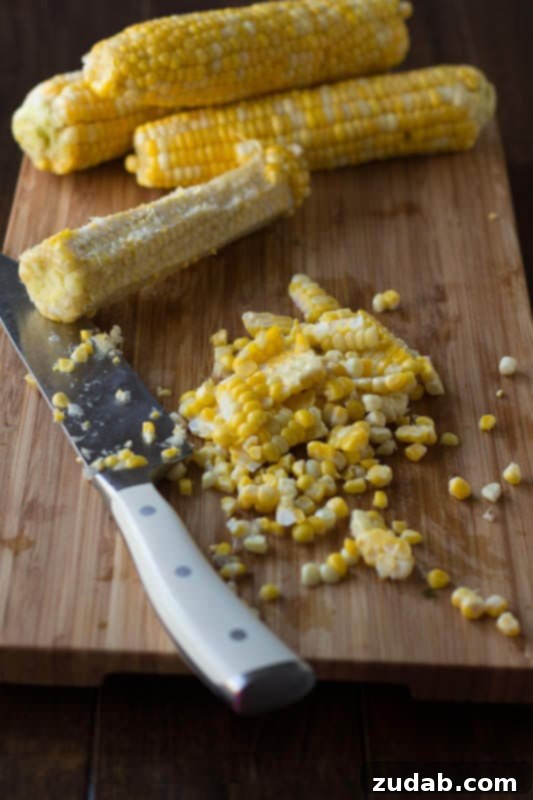
- Once the blanched cobs are completely cool and dry, stand an ear upright in the center of a shallow bowl or bundt pan (the hole in the pan helps catch kernels).
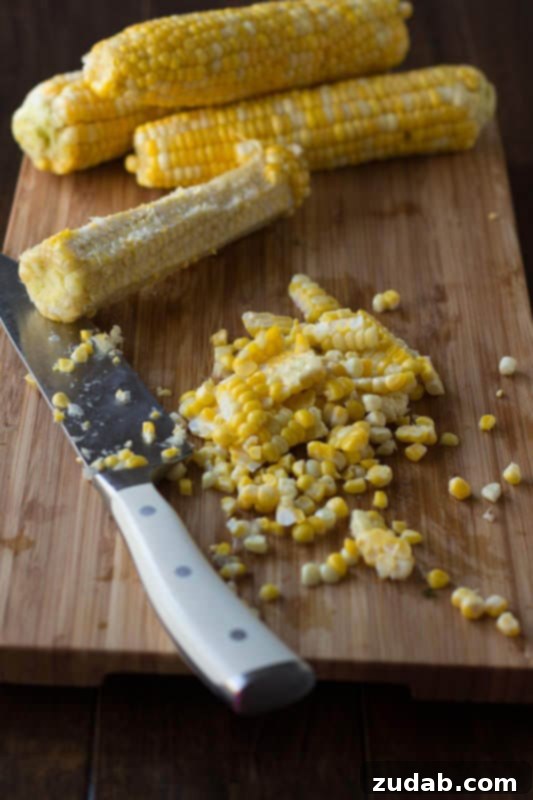
- Using a sharp knife, carefully slice downwards, cutting the kernels off the cob. Aim to cut about two-thirds of the way through the kernel to avoid including tough cob bits. Rotate the cob as you slice until all kernels are removed.
- Flash Freeze for Best Results: To prevent the kernels from clumping together into a solid block, spread them in a single layer on a baking sheet lined with parchment paper. Place the baking sheet in the freezer for 1-2 hours, or until the kernels are individually frozen solid.
- Once flash-frozen, transfer the loose kernels into freezer-safe bags or containers.
Step 5: Packaging for Long-Term Freshness
Proper packaging is paramount to preventing freezer burn and maintaining the quality of your frozen corn. The goal is to minimize exposure to air.
- Freezer-Safe Bags: These are a good basic option. Press out as much air as possible before sealing. You can also submerge a partially sealed bag in water, allowing the water pressure to push out the air before fully sealing.
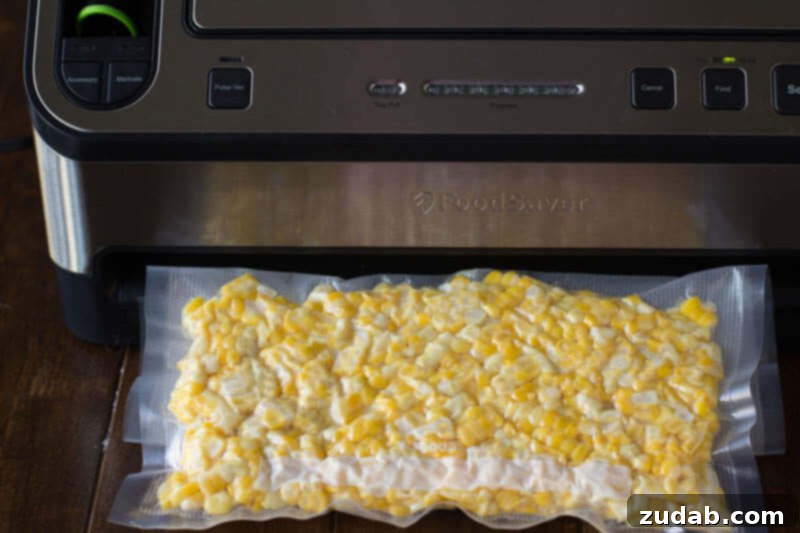
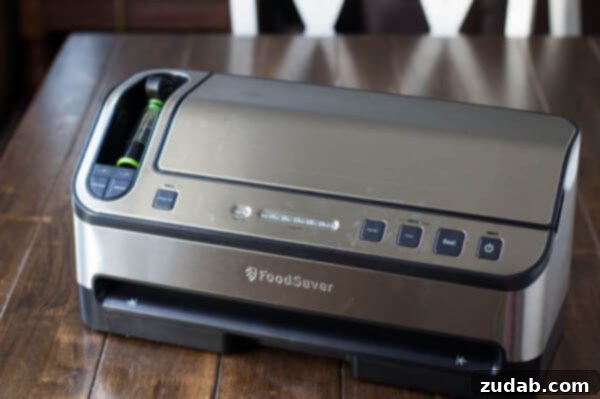
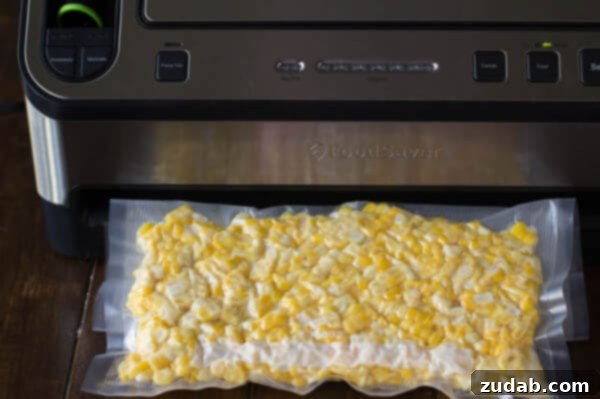
- Vacuum Sealing: This is the gold standard for long-term food preservation. A FoodSaver Vacuum Sealer (or similar device) removes virtually all air from specially designed bags, extending the freshness of your corn up to five times longer than traditional methods. This dramatically reduces the risk of freezer burn, keeping your corn vibrant and flavorful for a full year or even more. The upfront investment can lead to significant savings on groceries over time, as you waste less food and can buy seasonal produce in bulk.
Step 6: Labeling and Storing Your Frozen Corn
No matter which packaging method you choose, always label your bags or containers clearly with the date and contents (e.g., “Frozen Corn Kernels – 10/25”). This helps you keep track of your inventory and ensure you use the oldest items first. Store the corn in the coldest part of your freezer. Properly frozen corn can maintain excellent quality for 8-12 months, though it may remain safe to eat for longer.
Thawing and Using Your Frozen Corn
Using your perfectly preserved corn is incredibly easy! For frozen kernels, you can often add them directly to soups, stews, or stir-fries without thawing. If you need them thawed for a salad or side dish, simply rinse them under cold water until separated, or microwave in short bursts. For frozen corn on the cob, you can boil, steam, grill, or roast them directly from frozen; they may just require a few extra minutes of cooking time compared to fresh.
Common Questions About Freezing Corn
- Do I have to blanch corn before freezing? While not strictly mandatory, blanching is highly recommended. It deactivates enzymes that degrade flavor, color, and texture, leading to a much higher quality frozen product. Freezing raw corn is possible but often results in a tougher texture and less vibrant flavor after a few months.
- How long does frozen corn last? When properly blanched and stored in airtight, freezer-safe packaging (especially vacuum-sealed), frozen corn can last for 8 to 12 months with excellent quality. It will remain safe to eat beyond this timeframe but might experience a decline in texture or flavor.
- Can I freeze cooked corn? Yes, you can freeze corn that has already been cooked (e.g., leftover grilled corn on the cob or cooked kernels). Ensure it cools completely before packaging and freezing in airtight containers. Its texture may be slightly softer than corn blanched specifically for freezing.
- What’s the best way to use frozen corn? Frozen corn is incredibly versatile! Add kernels directly to casseroles, soups, chili, salsa, or stir-fries. Roast them with other vegetables, or briefly sauté for a simple side dish. Frozen corn on the cob can be cooked just like fresh corn.
Enjoy Your Frozen Corn in Delicious Meals All Year!
With your freezer now stocked with perfectly preserved corn, you’re ready to create countless delicious meals that capture the essence of summer. Here are some fantastic recipe ideas where your frozen corn will shine:
- The BEST Chicken Tortilla Soup I Ever Made
- My Best Homemade Chicken Pot Pie
- Taco Stir-Fry
- Cheesy BBQ Chicken Zucchini Nachos
- Quick Weeknight Taco Casserole
- Instant Pot Quick and Easy Ground Beef Burrito Bowls
Discover More Irresistible Corn Recipes:
If you’re looking for even more ways to celebrate the versatility of corn, fresh or frozen, these recipes are sure to become family favorites:
- Mexican Street Corn
- Cheesy Jiffy Corn Casserole
- Mexican Street Corn Soup
- Grilled Corn Avocado Tomato Salad
- Bacon Ranch Corn Dip
- Ham and Potato Corn Chowder
- All our SIDE DISHES are here!
Now that you know how to freeze corn the right way, you’ll never have to miss that sweet summer taste again. Enjoy the bounty of your efforts all year long!