
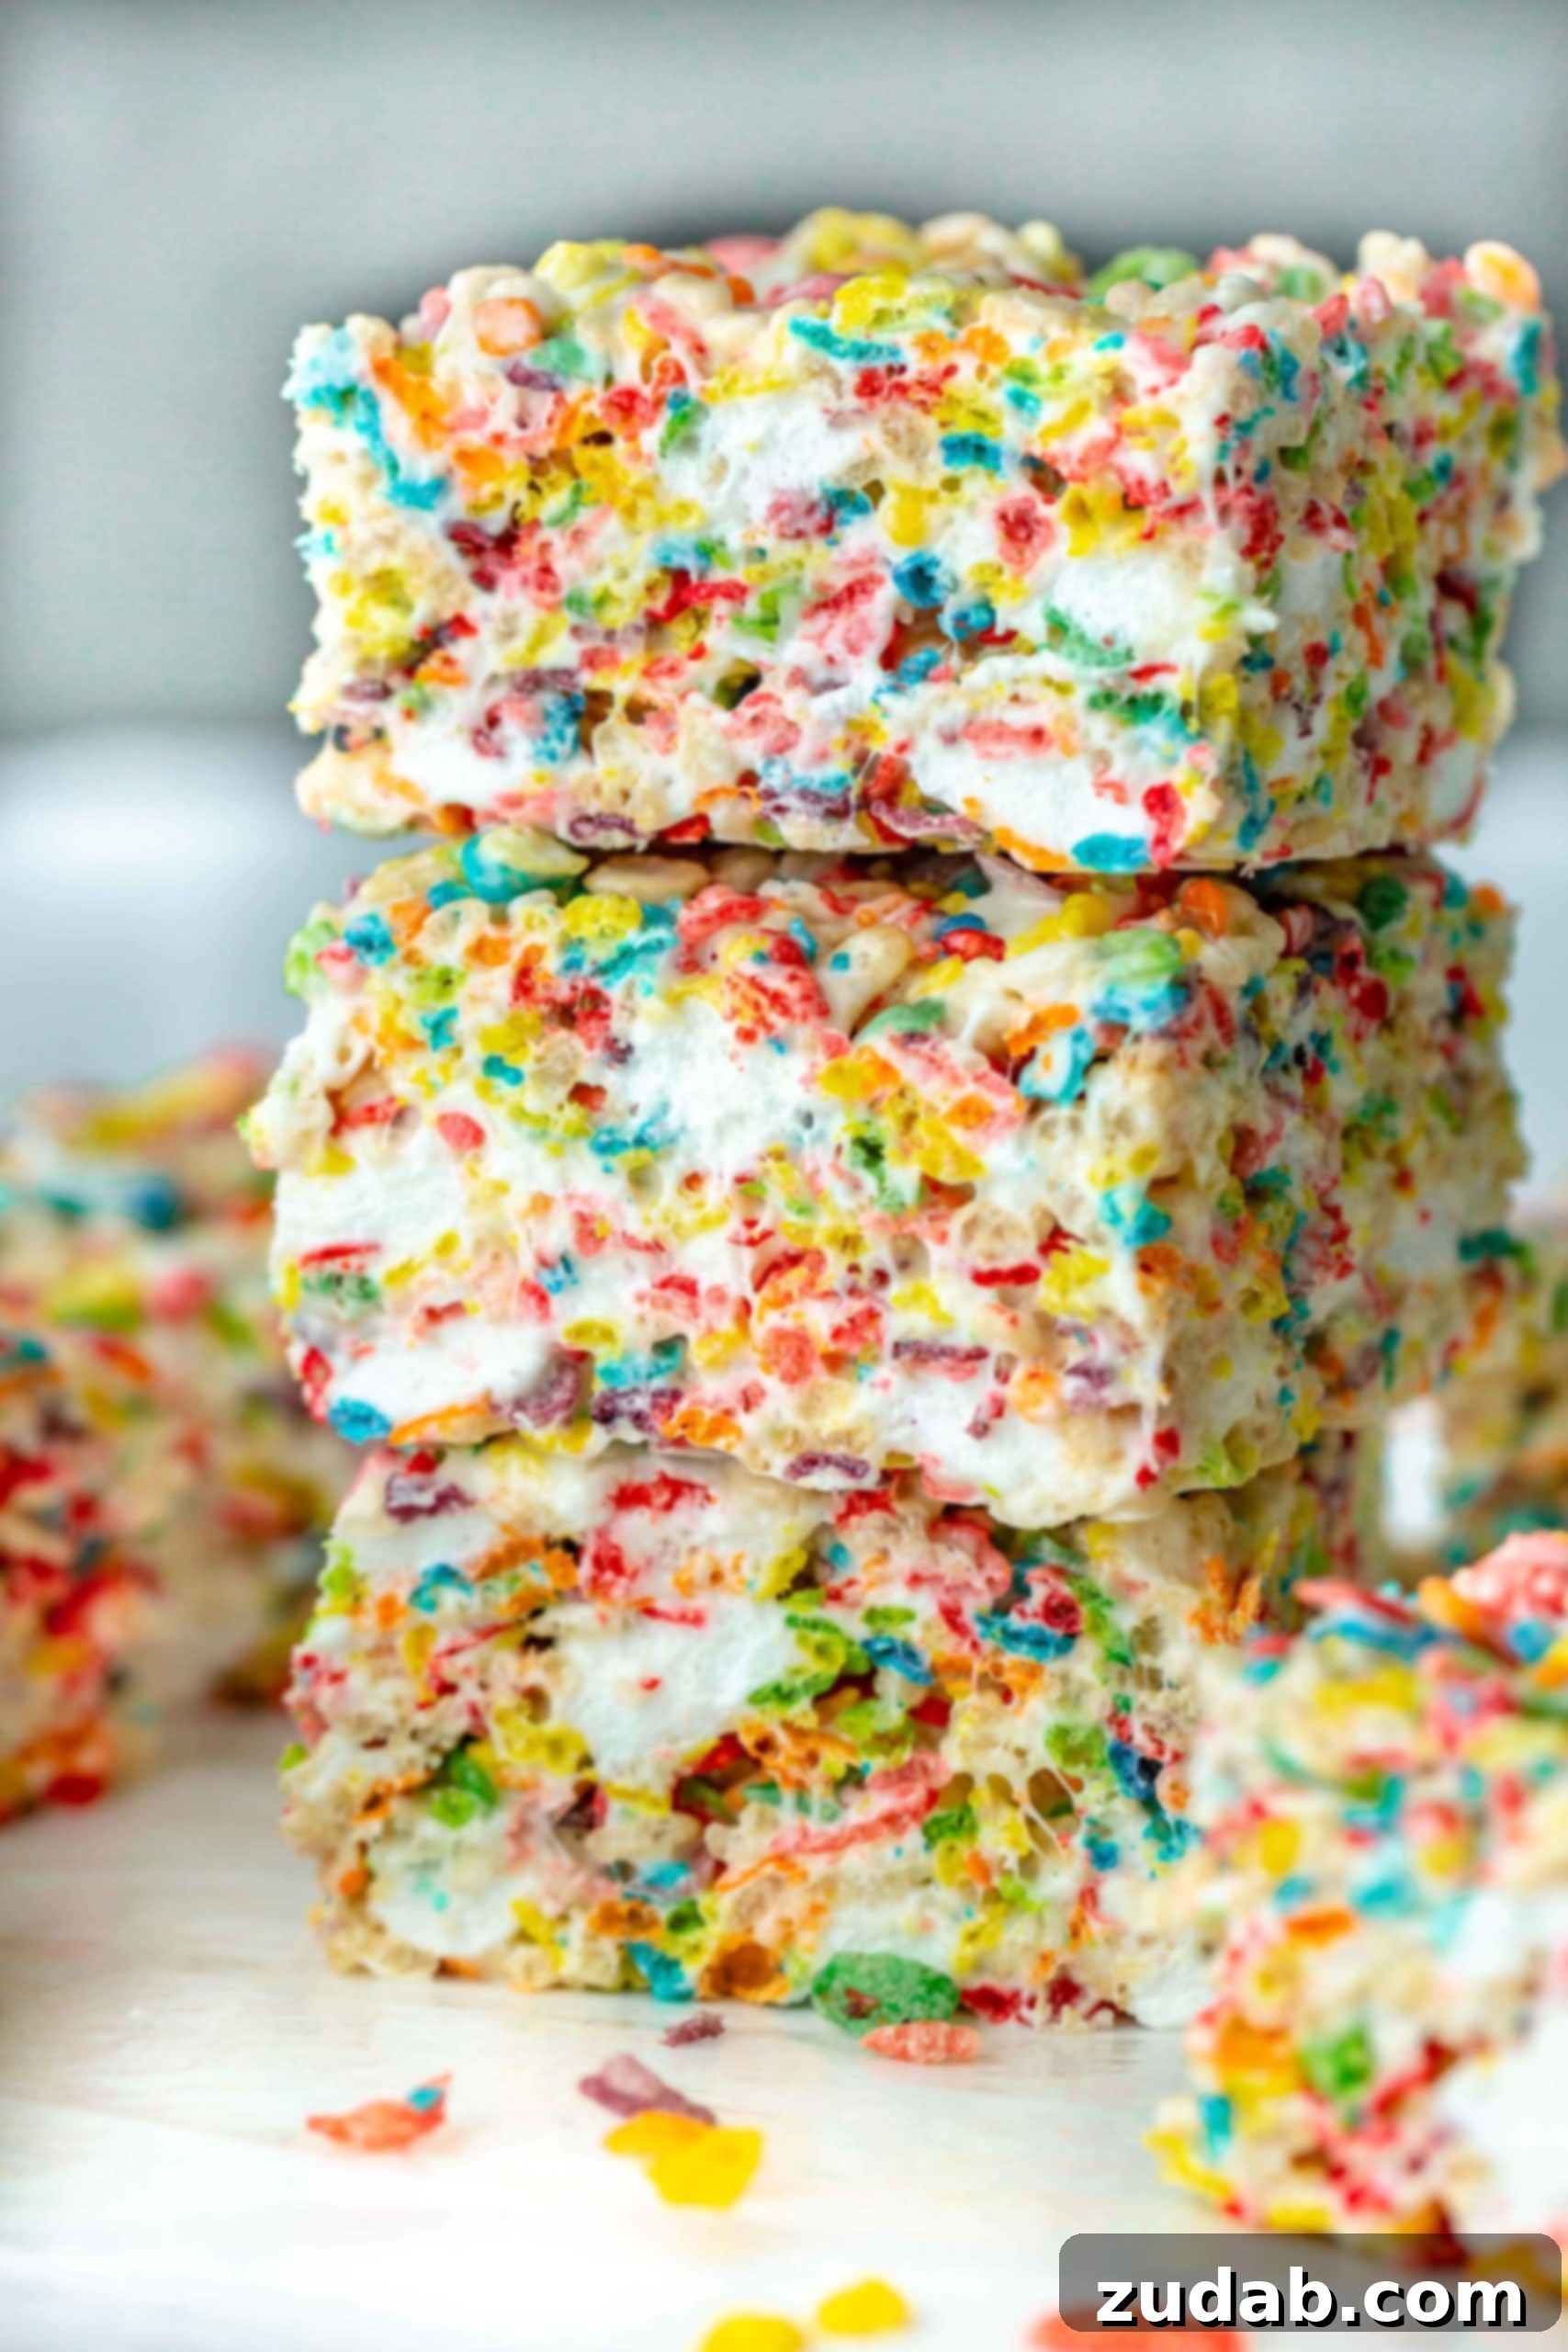
Prepare to delight your senses with these vibrant, chewy, and utterly irresistible Homemade Fruity Pebbles Rice Krispie Treats! Thanks to a generous infusion of extra marshmallows, each bite offers an incredibly gooey texture that simply melts in your mouth. We elevate this classic dessert by sprinkling a delicate touch of sea salt on top, perfectly balancing the sweetness with a savory finish. Get ready to introduce a delightful burst of rainbow color and nostalgic flavor to your favorite no-bake snack!
The inspiration for these extraordinary treats struck while I was scrolling through Instagram, captivated by an endless stream of colorful photos showcasing what appeared to be Rice Krispie Treats infused with Fruity Pebbles. “What an ingenious idea!” I thought, instantly recalling how my kids had once asked if we could make a batch using their beloved rainbow cereal. The request had, regrettably, slipped my mind until that moment.
However, during my initial exploration, I noticed a curious trend: many posts hinted at a baking challenge, yet very few actually shared a recipe. The results varied wildly; some treats looked disappointingly flat and dry, while others boasted an odd, unappetizing orange hue. This observation spurred me into action. I immediately began experimenting in my kitchen, determined to unlock the secrets to truly perfect Fruity Pebbles Rice Krispie Treats. After several rounds of testing, I proudly discovered two fundamental principles that guarantee a gooey, flavorful, and visually stunning outcome.
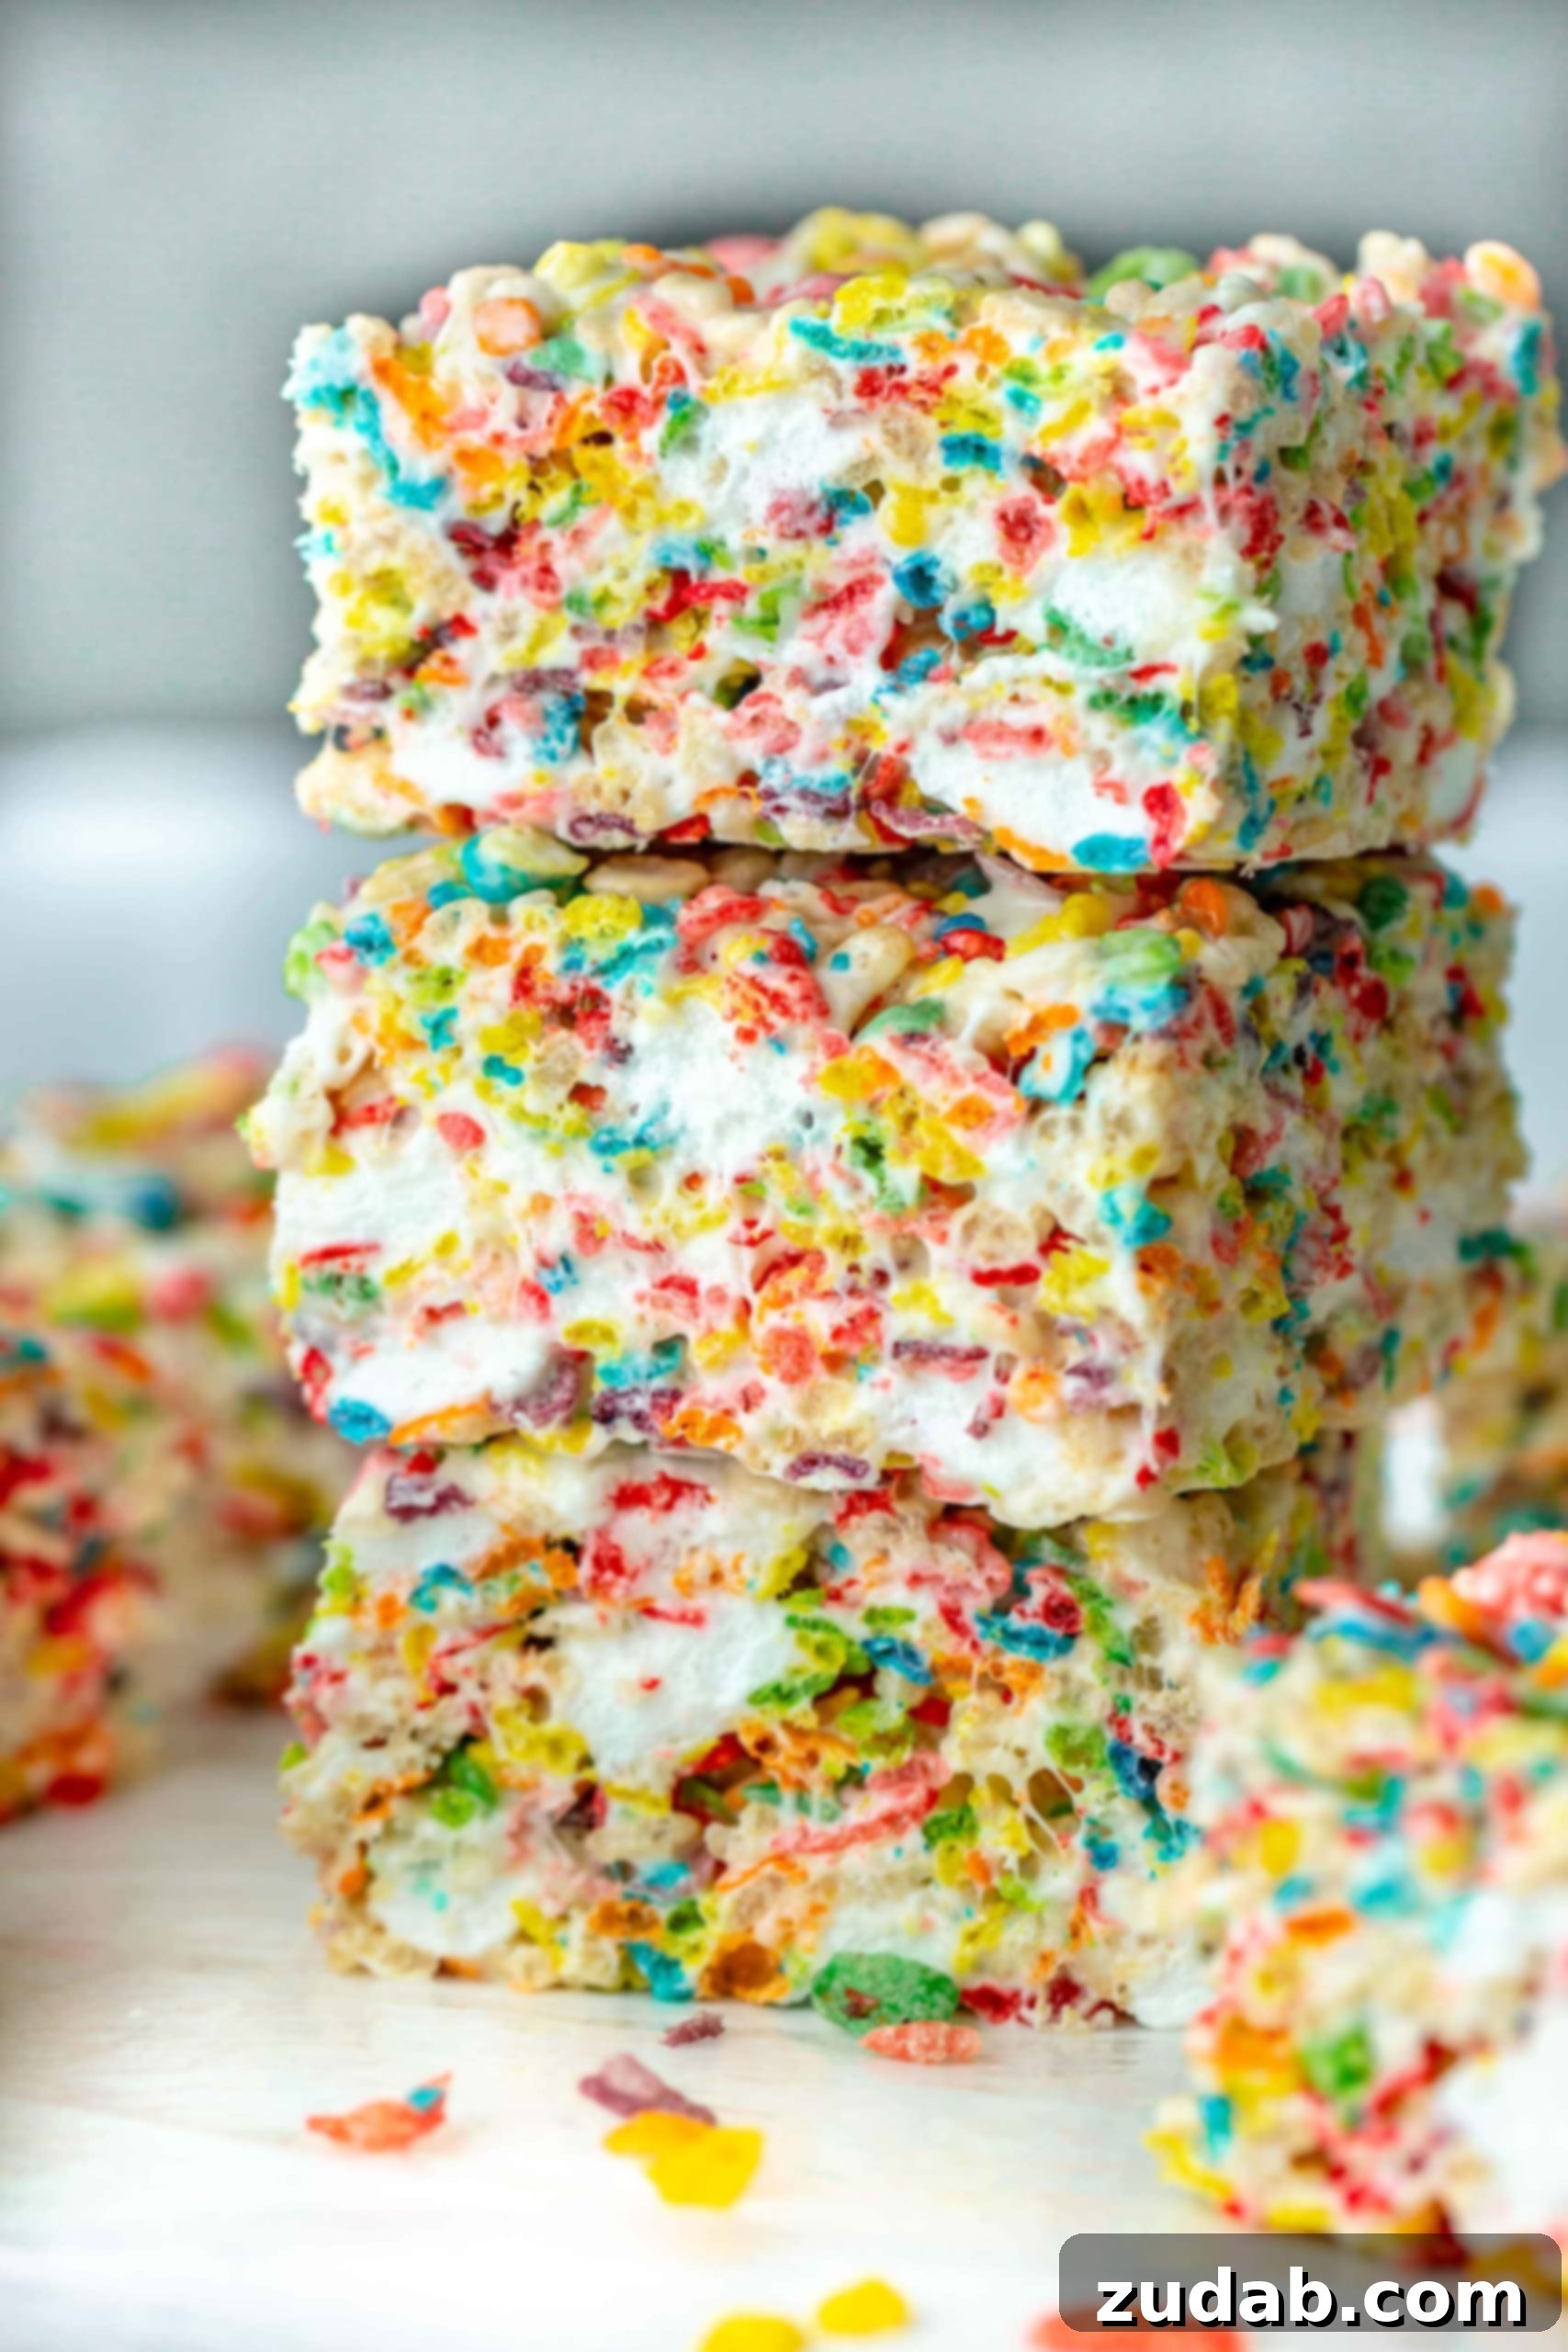
The Secrets to Perfect Fruity Pebbles Rice Krispie Treats
Crafting the ultimate Fruity Pebbles Rice Krispie Treat is more than just melting marshmallows and mixing cereal. It’s about balance and embracing a few key techniques. Here are the two crucial discoveries that will transform your treats from good to absolutely unforgettable:
- Achieve Flavor Harmony: Resist the temptation to use only Fruity Pebbles cereal. While delicious, an excessive amount of the fruit-flavored cereal can be overpowering, leading to a taste that’s almost too intense. To achieve a perfectly balanced flavor profile that both highlights the fruity notes and remains delightfully palatable, we incorporate a small amount of classic Rice Krispies cereal. This simple addition softens the intense fruitiness, creating a more harmonious and enjoyable treat that everyone will love.
- Embrace the Gooey Goodness: Forget every other Rice Krispie Treat recipe you’ve encountered and stick with our tried-and-true method for incredibly gooey Rice Krispie Treats. The secret lies in using a generous amount of butter and extra marshmallows, creating a richer, more luxurious base. Furthermore, the addition of a dash of pure vanilla extract and a pinch of fine sea salt is absolutely *essential*. These ingredients don’t just add flavor; they cut through the intense sweetness of the fruit cereal, enhancing all the other flavors and preventing the treats from being cloyingly sweet.
These two adjustments are game-changers, ensuring your Fruity Pebbles Rice Krispie Treats are not just colorful, but also perfectly textured and exquisitely flavored. Once you try this method, you’ll never go back!
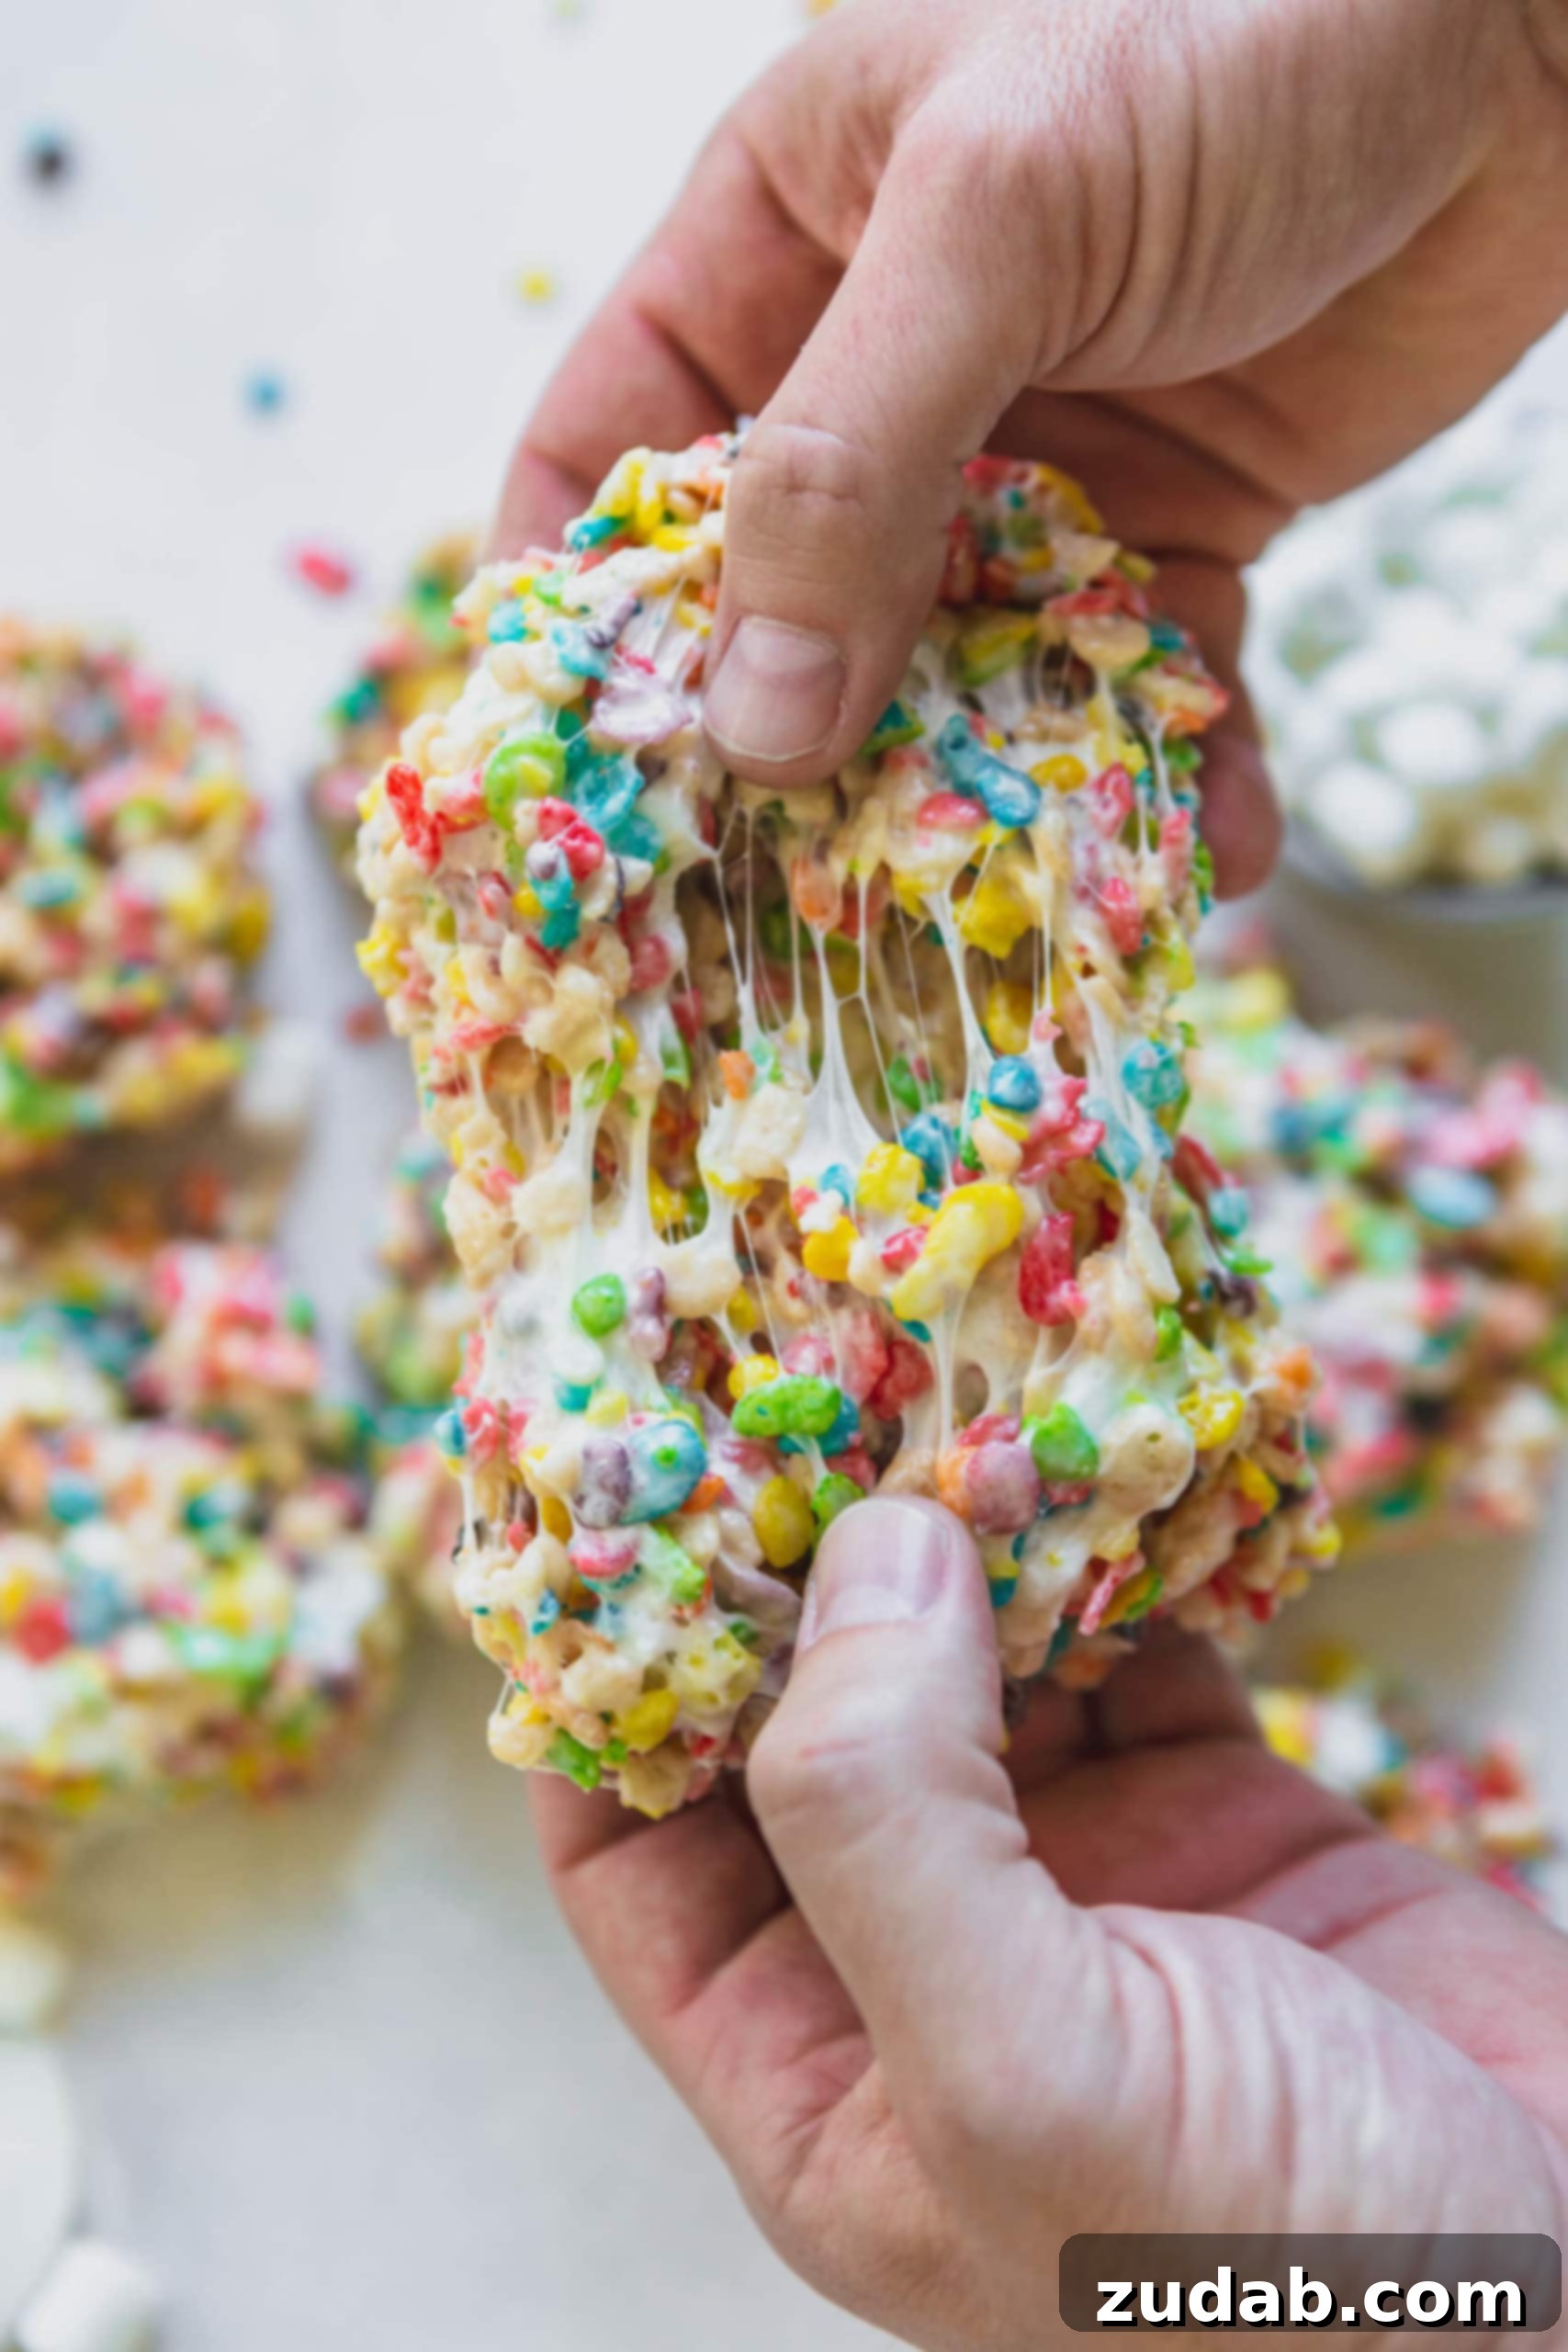
Essential Ingredients for Your Rainbow Rice Krispie Treats
Get ready to put on your “fat pants” (or at least prepare for an irresistible indulgence) because these are the most buttery, gooey, and wildly delicious Rice Krispie Treats you’ll ever make! Kids adore them, and I confess, I can barely keep my hands off them either. The magic begins with a simple, yet carefully selected, list of ingredients. Freshness truly makes a difference, especially for your marshmallows, so aim for a newly opened bag if possible. Here’s everything you’ll need to create this delightful, colorful confection:
- Unsalted Butter: The foundation of rich, buttery flavor and a key component for achieving that perfect gooey texture.
- Pure Vanilla Extract: A crucial ingredient that adds depth and warmth, expertly balancing the sweetness of the cereal and marshmallows. Don’t skip it!
- Mini Marshmallows (as fresh as possible): The star of the show! Using fresh marshmallows ensures maximum meltiness and chewiness. Divided into two portions for optimal gooeyness.
- Rice Krispies Cereal: The classic, crisp base that provides the signature “snap, crackle, pop” texture and helps balance the intense fruit flavor.
- Fruity Pebbles Cereal: The vibrant, fruity hero that gives these treats their spectacular color and beloved flavor.
- Marshmallow Fluff: An optional but highly recommended addition that boosts the gooey factor to an unbelievable level, ensuring your treats stay soft and chewy for longer.
- Fine Sea Salt: A tiny pinch makes a huge difference, enhancing all the flavors and cutting through the sweetness for a perfectly balanced taste experience.
The precise measurements for each of these ingredients can be found in the detailed recipe card at the end of this post. Gather your supplies, and let’s get ready to make some magic!
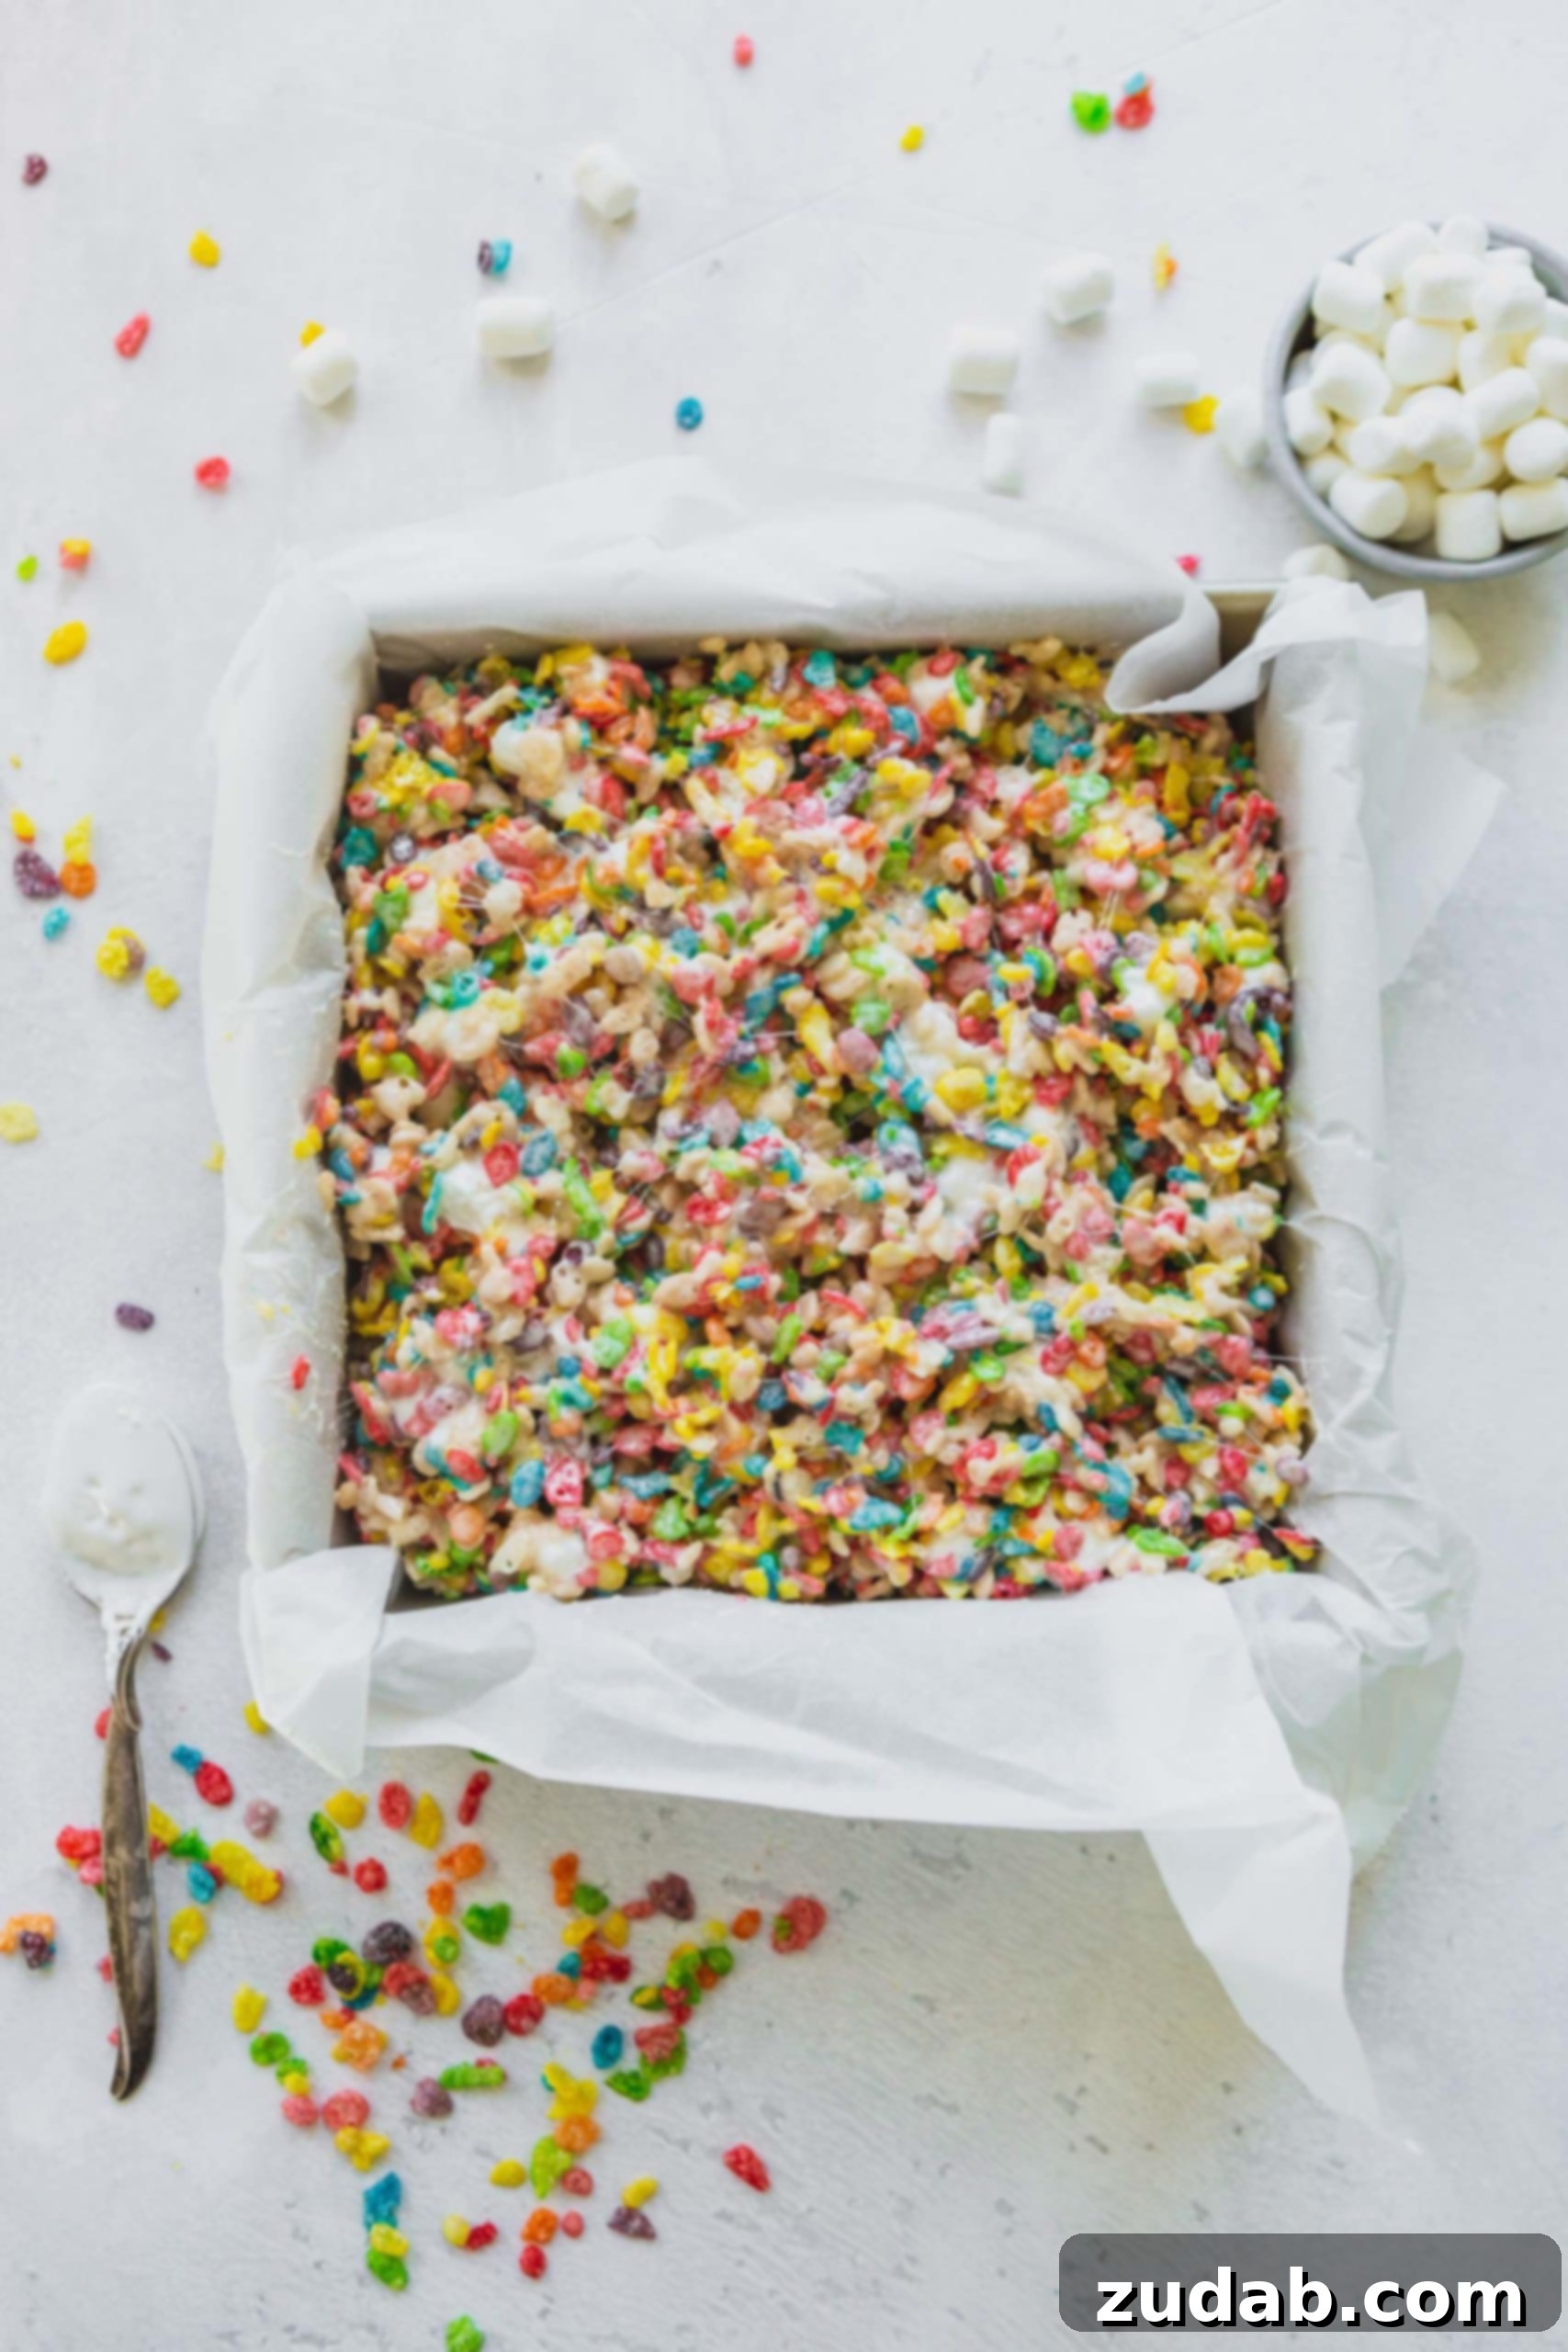
How to Craft Your Fruity Pebbles Rice Krispie Treats: A Step-by-Step Guide
Making these delightful Fruity Pebbles Rice Krispie Treats is surprisingly simple, requiring minimal effort for maximum deliciousness. This recipe is designed to fill a standard 9×9 inch pan, perfect for a modest gathering or a week’s worth of personal indulgence. If you’re hosting a larger crowd or simply can’t get enough of these colorful squares, feel free to easily double the recipe to fit a 9×13 inch pan. Below, you’ll find detailed instructions for both stovetop and microwave methods, allowing you to choose the technique that best suits your kitchen setup and preference.
Preparation is Key
Before you even think about melting marshmallows, proper pan preparation is essential to ensure your treats don’t stick and are easy to remove. Start by thoroughly spraying your chosen pan (9×9 or 9×13 inch) with a reliable non-stick cooking spray. For an even easier removal process, consider lining the pan with either aluminum foil or parchment paper, creating a “sling” that extends over the edges. This sling will allow you to effortlessly lift the entire slab of treats out once they’ve cooled. Once your foil or parchment is in place, give it another quick spray with non-stick spray for double protection against stickiness.
Method 1: The Classic Stovetop Approach
For those who prefer a more traditional cooking experience, the stovetop method offers precise control over the melting process. In a large, heavy-bottomed pot, combine the measured butter, marshmallow fluff, fine sea salt, and 8 cups of your mini marshmallows. Place the pot over medium heat. Stir continuously and gently as the ingredients melt together, until the mixture is completely smooth and creamy. Be patient and resist the urge to crank up the heat!
PRO TIP for Stovetop Melting: It is crucial not to increase the heat beyond medium! Overheating the marshmallows can cause the sugar within them to caramelize, leading to hard, brittle treats once they cool. We’re aiming for soft, chewy, gooey perfection, not rock-hard candy. Slow and steady wins the race when it comes to melting marshmallows.
Method 2: The Speedy Microwave Method
If you’re short on time or prefer a hands-off approach, the microwave offers a quick and efficient way to melt your marshmallow mixture. In a large, microwave-safe bowl, combine the butter, marshmallow fluff, fine sea salt, and 8 cups of mini marshmallows. Microwave the mixture in 30-second increments, stirring thoroughly after each interval, until all the ingredients are fully melted and wonderfully smooth. The key here is consistent stirring to ensure even melting and prevent any burning.
Bringing it All Together
Once your marshmallow base is perfectly melted using either method, remove it from the heat (or microwave). Stir in the pure vanilla extract, ensuring it’s evenly distributed throughout the gooey mixture. Next, add both the Rice Krispies cereal and the Fruity Pebbles cereal to the bowl or pot. Mix everything together meticulously, ensuring every piece of cereal is coated in the sweet, sticky marshmallow goodness. This is also the point where you’ll fold in the remaining 2 cups of mini marshmallows. These will remain slightly intact, providing extra pockets of gooey marshmallow throughout your finished treats.
Pressing and Cooling
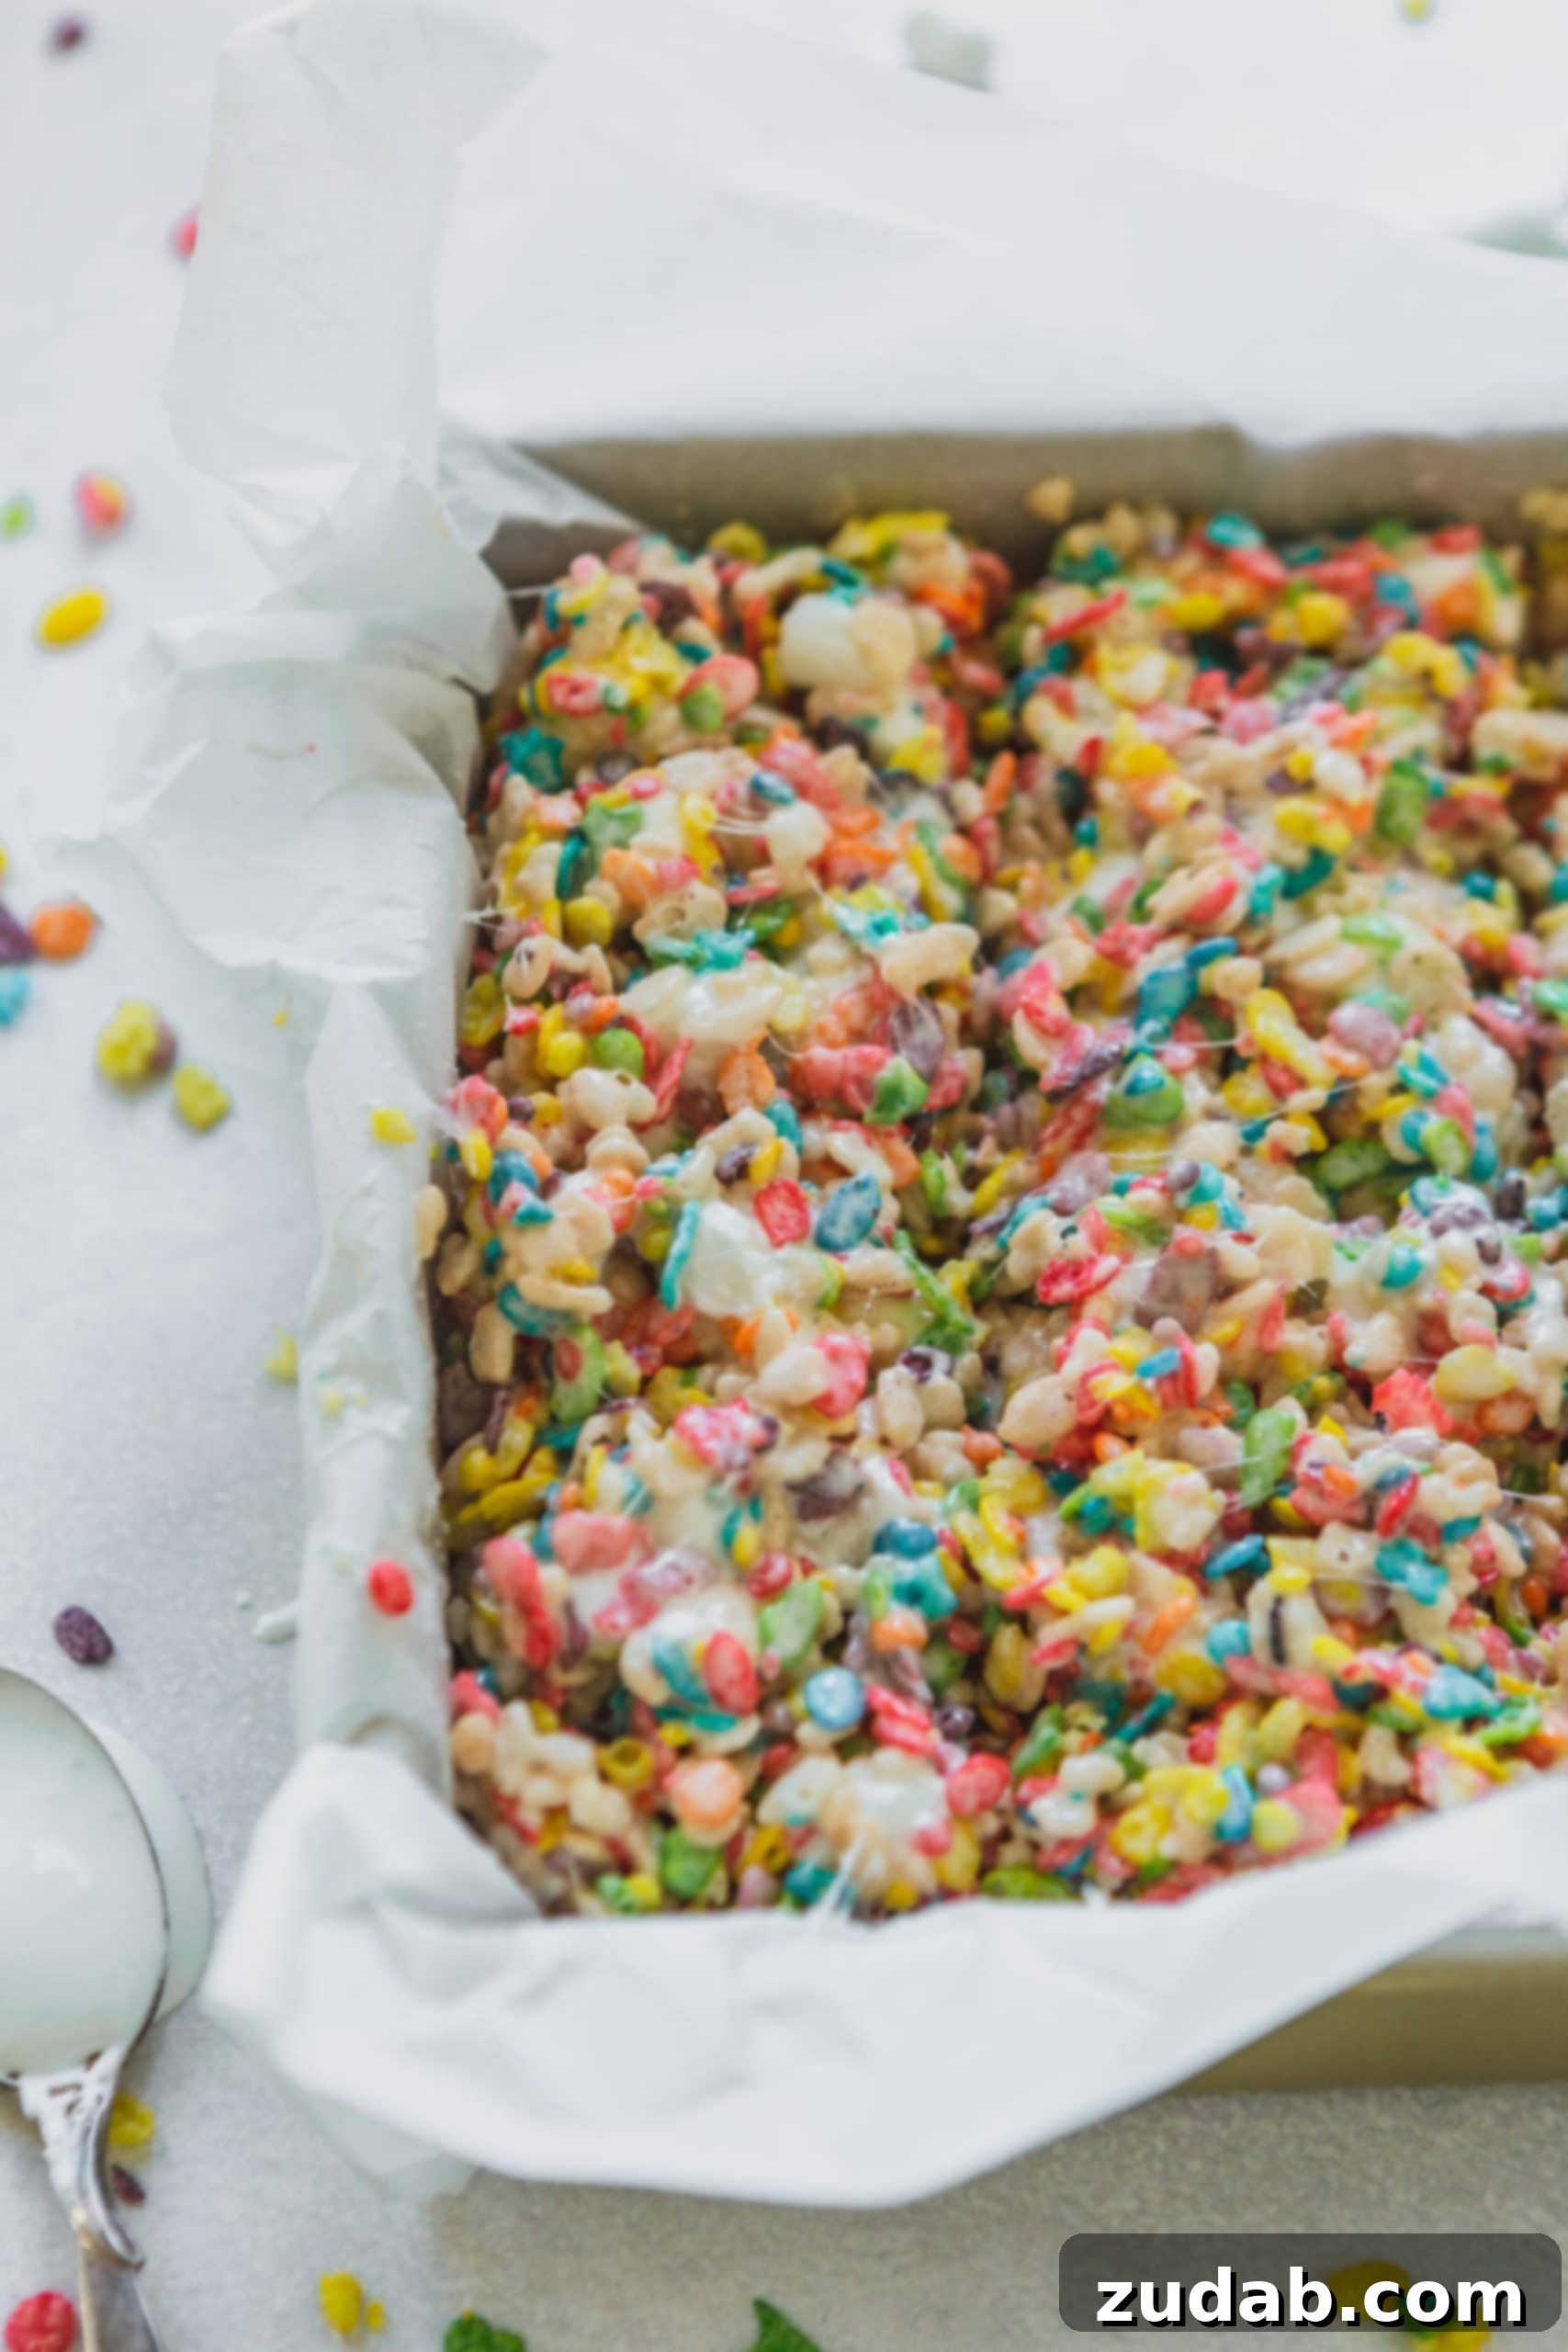
Carefully pour the entire cereal mixture into your prepared pan. Now comes another critical step: pressing the mixture down gently.
PRO TIP for Pressing: To avoid a sticky mess and achieve the perfect texture, lightly grease a spoon, spatula, or even your fingertips with a little butter or non-stick cooking spray. Use this to gently press the sticky mixture into the pan, forming an even layer. Do NOT smash or compact the mixture firmly! Pressing too hard will crush the cereal and compress the air pockets, resulting in dense, hard-to-bite bars once they cool. A light, even press is all you need to ensure they remain wonderfully soft and chewy.
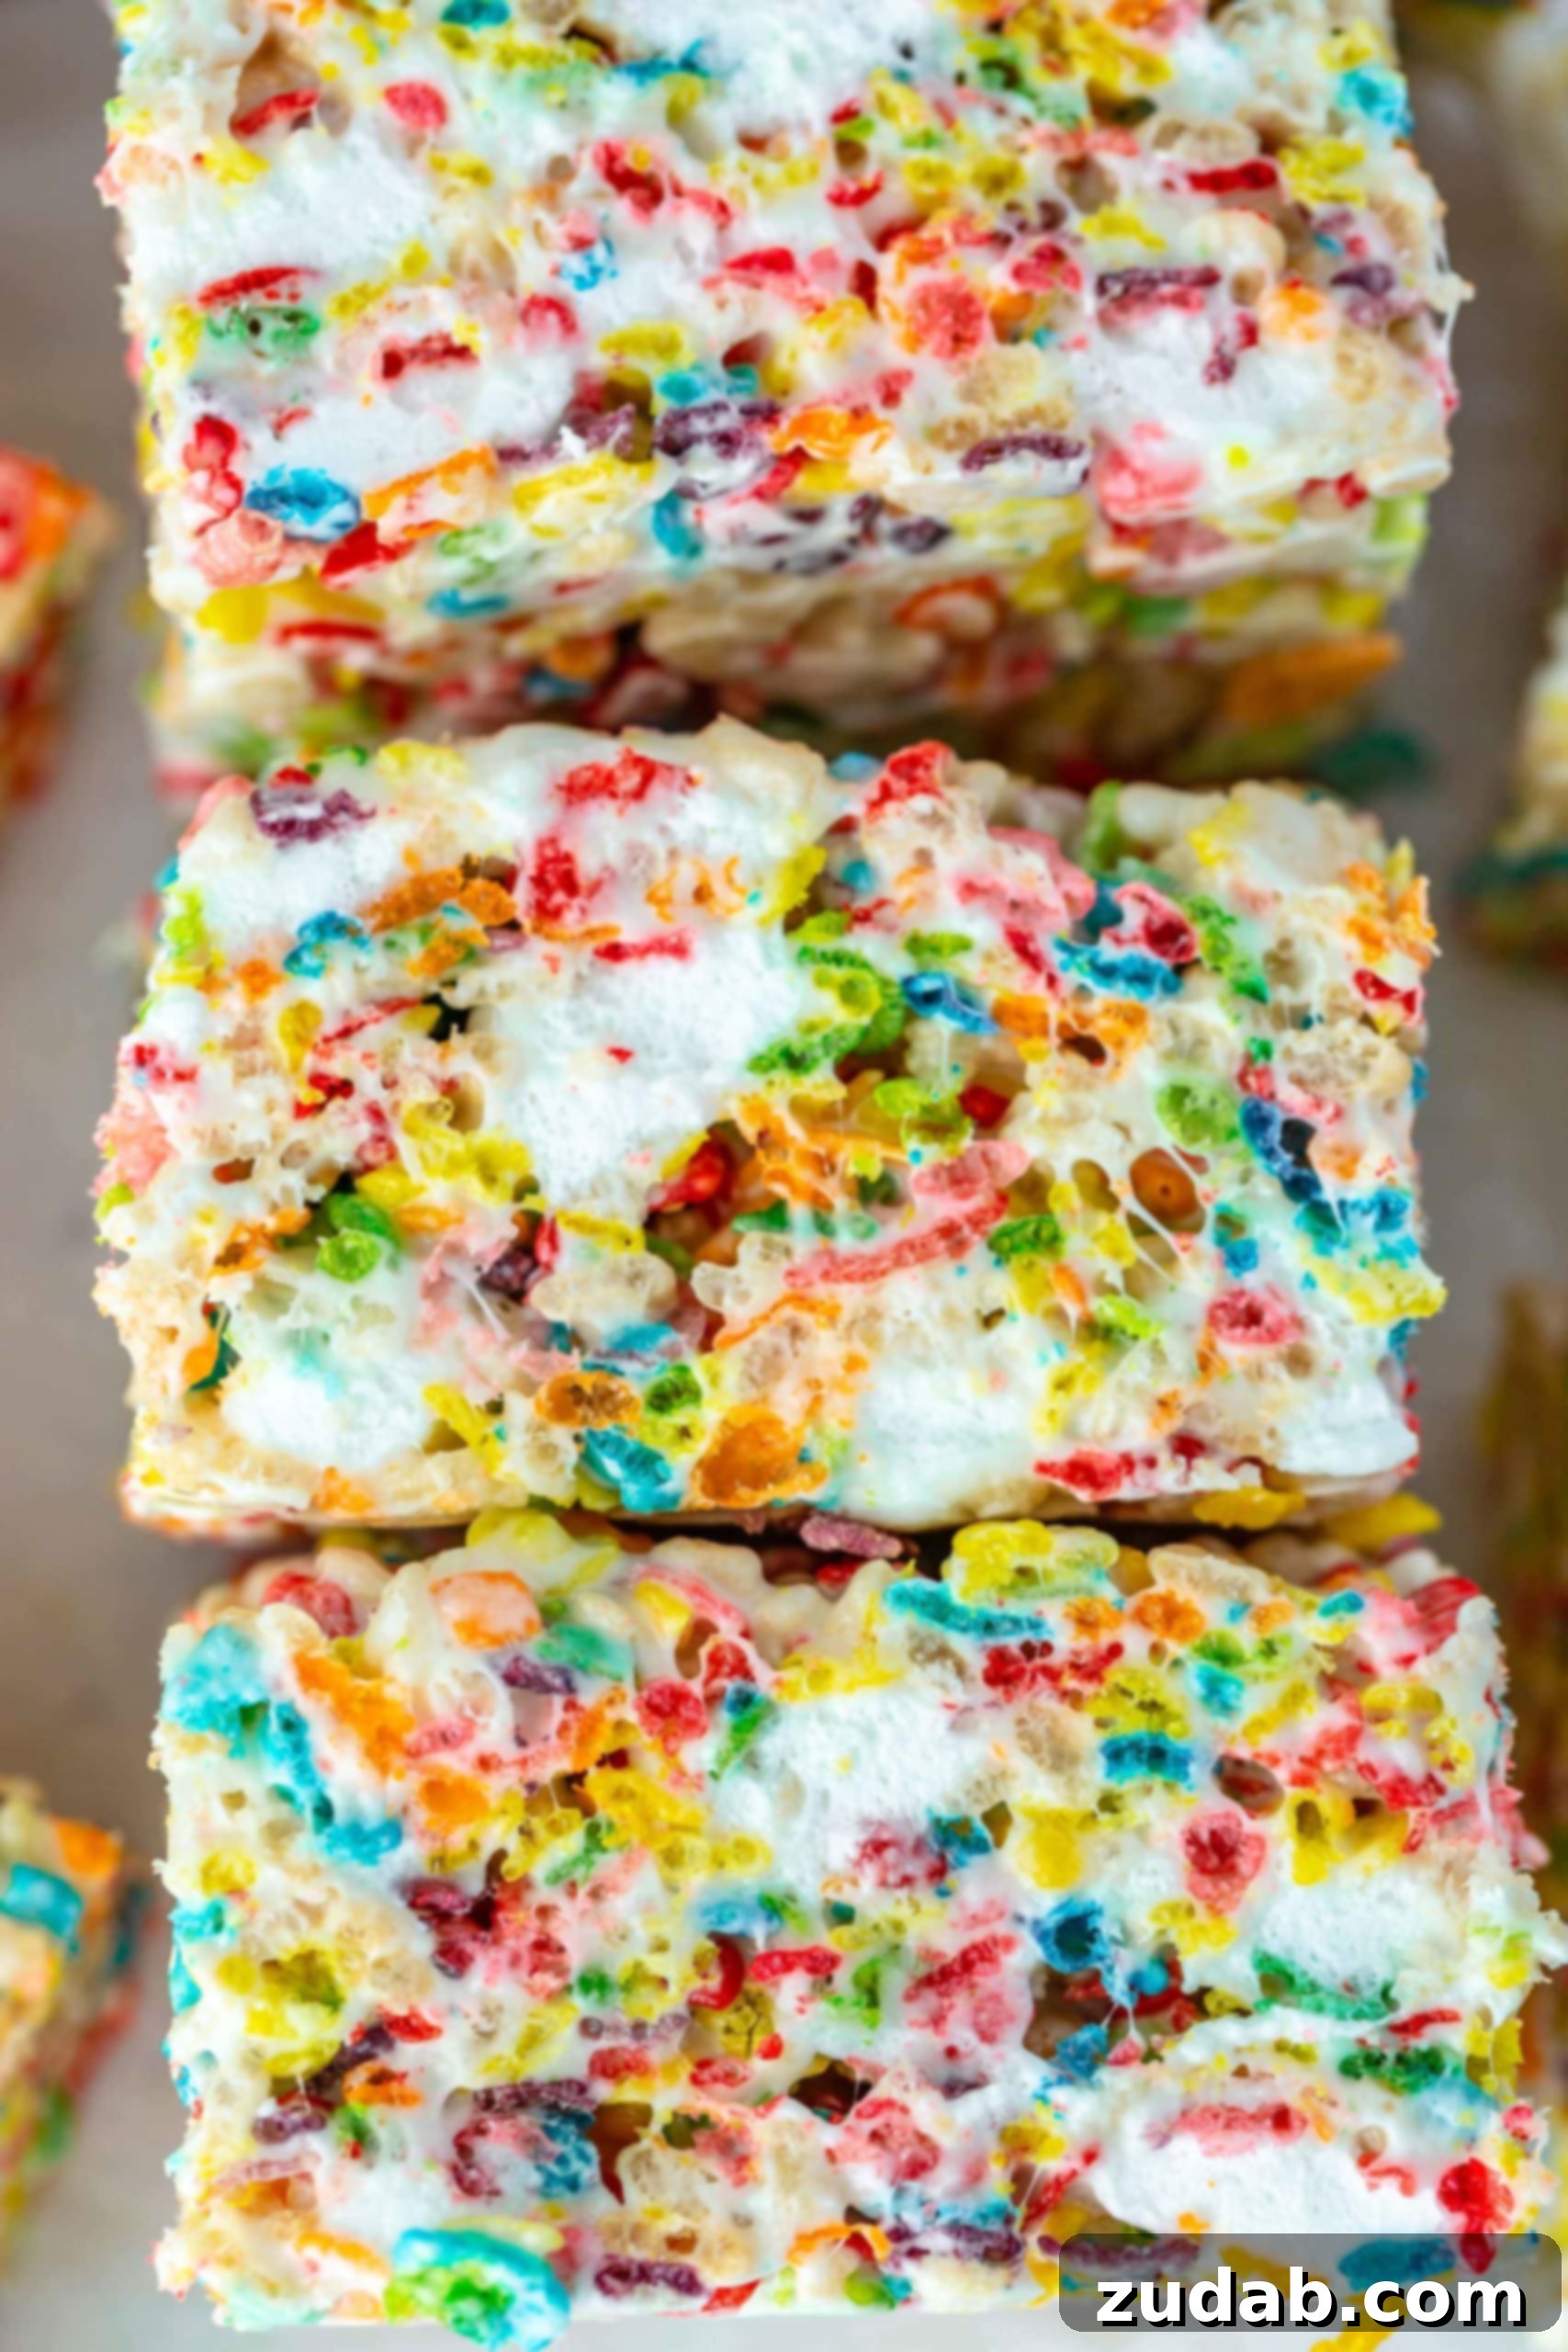
Allow the treats to cool completely to room temperature before attempting to cut and serve them. This cooling period is vital for the treats to set properly. Once cooled, use your foil or parchment sling to lift the entire slab from the pan. Then, use a sharp knife or a pastry scraper to cut them into neat squares. Enjoy your beautiful, homemade Fruity Pebbles Rice Krispie Treats!
Creative Variations for Your Fruity Treats
While Fruity Pebbles lend a fantastic rainbow appeal and delightful flavor, don’t limit your creativity! The beauty of Rice Krispie Treats is their versatility. You can easily swap out Fruity Pebbles for other exciting cereal choices, transforming this recipe into a new favorite. Here are some delicious variations to inspire your next batch:
- Chocolate Lover’s Dream: Replace Fruity Pebbles with Cocoa Pebbles for an irresistible chocolatey twist. To make them extra decadent, fold in a handful of mini chocolate chips along with the cereal. The melty chocolate pockets will be a delightful surprise!
- Spicy & Sweet Cinnamon Kick: If you enjoy a touch of warmth and spice, try using Cinnamon Pebbles. And for an extra layer of flavor, add a small dash of ground cinnamon directly into the melted marshmallow mixture. Yowza, it’s good!
- Peanut Butter Perfection: Explore the rich and creamy side by trying Peanut Butter & Cocoa Pebbles. The combination of peanut butter and chocolate is a timeless classic that always hits the spot. If you haven’t already, you must try our Scotcheroos or Reese’s Rice Krispies Treats for more peanut butter and chocolate bliss!
- Holiday Themed Treats: Consider seasonal cereals or adding food coloring to your marshmallow mix to match holidays. Think green for St. Patrick’s Day or red and green for Christmas with a touch of peppermint extract.
- Nutty Additions: For added crunch and flavor, stir in chopped nuts like peanuts, pecans, or almonds (if not avoiding allergens) along with the cereal.
- Candy Mix-ins: Get creative with small candies! Mini M&M’s, chopped gummy bears (for extra chewiness), or even sprinkles can be folded in for extra fun and texture.
Each variation offers a unique flavor adventure, proving that these simple treats are incredibly adaptable to any taste preference or occasion. Don’t be afraid to experiment and discover your own favorite combination!
Dietary Considerations: Gluten-Free and Dairy-Free Options
For those with dietary restrictions, good news! These Fruity Pebbles Rice Krispie Treats can be easily adapted to accommodate specific needs, ensuring everyone can enjoy a taste of this colorful dessert.
Are Fruity Pebbles Gluten-Free? Yes, Fruity Pebbles cereal is officially certified gluten-free! This means all our gluten-free friends can absolutely indulge in this treat without worry. Always double-check the cereal box for the latest certification, as formulations can occasionally change, but typically, this cereal is a safe bet for a gluten-free diet.
Making Them Dairy-Free: If you or your guests need a dairy-free option, a simple swap is all it takes. Instead of traditional butter, use coconut oil (refined coconut oil has a neutral flavor) or a plant-based butter substitute. Ensure all other ingredients, like marshmallows and marshmallow fluff, are also dairy-free (most standard marshmallows are, but it’s always wise to check labels). With this simple adjustment, these vibrant treats become a delicious and inclusive option for almost everyone!
Storing Your Delicious Rice Krispie Treats for Freshness
Once you’ve made a batch of these irresistible Fruity Pebbles Rice Krispie Treats, proper storage is key to maintaining their fresh, gooey texture. Luckily, they are quite easy to store, making them a perfect make-ahead dessert or snack.
Room Temperature Storage: For optimal freshness and that signature chewy texture, store your Rice Krispie treats in an airtight container at room temperature. They will remain wonderfully soft and delicious for 2-3 days. Avoid refrigerating them, as the cold can cause the marshmallows to firm up and become quite hard, taking away from their desirable gooeyness.
Freezing for Longer Enjoyment: If you’ve made a large batch or want to save some for a later date, Rice Krispie treats freeze exceptionally well! Wrap individual treats tightly in plastic wrap, then place them in an airtight freezer-safe container or a heavy-duty freezer bag. They can be frozen for up to 6 weeks. When you’re ready to enjoy them, simply take them out of the freezer and let them thaw at room temperature for an hour or two. They’ll be just as fresh and chewy as when you first made them!
A Treat Just for One: Single-Serving Fruity Pebbles Rice Krispie Bliss
Let’s be honest, we all have those days. Perhaps it’s been a marathon of endless demands, a symphony of “whining and complaining” from the younger members of your household, and now, finally, peace has descended. The kids are tucked in, and you, dear parent, deserve a moment of pure, unadulterated bliss. You need a treat, and you need it now!
Good news: you can absolutely make this delightful Fruity Pebbles treat for one! No need to whip up an entire batch when a single serving of gooey, colorful goodness is all that’s required to turn your evening around. Simply follow the directions for our incredibly easy and quick Rice Krispie Treat in a Mug recipe, with one delicious modification. When it comes to adding the cereal, split the quantity in half: use half classic Rice Krispies and half your favorite Fruity Pebbles. In minutes, you’ll have a warm, chewy, rainbow-infused treat that’s all your own. It’s the perfect way to unwind and add a little color back into your day (or night!). You earned it!
Indeed, everyone needs a little extra color and joy in their life, and what better way to achieve that than with these spectacularly cheerful and delicious Fruity Pebbles Rice Krispie Treats?! They are a guaranteed hit with children, thanks to their vibrant appearance and sweet flavor, and adults find them utterly irresistible, tapping into a nostalgic sense of playful indulgence. Whip up a batch today and watch them disappear!
Watch the Video!
If you love these, then you have to try these other BAR DESSERTS:
- Scotcheroos Peanut Butter Rice Krispies Treats
- Mom’s Famous Caramel Brownies
- Lemon Raspberry Bars
- Brookie Bars
- Snickerdoodle Cheesecake Bars
- Classic Lemon Bars
- Ritz Reese’s S’more Bars
- Peach Oatmeal Bars
- Peanut Butter Cheesecake Oreo Brownies
- Peanut Butter Caramel Brownies
- Twix Caramelita
- Raspberry Lemon Bars
Rated 4.53 out of 5 stars by 38 votes.
Fruity Pebbles Rice Krispie Treats
Sweet Basil
10 mins
10 mins
8

Print Recipe
These Homemade Fruity Pebbles Rice Krispie Treats are super gooey thanks to the extra marshmallows used in the recipe! We top ours with sea salt to amp up the sweet-salty flavor!
Ingredients
- 5 Tablespoons Butter
- 1/2 teaspoon Sea Salt, fine grain
- 10 Cups Mini Marshmallows, divided
- 1/4 teaspoon Vanilla Extract
- 1/3 Cup Marshmallow Fluff
- 2 Cups Rice Krispies Cereal
- 4 Cups Fruity Pebbles Cereal
Instructions
-
Spray a 9×9-inch pan with non-stick spray and line it with a foil or parchment paper sling. Spray again.
-
In a very large microwave-safe bowl, or in a pot on the stove over medium heat, place your butter, salt, and 8 cups of mini marshmallows. Microwave in 30-second increments, or heat, stirring in between, until everything is completely melted and smooth.5 Tablespoons Butter, 1/2 teaspoon Sea Salt, 10 Cups Mini Marshmallows
-
Add vanilla and marshmallow fluff and stir again.1/4 teaspoon Vanilla Extract, 1/3 Cup Marshmallow Fluff
-
Pour in the rice krispies and fruity pebbles cereal and mix well.2 Cups Rice Krispies Cereal, 4 Cups Fruity Pebbles Cereal
-
Add in the remaining marshmallows while still warm and lightly press into your prepared pan.
Recipe Notes
- Using a spoon with a little butter or cooking spray on it will help you press the rice krispies into the pan without it sticking all over your hands.
- Rice Krispie treats can be stored in an airtight container, at room temperature, for 2-3 days. Or they can be frozen for up to 6 weeks.
Nutrition
Calories: 318kcal,
Carbohydrates: 65g,
Protein: 4g,
Fat: 8g,
Saturated Fat: 5g,
Cholesterol: 19mg,
Sodium: 428mg,
Potassium: 170mg,
Fiber: 5g,
Sugar: 34g,
Vitamin A: 969IU,
Calcium: 20mg,
Iron: 8mg
Nutrition information is automatically calculated and should only be used as an approximation.
Enjoyed this recipe? Share your thoughts below!
REMEMBER TO SUBSCRIBE TO our FREE Oh Sweet Basil NEWSLETTER AND RECEIVE EASY RECIPES DELIVERED INTO YOUR INBOX EVERY DAY!
When you try a recipe, please use the hashtag #ohsweetbasil on INSTAGRAM for a chance to be featured in our stories! FOLLOW OH, SWEET BASIL ON FACEBOOK | INSTAGRAM | PINTEREST | TWITTER FOR ALL OF OUR LATEST CONTENT, RECIPES AND STORIES.