
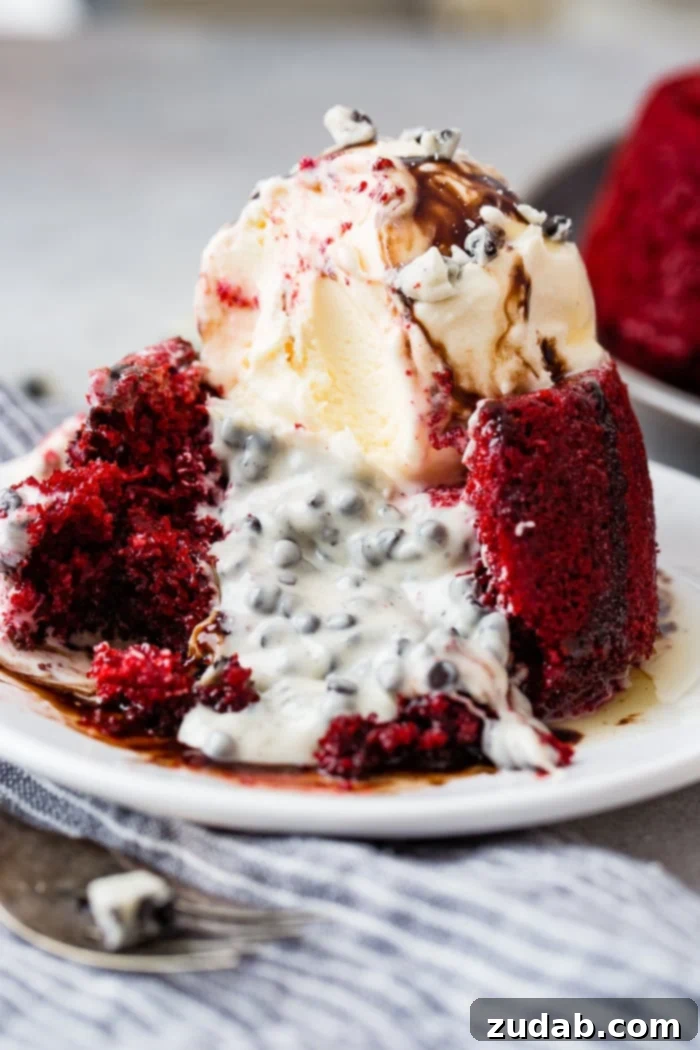
Prepare to be swept off your feet by a dessert sensation that’s captivating kitchens worldwide: our Cookies and Cream Red Velvet Molten Lava Cakes. More than just a Valentine’s Day treat, this recipe promises an unforgettable experience, whether you’re celebrating a special occasion or simply indulging in a midweek delight. It’s a symphony of rich red velvet cake, a luscious cookies and cream molten center, and a delightful symphony of textures that will leave you craving more. This isn’t just a dessert; it’s a declaration of love for all things sweet and decadent.
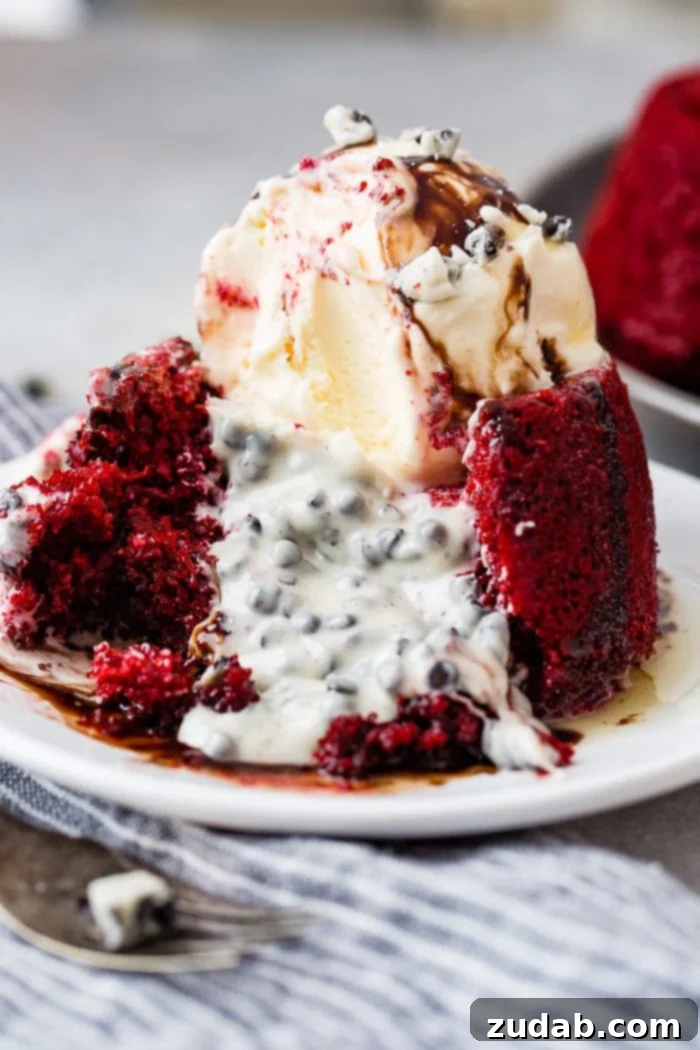
For years, our Copycat Chili’s Molten Lava Cakes Recipe has been a runaway success, becoming a perennial reader favorite, especially around Valentine’s Day. Its enduring popularity inspired us to create something truly extraordinary. Last year, we embarked on a culinary adventure that culminated in the creation of these Cookies and Cream Red Velvet Molten Lava Cakes – a decision that has undoubtedly become one of the best we’ve made for our blog and for dessert lovers everywhere. We’ve taken a beloved classic and elevated it to new heights, introducing a creamy, dreamy cookies and cream filling that transforms every bite into pure bliss.
Valentine’s Day often brings questions about how to celebrate. Is it a grand gesture for your significant other? Do school activities suffice for the kids? Or is it a day dedicated to the whole family? Each approach holds its own charm, but at the heart of it, it’s about showing love and appreciation. And what better way to express heartfelt affection than with a homemade dessert that speaks volumes?
My husband, Cade, and I have never been overly focused on traditional Valentine’s Day celebrations. We believe in showing love and making each other feel special throughout the year. However, we do embrace the opportunity to make February a month of focused quality time, scheduling special “Daddy/Child” and “Mommy/Child” dates. These moments, much like a shared dessert, create lasting memories and reinforce the bonds that truly matter. This philosophy extends perfectly to the spirit of these molten lava cakes: simple to make, yet profoundly impactful in the joy they bring.
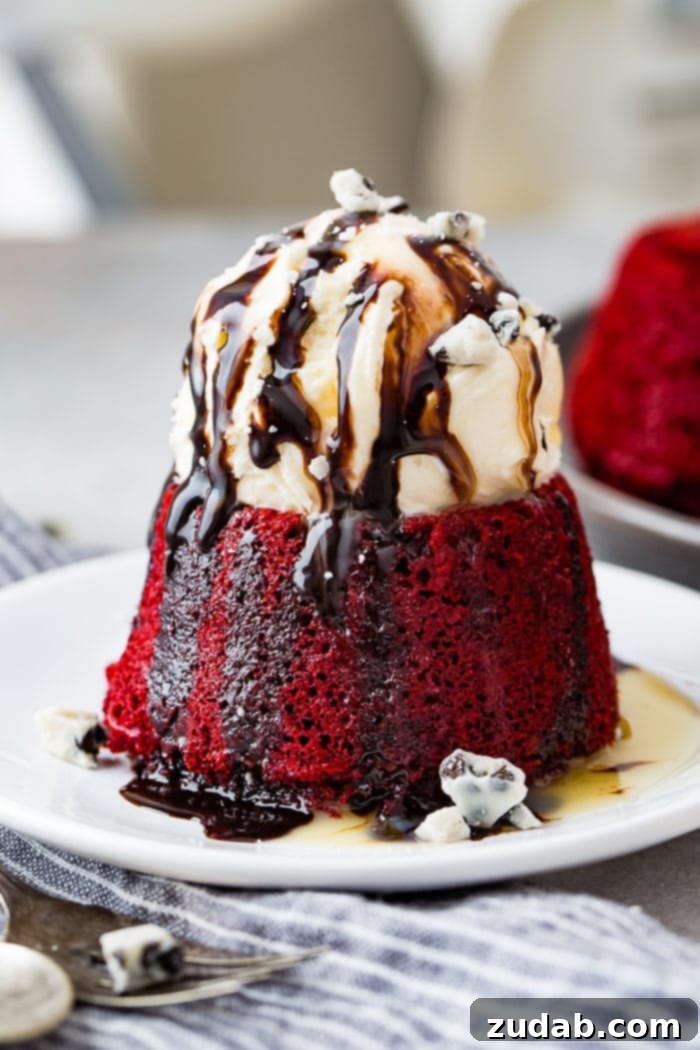
These molten lava cakes are more than just a dessert; they are a perfect expression of love, suitable for any occasion. Whether it’s Valentine’s Day, Christmas, a casual Friday night, or even a regular Wednesday, they offer an unparalleled level of indulgence and decadence. Despite their incredibly fancy appearance, suggesting hours of meticulous work in the kitchen, the truth is delightfully the opposite. They are remarkably simple to prepare, making them an ideal choice for both seasoned bakers and beginners looking to impress with minimal effort.
Baking Brilliance: Can You Create a Masterpiece from a Cake Mix?
The beauty of this recipe lies in its approachable simplicity. If you can confidently bake a cake using a standard cake mix, then you possess all the necessary skills to create these magnificent cookies and cream red velvet molten lava cakes. It truly is that straightforward. The process involves preparing a red velvet cake mix, embedding generous chunks of cookies and cream chocolate within, a quick bake, and then the ultimate reward of a warm, gooey, and utterly delicious dessert. We’ll show you how to transform a simple box mix into a gourmet-level treat, ensuring that every bite is imbued with a professional touch. Don’t let the elegant presentation fool you; this recipe is designed for ease and guaranteed success, proving that extraordinary desserts don’t always require extraordinary effort.
Unveiling the Mystery of Red Velvet: A Classic Dessert’s Story
Red velvet cake, a dessert renowned for its striking color and distinctive flavor, boasts a fascinating history believed to trace back to the Victorian Era. During this period, the term “velvet” was used to describe cakes with an unusually soft and velvety texture, a delightful contrast to the coarser cakes of the time. While its cousin, devil’s food cake, emerged around the same era, using chocolate as its primary flavor, red velvet distinguished itself with the use of cocoa. The characteristic reddish tint of early red velvet cakes was not initially due to artificial coloring, but rather a natural chemical reaction between the non-Dutched cocoa (which retains its natural anthocyanins), buttermilk, and vinegar, all common ingredients in original recipes. These acidic components reacted with the cocoa, enhancing the red hues already present. Over time, as cocoa processing methods changed and consumer preferences leaned towards a more vibrant color, red food dye became a standard addition to achieve the iconic deep red shade we recognize today. This combination of subtle cocoa flavor, a hint of tang from the buttermilk, and an incredibly tender crumb defines the magic of red velvet.
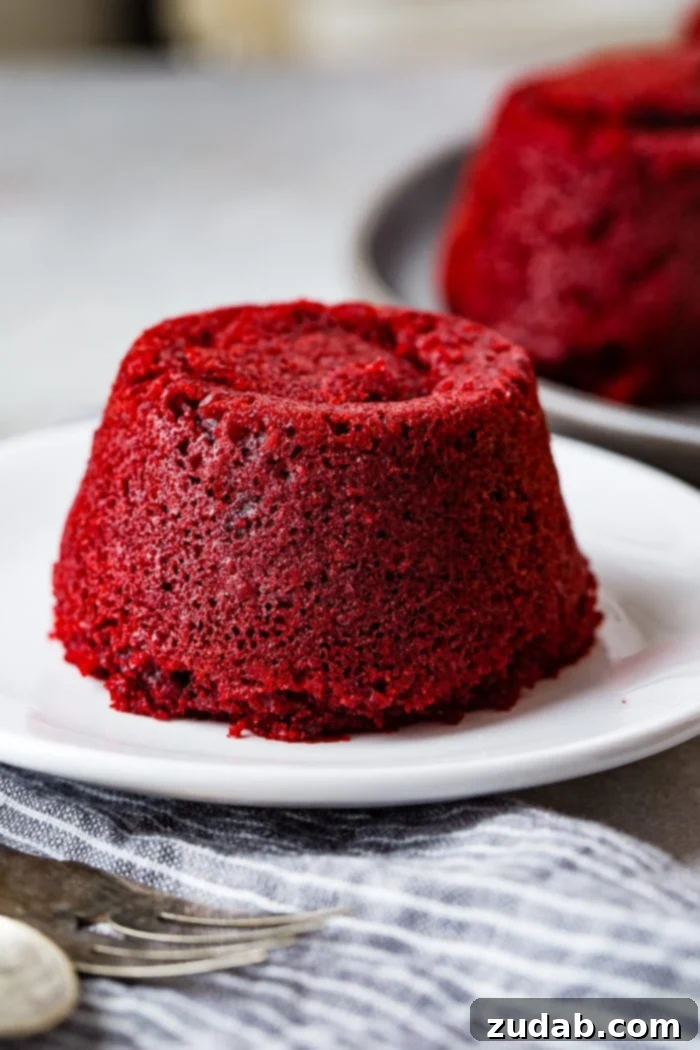
Planning Ahead: Can Molten Lava Cakes Be Prepared in Advance?
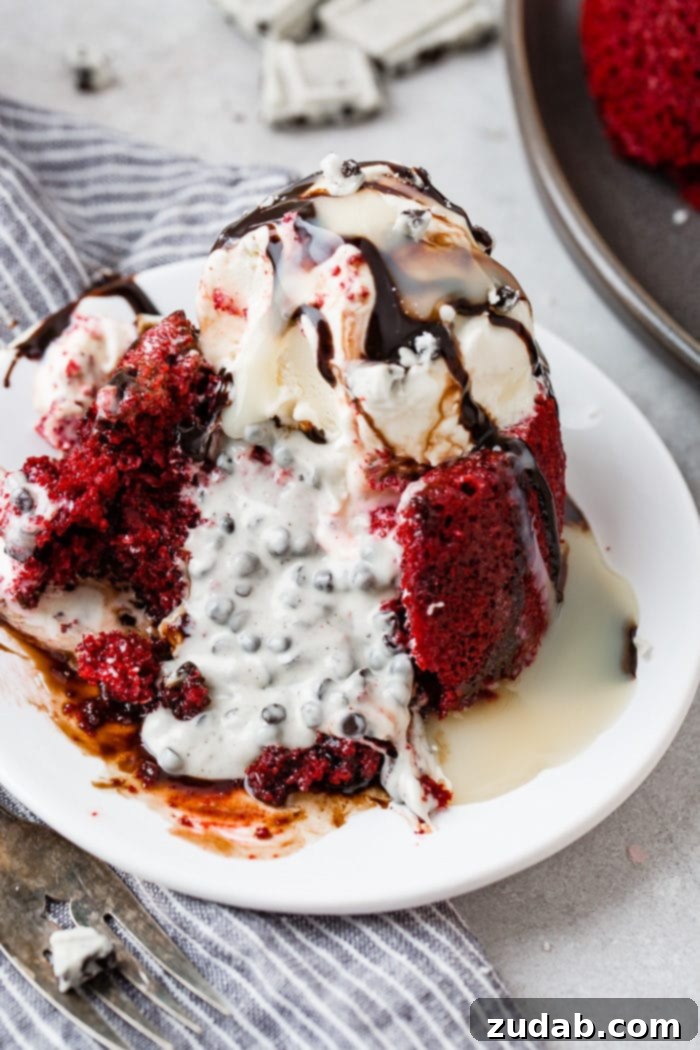
One of the many advantages of this particular molten lava cake recipe is its flexibility for advance preparation. For those who love to plan their desserts or need to manage a busy schedule, these cakes can be baked, allowed to cool completely, and then filled with the cookies and cream chocolate up to one or two days before serving. This makes them an ideal option for dinner parties or holiday celebrations, allowing you to focus on other preparations. To maintain their freshness and luscious texture, simply store the prepared cakes in an airtight container in the refrigerator. When you’re ready to enjoy them, a quick trip to the microwave for approximately 30 seconds will suffice to reheat the cake and melt the cookies and cream chocolate into its glorious molten state. Finish with a generous scoop of your favorite ice cream and a drizzle of chocolate sauce, then dive into this warm, gooey, and utterly satisfying treat.
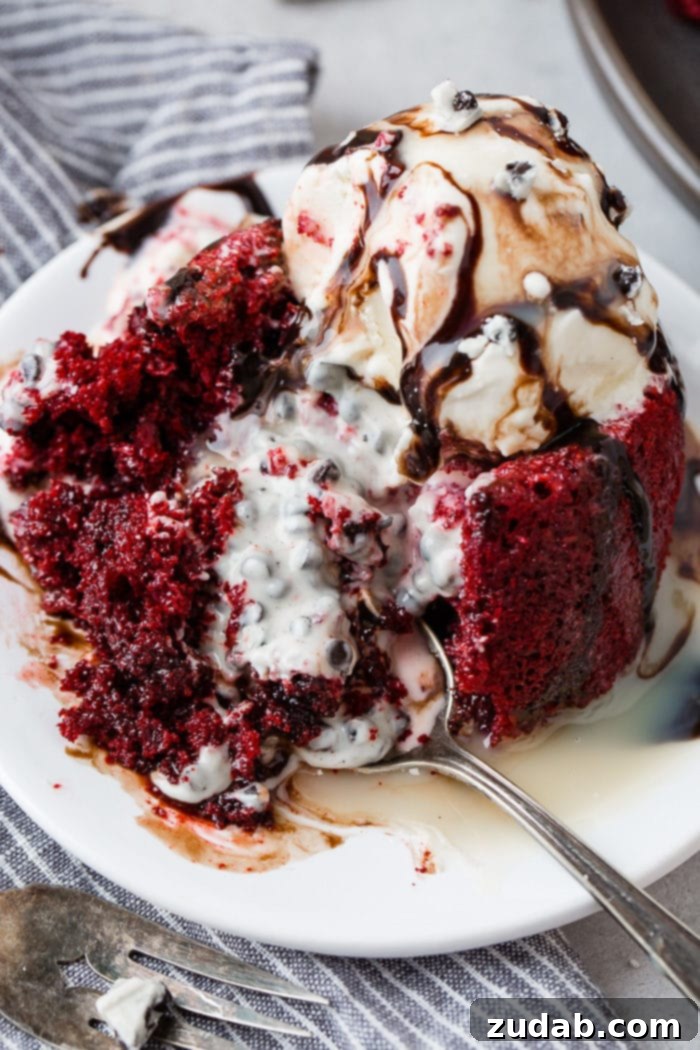
Preserving Perfection: Can You Freeze Molten Lava Cakes?
Absolutely! These delectable cakes are freezer-friendly, allowing you to enjoy them whenever a craving strikes. To freeze, ensure the cakes are fully baked and cooled. Carefully stuff them with the unmelted cookies and cream chocolate and place the cake “lid” back on top. Once assembled, transfer them to a freezer-safe bag or an airtight container, where they can be stored for up to three weeks. Freezing them in this prepared state means they are ready for a quick thaw and reheat whenever you desire a warm, comforting dessert. When you’re ready to indulge, simply remove the desired number of cakes from the freezer and let them come to room temperature. Once thawed, warm them gently in the microwave until the cake is heated through and the internal cookies and cream chocolate is wonderfully melted and gooey. This convenient option ensures you always have a gourmet dessert on hand for unexpected guests or spontaneous sweet cravings.
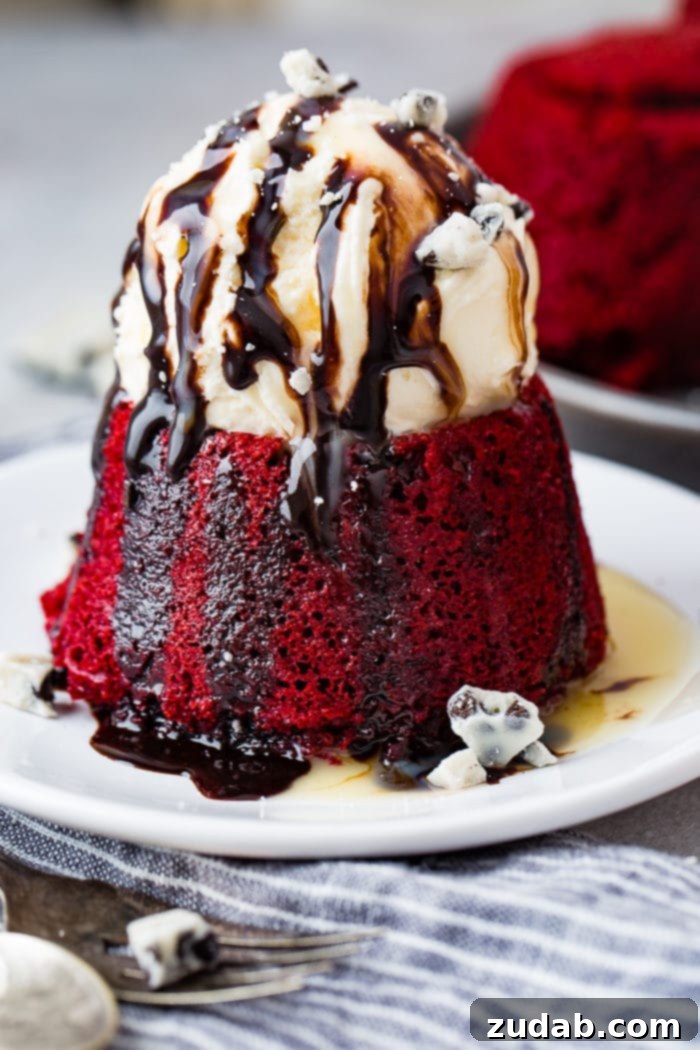
The More, The Merrier: Craving Extra Lava in Your Molten Cakes?
For those of us who believe that there’s no such thing as too much lava in a molten lava cake (and I confess, I am one of them!), there’s a simple yet effective trick to amplify that glorious molten center. After reheating your cakes in the microwave and just before adding your ice cream and sauces, melt an extra portion of cookies and cream chocolate (or any complementary chocolate) in a separate bowl. Carefully pour this additional melted chocolate into the center of your already warmed cake, then replace the cake “lid.” This ingenious method ensures an even richer, more abundant flow of luscious, warm chocolate with every spoonful. Proceed with your usual toppings – a scoop of cold vanilla ice cream and a drizzle of chocolate sauce – to create a truly over-the-top, deeply satisfying dessert experience. Embrace the molten magnificence; it’s impossible to have too much lava!
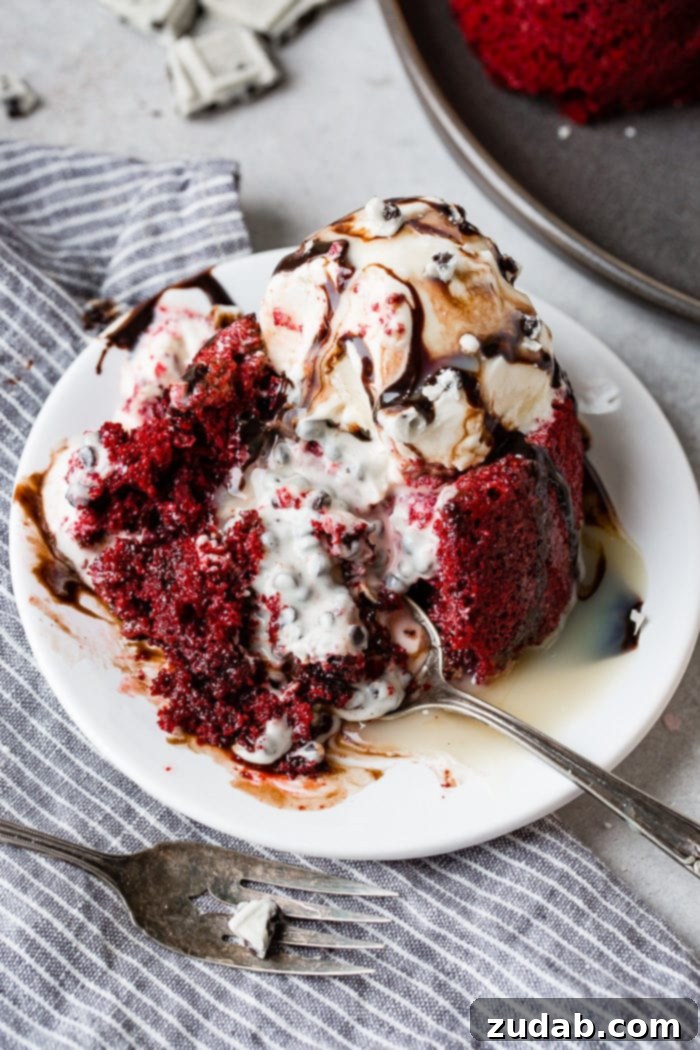
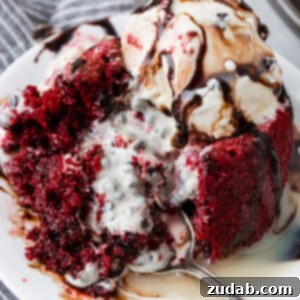
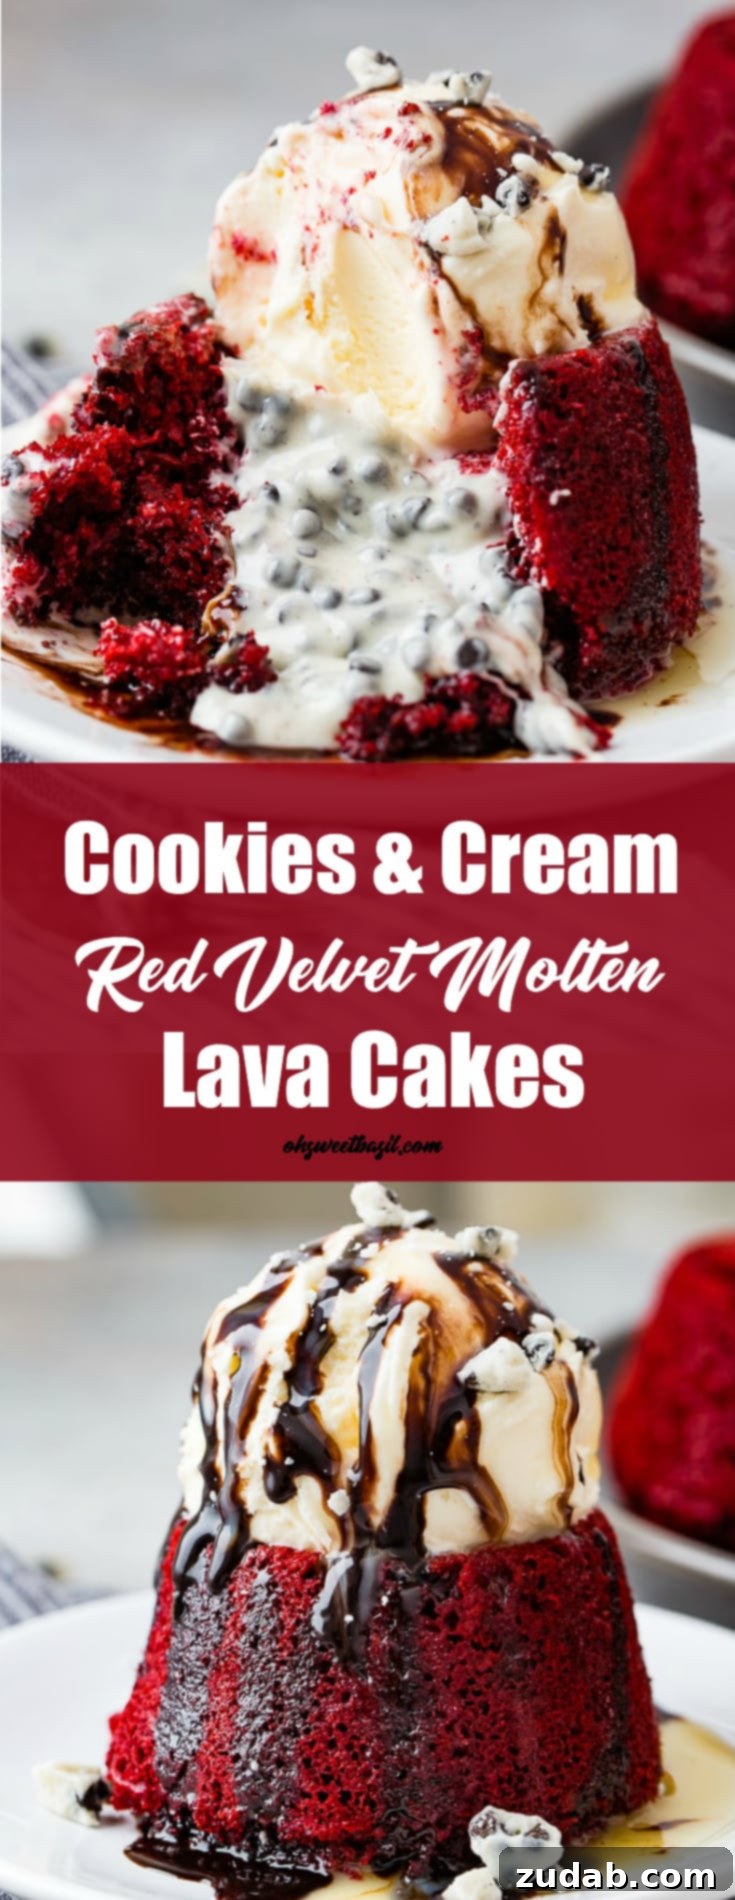
I confidently declare this the best dessert ever, and for good reason! Imagine: the comforting warmth of red velvet cake, yielding to a torrent of hot, creamy white chocolate lava studded with delightful crunchy cookie bits. This decadent core is perfectly contrasted by a scoop of cold, velvety ice cream, all brought together with a final flourish of rich chocolate sauce. It’s everything a dessert should be – a symphony of temperatures, textures, and unparalleled flavors that simply screams pure LOVE. Whether you’re making it for Valentine’s Day or just to brighten a regular Wednesday, this dessert is guaranteed to bring smiles and satisfaction. Enjoy, friends!
More Valentine’s Day & Decadent Dessert RECIPES
Looking for more delightful recipes to share with your loved ones, or perhaps just to treat yourself?
- 5 Minute Valentine’s Snack Mix
- Nutella Stuffed Strawberry Chocolate Cupcakes
- Strawberry Pink Ombre Cake
- White Chocolate Cheesecake Bars with Raspberry Sauce
- No-Bake Mini Cheesecakes with Raspberry Sauce
- Red Velvet Churros
- Copycat Lofthouse Sugar Cookie
- No Bake Mini Chocolate Cheesecakes
- Reese’s Peanut Butter Marshmallow Cookie Pie
- Chocolate Rose Red Velvet Cupcake
Cookies and Cream Red Velvet Molten Lava Cakes
Ingredients
- 1 Cake Mix, Red Velvet
- 3 Eggs, Large
- 1/2 Cup Sour Cream
- 1 Cup Milk
- 1/2 Cup Oil
- 2 Candy Bars, Large, Cookies and Cream
- Ice Cream
- Chocolate and White Chocolate Sauce
Instructions
-
In a large bowl, stir together the dry cake mix, eggs, sour cream, milk and oil until well combined and smooth.1 Cake Mix, 3 Eggs, 1/2 Cup Sour Cream, 1 Cup Milk, 1/2 Cup Oil
-
Generously spray a large cupcake or muffin pan with nonstick spray. Evenly distribute the cake batter into the prepared wells, filling them about 3/4 of the way full. Bake according to the package directions for your specific red velvet cake mix, adjusting for cupcake size if necessary.
-
Once baked, carefully turn the cakes out of the pan onto a wire rack, resting them upside down. This creates a slightly indented “volcano” shape on what will be the top of your cake, perfect for holding the lava. Allow the cakes to cool completely.
-
Using a small paring knife or a serrated knife, gently cut a circular hole out of the center of each cooled cake. Be careful not to cut all the way through to the bottom; you want to create a pocket for the filling.
-
Break the cookies and cream chocolate bars into small pieces. Fill the created hole in each cake generously with these chocolate pieces. Stuff as much as you can without breaking the cake structure. Then, slice off the bottom portion of the cake piece you removed to create a flat “lid” and place it on top of the chocolate-filled cavity, covering it completely.2 Candy Bars
-
Store the prepared cakes in a sealed, airtight container in the refrigerator until you are ready to serve them. To reheat, place a cake in the microwave and warm for approximately 30 seconds, or until the chocolate filling is molten and gooey.
-
For the ultimate indulgence, top each warm molten lava cake with a scoop of your favorite ice cream and a decadent drizzle of chocolate and/or white chocolate sauce. Serve immediately and enjoy!Ice Cream, Chocolate and White Chocolate Sauce
Recipe Notes
Nutrition
Nutrition information is automatically calculated, so should only be used as an approximation.
REMEMBER TO SUBSCRIBE TO our FREE Oh Sweet Basil NEWSLETTER AND RECEIVE EASY RECIPES DELIVERED INTO YOUR INBOX EVERY DAY!
When you try a recipe, please use the hashtag #ohsweetbasil on INSTAGRAM for a chance to be featured in our stories! FOLLOW OH, SWEET BASIL ON FACEBOOK | INSTAGRAM | PINTEREST | TWITTER FOR ALL OF OUR LATEST CONTENT, RECIPES AND STORIES.