
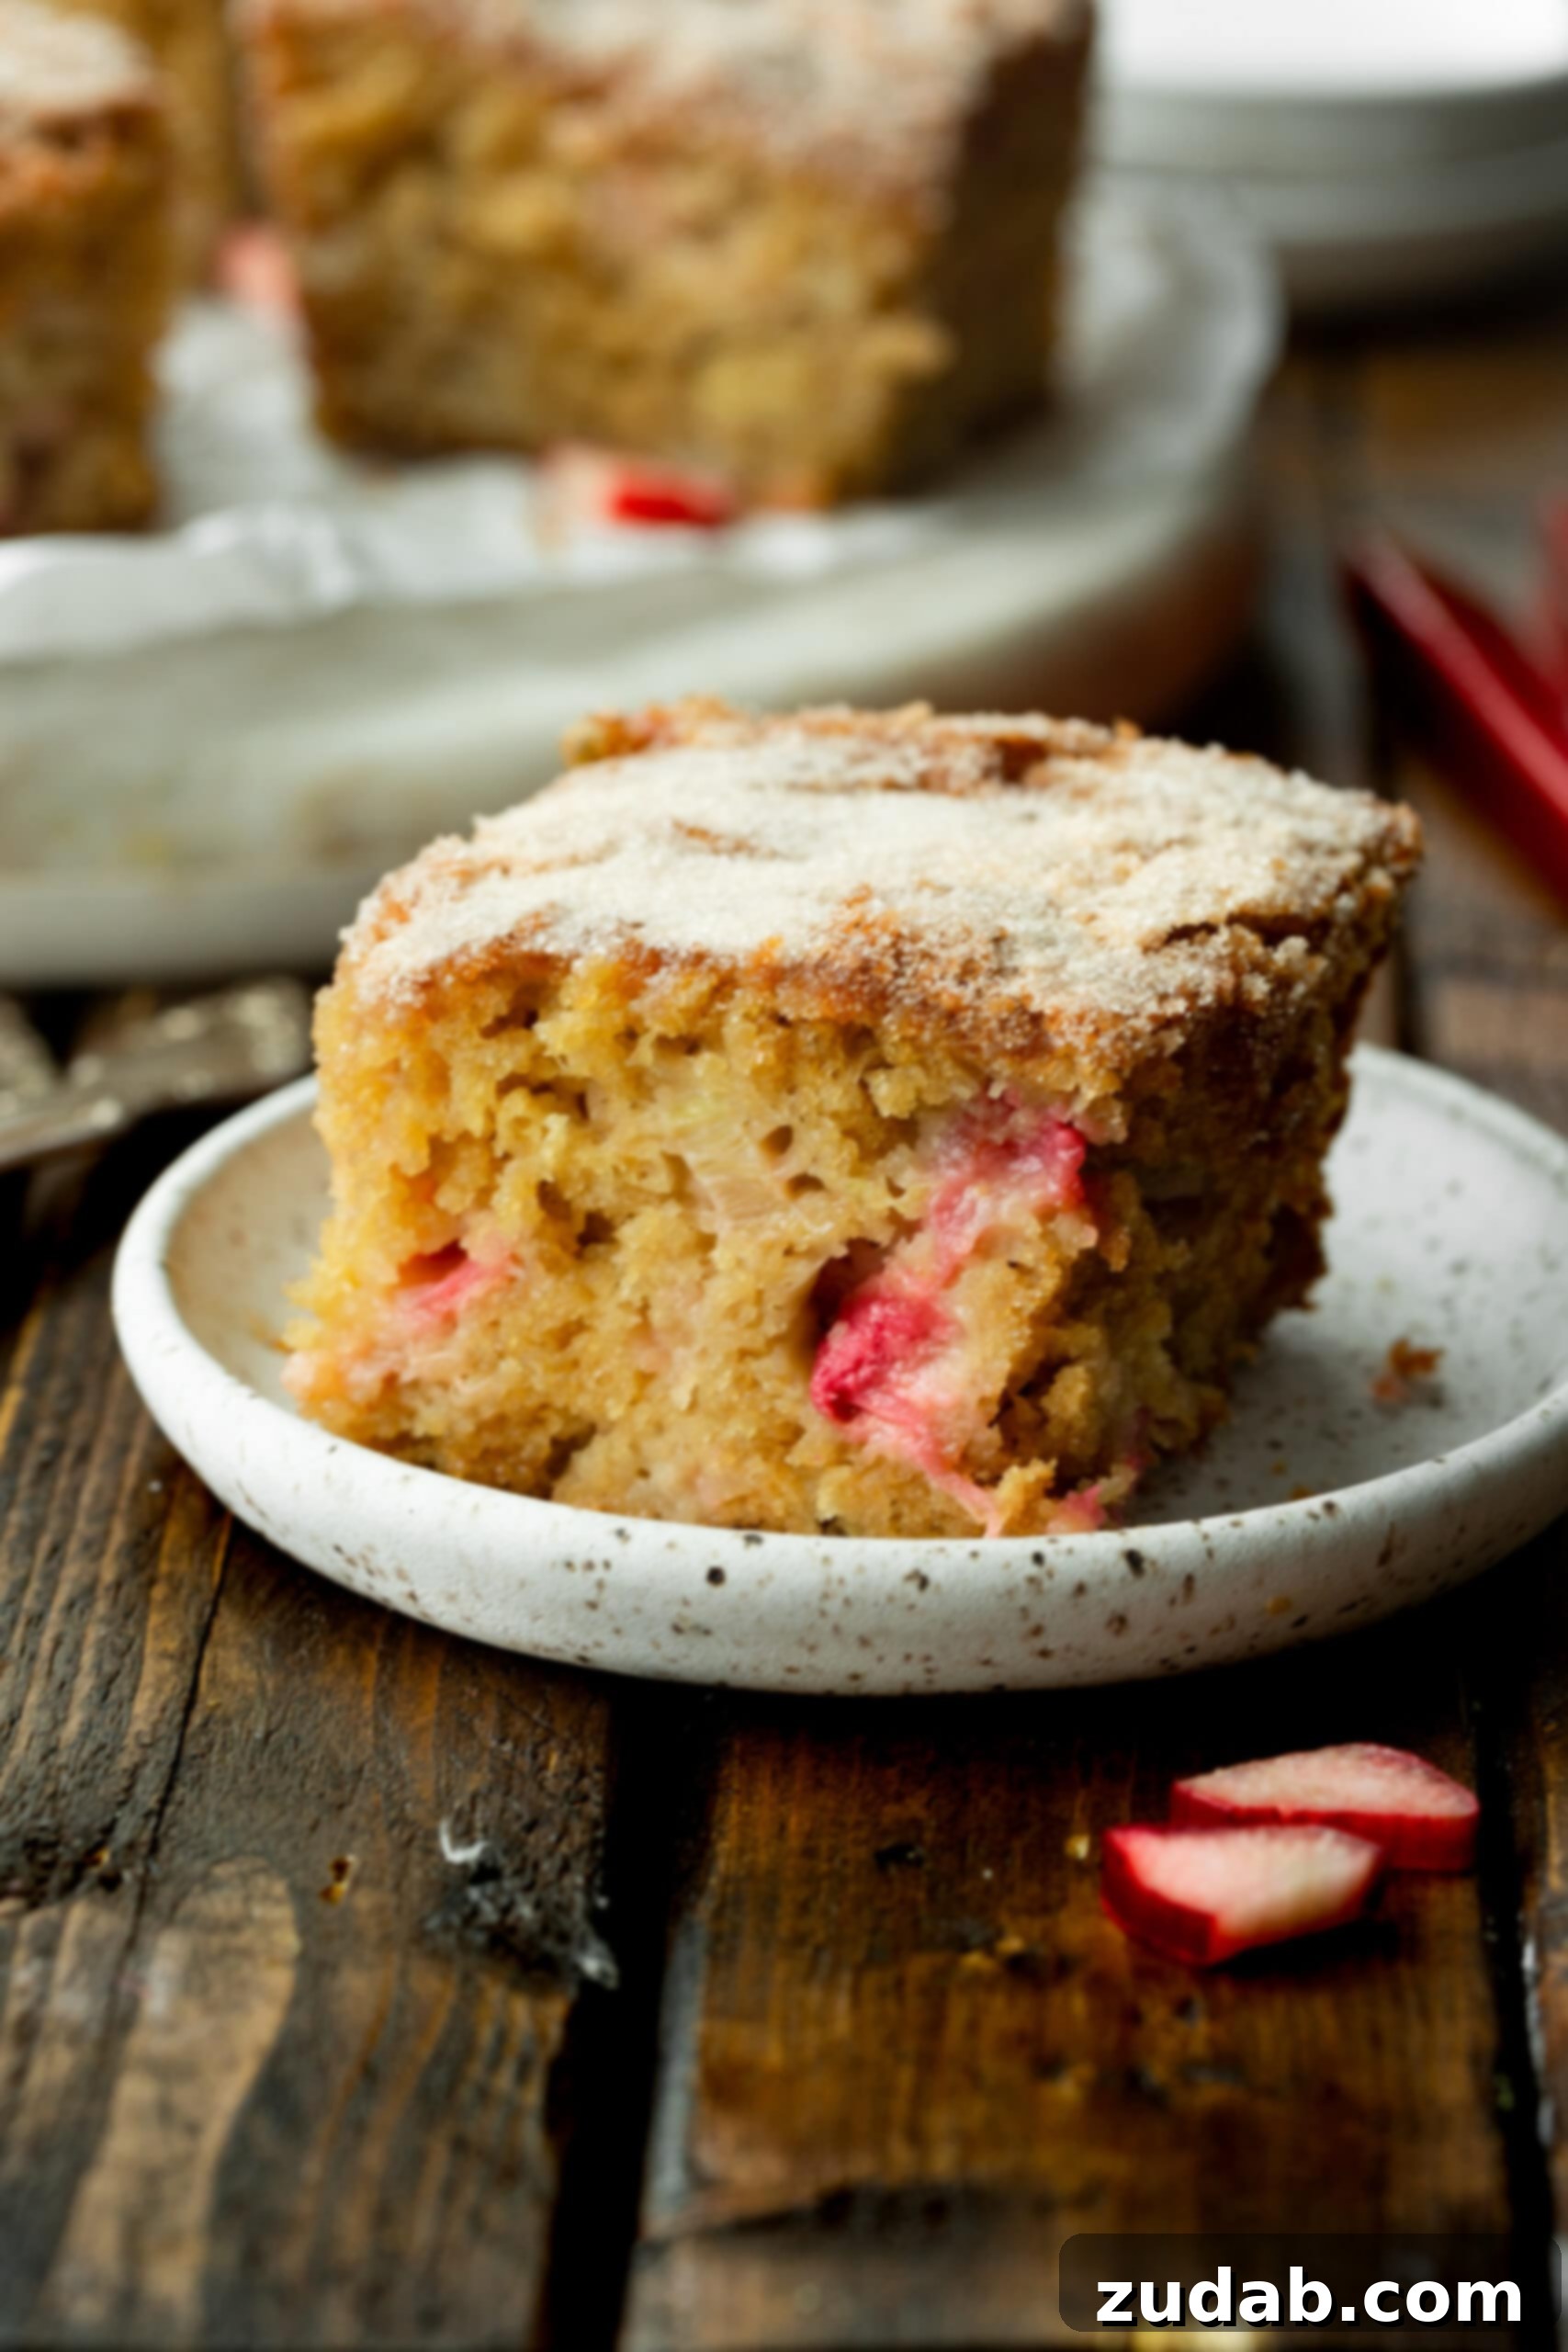
Indulge in a slice of pure comfort with this extraordinary **rhubarb cake**, a recipe so cherished it’s been passed down through generations. Imagine tender, tantalizing chunks of fresh rhubarb, perfectly softened, nestled within a moist, subtly sweet vanilla cake, all crowned with an irresistible, crunchy cinnamon sugar topping. This isn’t just any dessert; it’s a culinary heirloom that promises to win over even the most skeptical palates.
This legendary rhubarb cake holds a special place in my family’s heart, tracing its origins back to my grandmother, Norma Jean Hunt Feik. She meticulously baked this cake for every Fourth of July and Memorial Day gathering, just as her mother had done before her. It quickly became the undisputed star of every celebration. Despite initial reservations some might have about rhubarb, my mom always recounted how it was consistently the first dish to disappear from the table. Newcomers and lifelong friends alike found themselves utterly captivated by its unique charm – a testament to rhubarb’s incredible power when prepared with care and expertise.
Each bite of this **homemade rhubarb cake** transports you to a bygone era, evoking nostalgic memories of grandma’s kitchen and the warmth of family traditions. It’s more than just a cake; it’s an experience, a delightful journey of flavors that marries the vibrant tartness of rhubarb with the comforting sweetness of a classic vanilla cake, elevated by that glorious cinnamon-spiced crunch. Prepare to fall in love with rhubarb all over again, or perhaps for the very first time, with this truly exceptional recipe.
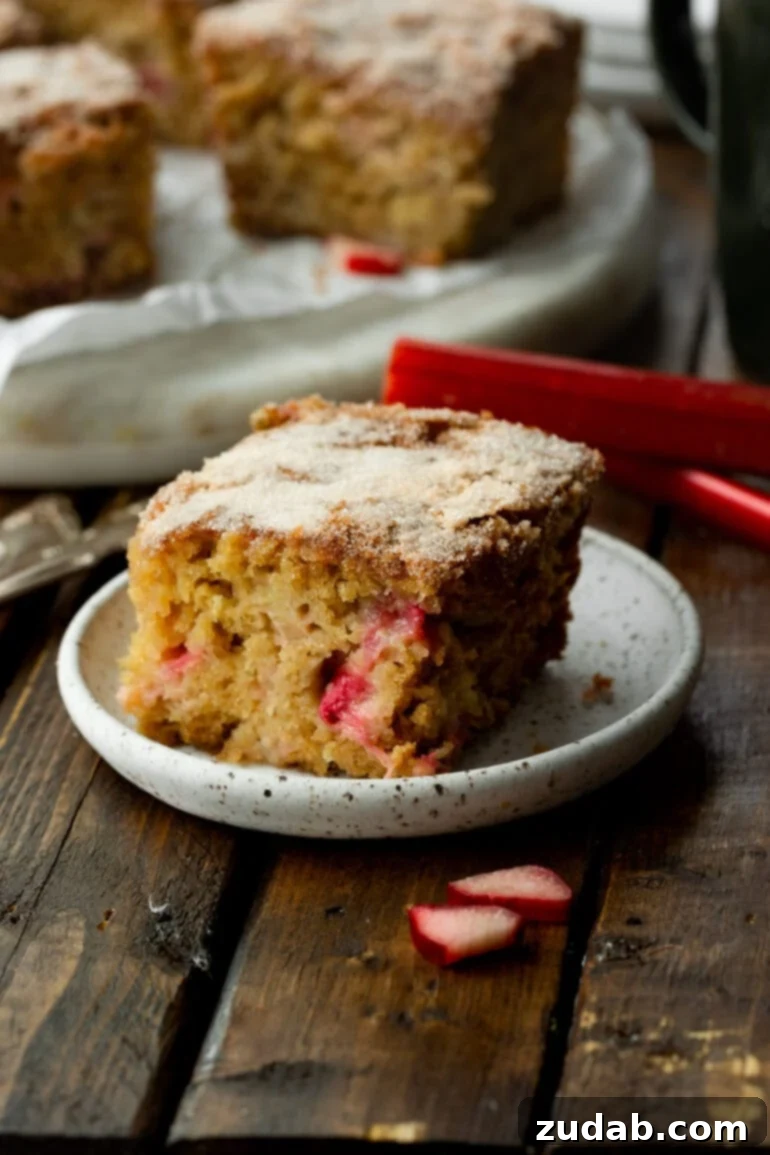
Recommended Baking Equipment for Rhubarb Cake
Crafting the perfect **rhubarb cake** requires a few essential kitchen tools that make the process smooth and enjoyable. Having the right equipment on hand ensures accuracy in measurements and ease in mixing, leading to a consistently delicious outcome every time. These are common items you likely already own, making this recipe even more accessible:
- Measuring Cups and Spoons: Essential for precise ingredient quantities, which is crucial for baking success.
- Mixing Bowls: You’ll need at least two – one for wet ingredients and one for dry, plus an additional bowl for preparing the rhubarb.
- 9×9 Inch Square Baking Pan: The ideal size for achieving the perfect cake thickness and baking time for this recipe.
- Saucepan: For boiling water to soften the rhubarb.
- Whisk or Spatula: For mixing the batter until just combined.
Essential Rhubarb Preparation: Before You Begin
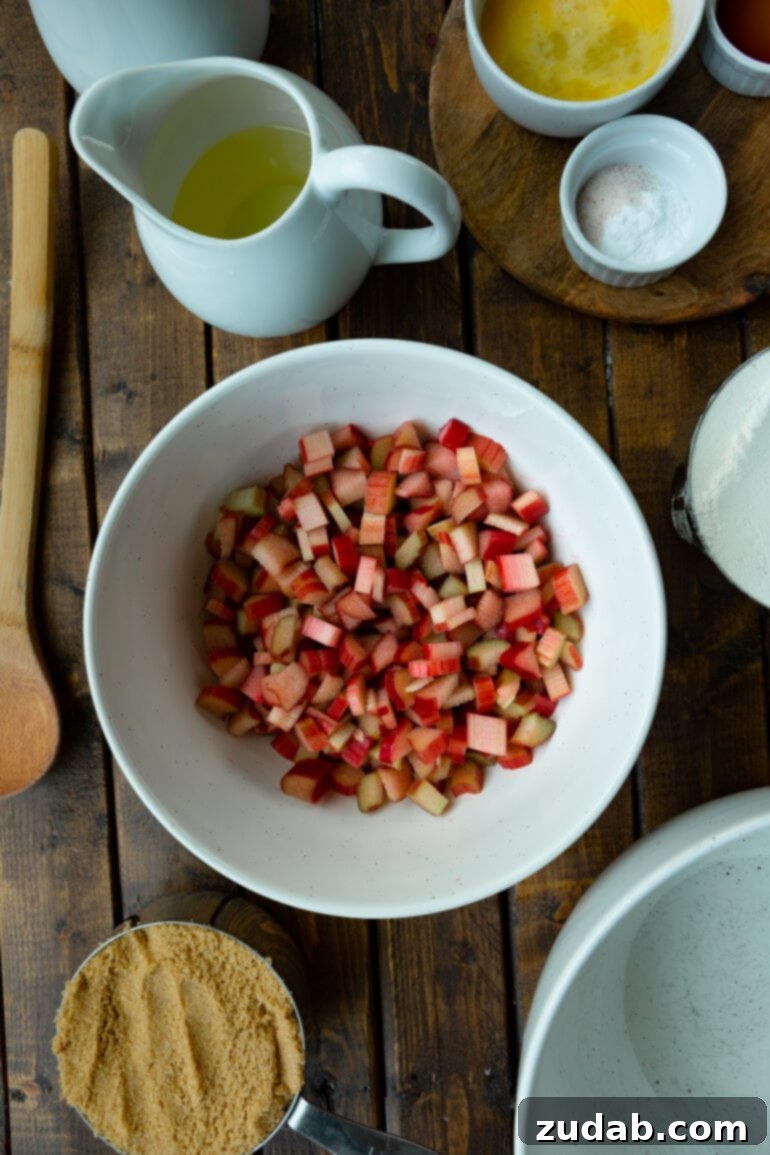
Before diving into mixing your cake batter, a crucial step for achieving the best flavor and texture in your **rhubarb cake** is properly preparing the rhubarb. This simple pre-treatment helps to soften the rhubarb stalks and significantly reduce their natural bitterness, ensuring a delightfully balanced taste in your finished dessert.
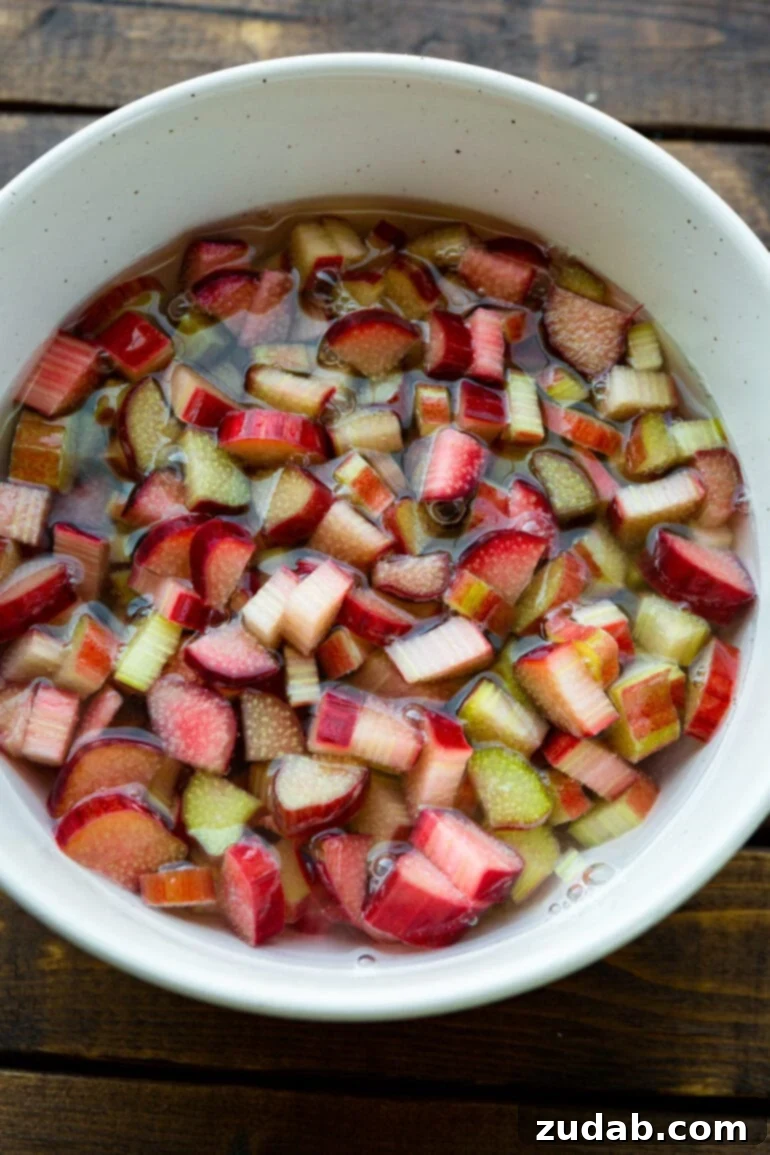
Here’s what you need to do: Start by placing a pot of water on the stove to boil over high heat. While the water is heating, meticulously chop your fresh rhubarb into bite-sized pieces, roughly 1/2-inch chunks. Once the water reaches a rolling boil, carefully pour it over the chopped rhubarb, making sure the pieces are fully submerged. Allow the rhubarb to sit in the hot water for just about a minute. This brief soak is enough to slightly par-cook and tenderize the rhubarb without making it mushy.
After a minute, promptly drain the boiling water from the rhubarb. To ensure your cake batter isn’t diluted, it’s vital to dry the rhubarb as thoroughly as possible. You can achieve this by gently pressing the rhubarb between several layers of paper towels, squeezing out any excess moisture. This extra step guarantees that your cake will have the perfect consistency and that the rhubarb’s tartness will be beautifully mellowed, allowing its unique flavor to shine without overwhelming the sweetness of the cake.
Simple and Delicious Ingredients for Rhubarb Cake
One of the many charms of treasured heirloom recipes like this **rhubarb cake** is their reliance on straightforward, wholesome ingredients. You won’t find a long list of obscure items here; instead, this recipe celebrates the beauty of simplicity, using staples you likely already have in your pantry and refrigerator. This makes whipping up a batch of this delightful cake incredibly convenient, whether you’ve just harvested fresh rhubarb from your garden or picked some up at the local grocery store. Here’s what you’ll need to create this amazing dessert:
For the Moist and Flavorful Cake Base
- Wet Ingredients: These contribute to the cake’s incredible moisture and rich flavor.
- Brown Sugar: Adds deep, caramel-like sweetness and helps keep the cake wonderfully moist.
- Vegetable Oil: Ensures a tender crumb and consistent moisture throughout the cake.
- Egg: Binds the ingredients and adds structure, contributing to a light and airy texture.
- Vanilla Extract: A touch of pure vanilla enhances all the other flavors, offering a warm and inviting aroma.
- Buttermilk: Reacts with the baking soda to create a beautifully tender crumb and a subtle tang that complements the rhubarb.
- Dry Ingredients: The foundation of our cake’s structure.
- Baking Soda: The leavening agent that gives the cake its lift and airy texture, reacting with the buttermilk.
- Salt: Balances the sweetness and enhances the overall flavor profile of the cake.
- All-Purpose Flour: Provides the necessary structure for the cake, ensuring it holds its shape while remaining tender.
- Fresh Rhubarb: The star of the show, offering its signature tartness and unique texture.
For the Irresistible Crunchy Topping
- Granulated Sugar: Provides a sweet, sparkling crunch on top.
- Ground Cinnamon: Adds a warm, aromatic spice that beautifully complements both the vanilla cake and the tart rhubarb.
- Chopped Nuts (optional): For an added layer of texture and nutty flavor, walnuts or pecans are highly recommended to elevate the crunch factor.
The beauty of these **rhubarb cake ingredients** is that they are so readily available. You’ll find that with minimal effort, you can transform these simple items into a dessert that tastes sophisticated and utterly comforting. The precise measurements for each ingredient can be found in the detailed recipe card at the end of this post, guiding you to bake this perfect **spring dessert** with confidence.
Step-by-Step Guide: How to Make Rhubarb Cake
Creating this delightful **rhubarb cake** is a straightforward process, making it an ideal recipe for both seasoned bakers and those new to working with rhubarb. As I emphasized earlier, the first and most crucial step is to prepare your rhubarb, as this ensures the best flavor and texture in the final product. Once that’s done, the rest of the steps involve simple mixing and baking. Here’s a detailed overview of how to bring this family-favorite **rhubarb dessert** to life:
- Step 1: Prepare Your Oven and Rhubarb. Begin by preheating your oven to 350°F (175°C). Simultaneously, place a pot of water on the stove to bring it to a rolling boil. While the water heats, chop your fresh rhubarb into roughly 1/2-inch pieces. Once the water boils, pour it over the chopped rhubarb in a bowl and let it sit for about 30 seconds to a minute. This brief soak softens the rhubarb and reduces its bitterness. Promptly drain the rhubarb and use paper towels to squeeze out as much excess water as possible. This ensures your cake doesn’t become soggy.
- Step 2: Combine the Wet Ingredients. In a large mixing bowl, thoroughly whisk together the brown sugar and vegetable oil until well combined and smooth.
- Step 3: Incorporate Egg, Vanilla, and Buttermilk. Add the beaten egg to the sugar and oil mixture, mixing well until fully incorporated. Next, stir in the vanilla extract and buttermilk, blending until the wet ingredients are homogeneous.
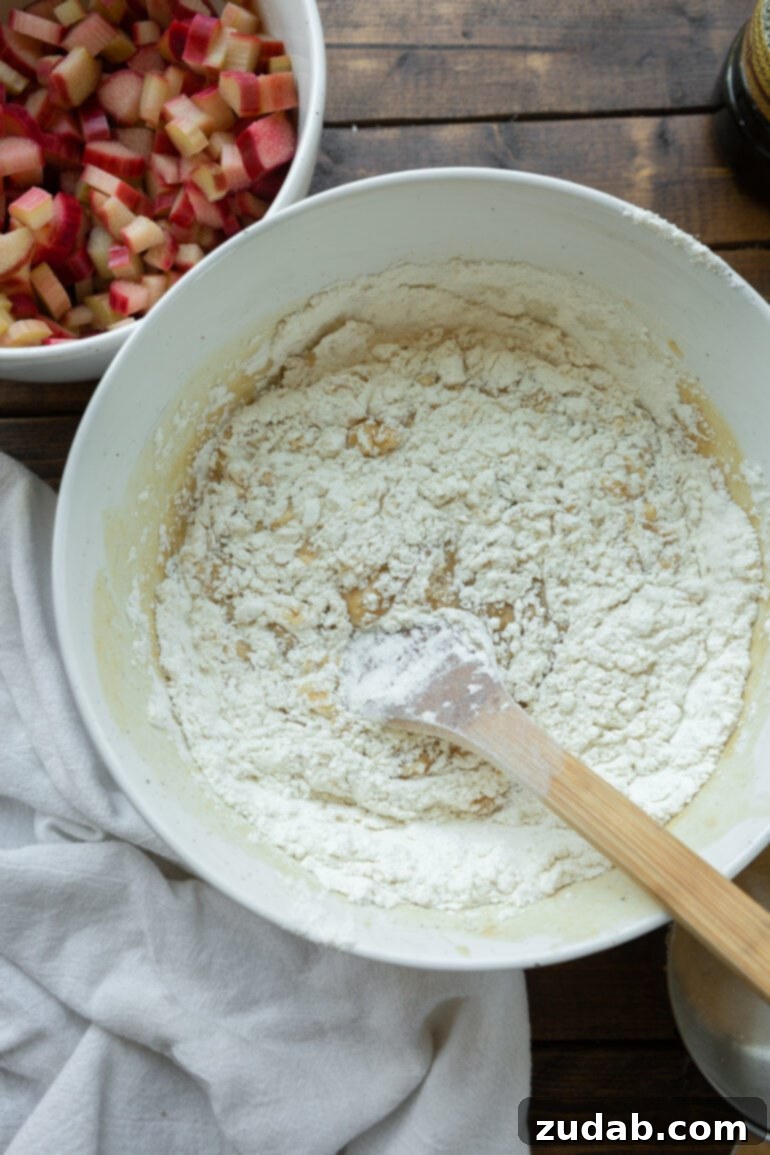
- Step 4: Prepare and Add Dry Ingredients. In a separate medium bowl, combine the baking soda, salt, and all-purpose flour. Whisk them together to ensure even distribution. Gradually add the dry ingredients to the wet ingredients. Stir gently until just combined. It’s important not to overmix; a few streaks of flour remaining are perfectly fine, as overmixing can lead to a tough cake.
- Step 5: Fold in the Softened Rhubarb. Gently fold the prepared and dried rhubarb into the cake batter. Distribute it evenly without mashing the rhubarb.
- Step 6: Prepare the Baking Pan. Generously grease an 8×8-inch square baking pan. For an extra layer of flavor and to prevent sticking, sprinkle a thin layer of cinnamon sugar on the bottom of the pan.
- Step 7: Add Batter and Top with Cinnamon Sugar. Pour the cake batter into the prepared baking pan, spreading it evenly. Then, generously sprinkle the remaining cinnamon sugar mixture (and optional chopped nuts) over the top of the batter.
- Step 8: Bake to Perfection. Place the pan in the preheated oven and bake for approximately 40 minutes, or until a wooden skewer or toothpick inserted into the center of the cake comes out clean. The top should be golden brown and the cinnamon sugar layer beautifully crisp.
For even more precise measurements and any additional notes, please refer to the comprehensive recipe card located at the very end of this article. This detailed guide ensures you have all the information needed to bake a truly unforgettable **old-fashioned rhubarb cake** that will delight everyone.
Do You Need to Cook Rhubarb Before Baking?
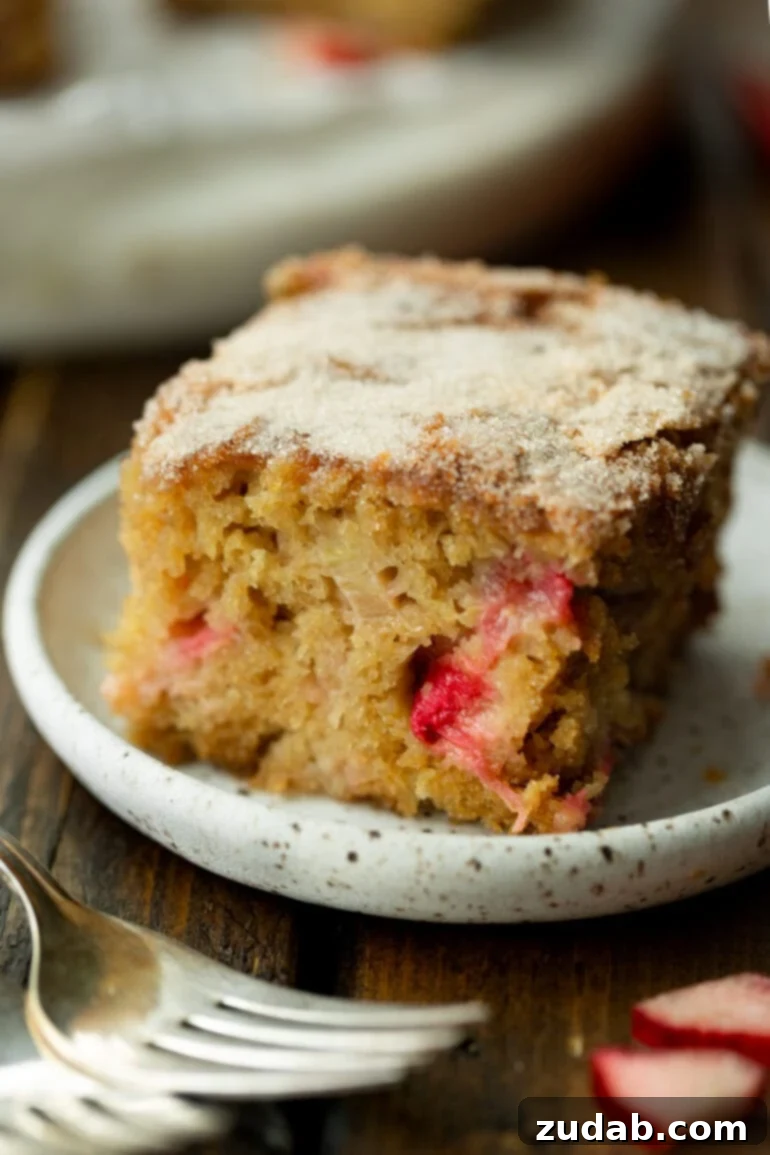
While some recipes might suggest pre-cooking rhubarb, it’s generally not necessary to fully cook it before incorporating it into your **rhubarb cake** or other baked goods. Rhubarb will soften beautifully during the baking process within the cake itself. However, I strongly recommend a brief “softening” step, as outlined in the “Before You Begin” section.
The primary reason for this softening technique is two-fold: firstly, it helps to tenderize the rhubarb, ensuring it integrates seamlessly into the cake’s texture rather than remaining overly fibrous or tough. Secondly, and perhaps more importantly, rhubarb can be quite tart and sometimes even bitter. Soaking the chopped rhubarb in boiling water for just a minute or so significantly reduces this bitterness. This simple step ensures that the rhubarb’s bright, tangy flavor is pleasantly balanced within the sweet cake, preventing any harsh notes that might otherwise detract from the dessert. Without this step, you risk a cake where the rhubarb’s acidity is too prominent. Therefore, while full pre-cooking isn’t a must, this quick boiling water soak is a game-changer for achieving a perfectly flavored **tangy sweet cake**.
Can I Use Frozen Rhubarb in This Recipe?
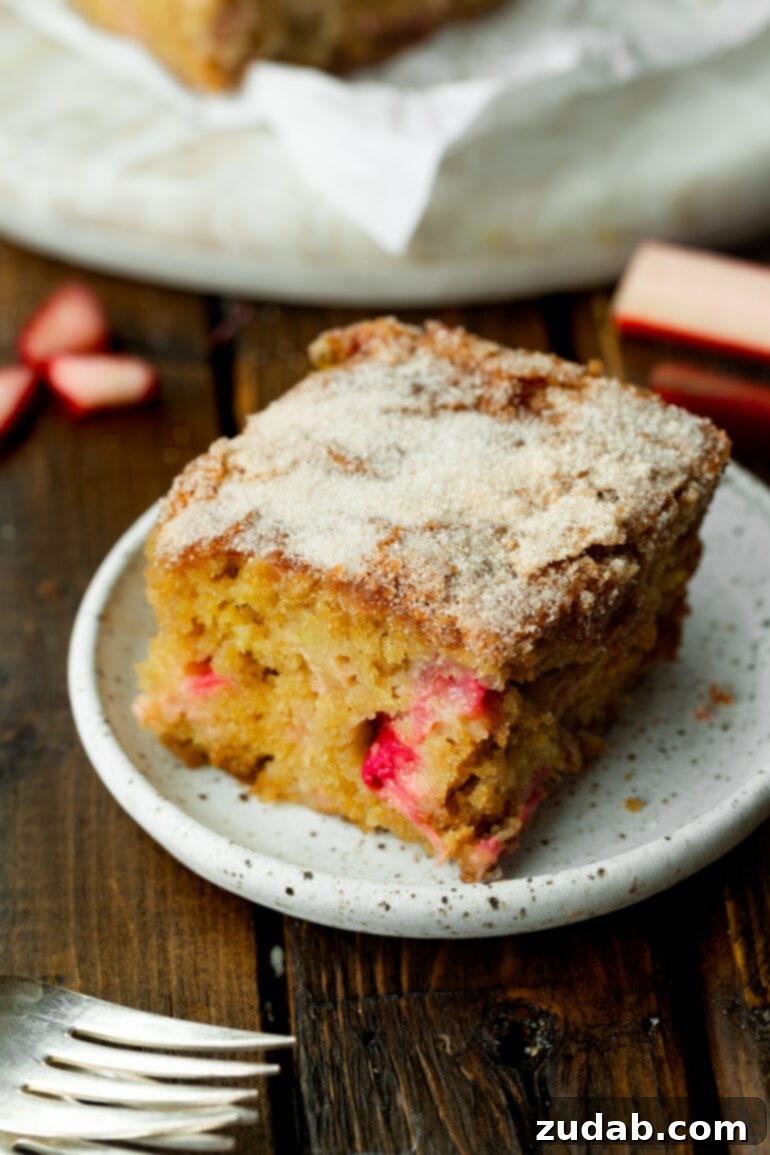
Absolutely, you can certainly use frozen rhubarb when making this **rhubarb cake**! It’s a fantastic way to enjoy the flavors of spring and early summer even when fresh rhubarb isn’t in season. Using frozen rhubarb requires just a little extra attention to ensure your cake turns out as delicious and moist as it would with fresh stalks.
The key to successfully baking with frozen rhubarb is proper thawing and draining. First, allow your frozen rhubarb to thaw completely. You can do this by placing it in a colander in the refrigerator overnight, or on the countertop for a few hours. As it thaws, rhubarb releases a significant amount of water, which can make your cake watery and dense if not removed.
Once thawed, it is crucial to squeeze out any excess water. You can do this by gathering the thawed rhubarb in a clean kitchen towel or several layers of paper towels and gently but firmly pressing to extract as much liquid as possible. This step is vital because too much moisture will thin out your cake batter, affecting its texture and potentially preventing it from baking properly. After draining, your frozen (now thawed and dried) rhubarb is ready to be used in the recipe just like fresh rhubarb, ensuring your **easy rhubarb cake** maintains its perfect consistency and delightful flavor.
Why This Rhubarb Cake Will Become Your New Favorite
There are countless reasons why this **rhubarb cake recipe** has stood the test of time and continues to be a beloved family heirloom. It’s more than just a dessert; it’s a delightful experience that combines ease of preparation with an explosion of unforgettable flavors and textures. Here’s why you’ll undoubtedly fall in love with this recipe:
- Effortless with Simple Ingredients: You’ll appreciate how readily available and uncomplicated the ingredient list is. Most, if not all, of the items required for this **homemade rhubarb cake** are likely already stocked in your pantry and fridge. This means less time grocery shopping and more time enjoying the baking process, proving that extraordinary flavor doesn’t require exotic components.
- Remarkably Easy to Make: Don’t let the gourmet taste fool you – this is an incredibly straightforward recipe. The most “involved” step is the quick prep of the rhubarb, which is super simple. Beyond that, it’s mostly a matter of accurately measuring and mixing, making it a perfect **easy rhubarb dessert** for bakers of all skill levels.
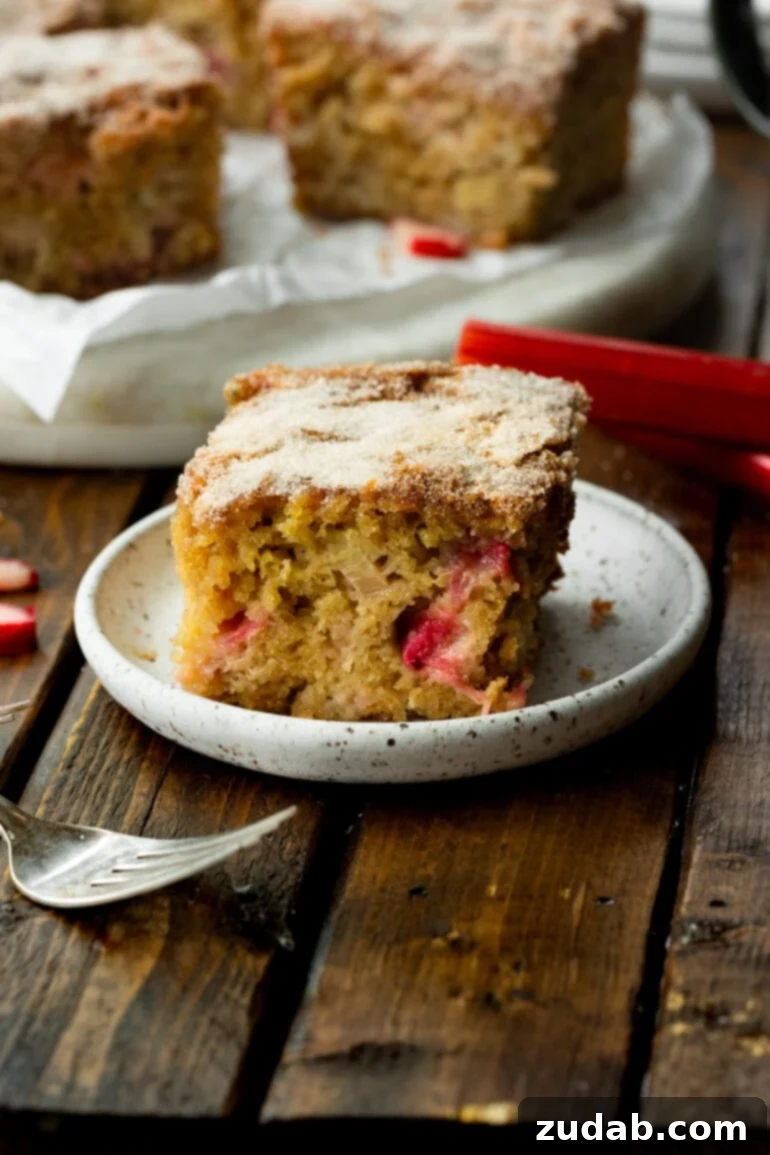
- A Symphony of Textures: Prepare for a sensory delight with every forkful. The cake itself boasts a wonderfully moist and tender crumb, providing a soft contrast to the star of the show – those perfectly softened, tangy chunks of rhubarb. All of this is crowned with a gloriously crunchy cinnamon sugar topping that adds an addictive textural dimension, making each bite truly satisfying.
- An Irresistible Balance of Sweet and Tangy Flavor: This cake perfectly marries the vibrant, refreshing tartness of fresh rhubarb with the comforting sweetness of a rich vanilla cake. The addition of warm cinnamon and brown sugar creates a harmonious flavor profile that is utterly irresistible. It’s this beautiful interplay of flavors that makes this **sweet and tart cake** so uniquely delicious and memorable.
This **classic rhubarb cake** is a celebration of simple pleasures, offering a taste that is both familiar and exciting. It’s the kind of dessert that brings smiles, sparks conversations, and creates lasting memories around the table. Prepare to be amazed by how such humble ingredients can come together to create such an exceptional treat.
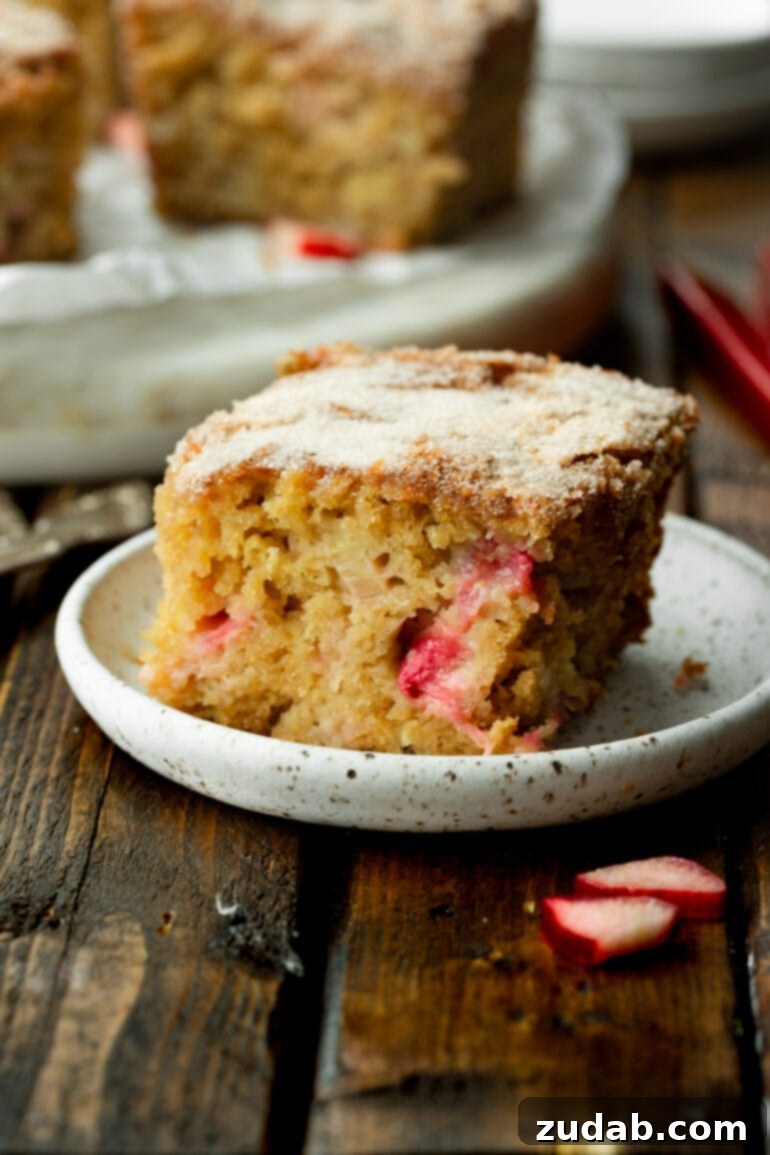
Storing and Freezing Your Delicious Rhubarb Cake
One of the many great things about this **rhubarb cake** is how well it stores, allowing you to enjoy its delightful flavors for days or even weeks after baking. Proper storage ensures that your cake remains moist, fresh, and just as delicious as when it first came out of the oven.
Storing at Room Temperature:
If you plan to enjoy your cake within a few days, storing it at room temperature is perfectly fine. Ensure the cake has cooled completely before covering it. Wrap the entire cake or individual slices tightly with plastic wrap, or place them in an airtight container. Kept this way, the **rhubarb cake** will maintain its freshness and delightful texture for 4-5 days. This method is ideal for quick enjoyment and for showcasing its moist crumb and crunchy topping.
Storing in the Refrigerator:
To extend the life of your cake even further, especially in warmer climates or if you prefer a slightly firmer texture, storing it in the refrigerator is an excellent option. Again, allow the cake to cool completely before wrapping it tightly in plastic wrap or placing it in an airtight container. Refrigerated, your **rhubarb dessert** can last for up to a week. Just be aware that the crunchy topping might soften slightly in the fridge.
Freezing for Long-Term Enjoyment:
This **rhubarb cake** freezes exceptionally well, making it perfect for meal prepping desserts or saving slices for a later craving. To freeze, first ensure the cake has cooled completely to room temperature. This is crucial to prevent ice crystals from forming, which can lead to a soggy cake upon thawing.
For best results, wrap the cake tightly in at least two layers of plastic wrap, ensuring every part is sealed. Then, wrap it again in a layer of aluminum foil. This double-wrapping technique provides an extra layer of protection against freezer burn, preserving the cake’s flavor and moisture. You can freeze the entire cake or individual slices. Label with the date. Stored properly in the freezer, your **frozen rhubarb cake** will keep for up to 3 months.
When you’re ready to enjoy, simply remove the cake (or slices) from the freezer and let it thaw at room temperature for a few hours, or overnight in the refrigerator. Once thawed, it will be ready to serve, bringing back that wonderful homemade taste with every bite. This makes it an ideal **make-ahead dessert** for special occasions or just to have on hand for an unexpected sweet craving.
Take your tastebuds back to your childhood, sitting at grandma’s kitchen table and digging into a piece of freshly baked **homemade rhubarb cake**! It’s total nostalgia and a pure comfort food dessert that transcends generations and seasons. Enjoy this delightful blend of sweet and tart, and create new cherished memories with every slice.
Rhubarb Cake
Pin
Ingredients
- 1 1/2 Cups Brown Sugar
- 1/2 Cup Vegetable Oil
- 1 Egg, beaten
- 1 teaspoon Vanilla
- 1 Cup Buttermilk
- 1 teaspoon Baking Soda
- 1/2 teaspoon Salt
- 2 Cups Flour
- 3 Cups Rhubarb, chopped into bite size pieces (see note)
Topping
- 1/2 Cup Sugar
- 1 teaspoon Cinnamon
- 1/2 Cup Nuts, walnuts or pecans, chopped (optional)
Instructions
For the Cake
-
Preheat the oven to 350 degrees F (175 C). Start a pot of water boiling over high heat on the stove top.
-
In a large bowl, mix the sugar and oil together.1 1/2 Cups Brown Sugar, 1/2 Cup Vegetable Oil
-
Add the egg and mix it well.1 Egg
-
Add the vanilla and buttermilk.1 teaspoon Vanilla, 1 Cup Buttermilk
-
In a separate bowl, mix the dry ingredients together then add them to the wet ingredients and combine until some streaks of flour remain.1 teaspoon Baking Soda, 1/2 teaspoon Salt, 2 Cups Flour
-
Place the rhubarb into a bowl large enough that it can be submerged in the boiling water.
-
Pour the boiling water over the rhubarb to soften it. It only needs to sit for like 30 seconds. Drain the water off and squeeze it with paper towels to remove as much water as possible. Then fold it into the batter.3 Cups Rhubarb
-
Butter an 8×8 baking dish and sprinkle the bottom with cinnamon sugar. Pour the batter into the baking dish.
For the Topping
-
Mix together sugar, cinnamon and nuts (optional) and sprinkle it over the top of the cake.1/2 Cup Sugar, 1 teaspoon Cinnamon, 1/2 Cup Nuts
-
Bake for 40 minutes.
Recipe Notes
Nutrition
Nutrition information is automatically calculated, so should only be used as an approximation.