
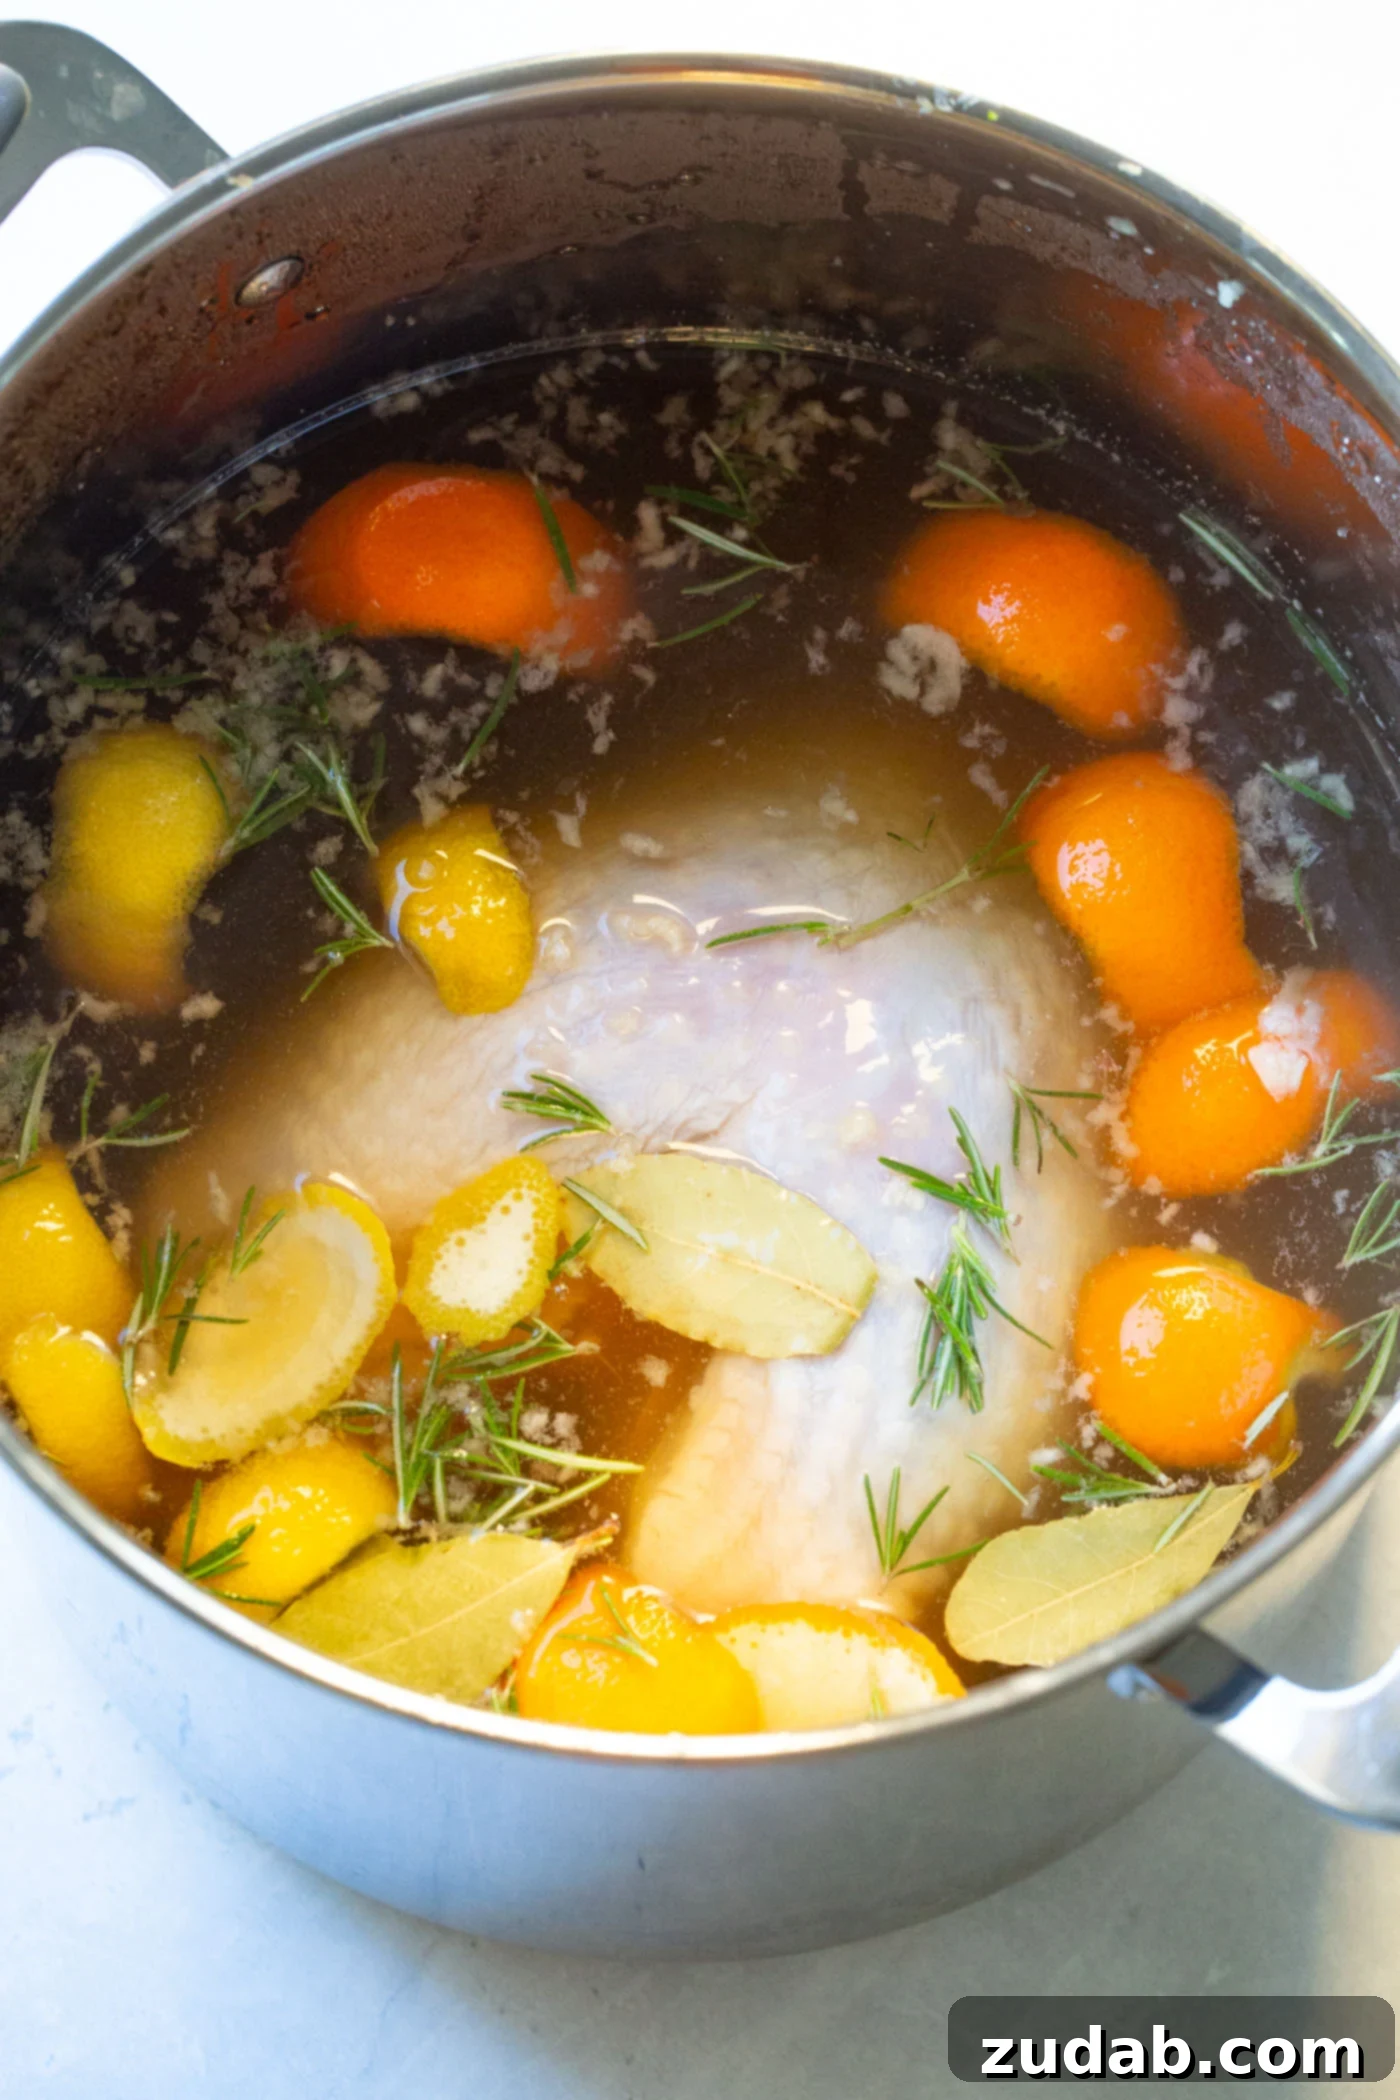
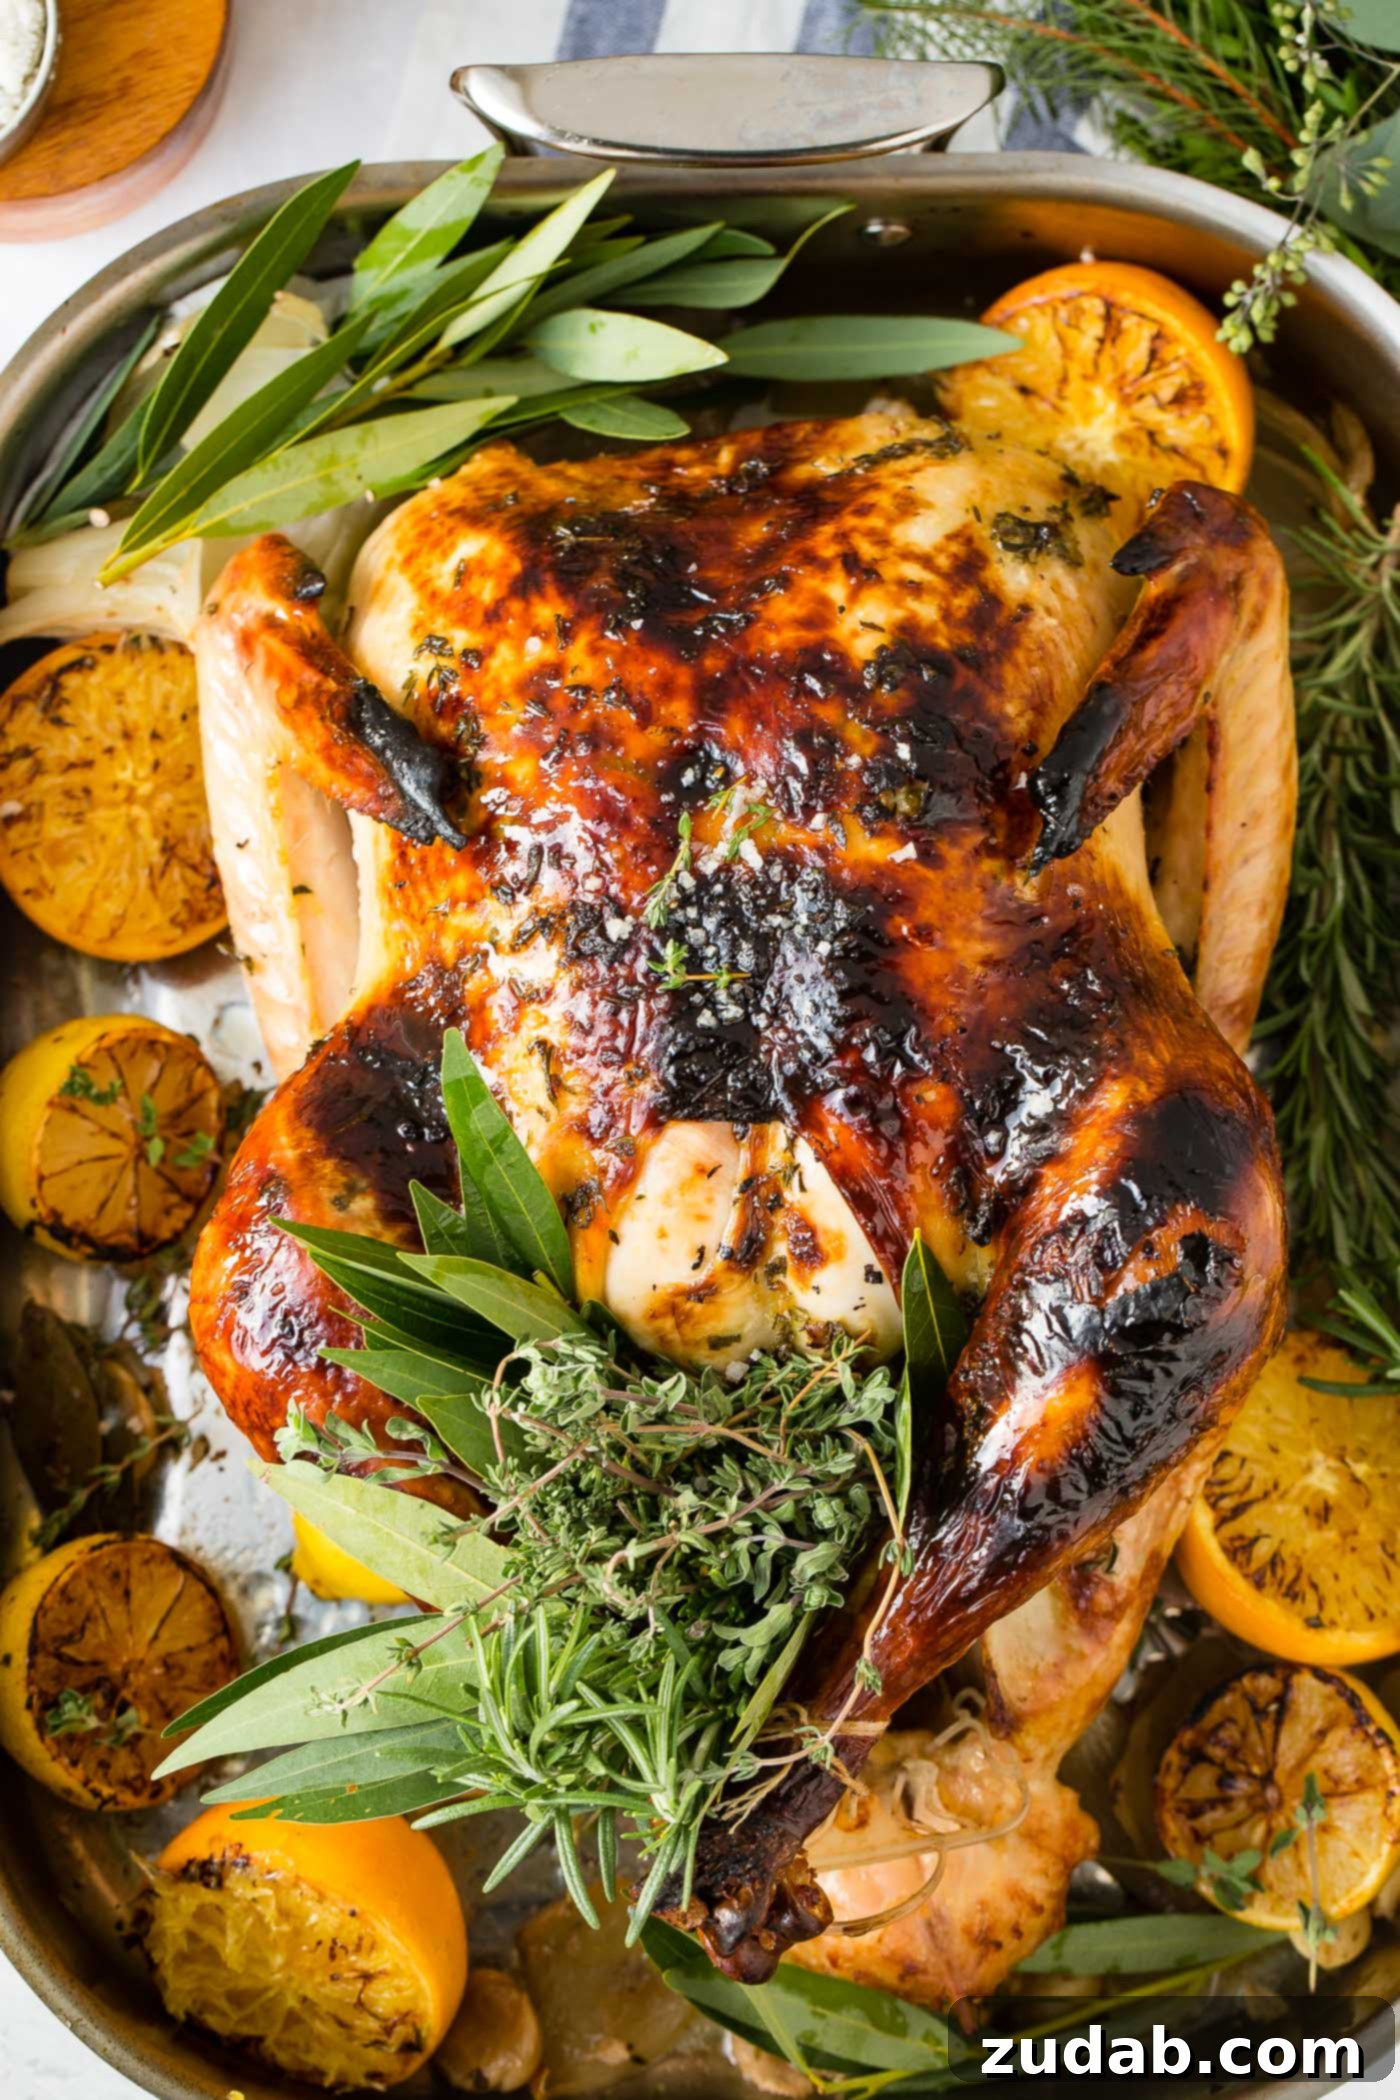
Unlock the secret to the most incredibly flavorful, moist, and juicy turkey you’ve ever tasted with our ultimate turkey brine recipe. Thanksgiving, Christmas, or any special occasion deserves a show-stopping bird, and this brine is the essential first step to achieving culinary perfection. Forget dry, bland turkey; this game-changing technique infuses every fiber with deep flavor and ensures a succulent result that will have your guests raving.
For years, I’ve honed my Thanksgiving recipes, constantly tweaking and refining. However, my tried-and-true turkey brine recipe remains a constant. Its unparalleled effectiveness means I use the exact same formula every single year, regardless of my chosen cooking method. Whether you’re roasting a whole turkey in the oven or preparing a tender turkey breast in a slow cooker, this brine guarantees exceptional results every time.
The journey to a perfectly cooked turkey truly begins with a powerful turkey brine. It’s a step that simply cannot be overlooked. Through extensive testing, I can confidently say that brining is the single most impactful way to elevate your turkey from ordinary to extraordinary. It’s more than just adding flavor; it’s about transforming the meat’s texture and moisture content, ensuring a memorable meal.
The Science and Art of Turkey Brining
Brining might sound like a complex culinary art, but at its heart, it’s a straightforward process rooted in basic food science. The goal is to infuse your turkey with moisture and flavor before it even hits the heat. This simple preparation step is what separates a good turkey from a truly magnificent one.
Understanding Turkey Brine Basics
At its core, a turkey brine requires two fundamental components: a liquid and salt. The addition of other ingredients then allows for endless customization, enabling you to tailor the flavor profile to your preference.
- Liquid: Your turkey (whether a whole bird or a breast) will immerse itself in a flavorful liquid for an extended period, typically between 8 and 24 hours. The choice of liquid significantly impacts the final taste, as it carries and distributes the aromatics into the outer layers of the meat. While brining doesn’t penetrate to the very center of a large cut, it flavors the exterior so thoroughly that this richness permeates the entire bird during cooking.
- Salt: For optimal brining results, Kosher salt is highly recommended. Its coarser crystal structure dissolves slower and more evenly than fine table salt, allowing for a controlled infusion. The salt plays a crucial role in breaking down muscle fibers, facilitating moisture retention, and seasoning the meat much more effectively than a mere surface rub would later on. This process not only tenderizes but also ensures that the meat can absorb and hold onto more liquid, leading to a truly juicy turkey.
Why Brine Your Turkey? The Benefits Explained
The primary reasons to brine a turkey are two-fold: to significantly enhance its moisture and its flavor. A simple brine of salt and water lays the foundation, but incorporating additional spices and aromatics transforms it into a flavor-delivery system.
Here’s how brining works its magic:
- Moisture Retention: The salt in the brine denatures the proteins in the turkey’s muscle fibers. This process causes the proteins to unwind and loosen, allowing them to absorb more liquid. During cooking, this absorbed liquid helps to keep the meat moist and prevents it from drying out, even if slightly overcooked. This scientific marvel ensures a consistently juicy bird.
- Flavor Infusion: As the turkey soaks, it absorbs not only the salty liquid but also all the wonderful flavors from the herbs, spices, and other aromatics added to your brine. This means the flavor penetrates beyond the surface, seasoning the meat from within, resulting in a much more flavorful turkey than traditional seasoning alone.
- Tenderization: The salt solution helps to break down the tough muscle fibers, leading to a more tender texture. This is particularly beneficial for leaner meats like turkey, which can sometimes become tough if not properly prepared.
In essence, brining is your secret weapon against the dreaded dry turkey. It’s a simple step that yields monumental results, transforming a potentially forgettable meal into a culinary triumph.
Crafting the Best Turkey Brine: A Simple Guide
Creating a delicious turkey brine is far from complicated. It’s essentially a process of combining flavorful liquids, salt, sugar, and aromatics, then allowing your turkey to luxuriate in this mixture. This process is key to locking in both incredible flavor and essential moisture, making your turkey undeniably tender and juicy.
For my tried-and-true recipe, you’ll need just a few accessible ingredients:
- Apple Cider (or apple juice if cider isn’t available)
- Water
- Brown Sugar
- Kosher Salt
- Bay Leaves
- Garlic Cloves
- Fresh Rosemary
- Orange Peel
- Lemon Peel
Step-by-Step Brining Instructions
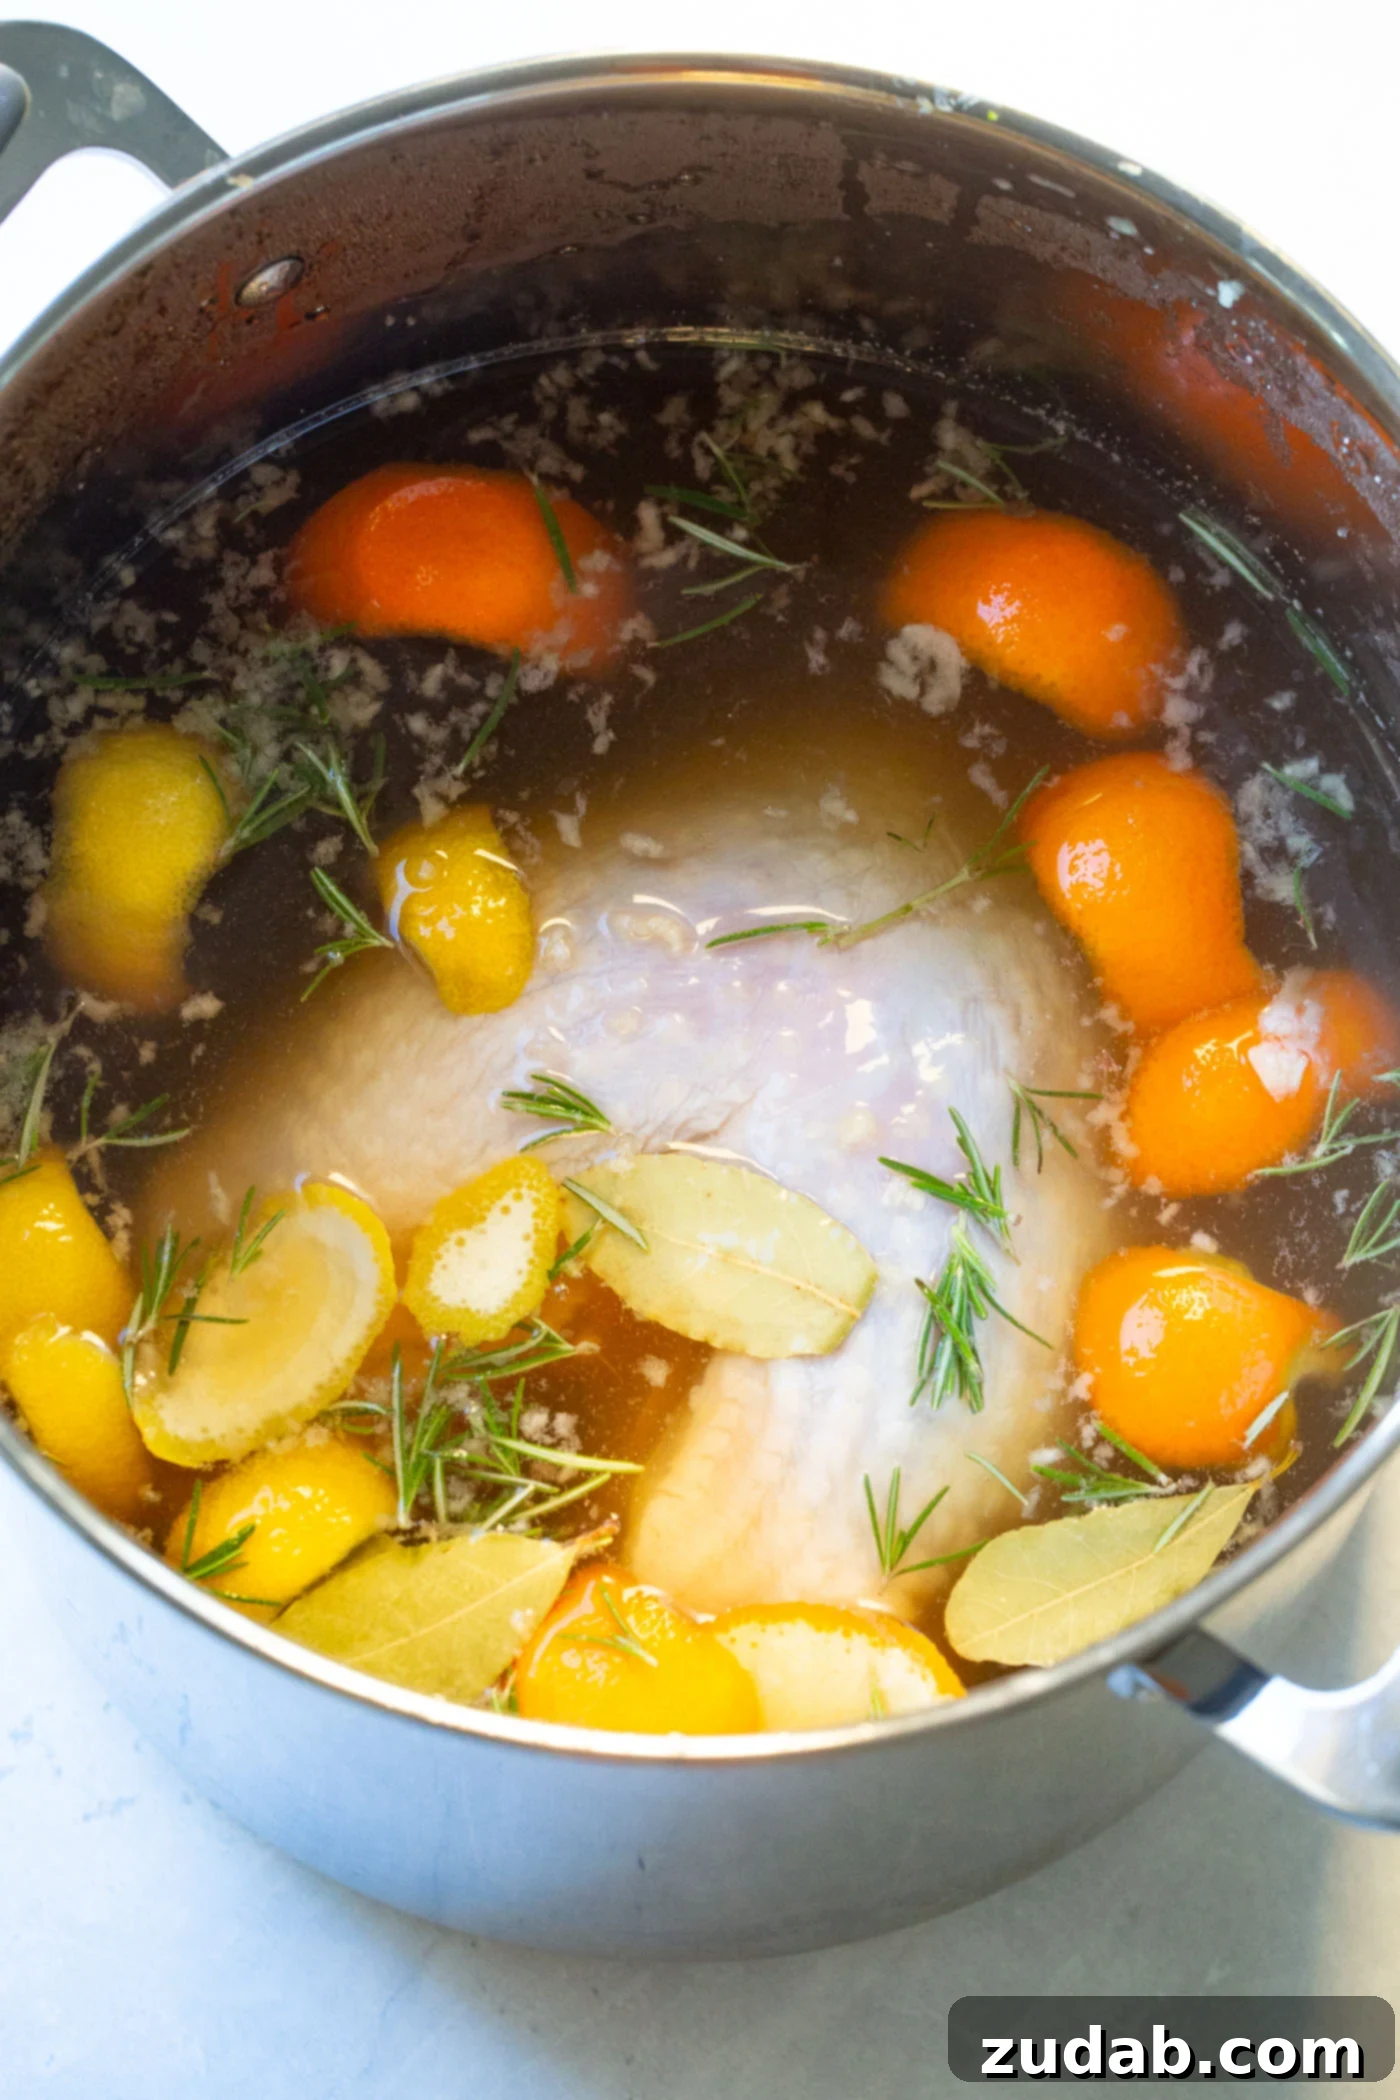
- Prepare the Brine: In a large stock pot or a dedicated brining bag (which can be very convenient), combine all the liquid ingredients, brown sugar, Kosher salt, bay leaves, minced garlic, stripped rosemary leaves, orange peel, and lemon peel.
- Dissolve & Cool: Stir the mixture thoroughly until the sugar and salt are completely dissolved. It’s crucial that the brine is cool before adding the turkey. If you warm it to help dissolve the sugar and salt, ensure it is completely chilled before proceeding.
- Submerge the Turkey: Carefully place your thawed turkey into the cooled brine, ensuring it is fully submerged. If using a stockpot, cover it with a lid.
- Refrigerate: Transfer the covered pot or brining bag to the refrigerator. Allow the turkey to brine for a full 24 hours for optimal results.
- Pro Tip for Large Turkeys: If your stock pot is too large for your refrigerator, you can place the covered pot inside a clean cooler. Surround the pot with plenty of ice to keep the brine at a safe, consistently cold temperature for the entire 24-hour brining period. Replenish ice as needed.
Post-Brine Care: To Rinse or Not to Rinse?
A frequently asked question is whether to rinse the turkey after brining. The answer, in most cases, is no. Rinsing the turkey after it has absorbed all those wonderful flavors from the brine can diminish the seasoning and effect.
Instead, follow these simple but crucial steps:
- Pat Dry Thoroughly: Once you remove the turkey from the brine, use paper towels to pat the entire surface of the bird thoroughly dry. This is a critical step for achieving that coveted crispy, golden-brown skin when roasted.
- Air Dry (Optional but Recommended): For an even crispier skin, you can place the patted-dry turkey back into the refrigerator, uncovered, for another 8-12 hours (or even overnight). This additional air-drying period allows the skin to dehydrate further, ensuring it crisps up beautifully during cooking.
By skipping the rinse and focusing on thorough drying, you ensure that all the delicious flavors and moisture locked in by the brine remain, setting the stage for an unforgettable meal.
Customizing Your Turkey Brine Experience
While the provided recipe offers a fantastic foundation, brining is an excellent opportunity to experiment and personalize your turkey’s flavor profile. Here are some ideas for customization:
- Spicy Kick: Add whole dried chilies, a few slices of fresh jalapeño, or a teaspoon of red pepper flakes to the brine mixture for a subtle heat.
- Smoky Undertones: Incorporate smoked paprika, a dash of liquid smoke (used sparingly), or a handful of smoked tea leaves (like Lapsang Souchong) for a unique smoky flavor.
- Autumnal Spice Blend: Enhance the fall flavors with cinnamon sticks, whole cloves, star anise, or additional allspice berries. These pair wonderfully with the apple cider and brown sugar.
- Herbaceous Delight: Beyond rosemary and bay leaves, consider adding fresh thyme, sage, or even a few sprigs of marjoram for different aromatic notes.
- Citrus Burst: Experiment with different citrus fruits! Lime or grapefruit peels can add a unique zest. A splash of orange liqueur or Grand Marnier can also amplify the citrus notes.
- Savory Depth: For an umami boost, a tablespoon of Worcestershire sauce or a few dried mushrooms can be a surprising addition.
Always remember to balance your flavors. Taste the brine before adding the turkey (without, of course, double-dipping!). A good brine should be noticeably salty, but also have a pleasant balance of sweet and aromatic notes. Adjust the quantities of sugar and aromatics to suit your personal palate.
If you’ve never experienced the magic of brining before, I wholeheartedly encourage you to try it! It’s a simple, low-effort technique that yields truly spectacular results. This particular turkey brine recipe has become my go-to, and I am confident it will become your favorite too, ensuring every turkey you prepare is moist, flavorful, and perfectly tender.
More Turkey Recipes You’ll Love:
- Deep Fried Turkey
- Turkey in a Bowl
- Herb Roasted Turkey Breast
- Turkey Pot Pie Soup
- The Ultimate Leftover Turkey Club
- Award Winning Instant Pot Turkey
- Thanksgiving Leftovers Turkey Tetrazzini
- Apple Pecan Smoked Turkey Breast
The Best Turkey Brine
The most wonderful turkey brine to totally transform your bird from boring and dry to tender, juicy, flavorful perfection.
By Sweet Basil
Prep Time: 1 day 4 hours
Cook Time: 3 hours (for turkey cooking)
Total Time: 1 day 7 hours
Servings: 1 batch (for one turkey)
Ingredients
Brine
- 3 Cups Apple Cider
- 3 Cups Orange Juice
- 13 Cups Water
- 2 Cups Brown Sugar
- 1 Cup Kosher Salt
- 5 Bay Leaves
- 5 Cloves Garlic, minced
- 4 Sprigs Rosemary, leaves stripped off
- 1 Orange Peel
- 1 Lemon Peel
Instructions
- Place each ingredient of the brine in a large pot and stir until the sugar and salt have dissolved.
- Add the turkey and put a lid on the pot.
- Set the turkey in the brine in the fridge for 24 hours.
- Remove turkey from brine and pat dry. Allow the turkey to rest in the fridge so it can completely dry and the skin can crisp up when cooked.
- Proceed with your chosen turkey cooking method, such as a classic roasted turkey recipe.
Recipe Notes
You can prepare the brine 2-3 days in advance and store it in the refrigerator until ready to use.
Don’t miss out on more delicious recipes! Subscribe to our free Oh Sweet Basil newsletter and receive easy, inspiring recipes directly in your inbox every day.
We love seeing your creations! When you try one of our recipes, please share it on INSTAGRAM using the hashtag #ohsweetbasil for a chance to be featured in our stories! Follow Oh Sweet Basil on FACEBOOK, INSTAGRAM, PINTEREST, and TWITTER for our latest content, recipes, and stories.