

Have you ever enjoyed a beautifully decorated cupcake or a slice of pie from a professional bakery, expecting a heavy buttercream, only to be surprised by the delightful lightness of whipped cream that perfectly holds its shape? The secret behind this culinary marvel is **stabilized whipped cream**. While it might sound like a gourmet technique reserved for pastry chefs, preparing stabilized whipped cream at home is surprisingly straightforward and incredibly rewarding. This easy-to-follow guide will walk you through everything you need to know to master this essential dessert topping, ensuring your creations look stunning and stay fresh longer.
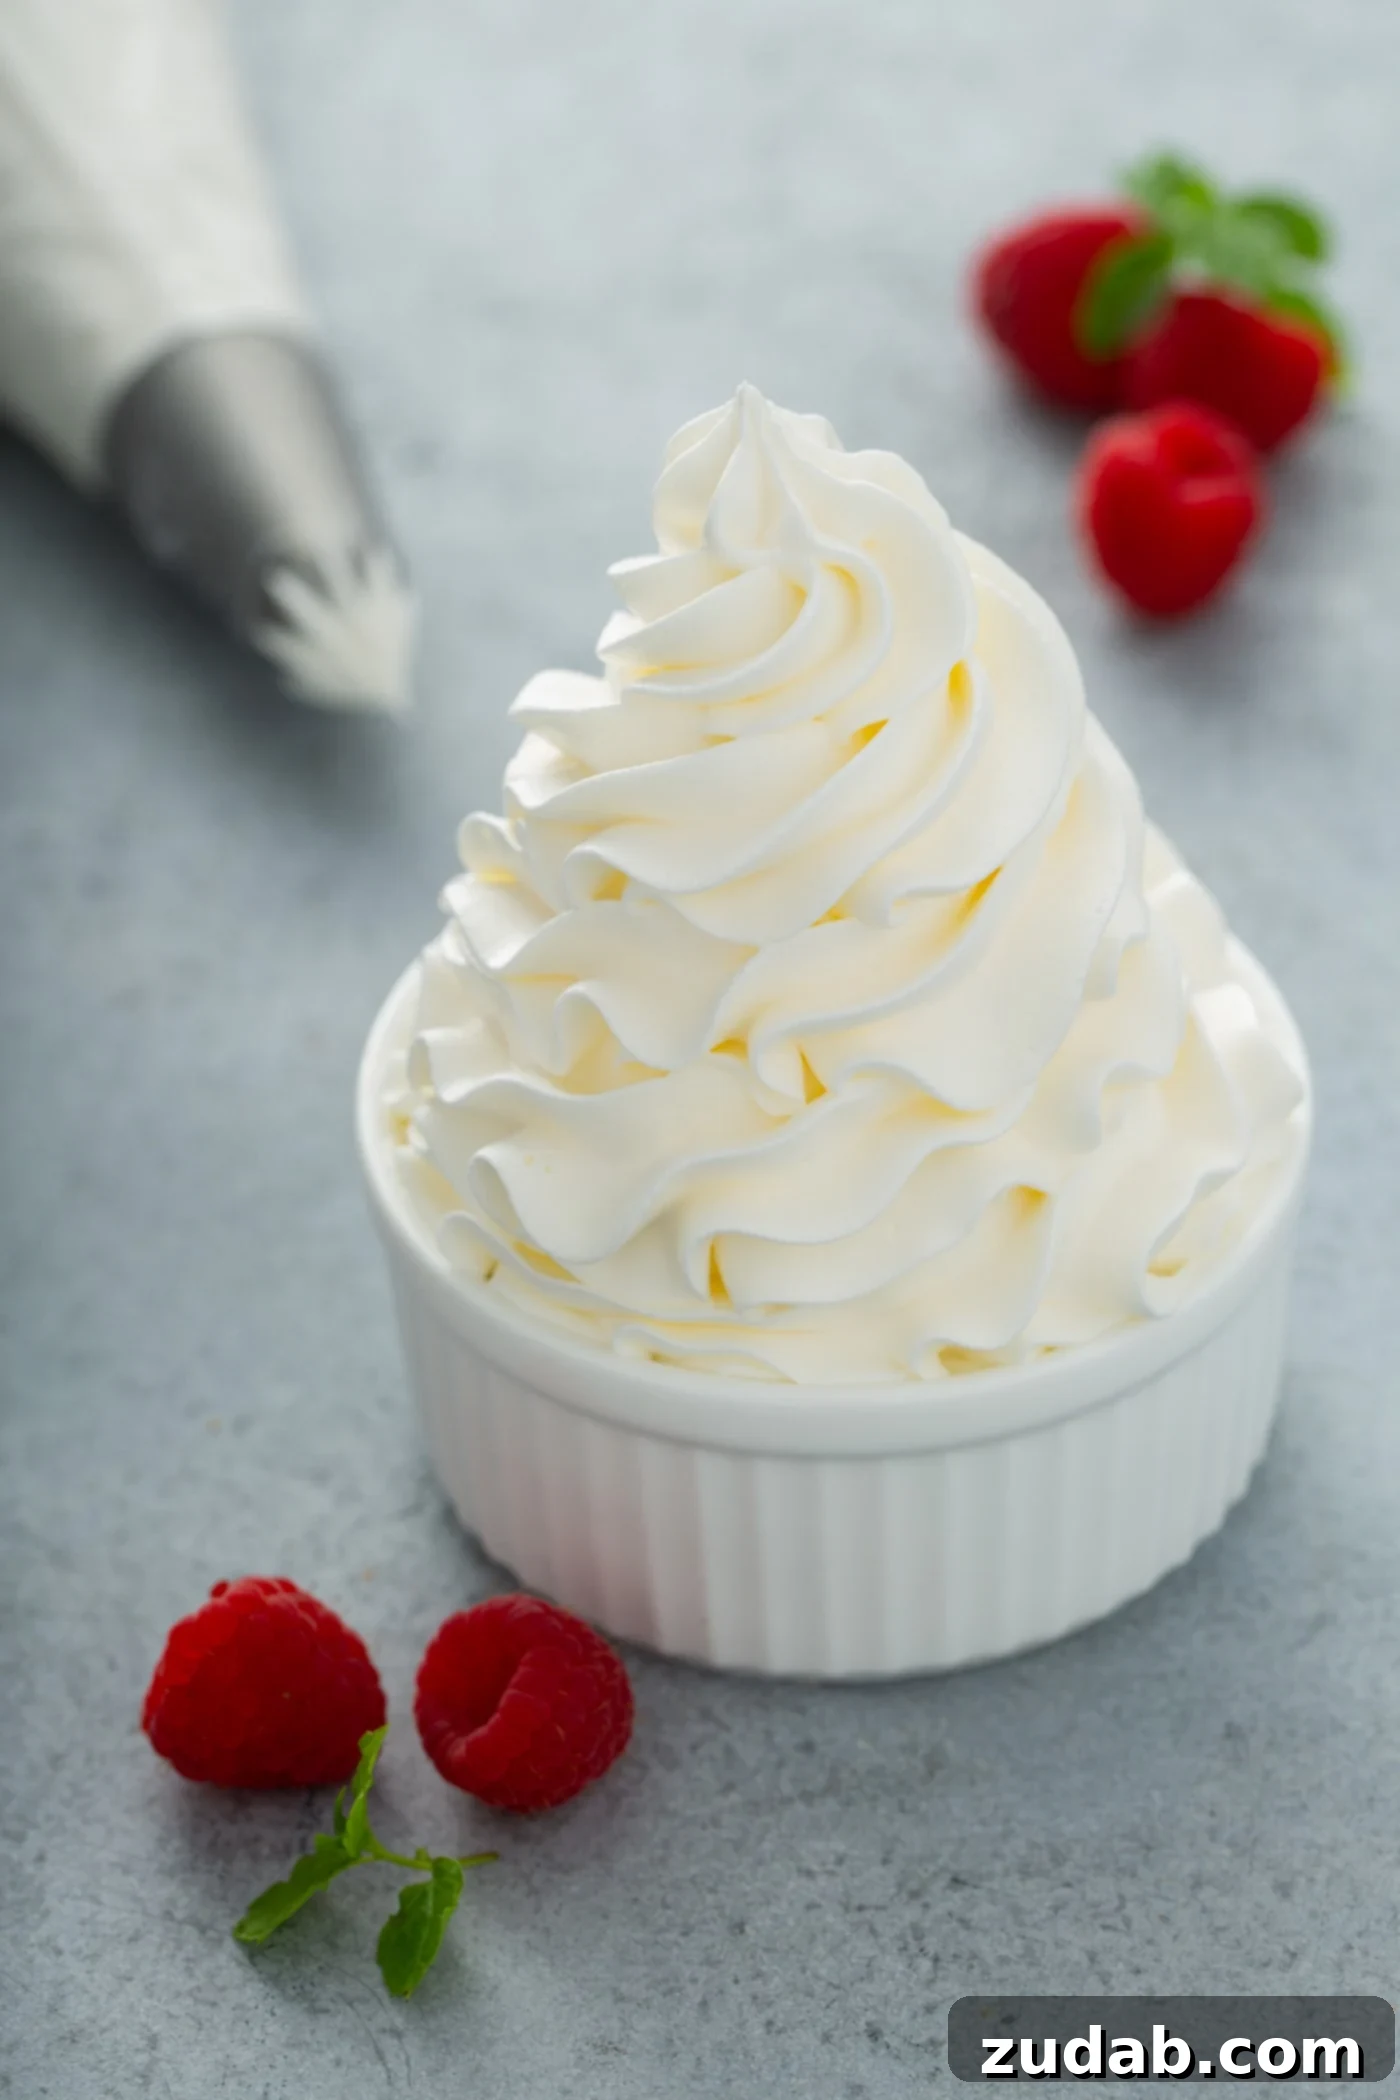
Unlike traditional whipped cream, which tends to weep, melt, and deflate shortly after preparation, stabilized whipped cream maintains its airy texture and elegant form for days. This makes it the ideal choice for topping an array of desserts, from delicate tarts and towering cakes to festive cupcakes and creamy cheesecakes. Imagine piping perfect swirls onto your holiday desserts, confident that they will look as good on the serving platter as they did when they first emerged from your kitchen. This is the magic of stabilized whipped cream, and it’s about to become your new favorite secret ingredient.

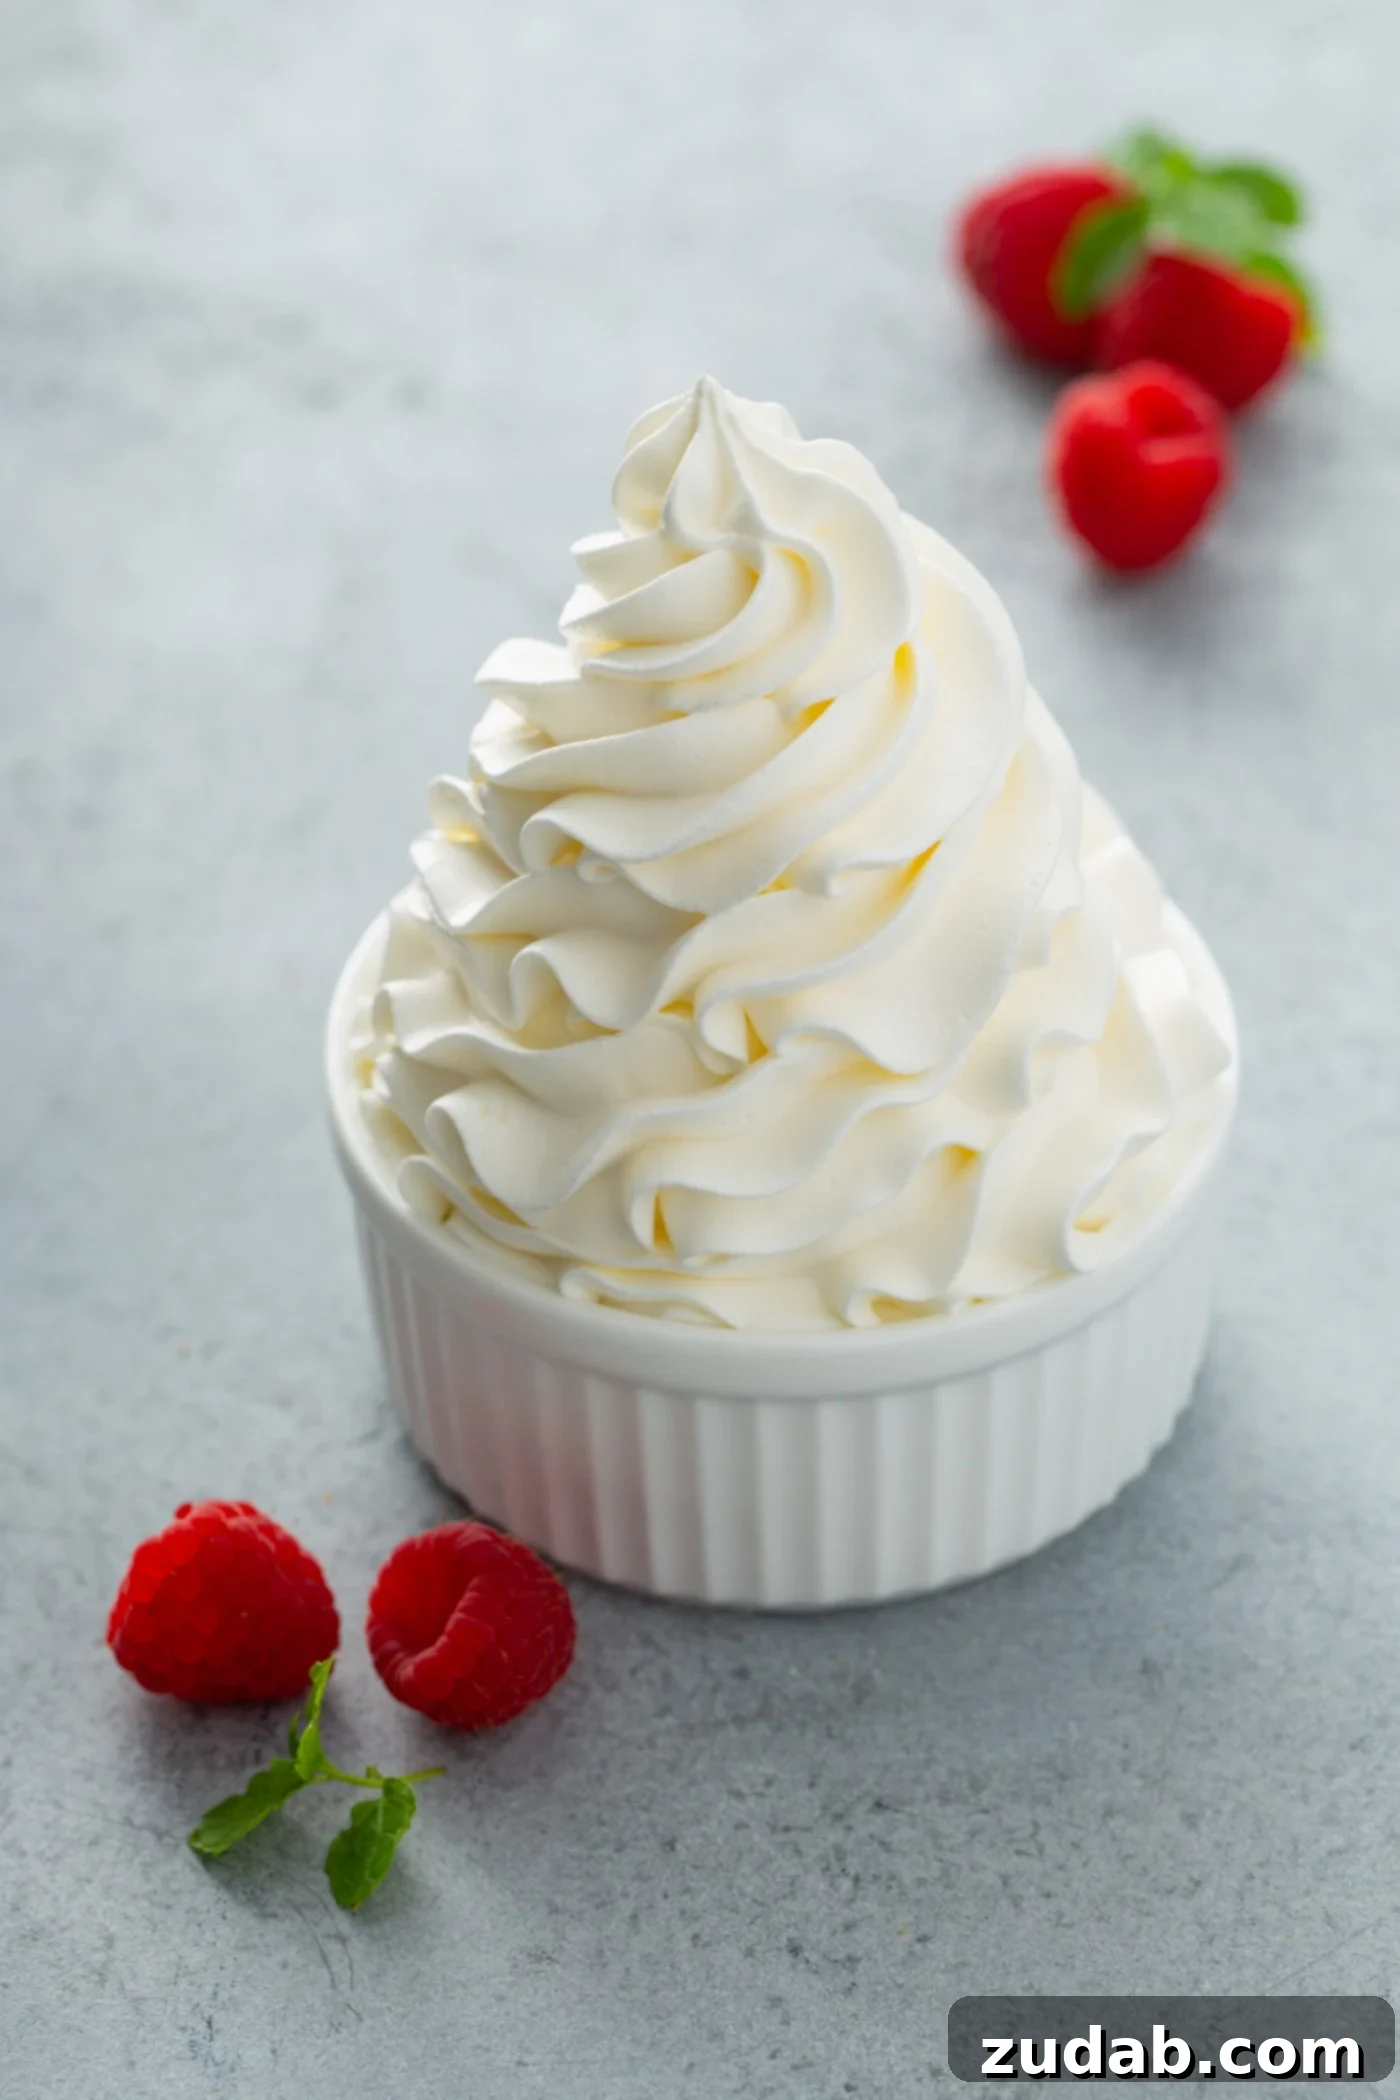
I frequently turn to this stabilized cream for my dessert creations, whether it’s enhancing the richness of pies, adding a delicate touch to cupcakes, or crowning elegant cakes and cheesecakes. Its appeal lies in its perfectly balanced sweetness and wonderfully light, airy consistency. What sets it apart is its remarkable ability to **hold its pristine shape for 2-3 days** when stored correctly in the refrigerator. This stability not only elevates the presentation of any dessert but also provides peace of mind, especially when preparing for gatherings or events where freshness and appearance are paramount.
The key to achieving this remarkable stability is a simple, unassuming ingredient: **unflavored gelatin**. Don’t let the thought of gelatin deter you; it has no discernible taste, ensuring it won’t alter the delicious flavor profile of your whipped cream. Instead, it works by adding an imperceptible internal structure that prevents the cream from deflating or “weeping” liquid. This structural support is what allows your whipped cream to maintain its fluffy peaks and beautifully piped designs, making it perfect for any occasion, especially for elaborate **holiday baking** projects.
By following our detailed steps, you’ll unlock the secret to creating professional-quality whipped cream that impresses both visually and tastefully. Say goodbye to sad, soggy desserts and hello to perfectly poised, long-lasting whipped cream every time. Let’s dive into the simple process and get you ready to elevate all your dessert endeavors!
Why Choose Stabilized Whipped Cream? The Benefits Unveiled
Before we delve into the how-to, let’s explore why stabilized whipped cream is a game-changer for any home baker:
- Long-Lasting Freshness: The primary benefit is its extended shelf life and structural integrity. Regular whipped cream starts to lose its airiness and separate within hours, but stabilized whipped cream remains perfectly fluffy for up to three days in the refrigerator.
- Perfect Presentation: Achieve sharp, defined piped designs that won’t melt or droop. This is crucial for professional-looking cakes, cupcakes, and tarts, making your desserts truly stand out.
- Prevents Soggy Desserts: When used as a topping for pies or trifles, the stable structure prevents the cream from seeping into the base, keeping your desserts fresh and pristine.
- Versatility: Its robust nature makes it suitable for a wider range of applications, including filling layered cakes, decorating warm beverages, and serving as a delightful fruit dip.
- Travel-Friendly: If you need to transport a dessert, stabilized whipped cream is far more forgiving, ensuring your creation arrives looking as good as when it left your kitchen.
Essential Ingredients for Perfect Stabilized Whipped Cream
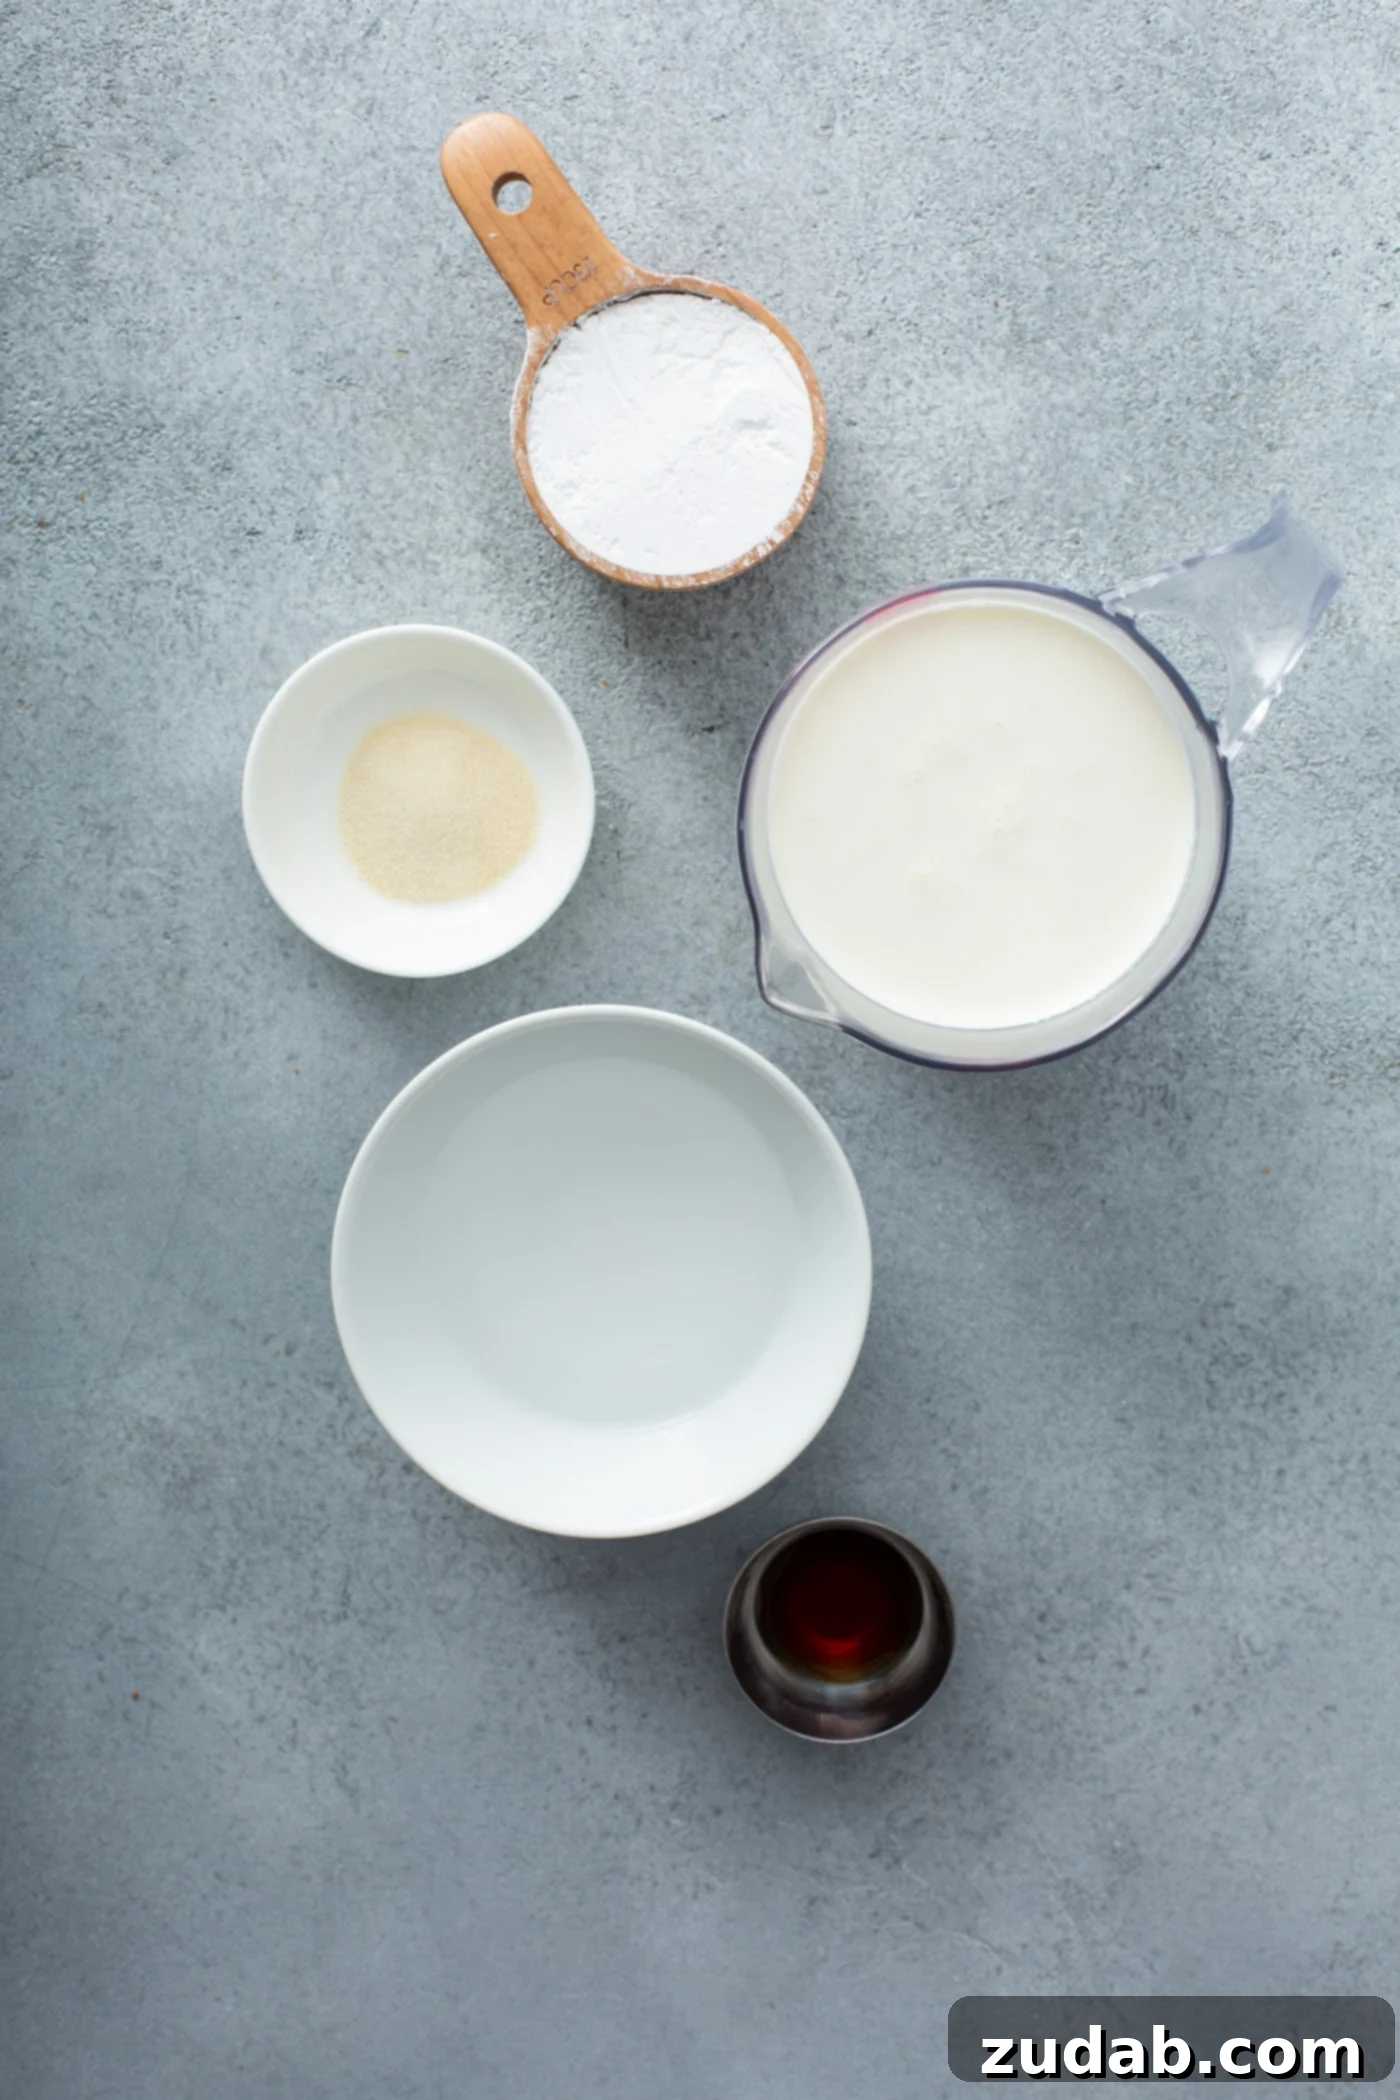
Crafting this remarkable whipped cream requires just a handful of common ingredients. You’ll be surprised at how simple it is to gather everything you need. While quantities are flexible and can be adjusted for larger batches, the core components remain the same. For precise measurements for a standard batch, please refer to the recipe card below.
- Cold Water: A small amount is crucial for blooming the gelatin. Yes, it’s an ingredient!
- Unflavored Gelatin: This is the hero ingredient. Look for it in the baking aisle, often on the top shelf, near flavored gelatins or Jell-O. Ensure it’s unflavored to maintain the pure taste of your cream.
- Heavy Whipping Cream (or Heavy Cream): This is the foundation of your whipped cream. It must be very cold, with a fat content of 36% or higher, for optimal whipping and volume.
- Powdered Sugar (Confectioner’s Sugar): Also known as icing sugar, powdered sugar is preferred over granulated sugar because its fine texture dissolves instantly, resulting in a silky-smooth, non-gritty whipped cream.
- Vanilla Extract: A touch of pure vanilla extract enhances the flavor beautifully. Feel free to experiment with other extracts like almond or peppermint for different flavor profiles.
Step-by-Step Guide: How to Make Stabilized Whipped Cream
As promised, this process is incredibly easy. Let’s break it down into simple, actionable steps to ensure your success:
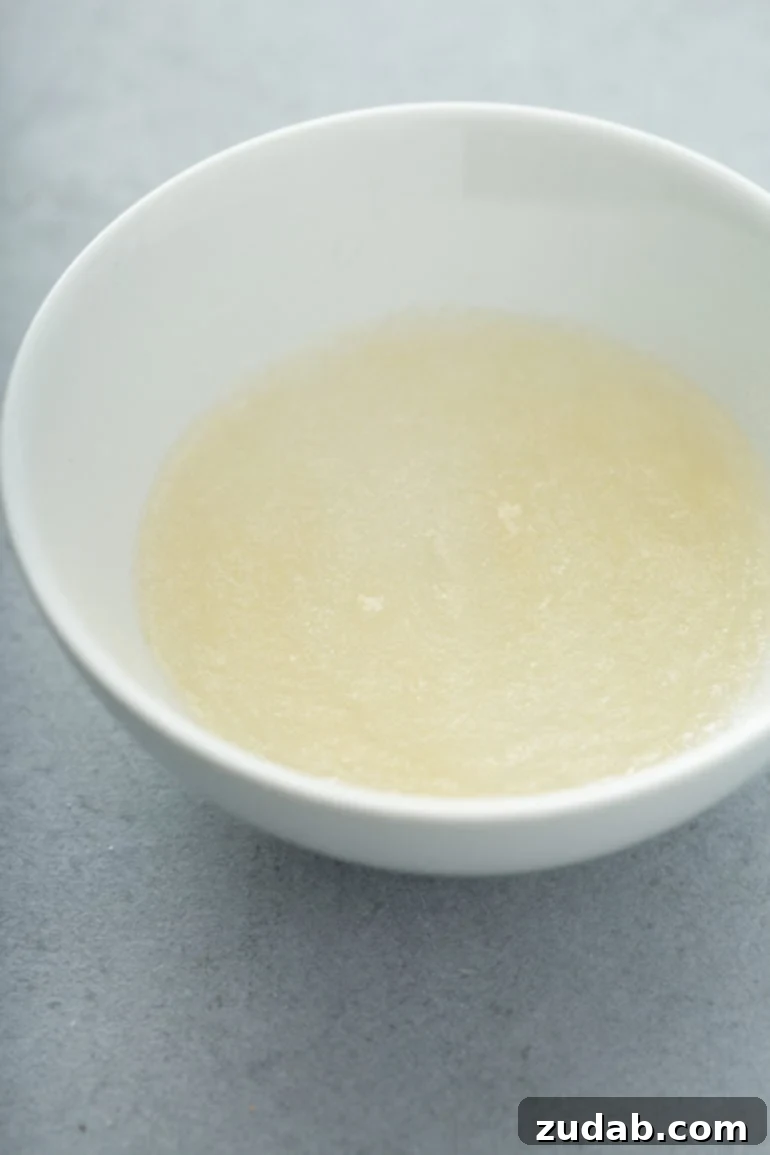
- Step 1: Bloom the Gelatin. Begin by pouring the measured cold water into a small, microwave-safe bowl. Evenly sprinkle the unflavored gelatin powder over the surface of the water. Do not stir it in immediately. Allow it to sit undisturbed for about 3-5 minutes. This crucial step, known as “blooming,” allows the gelatin granules to absorb the water and swell, ensuring they dissolve smoothly later on. The mixture will take on a thick, jelly-like consistency, as seen in the first picture in the gallery below.
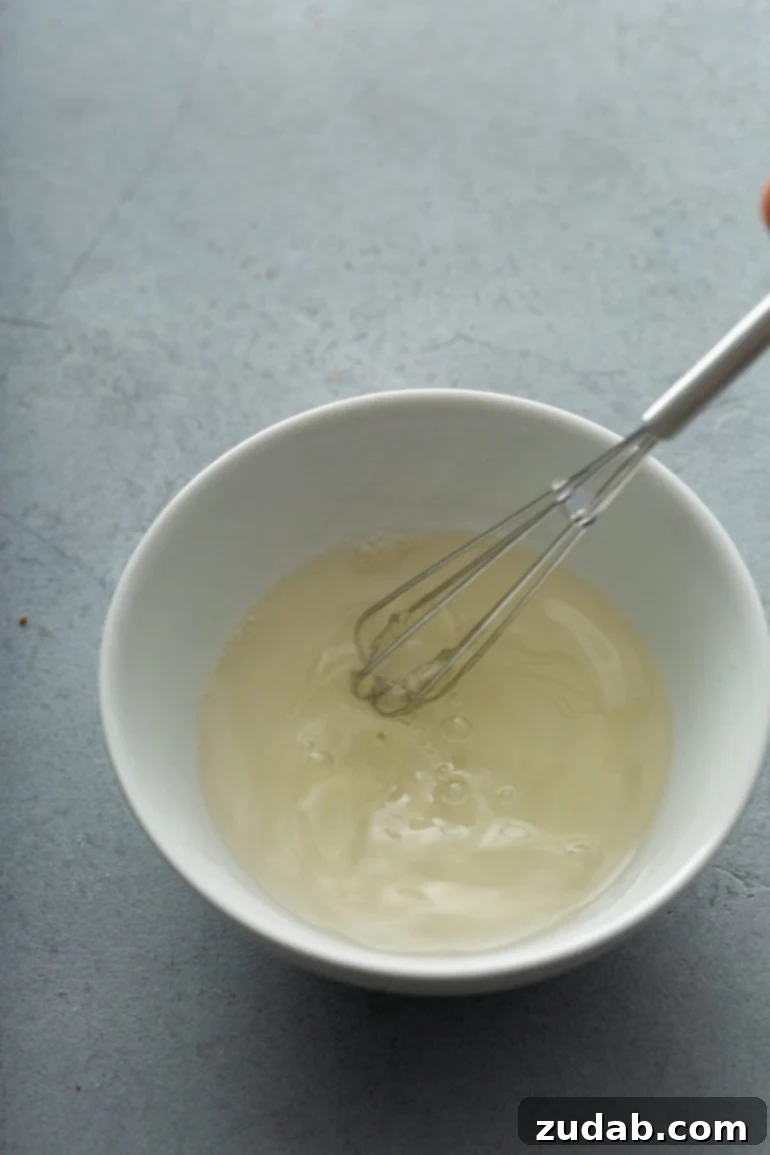
- Step 2: Dissolve the Gelatin. Gently transfer the bloomed gelatin mixture to the microwave. Microwave it on high for a very short duration, typically 5-7 seconds. The goal is just to melt the gelatin, not to boil the water. It should be fully dissolved, appearing clear and liquid. If you prefer, this step can also be accomplished on the stovetop by gently heating the mixture in a small saucepan over low heat until dissolved, stirring constantly. Once dissolved, stir the mixture well and set it aside to cool for a few seconds. It should be lukewarm, not hot, when added to the cream.
- Step 3: Whip the Cream to Soft Peaks. In the chilled bowl of a stand mixer fitted with the whisk attachment (an electric hand mixer will also work, but a stand mixer makes the process effortless), combine the very cold heavy whipping cream, powdered sugar, and vanilla extract. Begin whipping the mixture on medium-high speed. Continue to whip until the cream starts to thicken and soft peaks begin to form. A “soft peak” is achieved when you lift the whisk out of the cream, and the cream holds its shape for a moment before gently folding back on itself.
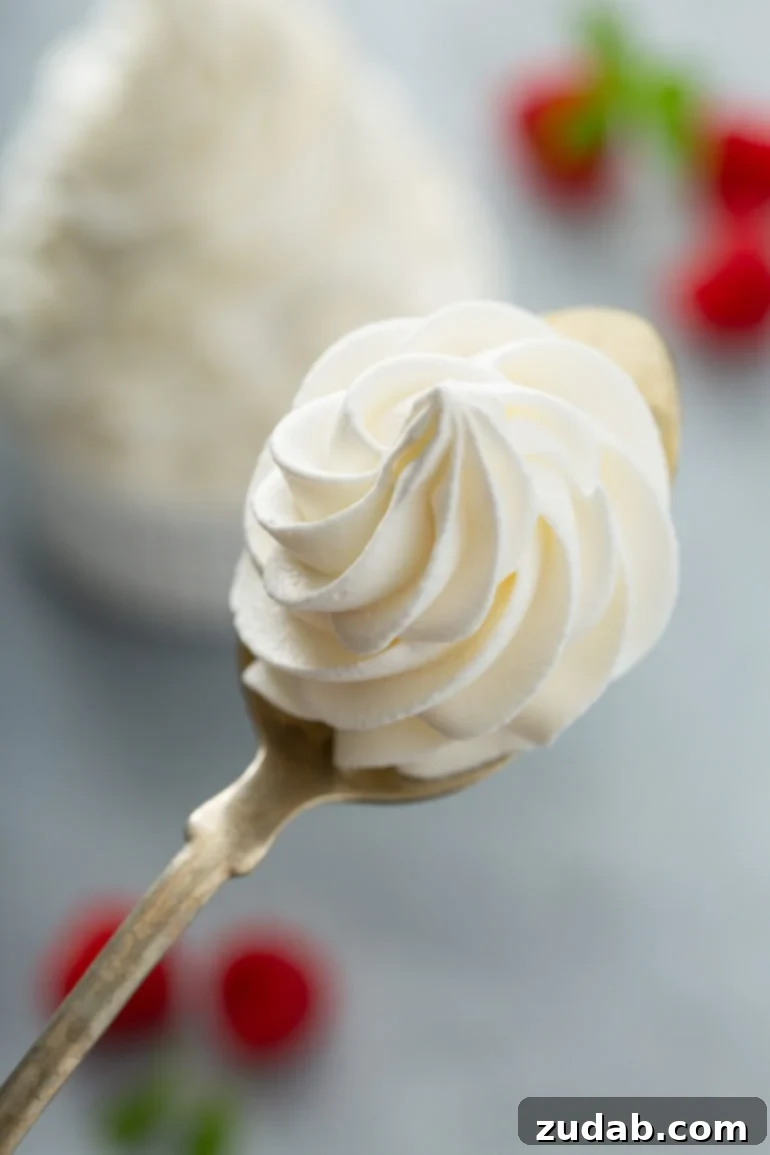
- Step 4: Incorporate the Gelatin and Achieve Stiff Peaks. With the mixer still running on low speed, slowly and steadily pour the cooled, dissolved gelatin mixture into the whipping cream. Pour it in a thin stream to ensure even incorporation. Once all the gelatin has been added, increase the mixer speed to medium and continue mixing until stiff peaks form. “Stiff peaks” indicate that when you lift the whisk, the whipped cream holds its shape firmly and stands upright without collapsing. Be careful not to overmix, as this can turn the cream grainy.
- Step 5: Pipe and Chill. Once your stabilized whipped cream has reached stiff peaks, it’s ready to use! Transfer the whipped cream into a piping bag fitted with your favorite decorative tip. Pipe it onto your chosen dessert – be it a cake, pie, cupcake, or tart. Refrigerate the dessert immediately until you are ready to serve. This chilling period allows the gelatin to fully set, solidifying the cream’s structure and ensuring it holds its form beautifully.
Expert Tips for the Best Stabilized Whipped Cream
Achieving consistently perfect stabilized whipped cream is easy with a few insider tips:
- Chill Your Equipment: For maximum volume and quicker whipping, place your mixing bowl and whisk attachment in the refrigerator or freezer for about 10-15 minutes before you begin. Cold equipment helps the cream whip up faster and maintain a colder temperature, which is ideal for stability.
- Temperature of Gelatin is Key: Pay close attention to Step 2. After microwaving, allow the gelatin mixture to cool to lukewarm. If it’s too hot, it can melt the cream and prevent it from whipping properly. If it cools too much and sets, it won’t incorporate smoothly and you’ll end up with gelatin lumps. It should be liquid but not hot to the touch.
- Use a Stand Mixer: While a hand mixer works, a stand mixer with a whisk attachment is highly recommended. It provides consistent speed and allows for hands-free operation, making the process much easier and more efficient.
- Don’t Overmix: Once stiff peaks form, stop mixing immediately. Overmixing can cause the cream to become grainy and separate, resembling butter.
- Gelatin is Superior to Other Stabilizers: There are various methods for stabilizing whipped cream, including using cornstarch, instant pudding mix, or powdered milk. However, in our experience, gelatin provides the most reliable, consistently smooth, and stable results without altering the flavor or texture.
- Yield Estimation: Remember that 1 cup of heavy cream will roughly double in volume when whipped, yielding approximately 2 cups of stabilized whipped cream. Plan your ingredient quantities accordingly.
- Adjust Sweetness: The amount of powdered sugar in this recipe provides a lightly sweet cream. Feel free to adjust it to your preference, adding more or less based on how sweet you like your desserts.
Troubleshooting: Why Isn’t My Gelatin Incorporating Smoothly?
If you find that your gelatin isn’t blending seamlessly into the whipped cream, it’s usually due to its temperature. Gelatin is quite temperamental in this regard:
- Too Hot: If the gelatin is still hot when added, it can partially “melt” the whipping cream, preventing it from forming proper peaks and potentially making the final product runny.
- Too Cold/Set: If you let the gelatin cool for too long, it will begin to set and become lumpy. When added to the cream, these lumps won’t dissolve, resulting in a gritty texture.
- Not Fully Dissolved: Ensure the gelatin is completely dissolved in the water before adding it to the cream. If there are still granules, they will create an unpleasant texture.
The Fix: The trick is precision in timing. Sprinkle the gelatin evenly and allow it to bloom for the exact time recommended on the package (usually 3-5 minutes). Microwave it only for those few seconds until it’s just dissolved and clear. Then, let it sit for a very brief moment to cool slightly until it’s lukewarm (about 90-100°F or cool enough to touch without discomfort). When adding to the cream, do so very slowly in a thin stream while the mixer is on low speed, ensuring it has time to incorporate evenly.
Unleash Your Creativity: Versatile Ways to Use Stabilized Whipped Cream
The stability and beautiful texture of this whipped cream open up a world of possibilities for your desserts, especially during the festive holiday season. Elevate everything from everyday treats to grand celebrations with this elegant topping:
- Pies: Thanksgiving and holiday tables demand an impressive whipped cream topping! It’s perfect for classic pecan pie, creamy pumpkin pie, decadent French silk pie, quick no-bake Oreo pie, and refreshing fresh strawberry pie. It won’t melt into the filling, maintaining a distinct, fluffy layer.
- Cheesecakes & Bars: A generous dollop of stabilized whipped cream is the perfect counterpoint to the rich density of cheesecakes. Try it on our delightful gingersnap pumpkin cheesecake bars or zesty lemon blueberry cheesecake squares. It adds a touch of airy elegance without overwhelming the flavors.
- Cakes: Use it as a simple, lighter frosting for cakes, particularly those that are already rich. It’s fantastic on pumpkin pie cake or any of our delightful Jello cakes, providing a smooth finish that holds its shape for easy slicing and serving.
- Cupcakes: Pipe beautiful, intricate swirls onto cupcakes for a bakery-quality finish that won’t fall flat before your guests arrive.
- Hot Beverages: For a cozy winter treat, don’t forget a giant, stable dollop on top of a mug of homemade hot chocolate. It will slowly melt, enriching the drink without disappearing instantly.
- Fruit & Trifle: Layer it into trifles or serve alongside fresh berries and fruit salads. Its stability prevents it from becoming watery and keeps layers distinct.
- Fillings: Use it as a stable filling for cream puffs, éclairs, or fruit tarts, ensuring a delightful texture that lasts.
Storage and Make-Ahead Tips
One of the greatest advantages of stabilized whipped cream is its impressive longevity:
How Long Will Stabilized Cream Keep at Room Temperature?
Due to its dairy content and delicate nature, stabilized whipped cream should not be left out at room temperature for more than one hour, especially in warm environments. For optimal safety and quality, always refrigerate promptly.
How Long Will Whipped Cream Keep in the Refrigerator?
When stored in an airtight container in the refrigerator, stabilized whipped cream will hold its perfect shape and fresh taste for an impressive 2-3 days. This makes it an excellent option for make-ahead desserts or for enjoying leftovers.
Can Stabilized Cream Be Frozen?
Absolutely! Stabilized whipped cream freezes and thaws exceptionally well, making it perfect for long-term storage or preparing ahead for large events. For best results, pipe or spread the whipped cream onto a baking sheet lined with parchment paper, then freeze until solid. Once frozen, transfer the individual portions to an airtight container or freezer bag. Ensure it is wrapped tightly in plastic wrap and then foil to prevent freezer burn. It will keep beautifully for up to 3 months. When ready to use, simply thaw in the refrigerator.

Stabilized Whipped Cream vs. Cool Whip: What’s the Difference?
You might wonder how homemade stabilized whipped cream compares to store-bought alternatives like Cool Whip. The short answer is: they share similar characteristics in terms of stability, but with significant differences.
Stabilized whipped cream offers a texture and appearance akin to Cool Whip – it holds its shape, pipes beautifully, and doesn’t deflate easily. However, the key distinctions lie in control and ingredients. When you make it yourself, you have complete control over the sweetness level and the quality of ingredients. It’s entirely homemade, using real dairy and a natural stabilizer, free from artificial flavors or hydrogenated oils often found in commercial whipped toppings. This means a fresher, richer, and more authentic taste. You can confidently substitute stabilized whipped cream for Cool Whip in most recipes, knowing you’re offering a superior, wholesome alternative.
Can You Add Color and Flavor to Stabilized Cream?
Yes, absolutely! Stabilized whipped cream is a fantastic canvas for customization. To add color, simply incorporate a few drops of gel food dye during the final stages of whipping, just as stiff peaks are forming. Gel food coloring is recommended as it’s more concentrated and less likely to thin out the cream compared to liquid dyes. The vibrant colors look especially stunning on festive cupcakes, holiday desserts, or themed treats.
Beyond color, feel free to experiment with different flavor extracts beyond vanilla. Almond, peppermint, lemon, or even a touch of espresso powder can transform your whipped cream to complement various desserts. Just remember to add extracts during the initial whipping phase with the sugar.
I scream, you scream, we all scream for **stabilized whipped cream**! That’s how the poem goes, right? You’re going to love the professional results and delicious flavor of this easy, no-fail recipe. Get ready to elevate your dessert game!
Delicious Recipes Perfect for Stabilized Whipped Cream:
- Fresh Strawberry Pie
- Pecan Pie
- Lemon Jello Cake
- Lime Cheesecake
- Pumpkin Pie
- Lemon Mandarin Orange Jello Salad
- Banana Pudding
- Explore all our delightful DESSERT RECIPES here for endless inspiration!
Stabilized Whipped Cream
Sweet Basil
8 mins
8 mins
8

Ingredients
- 4 teaspoons Water
- 1 teaspoon Gelatin, unflavored
- 1 Cup Heavy Whipping Cream, cold
- 1/3 Cup Powdered Sugar
- 1/2 teaspoon Vanilla Extract
Instructions
-
Add water to a microwave-safe bowl and sprinkle the unflavored gelatin evenly over the top. Allow to sit for a few minutes to bloom.
-
Transfer the gelatin mixture to the microwave (or a saucepan on the stove) and microwave until the gelatin is fully dissolved (approx. 5-7 seconds). Stir the mixture, then set aside to cool to lukewarm.
-
In the chilled bowl of a stand mixer fitted with the whisk attachment, combine the heavy whipping cream, powdered sugar, and vanilla extract. Whip on medium-high speed until the mixture starts to thicken and soft peaks form. Turn the mixer to low speed and slowly pour in the cooled gelatin mixture until well combined. Increase the mixer to medium speed and continue mixing until stiff peaks form.
-
Place the whipped cream into a piping bag with your favorite tip. Pipe the whipped cream onto your dessert and refrigerate until ready to serve.
Recipe Notes
Stabilized whipped cream will keep for 2-3 days in the refrigerator when stored in an airtight container.
Nutrition
Calories: 124kcal,
Carbohydrates: 6g,
Protein: 1g,
Fat: 11g,
Saturated Fat: 7g,
Cholesterol: 41mg,
Sodium: 13mg,
Potassium: 22mg,
Sugar: 5g,
Vitamin A: 437IU,
Vitamin C: 1mg,
Calcium: 19mg
Nutrition information is automatically calculated, so should only be used as an approximation.
Like this recipe? Leave a comment below!

REMEMBER TO SUBSCRIBE TO our FREE Oh Sweet Basil NEWSLETTER AND RECEIVE EASY RECIPES DELIVERED INTO YOUR INBOX EVERY DAY!
When you try a recipe, please use the hashtag #ohsweetbasil on INSTAGRAM for a chance to be featured in our stories! FOLLOW OH, SWEET BASIL ON FACEBOOK | INSTAGRAM | PINTEREST | TWITTER FOR ALL OF OUR LATEST CONTENT, RECIPES AND STORIES.