
The centerpiece of any festive gathering, a succulent spiral sliced ham, often brings both delight and a slight apprehension for the host. While its pre-cut convenience promises ease, removing it gracefully from the bone and serving it without tearing those perfectly glazed slices can be a delicate art. Many home cooks discover this challenge only after the aromatic glaze has set and the ham emerges golden-brown from the oven. But fear not! This comprehensive guide simplifies the process into a few straightforward steps, ensuring your holiday ham carving experience is as seamless and stress-free as possible.
Imagine the scene: a beautifully roasted bone-in ham, perhaps accompanied by creamy scalloped potatoes, taking pride of place at your Christmas, Easter, or Thanksgiving table. You want your guests to effortlessly select tender, intact slices, not struggle to wrestle meat from the bone. This article will equip you with the knowledge and confidence to host the perfect dinner party, leaving you with more time to enjoy the company and less time battling your magnificent main course.
My own journey with spiral ham carving began with a moment of overconfidence. “This is easy!” I thought, admiring the perfectly baked ham. Then came the carving. The central bone, combined with the delicate, smoky layers, created a veritable puzzle. Slices began to fall forward, threatening to disintegrate into small pieces. I quickly realized that while cooking the ham was indeed straightforward—a simple matter of placing it in a pan, tenting it with foil, and baking—the true test lay in how to serve it elegantly. If only I had known these simple techniques back then, and perhaps had a few of those incredible dipping sauces, like the delightful Pina Colada dipping sauce or sweet honey mustard, ready to complement every juicy bite!
Rest assured, carving a spiral ham is not an intimidating task once you understand the simple mechanics involved. Even if the bone isn’t perfectly centered (as can sometimes happen!), a few key techniques will ensure you conquer the carving with ease and present a stunning platter of ham to your eagerly awaiting guests.
Essential Tools for Carving a Spiral Ham
Before you embark on the carving process, ensure you have the right tools at hand. A sharp, long carving knife (at least 10-12 inches) is paramount. A dull knife will only frustrate your efforts and potentially lead to injury or torn slices. You’ll also need a sturdy carving fork to stabilize the ham, a large cutting board with a juice groove to catch any drippings, and a spacious serving platter. Some people find a meat thermometer helpful to ensure the ham has reached its ideal internal temperature before resting.
Pre-Carving Preparation: The Art of Resting
Once your spiral ham is out of the oven, resist the urge to carve it immediately. Just like any roasted meat, ham benefits significantly from a resting period. Loosely tent the ham with foil and allow it to rest for at least 15-20 minutes, or even up to 30 minutes for a larger ham. This crucial step allows the juices to redistribute throughout the meat, ensuring every slice remains tender, moist, and flavorful. Carving too soon will result in juices running out, leaving you with dry ham.
How to Carve a Spiral Ham: A Step-by-Step Guide
With your tools ready and your ham perfectly rested, let’s dive into the simple four easy steps to carve your spiral ham like a pro. These techniques are designed to make the process efficient, clean, and ultimately, delicious.
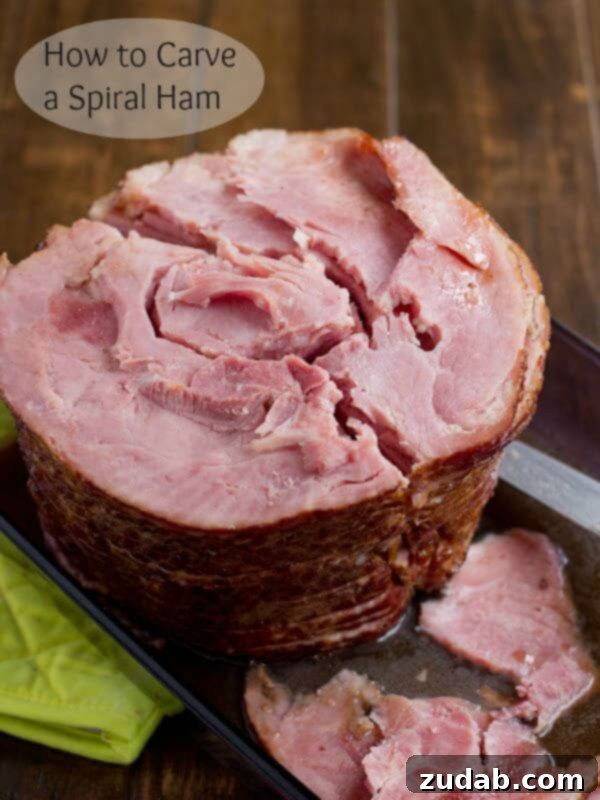
- Position for Stability: Begin by placing the ham on your cutting board with the flat or fat side down. This provides a stable base, preventing the ham from rocking or rolling as you carve. Orient the ham so that the bone is more accessible, typically running along the length of the ham. This stable foundation is key to making precise and safe cuts.
- Isolate the Bone: Using your large, sharp carving knife, carefully locate the bone running through the center of the ham. With the ham firmly stabilized by your carving fork, make a long, deep cut along one side of the bone, from one end of the ham to the other. Repeat this process on the other side of the bone. Essentially, you are creating two major sections of ham that are now mostly detached from the bone. This initial separation is crucial for easily removing the bulk of the meat.
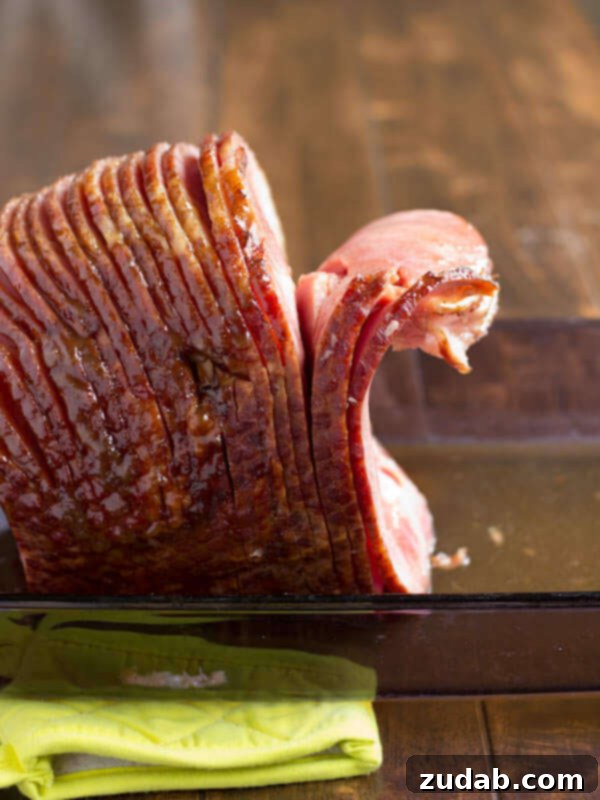
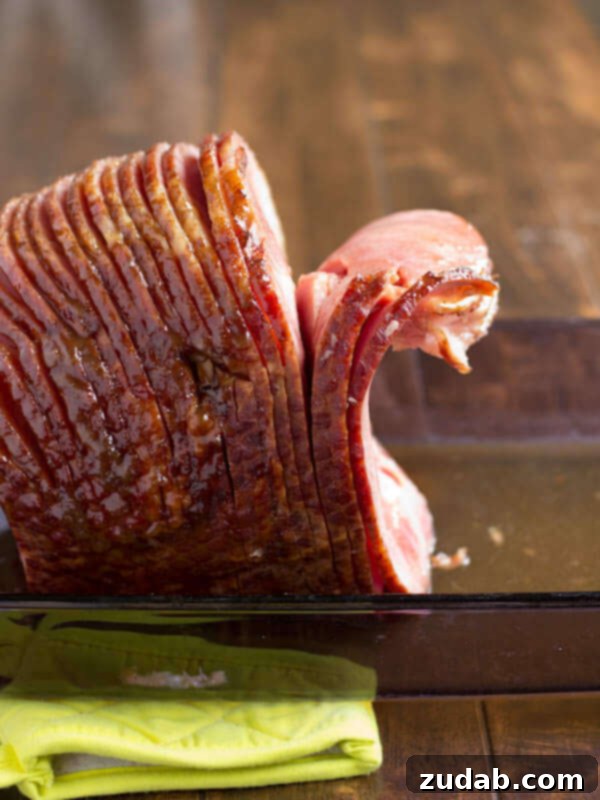
- Follow the Natural Spiral: Now that the main sections are freed from the bone, you’ll notice the pre-cut spiral slices. Guide your knife along these natural breaks or lines of fat that typically run perpendicular to the bone. Hold the ham steady with your fork and simply cut down through these established spiral paths. You’ll be cutting from the top of the ham down to your initial cuts made around the bone. This allows the individual slices to detach cleanly and effortlessly, maintaining their beautiful spiral shape.
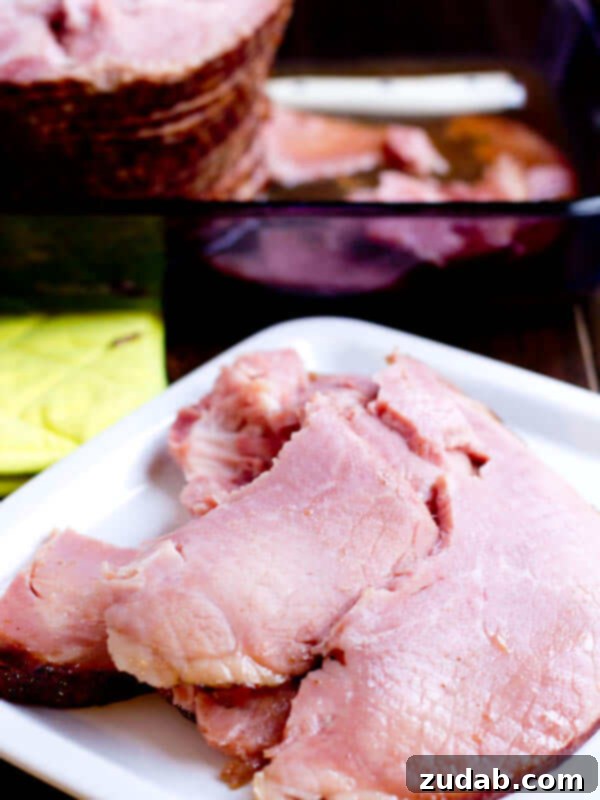
- Arrange and Serve: Once all the slices are released from the bone, or as many as you need for immediate serving, gently transfer them to your waiting serving platter. You can artfully overlap them for an elegant presentation. For added visual appeal, consider garnishing the platter with fresh herbs like parsley or rosemary, or colorful fruit like orange slices or pineapple rings. If you’re not serving the entire ham at once, keep the remaining carved slices warm by loosely covering them with foil, or store them appropriately for later use.
What Side of The Ham Do You Put Down When Carving?
For optimal stability and ease of carving, you should always place the ham with its fat side or flat side down on the cutting board. This creates a wide, stable base, minimizing any movement or wobbling during the carving process. When you look down at the ham, you’ll be able to see the first, big slices of ham, ready to be separated. This orientation ensures that your cuts are steady and precise, allowing you to focus on following the bone and the natural spiral breaks without worrying about the ham shifting.
Why Choose a Spiral Sliced Ham for Your Feast?
Beyond its visual appeal, a spiral sliced ham offers numerous advantages that make it a favorite for holiday gatherings. The pre-cut nature means that the flavorful glaze penetrates deeper into the meat, ensuring a more consistent taste throughout. It also cooks more evenly, leading to a tender and juicy result. And, of course, the primary benefit is the built-in convenience for serving. Once carved from the bone, guests can easily help themselves to perfectly portioned slices, making for a smooth and enjoyable dining experience for everyone.
Troubleshooting Common Carving Challenges
Even with the best techniques, you might encounter minor hurdles. If the bone feels particularly stubborn, ensure your knife is truly sharp. Sometimes, a slight adjustment to the angle of your cut around the bone can make a difference. If slices begin to tear, it might indicate a dull knife or too much force. Remember to let the knife do the work, guiding it smoothly along the natural lines. Practice makes perfect, and each ham you carve will build your confidence.
What Are The Best Spiral Cut Ham Recipes?
A perfectly carved ham is just the beginning! The flavor of your ham truly shines with the right recipe. Whether you prefer a classic sweet glaze or something with a bit more zest, these popular recipes are sure to impress:
- World’s Best Brown Sugar Ham
- Honey Baked Ham Copycat
- How to Make Ham in a Slow Cooker or Crockpot
- Garlic Honey Mustard Ham
What Are The Best Dipping Sauces for Spiral Cut Ham?
Elevate your ham experience even further with a perfectly paired dipping sauce. Whether your ham is baked with a rich brown sugar glaze, basted with apple juice, or sweetened with pure maple syrup, there’s a complementary sauce to enhance its flavor profile. From tangy to sweet, savory to spicy, a good dipping sauce adds another layer of culinary delight. Explore a variety of options to find your favorite pairing for the ultimate ham feast: Ham Dipping Sauces.
What Should I Do with Leftover Ham?
One of the best parts of serving a large ham is the delicious leftovers! Repurposing cooked ham is incredibly easy and economical. It adds a smoky, savory depth to a wide array of dishes, transforming everyday meals into something special. From hearty breakfasts to comforting dinners, your leftover ham can be the star ingredient. Here are some fantastic ideas to make the most of every delicious bite:
- Secret to the Best Ham Fried Rice
- Spring Ham and Asparagus Lemon Cream Sauce
- Cheesy Ham and Potato Bacon Casserole
- Ham Lemon Orzo with Parmesan and Peas
- Ham and Cheese Sliders
- Hawaiian Ham and Pineapple Casserole
- Ham and Cheese Breakfast Stromboli
- Hash Browns Ham Frittata
- Ham Hock Soup
- Easy Ham and Cheese Scones
- Ham and Broccoli Macaroni and Cheese
Storing Leftover Ham Safely
To ensure your leftover ham remains fresh and safe for future meals, proper storage is crucial. Once cooled, carved ham slices should be stored in airtight containers in the refrigerator for up to 3-4 days. For longer storage, tightly wrap individual portions or slices in plastic wrap, then foil, and freeze for up to 1-2 months. Thaw frozen ham in the refrigerator overnight before reheating and enjoying.
With these simple steps and a little practice, carving a spiral cut ham will transform from a daunting task into a confident stride. No more struggling at the holiday table; just a few easy techniques will ensure you and your loved ones enjoy perfectly juicy, intact slices of ham for your next memorable feast. Go forth and carve with confidence!