
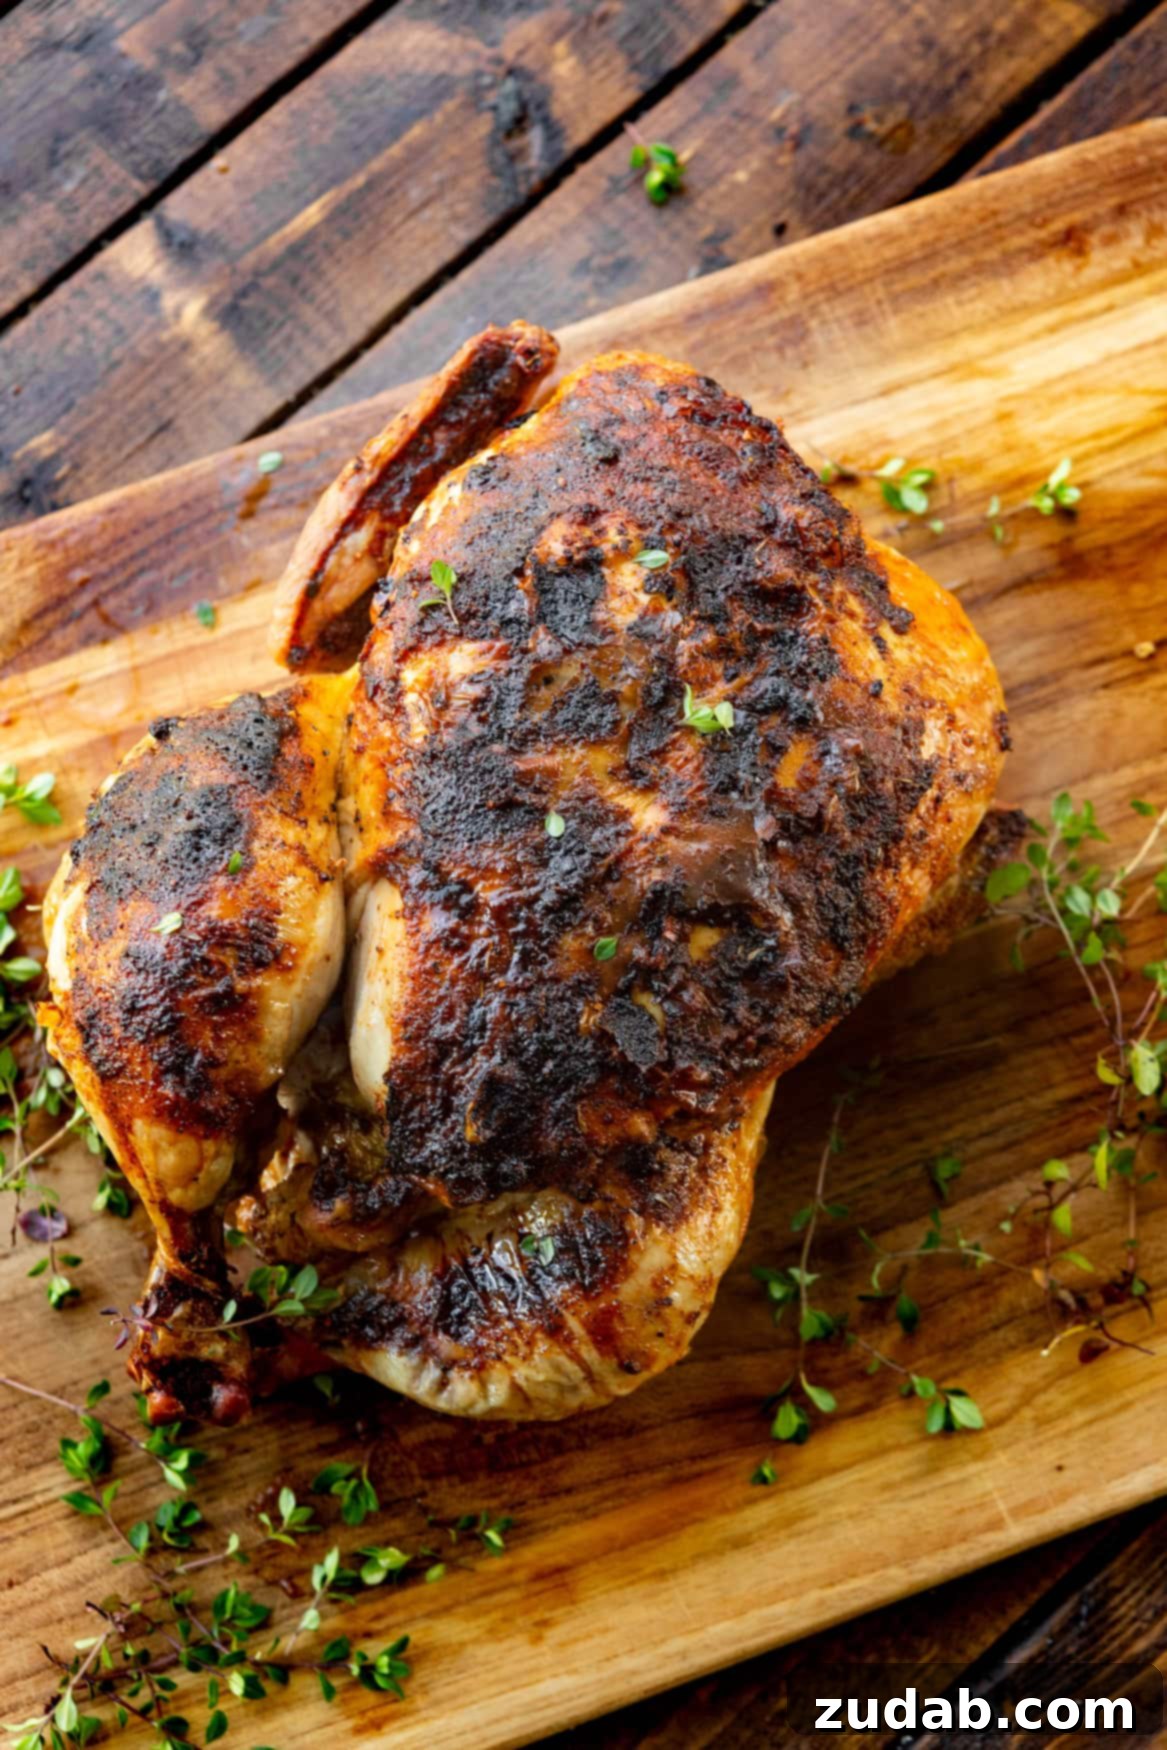
Perfectly Crispy & Juicy Whole Chicken in Your Air Fryer: The Ultimate Easy Recipe
Discover the ultimate secret to creating an incredibly tender and perfectly crispy whole chicken in the air fryer. This delightful and surprisingly straightforward recipe is destined to become a staple in your family’s meal rotation. Say goodbye to lengthy preparation and cooking times; with minimal effort, you’ll achieve mouth-watering, juicy chicken with irresistibly crispy skin in just about an hour!
Imagine serving a golden-brown, flavorful air fryer chicken that tastes just like your favorite rotisserie, but made right in your own kitchen with ingredients you trust. Pair this amazing dish with comforting sides like our creamy mashed potatoes, savory roasted herb potatoes, or vibrant grilled asparagus for a complete, family-friendly dinner that will impress everyone.
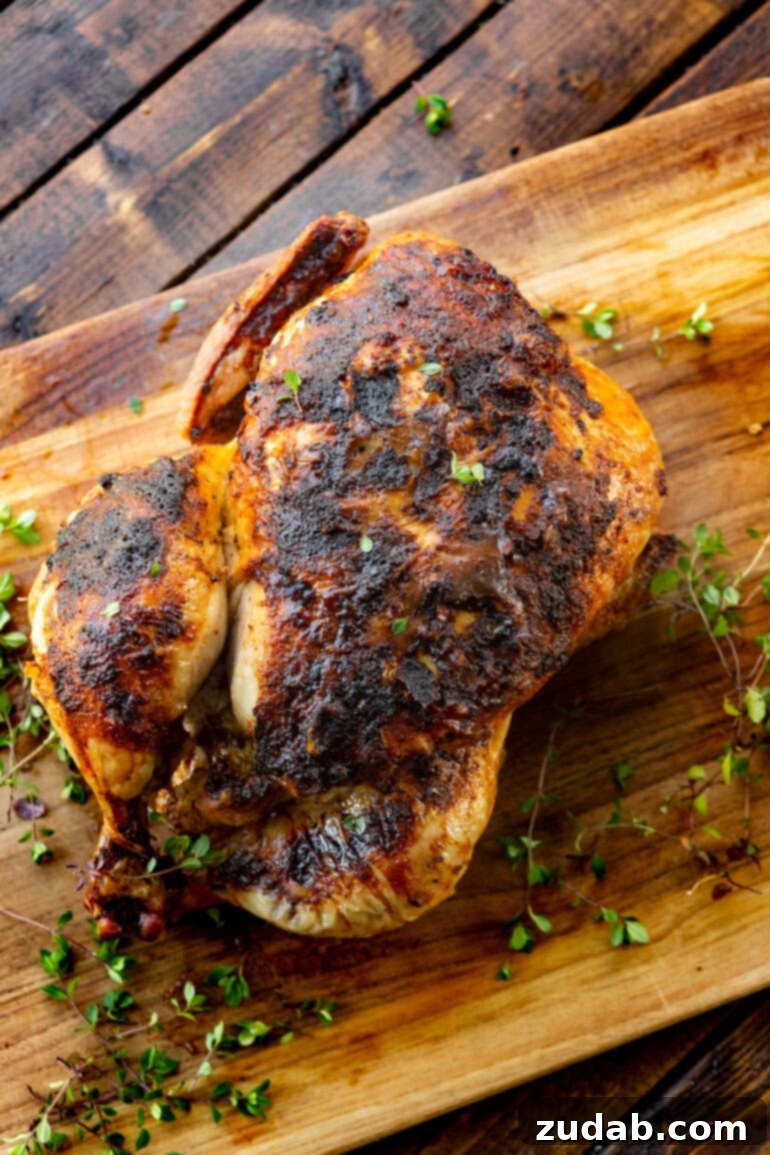
Why Choose the Air Fryer for a Whole Chicken?
Cooking a whole chicken in an air fryer isn’t just a trend; it’s a game-changer for home cooks seeking efficiency without compromising on flavor or texture. Compared to traditional oven roasting, an air fryer offers several distinct advantages. Its compact cooking chamber and powerful convection fan circulate hot air rapidly and evenly around the chicken. This process mimics the effect of deep-frying, creating an incredibly crispy skin, yet uses significantly less oil, making it a healthier alternative.
Beyond the amazing crispy skin and tender, juicy meat, the air fryer slashes cooking time considerably. What might take an hour and a half or more in a conventional oven can be achieved in just about an hour, from start to finish, including minimal prep. This means a delicious, home-cooked, rotisserie-style chicken is no longer reserved for special occasions but can be a convenient weeknight dinner, perfect for feeding the family or meal prepping for the week ahead.
Essential Ingredients for Your Air Fryer Whole Chicken
Achieving a succulent, flavorful air fryer whole chicken doesn’t require a long list of exotic ingredients. In fact, its simplicity is part of its charm! You’ll create a homemade rotisserie-style chicken that rivals any store-bought version, with the added benefit of controlling exactly what goes into your meal. Here’s a detailed look at what you’ll need to prepare this show-stopping dish:
- Whole Chicken: The star of our recipe! When selecting your chicken, ensure it fits comfortably within your air fryer basket, leaving a little room for air circulation around all sides. Typically, a 3-4 pound (1.3-1.8 kg) chicken is ideal for most standard air fryer models. For the best taste and texture, opt for a fresh, good-quality bird.
- Olive Oil: A light, even coating of olive oil is crucial. It serves multiple purposes: it helps the seasonings adhere beautifully to the chicken, promotes a gorgeous golden-brown color, and, most importantly, contributes significantly to that coveted crispy skin. Additionally, it aids in retaining moisture, ensuring the chicken remains incredibly juicy on the inside.
- Softened Butter: This is a secret ingredient for an intensely flavorful and extra-crispy skin. When mixed with the spices and generously rubbed not only over but also *under* the chicken skin (especially over the breast meat), the butter melts and bastes the meat, infusing it with richness and helping to render the fat for superior crisping.
- Key Seasonings:
- Smoked Paprika: Don’t underestimate the power of smoked paprika! It imparts a wonderful depth of smoky flavor and a vibrant, appetizing reddish-brown hue to the chicken skin, making it look as good as it tastes.
- Kosher Salt: More than just for taste, kosher salt is essential for seasoning the chicken thoroughly, drawing out surface moisture to encourage crispness, and acting as a flavor enhancer for all the other ingredients.
- Garlic Powder: Provides a robust, savory, and aromatic foundation that complements the natural taste of the chicken beautifully. We prefer garlic powder over fresh minced garlic in this recipe because it distributes more evenly and is less prone to burning under the intense, circulating heat of the air fryer.
- Fresh Thyme: Aromatic fresh herbs, such as sprigs of thyme, infuse the chicken with a delicate, earthy, and herbaceous fragrance. This simple addition elevates the entire dish, giving it a gourmet touch.
- Honey: A final, optional drizzle of honey after the chicken is cooked adds a touch of subtle sweetness and a beautiful, glistening glaze to the crispy skin, making it even more irresistible.
Precise measurements for each ingredient, along with detailed nutritional information, can be found in the comprehensive recipe card located further down this article. This overview ensures you have all the necessary components for this delightful meal, allowing you to create a perfect air fryer whole chicken with confidence.
Step-by-Step Guide: How to Air Fry a Whole Chicken to Perfection
Air frying a whole chicken is incredibly straightforward, even for beginner cooks. The key lies in a few simple preparation steps that guarantee crispy skin and moist, tender meat every time. Follow these detailed instructions for a perfectly cooked chicken:
- Prepare the Chicken Thoroughly: Begin by removing the whole chicken from its packaging. Check the cavity for any giblets or neck, and remove them. Then, and this is a crucial step, use plenty of paper towels to thoroughly pat the entire chicken dry – both inside the cavity and all over the exterior skin. Removing excess moisture is absolutely essential for achieving that desirable crispy skin in the air fryer. The dryer the surface, the crispier your results will be.
- Create and Apply the Flavorful Seasoning Rub: In a small bowl, combine your softened butter with the smoked paprika, kosher salt, and garlic powder. Mix these ingredients vigorously until you have a smooth, well-combined paste. Now, carefully and generously rub this aromatic butter mixture all over the outside of the chicken. For an extra layer of flavor and moisture, gently lift the skin over the breast meat and spread some of the rub directly onto the meat. This ensures the chicken is seasoned deeply and the skin becomes incredibly crispy and flavorful.
- Truss the Chicken (Highly Recommended for Even Cooking): While optional, trussing your chicken (tying it with kitchen twine) is highly recommended for more even cooking and a more appealing presentation. Tie the chicken legs together, and tuck the wing tips underneath the body of the chicken. Trussing helps to compact the chicken into a uniform shape, preventing thinner parts (like the wingtips and breast) from cooking too quickly and drying out before the rest of the bird is done.
- Preheat Your Air Fryer and Begin Initial Cooking: Preheat your air fryer to 350°F (175°C). Once it reaches temperature, carefully place the seasoned and trussed chicken into the air fryer basket, ensuring it rests breast-side down. Cook for 30 minutes. Starting breast-side down is a strategic technique that protects the delicate breast meat from overcooking and drying out too quickly, while simultaneously allowing the darker thigh meat more time to cook through and the skin on the back to crisp up beautifully.
- Alternative Cooking Method: If you don’t have an air fryer, or if your chicken is too large to fit, you can still achieve a delicious roasted chicken in a conventional oven! We highly recommend following our detailed oven-roasted chicken recipe for equally fantastic and juicy results.
- Flip the Chicken and Finish Cooking: After the initial 30 minutes, carefully open the air fryer. Using heat-resistant tongs or sturdy paper towels (to protect your hands), gently flip the chicken over so it is now breast-side up. Continue to air fry for an additional 20-30 minutes, or until the internal temperature reaches a safe 165°F (74°C). The most reliable way to confirm doneness is to use a reliable instant-read meat thermometer. Insert the thermometer into the thickest part of the thigh, making sure it doesn’t touch any bone. Juices should also run clear when the thigh is pierced.
- Rest for Optimal Juiciness: Once the chicken is fully cooked and has reached the safe internal temperature, carefully remove it from the air fryer and transfer it to a clean cutting board. Tent it loosely with aluminum foil. Allow the chicken to rest for a minimum of 10-15 minutes. This resting period is vital; it allows the muscle fibers to relax and the delicious juices to redistribute throughout the meat, resulting in a significantly more tender and juicy chicken when carved.
- Final Drizzle and Serving: Just before you begin carving, generously drizzle the warm honey (if using) all over the gloriously crispy skin. This adds a beautiful sheen, a subtle hint of sweetness, and another layer of flavor. Now, you can confidently slice and serve your perfectly air-fried whole chicken immediately, ready to be enjoyed by everyone at your table.
A detailed, printable version of these instructions, complete with precise ingredient measurements and nutritional information, is available in the comprehensive recipe card at the conclusion of this article. Don’t forget to scroll down for all the specifics and to save this fantastic recipe!