
Unleash the Fun: Easy Halloween Cookie Monsters Your Kids Will Adore!
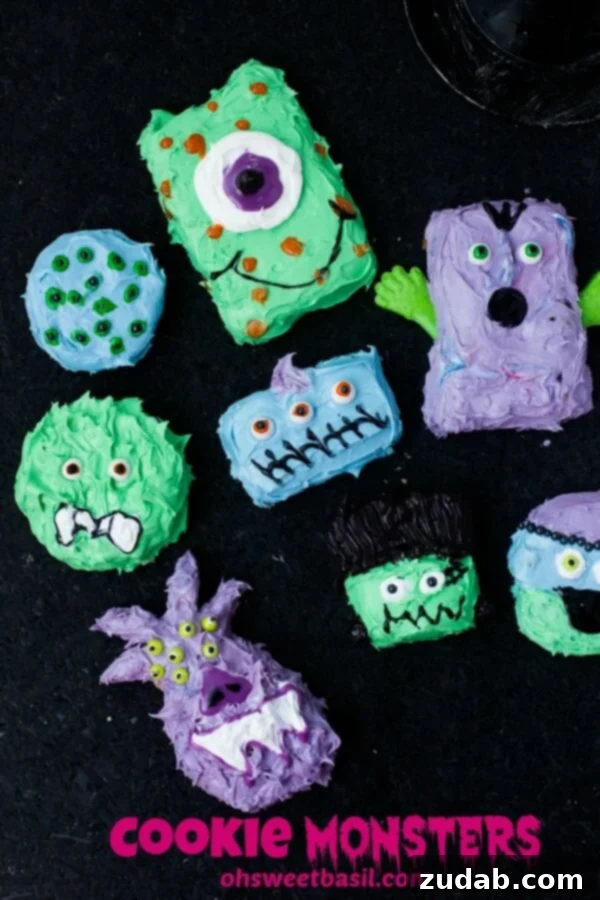
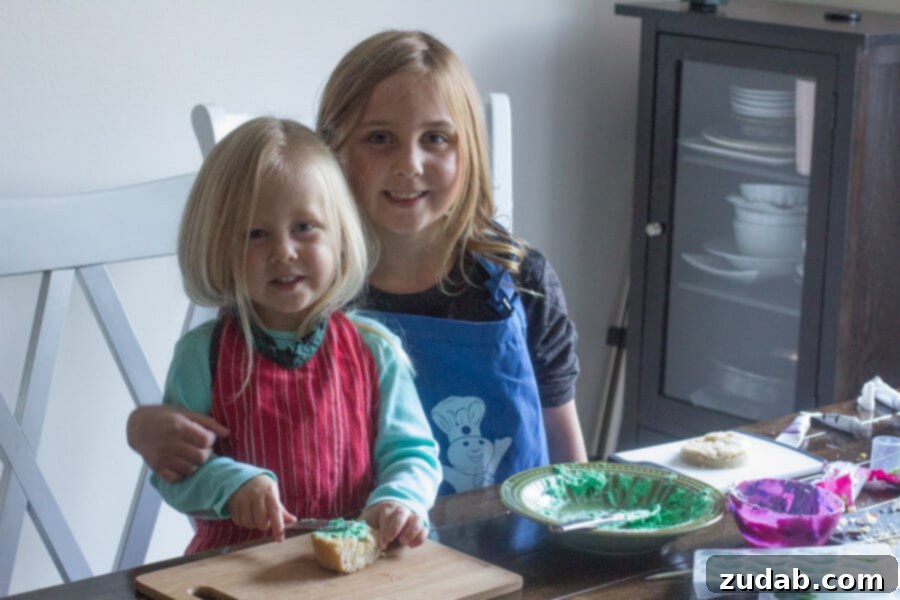
Halloween is a magical time of year, filled with thrilling costumes, atmospheric decorations, and, of course, an abundance of delightfully spooky treats! As autumn descends and the excitement for trick-or-treating builds, families often look for engaging and memorable ways to celebrate. This year, we embarked on a creative adventure, teaming up with Pillsbury to conjure up the ultimate “Monster Party.” The highlight of our ghoulish gathering was undoubtedly these incredibly fun and utterly adorable Halloween cookie monsters. This recipe is specifically designed to be super easy, ensuring that even the youngest aspiring chefs can get involved and unleash their artistic flair. We all know the joy of cooking with kids, but during the hustle and bustle of holidays, the temptation to handle everything yourself can be strong. Halloween, however, serves as a wonderful reminder to embrace imperfection, let go of the need for everything to be pristine, and allow our little ones to dive headfirst into imaginative culinary adventures.
The Magic of Semi-Homemade: Stress-Free Halloween Baking for Busy Families
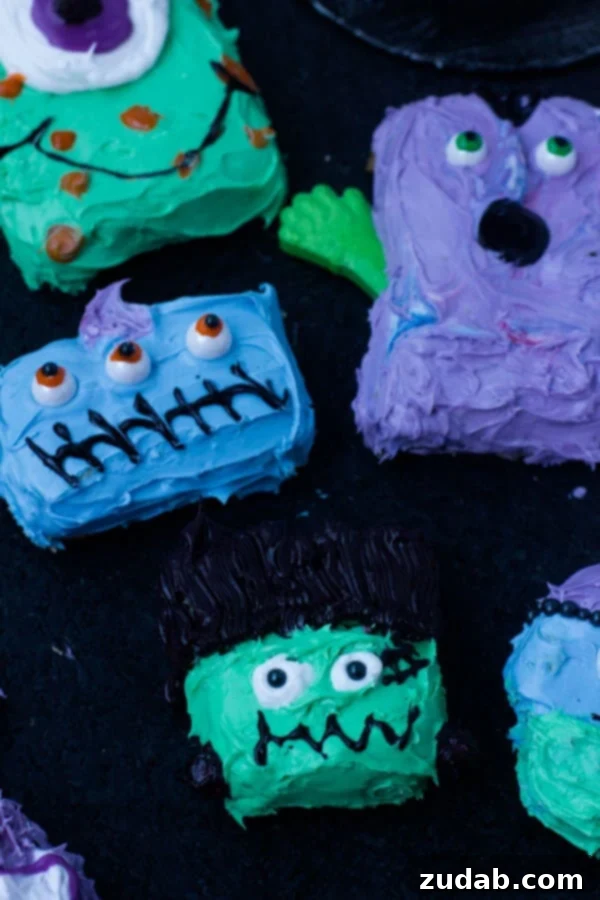
And boy, did our approach work wonders! Just take a look at how wonderfully cute these monster cookies turned out! The absolute best part? They were ridiculously easy to create. In fact, to be completely transparent, I didn’t actually “make” much from scratch. Over the years, I’ve learned that the true essence of holiday baking isn’t always about striving for absolute homemade perfection or adhering to the strictest healthy guidelines. Sometimes, it’s profoundly about the shared experience, the bursts of laughter, and the precious memories forged in the kitchen. To preserve my sanity and avoid the inevitable stress of sweating bullets over a complicated recipe while simultaneously keeping track of curious little hands (which, let’s be honest, isn’t always fun!), I often wholeheartedly embrace semi-homemade treats or snacks. This smart and practical approach guarantees that children can actively participate in the cooking process, giving them a delightful sense of accomplishment without overwhelming me with an elaborate culinary project. It’s a win-win! It’s clear that many other talented food bloggers share this refreshing philosophy, as our collective Monster Party creations are all centered around effortless, family-friendly fun and simple, delicious results.
Crafting Your Cookie Monsters: A Step-by-Step Guide to Spooky Sweetness
The anticipation and excitement from our little decorators were palpable as they prepared to bring their cookie monsters to life. Our secret ingredient for these incredibly easy Halloween treats? Pillsbury cookie dough! Utilizing pre-made dough is an absolute game-changer, saving valuable time and effort in the initial baking stages. This allows us to jump straight into the most enjoyable parts: the baking and, of course, the vibrant decorating. Here’s a detailed breakdown of how we created these fantastic spooky sweets, ensuring a smooth and fun process for everyone:
Baking the Monster Base: Achieving the Perfect Foundation
- Dough Preparation: Begin by preheating your oven to 350°F (175°C). We started by pressing about 1 1/2 rolls of Pillsbury cookie dough evenly into an 8×8-inch baking pan. This specific amount creates a lovely, thick cookie slab, which is absolutely perfect for cutting out various monster shapes. It ensures your monsters won’t be too thin, fragile, or prone to crumbling during decoration.
- Baking Process: Place the pan in your preheated oven and bake for approximately 30 minutes. Baking times can vary slightly depending on your oven, so keep a watchful eye to ensure the edges turn a beautiful golden brown and a toothpick inserted into the center comes out clean, indicating it’s fully cooked.
- Expert Tip for Flat Tops: For a more even surface that’s ideal for cookie cutting and decorating, here’s a professional trick: about 10 minutes before the cookies are scheduled to be done, gently open the oven door. With the back of a spoon or a flat spatula, lightly press down any areas of the cookie slab that are rising too high, especially around the edges. This simple maneuver helps to prevent overly puffy edges, creating a flatter, more uniform base. Even with this tip, if any small sections did rise unevenly, they can be easily trimmed off after cooling for a perfectly smooth monster canvas.
- Crucial Cooling Time: Patience truly is a virtue, especially when it comes to baking! After removing the cookie slab from the oven, we allowed it to cool completely in the pan for several hours. This step is absolutely crucial. A well-cooled cookie slab will be firm and stable enough to handle and cut without crumbling, cracking, or turning into a gooey, shapeless mess. Rushing the cooling process will almost certainly make cutting difficult and could ruin your beautifully baked monster shapes.
Unleashing Creativity with Cookie Cutters: Beyond the Expected
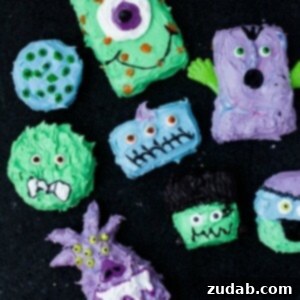
Once your cookie slab is thoroughly cooled and firm, it’s time for the exciting transformation! This is where you convert your plain cookie canvas into a delightful parade of monstrous shapes. Don’t feel constrained by only using traditional Halloween-themed cookie cutters; this is your chance to think outside the box and repurpose everyday cutters for unique and quirky monster features:
- Unexpected Hair and Limbs: For instance, a pineapple cookie cutter, typically used for fruit-themed treats, can be ingeniously used to create fantastic spiky hair or even multiple wacky, elongated legs for a truly peculiar and unique creature.
- Curvy and Whimsical Forms: A snowman cutter, usually reserved for winter holidays, can unexpectedly yield a wonderfully curvy monster, providing a perfect base for a whimsical, silly design.
- Classic Transformations: Even a simple gingerbread man shape offers immense potential. With the right frosting and candy embellishments, it can be effortlessly transformed into a charmingly creepy vampire, a spooky yet sweet mummy, or a goofy Frankenstein’s monster!
Encourage your children to actively participate in this step. Let them experiment with different orientations, combinations, and even fragments of cutters to see what imaginative and one-of-a-kind creatures they can invent. The less conventional, the more monstrously fun!
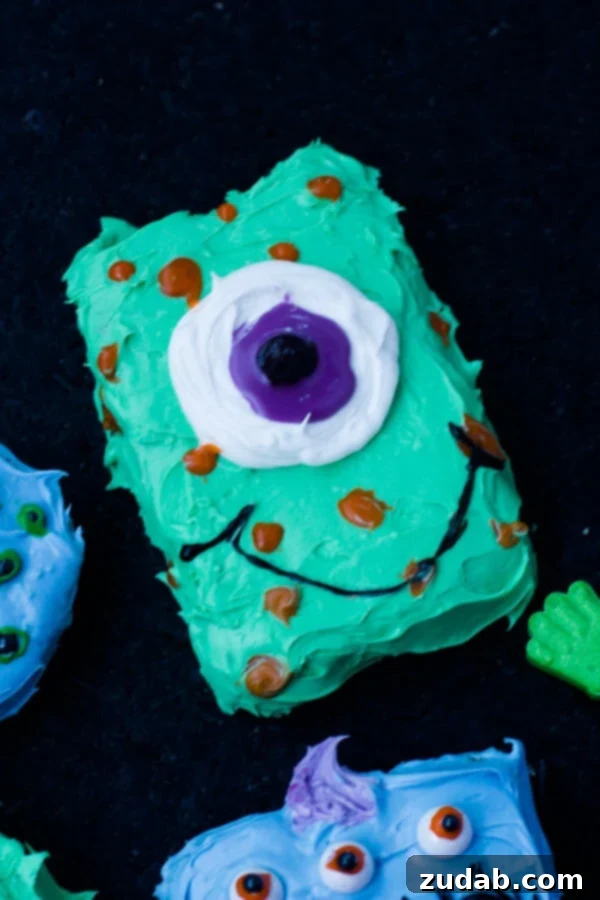
The Art of Monster Decoration: Bringing Characters to Life with Color and Candy
Decorating is arguably the most exciting and interactive part of making these Halloween cookie monsters, especially for enthusiastic kids! To maximize the fun and encourage everyone to embrace their inner monster artist, we made sure to stock up on a few simple, easily accessible supplies. You don’t need any highly specialized or expensive equipment; a quick trip to your local grocery or craft store will provide everything necessary to create a vibrant and diverse cast of monstrous characters:
- Food Coloring for Frosting: The foundation of all colorful monsters! Transform plain white frosting into a dynamic palette of possibilities with just a few drops of liquid or gel food coloring. Divide your frosting into several small bowls and empower the kids to mix up their own custom monster hues. Think electrifying greens, mysterious purples, bold blues, classic pumpkin oranges, or even eerie blacks. The more colors, the merrier the monster parade!
- Gel Decorating Tubes: These convenient tubes are absolute lifesavers for adding intricate details and precise designs. They are fantastic for drawing expressive monster mouths, zigzag patterns, stripes, spiderwebs, stitches, or even defining facial features. Their controlled flow makes them perfect for little hands to manage, minimizing mess and maximizing artistic control.
- Edible Pearls, Sixlets, and Sprinkles: These are indispensable for crafting captivating monster eyes and adding playful polka dots or textured scales! We sourced edible pearls of different sizes and vibrant colors (similar to Sixlets) to create a variety of eye effects. Large pearls can serve as big, surprised or startled eyes, while smaller ones can form clusters of multiple eyes for truly alien-looking or whimsical creatures. Don’t forget a generous assortment of Halloween-themed sprinkles – bats, pumpkins, ghosts, and traditional jimmies – for added texture, sparkle, and festive flair!
- Other Fun & Edible Additions: Broaden your creative horizons with other delightful edible embellishments. Consider using mini chocolate chips for monster pupils or defining features, small round candies for goofy noses or menacing fangs, licorice laces cut into segments for wild, wacky hair or stitches, or even pretzel sticks for formidable horns or spiky appendages. The possibilities for monster customization are truly endless, limited only by imagination!
This hands-on decorating activity is not just incredibly entertaining but also wonderfully versatile, making these delightful cookie monsters perfect for a multitude of Halloween scenarios:
- Thoughtful Neighborly Goodies: Package a few beautifully decorated monsters for a charming and festive treat to share with friends and neighbors, spreading Halloween cheer.
- Spectacular Party Treats: Arrange a colorful array of these delicious cookie monsters on a platter to create an eye-catching and crowd-pleasing addition to any Halloween party dessert table. They are sure to be a conversation starter!
- Engaging Kids’ Halloween Party Activity: Set up a dedicated decorating station at your next Halloween gathering. Provide a variety of cookie shapes, frosting colors, and candies, and let the children unleash their creativity. It’s an instant crowd-pleaser that cleverly doubles as both entertainment and a take-home party favor!
Embracing the semi-homemade approach with these kid-friendly Halloween treats means significantly less stress for you, the host or parent, and substantially more quality, joyful time spent with your children. These monster cookies beautifully demonstrate that fun, spooky, and delicious treats don’t have to be complicated, time-consuming, or involve meticulous scratch baking. The real joy lies in the shared process, the infectious laughter, and the wonderfully unique (and sometimes delightfully messy!) edible creations that proudly emerge from little hands. It’s about making memories, not just cookies!
More Spooky Treats for Your Ultimate Monster Party
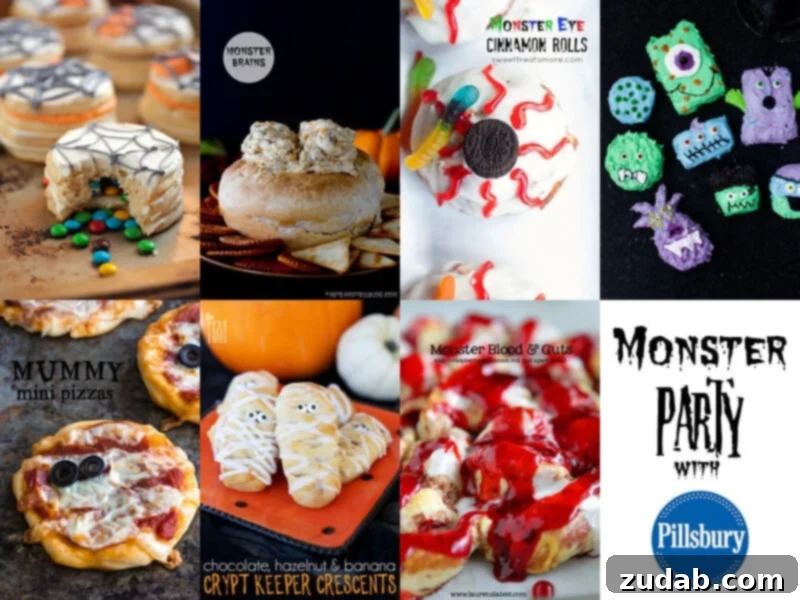
Are you looking for even more frightfully delicious ideas to perfectly complement your Halloween cookie monsters? Dive into these fantastic recipes from our talented fellow bloggers to complete your ultimate Monster Party feast!
Monster Blood and Guts from Lauren’s Latest
Crypt Keeper Crescents from Our Best Bites
Mini Mummy Pizzas from The Recipe Critic
Cookie Monsters from Sweet Basil
Monster Eye Cinnamon Rolls from Sweet Treats and More
Monster Brains from Taste and Tell
Sugar Cookie Surprise Stacks from Wanna Be a Country Cleaver
Recipe: Kid-Friendly Halloween Cookie Monsters
Cookie Monsters
By: Sweet Basil
A fun and easy semi-homemade recipe to create adorable and spooky Halloween cookie monsters with the kids!
Prep time: 2 mins
Cook time: 30 mins
Total time: 32 mins
Yields: Approximately 14 monsters, depending on their cut size
Ingredients
- 2 Packages Sugar or Chocolate Chip Cookie Dough (Pillsbury recommended for ease)
- 1 Container (approx. 16 oz) White Frosting (store-bought or homemade)
- 1 Box Food Coloring (assorted colors)
- Gel Decorating Tubes (various colors)
- An assortment of Sprinkles, Sixlets, candy eyes, mini chocolate chips, or other small candies for decoration
Instructions
- Preheat your oven to 350°F (175°C). Evenly press approximately 1 1/2 packages of the cookie dough into an 8×8-inch baking pan. Ensure the dough is spread to the edges for a uniform slab.
- Bake for 30 minutes, or until the edges are nicely golden brown and a toothpick inserted into the center of the cookie slab comes out clean. For a flatter cookie surface ideal for cutting, gently open the oven door about 10 minutes before baking is complete and lightly press down any rising edges with the back of a spoon or a flat spatula.
- Allow the entire cookie slab to cool completely in the pan. This step is crucial and may take several hours. A fully cooled slab will be firm and much easier to cut without breaking or crumbling.
- Once completely cooled, carefully remove the cookie slab from the baking pan. If any edges are significantly uneven, you may gently trim them with a knife to create a more uniform shape.
- Using various cookie cutters of your choice, cut out different shapes for your individual monster cookies. Be creative! A pineapple cutter can be used for spiky hair, a snowman cutter for a curvy monster, or a gingerbread man for a mummy or vampire.
- Divide the white frosting into 3-4 separate bowls. Add a few drops of different food coloring to each bowl and stir until you achieve your desired vibrant monster colors.
- Liberally frost each cookie monster base with your colorful frosting, covering the entire surface.
- Now for the most exciting part: using the gel decorating tubes, sprinkles, candy eyes, Sixlets, and other candies, decorate your cookies to resemble a unique collection of fun, spooky, silly, or friendly monsters! Let your imagination run wild.
Recipe Notes
- Embrace Creative Cutters: Don’t feel restricted by traditional Halloween cookie cutters. Explore your kitchen for unusual shapes! A pineapple cutter can brilliantly serve as spiky hair or a cluster of odd legs, a snowman cutter forms a fantastically curvy monster base, and a gingerbread man can easily be transformed into a charming vampire, a spooky mummy, or a goofy Frankenstein’s monster with the right frosting and candy details.
- Storage Tips: To keep your decorated cookie monsters fresh and delicious, store them in an airtight container at room temperature. They will remain delightful for 2-3 days.
Nutrition Information (Approximate per serving)
- Serving Size: 1g
- Calories: 194 kcal
- Carbohydrates: 27g
- Protein: 2g
- Fat: 9g
- Saturated Fat: 2g
- Polyunsaturated Fat: 1g
- Monounsaturated Fat: 5g
- Cholesterol: 5 mg
- Sodium: 129 mg
- Potassium: 65 mg
- Fiber: 1g
- Sugar: 16g
- Vitamin A: 16 IU
- Calcium: 4 mg
- Iron: 1 mg
Please note: Nutrition information is automatically calculated based on common ingredient values and should only be used as an approximation. Actual nutritional content may vary based on specific brands, exact measurements, and modifications made to the recipe.
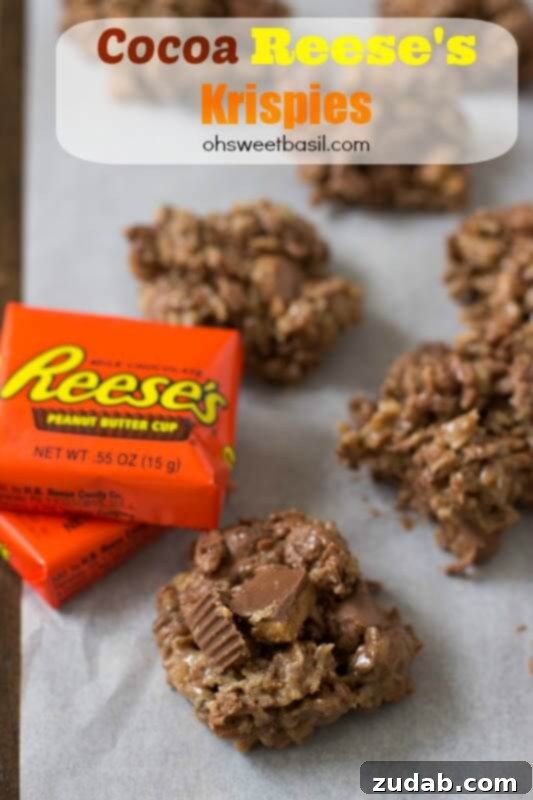
Cocoa Reese’s Krispies: A Deliciously Decadent Treat
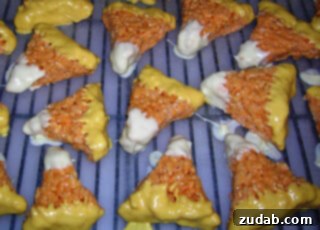
Kandy Korn Krispie Treats: A Classic Halloween Snack with a Twist
Conclusion: Make This Halloween Unforgettable with Homemade Fun!
Creating these delightful Halloween cookie monsters is far more than just a simple baking project; it’s an invaluable opportunity to craft cherished memories and fully embrace the joyful spirit of the season with your beloved family. This remarkably easy, semi-homemade recipe brilliantly demonstrates that fun, spooky, and utterly delicious treats absolutely do not need to be complicated, time-consuming, or require extensive culinary expertise. Instead, it offers a fantastic platform to ignite your children’s imaginations, nurture their burgeoning love for cooking, and simply relish the festive atmosphere that Halloween brings. So, gather your Pillsbury cookie dough, unleash your inner monster artist, and prepare for a frightfully good, laughter-filled time in the kitchen. We wish you a very Happy Halloween and hope your baking adventures are filled with boundless creativity and sweet success!