
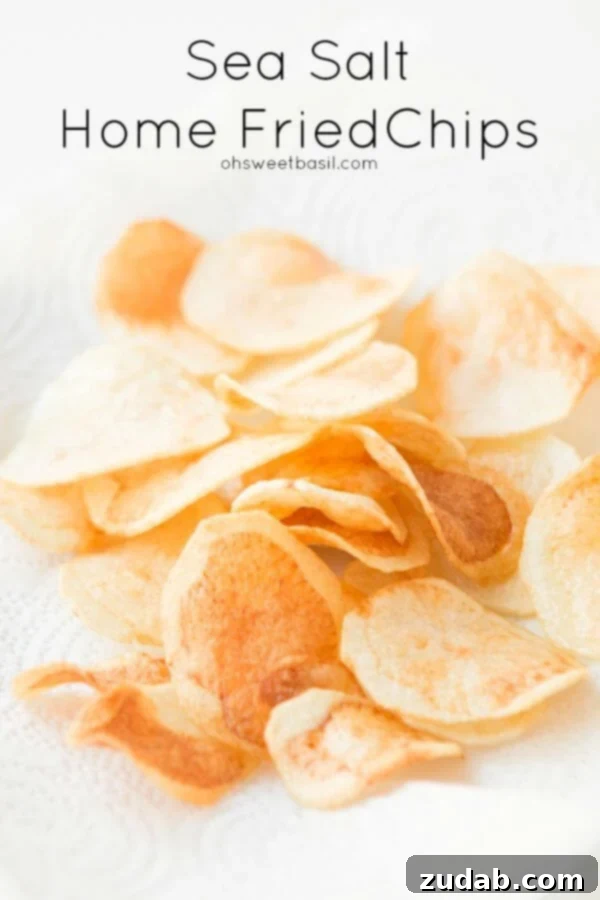
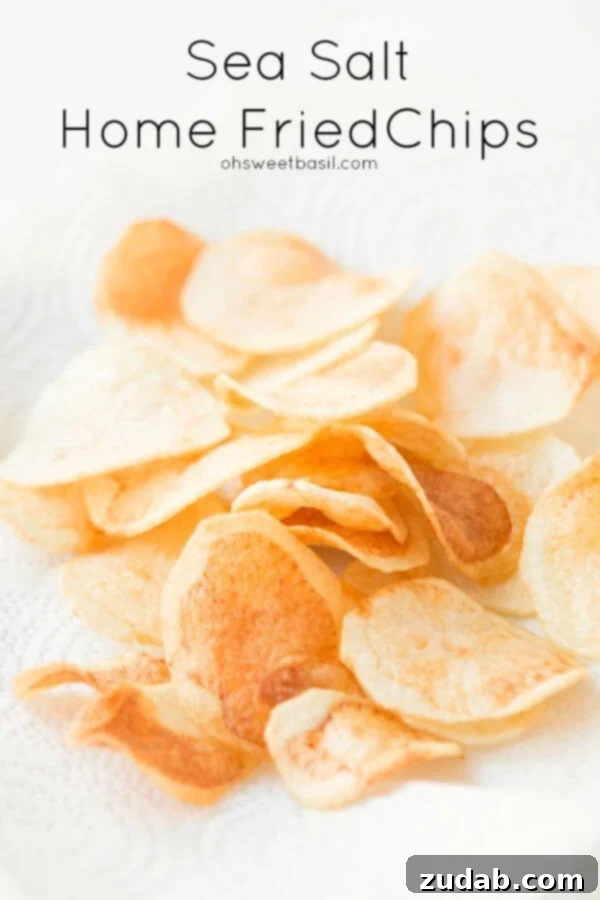
Imagine a snack so profoundly satisfying, so utterly addictive, that it makes you the instant favorite at any gathering. These crispy homemade sea salt chips are exactly that. Forget store-bought bags; with just two simple ingredients, you can create a culinary masterpiece that will have everyone raving. While I always wish my mandolin could slice potatoes even thinner for translucent chips, the undeniable crunch and perfect saltiness of these homemade delights are truly unparalleled. Serving a generous bowl of these warm, freshly fried chips will elevate your next get-together and earn you legendary status among friends and family.
The Irresistible Appeal of Homemade Potato Chips
There’s a magical quality to homemade food that store-bought versions can rarely replicate, and potato chips are no exception. The moment you take that first bite of a warm, perfectly crispy chip, seasoned just right with sea salt, you’ll understand. It’s an experience that awakens the senses – the audible crunch, the savory potato flavor, and the delicate bite of salt. Beyond the exquisite taste, making chips at home gives you complete control over the ingredients, allowing you to avoid artificial preservatives, excessive additives, and unhealthy oils often found in commercial products. It’s a simple pleasure that delivers immense satisfaction, transforming humble potatoes into an extraordinary treat.
Crafting Perfection: The Essentials of Crispy Sea Salt Chips
Making your own crispy sea salt chips is surprisingly straightforward, proving that the best things in life often require minimal fuss. The process revolves around a few key steps and high-quality ingredients to ensure maximum flavor and an irresistible crunch. You’ll need fresh russet potatoes, high-quality oil for frying, and, of course, a generous sprinkle of sea salt to finish. The magic happens quickly, making it an ideal last-minute snack or appetizer when unexpected guests arrive, or simply when you crave something wonderfully savory and comforting.
For me, there’s something almost as wonderful about fresh, hot, salty chips as there is about my kids going to bed on time without a fuss! Mine, of course, prefer to suddenly have a million things to tell us and ask us about, making our bedtime routine quite long. But I try to enjoy every moment, knowing I’ll miss the noise someday. Just as I cherish those precious family moments, I savor the simple joy these homemade chips bring, a testament to how the easiest recipes can create the most memorable experiences.
Unveiling the Stars: Best Potatoes for Perfect Chips
The foundation of any great potato chip begins with the right potato. While many varieties exist, not all are created equal for the art of chip-making. The goal is a potato that will transform into a thin, crunchy, golden slice rather than a soggy or chewy one. For this, Russet potatoes are unequivocally the champions.
Russet Potatoes: The Gold Standard. Russets are renowned for their high starch content and low moisture. This combination is crucial for achieving that quintessential crispiness. When sliced thinly and fried, the starch converts into a beautiful golden-brown, while the low moisture prevents them from becoming greasy or limp. Their texture also lends itself well to ultra-thin slicing, which is key for a delicate, shattering crunch. When selecting Russets, look for firm, blemish-free potatoes.
Purple Potatoes: A Colorful Alternative. For those looking to add a touch of visual flair, purple potatoes are an excellent choice. They also tend to have a good starch content, producing vibrant, crispy chips with a unique hue. While their flavor might be slightly different from Russets, they offer an exciting twist on the classic.
Preparation is Key: Regardless of your potato choice, proper preparation is essential. Begin by peeling your potatoes to ensure a smooth, uniform chip. Then, using a mandolin slicer is highly recommended to achieve consistent, paper-thin slices. This uniformity ensures that all chips cook evenly. After slicing, it’s beneficial to rinse the potato slices in cold water for about 15-30 minutes. This step helps remove excess surface starch, which can prevent sticking and contribute to a crispier end product. Finally, and perhaps most importantly, thoroughly dry the potato slices. Pat them diligently with paper towels or use a clean kitchen towel. Any residual moisture will cause the oil to spatter and can lead to less crispy, more greasy chips.
Russet Potatoes: The Ultimate Choice for Crispy Chips
As highlighted, Russet potatoes stand out as the top recommendation for crafting homemade chips. Their inherent properties – a high starch content and relatively low water content – are precisely what you need for that satisfying crunch. When sliced thinly, these characteristics allow the potato to lose moisture quickly during frying, transforming into a light, airy, and incredibly crispy snack. The starch also helps create a beautiful golden exterior, giving your chips that classic, appetizing look.
Beyond Russets, other starchy varieties like Idaho potatoes can also yield excellent results. While purple potatoes offer a fun and colorful alternative, their starch levels also make them suitable for frying. The key is to avoid waxy varieties, which tend to have a higher moisture content and will result in a chewier, less desirable chip texture.
Sea Salt vs. Table Salt: A Culinary Comparison
When it comes to seasoning your delicious homemade chips, the type of salt you choose can significantly impact the final flavor and texture. While both sea salt and table salt are fundamentally sodium chloride, their origins, processing, and characteristics present distinct differences that chefs and home cooks often consider.
Table Salt: The Everyday Staple. Table salt is typically mined from underground salt deposits. It undergoes heavy processing to strip away minerals and achieve a fine, uniform texture. To prevent clumping, anti-caking agents (like calcium silicate) are almost always added. Most table salt is also iodized, meaning iodine is added to support thyroid health. Due to its fine grain, it dissolves quickly and provides a straightforward, intense salty flavor, which is why it’s a kitchen workhorse for baking and everyday cooking where precise measurements are key.
Sea Salt: The Artisanal Touch. Sea salt, as its name suggests, is produced by evaporating seawater. This less processed method allows it to retain trace minerals such as magnesium, potassium, calcium, and other elements, which can impart a more complex and nuanced flavor profile compared to plain table salt. These minerals also give sea salt a slightly different crystalline structure and color, often appearing coarser and sometimes off-white or even pinkish (like Himalayan sea salt).
While both sea salt and table salt contain comparable amounts of sodium by weight, the coarser texture of sea salt means that a teaspoon of sea salt will likely contain less sodium than a teaspoon of finely ground table salt because there’s more air between the crystals. For our crispy chips, sea salt is preferred for its superior flavor and larger crystals that adhere beautifully to the hot potato, providing bursts of intense saltiness and a pleasant textural contrast.
Can Sea Salt Be Used in Pickling?
Absolutely, pure sea salt is not only suitable but often preferred for pickling. When embarking on the journey of preserving vegetables through pickling, the choice of salt is paramount to ensuring both food safety and desirable results.
The Role of Salt in Pickling. Salt plays several critical roles in the pickling process. It acts as a preservative by drawing out moisture from the vegetables, inhibiting the growth of undesirable bacteria, and creating an environment where beneficial lactic-acid bacteria can thrive (in fermentation pickling). Salt also contributes significantly to the flavor of the finished product and helps maintain the crisp texture of the vegetables.
Why Pure Sea Salt is Ideal. The key phrase here is “pure sea salt.” Unlike many table salts, pure sea salt typically lacks anti-caking agents and iodine. These additives can be detrimental to the pickling process:
- Anti-caking agents (like calcium silicate) can make pickling brines cloudy and may even leave a residue on the pickled items.
- Iodine, commonly found in iodized table salt, can darken pickled vegetables, affect their flavor, and sometimes soften their texture.
Therefore, a pure, unadulterated sea salt, free from these additives, is an excellent choice for pickling as it ensures a clear brine, vibrant color, and true flavor for your preserves. Many picklers also appreciate the subtle mineral notes that sea salt can impart.
Kosher Salt: Another Excellent Alternative. Alongside pure sea salt, kosher salt is widely recommended by picklers. Like pure sea salt, kosher salt typically contains no iodine or anti-caking agents. Its larger flake-like crystals are easy to measure and dissolve well, making it a reliable choice for consistent pickling results. So, whether you opt for pure sea salt or kosher salt, you’re setting yourself up for pickling success.
Crispy Sea Salt Chips
Ingredients
- Oil for Frying, peanut works best
- 3 Russet Potatoes, peeled and sliced thin
- Sea Salt
Instructions
- In a large dutch oven, add the oil so it fills it halfway.
- Heat over medium-high heat until it reaches approximately 350-375°F (175-190°C).
- Add the thinly sliced potatoes gently to the hot oil, being careful not to splash yourself. Fry in batches to avoid overcrowding the pot, which can lower the oil temperature and result in soggy chips.
- Stir continuously with a slotted spoon or spider so the potatoes don’t stick together and cook evenly. Fry until golden brown and crispy, about 2-3 minutes per batch.
- Remove the crispy potatoes from the oil with the slotted spoon and transfer immediately to a paper towel-lined plate to drain excess oil.
- While still hot, transfer the drained chips into a large bowl and generously toss with sea salt.
- Toss to coat thoroughly and add more salt if needed, to taste. Serve immediately for the best crispy, hot, and salty experience.
Recipe Notes
Nutrition
Nutrition information is automatically calculated, so should only be used as an approximation.
Tips for Achieving Ultimate Crispiness
While the recipe itself is simple, a few expert tips can guarantee your homemade chips reach their peak of crispy perfection every time:
- Consistent Slicing: This is arguably the most critical step. Use a mandolin for uniform, paper-thin slices. Inconsistent thickness will lead to some chips burning while others remain soggy.
- Rinse and Soak (Optional but Recommended): Soaking the sliced potatoes in cold water for 15-30 minutes helps remove excess starch, preventing them from sticking together and promoting a lighter, crispier texture.
- Thorough Drying: After rinsing (or slicing, if you skip rinsing), pat the potato slices absolutely dry with paper towels or a clean kitchen towel. Any moisture will cause the oil to spatter violently and inhibit crisping.
- Maintain Oil Temperature: Use a thermometer to keep your frying oil within the optimal range of 350-375°F (175-190°C). Too cool, and chips absorb excess oil; too hot, and they burn before crisping.
- Don’t Overcrowd the Pot: Fry potatoes in small batches. Overcrowding drops the oil temperature too quickly and leads to steaming rather than frying, resulting in soggy chips.
- Immediate Seasoning: Salt your chips the moment they come out of the oil. The heat helps the sea salt adhere, distributing the flavor evenly and enhancing the crispness.
- Choose the Right Oil: Peanut oil is often recommended for its high smoke point and neutral flavor, which allows the potato and salt to shine. Vegetable, canola, or sunflower oil are also good, neutral alternatives.
Serving Suggestions and Flavor Variations
These crispy sea salt chips are divine on their own, but they also make a fantastic base for various flavor enhancements and serving options:
- Classic Dips: Pair them with your favorite ketchup, a creamy homemade aioli, a tangy ranch dressing, or a spicy sriracha mayo.
- Spice It Up: Before frying, toss the dried potato slices with a pinch of paprika, garlic powder, onion powder, or a blend of chili powder for an added kick.
- Herbaceous Delights: A sprinkle of dried rosemary or thyme (added to the salt after frying) can elevate the flavor profile, adding an aromatic touch.
- Cheesy Goodness: For a savory, umami boost, toss the hot chips with grated Parmesan cheese or nutritional yeast.
- As a Side Dish: Serve them alongside burgers, sandwiches, grilled chicken, or any meal that calls for a satisfying crunchy accompaniment.
Making your own crispy sea salt chips is a delightful culinary adventure that promises big rewards for minimal effort. The fresh, hot, and perfectly salted crunch of these homemade treats is an experience that truly surpasses any store-bought alternative. By paying attention to a few simple details—like choosing the right potato, slicing it thinly, and frying at the correct temperature—you’ll be rewarded with a snack that’s not just delicious, but genuinely impressive. So, gather your potatoes, heat your oil, and prepare to become the neighborhood’s favorite snack provider!

Fresh Fruit Salsa with Crispy Cinnamon Sugar Chips

BBQ Chicken Grilled Cheese