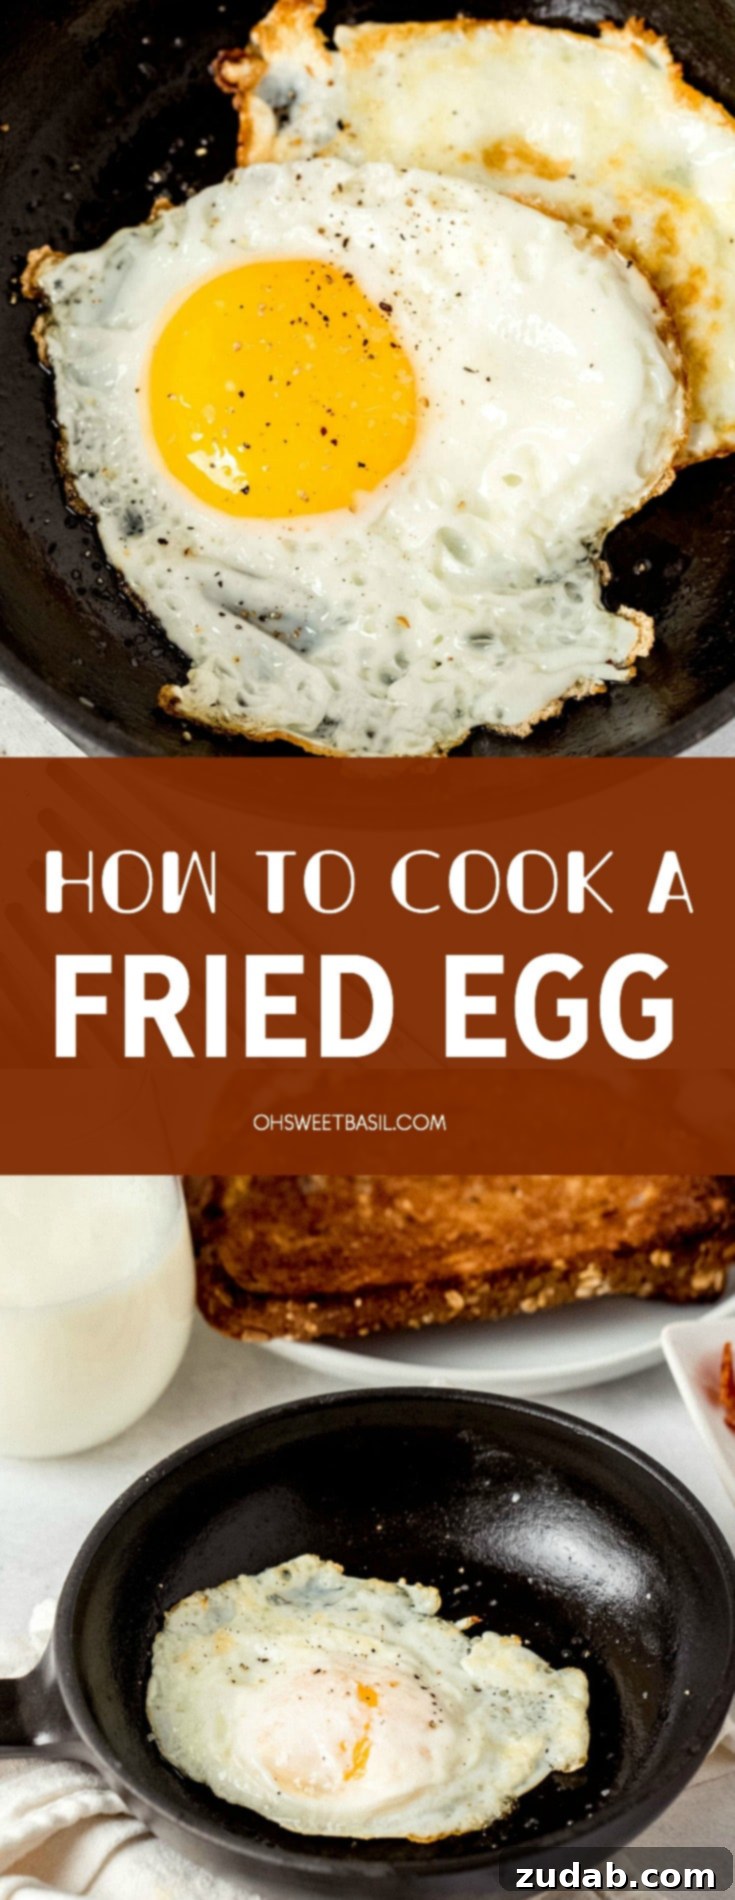
Unlock the secrets to cooking a truly **perfect fried egg** with crispy edges and a luscious, **runny yolk** every single time. Many believe a fried egg is simple, but achieving that ideal balance of texture and flavor requires a few key techniques you might not have considered. This comprehensive guide will equip you with all the necessary tips and tricks, ensuring your next breakfast, brunch, or any meal featuring this versatile staple is an absolute triumph. Say goodbye to rubbery whites and sad, uninspiring yolks, and hello to the ultimate **crispy fried egg** experience!
The Undeniable Charm of a Perfectly Fried Egg
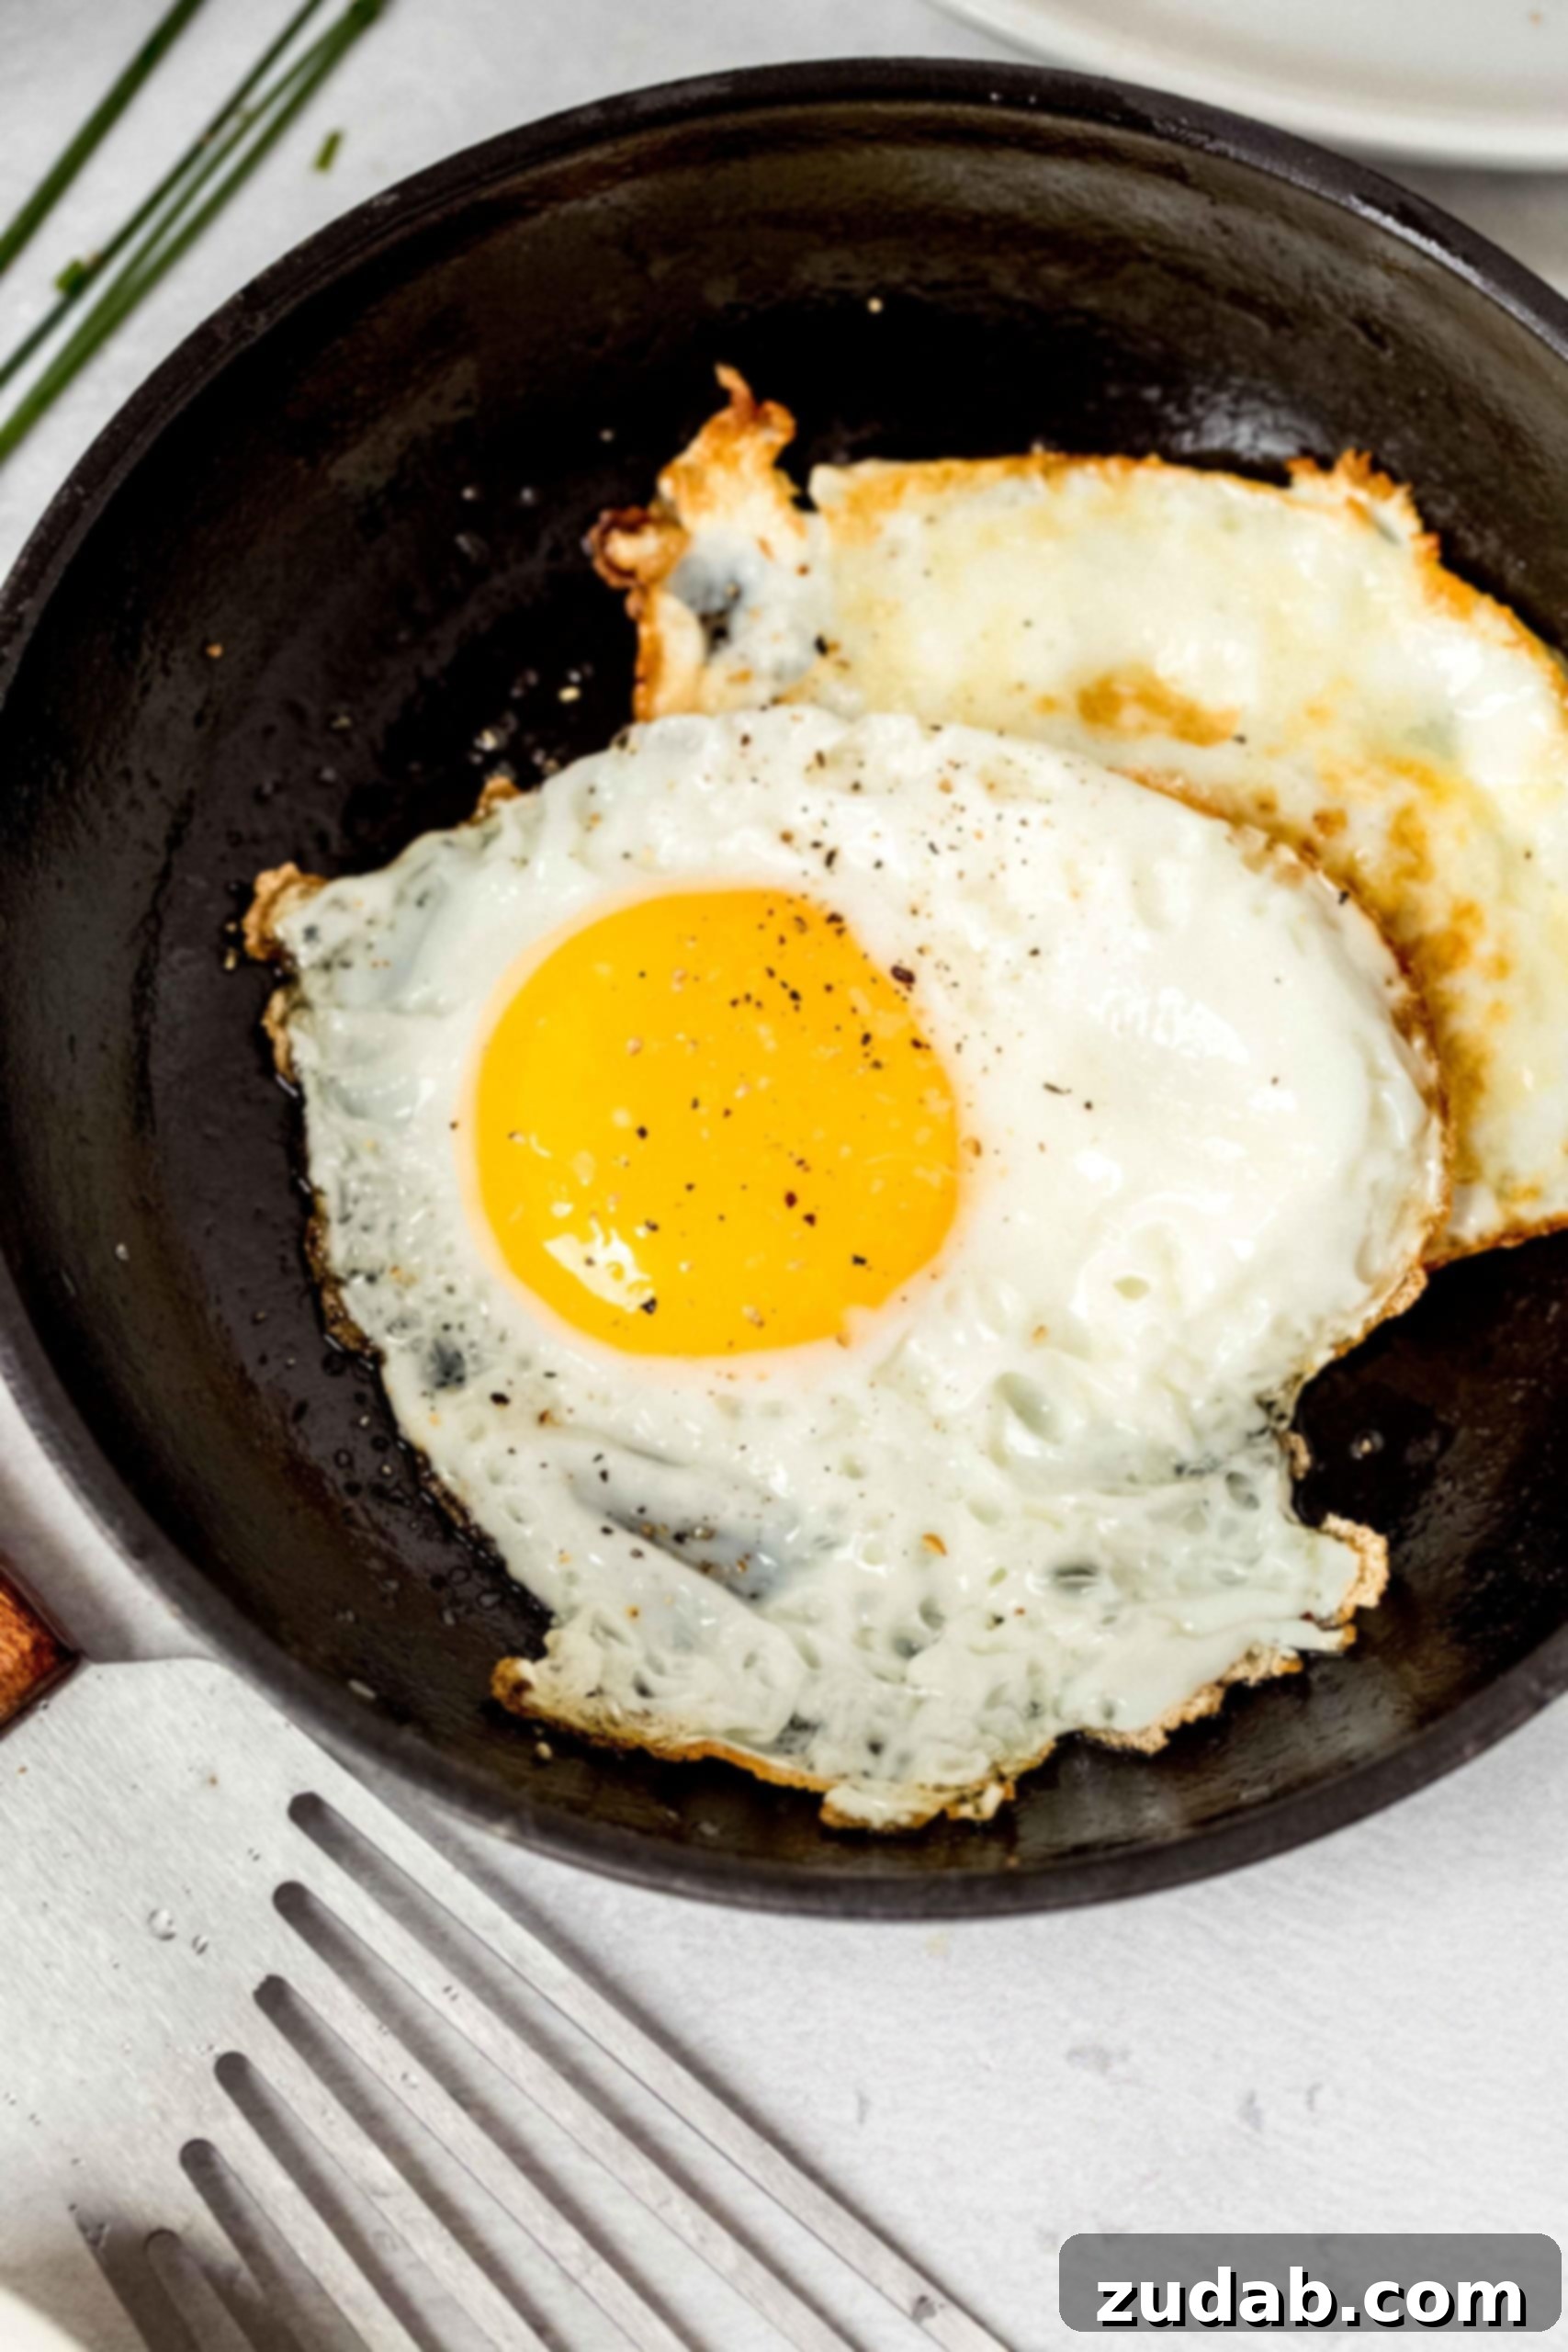
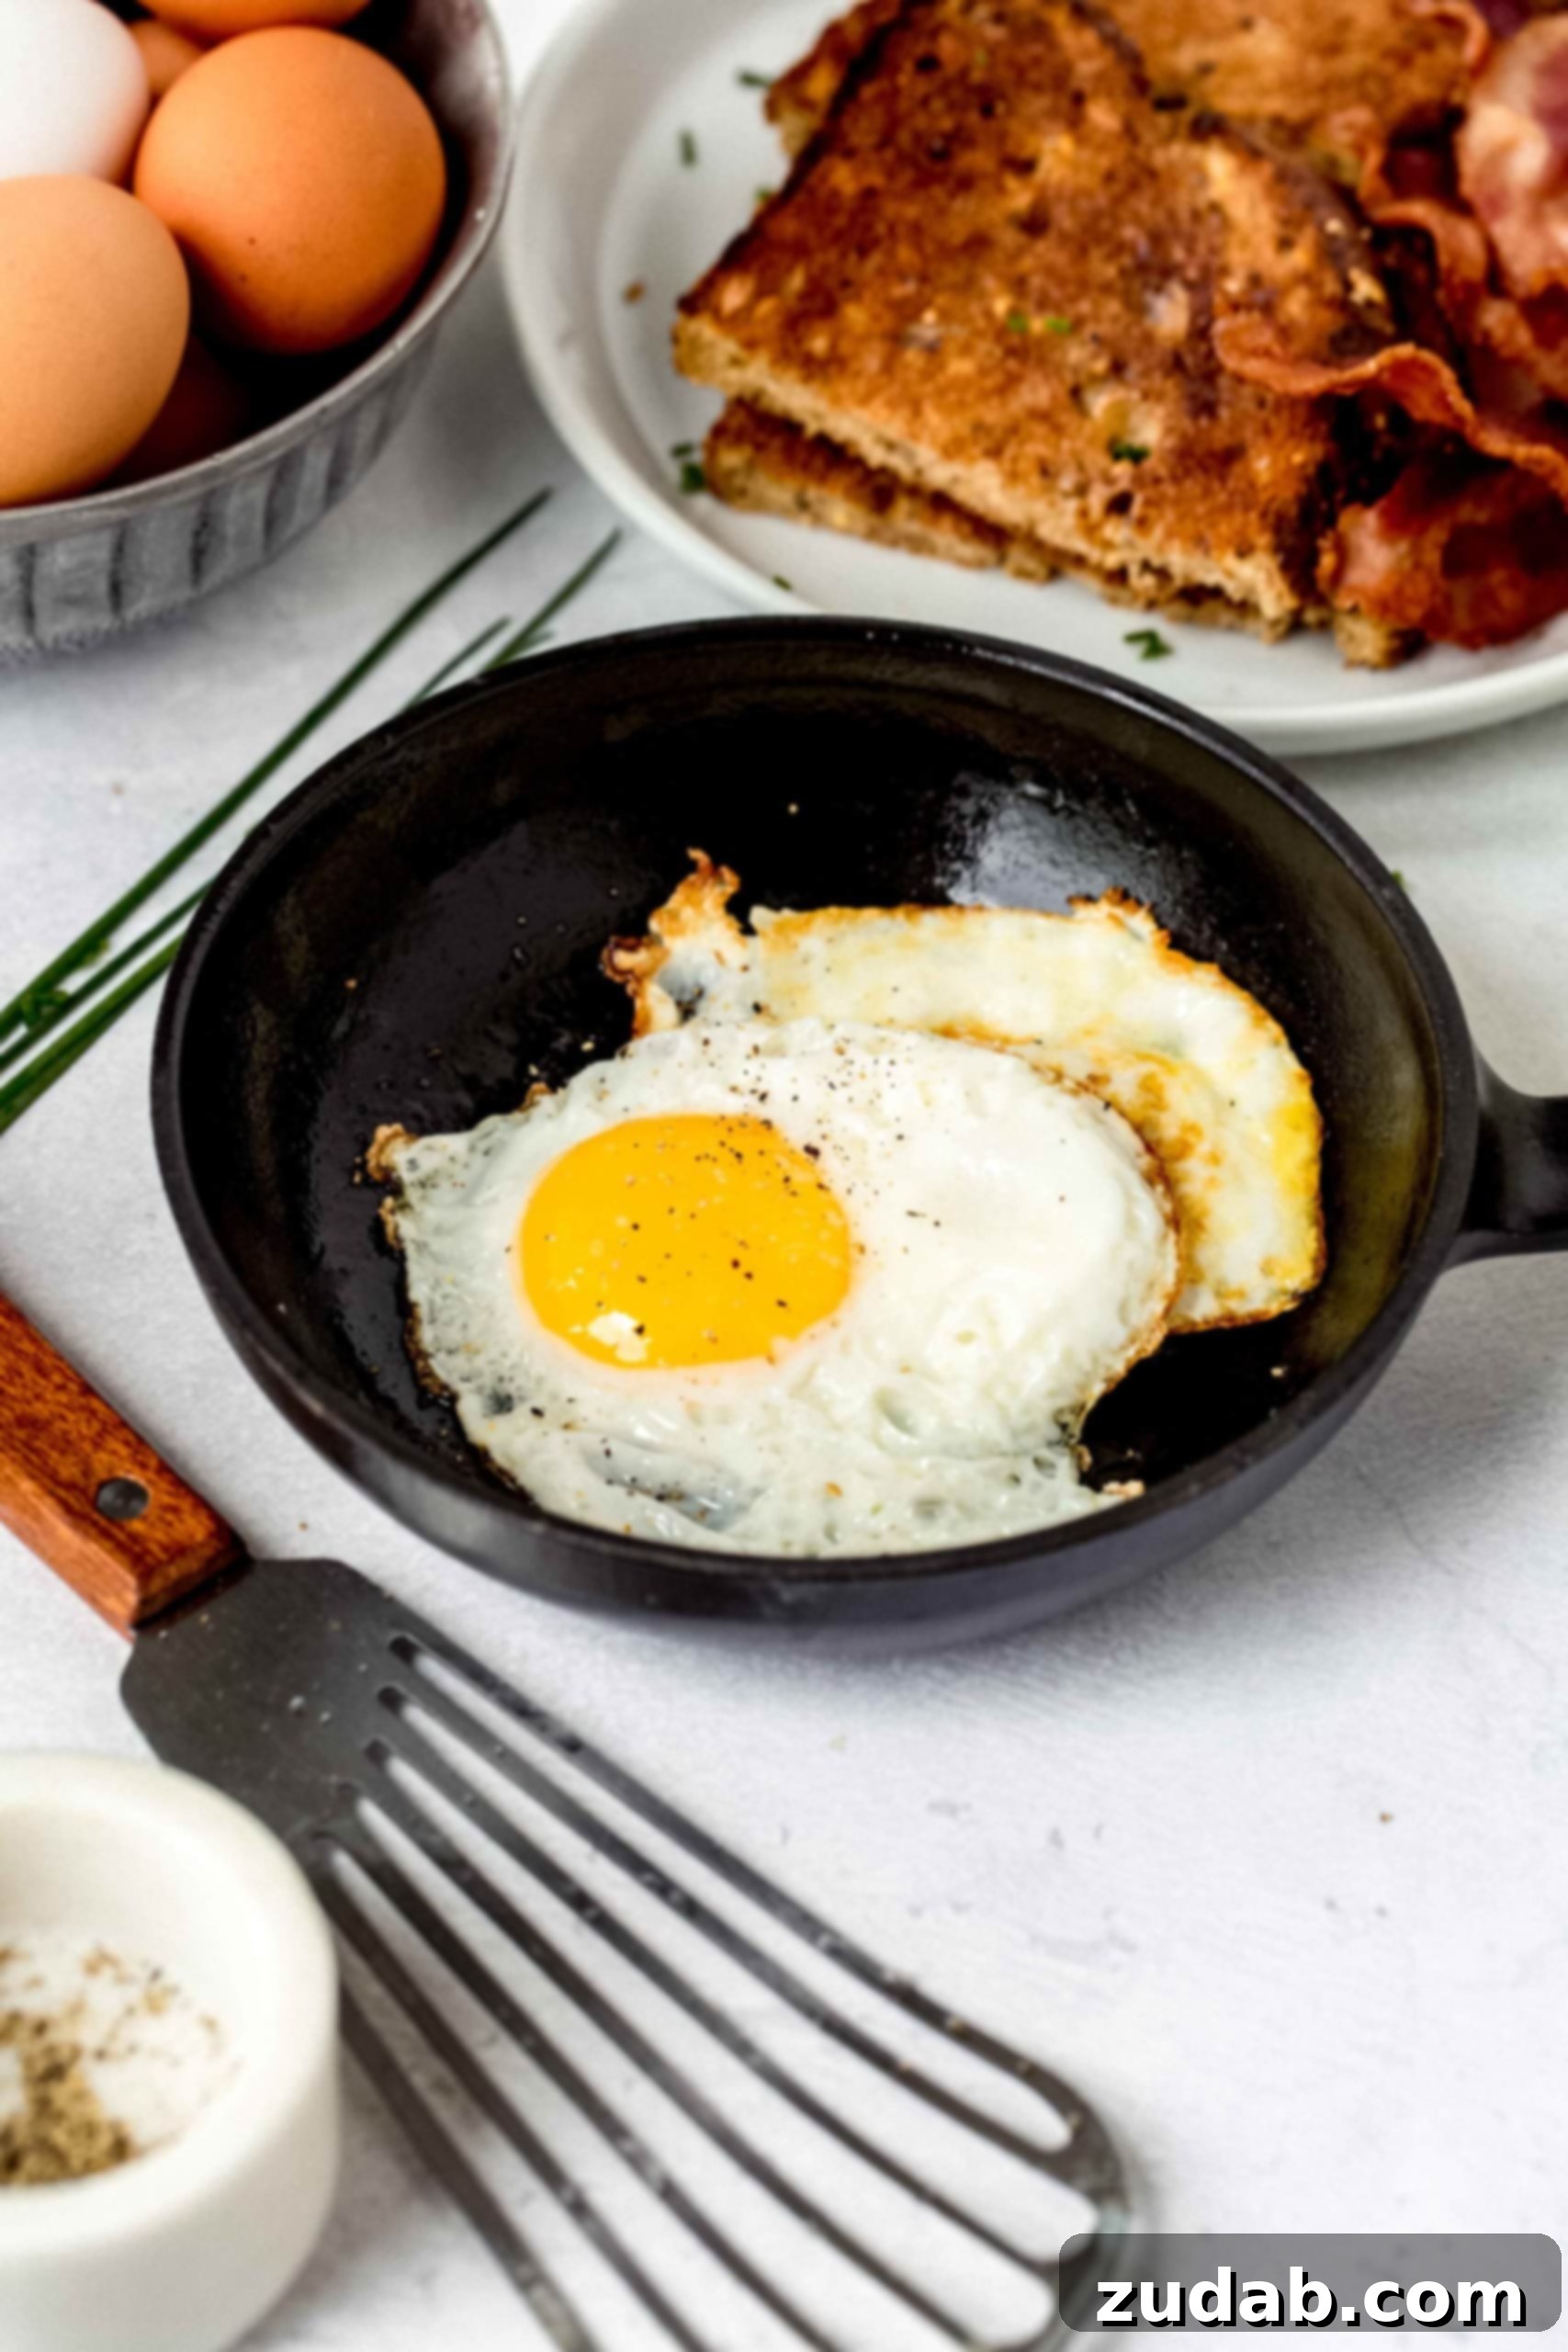
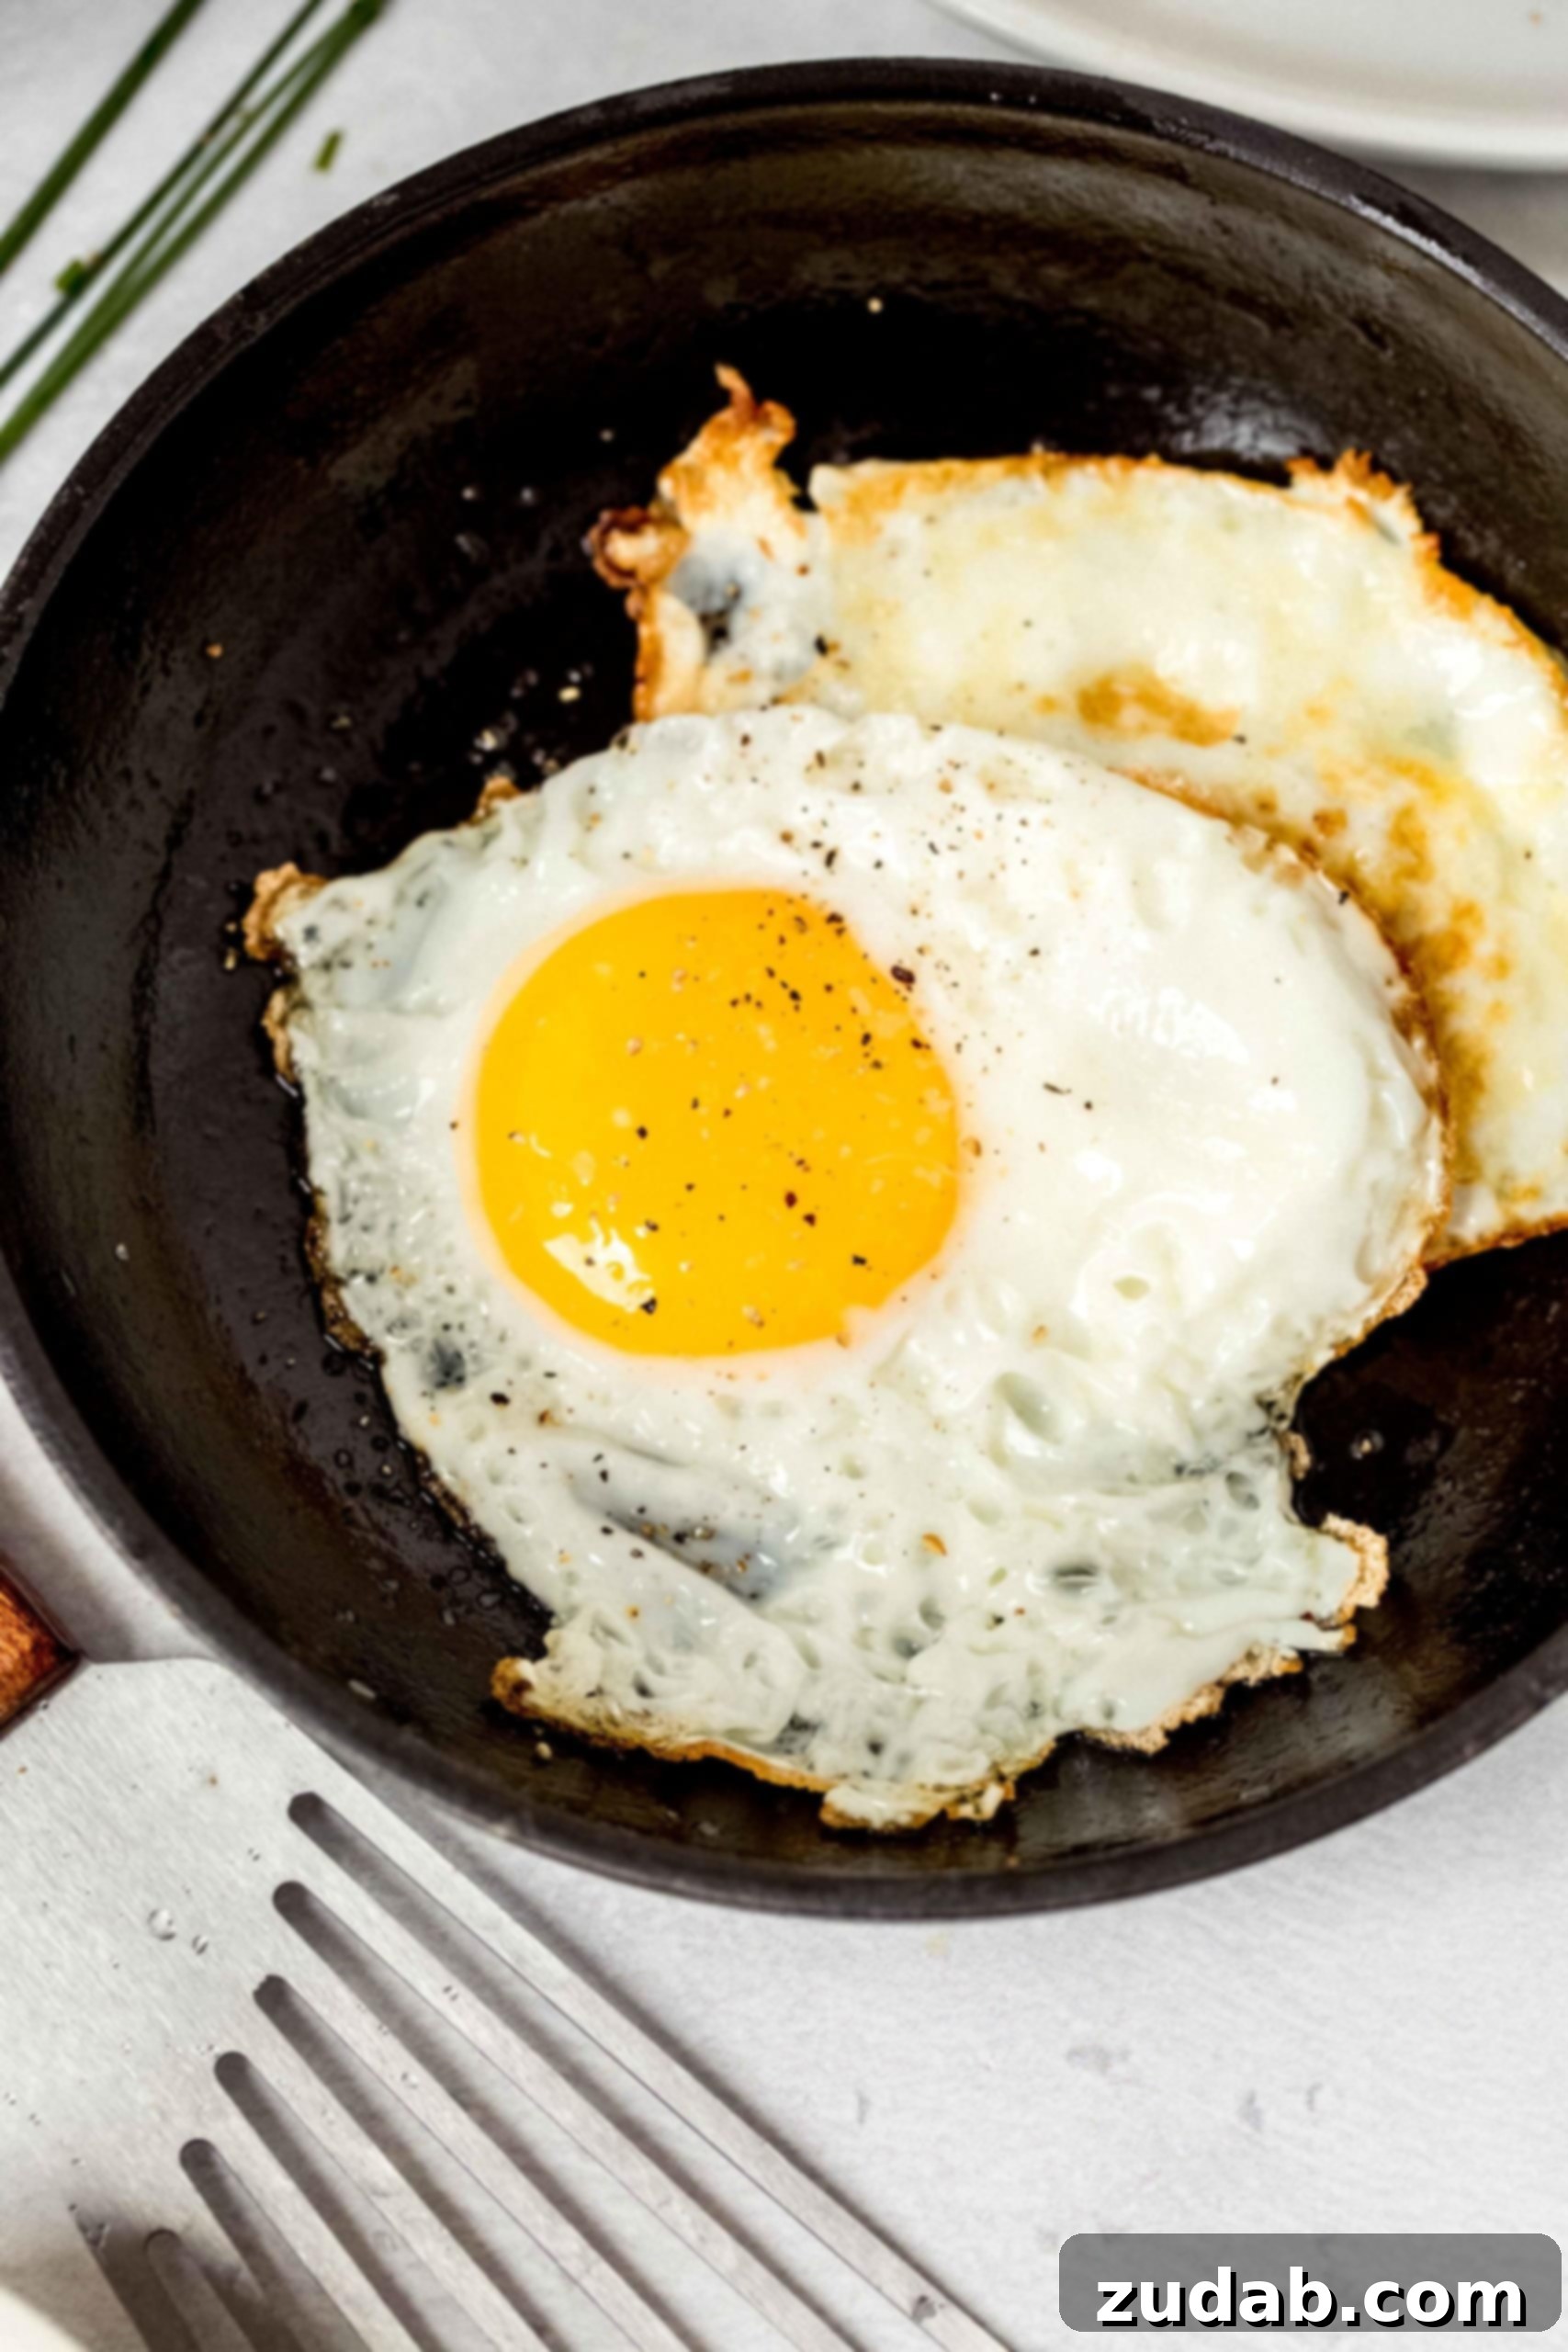
There’s genuinely nothing more satisfying than starting your day with a perfectly prepared **fried egg**. You know the kind we’re talking about – those irresistible, **crispy, lacy edges** that deliver a delightful crunch, giving way to a tender, fully set white. Then, the grand finale: a warm, **slightly runny yolk** that bursts with rich flavor, ready to coat your favorite toast or mix into savory components. Just a delicate sprinkle of sea salt and freshly cracked black pepper is often all it needs to elevate it to a culinary masterpiece.
The versatility of a **fried egg** is truly remarkable. While it’s a quintessential breakfast item, pairing flawlessly with crispy bacon and buttered toast, its charm extends far beyond the morning meal. Imagine that perfectly cooked egg perched atop a slice of creamy avocado toast, its rich yolk cascading down, creating a decadent sauce. Or perhaps nestled within a hearty breakfast sandwich, adding a layer of savory richness that ties all the flavors together.
And let’s not forget the unexpected delights! Ever considered putting a **fried egg on a burger**? As some culinary traditions, like those in Brazil, enthusiastically demonstrate, a fried egg adds an incredible richness and moisture to a juicy burger, transforming a classic into something truly extraordinary. My own experience creating a Brazilian Burger was nothing short of a revelation – it truly is that good! That combination of a **crispy egg** with a flat bottom is perfect for stacking, making it an ideal choice for sandwiches or a luxurious topping for almost anything.
This simple **egg recipe** isn’t just about sustenance; it’s about comfort, flavor, and a touch of culinary artistry that anyone can master. Before we dive into the nitty-gritty details of achieving this perfection, tell us: Are you a fan of the **runny yolk** or do you prefer your **eggs fried hard**? It seems like everyone has a strong opinion on this crucial matter! Regardless of your preference, we have the techniques to help you nail it.
Essential Ingredients for the Best Fried Egg
You might be surprised to learn that crafting a **perfect fried egg** requires only a handful of basic ingredients. The real magic isn’t in a long list of fancy components, but rather in the precise technique and care applied during the cooking process. The “how” you **fry an egg** is paramount, and we’ll delve into that crucial secret in just a moment.
- 2 Large Eggs: Fresh eggs are always best for flavor and hold their shape better.
- Oil or Butter: Choose a fat with a medium to high smoke point. Butter adds flavor, while neutral oils like vegetable, canola, or grapeseed oil are excellent for achieving crispiness without burning.
- Salt and Pepper: To season your egg to perfection. Consider flaky sea salt for added texture.
The Secret to a Perfect Crispy Fried Egg: Mastering the Technique
Learning **how to cook a fried egg** is a fundamental kitchen skill, yet it’s often overlooked. Many people settle for subpar fried eggs, unaware that a few simple adjustments can transform them into crispy, flavorful delights. The true secret to those coveted **crispy edges** lies in two critical factors: the right temperature and sufficient fat. Here’s a detailed breakdown of how to achieve that perfect **fried egg** every time:
Step-by-Step Guide to Frying an Egg
- Prepare Your Pan and Fat: Begin by placing a good quality nonstick skillet over **medium heat**. This is crucial – too low, and your egg won’t get those crispy edges; too high, and it will burn before the whites set. Add a generous amount of oil or butter, enough to coat the entire bottom of the pan with a thin layer. For extra crispy edges, ensure the fat is shimmering but not smoking. This usually means about 1-2 tablespoons per egg, depending on the pan size. The fat acts as a heat conductor, helping to crisp the edges of the egg white.
- Crack Your Egg with Care: Gently crack each egg into a small bowl first. This allows you to check for any shell fragments and ensures you don’t break the yolk when adding it to the pan. Carefully pour or slide the egg from the bowl very close to the pan’s surface. This minimizes the risk of splashing hot fat and helps maintain the egg’s shape, preventing the white from spreading too thinly. If frying multiple eggs, give them enough space in the pan so they don’t touch, ensuring each gets even crisping.
- Cook to Perfection: Allow the egg to **cook for approximately 3-5 minutes** on one side, depending on your desired yolk consistency. The whites should be mostly set, and you should start to see those beautiful, **lacy crispy edges** forming around the perimeter. For many, this is the ideal stage for a **sunny side up egg**, where the yolk remains completely runny.
- The Optional Flip (for other styles): If you prefer an **over easy**, **over medium**, or **fried hard egg**, gently slide a fish spatula (or a thin, flexible spatula) under the egg, starting from the side opposite the yolk. With a swift but gentle motion, flip the egg over. Cook for an additional 30 seconds to 2 minutes, depending on how set you want your yolk.
- Season and Serve Immediately: As soon as your egg reaches the desired doneness, remove it from the pan. Season generously with salt and freshly ground black pepper. Flaky sea salt can add a wonderful textural element and enhance the flavor. Serve immediately with your preferred accompaniments.
Pro Tip: Always use a high-quality non-stick pan! This single piece of equipment will make your **fried egg cooking** experience 100 times easier, preventing sticking and ensuring those perfectly formed eggs slide right out.
Fried Egg Variations and Optimal Cooking Times
The beauty of a **fried egg** lies in its adaptability. You can customize the yolk’s doneness to match your exact preference. Here’s a guide to achieving various styles, along with their recommended cook times:
Sunny-Side Up Eggs
For a **sunny-side up egg**, where the yolk remains completely liquid and warm, cook the egg until the whites are fully set around the edges and opaque, but the yolk is still vibrant yellow and unmistakably runny. This typically takes 3 to 4 minutes without flipping. The heat from the pan sets the bottom of the white and crisps the edges, while the top of the yolk remains untouched and glistening.
Over Easy Eggs
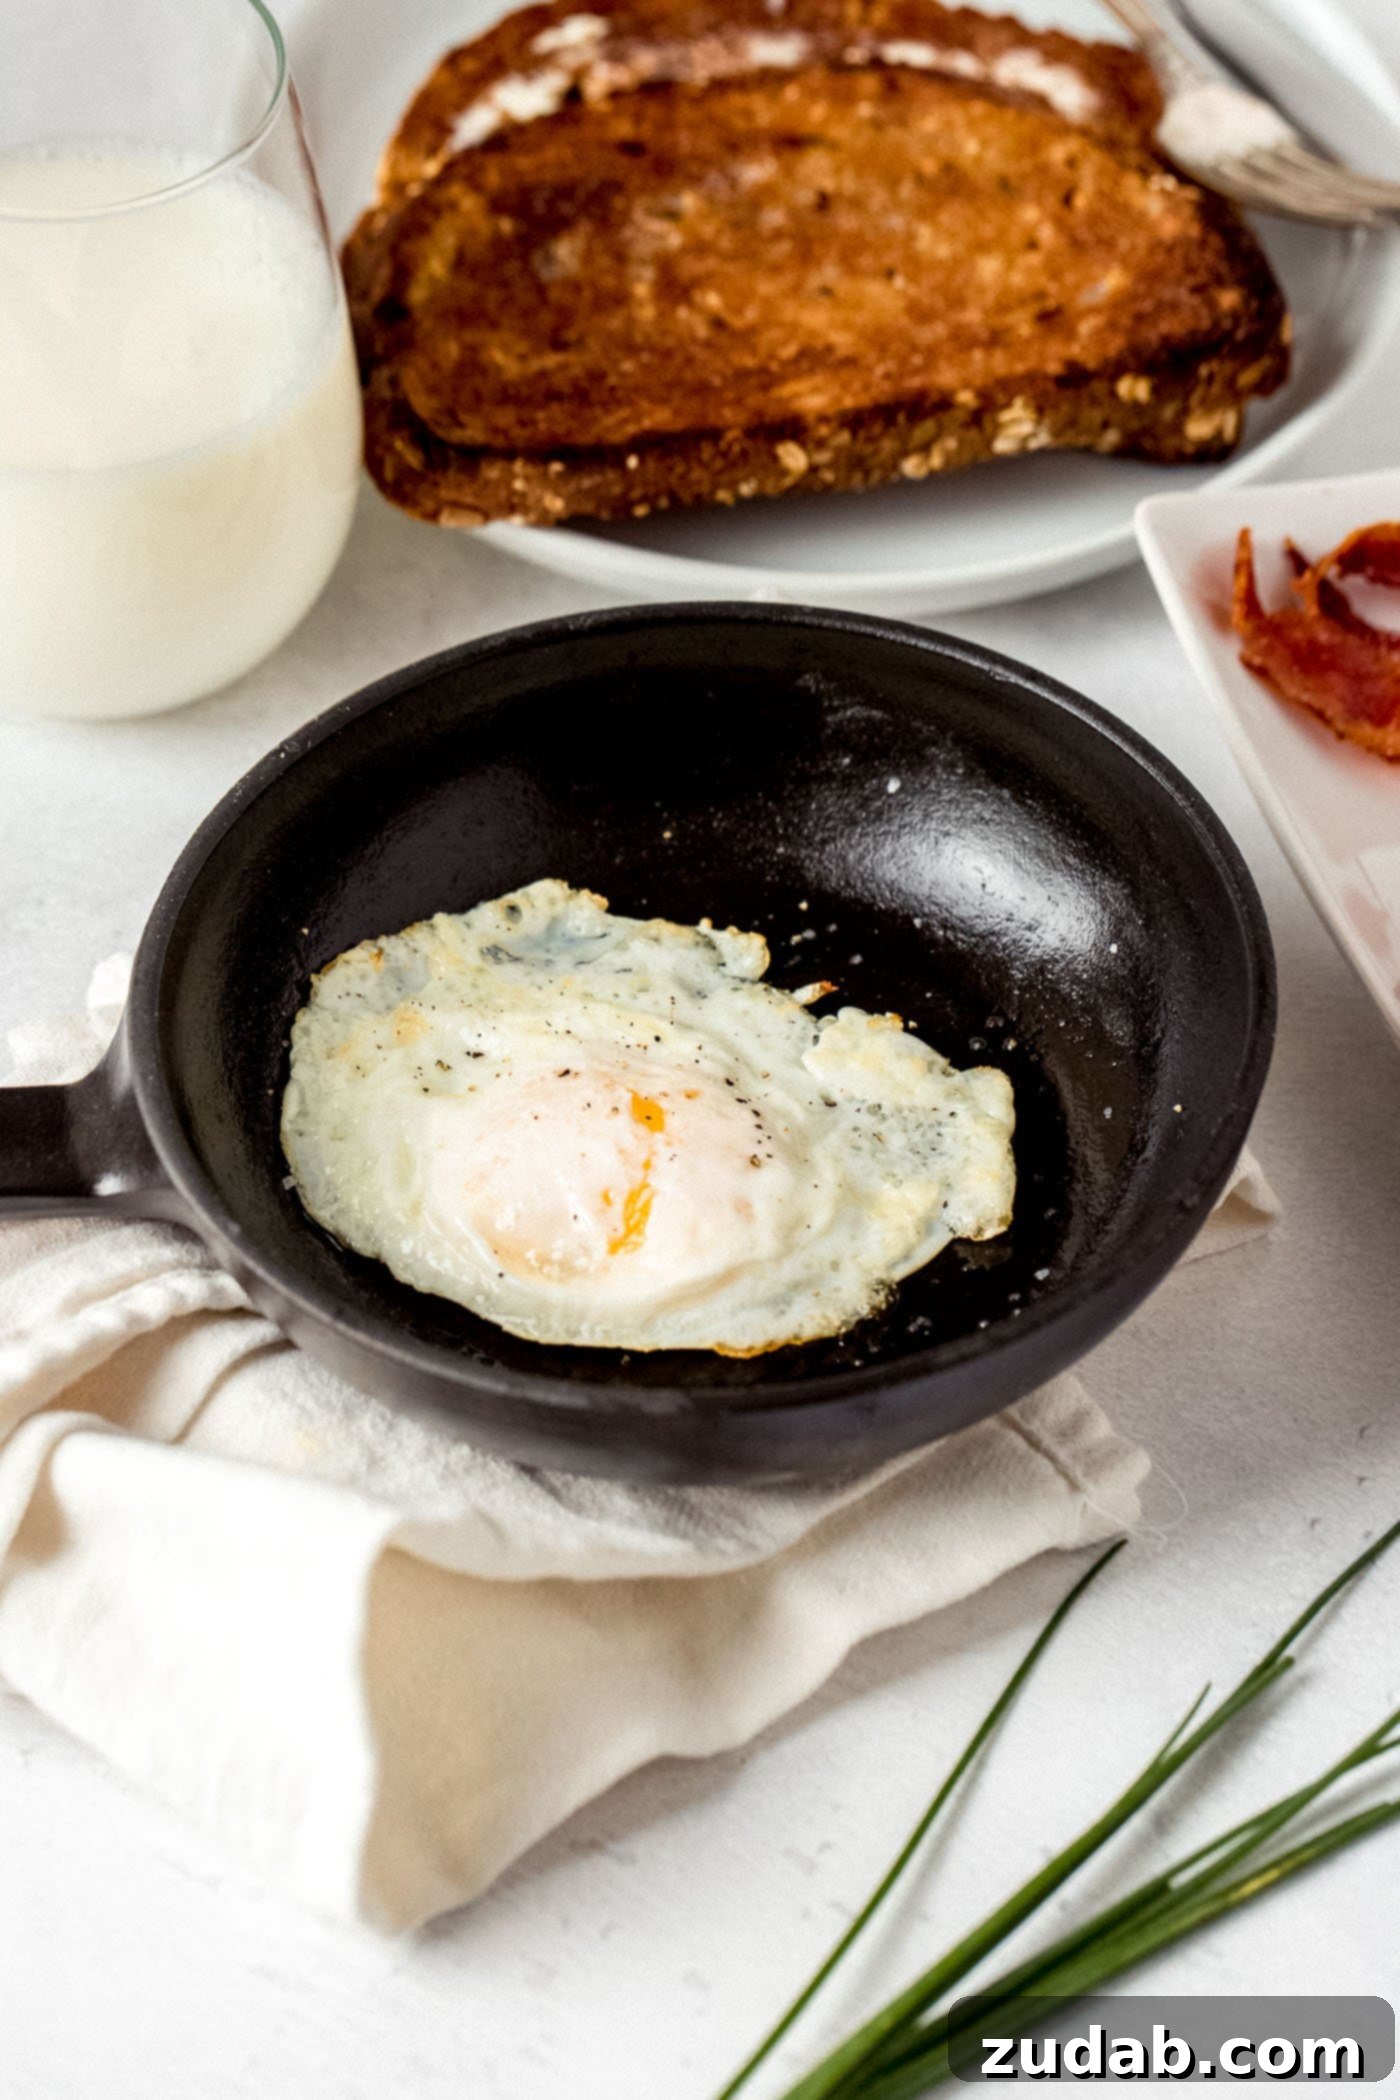
To create an **over easy egg**, where the yolk is still very runny and warm but the whites are set on both sides, cook the egg until the bottom white is set and edges are slightly crispy (about 2-3 minutes). Then, gently slide a fish spatula under the egg, carefully flip it over, and cook for only an additional 15-30 seconds. The brief time on the second side just barely sets a thin film over the yolk, creating a delicate membrane while preserving its liquid core.
Over Medium Eggs
For an **over medium egg**, which features a creamy, slightly thickened yolk that is still soft, follow the same initial steps as over easy. After the first side is cooked and crispy (2-3 minutes), flip the egg and cook for an additional 45-60 seconds. This longer cook time allows the yolk to become warm and jammy, perfect for those who enjoy a less liquid but still rich yolk experience.
Fried Hard Eggs
If you prefer your **eggs fried hard**, meaning both the whites and the yolk are completely firm, cook the first side until the whites are set and edges are golden (about 2-3 minutes). Then, flip the egg over and continue cooking for an additional 1.5 to 2 minutes, or until the yolk is fully opaque and firm to the touch. You can even press lightly on the yolk with your spatula to ensure it’s cooked through. This style is excellent for sandwiches as it won’t drip.
Serving Suggestions & Culinary Pairings
The humble **fried egg** is a superstar when it comes to versatility in the kitchen. It can elevate almost any dish and fit into meals throughout the day. Here are some inspiring ways to enjoy your perfectly cooked fried egg:
- Classic Breakfast Plate: Pair it with crispy bacon or sausage, hash browns, and a slice of buttered toast or an English muffin.
- Avocado Toast Reinvented: Top your creamy avocado toast with a **runny yolk fried egg** for an extra layer of richness and protein.
- Breakfast Sandwiches: Create the ultimate morning sandwich with an **over hard egg**, cheese, and bacon or ham on a croissant, bagel, or English muffin.
- On Burgers: As mentioned, a **fried egg on a burger** adds an incredible savory depth and a unique texture.
- Noodle Bowls & Fried Rice: A **crispy fried egg** makes an excellent topping for ramen, pho, or any stir-fried noodle or rice dish, offering a rich sauce when the yolk breaks.
- Grain Bowls & Salads: Add a **fried egg** to your favorite quinoa, rice, or mixed green salad bowls for a satisfying and nutritious lunch or light dinner.
- Leftover Remix: Revitalize last night’s roasted vegetables or grain dishes by crowning them with a fresh, **crispy fried egg**.
- Pizza Topping: Believe it or not, a fried egg is a fantastic, gourmet topping for pizzas, especially breakfast pizzas or those with savory meats.
Enhancing the Flavor of Your Fried Egg
While salt and pepper are the traditional seasonings, don’t hesitate to experiment with other flavors to customize your **fried egg** experience:
- Herbs: A sprinkle of fresh chives, parsley, or dill adds brightness.
- Spices: A dash of paprika, chili flakes, or a pinch of garlic powder can introduce new dimensions of flavor.
- Cheese: Melt a thin slice of cheese (cheddar, Swiss, or Monterey Jack) over the egg during the last minute of cooking.
- Hot Sauce: A few drops of your favorite hot sauce can add a spicy kick.
- Truffle Oil: For a luxurious touch, a tiny drizzle of white truffle oil after cooking is divine.
- Everything Bagel Seasoning: This trendy seasoning blend offers a delightful combination of savory flavors and textures.
Common Questions About Fried Eggs
Are Fried Eggs Healthy?
Absolutely! Eggs are a powerhouse of nutrition. They are an incredibly rich source of high-quality protein, essential vitamins (like B12, D, and A), and vital antioxidants (such as lutein and zeaxanthin). Incorporating eggs into your diet, whether **fried**, scrambled, or boiled, is a fantastic way to enjoy a nutrient-dense food that supports overall health and provides sustained energy. They are a staple of a balanced breakfast and offer a distinct, delicious way to consume eggs compared to other preparations.
Can Raw Eggs Be Frozen?
Yes, raw eggs can be frozen, and they maintain their quality for up to one year when properly stored. However, you cannot freeze eggs in their shells, as the liquid inside will expand and crack the shell. To freeze raw eggs, they should first be removed from their shells. For ease of use later, the yolk and white should be lightly whisked together before freezing. Alternatively, egg whites and yolks can be separated and frozen individually, allowing for more specific recipe applications in the future.
How Long Will Raw Eggs Keep?
When stored correctly in their shells in the refrigerator, raw, whole eggs typically remain fresh and safe to eat for an impressive 4 to 5 weeks from the date of purchase. Always check the expiration date on the carton, but generally, proper refrigeration is key to maximizing their shelf life.
How Long Can Fried Eggs Be Kept?
While a **freshly cooked fried egg** is always best, leftovers can be safely stored. Cooked eggs, including **fried eggs**, should be placed in an airtight container and refrigerated within two hours of cooking. They can then be safely kept in the refrigerator for 3 to 4 days. When reheating, it’s best to do so gently on low heat to prevent overcooking and maintain as much of their original texture as possible.
Useful Tools for Cooking the Best Fried Egg
Having the right tools can significantly enhance your **fried egg cooking** experience, making it easier and more enjoyable to achieve perfect results every time. Here’s the equipment we recommend:
- Nonstick Skillet: This is arguably the most crucial tool. A good nonstick pan ensures your eggs won’t stick, allowing them to slide out easily and maintaining their perfect shape.
- **Budget-Friendly Option:** T-Fal Nonstick Skillet
- **Higher Quality & Longer Lasting:** 2-Piece Le Creuset Nonstick Set
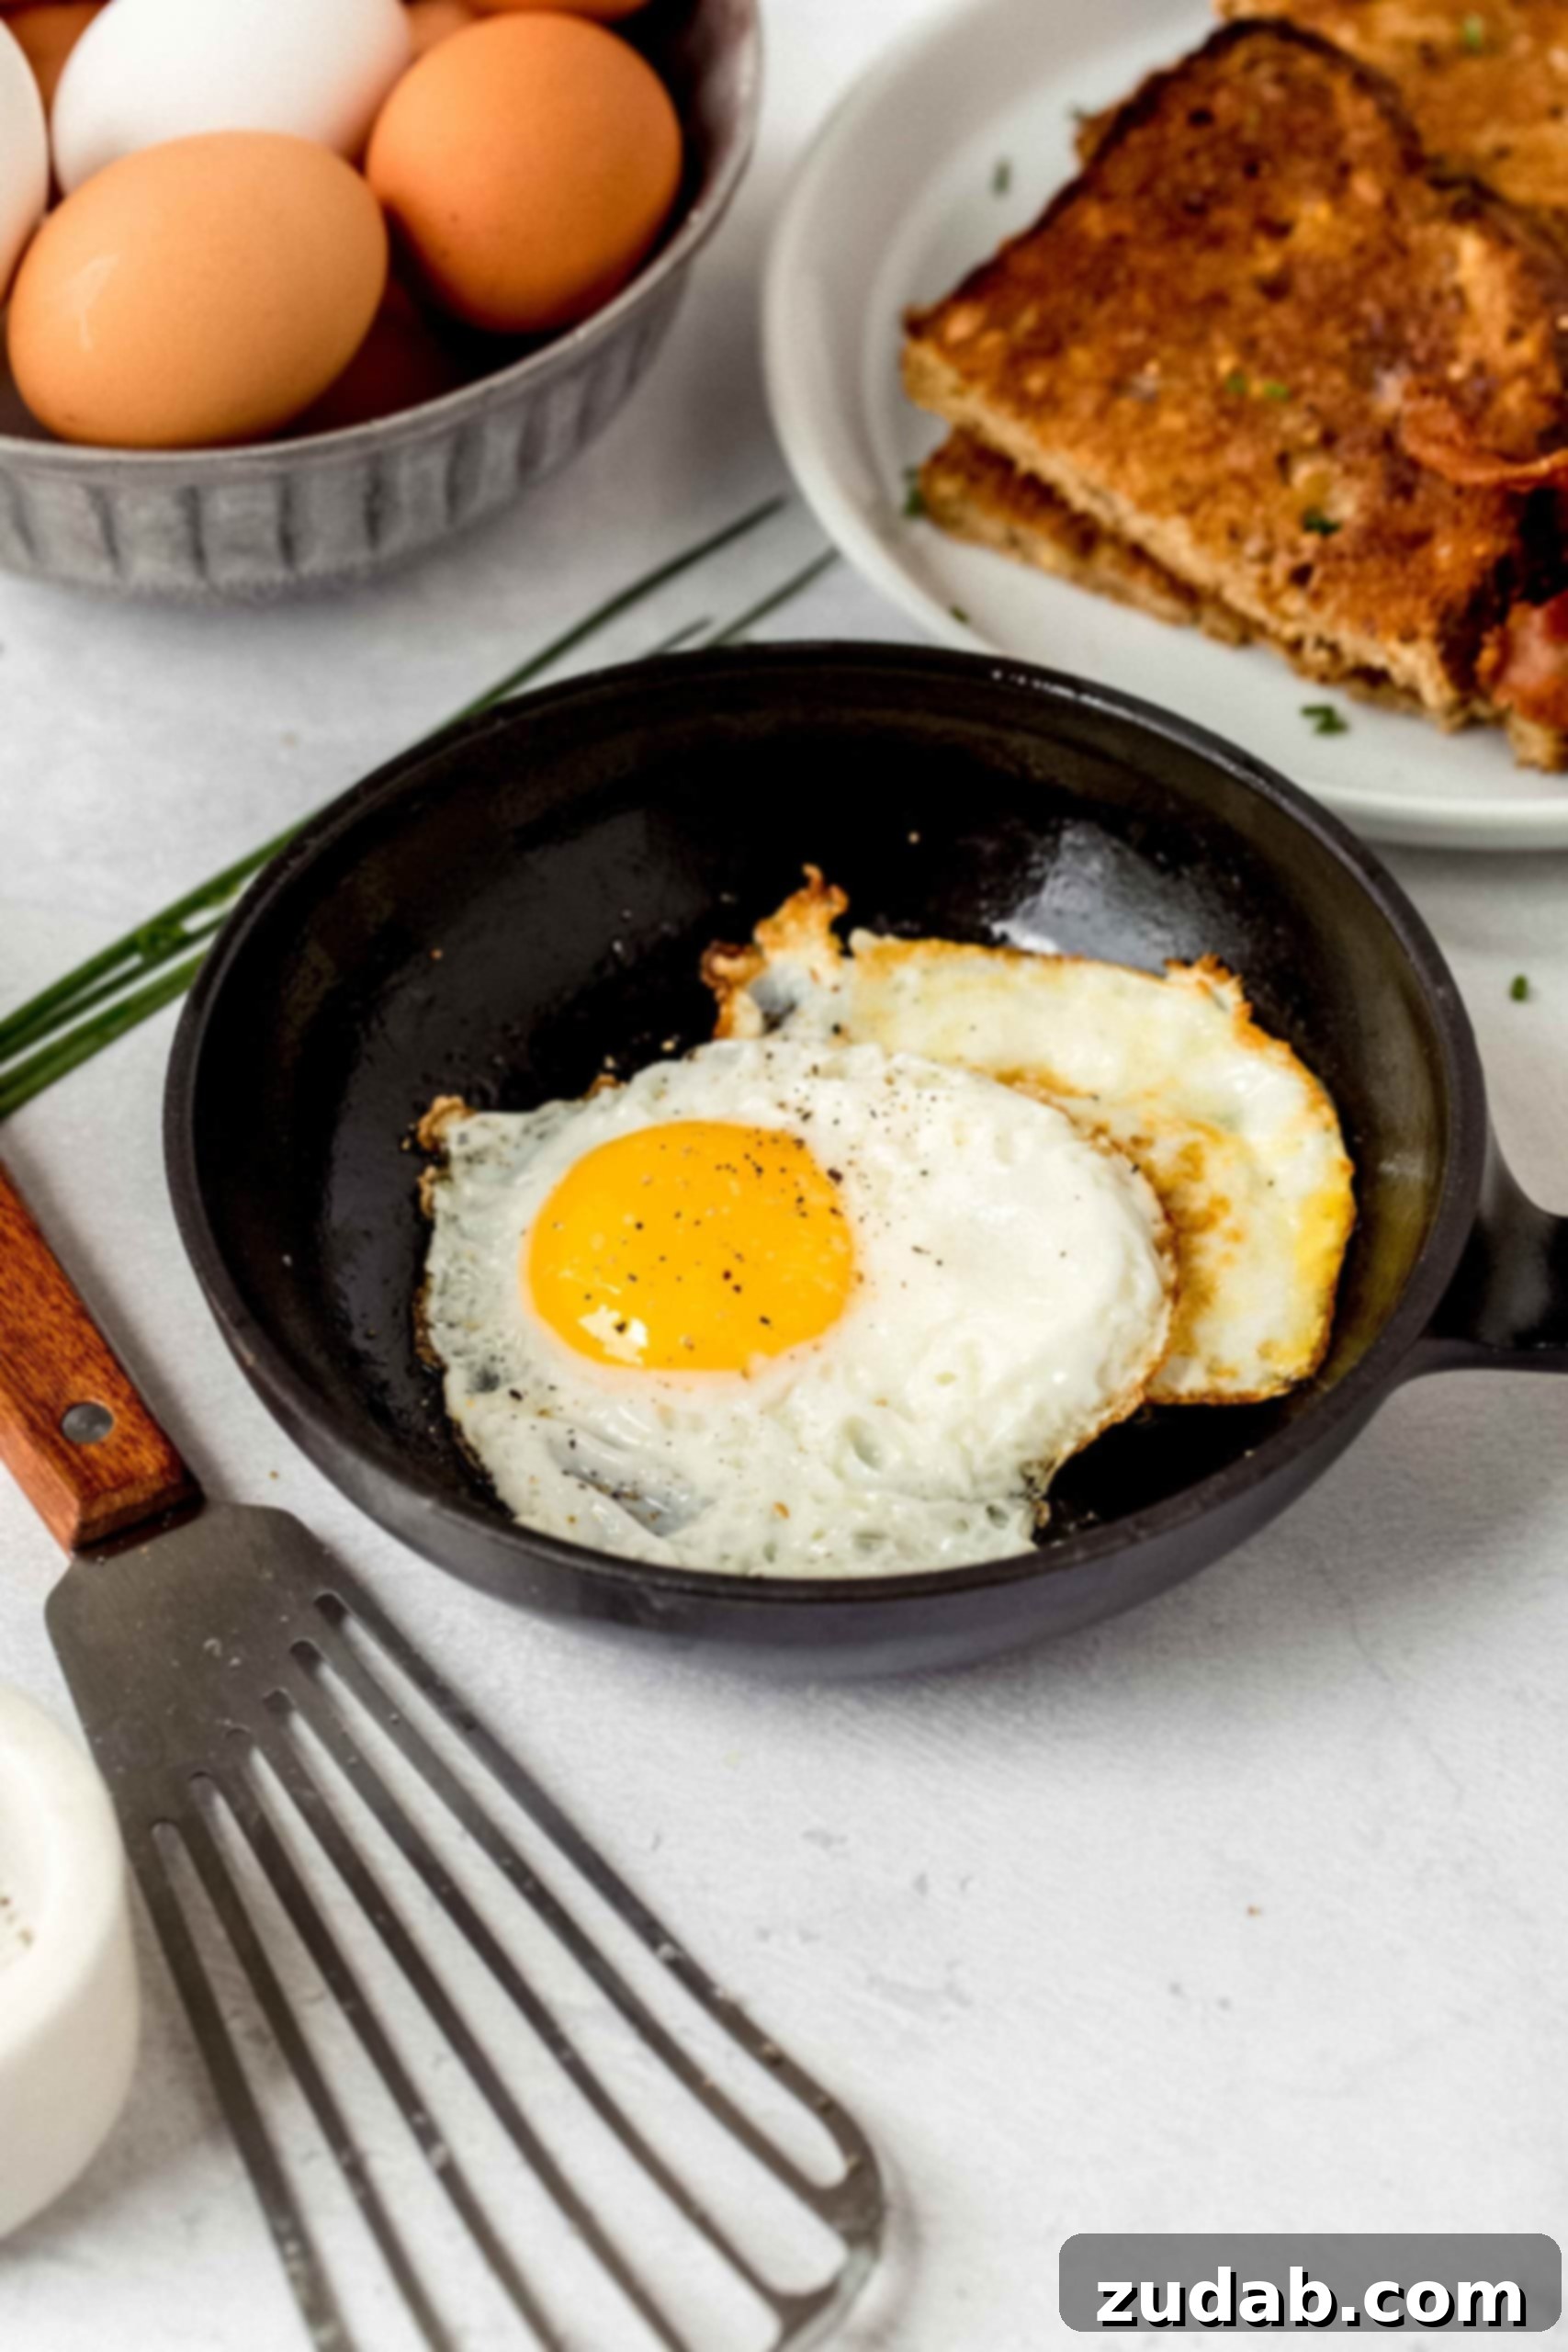
- Fish Spatula: This thin, flexible spatula is ideal for gently getting under the delicate whites of a **fried egg** without tearing them. Its angled design allows for effortless flipping and lifting, especially crucial for **over easy** or **sunny side up** eggs. Fish Spatula
- Small Bowl: For cracking eggs into before adding them to the pan, ensuring no shell fragments make it into your meal and allowing for a controlled pour.
Additional Tips for Cooking a Crispy Fried Egg
Beyond the fundamental techniques, a few extra tips can truly make a difference in your **fried egg** endeavors:
- Avoid Tiny Pans: While dedicated “egg pans” exist, they are often too small. A larger 8-10 inch nonstick skillet gives you ample room to maneuver your spatula, making it much easier to flip or lift the egg without damage, especially when you’re first learning **how to cook a fried egg**.
- Don’t Skimp on Fat (But don’t drown it): A sufficient amount of oil or butter is essential for those **crispy, lacy edges**. The egg needs to essentially “fry” in the fat, not just cook on a dry surface. However, avoid excessive oil that might deep-fry the egg; a thin, even layer is perfect.
- Experiment with Seasonings: We intentionally kept the core **egg recipe** simple so you can use it as a canvas. Feel free to jazz up your **fried egg** with various spices, fresh herbs, a dash of hot sauce, or even a sprinkle of cheese. The possibilities are endless!
- Listen to Your Egg: Pay attention to the sizzling sound. A gentle sizzle indicates proper medium heat. If it’s too aggressive, turn the heat down. If there’s no sizzle, the pan isn’t hot enough.
- Consider a Lid: For **sunny side up eggs** that you want the top of the white to be fully set without flipping, place a lid over the pan during the last minute of cooking. This traps steam, gently cooking the top of the egg.
More Delicious Egg and Savory Breakfast Recipes:
- How to Make the Best Scrambled Eggs
- How to Make Perfect Hard-Boiled Eggs
- Maple Mustard Croissant Breakfast Sandwich
- Cheesy Hashbrown Breakfast Casserole
- Cheesy Salsa Verde Sausage Breakfast Enchiladas
- Easy 3-Ingredient Chorizo Potatoes
- Cheesy Southern Grits
Fried Egg Recipe
Learn all the tips on how to get the perfect crispy edge and flavor when making a fried egg. Use a perfectly cooked fried egg on top of warm toast or enjoy by itself! This **easy fried egg recipe** is perfect for any meal.
By: Sweet Basil
Quick Facts:
- Prep Time: 1 minute
- Cook Time: 5 minutes
- Total Time: 6 minutes
- Servings: 2 eggs
Ingredients:
- A little Oil or Butter (enough to coat the pan)
- 2 Large Eggs
- Salt and Pepper, to taste
Instructions:
- Prepare the Pan: Heat a nonstick skillet over medium heat. Add a little oil or butter to generously coat the entire bottom of the pan. Ensure the fat is shimmering but not smoking.
- Add the Eggs: Carefully crack each egg into a small bowl, then gently slide it very close and slowly onto the pan. This helps prevent the yolk from breaking and the white from spreading too thin.
- Cook the First Side: Allow the egg to cook for about 3-5 minutes, or until the whites are mostly set and the edges are beautifully crispy and golden brown.
- For Sunny Side Up: If you prefer a **sunny side up egg** with a completely runny yolk, simply cook until the whites are set and edges are crispy, then remove from heat.
- For Over Easy/Medium/Hard: For other styles, gently slide a fish spatula under the egg (from the yolk side), then carefully flip it over. Cook for another 30-60 seconds for **over easy** (very runny yolk), 45-60 seconds for **over medium** (creamy yolk), or 1.5-2 minutes for **fried hard** (firm yolk).
- Season and Serve: Season generously with salt and freshly ground black pepper immediately after removing from the pan. Serve hot and enjoy!
Nutrition Information (per serving):
Serving: 1g, Calories: 63kcal, Carbohydrates: 1g, Protein: 6g, Fat: 4g, Saturated Fat: 1g, Cholesterol: 164mg, Sodium: 62mg, Potassium: 61mg, Sugar: 1g, Vitamin A: 238IU, Calcium: 25mg, Iron: 1mg
Nutrition information is automatically calculated and should only be used as an approximation.
Mastering the **fried egg** is a culinary rite of passage that brings immense satisfaction. With the right techniques, a bit of patience, and a good nonstick pan, you can effortlessly create a **perfect fried egg** with **crispy edges** and a flavorful yolk, customized precisely to your liking. Whether you prefer the golden pool of a **runny yolk** or the firm texture of a **fried hard egg**, this guide has given you all the tools. So go ahead, crack an egg, and enjoy the delicious journey of becoming a **fried egg** expert!