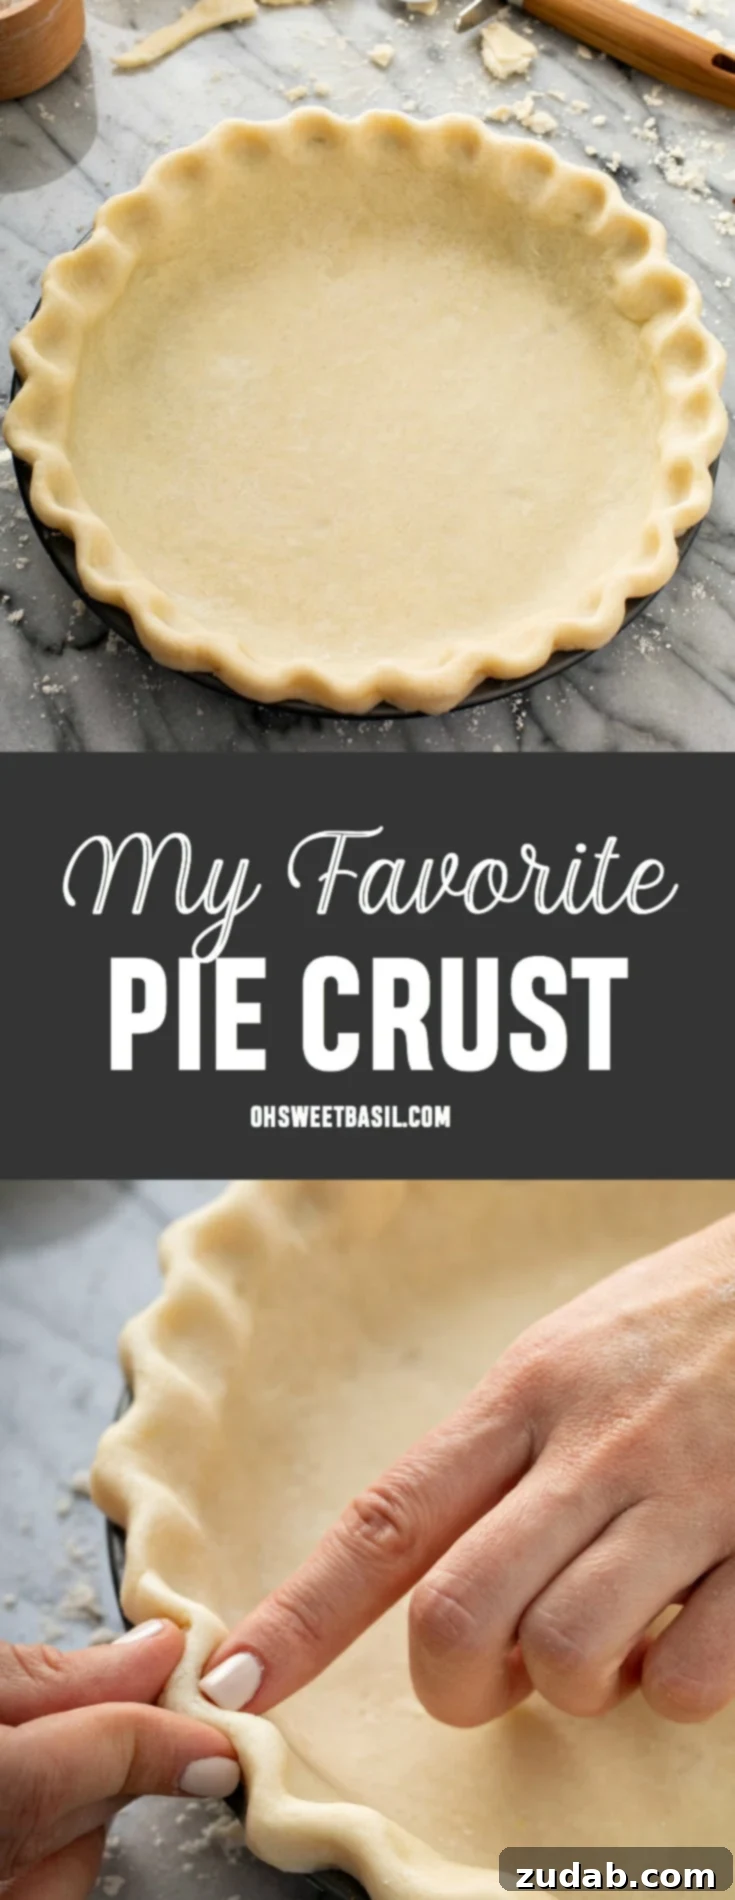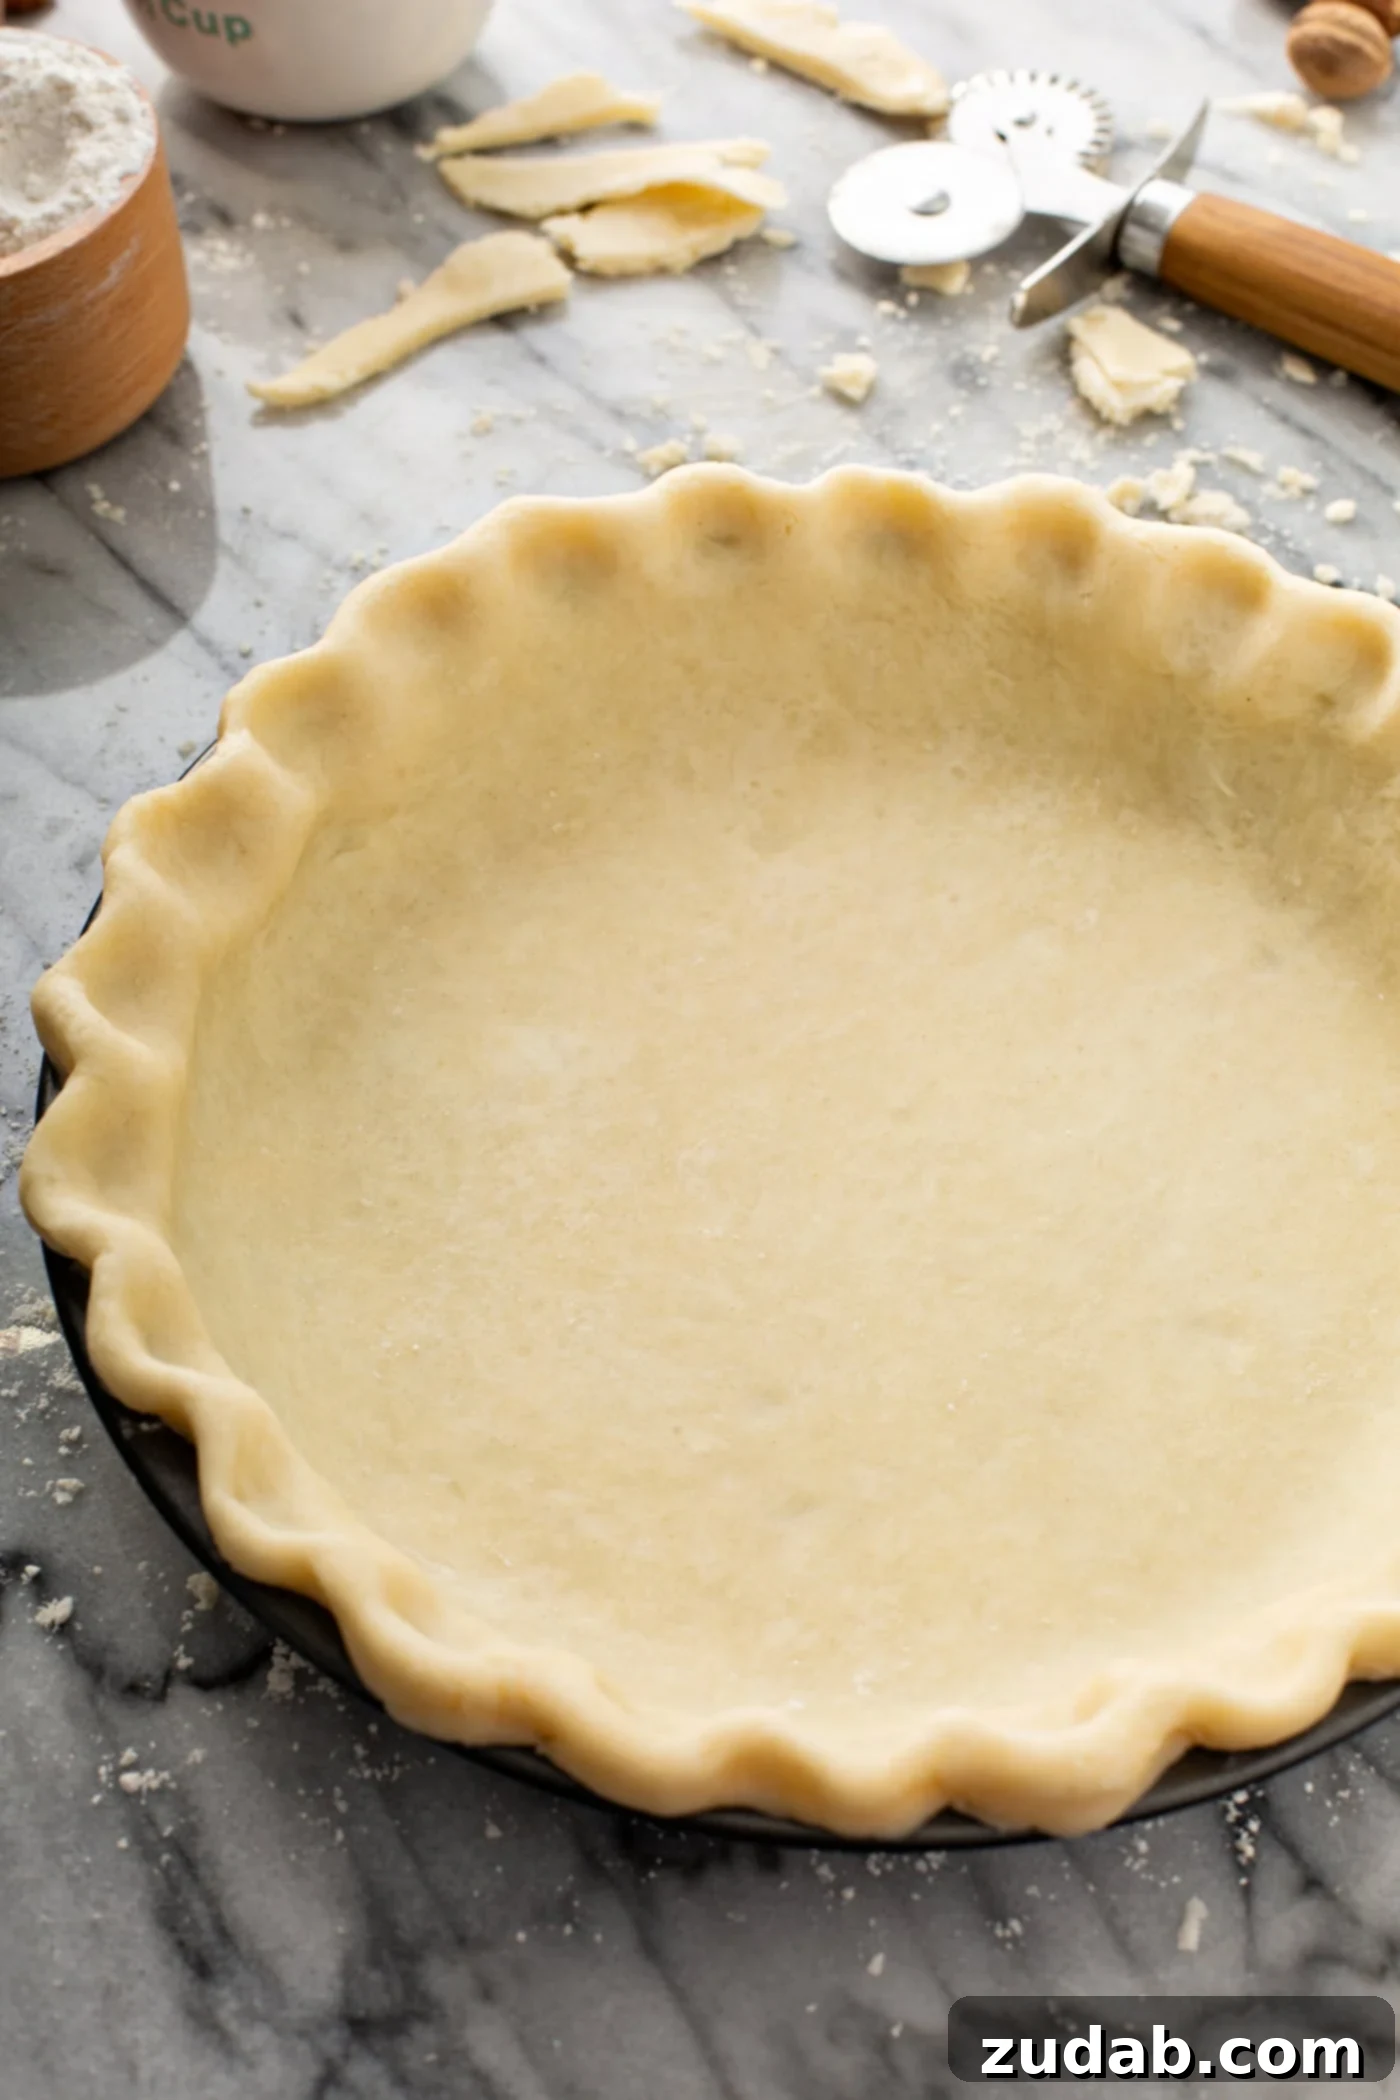
Welcome, fellow pie enthusiasts! As a self-proclaimed pie fanatic, I’m thrilled to share with you my absolute favorite and incredibly easy All Butter Pie Crust recipe. Forget everything you thought you knew about making pie crust from scratch; this method delivers a consistently super flaky, tender, and deeply flavorful crust that comes together far more quickly than you might imagine.
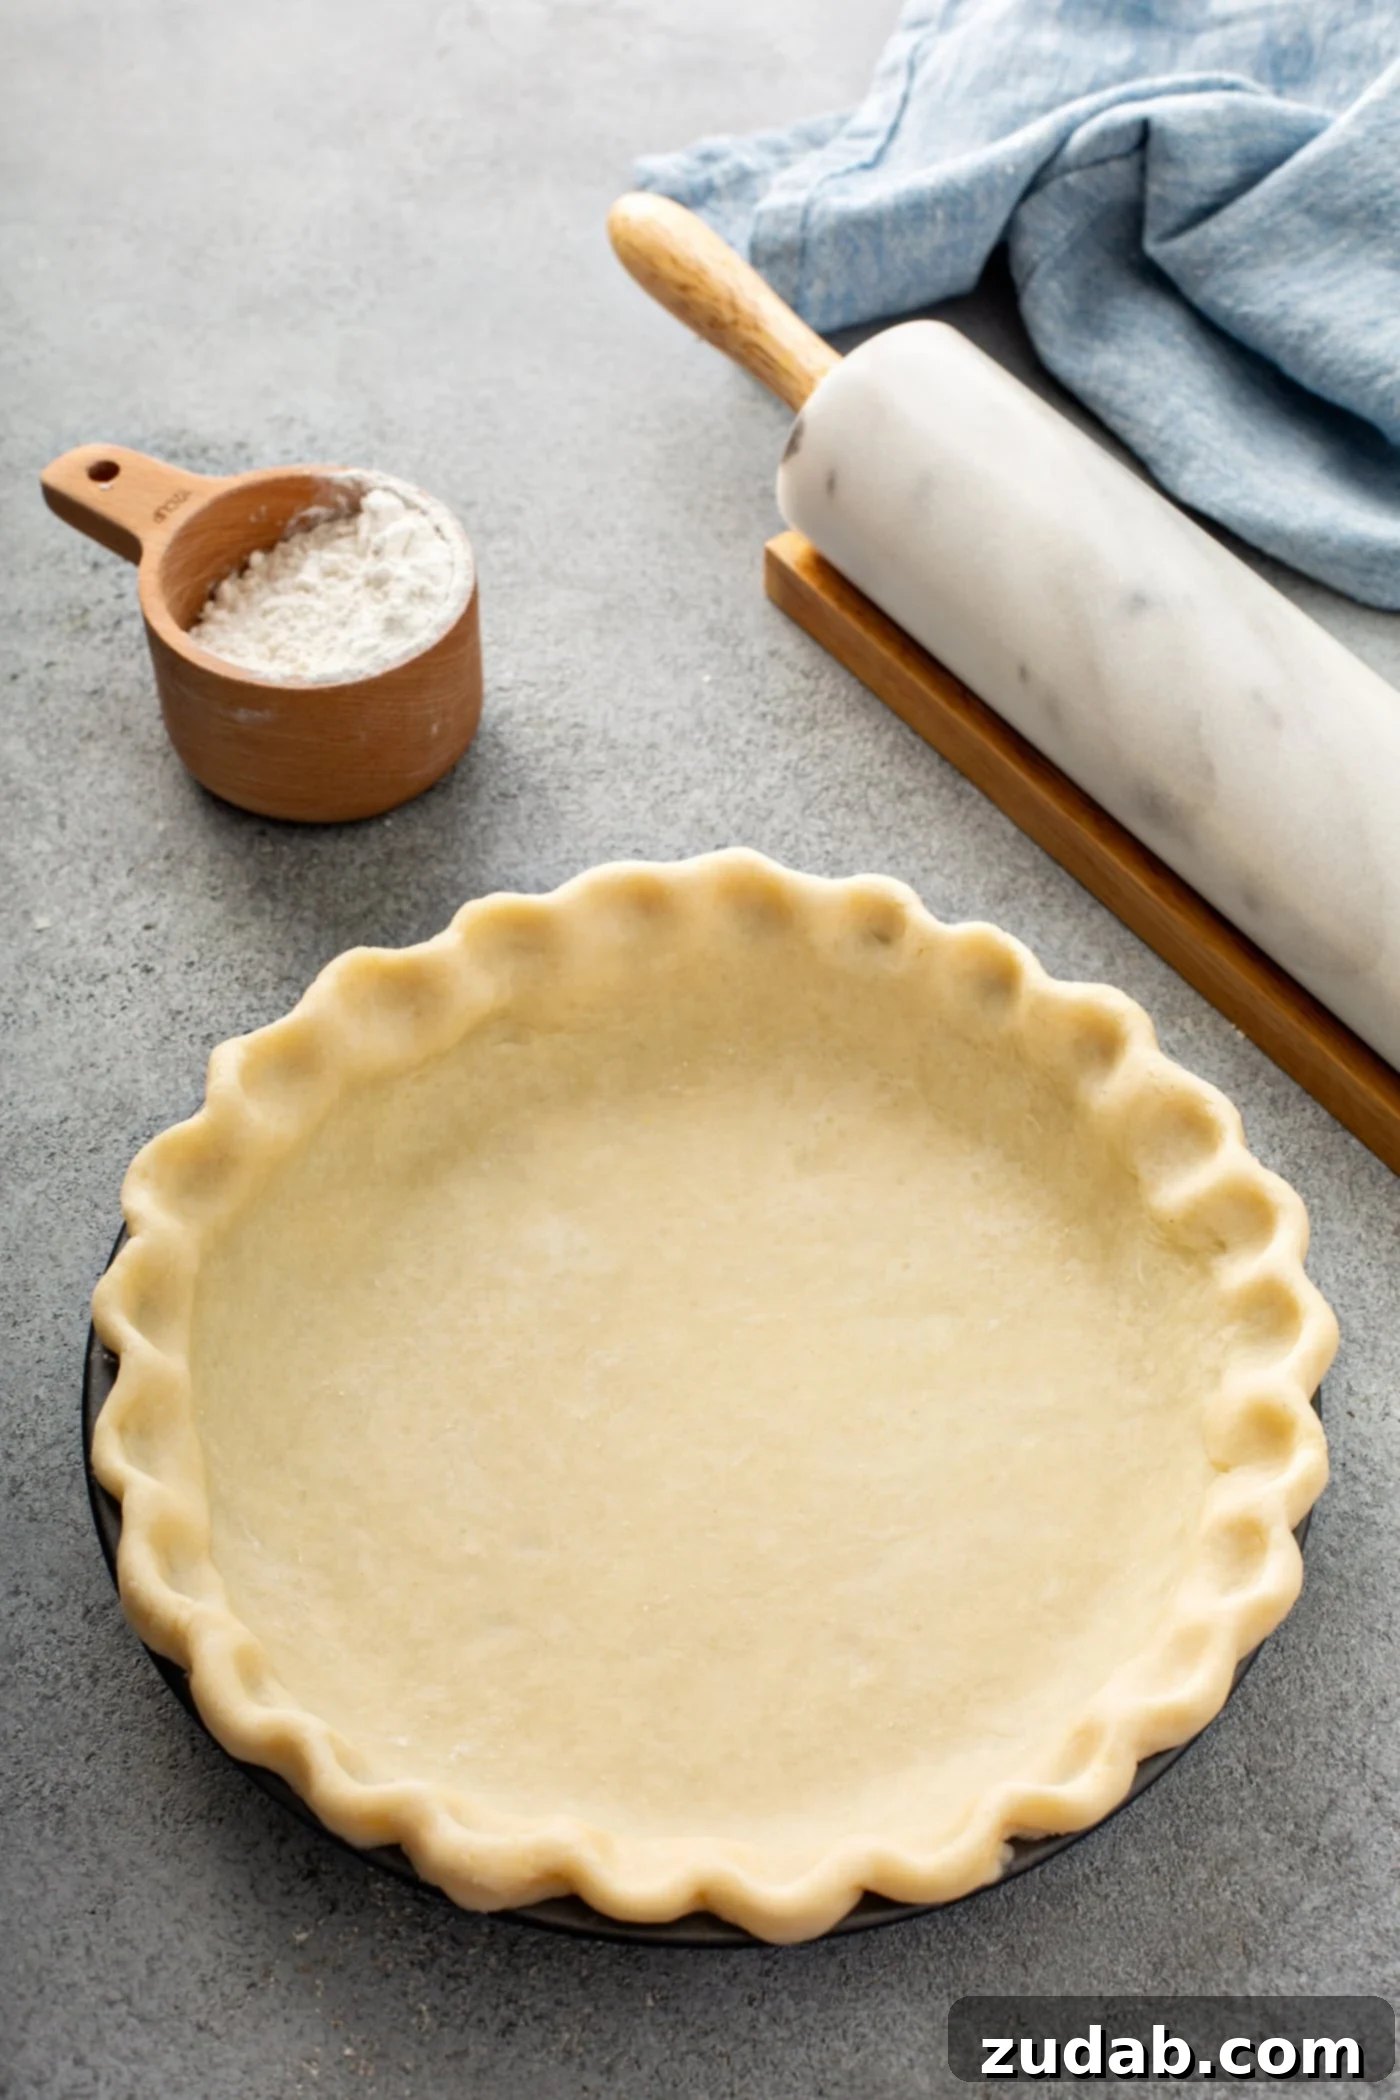
Many home bakers find the idea of making a homemade pie crust quite intimidating. It often feels like one of the most challenging recipes to master, right up there with yeast bread. But what if I told you that you could not only learn how to make an incredibly flaky pie crust without stress, but actually become an expert in the process? This guide is designed to demystify the art of pie crust, ensuring delicious results every time.
The secret to a truly exceptional pie crust lies almost entirely in the fat you choose to use. I’ve spent years experimenting with various fats, and I’ve finally settled on a clear winner. If you’re a beginner and have previously struggled with achieving that perfect homemade pie crust, don’t worry. We can even start with a more forgiving option, like my mom’s fail-proof pie crust recipe, which uses a combination of egg, vinegar, and cold shortening for a remarkably easy dough.
However, if your goal is truly the best pie crust recipe – one that isn’t overly difficult, yet delivers unparalleled flavor and a sublime, flaky texture – then an all butter pie crust is the only way to go. Its rich taste and delicate layers elevate any pie filling to a whole new level.
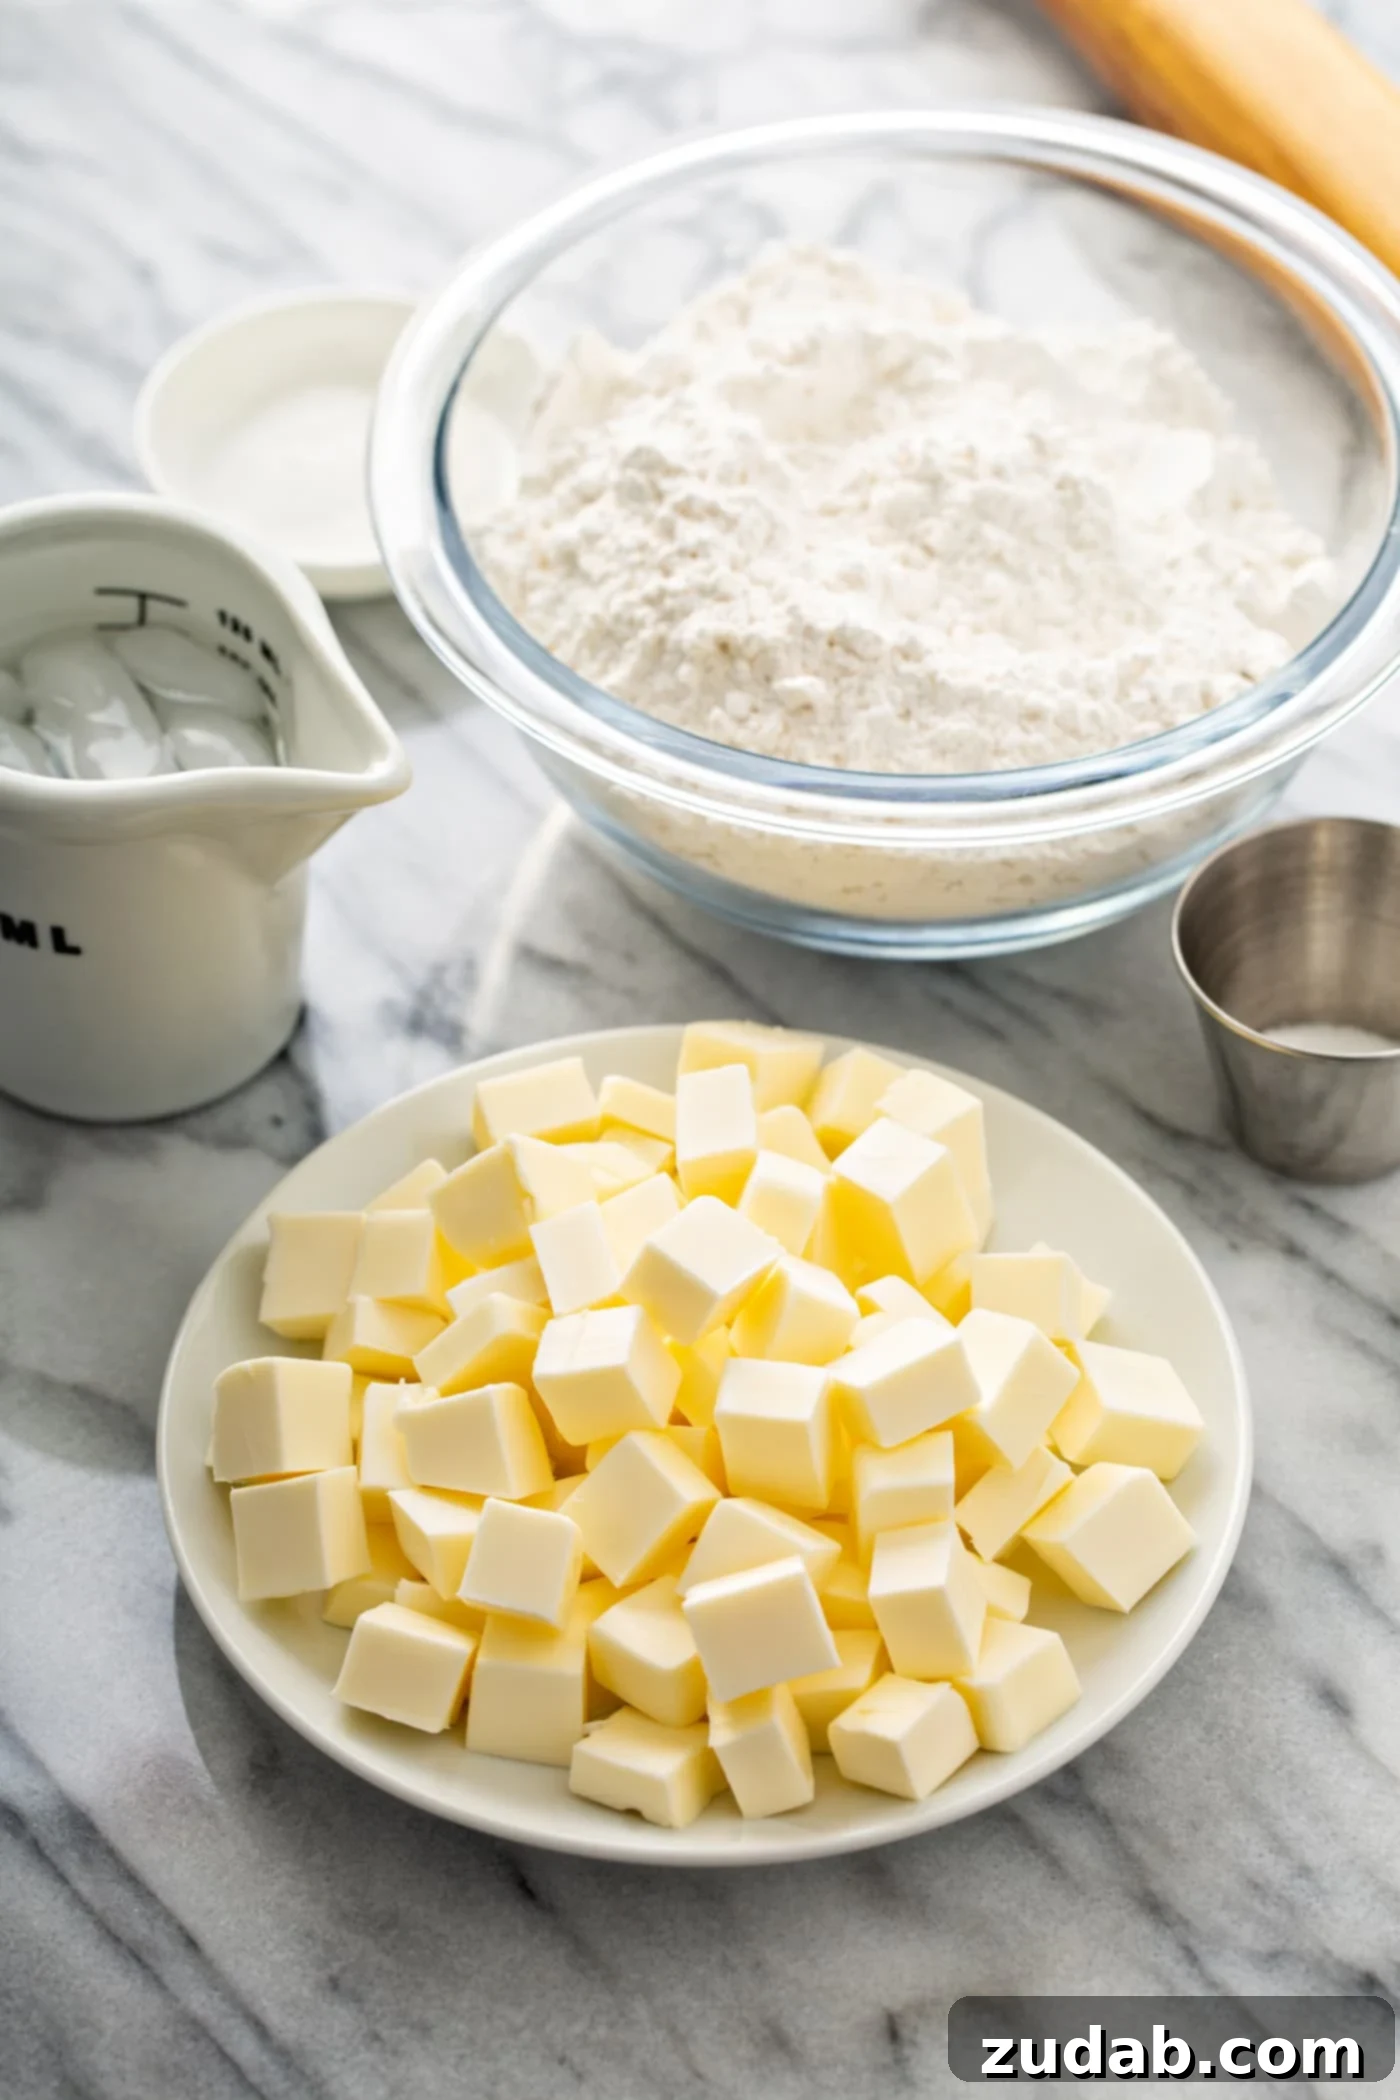
Ingredients for the Ultimate All Butter Pie Crust
Crafting a truly flaky pie crust doesn’t require a long list of fancy ingredients. In fact, its beauty lies in its simplicity, using just a few basic staples you likely already have in your pantry and refrigerator. The magic happens in how these simple components are handled:
- All-Purpose Flour: The foundation of our crust, providing structure.
- Salt: Essential for enhancing all the flavors, balancing the richness of butter.
- Unsalted Butter: The star ingredient, delivering incomparable flavor and flakiness. It must be very cold!
- Ice Water: Crucial for bringing the dough together without overworking the gluten, ensuring a tender crust.
- Granulated Sugar: A touch of sugar is added not to sweeten the crust, but to promote a beautiful golden-brown color and contribute to an even flakier texture.
You might notice the addition of a small amount of sugar in this recipe. While it won’t make your pie crust sweet, it plays a vital role in achieving that desirable golden hue and an extra crisp, flaky finish. Trust me, it’s a game-changer.
Keep reading to discover exactly why butter is my preferred fat for the perfect pie crust, and how to master the technique!
Choosing the Best Fat for Your Pie Crust: A Detailed Comparison
The choice of fat is perhaps the single most important factor determining the texture and flavor of your pie crust. I’ve explored various options over the years, including lard and shortening, but I consistently return to butter for its superior qualities. Here’s an in-depth look at each fat and why butter ultimately reigns supreme for the best all butter pie crust recipe:
Using Lard in Pie Crust
- Pros: Lard is renowned for producing an exceptionally crisp and incredibly flaky crust. Its higher melting point compared to butter means it softens less quickly when handled, making the dough easier to work with, especially for beginners or those working in warm kitchens. This can lead to a more robust and manageable dough.
- Cons: My primary hesitation with lard stems from the difficulty of consistently finding high-quality, neutral-tasting lard. Poor quality lard can impart an undesirable savory, almost porky flavor to your sweet pie, which can overpower delicate fillings. For this reason, I often find the effort not worth the potential flavor compromise.
Using Shortening in Pie Crust
I have nothing inherently against shortening; it has its place in the baking world. It’s often more affordable than butter, which can be a significant advantage. Sometimes, I even use a blend of shortening and butter in a “hybrid” crust. This allows me to capture some of the rich flavor of butter while benefiting from shortening’s excellent structural properties, particularly for intricate or decorative crusts.
- Pros: Shortening boasts the highest melting point among common baking fats, making the dough incredibly easy to cut into and roll out without becoming sticky or soft. This attribute makes it ideal for crafting elaborate decorative pie crusts, as shortening-based doughs hold their intricate shapes exceptionally well throughout the baking process. Its neutral flavor also ensures it won’t interfere with your pie’s filling.
- Cons: While shortening excels in texture and workability, its most significant drawback is a lack of flavor. A purely shortening-based crust can taste somewhat bland compared to the rich, nuanced notes butter provides.
Using Butter in Pie Crust
Ah, butter! It truly is one of the world’s best ingredients, and it’s the heart and soul of my favorite pie crust. I adore its rich, incomparable flavor, the delicate texture of the flaky crust it creates, and the convenience of always having it readily available in my kitchen.
- Pros: Butter delivers the ultimate flavor profile for a pie crust – rich, creamy, and undeniably delicious. Crucially, it forms incredibly light, airy, and flaky layers. This flakiness is largely due to butter’s water content. As the pie bakes, this water turns into steam, which pushes apart the layers of dough, creating those distinctive, heavenly pockets of flakiness. The result is a tender, crisp, and flavorful crust that melts in your mouth.
- Cons: Butter can be a bit more challenging to work with than shortening because it softens and melts very quickly, especially in warmer environments. The key is to keep your butter, and thus your dough, as cold as possible. If your dough feels too soft or sticky during handling, simply pop it into the refrigerator for 15-20 minutes to firm up. Conversely, if it becomes too hard to roll, let it sit on the counter for just a few minutes until it’s pliable. With a little practice, managing butter’s temperature becomes second nature.
How to Make a Flaky All Butter Pie Crust From Scratch (with Photos!)
Making homemade pie crust is a rewarding process, and following these steps will ensure a flaky, delicious result. Remember, keeping ingredients cold is paramount!
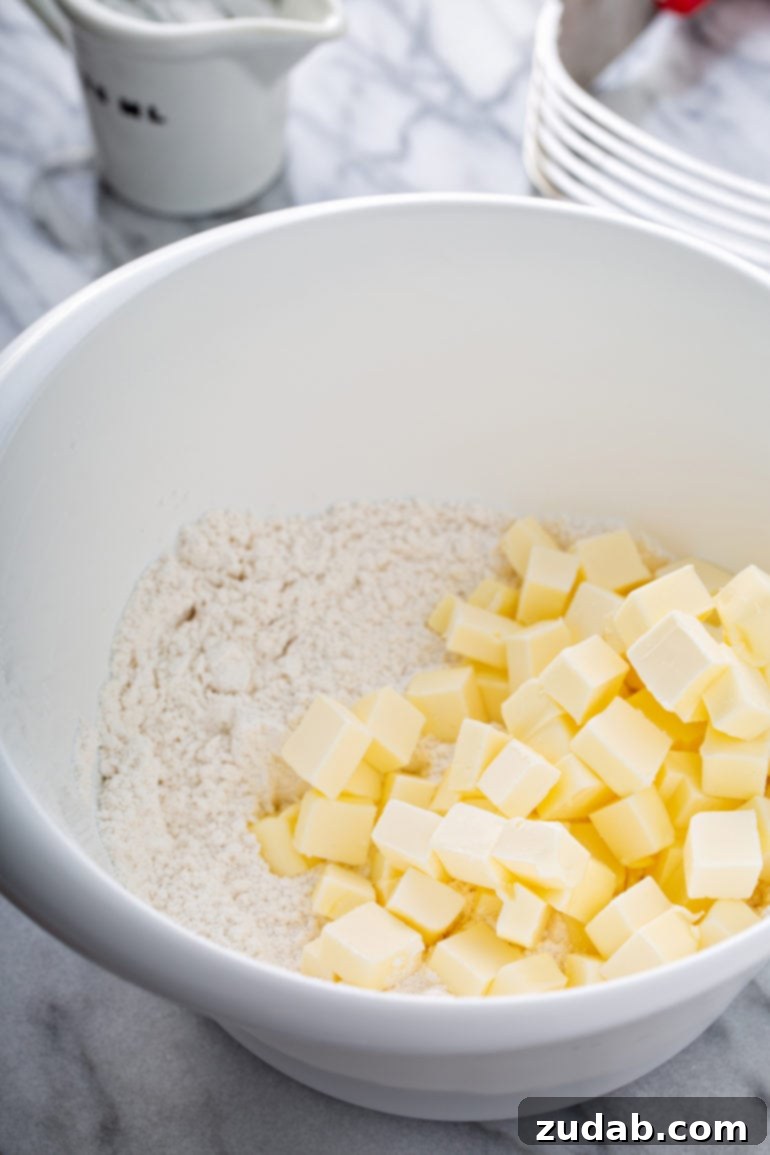
Step 1: Prepare Your Dry Ingredients. First, ensure your butter is in the refrigerator, keeping perfectly chilled. In a large mixing bowl, combine the all-purpose flour, granulated sugar, and salt. Whisk these dry ingredients together thoroughly to ensure even distribution.
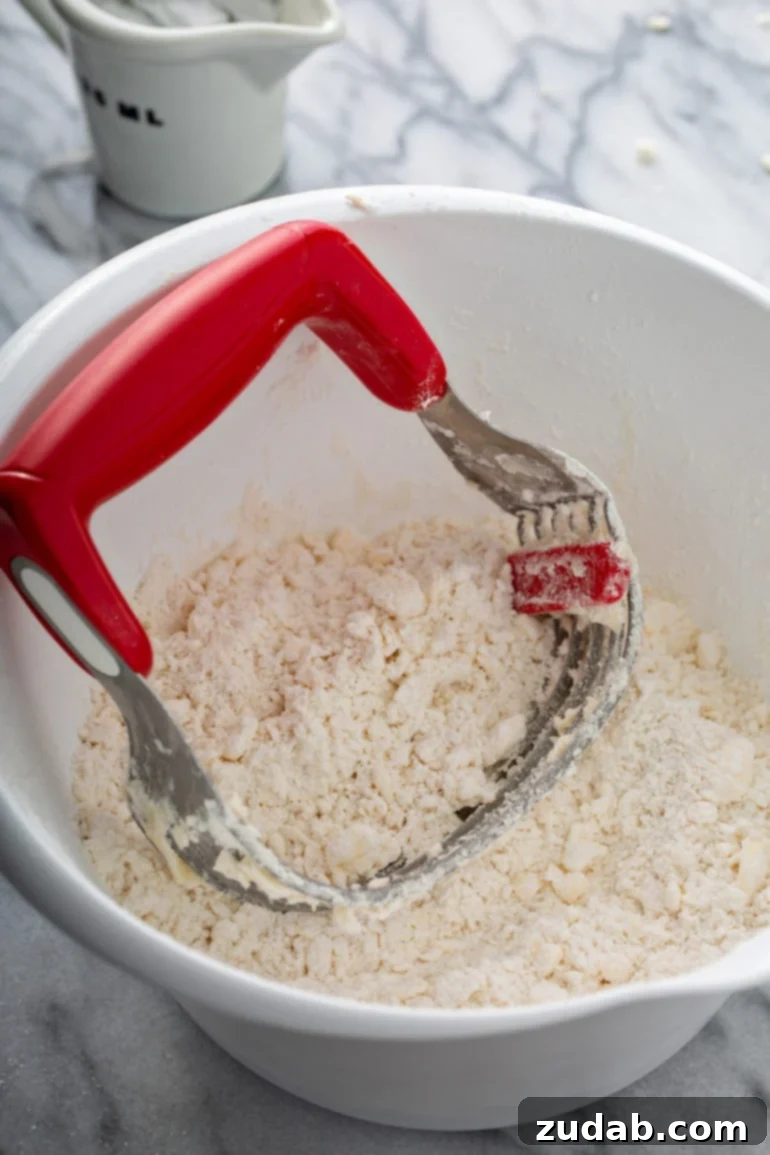
Step 2: Incorporate the Cold Butter. Remove your very cold unsalted butter from the fridge and quickly cut it into large, 1/2-inch chunks. Add these butter pieces directly into the flour mixture. Using a pastry blender (my preferred tool for controlling the butter size), a fork, or even your fingertips, cut the butter into the flour until it resembles coarse crumbs with some pea-sized pieces of butter remaining. The goal is to keep the butter as cold as possible and avoid overworking the dough, which develops gluten and can lead to a tough crust.
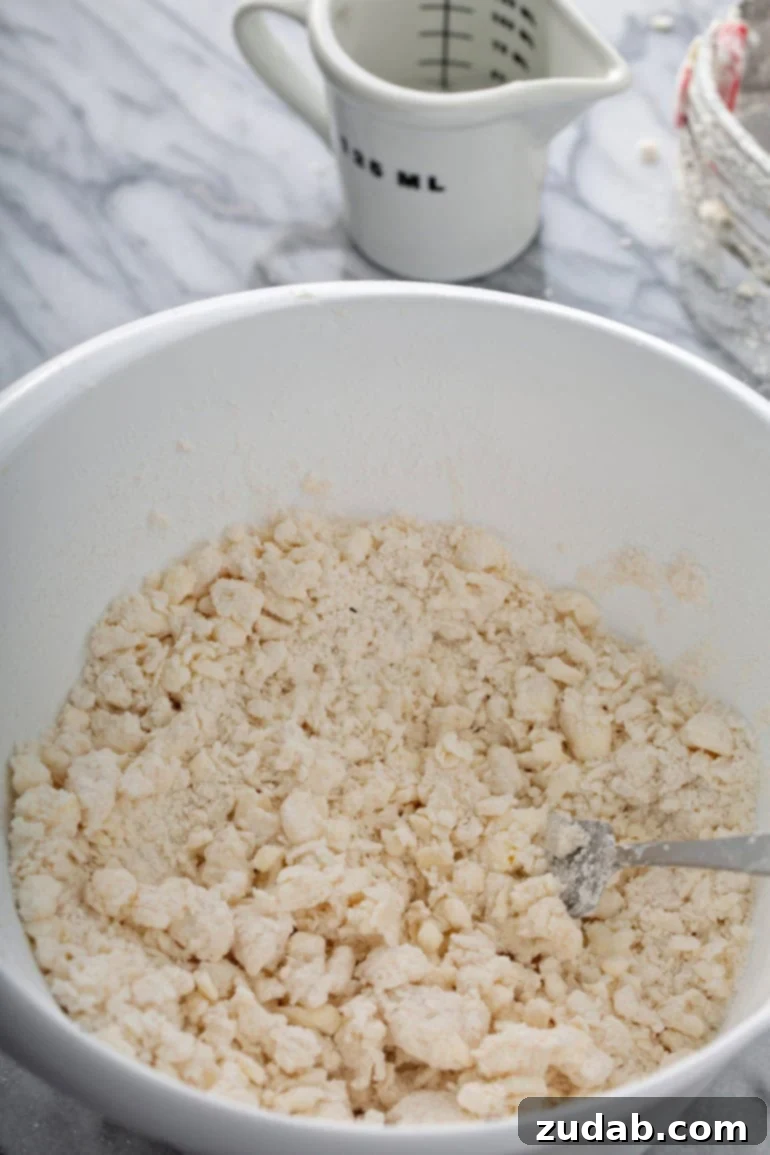
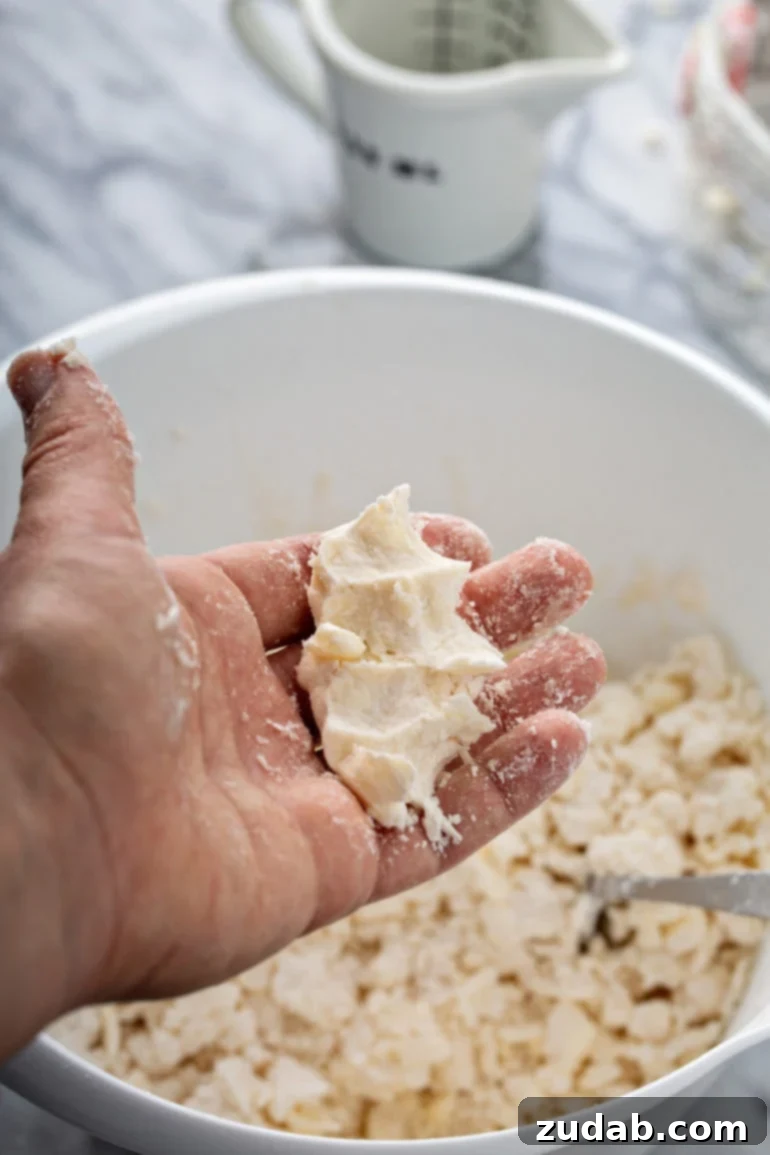
Step 3: Add the Ice Water Gradually. Fill a measuring cup with ice and water, ensuring the water is as cold as possible. Create a small well in the center of your flour and butter mixture. Begin adding the ice water, one tablespoon at a time, gently stirring with a fork. You’re looking for the mixture to *just* start coming together, remaining very shaggy and floury. It’s crucial not to add too much water too quickly. Test the dough by squeezing a small handful in your palm; if it holds its shape, it’s ready. A marble slab can also help keep your dough cool during this process.
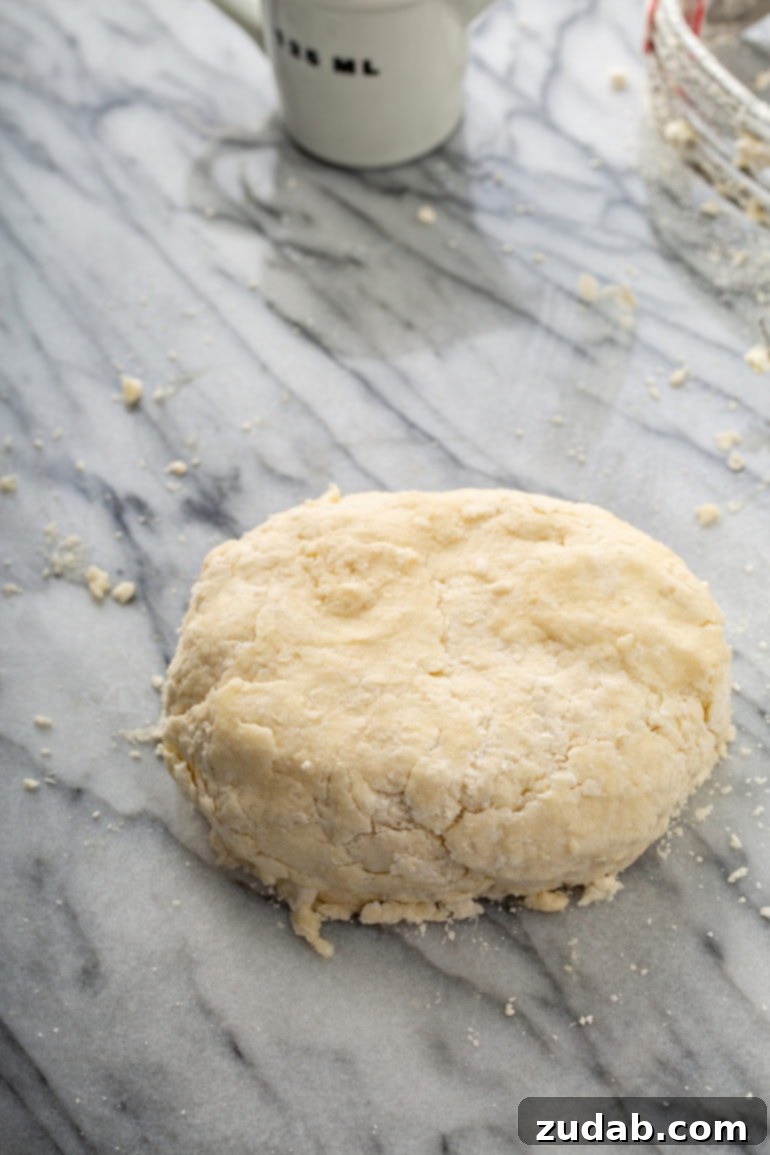
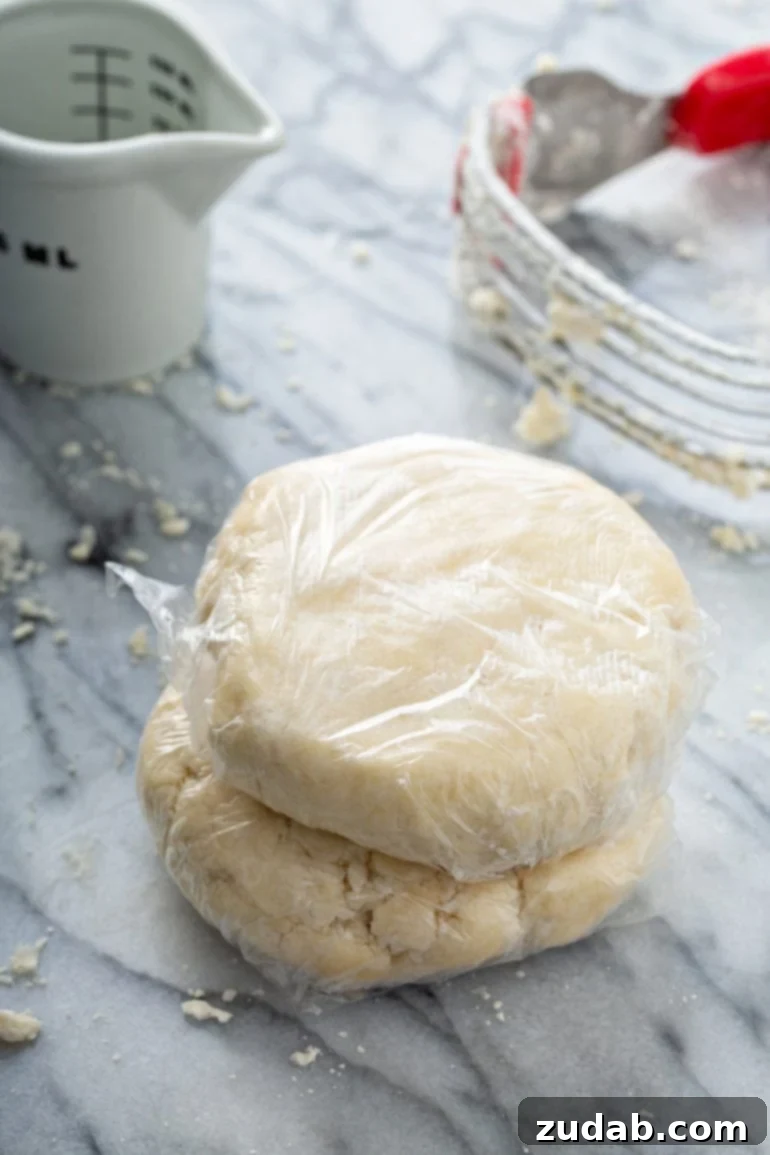
Step 4: Form and Wrap the Dough. Lightly dust your counter with flour or lay down a piece of plastic wrap. Carefully dump the shaggy dough and any remaining flour bits onto it. Gently gather the mixture into a cohesive ball, being careful not to knead or overwork it. Divide the dough into two equal disks if making a double-crust pie, or one large disk for a single crust. Wrap each disk tightly in plastic wrap.
Step 5: Chill the Dough. Place the tightly wrapped dough disks in the refrigerator to chill for at least 1-2 hours, or up to 2 days. This crucial chilling period allows the gluten to relax, preventing shrinkage during baking, and ensures the butter firms up, which is essential for achieving those coveted flaky layers. If you’re in a hurry, you can even pop it into the freezer for 15-20 minutes.
Tip: The Squeeze Test. Even if the dough looks crumbly and shaggy in the bowl, perform the squeeze test. If it holds together when pressed firmly in your hand, it has enough moisture and is ready for chilling. The plastic wrap is vital during chilling to prevent the dough from drying out and to keep the butter from melting prematurely.
Watch How This Pie Crust Comes Together…
Picking the Best Pie Crust for Your Pie Filling
Did you know the type of pie filling you choose should influence how you prepare your crust? It’s a key factor in achieving pie perfection! The way you incorporate the fat into the flour determines the final texture of your crust, which in turn impacts how well it complements your chosen filling.
When to Make a Flaky Pie Crust
Flaky crusts are absolutely ideal for pies with juicy fruit fillings, such as our Razzleberry Pie, Peach Pie, or Apple Pie. The light, airy, and tender layers of a flaky crust provide a wonderful textural contrast to the soft, sweet fruit inside. To achieve this, the fat (in our case, cold butter) is cut into larger pieces, roughly the size of walnut halves or slightly smaller, into the flour. Why? These larger fat pieces create pockets within the dough. As the pie bakes, the water in the butter evaporates, creating steam that puffs up these pockets, resulting in distinct, delicate layers.
When to Make a Mealy Pie Crust
Conversely, mealy crusts are best suited for pies with moist fillings, such as creamy custards or rich cream pies, like our French Silk Pie or a classic Pumpkin Pie. The tighter, more compact structure of a mealy crust creates a better barrier against moisture, helping to prevent a soggy bottom. For a mealy crust, the butter is cut into much smaller pieces – about the size of peas or even finer – and more thoroughly integrated into the flour. With less distinct pockets of fat, less steam is generated, leading to a denser, firmer crust that stands up beautifully to wet fillings.
Here’s a practical example to illustrate: When making a savory dish like a chicken pot pie, which type of crust would you choose?
It’s not a fruit pie, but it’s also not a dense, firm custard. The answer is still a more mealy crust! You want that rich, saucy filling inside to remain contained and not turn your beautiful bottom crust into a wet mess. This choice ensures the crust remains firm and acts as an effective barrier. Does that make sense?
Should I Use an Egg Wash on My All Butter Pie Crust?
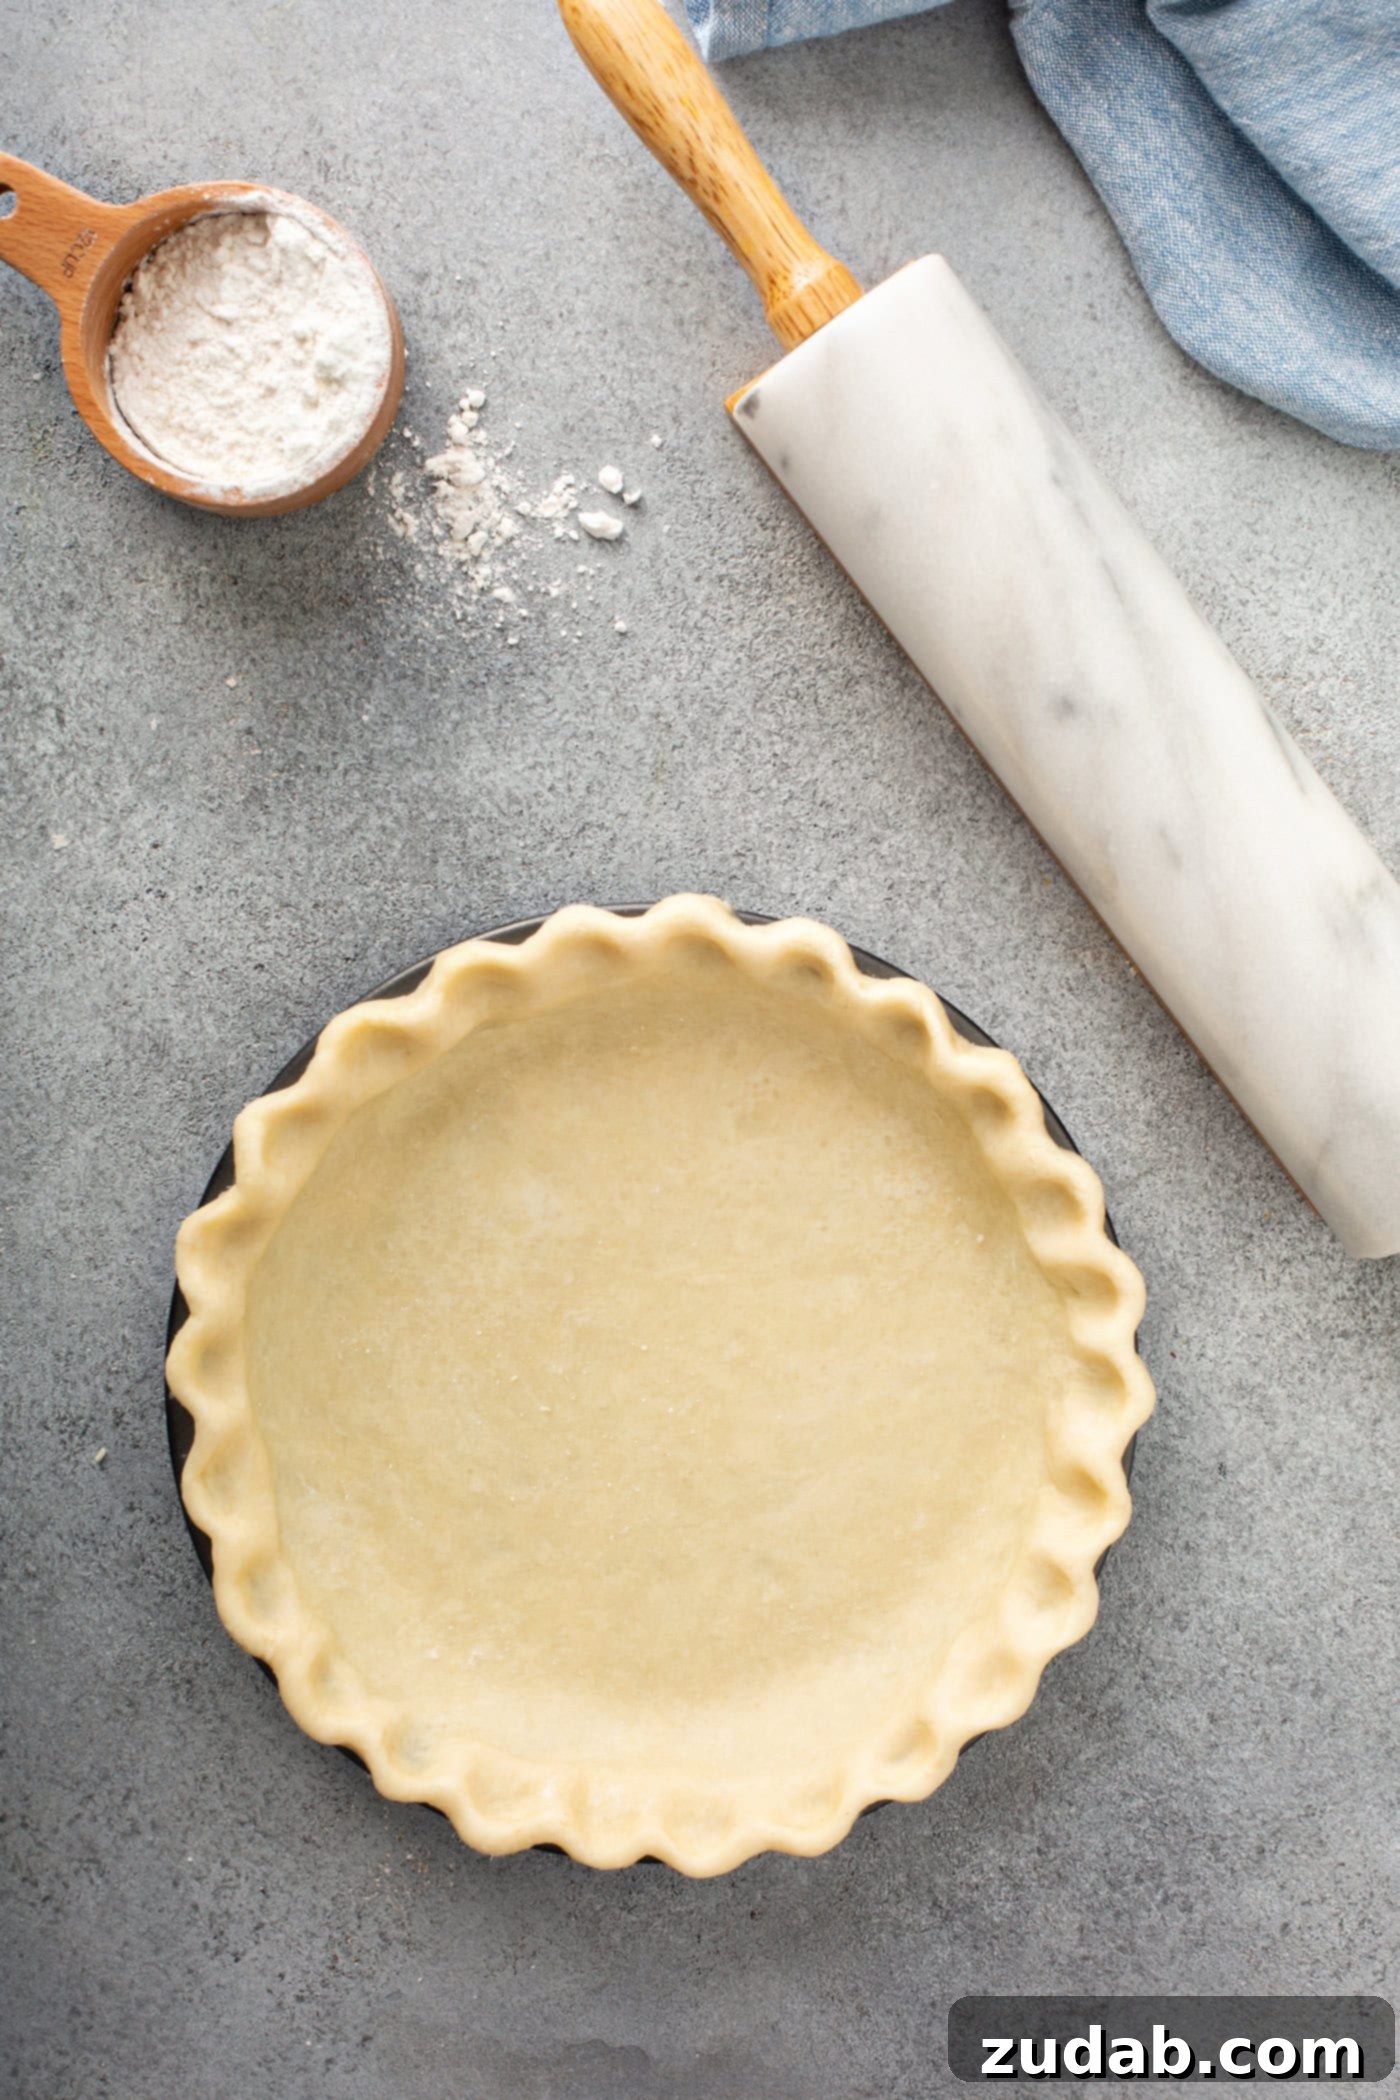
Absolutely! An egg wash is a simple yet powerful technique that can dramatically improve the appearance of your pie crust. It’s not strictly necessary for taste or texture, but if you desire that stunning, glossy, golden-brown finish that makes a pie truly irresistible, an egg wash is your secret weapon. A basic egg wash can be made with a whole egg whisked with a tablespoon of water or milk, applied lightly over the crust before baking. Different combinations (egg yolk for deeper color, egg white for gloss) can yield varying results.
Why is Pie Crust Too Crumbly to Roll Out?
If you find your pie dough stubbornly crumbly and difficult to roll, it’s almost always a sign that it is too dry. This usually happens if not enough liquid was added initially or if the flour-to-fat ratio is off. The solution is straightforward: add a few sprinkles of very cold water, just half a tablespoon at a time, mixing gently with your hands or a fork. Continue adding water in small increments until the dough just comes together and is evenly moist, but not sticky. Be careful not to overhandle the dough during this process, as excessive manipulation can lead to a tough crust by developing too much gluten.
Why Does Pie Crust Shrink During Baking?
Pie crust shrinking during baking is a common frustration, often a result of the dough not being “rested” adequately. The kneading and rolling process activates gluten in the flour, causing the dough to become elastic. If the dough isn’t given sufficient time to rest in the refrigerator, the gluten remains tense, and it will contract when exposed to the heat of the oven. This causes the crust to pull away from the edges of the pie dish. Resting time allows the gluten strands to relax, which plays a significant role in preventing shrinkage and ensures your pie crust maintains its shape beautifully.
How to Crimp Pie Edges for a Beautiful Finish
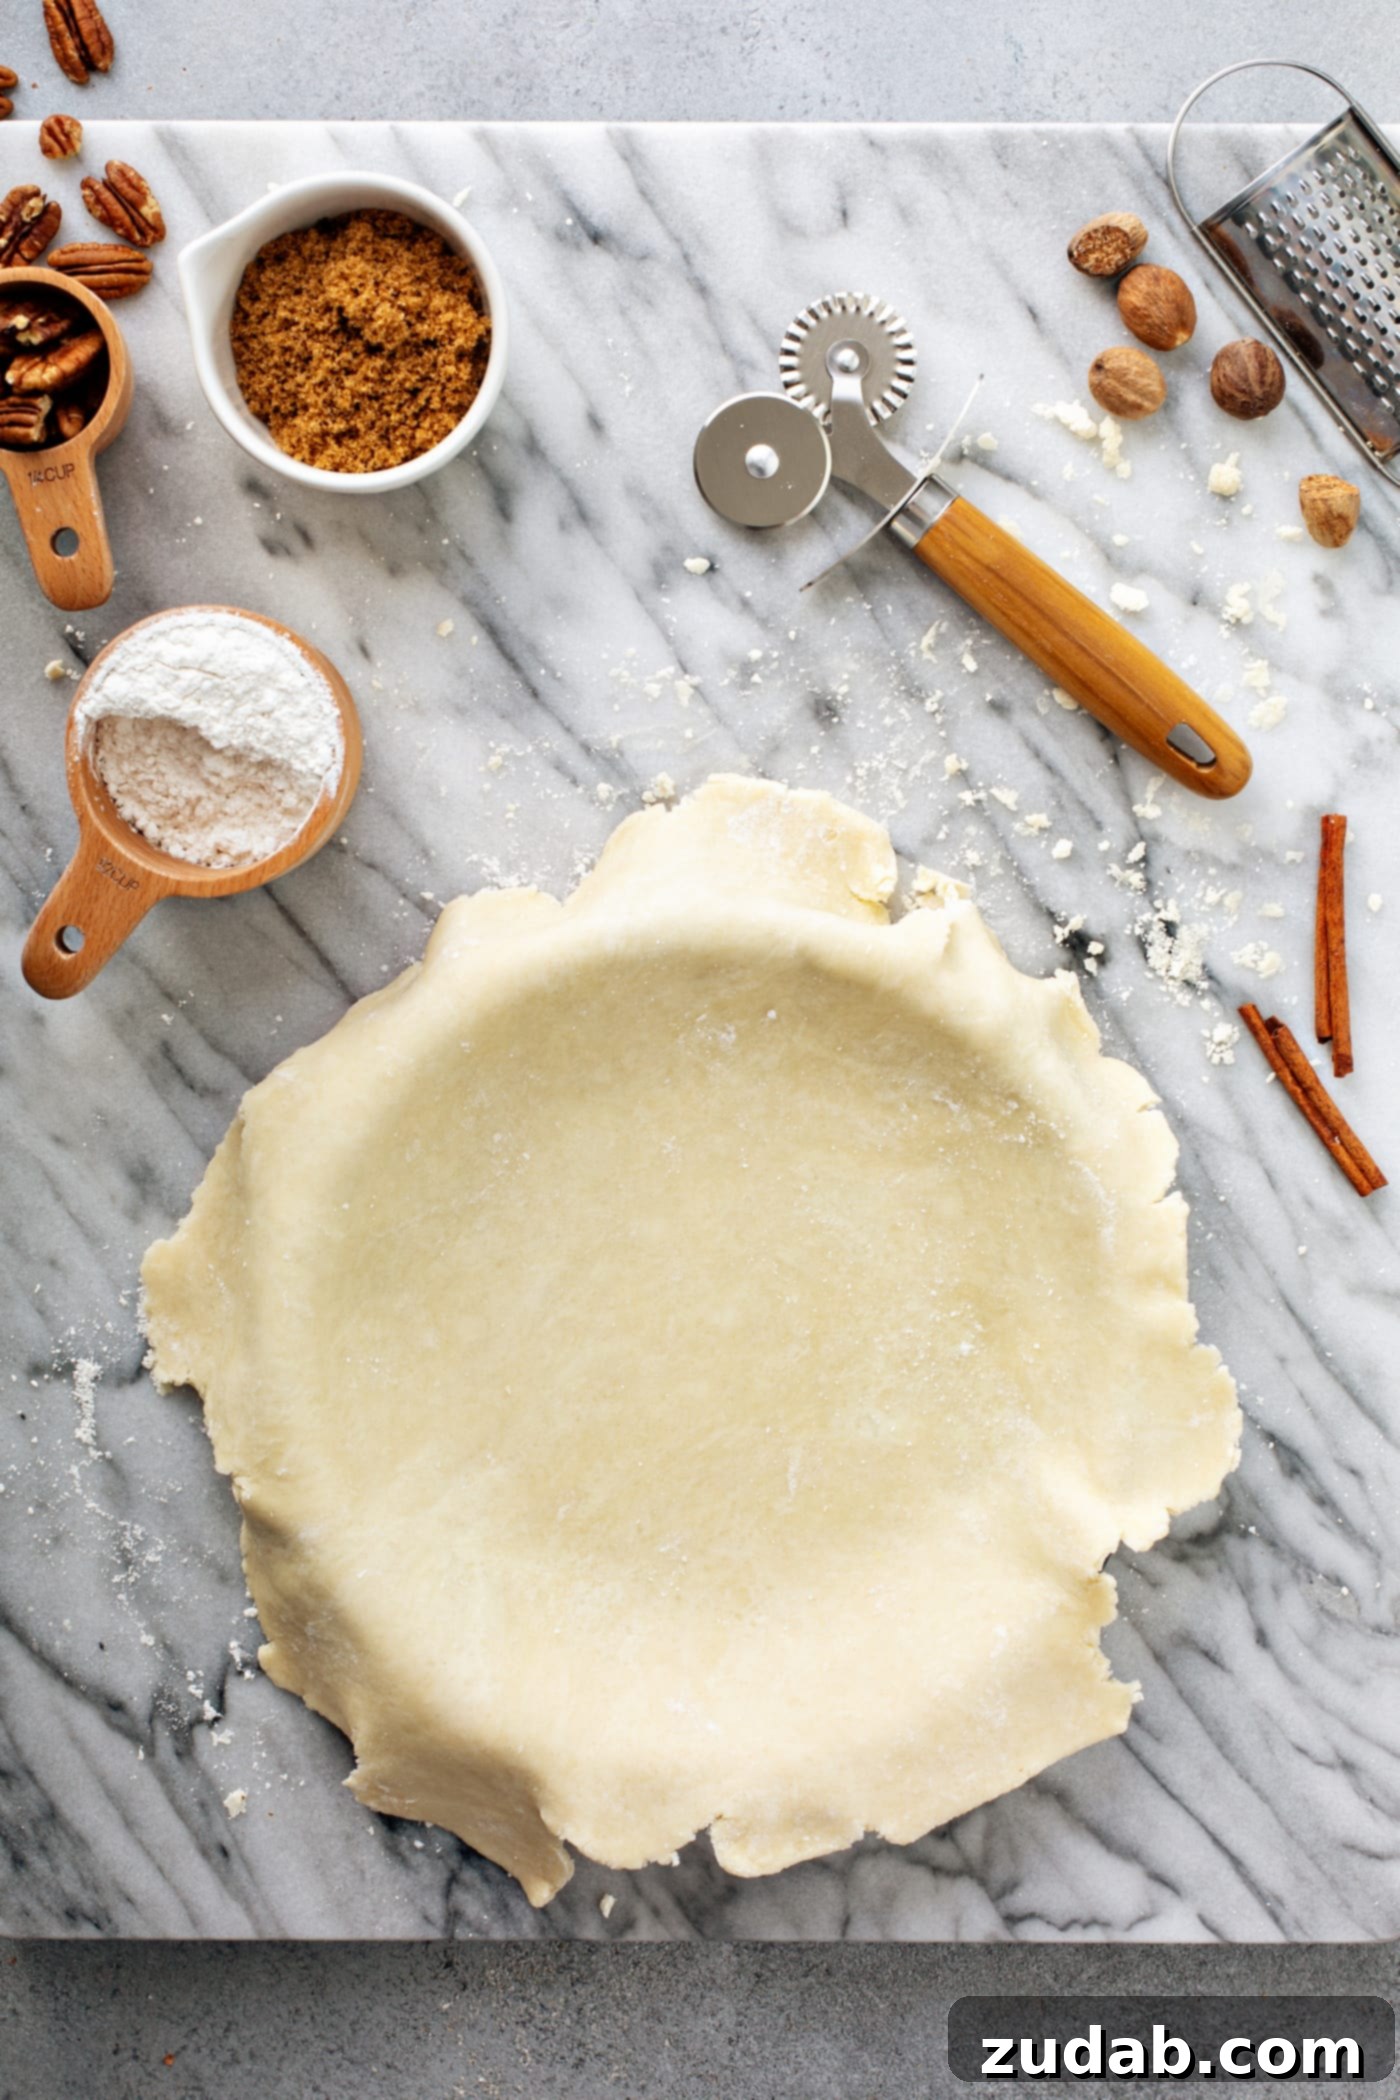
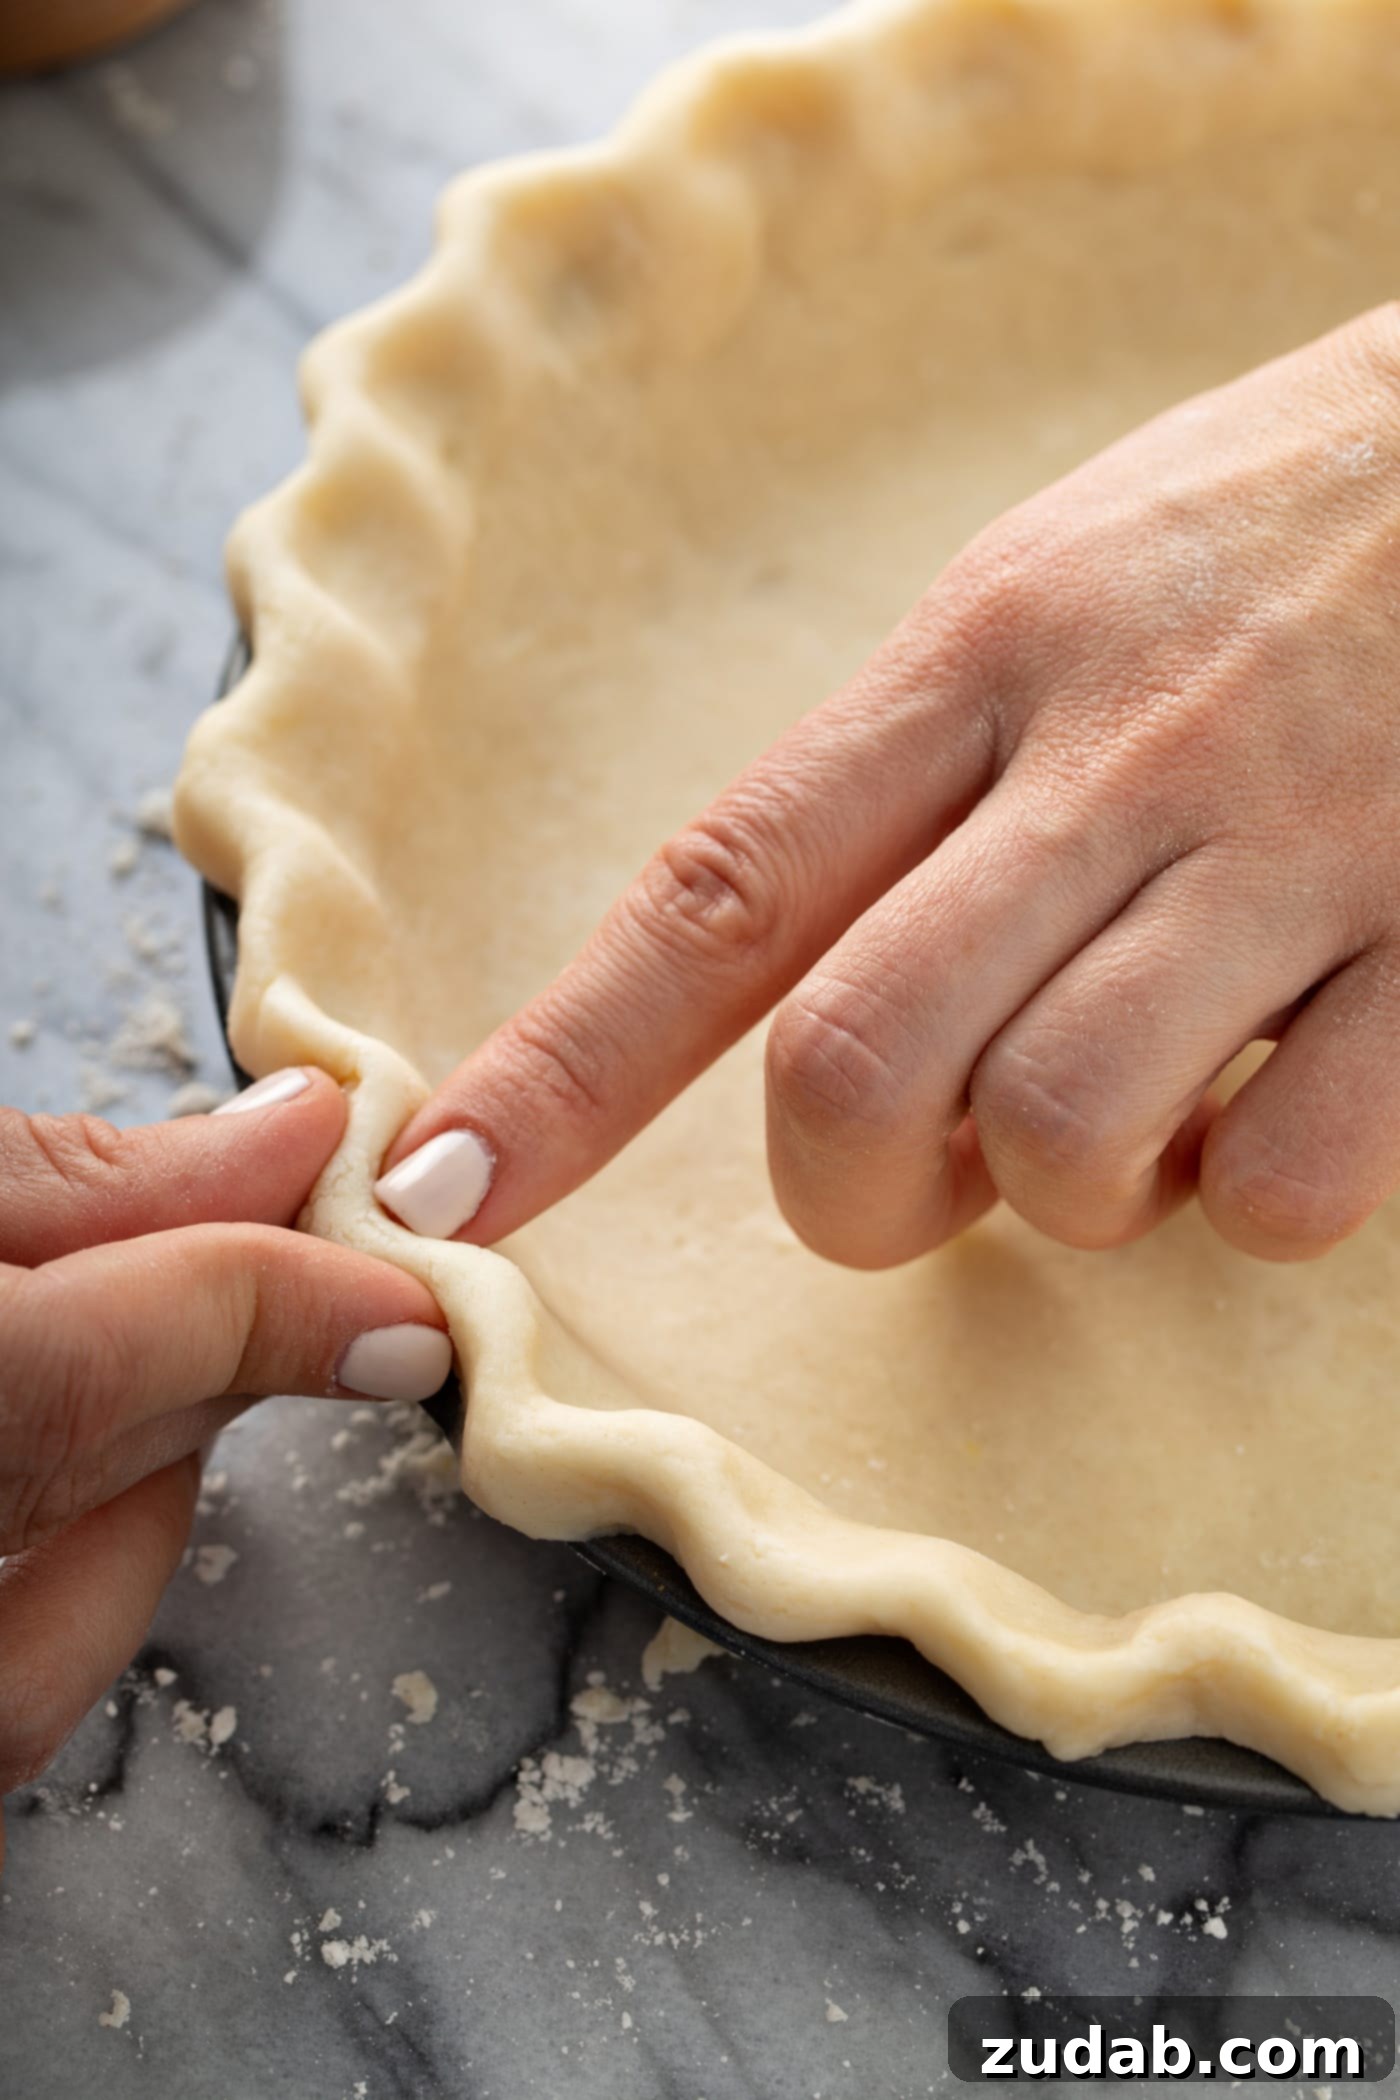
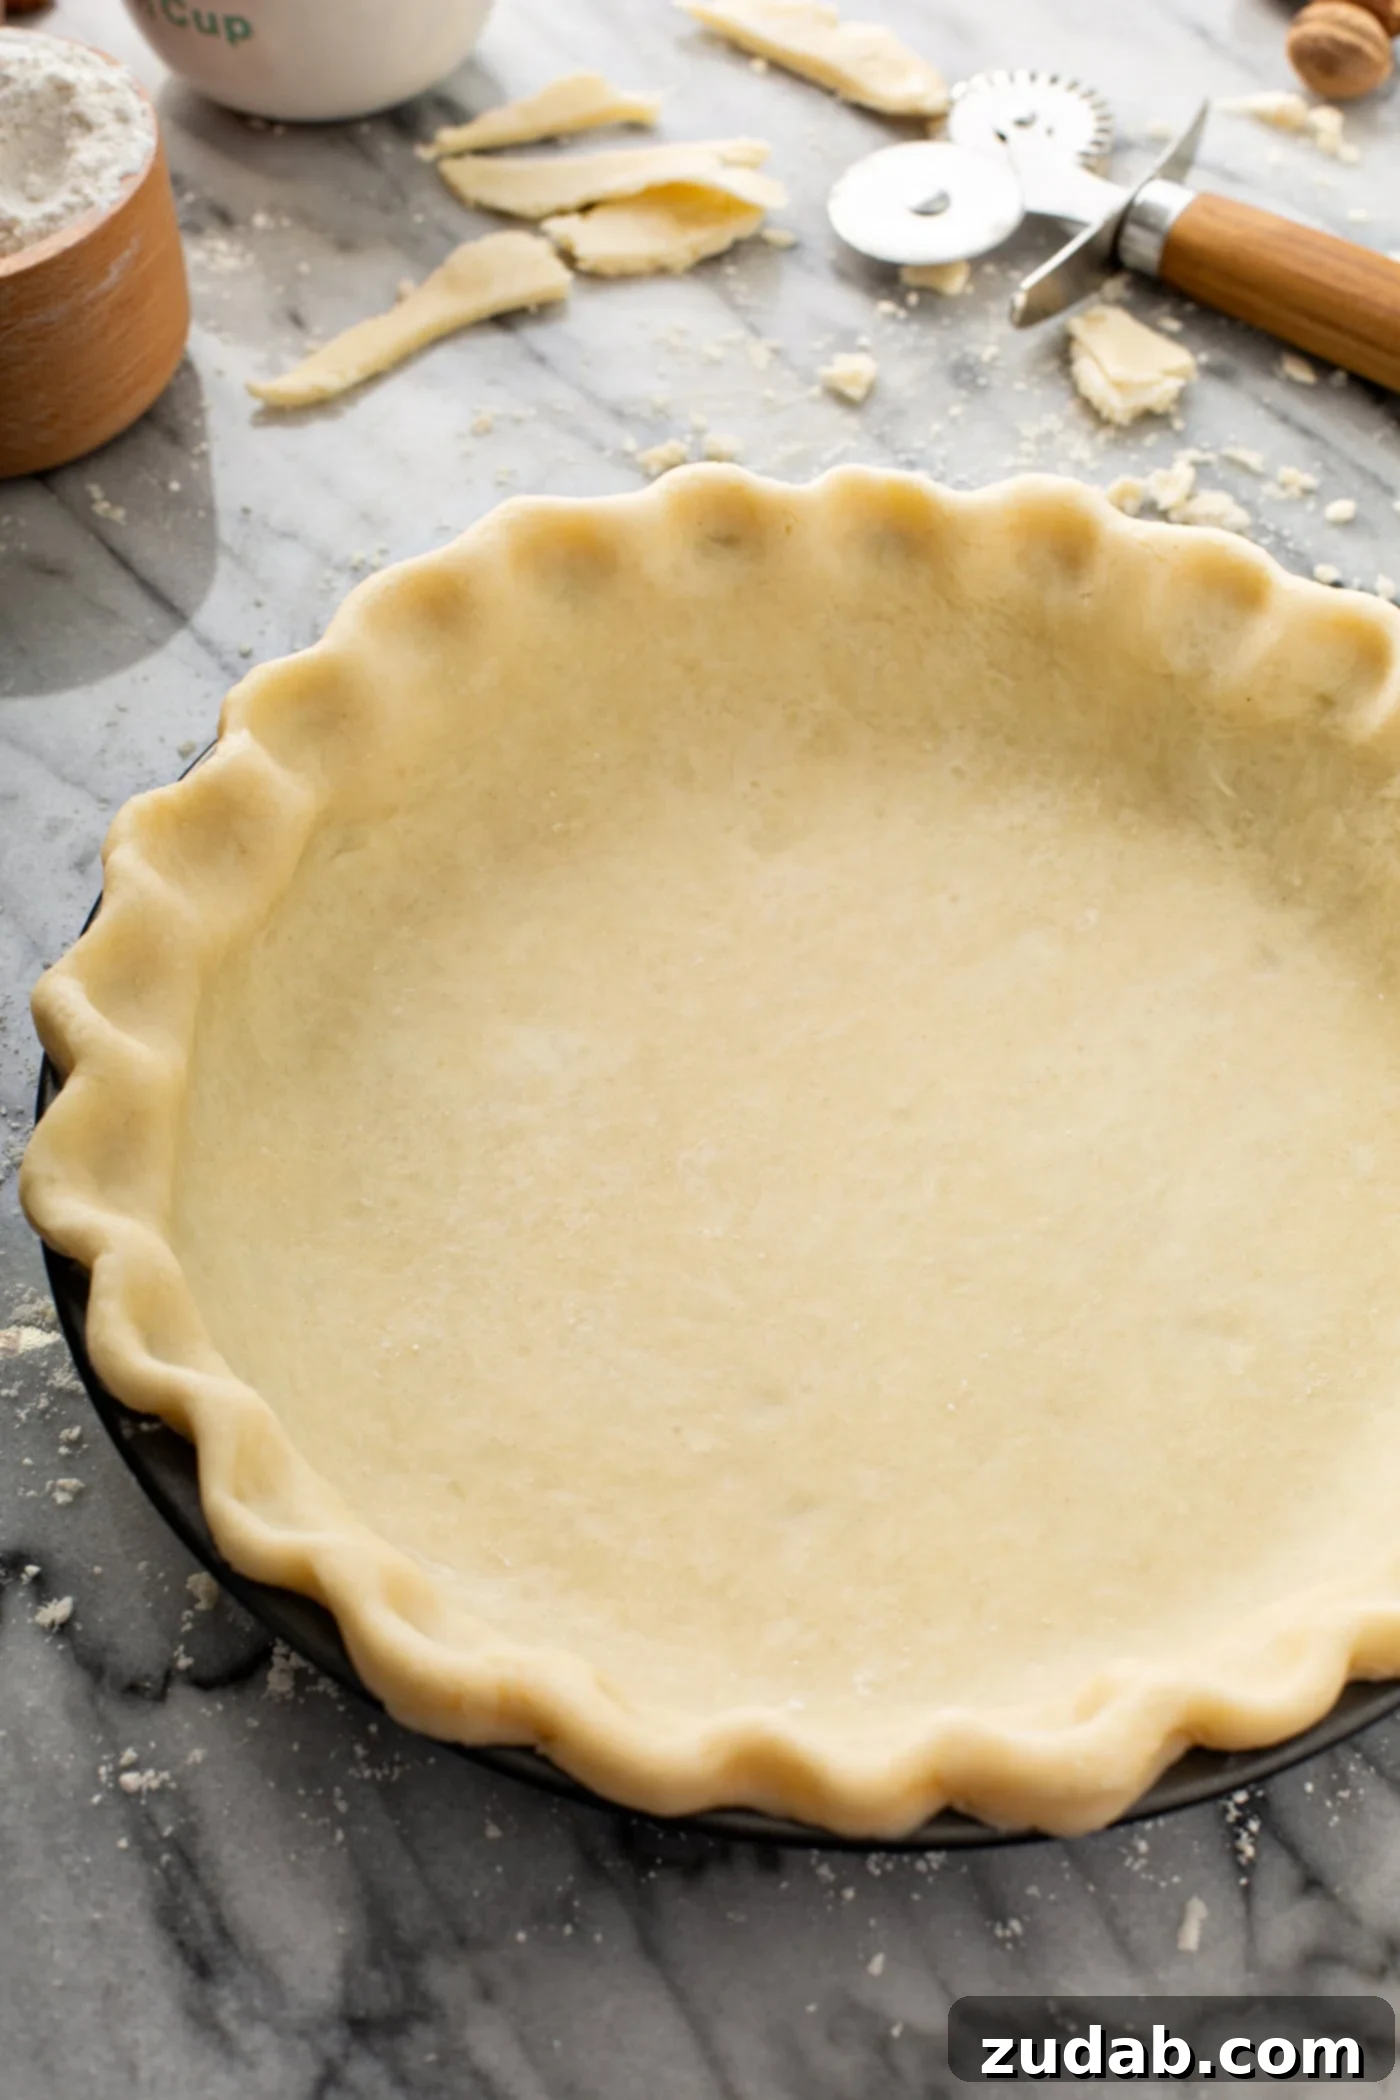
Crimping pie crust edges is a classic technique that adds both visual appeal and a neat border to your pie. It’s a skill I learned growing up, and teaching my own daughters brought back how simple yet effective it is. There are many ways to crimp, but this method is straightforward and elegant:
To crimp the edges: Once your pie dough is draped over the pie plate and trimmed, use the index knuckle or finger of one hand to push the inner edge of the crust outwards. Simultaneously, use the thumb and index finger of your other hand to pinch the outer edge of the crust inwards. This creates a beautifully scalloped and defined rim. Repeat this motion all the way around the pie.
How to Blind Bake a Pie Crust and Avoid a Soggy Bottom
A “soggy bottom” is every pie maker’s nightmare, particularly with wetter fillings. Blind baking (or pre-baking) your pie crust is the best defense against this common problem. This technique partially or fully bakes the crust before adding the filling. For an ultra-crisp crust, I recommend a combination of docking, using pie weights, and an optional egg wash followed by further baking. For all the comprehensive details on how to perfectly blind bake a pie crust, check out our in-depth guide in the Lemon Meringue Pie recipe post.
Can You Freeze Pie Crust for Future Use?
Yes, absolutely! Pie dough freezes exceptionally well, making it a fantastic make-ahead option for busy bakers. To freeze unbaked pie crust, wrap the dough disks tightly in several layers of heavy-duty aluminum foil or plastic freezer wrap, or place them in an airtight freezer bag, ensuring it’s sealed completely to prevent freezer burn. When you’re ready to use it, transfer the frozen dough to the refrigerator and allow it to thaw completely for at least 2 hours (or preferably overnight) before rolling and baking. This convenience means you can always have a homemade crust ready for any occasion!
Top Tips for Making the BEST All Butter Pie Crust Every Time
Achieving a truly spectacular all butter pie crust is easier than you think, especially when you keep these crucial tips in mind:
- Keep Everything Cold: This is the golden rule of pie making. All your ingredients – especially the butter and water – must be super cold. Use ice water, and take the butter straight from the fridge (or even a quick pop in the freezer for 10-15 minutes). Cold fat prevents gluten development and creates those desirable flaky layers. If your butter melts, your crust will be tough, not flaky.
- Do Not Overwork the Dough: Once you combine the ingredients and add the water, stir just until the dough barely comes together. Overworking the dough develops too much gluten, resulting in a dense, tough crust rather than a tender, flaky one. A shaggy, somewhat crumbly dough is exactly what you’re aiming for before chilling.
- Chill, Chill, Chill: I often move my dough into the fridge after cutting in the butter, and again once all ingredients are combined and formed into a disk. This extra chilling ensures the butter stays solid and the gluten relaxes, both critical for a tender, flaky crust that won’t shrink when baked. Don’t skip the refrigeration!
- Freeze Before Baking: For an extra layer of protection against shrinking, place your rolled-out pie crust (in its tin) into the freezer for 10-15 minutes just before it goes into the oven. This rapid chill helps the butter firm up even more, ensuring it holds its shape during the initial blast of heat.
Essential Pie Baking Tools for Perfect Results
Whether you’re a seasoned pie fanatic or just starting your baking journey, having the right tools can make all the difference in ensuring your homemade pie turns out beautifully every time. These few essentials will streamline your process and elevate your results:
- Pastry Blender: I am a strong advocate for cutting fat into flour by hand using a pastry blender, rather than a food processor. This gives you much greater control and reduces the risk of overworking the dough. Look for one with a comfortable handle and sturdy, sharp cutters. I particularly recommend this OXO version for its ergonomic design and efficiency.
- Silicone Baking Mat: A large, non-stick silicone baking mat is a game-changer for rolling out pie dough. It eliminates the need for excessive extra flour, which can dry out your crust, and often features measurement guides, so you don’t need a ruler to achieve the perfect size. It makes cleanup a breeze too!
- Wooden Rolling Pin: While I’ve used handled rolling pins for years, I’ve recently discovered a preference for a French pin (a tapered dowel). Its design makes it incredibly easy to turn and smooth the dough, allowing for more precise control and an even roll, without leaving marks from handles.
- Pastry Cutter Wheel: If you’re planning a beautiful lattice pie or simply want to create a fancier, decorative edge for your crust, this simple tool is a must-have. Many versions are double-sided, offering different cutting patterns.
- The BEST Pie Dish: A high-quality pie dish can significantly impact your results. Look for one that promotes even baking and browning. My recommendation is a ceramic or glass dish, especially those with darker or gold-toned finishes, which help ensure a beautifully golden crust without dark edges, thanks to their heat distribution properties.
- Pastry Brush: To achieve that gorgeous, shiny, golden crust, an egg wash is essential. A good pastry brush allows for even application of the wash, ensuring a consistent, beautiful finish.
- Pie Stamps: While certainly NOT essential, pie stamps are a fun and easy way to add charm to your pies, especially if you’re nervous about crimping or lattice work. Simply stamp out cute shapes from your top crust, and voilà – instant beauty!
- Pie Weights: For blind baking, reusable pie weights are an absolute must. Ditch the dried beans (which can impart odors or burn) and invest in ceramic or metal weights. They effectively hold your crust in shape, preventing it from puffing up or shrinking during pre-baking.
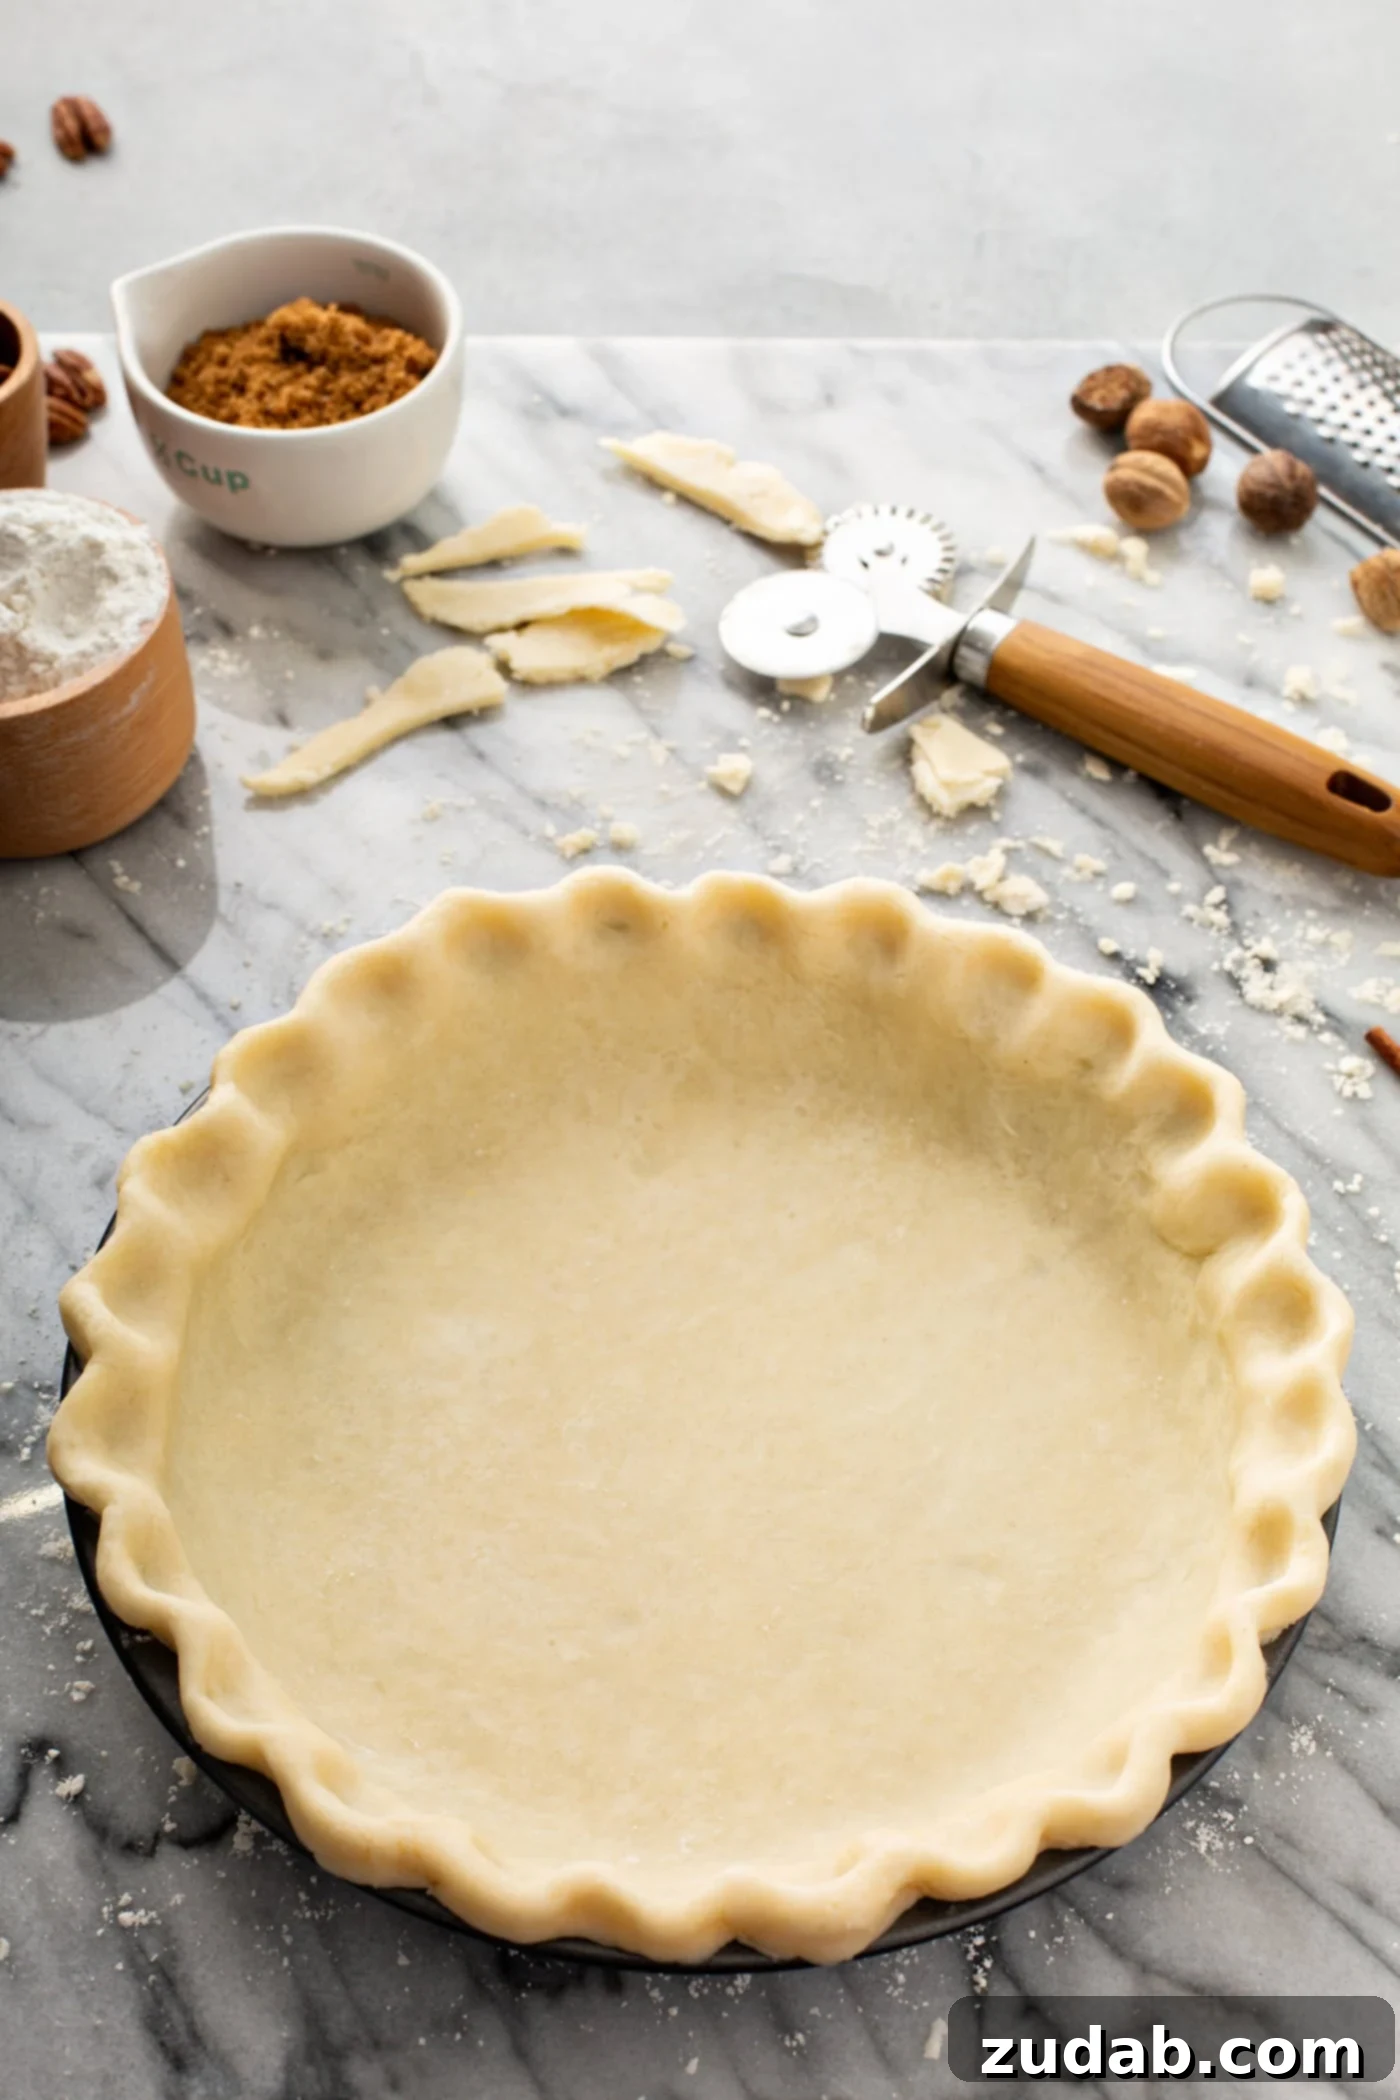
With this comprehensive guide and my foolproof all butter pie crust recipe, you’ll never need another one again! This crust is so rich, so buttery, and perfectly flaky – it truly transforms any pie into a masterpiece. Honestly, I could almost eat the crust plain, but why would I when it can be filled with even more deliciousness? Get ready to impress everyone with your newfound pie-making skills!
Our Favorite Pie Recipes:
- Razzleberry Pie
- French Silk Pie
- Peach Pie
- Strawberry Pie
- No Bake Chocolate Pie
- Tomato Pie
- Apple Pie
- Pumpkin Pie
- Blueberry Pie
- Pecan Pie
- Marionberry Pie
- All our PIE RECIPES!
All Butter Pie Crust
Ingredients
US Customary – Metric
- 2 ½ Cups All-Purpose Flour
- 1 teaspoon Granulated Sugar
- 1 teaspoon Salt
- 1 Cup Unsalted Butter, very-cold and cut into 1/2 inch cubes (this is 2 sticks)
- 8 Tablespoons Ice Water
Instructions
-
Place the flour, sugar and salt into a bowl and mix well.2 ½ Cups All-Purpose Flour, 1 teaspoon Granulated Sugar, 1 teaspoon Salt
-
Add the butter and using a pastry cutter or two forks, mix until the butter is pea sized.1 Cup Unsalted Butter
-
Add the ice water (*see note), just a few tablespoons at a time, stirring gently with a fork until the dough is just coming together but is still crumbly. Test that the dough is ready by squeezing the dough in your hands until it holds.8 Tablespoons Ice Water
-
Smash the dough together and separate into two balls.
-
Wrap in plastic wrap and rest in the fridge for 1-2 hours or up to 2 days in advance (you’ll want to let the dough sit on the counter a good 10 minutes before rolling). **See notes for freezing.
-
Allow to sit out for a few minutes and then roll out dough as the pie recipe instructs. ***See notes for information on blind baking a pie crust.
Recipe Notes
**Pie crust can be made ahead and frozen for up to 2 months. Allow to thaw completely on the counter before rolling
*** How to Blind Bake a Pie Crust – head to our Lemon Meringue Pie post for all the details on blind baking a crust.
Nutrition
Nutrition information is automatically calculated, so should only be used as an approximation.