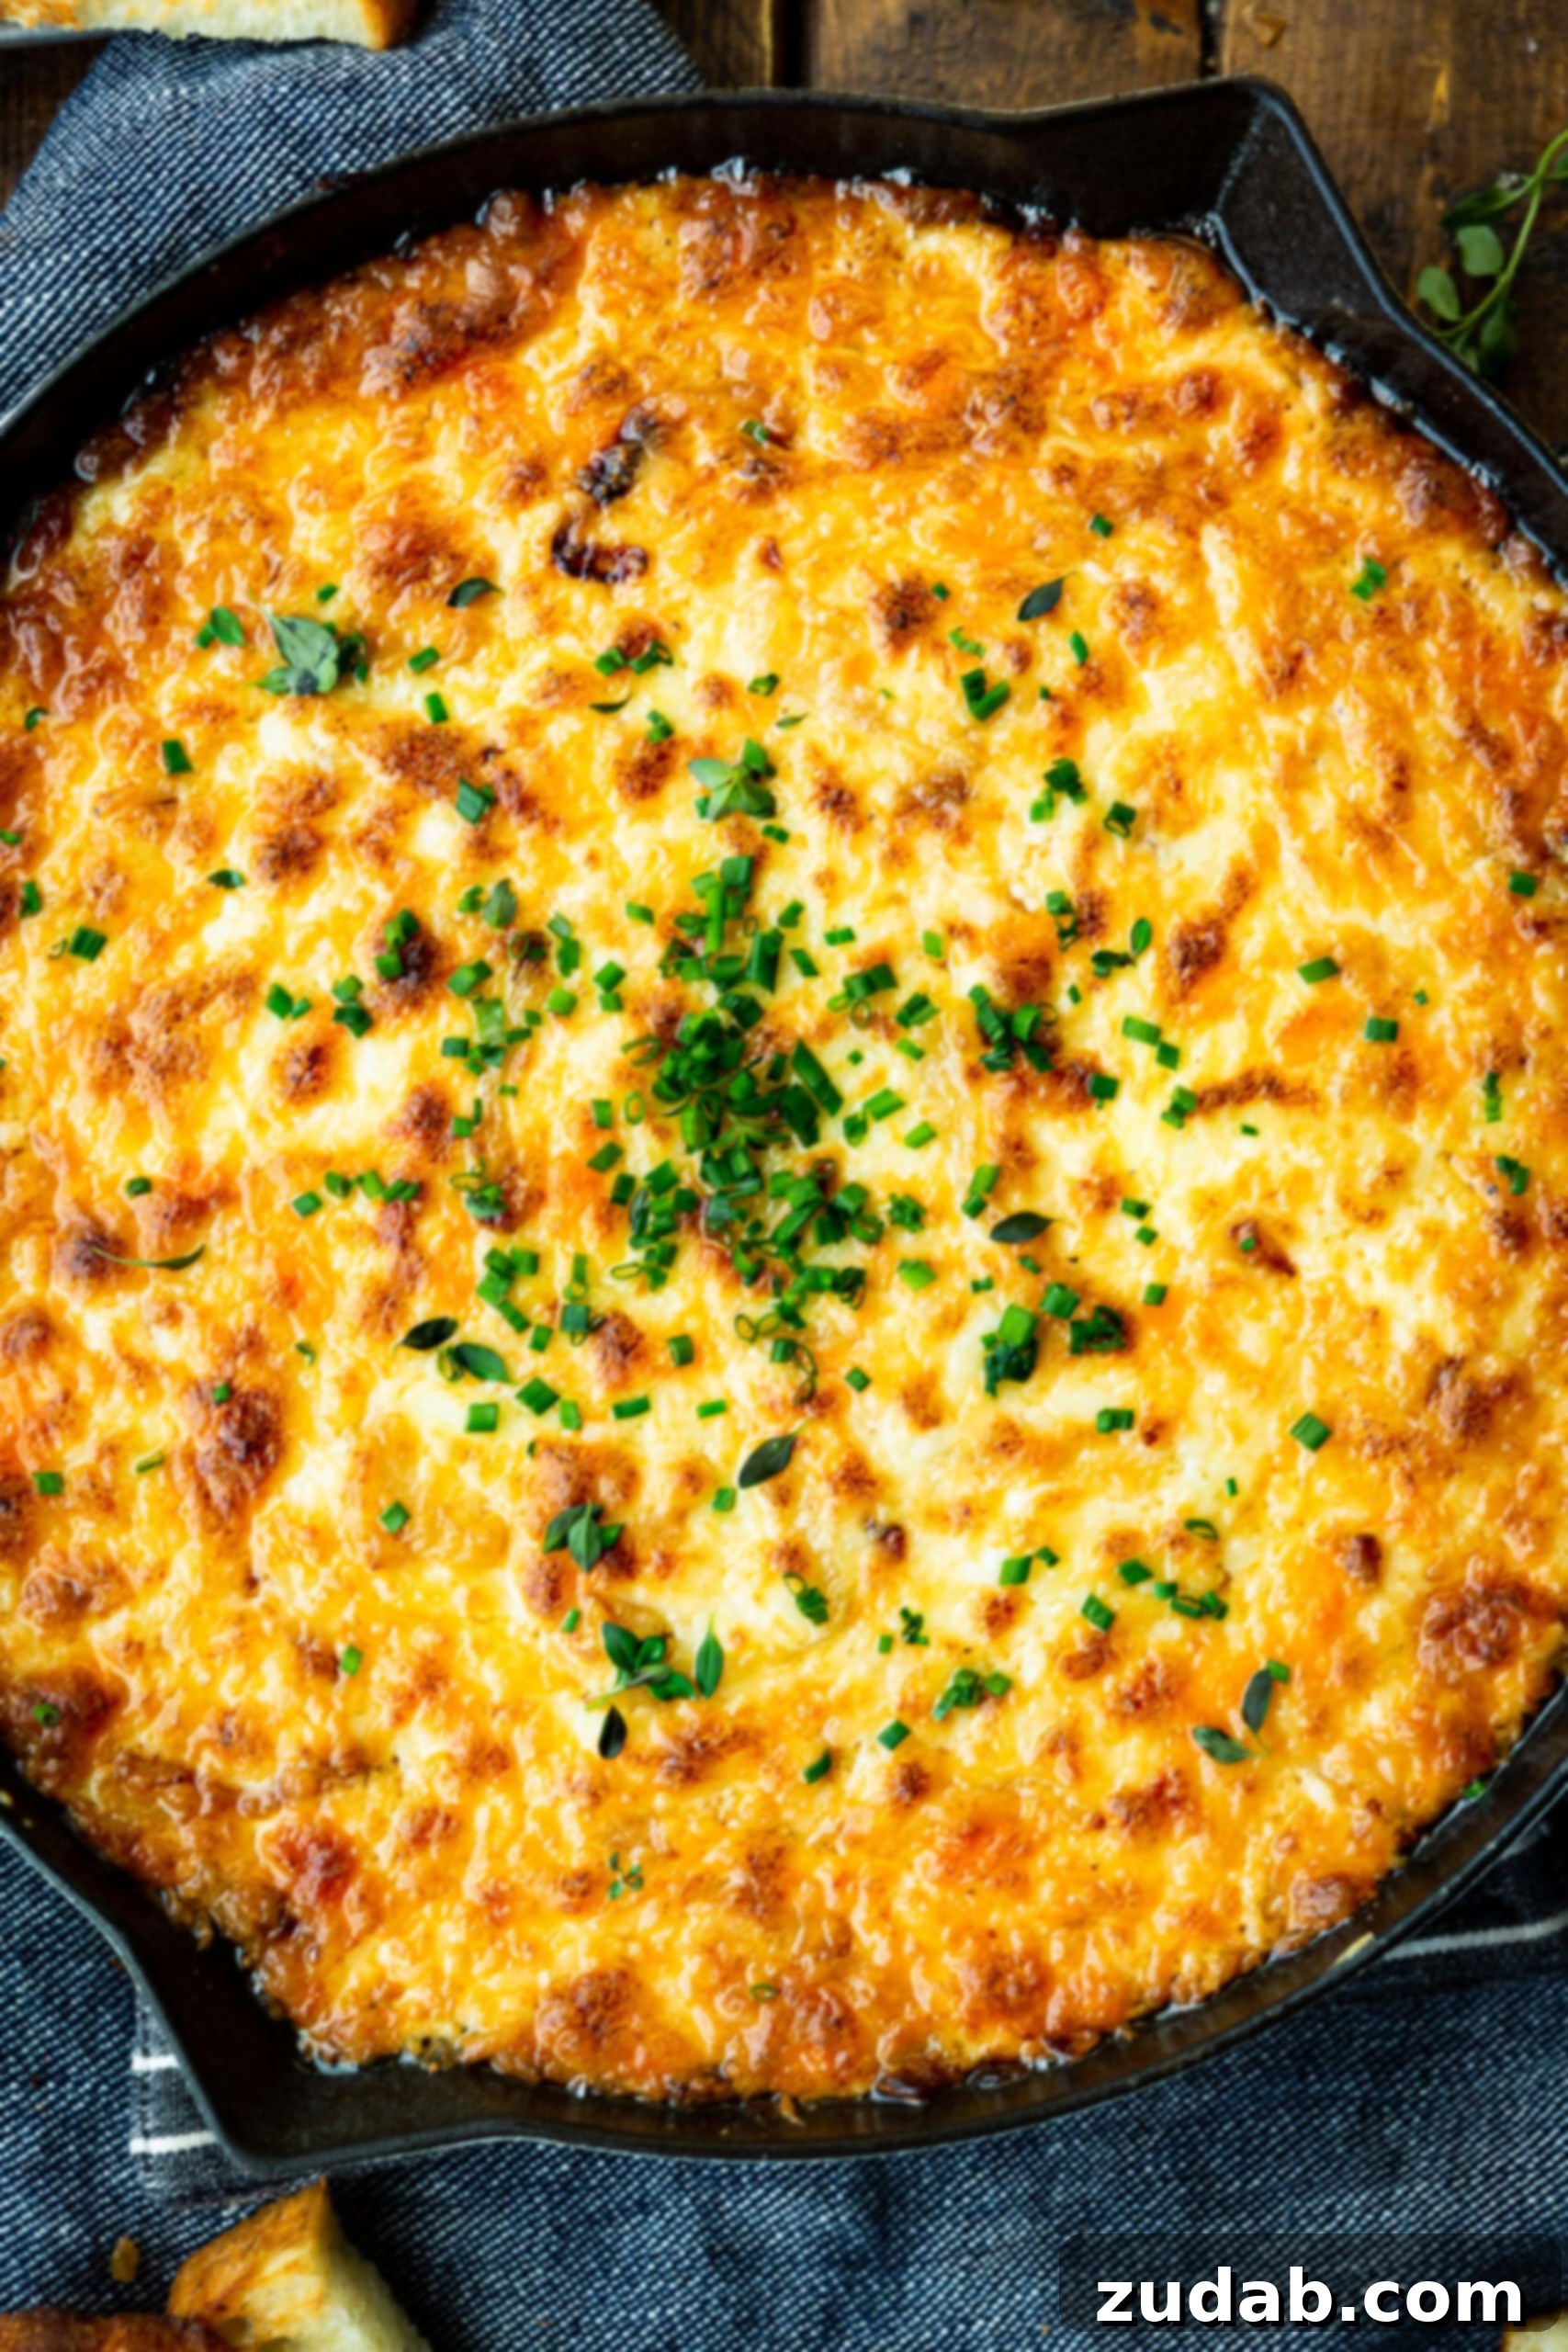
Prepare to be enchanted by the ultimate crowd-pleaser: an incredibly easy and exquisitely delicious Baked Onion Cheese Dip. This five-cheese masterpiece is more than just an appetizer; it’s a culinary experience that promises to steal the show at any gathering. Whether you’re hosting a grand party, enjoying a cozy night in, or simply craving something rich and satisfying, this hot and bubbly dip is guaranteed to become your new go-to recipe. Its creamy texture, combined with the savory depth of perfectly caramelized onions and a luxurious blend of cheeses, creates an irresistible symphony of flavors that will have everyone asking for the recipe. Serve it warm with crispy tortilla chips, crusty fresh bread, or delicate pita chips for an unforgettable treat.
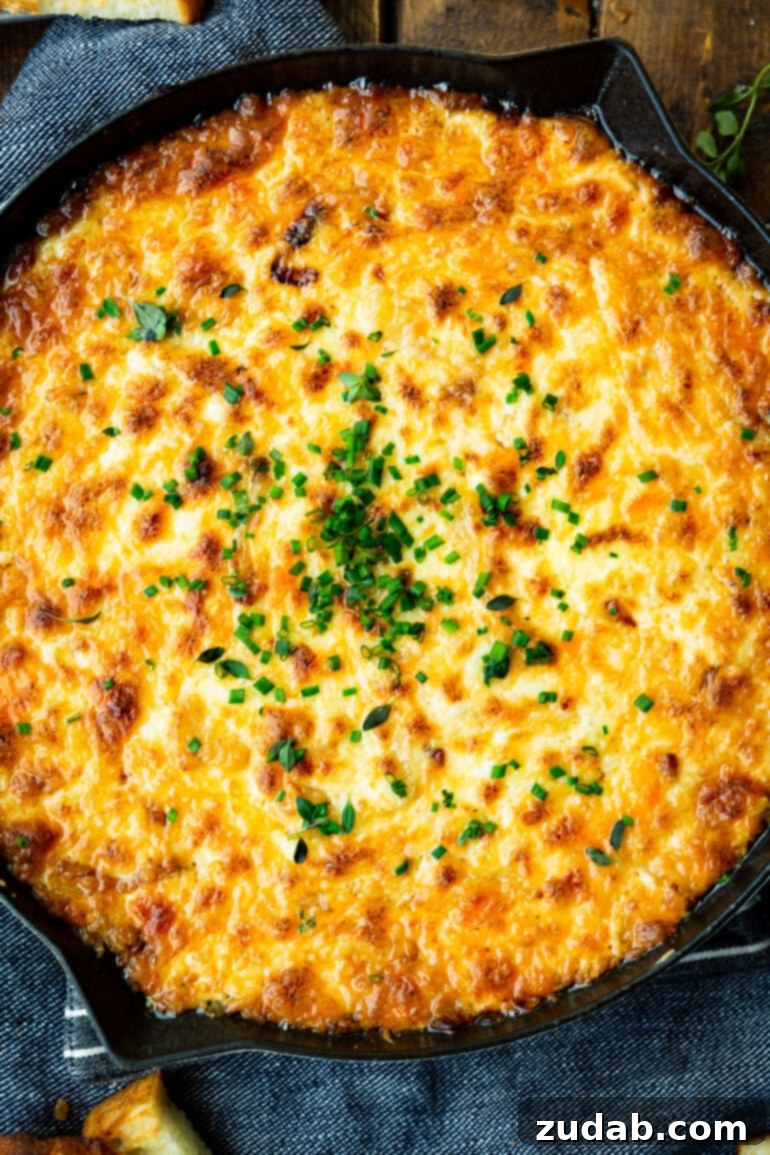
The Irresistible Allure of Our Signature Hot Onion Dip
A while back, a dear reader generously shared her secret recipe for a baked onion cheese dip, and it has since transformed into a beloved staple in our home. This dip truly is everything we ever dreamed of in a savory appetizer – deeply flavorful, wonderfully cheesy, and astonishingly simple to prepare. While we’ve made a few minor adjustments to suit our family’s preferences, the essence of that original, brilliant concept remains. If this delightful recipe sounds like one you’ve shared, please reach out and let us know! It’s a testament to good food being meant to be shared, and this particular creation deserves all the accolades.
What makes this hot onion dip so utterly captivating? It’s the harmonious fusion of five distinct cheeses, each contributing its unique character to a rich and velvety base. We firmly believe there’s no such thing as too much cheese, and this recipe proves it with every delectable scoop. Beyond the cheese, the secret ingredient that elevates this dip from good to extraordinary is the meticulous caramelization of sweet onions. This process unlocks a depth of flavor that can’t be rushed, but the reward is a foundational sweetness and savoriness that perfectly balances the rich dairy. This combination ensures every bite is a delightful exploration of texture and taste, making it an instant favorite for any occasion.

Essential Equipment for Your Perfect Dip
To ensure a smooth and enjoyable cooking experience, having the right tools on hand can make all the difference. For this baked onion cheese dip, a few key pieces of kitchen equipment will be invaluable:
- Cast Iron Skillet: A large, oven-safe cast iron skillet is ideal for caramelizing the onions directly on the stovetop and then seamlessly transferring the dip to the oven for baking. Its heat retention properties ensure even cooking and a beautifully golden crust. If you don’t have a cast iron skillet, any oven-safe casserole dish will work for the baking step after the onions are caramelized in a separate pan.
- Hand Mixer: A hand mixer is incredibly helpful for effortlessly blending the softened cream cheese with the other creamy ingredients, ensuring a smooth, lump-free dip base. While a sturdy whisk and a little elbow grease can also do the trick, a hand mixer saves time and effort, especially when dealing with cold cream cheese.
- Large Mixing Bowl: Essential for combining all the glorious ingredients into a smooth, cohesive mixture before baking.
- Sharp Knife and Cutting Board: For efficiently slicing your sweet onions.
- Cheese Grater: If you’re using block cheeses (highly recommended!), a good cheese grater will be your best friend.
Pre-Preparation: Setting the Stage for Success
Before you dive into the culinary magic of creating this cheesy onion dip, a little pre-planning goes a long way. The key to a truly exceptional dip lies in mindful preparation. Begin by slicing your sweet onions; uniformity in thickness will allow them to caramelize evenly. Once your onions are prepped, it’s time to gather and prepare your luxurious array of cheeses. Critical to achieving that velvety smooth texture, your cream cheese needs to be adequately softened. Take it out of the refrigerator and let it come to room temperature on the counter for at least 30-60 minutes before you plan to mix. This ensures it blends seamlessly with the other ingredients, preventing any unwelcome lumps in your final dip.
Furthermore, while convenience often tempts us with pre-shredded cheeses, for the best melting consistency and flavor, we highly recommend grating your own Parmesan, Swiss, and sharp cheddar cheeses. Pre-shredded varieties often contain anti-caking agents that can hinder smooth melting, resulting in a slightly grainy texture. Grating fresh cheese yourself will yield a far superior, lusciously smooth, and perfectly melted dip. The Mexican blend cheese is typically an exception, as it’s often purchased pre-shredded and works perfectly in this recipe.
The Golden Secret: Mastering Caramelized Onions
The undisputed hero and true secret to an unparalleled onion dip is undoubtedly the caramelized onions. This isn’t merely a suggestion; it’s a foundational step that transforms the entire flavor profile of the dip. Resist the urge to simply sauté or quickly cook the onions. Patience here is paramount, as the slow, gentle cooking process coaxes out the natural sugars from the onions, resulting in a rich, sweet, and deeply savory base that cannot be replicated any other way.
To achieve perfectly caramelized onions, heat your cast iron skillet (or heavy-bottomed pan) over medium-low heat. Add butter, which provides a rich base and helps prevent sticking. Once melted, add your thinly sliced sweet onions. Season them with a pinch of salt, which helps draw out moisture and accelerate the caramelization process. Cook the onions slowly, stirring every few minutes, for at least 15-20 minutes, or even longer. The key is to keep the heat low enough to prevent burning but warm enough to encourage the sugars to brown gradually. They will slowly transform from crisp white slices to soft, translucent strands, eventually turning a beautiful golden brown and developing an incredible sweetness. For an extra layer of umami and complexity, incorporate a dash of Worcestershire sauce towards the end of the caramelization process. This adds a fantastic depth of flavor that complements the onions beautifully and will truly elevate your dip. This step is a labor of love, but the depth of flavor it brings to the baked onion cheese dip is absolutely worth every minute.
Gathering Your Ingredients for the Best Cheesy Onion Dip
To craft this decadent and savory cheesy onion dip, you’ll need a selection of high-quality ingredients, with a particular emphasis on, you guessed it, cheese! Beyond the stellar cheese line-up, a sweet onion and a few pantry staples complete the ensemble. Here’s a detailed look at what you’ll need:
- For the Caramelized Onions:
- Sweet Onion: One extra-large sweet onion is the star here. Its natural sweetness is essential for the caramelization process, forming the savory-sweet backbone of the dip.
- Butter: Used for sautéing the onions, providing a rich, smooth base for caramelization and preventing sticking.
- Worcestershire Sauce: A secret weapon! Just a teaspoon adds an incredible depth of umami and complexity, enhancing the savory notes of the caramelized onions.
- For the Five-Cheese Blend:
- Cream Cheese: One 8oz brick, softened to room temperature, forms the creamy foundation of the dip, ensuring a smooth and luxurious texture.
- Swiss Cheese: Two cups, shredded. Swiss cheese brings a nutty, slightly sweet flavor and fantastic melting properties.
- Sharp Cheddar Cheese: Two cups, shredded. Offers a robust, tangy flavor that provides a delightful counterpoint to the milder cheeses and sweet onions.
- Parmesan Cheese: One and a half cups, freshly shredded. Contributes a salty, umami-rich punch and helps create a lovely golden crust when baked.
- Mexican Blend Cheese: One 8oz package, shredded. This blend typically includes Monterey Jack, Cheddar, Asadero, and Queso Blanco, adding a mild, creamy, and wonderfully meltable component.
- For the Creamy Dip Base:
- Mayonnaise: One cup. Adds richness, tang, and helps create a perfectly spreadable and creamy texture.
- Sour Cream: Half a cup. Contributes a delightful tang and lightens the richness of the dip, adding another layer of creamy texture.
- For Seasoning and Garnish:
- Salt and Pepper: To taste. Essential for balancing and enhancing all the flavors.
- Fresh Herbs: (Such as thyme and chopped chives). These are crucial for a vibrant, fresh garnish, adding a burst of color and aromatic freshness that makes all the difference in presentation and taste.
You’ll find the complete list of exact measurements and quantities in the comprehensive recipe card located at the end of this article. This dip truly celebrates the power of simple, yet high-quality ingredients coming together to create something extraordinary.
Crafting Your Cheesy Onion Baked Dip: A Step-by-Step Guide
Making this incredibly flavorful Baked Cheesy Onion Dip is surprisingly straightforward, turning a handful of simple ingredients into a show-stopping appetizer. Follow these steps for dip perfection:
- Caramelize the Onions (The Foundation of Flavor): Begin by heating a large cast iron skillet (or a heavy-bottomed, oven-safe pan) over medium heat. Add the butter and allow it to melt completely. Once shimmering, add your thinly sliced sweet onions to the skillet, stirring to coat them evenly in the butter. Season the onions with a pinch of salt, which helps draw out moisture and aids in caramelization. Reduce the heat to medium-low and let them cook slowly. Stir the onions every few minutes to prevent sticking and ensure even browning. Continue this patient process for about 15-20 minutes, or until the onions are beautifully tender and have achieved a rich, golden-brown hue. At this point, add the Worcestershire sauce and stir it in, allowing the onions to absorb its savory depth for another minute or two. Once done, remove the caramelized onions from the heat and set aside to cool slightly.
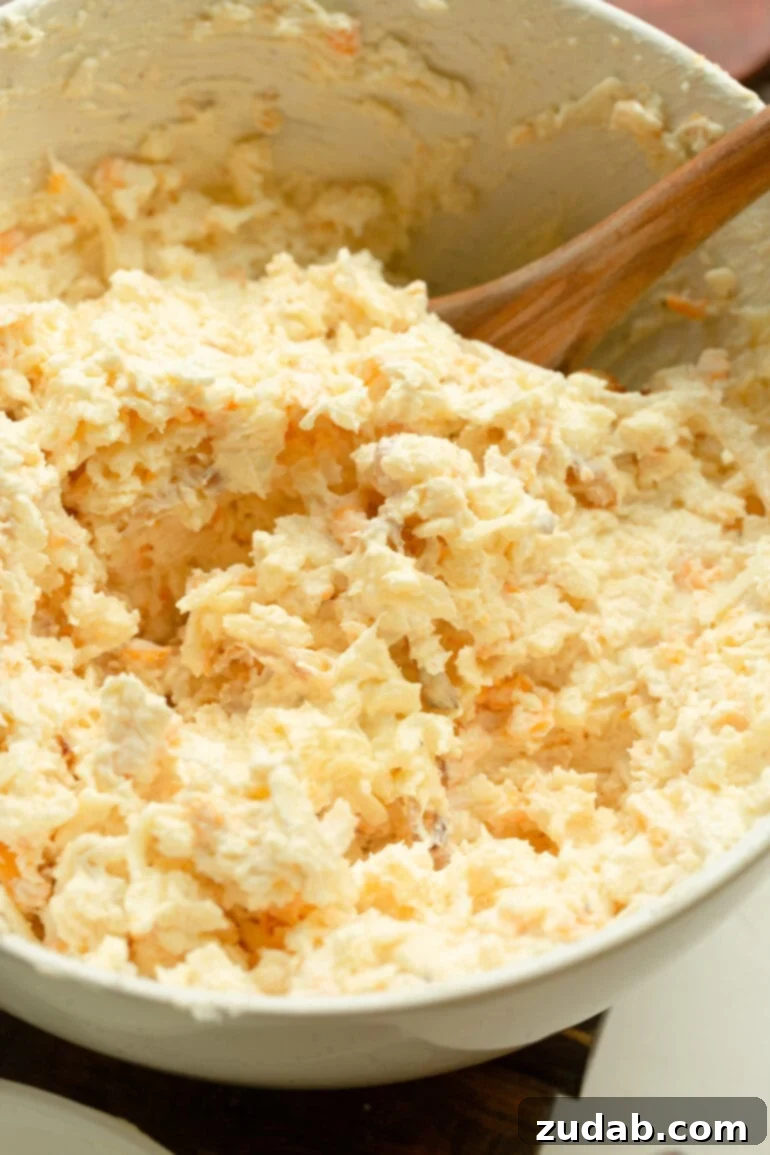
- Combine the Creamy Ingredients: In a large mixing bowl, place your softened cream cheese. Using a hand mixer (or a sturdy whisk), beat the cream cheese until it is smooth and creamy with no lumps. Next, add the mayonnaise, sour cream, and all five types of shredded cheese (Swiss, sharp cheddar, Parmesan, and Mexican blend). Gently fold in the cooled caramelized onions. Season the mixture generously with salt and freshly cracked black pepper. Continue to beat or mix until all ingredients are thoroughly combined and the mixture is smooth and cohesive.
- Bake to Golden Perfection: If you caramelized your onions in an oven-safe cast iron skillet, you can now spread the creamy onion and cheese mixture directly back into that same skillet, smoothing the top with a spatula. If using a different pan for caramelization, transfer the dip mixture to a suitable oven-safe casserole dish. Bake in a preheated oven at 350°F (175°C) for approximately 35-40 minutes, or until the dip is heated through, bubbling around the edges, and the top has turned a beautiful golden-brown color. The edges might be slightly crisp, adding a wonderful textural contrast.
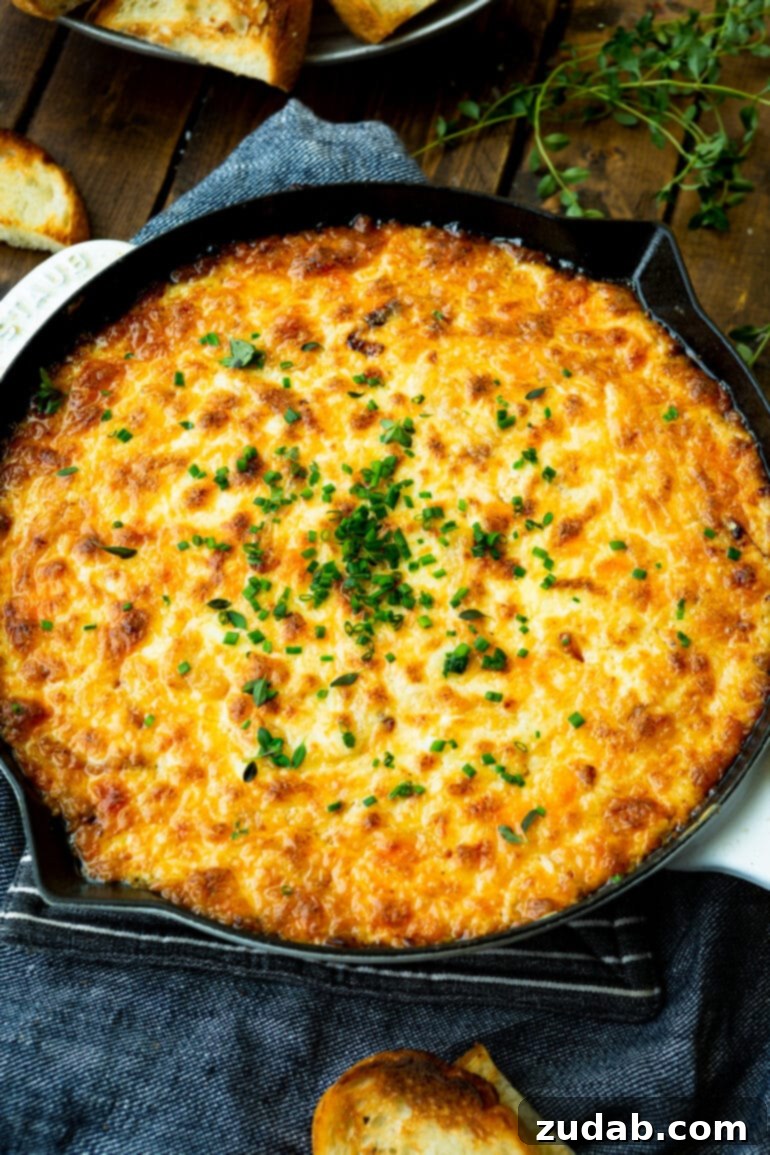
- Serve and Garnish: Once baked, carefully remove the hot dip from the oven. For a vibrant finish and an extra layer of fresh flavor, generously sprinkle the top with fresh herbs. We highly recommend a combination of finely chopped chives and fresh thyme, as their delicate aromas perfectly complement the richness of the dip. Serve immediately while hot and bubbly. This baked cheesy onion dip pairs wonderfully with an array of dippers: think toasted sourdough bread slices (perhaps drizzled with a little olive oil and broiled for extra crispness), sturdy tortilla chips, an assortment of crackers, or soft pita chips.
The full, detailed recipe, including precise measurements and any additional notes, is conveniently available in the printable recipe card at the very end of this post. You can easily save or print it for future use!
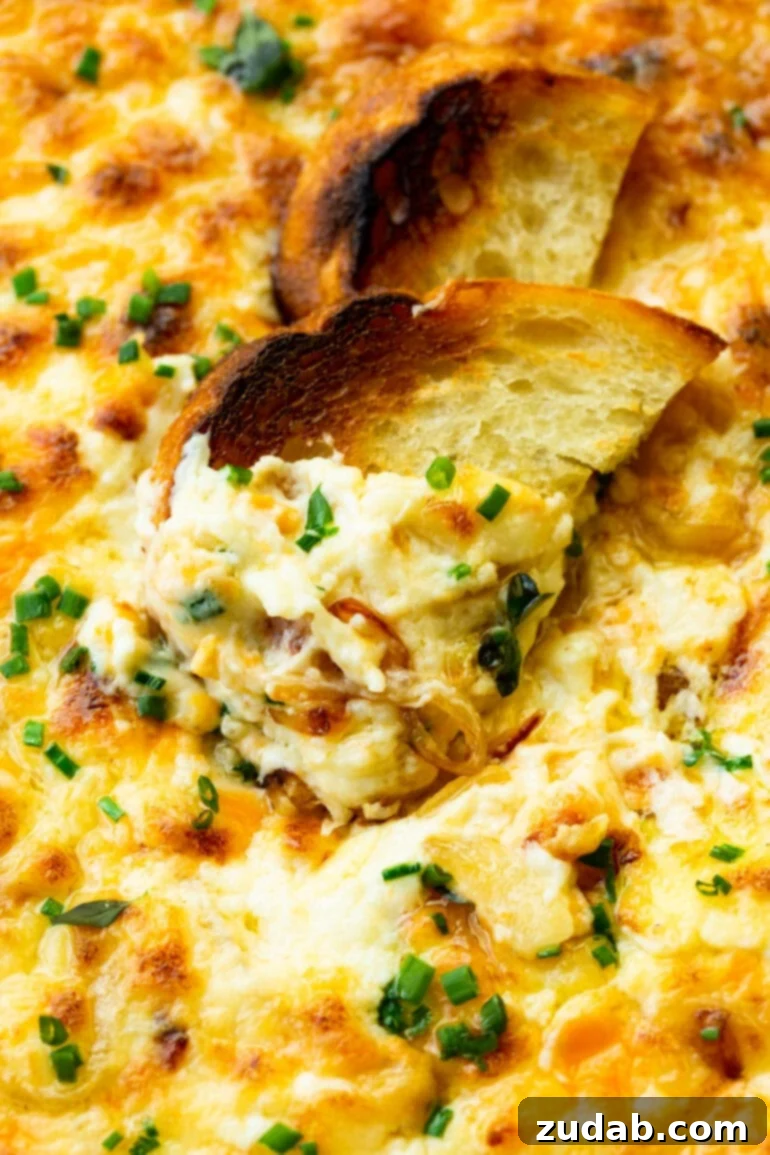
Creative Variations & Flavor Enhancements
While this classic Baked Onion Cheese Dip is utterly perfect as is, it also serves as a fantastic canvas for creative customization. Feel free to experiment with these variations to tailor the dip to your unique preferences or to simply explore new flavor combinations:
- Add a Kick with Heat: For those who love a bit of spice, incorporating jalapeños is an excellent choice. You can use fresh minced jalapeños for a brighter, more vibrant heat, or opt for canned jalapeños (diced and drained) for a milder, slightly pickled flavor. Adjust the quantity to your desired level of spice. A pinch of cayenne pepper or a dash of your favorite hot sauce stirred into the mix can also provide a subtle, warming heat.
- Boost with Vegetables:
- Spinach: Add 1/2 to 1 cup of thawed, well-drained frozen spinach. Make sure to squeeze out as much moisture as possible to prevent a watery dip.
- Artichoke Hearts: Roughly chop a can of drained artichoke hearts and stir them into the cheese mixture for a delightful tangy and earthy addition, reminiscent of a classic spinach-artichoke dip.
- Savory Add-Ins:
- Crispy Bacon: Crumble some cooked bacon into the dip for an irresistible smoky and salty crunch.
- Garlic: Mince 1-2 cloves of fresh garlic and sauté them briefly with the onions before caramelizing, or add a teaspoon of garlic powder to the cheese mixture for an extra aromatic punch.
- Mushrooms: Sauté finely diced mushrooms until golden brown, then add them to the dip for an earthy, umami-rich flavor.
- Cheese Swaps: Don’t hesitate to play with your favorite cheese combinations! If you prefer a milder dip, you might reduce the sharp cheddar and increase a creamier, milder cheese like Monterey Jack. Smoked gouda could add a unique smoky dimension, or a little crumbled goat cheese could lend a tangy creaminess.
- Different Onion Varieties: While sweet onions caramelize beautifully, you can experiment with other types. White or yellow onions will also caramelize well, offering a slightly sharper, more pungent flavor when cooked down, which can add a different character to the dip.
- Herb Variations: Instead of or in addition to chives and thyme, consider fresh parsley, rosemary (use sparingly, as it’s potent), or even a touch of dried oregano in the cheese mixture for different aromatic notes.
These variations allow you to customize this already incredible hot onion dip to suit any palate or occasion, making it a truly versatile recipe.
Pro Tips for a Flawless Baked Onion Cheese Dip
Achieving the best possible baked cheesy onion dip is easy with a few expert tips. These small details can make a significant difference in the final taste and texture:
- Embrace Full-Fat Products: For the creamiest, richest, and most flavorful dip, always opt for full-fat cream cheese, mayonnaise, and sour cream. Low-fat or fat-free alternatives can alter the texture and compromise the luxurious mouthfeel of the dip, sometimes resulting in a less stable or watery consistency.
- Grate Your Own Cheese: This is a game-changer! Whenever possible, buy blocks of Swiss, cheddar, and Parmesan cheese and grate them yourself. Pre-shredded cheeses often contain cellulose or other anti-caking agents that prevent them from melting as smoothly as freshly grated cheese. Freshly grated cheese will melt into a beautifully cohesive, velvety dip, free from any graininess.
- Patience with Caramelization: Do not rush the onion caramelization process. This slow cooking is what develops their deep, sweet, and savory flavor, which is absolutely essential to the dip’s character. Medium-low heat and consistent stirring are key. Good caramelized onions can take 15-20 minutes, or even longer.
- Soften Cream Cheese Fully: Ensure your cream cheese is completely at room temperature before mixing. This allows it to blend smoothly with other ingredients, creating a lump-free base that is crucial for a perfectly creamy dip.
- Season as You Go: Taste the caramelized onions and the final dip mixture before baking. Adjust salt and pepper as needed. Remember, the cheeses also contribute saltiness, so start conservatively and add more if necessary.
- Serve Immediately: While the dip is delicious at any temperature, it is truly at its best when served hot and bubbly straight from the oven, allowing the melted cheeses to be at their most luscious.
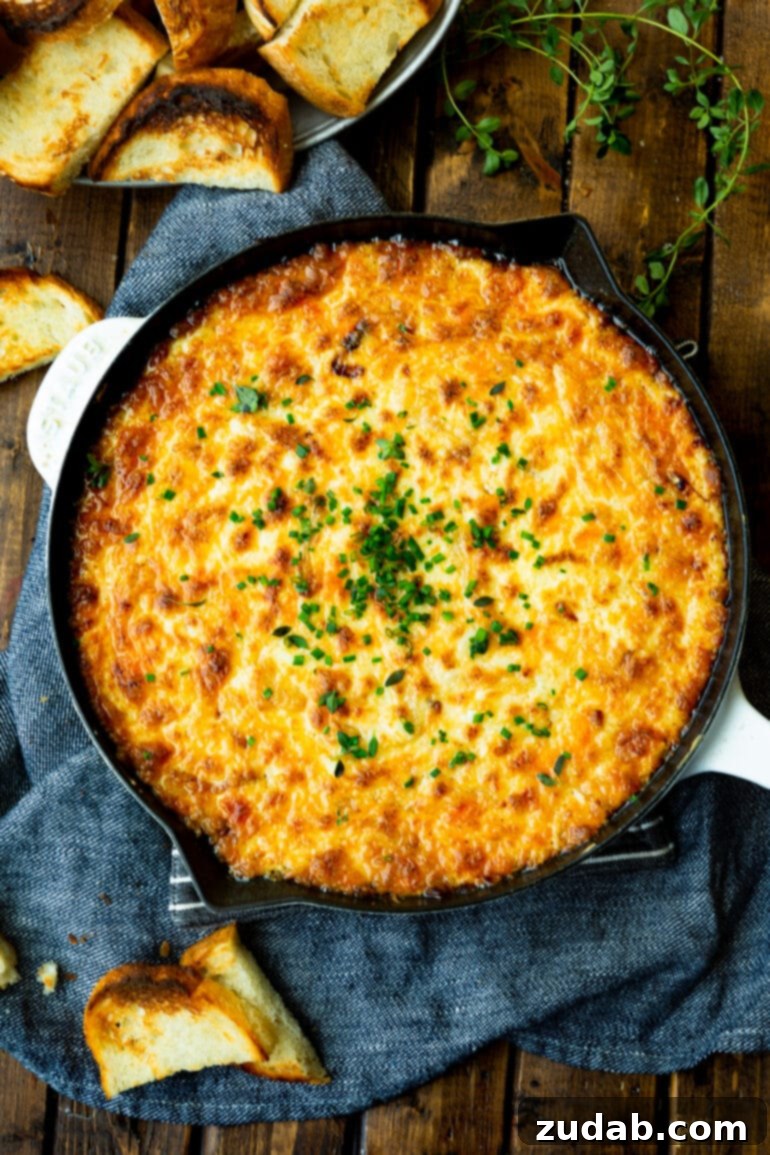
Storage and Reheating Best Practices
One of the many advantages of this delectable baked onion cheese dip is its fantastic make-ahead potential and ease of storage. Should you have any leftovers (a rare occurrence!), or if you wish to prepare it in advance, here’s how to handle it:
Storage: Allow the dip to cool completely to room temperature before transferring it to an airtight container. Store the container in the refrigerator for up to 5 days. This dip makes an excellent candidate for meal prepping appetizers, allowing you to enjoy its rich flavors throughout the week.
Reheating: To bring your refrigerated dip back to its glorious, gooey best, you have a couple of excellent options:
- Oven Reheating: For the best results and to maintain that desirable golden, slightly crispy top, reheat the dip in the oven. Transfer the dip back into an oven-safe dish (if it’s not already in one) and bake at 300°F (150°C) for about 15-25 minutes, or until it’s heated through and bubbling around the edges. Covering it loosely with foil for the first part of reheating can help prevent it from drying out, then remove the foil for the last few minutes if you want to crisp the top further.
- Microwave Reheating: For a quicker option, individual portions can be reheated in the microwave. Place a serving in a microwave-safe bowl and heat on medium power in 30-second intervals, stirring in between, until warmed through. Be careful not to overheat, as this can cause the cheese to separate. While quicker, the microwave won’t give you the same beautiful golden crust as oven reheating.
No matter how you reheat it, this dip remains incredibly flavorful, making it perfect for enjoying beyond just the initial serving!
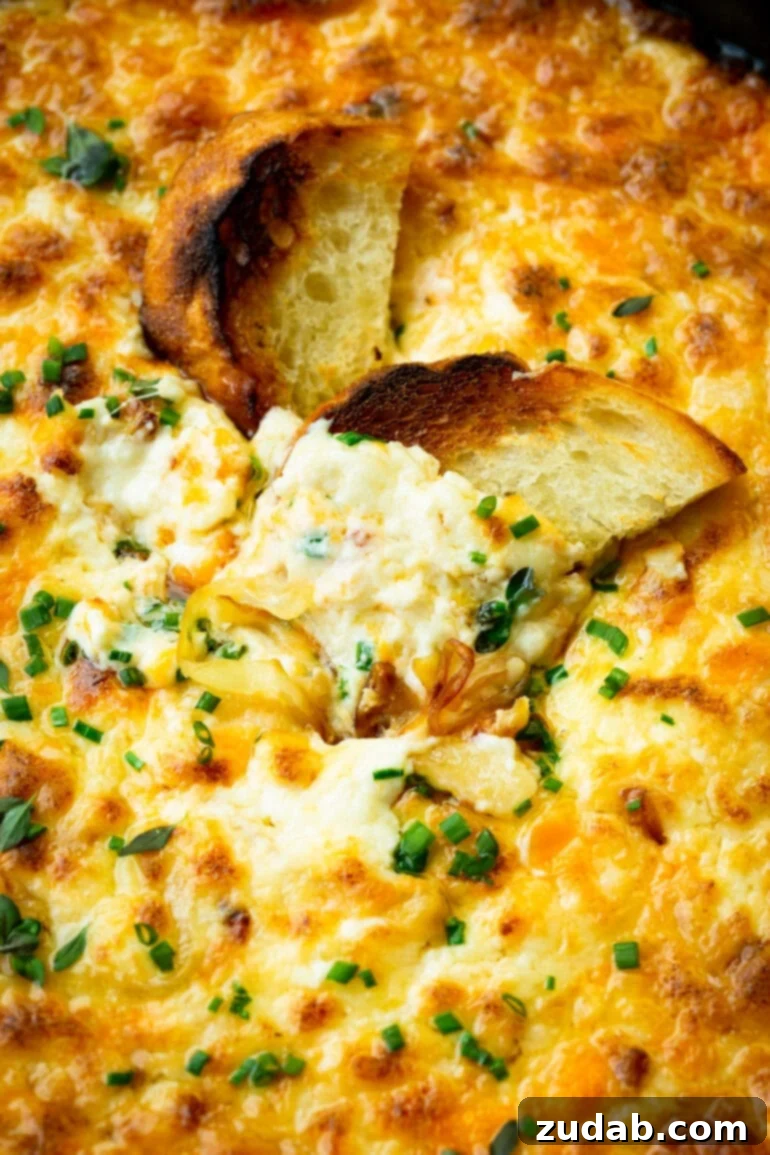
Whether you’re gearing up for game day festivities, ringing in the New Year, or simply having a casual get-together with friends, this baked cheesy onion dip is destined to be the highlight of your party. Its rich, savory, and incredibly satisfying profile makes it an instant hit with everyone. It’s also naturally low in carbohydrates and boasts a high protein content, making it a delicious option that many can enjoy. Prepare to watch it disappear rapidly and be ready to share the recipe, because everyone will be asking for it!
More Irresistible Creamy Dip Recipes to Explore:
- Chili Con Queso Dip
- Artichoke Dip
- Slow Cooker Sausage Dip
- Buffalo Chicken Dip
- Cranberry Cream Cheese Dip
- Chorizo Dip Queso Fundido
Baked Cheese and Onion Dip

This delicious, easy baked onion cheese dip is great for a last minute appetizer. It’s SO good, you’ll almost eat the whole pan yourself! Serve it with tortilla chips, fresh bread, or pita chips.
Ingredients
- 1 Sweet Onion, extra large, sliced
- 1 Tablespoon Butter
- 1 teaspoon Worcestershire Sauce
- 1 Brick Cream Cheese, 8oz, softened
- 1 Cup Mayonnaise
- 1/2 Cup Sour Cream
- 2 Cups Swiss Cheese, shredded (8 oz package)
- 2 Cups Sharp Cheddar Cheese, shredded (8 oz package)
- 1 1/2 Cups Parmesan Cheese, shredded (6 oz package)
- 1 Package Mexican Blend Cheese, 8oz, shredded
- Salt and Pepper
- Herbs for garnish, we prefer thyme and chopped chives, they make all the difference!
Instructions
-
Heat a large cast iron or stainless steel pan over medium heat.
-
Add the butter, and once melted add the sliced onions, stirring to coat. Add a pinch of salt and allow to cook for 5 minutes, stir and repeat after another 3-5 minutes to keep the onions from sticking.
-
Add the Worcestershire sauce and stir again every few minutes until golden in color, about 15-20 minutes total. Set aside.
-
In a large bowl, beat the cream cheese, using a handmixer until smooth and creamy. Add the mayonnaise and sour cream, cheeses, onions and a pinch of salt and pepper. Beat again until smooth and pour back into the onion pan. If your pan isn’t oven proof, use a casserole dish.
-
Bake at 350 for approximately 35 minutes or until golden brown. Set aside once baked and sprinkle with fresh herbs.
-
Slice sourdough bread and drizzle with olive oil, then lay evenly on a sheet pan. Turn the oven to broil and toast one or both sides of the bread. Serve with the dip along with crackers and chips if desired.
Nutrition
Nutrition information is automatically calculated, so should only be used as an approximation.