
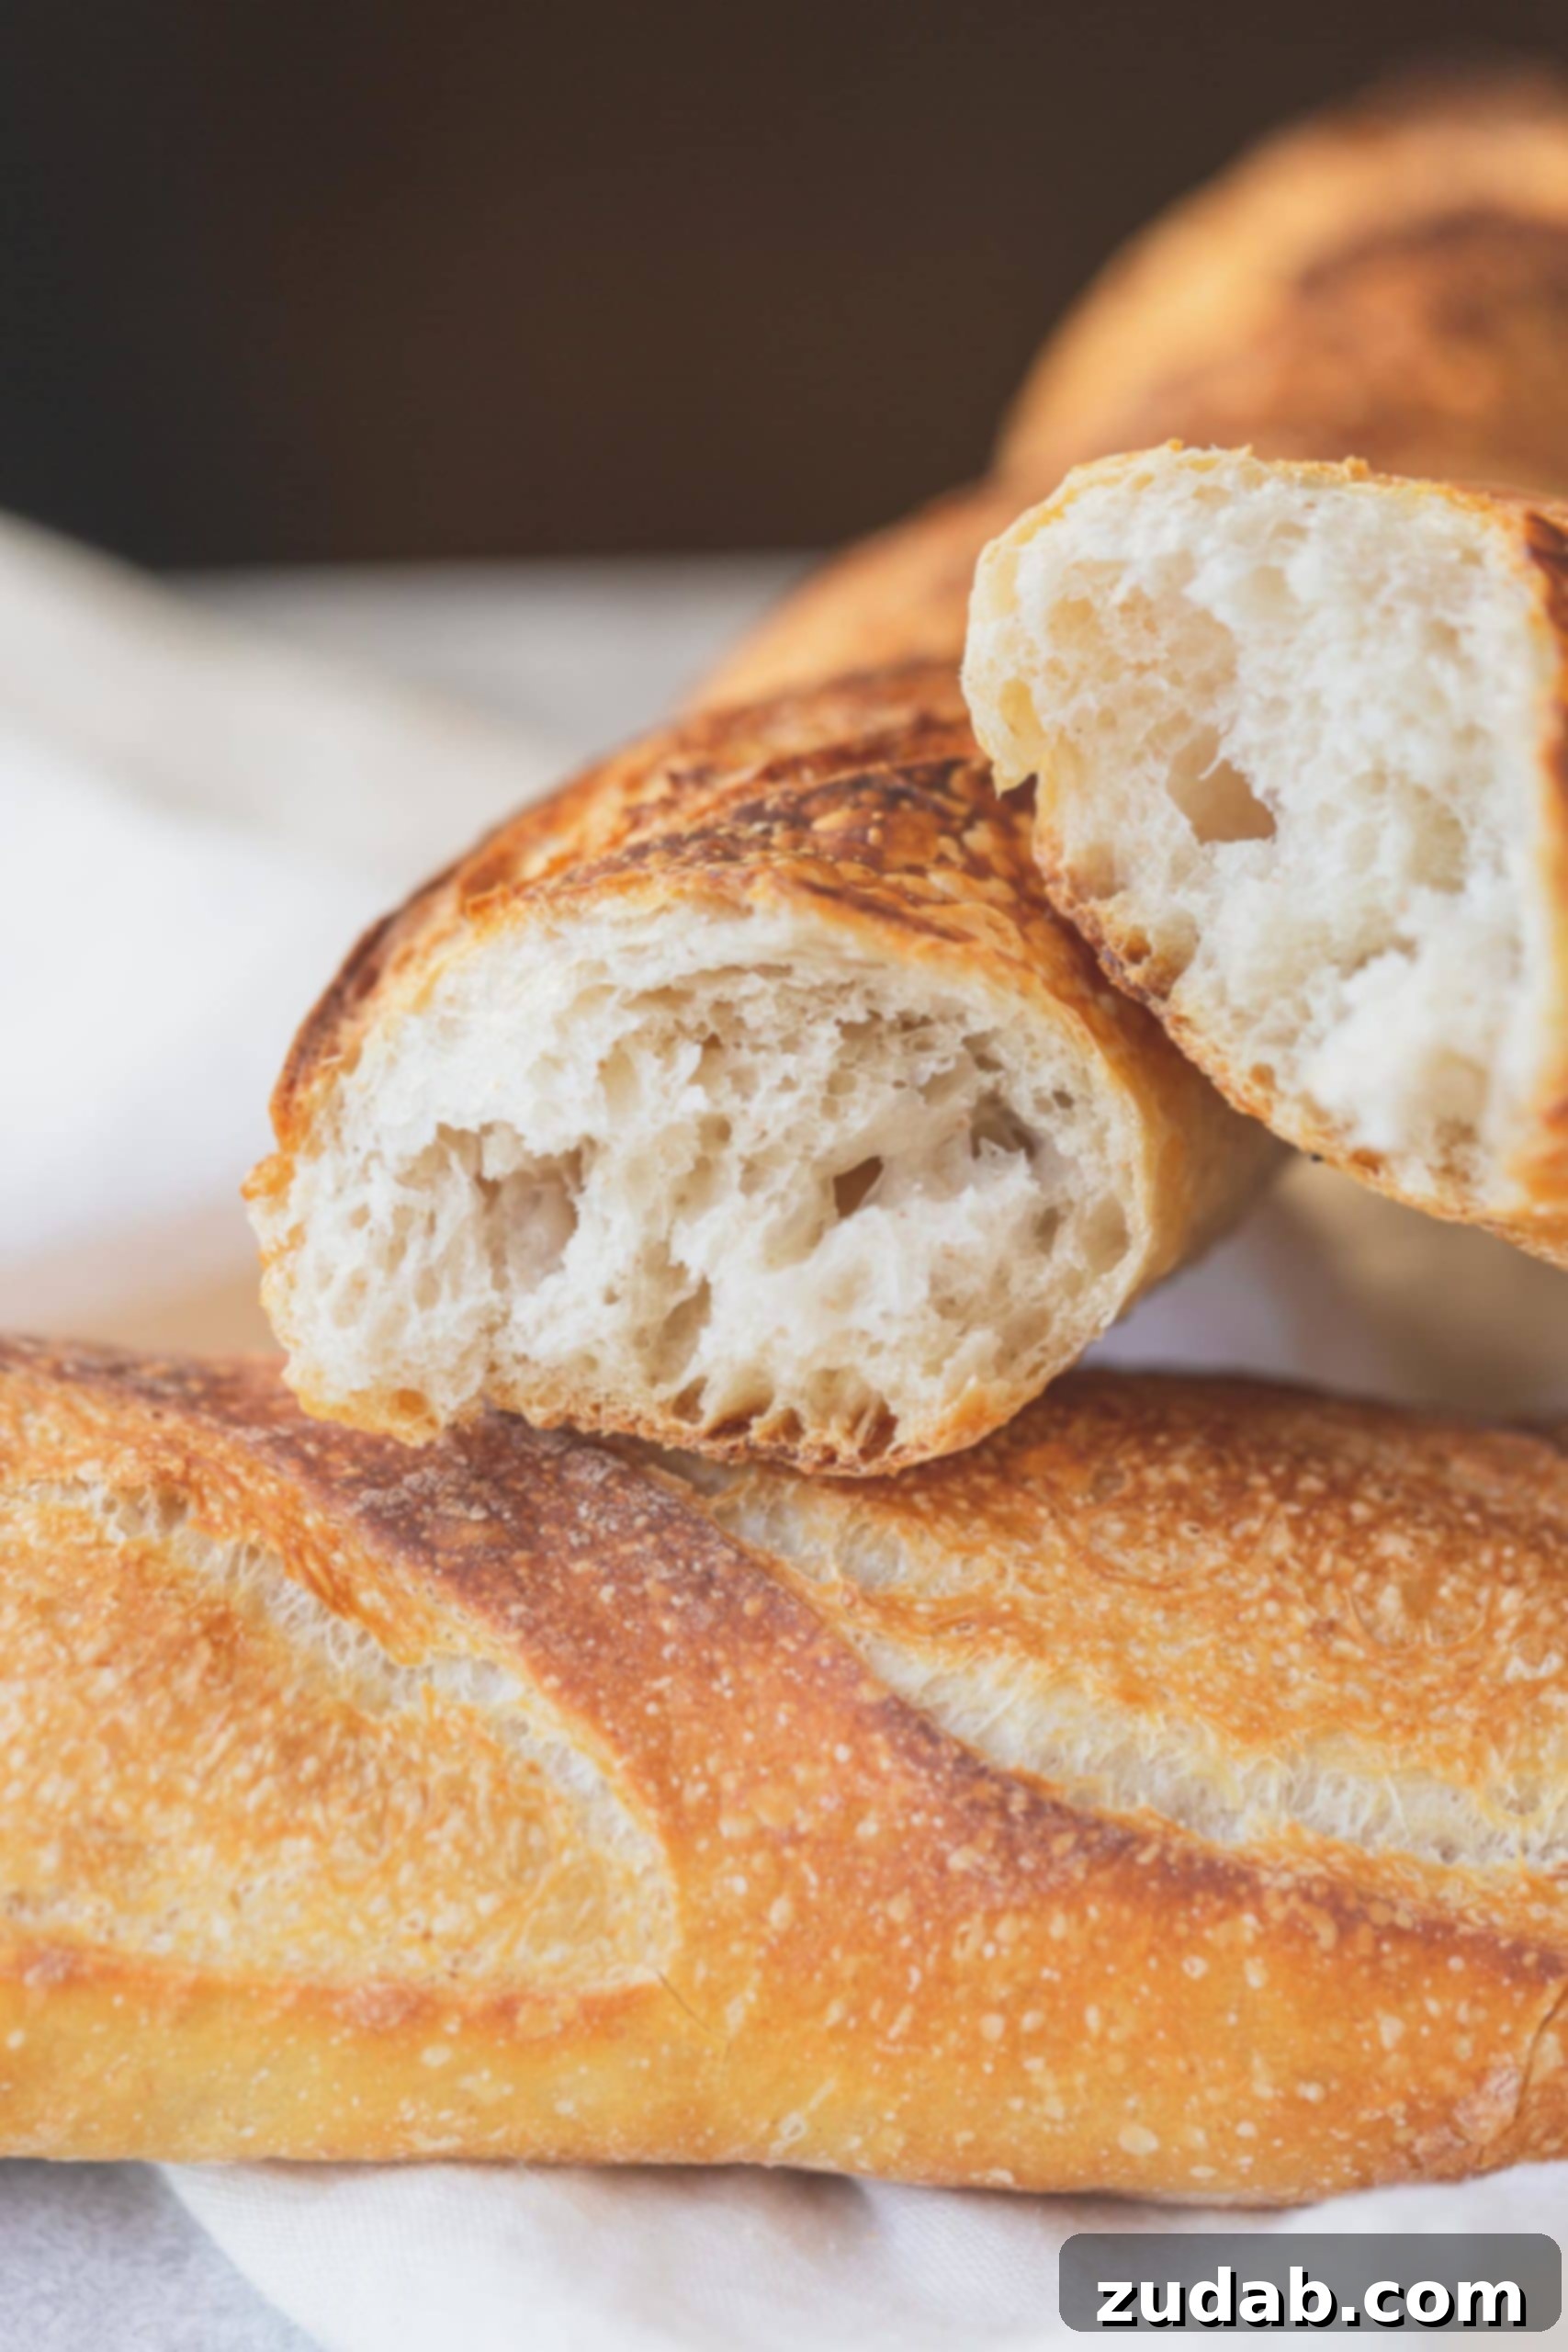
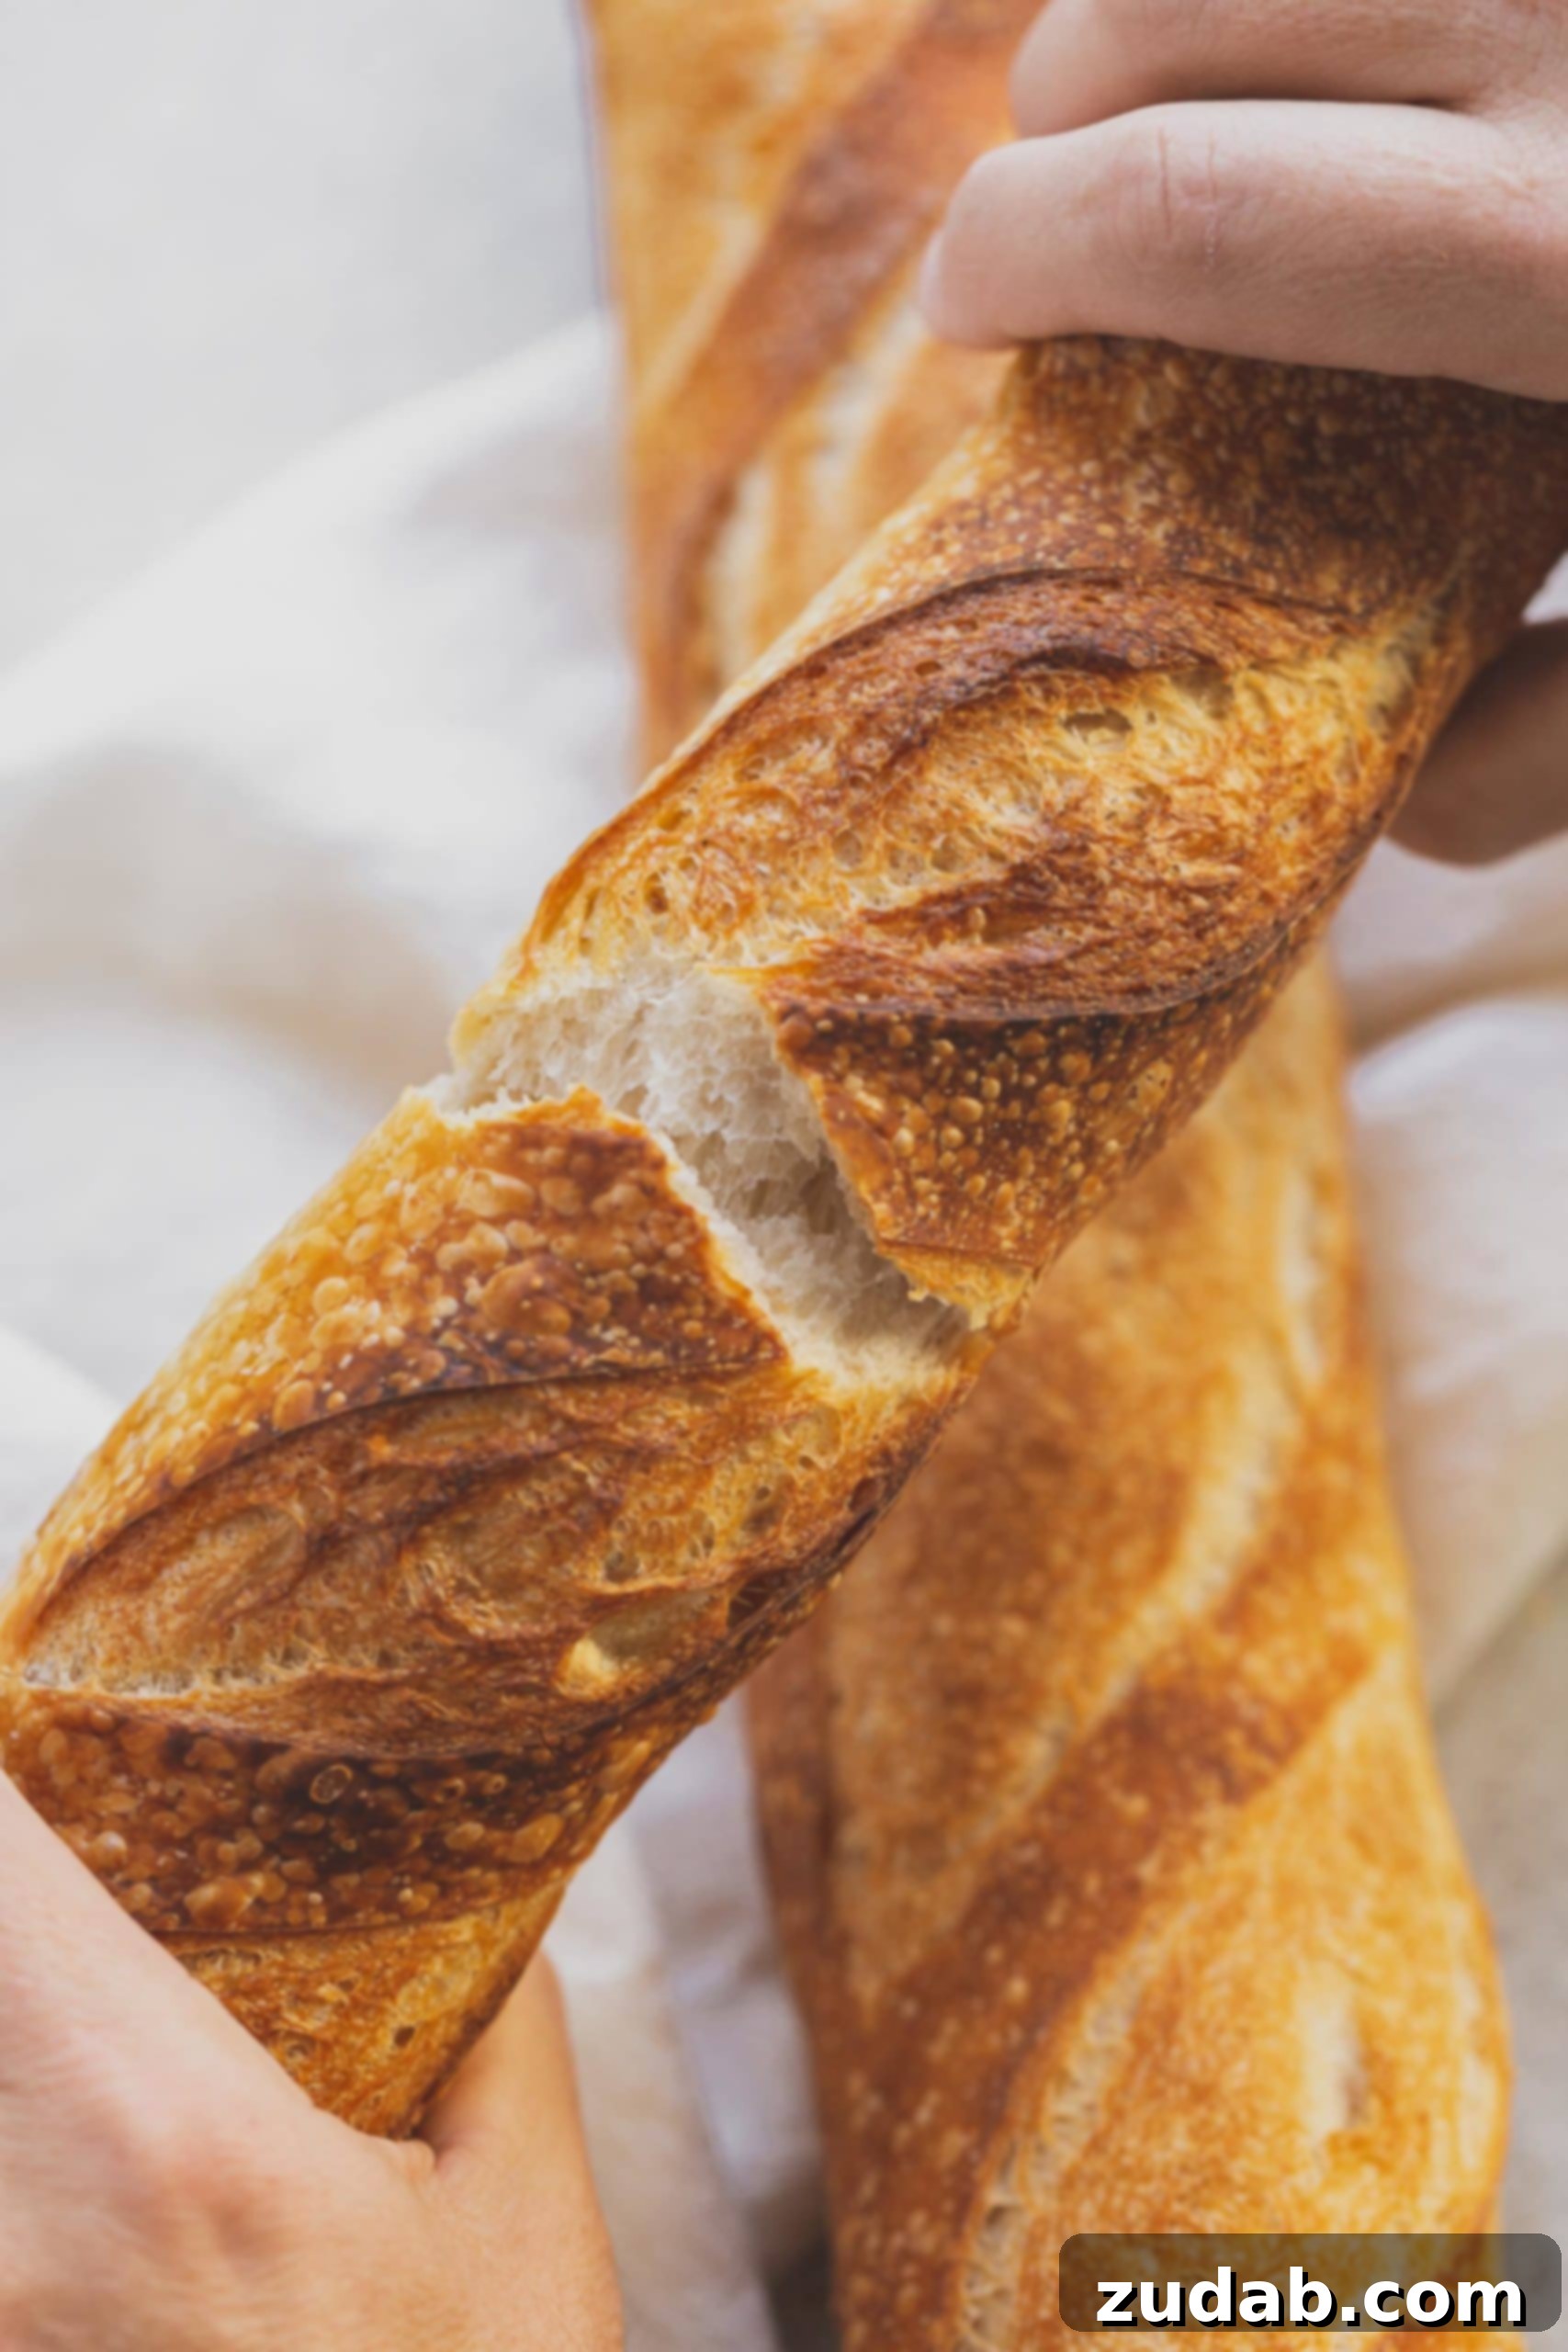
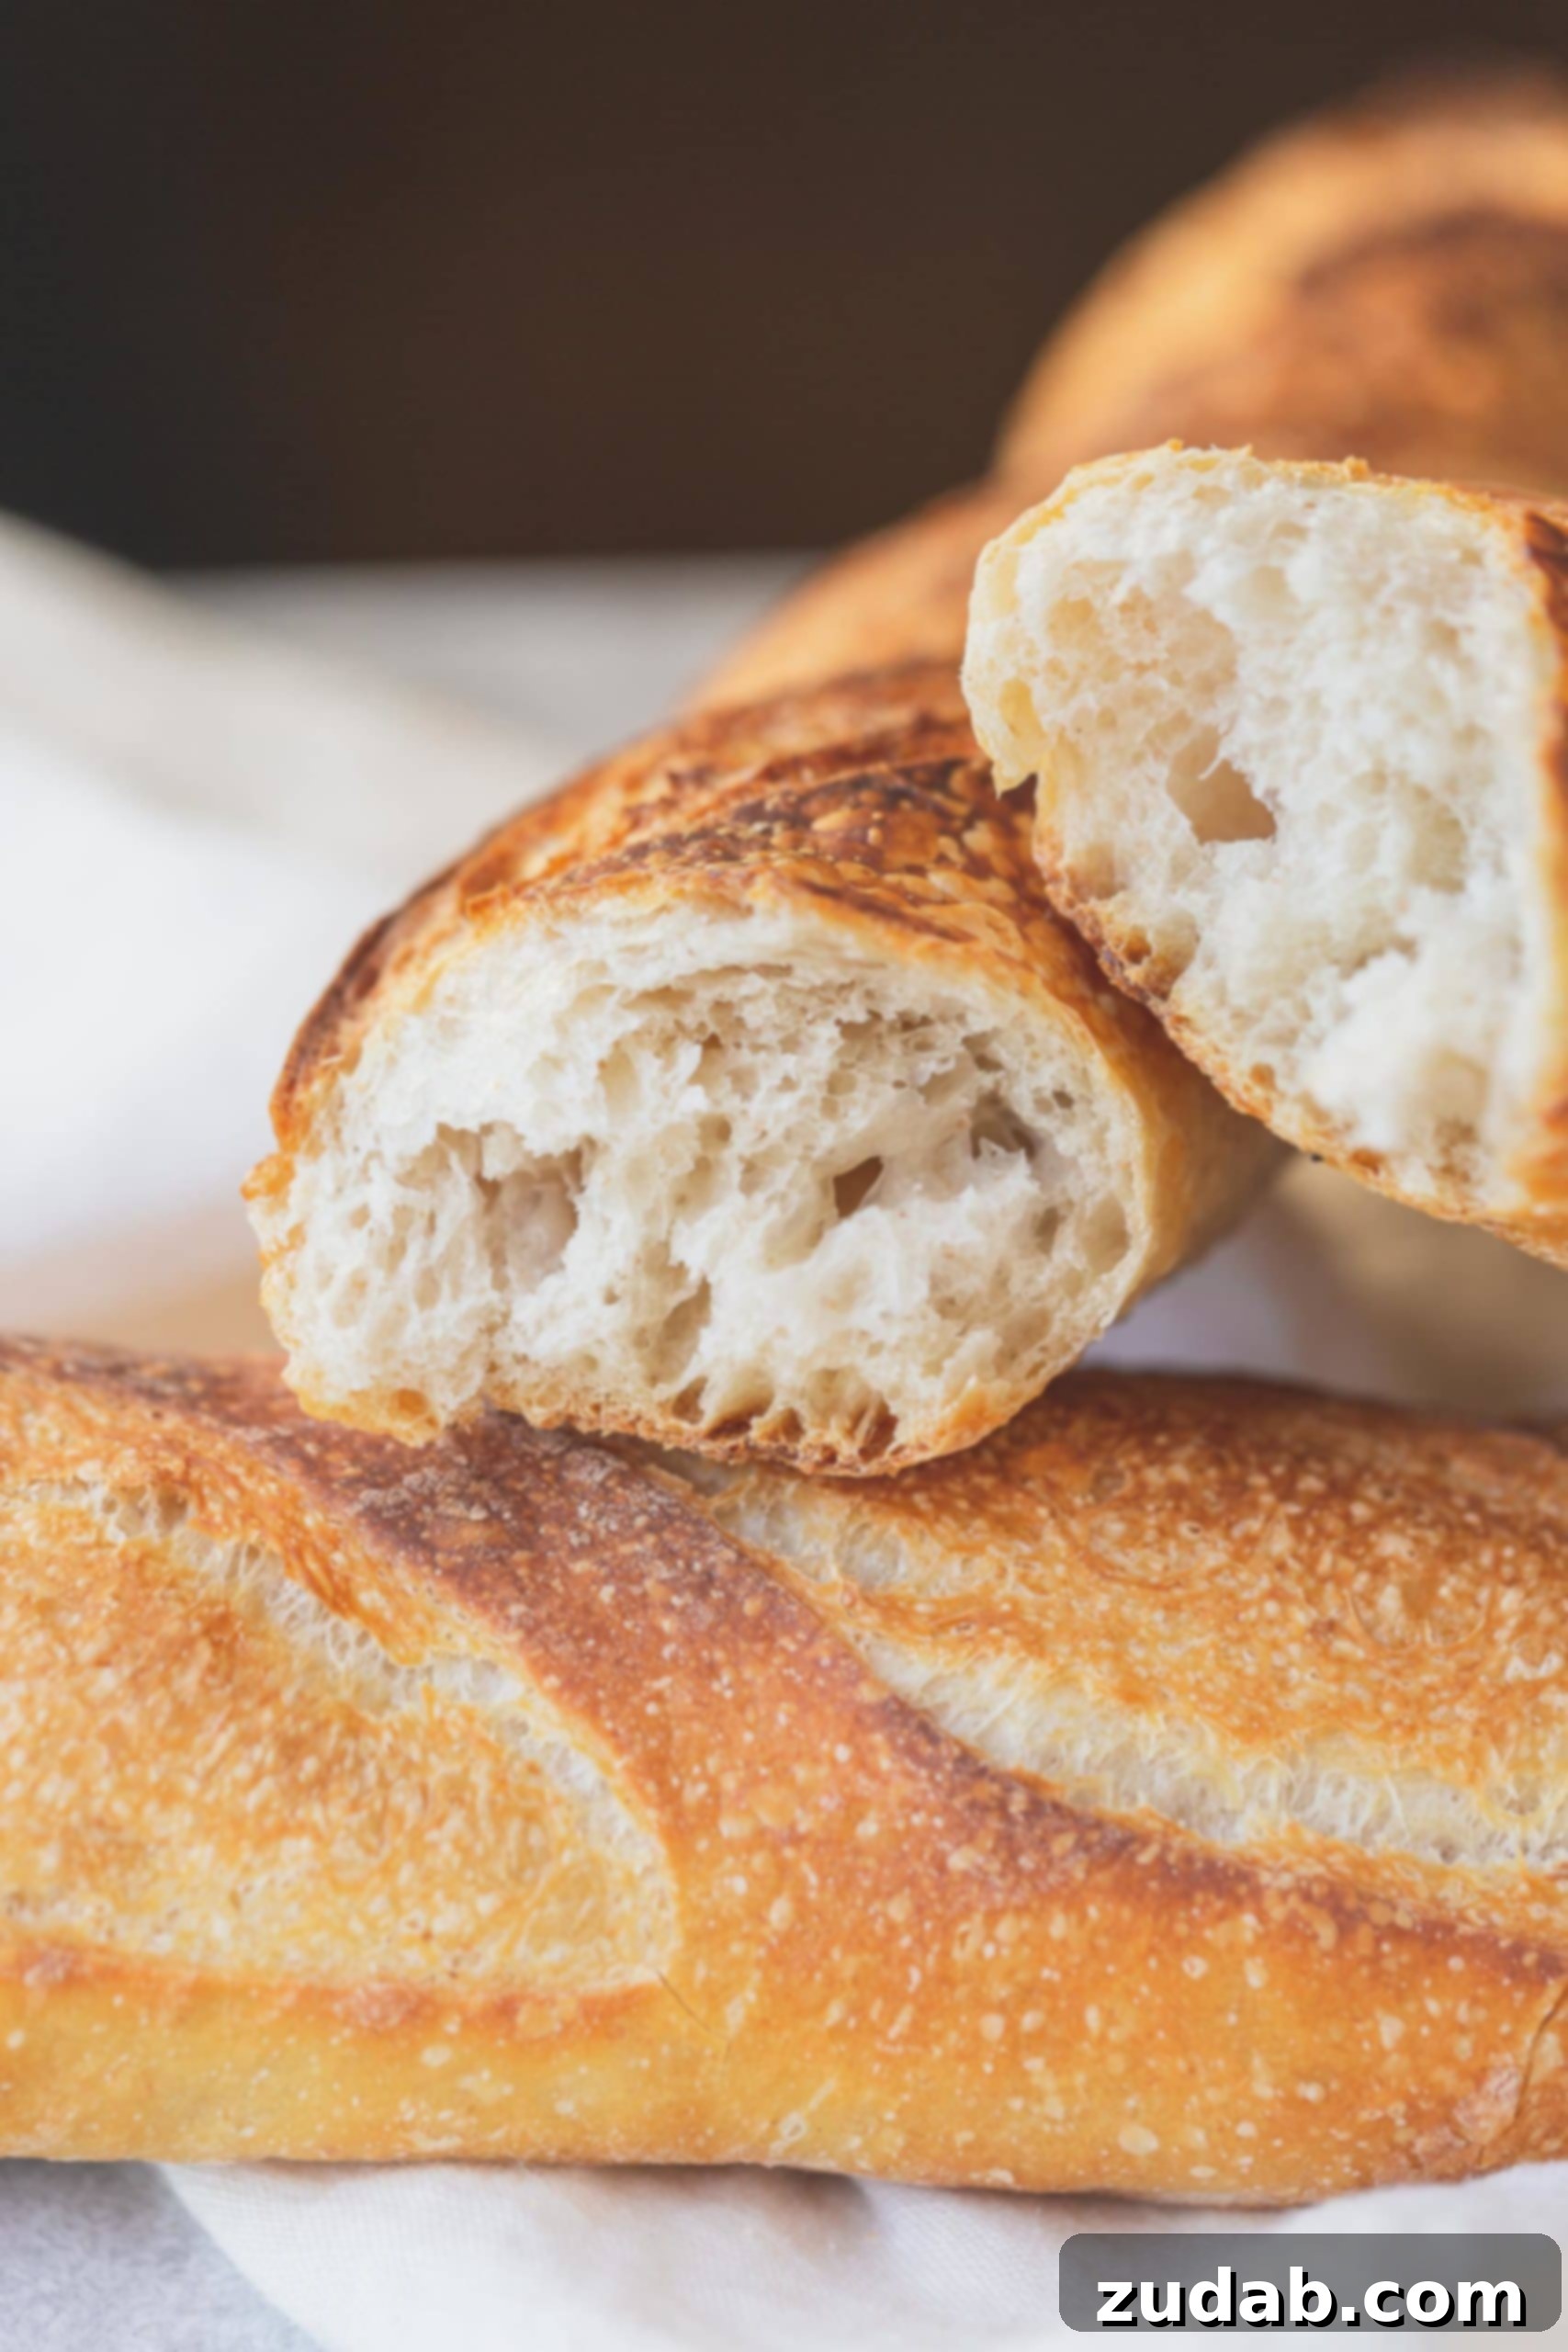
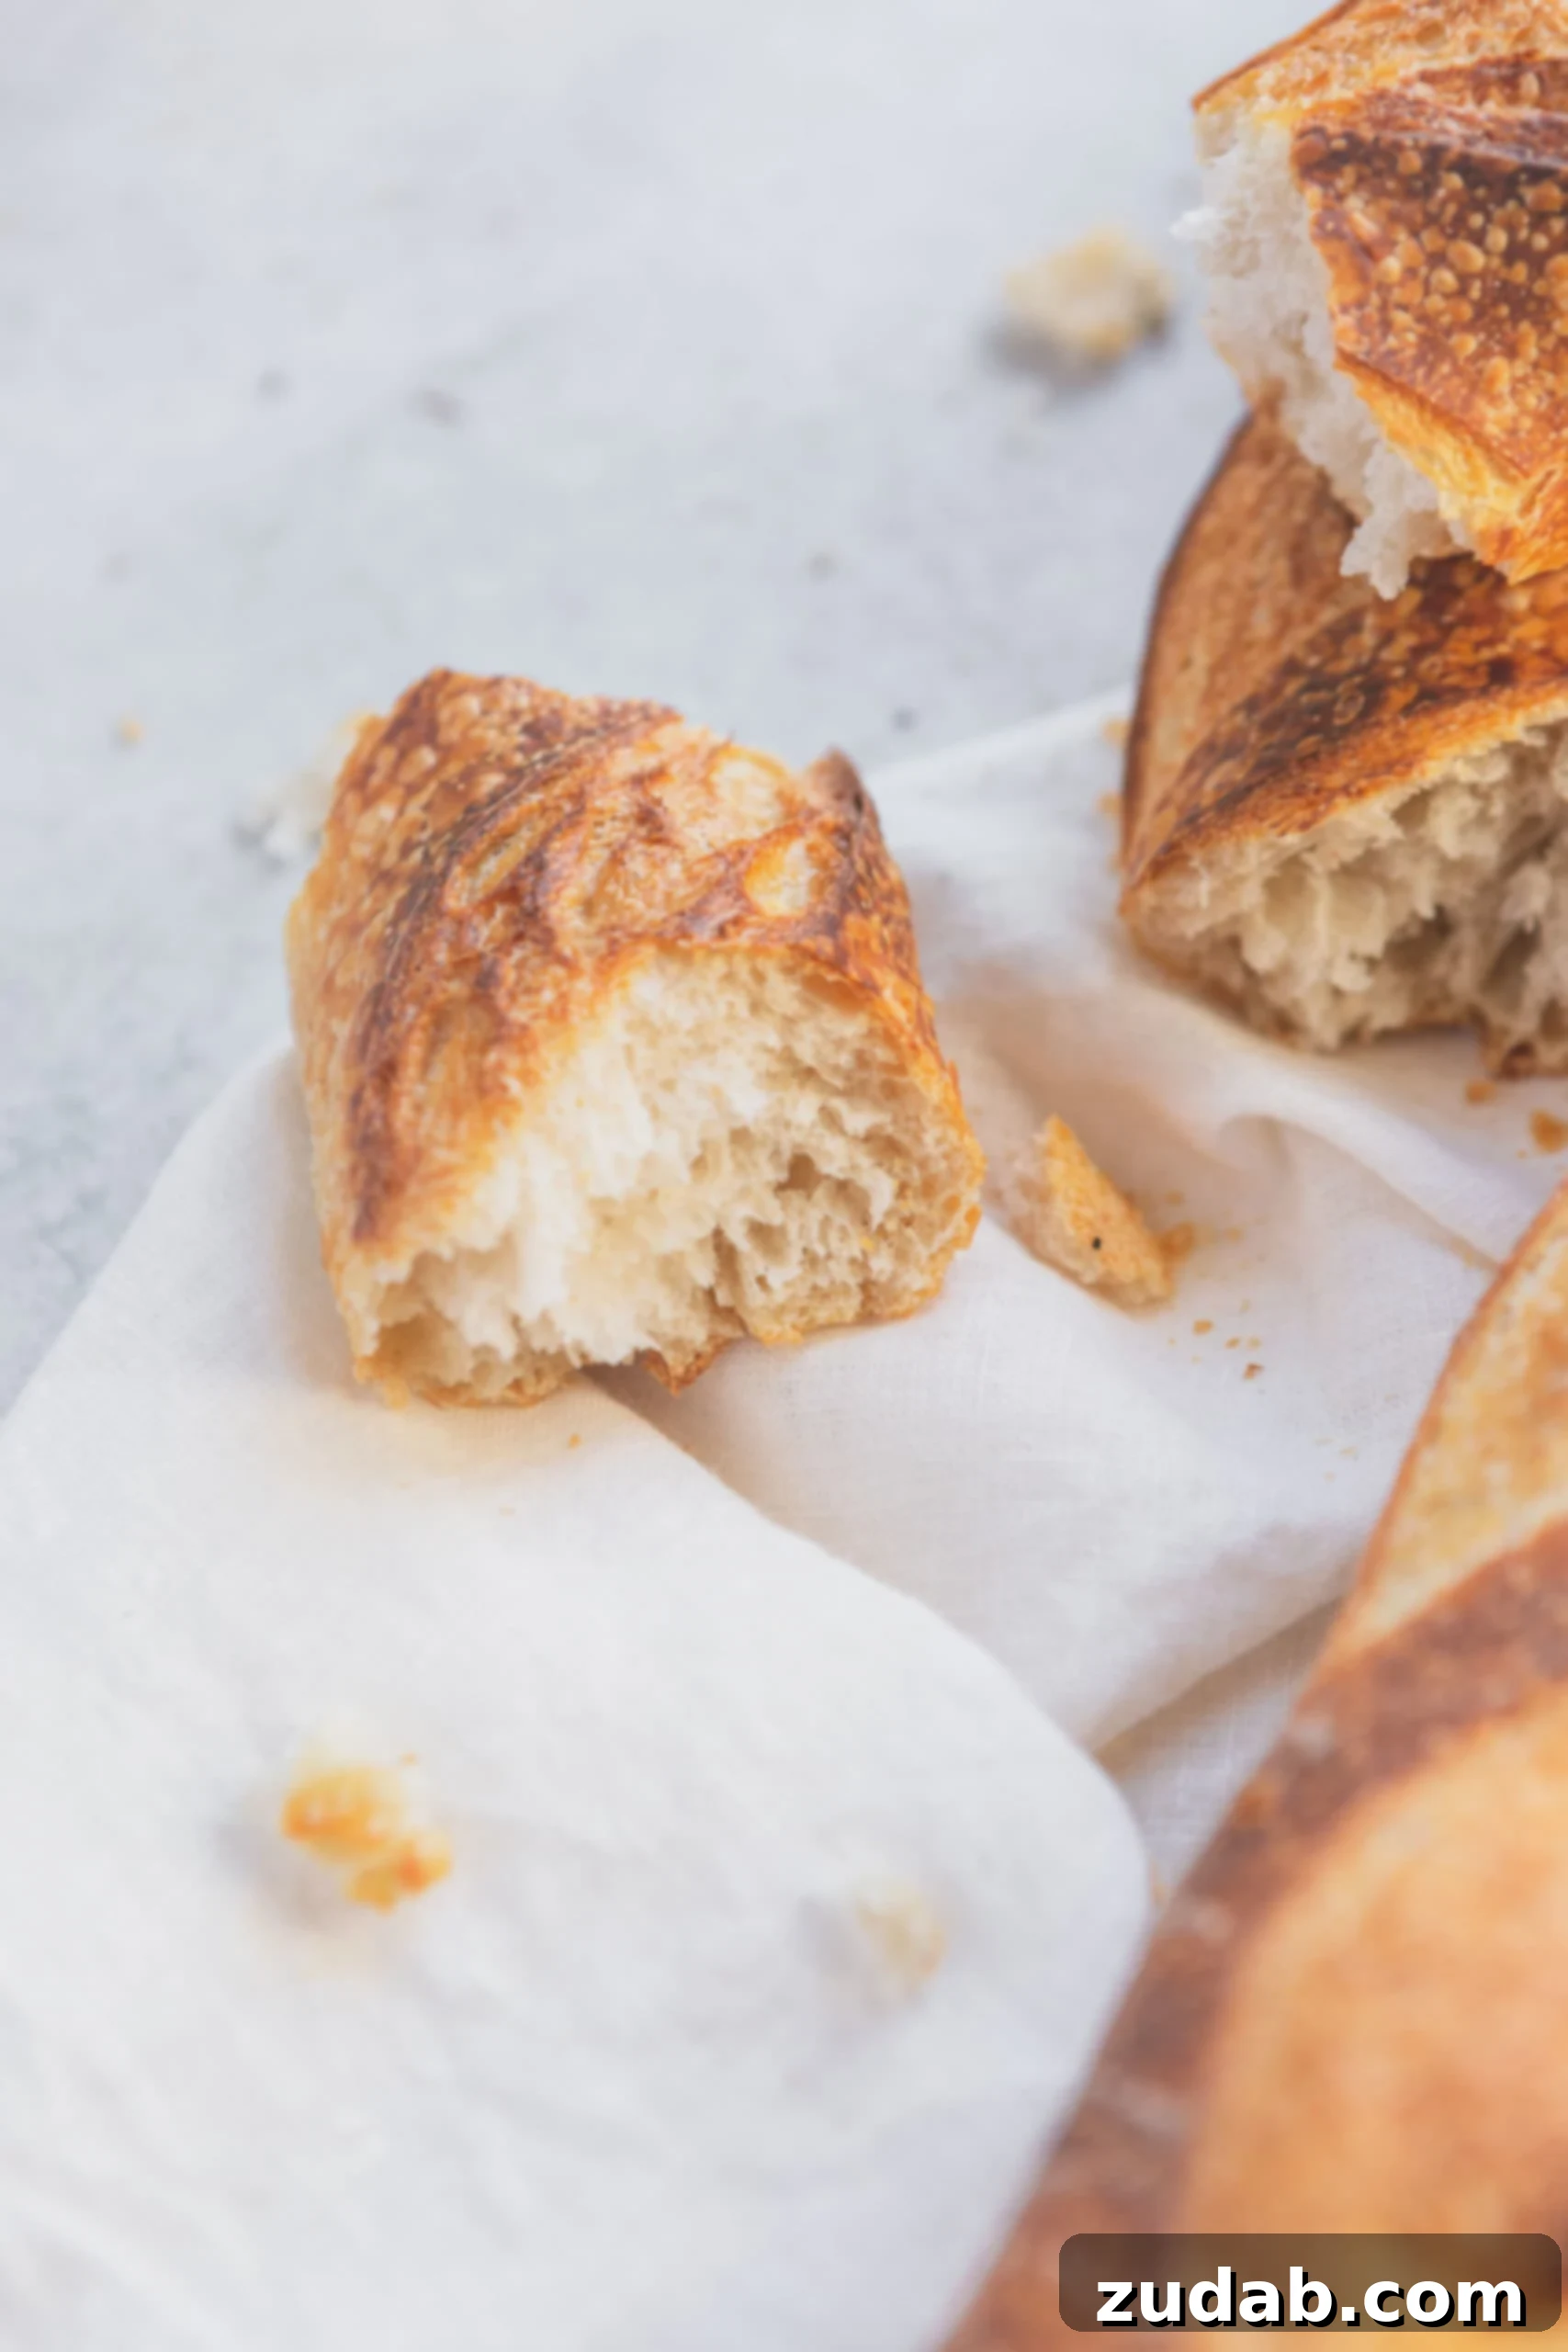
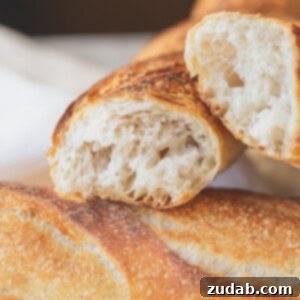
There’s an undeniable magic to an authentic French baguette. Its golden-brown, crackling crust gives way to a tender, airy, and wonderfully chewy interior. Many believe this culinary masterpiece is best left to professional boulangeries, but mastering a truly perfect homemade baguette recipe is not only achievable but incredibly rewarding. With just a few simple ingredients and some dedicated steps, you can bring the aroma and taste of a Parisian bakery right into your kitchen.
Often, we place unnecessary limits on our culinary abilities. Perhaps it’s the thought of baking a light, buttery croissant, or maybe it’s crafting a perfect homemade apple pie from scratch. We tend to think these tasks are too difficult, too time-consuming, or simply not worth the effort, opting instead for the convenience of store-bought alternatives. Sound familiar?
The humble baguette often falls into this category. It’s easy to assume that such an iconic bread is best left to the seasoned professionals at a bakery. However, this perception is about to change! Our comprehensive homemade baguette recipe is designed to demystify the process, proving that the time and effort invested are truly worthwhile. Imagine slicing into a warm, crusty loaf you baked yourself, knowing every ingredient and every step that went into its creation. The satisfaction is immense, and the flavor is simply unparalleled.
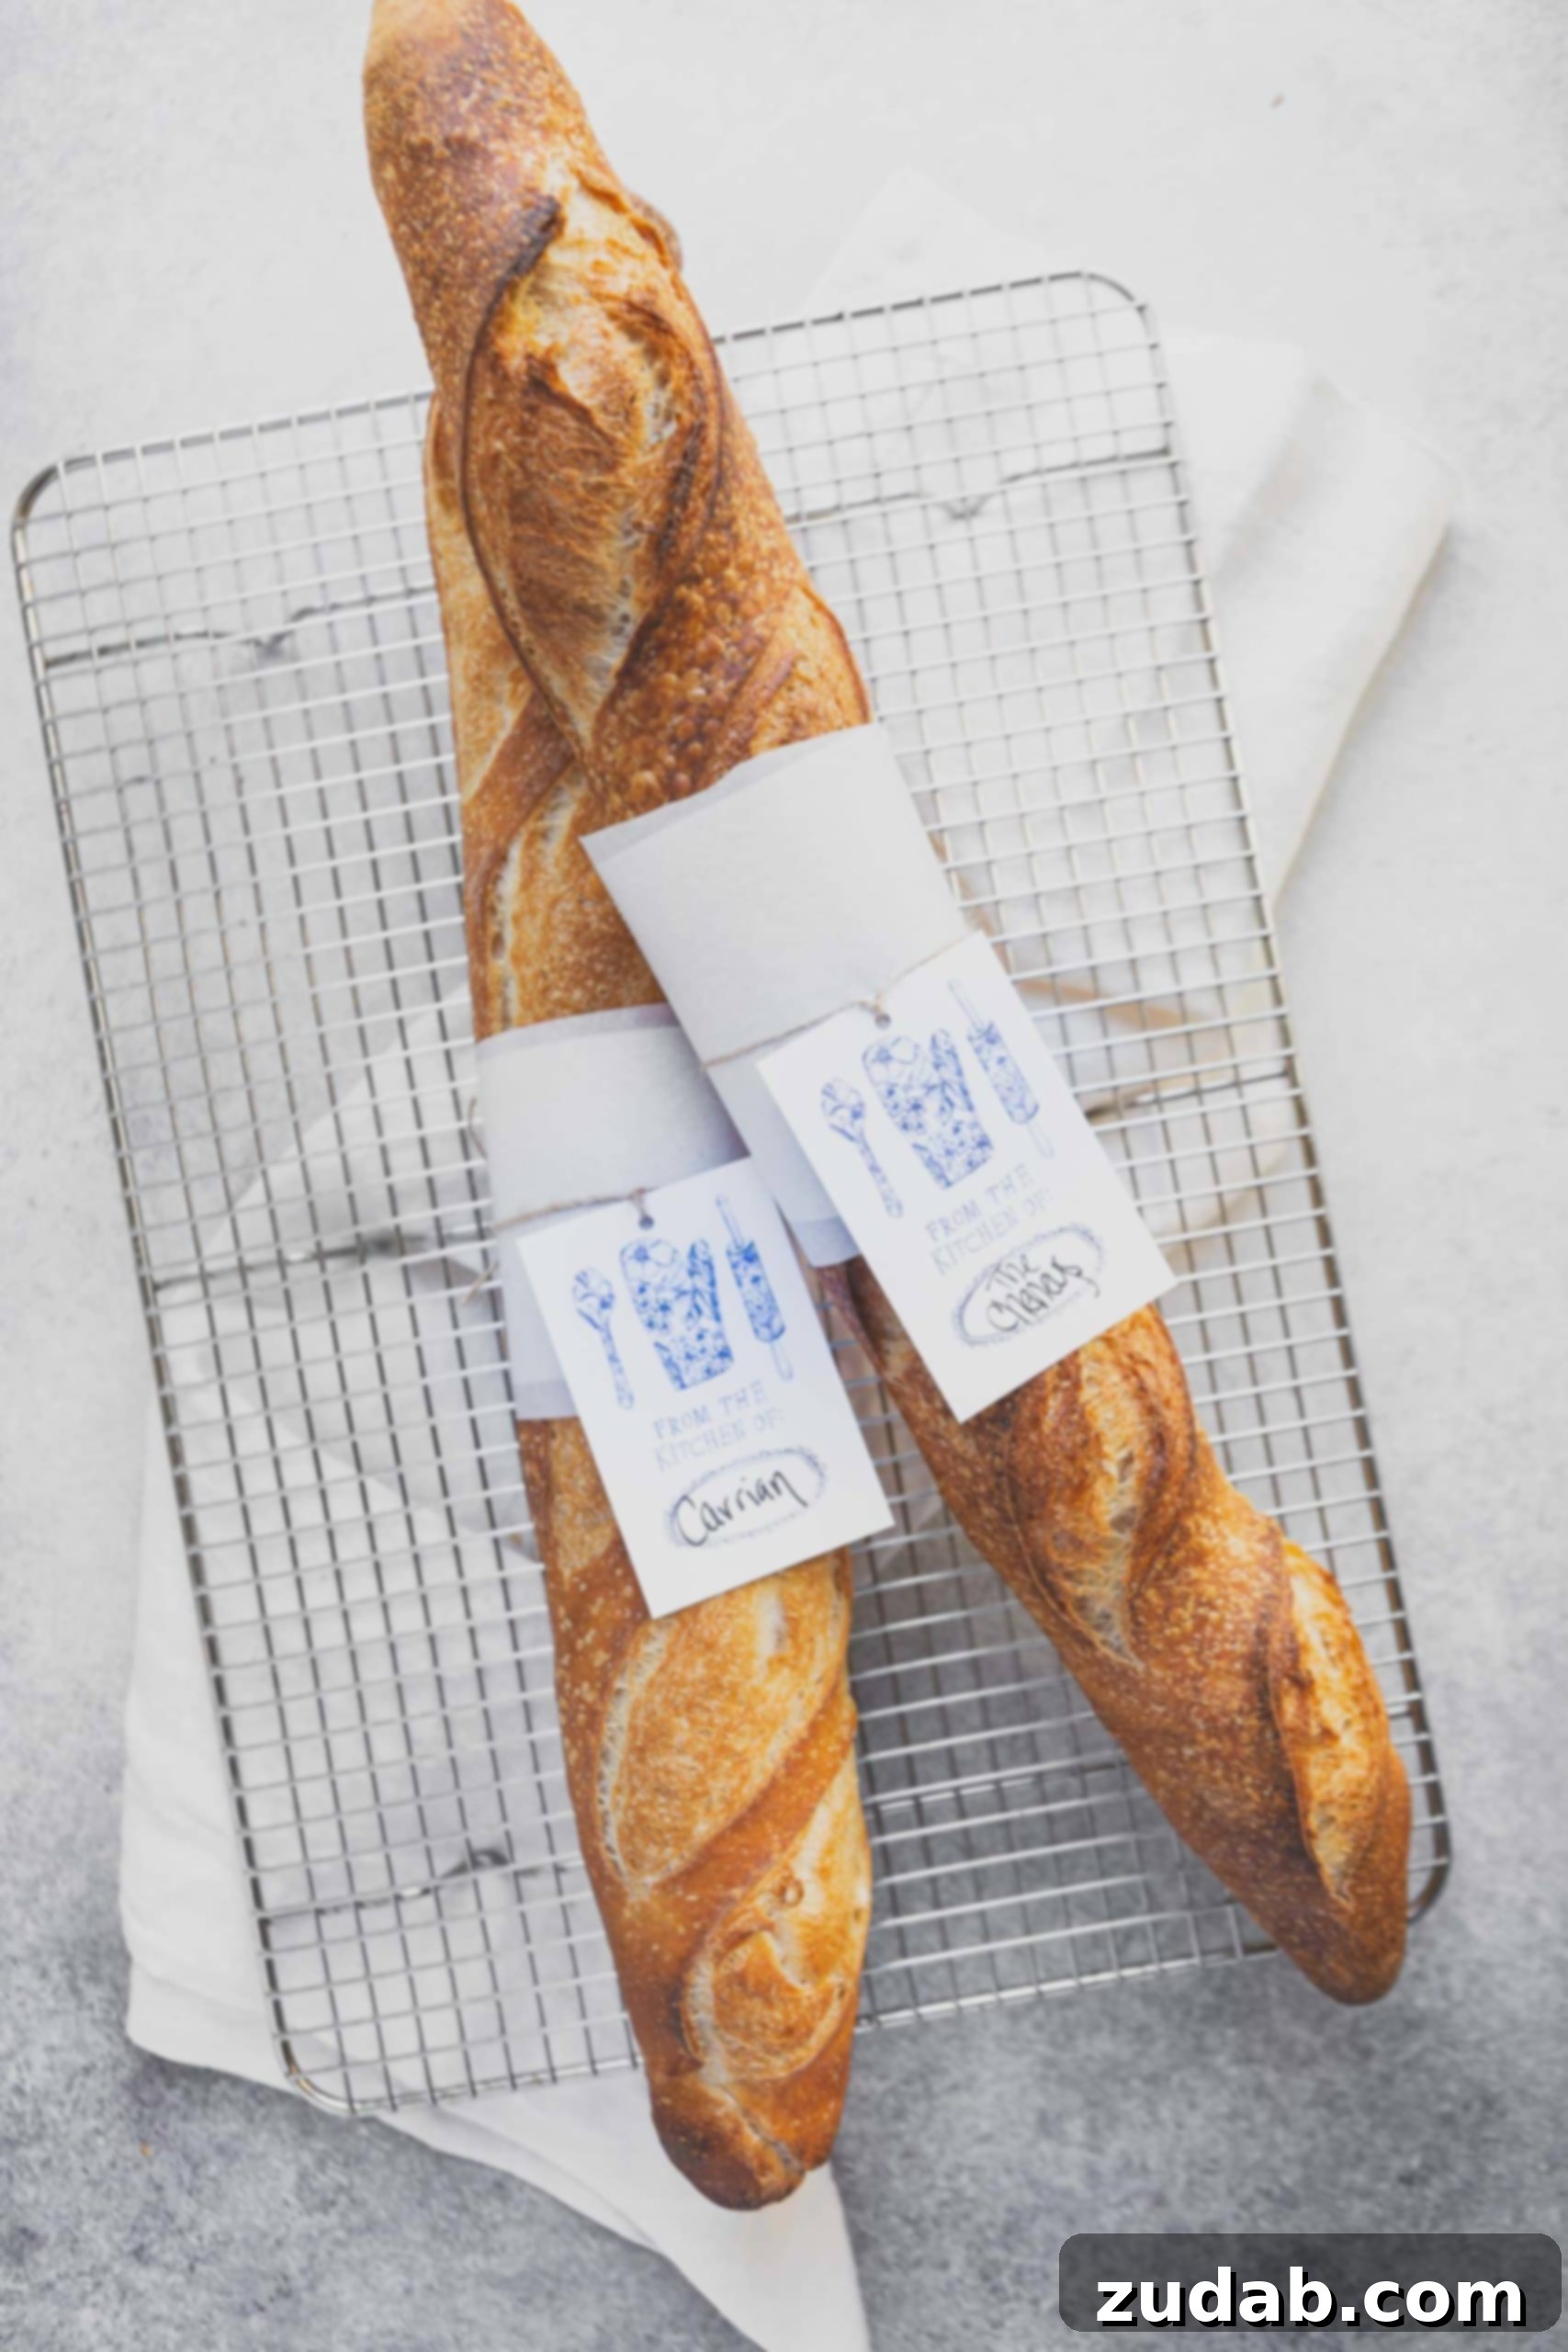
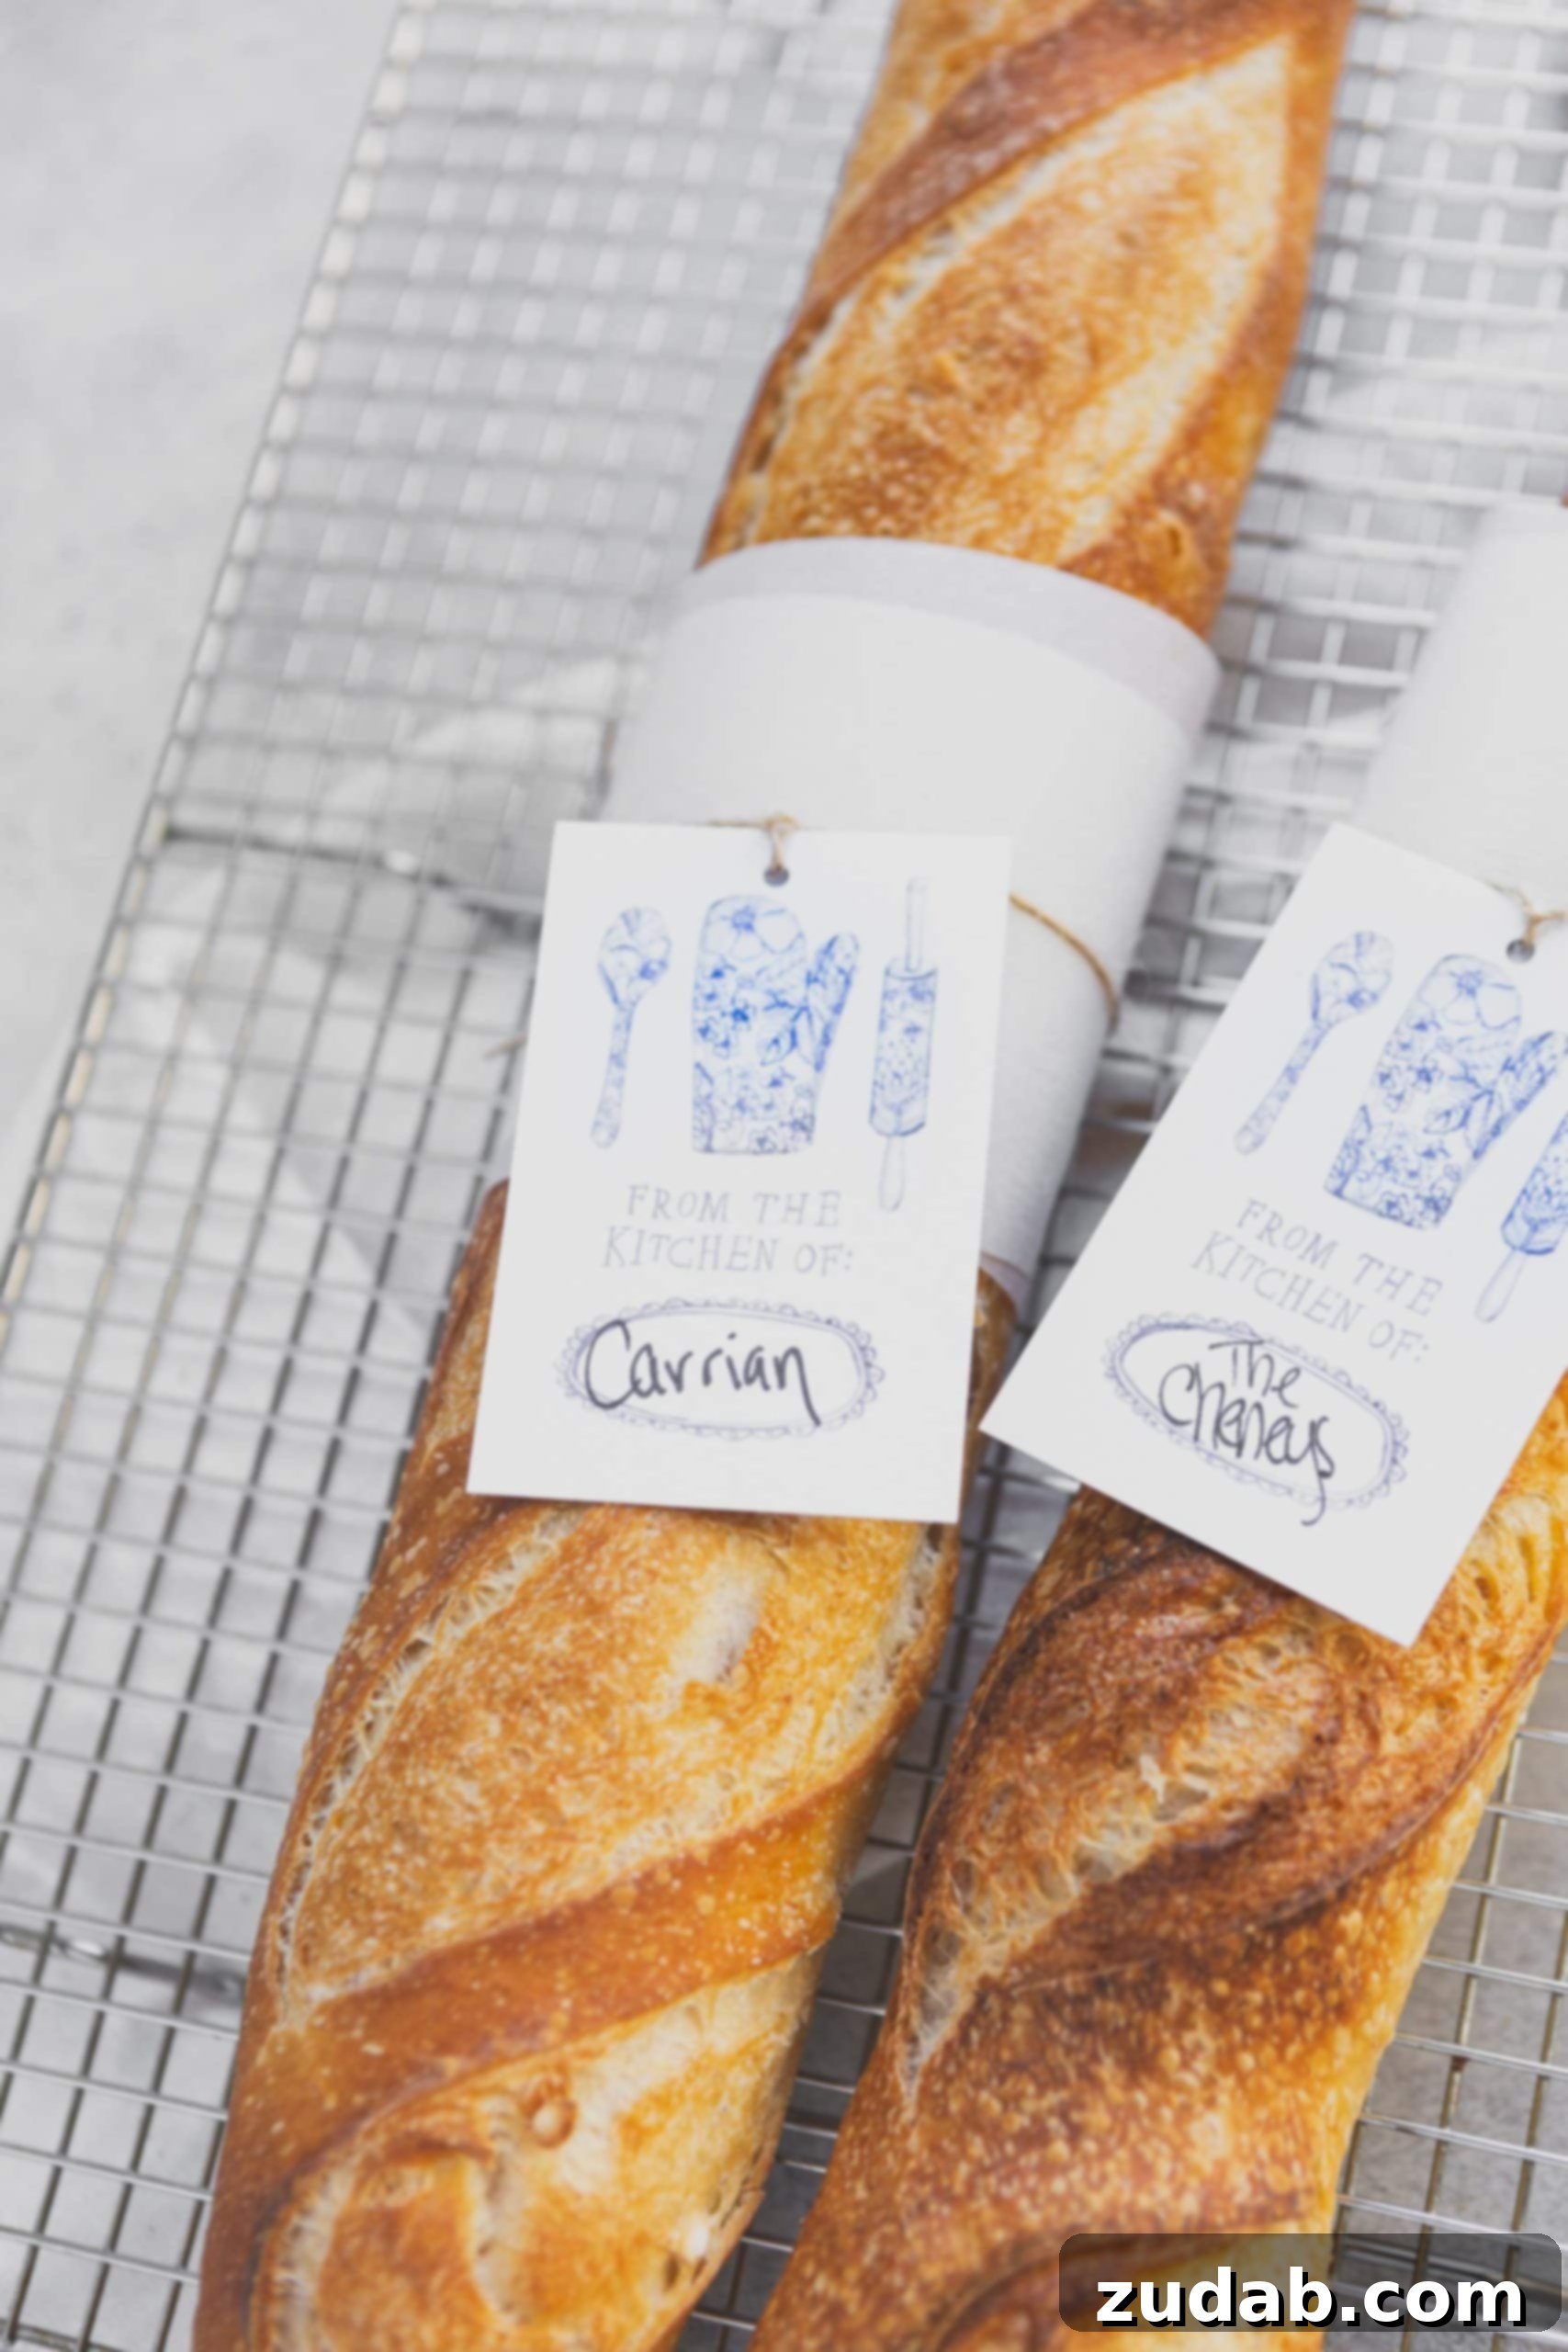
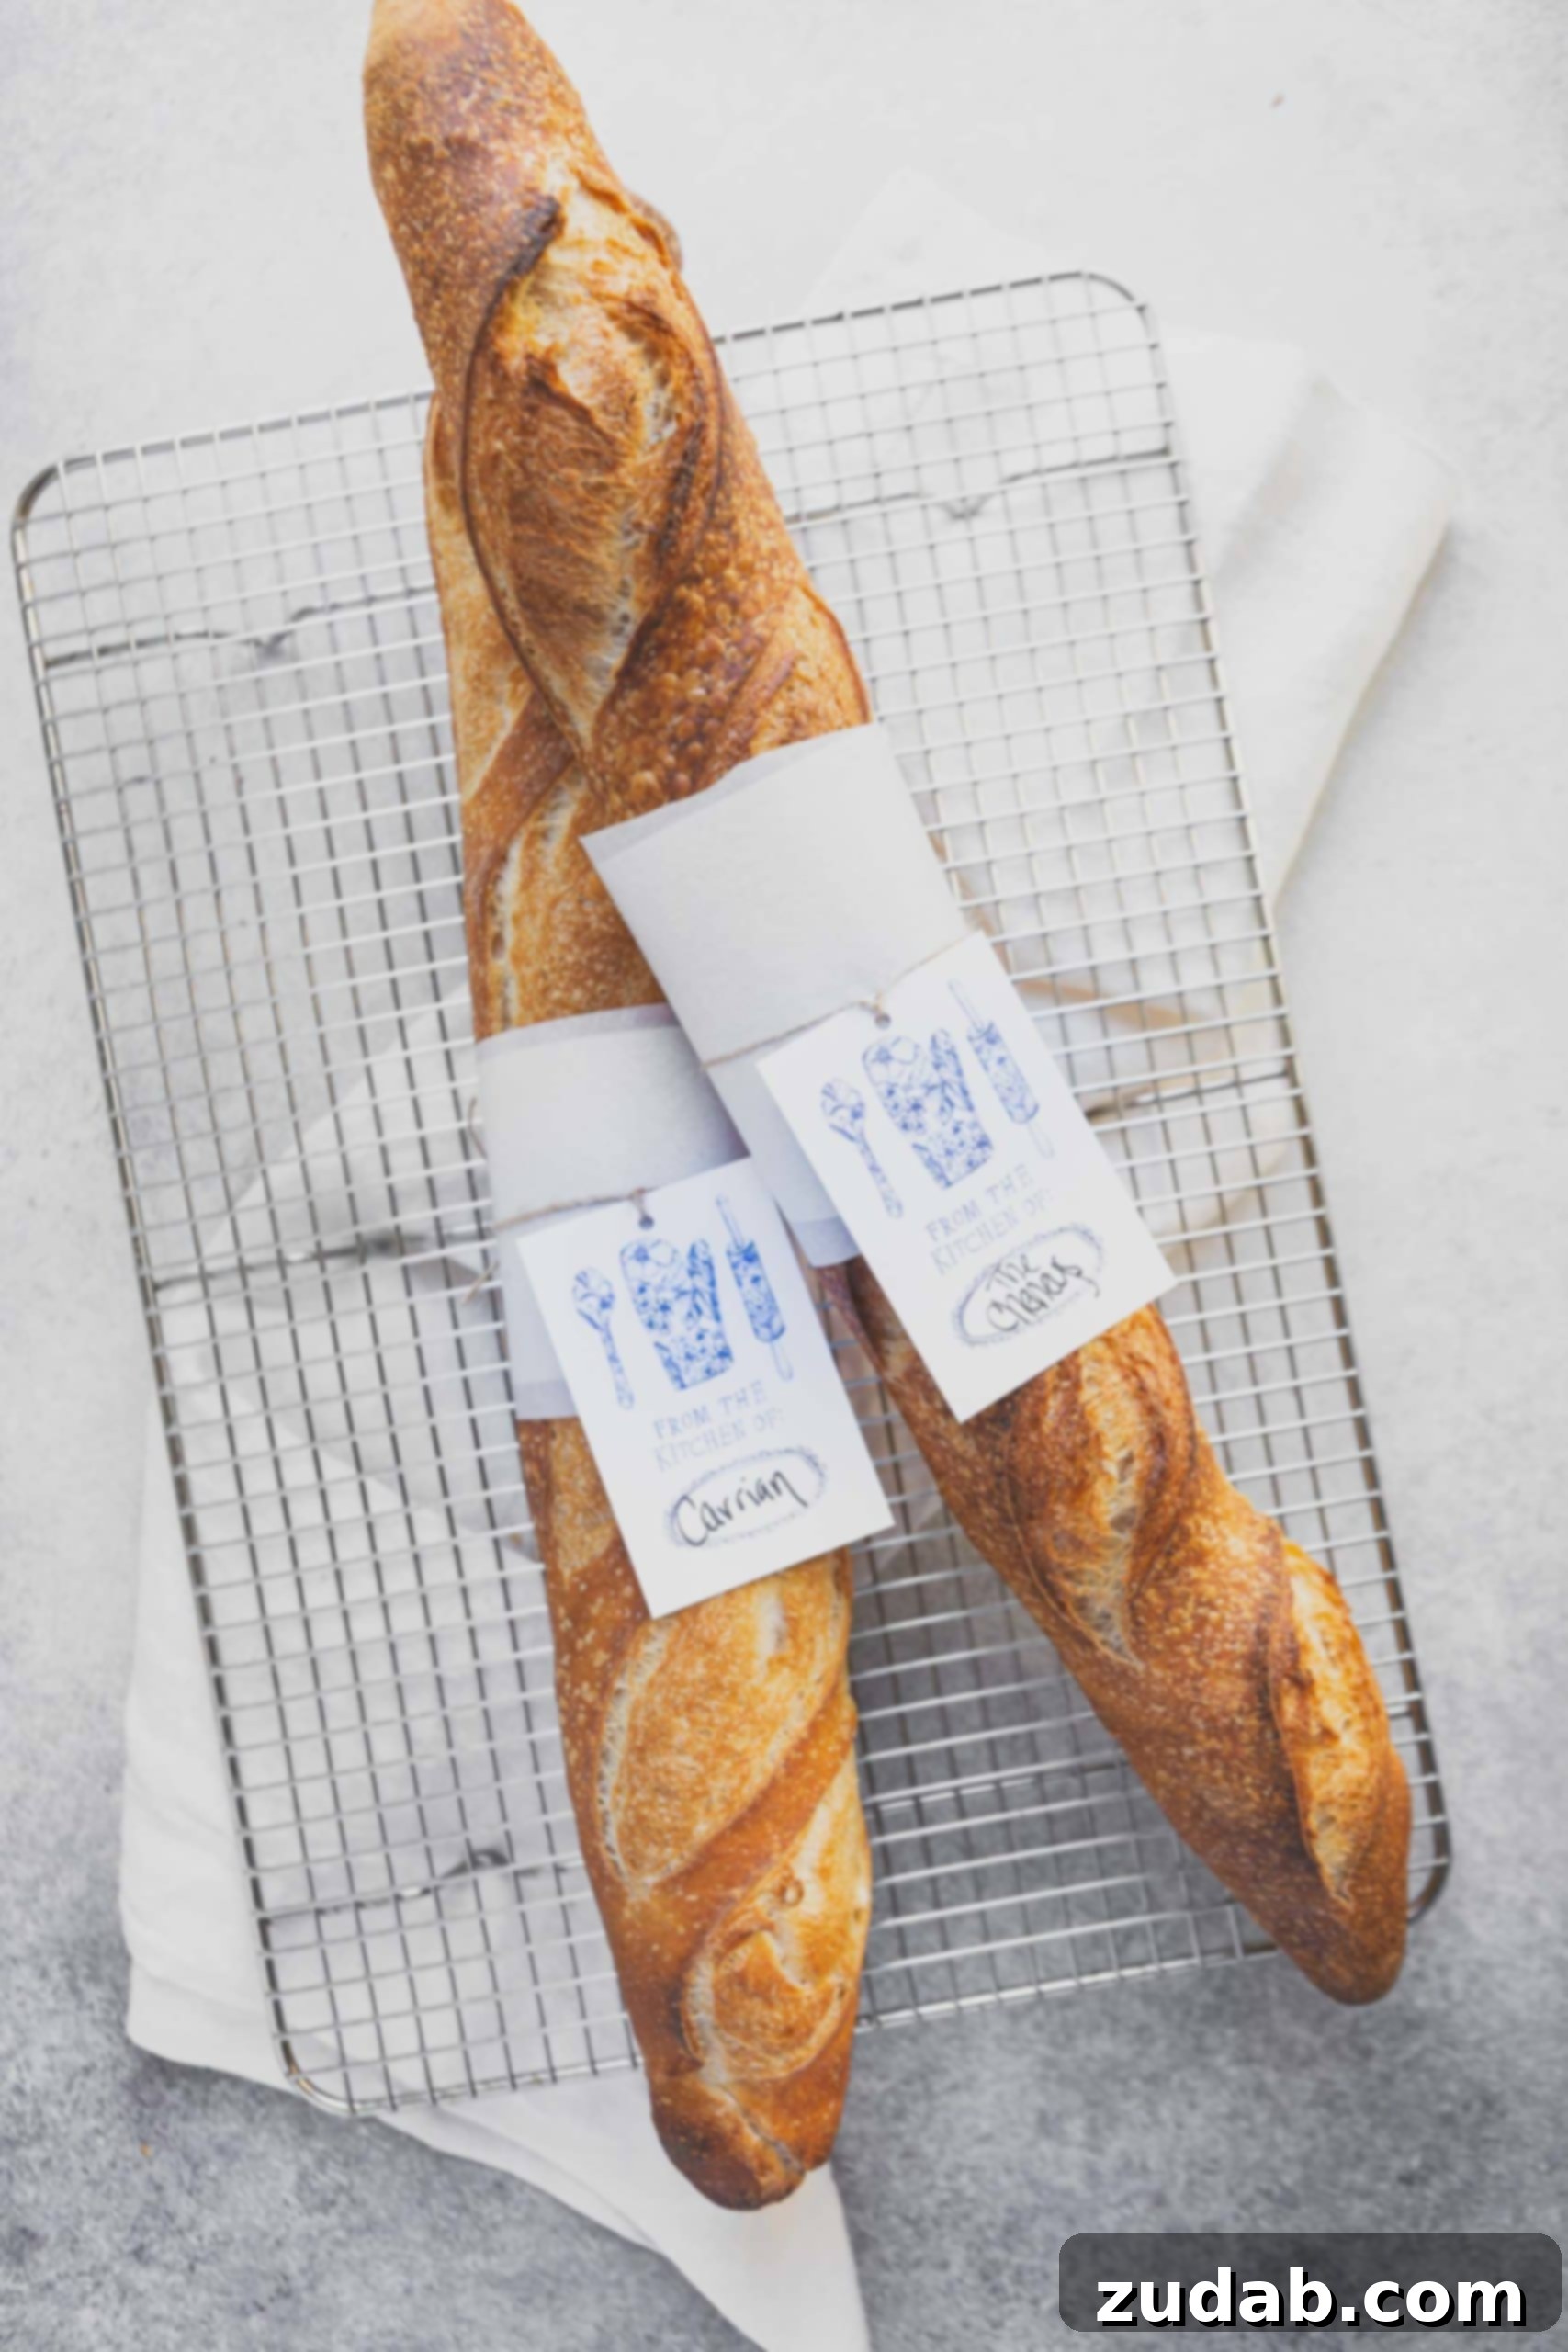
Once you conquer this phenomenal baguette recipe, you’ll feel empowered to tackle even more ambitious baking projects. Maybe a kouign amann will be your next culinary feat! But for now, let’s focus on the versatile delights of a freshly baked baguette. It’s ideal for dipping into rich soups, crafting delicious sandwiches, or slicing thin for elegant dips and crisp crostinis. You can even wrap them beautifully with adorable gift tags to share with friends and family, spreading the joy of homemade goodness.
Essential Ingredients for an Authentic Baguette
You might be surprised to learn that creating a truly authentic French baguette doesn’t require an array of exotic or hard-to-find ingredients. In fact, all you need are five simple, staple items. The magic truly lies in the technique and the care you put into each step, rather than a long list of specialty components.
- Bread Flour: Essential for its high protein content, which develops strong gluten, giving the baguette its signature chewiness and structure.
- Water: The primary liquid component, crucial for hydration and activating the yeast.
- Instant Yeast: A leavening agent that ensures a consistent and active rise, producing a light and airy crumb.
- All-Purpose Flour: Used in combination with bread flour to achieve the perfect balance of chewiness and tenderness in the final loaf.
- Kosher Salt: Not just for flavor, salt also helps control the yeast activity and strengthens the gluten network.
While the ingredients list may seem deceptively simple, the process of transforming them into delectable baguettes is a little more involved. Don’t worry, we’ll guide you through each and every step, ensuring your baking journey is both enjoyable and successful, culminating in a batch of the finest homemade French bread you’ve ever tasted.
What is Poolish and Why It Matters?
If you’re delving into the world of French baking, you’ll frequently encounter the term “poolish.” Understanding this key component is vital, as it plays a significant role in developing the distinct flavor and texture that define an authentic baguette.
In essence, a poolish is a type of pre-ferment or starter used in many French bread recipes. It’s a simple combination of flour, water, and a small amount of leavening agent – in our case, instant yeast. This mixture is left to ferment for a specific period, typically overnight, at room temperature. During this fermentation, the yeast consumes the sugars in the flour, producing alcohol and organic acids. This process develops complex flavors that would otherwise be absent in a direct-dough method.
The poolish contributes significantly to:
- Enhanced Flavor: The long, slow fermentation creates a depth of flavor that is subtly sweet, slightly nutty, and wonderfully complex, giving your baguette that characteristic artisanal taste.
- Improved Texture: It helps develop the gluten network, leading to a more extensible dough. This results in the baguette’s signature open, airy crumb and its delightful chewiness.
- Superior Crust: A poolish-based dough often produces a thinner, crispier crust with beautiful caramelization, a hallmark of a well-baked baguette.
- Better Keeping Quality: The acids produced during fermentation act as natural preservatives, helping your homemade baguettes stay fresh longer.
By incorporating a poolish into our baguette recipe, we’re not just adding an extra step; we’re unlocking the full potential of these simple ingredients, transforming them into a bread that rivals those found in the finest French bakeries. Trust the process, and you’ll be amazed by the results!
Crafting the Perfect Homemade Baguette: A Step-by-Step Guide
Baking baguettes is a journey of several distinct steps, each contributing to the final masterpiece. We’ll walk you through every phase, offering detailed insights to ensure your success. For precise measurements and timing, please refer to the dedicated recipe card below.
Step 1: The Poolish Preparation
The foundation of an exquisite baguette begins the night before. In a clean, spacious bowl or an airtight plastic container with a lid, combine the bread flour, water, and instant yeast. Stir these ingredients thoroughly until no dry spots of flour remain and the mixture is well integrated. Cover the container securely and let it rest at room temperature. For optimal flavor development and activity, allow the poolish to ferment for at least 8 hours, though an extended period of 10-12 hours will yield even more nuanced results. You’ll know it’s ready when it’s bubbly and smells faintly sweet and alcoholic, indicating active fermentation.
Step 2: Combining the Dough
On baking day, it’s time to bring the rest of the ingredients into the mix. Add the remaining bread flour, all-purpose flour, water, instant yeast, and kosher salt directly to your prepared poolish. We highly recommend measuring these ingredients by weight rather than volume (cups, teaspoons, tablespoons) for accuracy, as this is crucial in bread baking. Using a kitchen scale will give you the most consistent results. Stir all ingredients together until they are roughly combined, then use your hand to gently squeeze and mix the dough until it forms a cohesive mass. Cover the bowl or container and let the dough rest at room temperature for 30 minutes. This resting period, known as autolyse, allows the flour to fully hydrate and the gluten to begin developing naturally.
Step 3: Stretch and Fold Technique
Instead of vigorous kneading, we’ll employ a gentle “stretch and fold” technique to develop the gluten in your baguette dough. This method is incredibly effective for creating an open, airy crumb without overworking the dough. Many bakers find it helpful to watch a demonstration; this video provides an excellent visual guide. You will perform three rounds of stretching and folding, with a 30-minute resting period between each round. To begin, lightly dampen your hand with water to prevent sticking. Reach into the bowl, grab a portion of the dough from one side, stretch it upward, and then fold it over the center of the dough. Rotate the bowl 90 degrees and repeat the stretch and fold. Continue this process until you have stretched and folded all four sides. Cover the bowl and let it rest for 30 minutes. Repeat this sequence two more times. This entire process, including resting times, will take approximately two hours, significantly strengthening the dough and preparing it for shaping.
Step 4: Preparing Your Baking Environment
While your dough is on its final rest, it’s crucial to prepare your oven and tools. This setup is key to achieving that signature crispy baguette crust. Position one oven rack on the very bottom and another in the middle. Place a cast iron skillet (or any heatproof pan) on the bottom rack. On the middle rack, place a baking stone, a baking steel (our preferred method for superior heat retention), or an upside-down sturdy baking sheet. Preheat your oven to a blazing 500 degrees F (260 degrees C) with these items inside for at least one full hour. This ensures everything is scorching hot, which is vital for a good oven spring and crust development.
Next, prepare your workspace for the final proofing. Lightly flour a baker’s couche (a piece of heavy linen cloth) or a clean linen towel. Create folds in the cloth to support each shaped baguette. Finally, line a pizza peel or an unrimmed baking sheet with a piece of parchment paper, which will be used to transfer your delicate dough to the hot oven.
Step 5: Pre-Shape & Rest
Gently transfer your dough to a lightly floured work surface. Using a dough scraper or a sharp knife, carefully cut the dough in half. Avoid tearing it, as this can damage the delicate gluten structure. Take one piece of dough and gently press it into a rectangular shape. Lightly fold in each of the short ends towards the center, just barely pressing with your fingertips to seal them. Then, fold each of the long ends towards the center, gently pressing to create a seam running down the length of the dough. This pre-shaping helps to create tension and prepares the dough for its final baguette form. Repeat this process with the second piece of dough. Cover both pre-shaped dough pieces loosely with plastic wrap and let them rest for 10 minutes. This brief rest allows the gluten to relax, making the dough easier to handle in the next shaping step.
Step 6: Shaping into Baguettes
The final shaping is where your baguettes truly come to life. While detailed descriptions can be helpful, a visual guide is often best for this step. We highly recommend watching this video to perfect your technique. The goal is to create a tight, elongated log. Once shaped, carefully transfer each baguette to your floured baker’s couche or linen. Gently scoot the fabric up on both sides of the baguette to create supportive folds, like a cozy little hammock. These folds prevent the dough from spreading sideways during its final rise, helping it maintain its classic long, slender shape. Repeat the same process for the second piece of dough.
Step 7: Final Rise (Proofing)
Once shaped and nestled in their couche, cover the baguettes loosely with plastic wrap to prevent them from drying out. Let them rest and rise at room temperature for 45-60 minutes, or until they have nearly doubled in size. This final rise, known as proofing, is crucial for achieving an airy texture. You can test if they are ready by gently poking the dough with a floured finger; if the indentation slowly springs back, they are perfectly proofed. If it springs back immediately, they need more time. If it stays indented, they might be slightly over-proofed, but still salvageable.
Step 8: Scoring the Baguettes
Scoring your baguettes before baking is both an art and a science. It allows the bread to expand predictably in the oven, preventing uncontrolled rips and creating beautiful patterns. Carefully place a small cutting board beside one baguette. Using the couche, gently flip the baguette onto the cutting board. Then, carefully transfer it to your parchment-lined pizza peel or unrimmed baking sheet, ensuring the seam side is now facing down. Repeat with the second baguette. Using a very sharp knife, a razor blade, or a specialized baker’s lame, make 4-5 quick, confident slashes (known as “coups”) on the top of each baguette. These slashes should be at a slight angle and not too deep, allowing the dough to burst open beautifully during baking.
Step 9: The Bake: Creating the Perfect Crust
It’s finally time for the moment of truth – baking! This step requires quick action to create the crucial steam needed for a thin, crispy crust. Fill a small bowl with about 2 cups of ice cubes. Working quickly, open your preheated oven, and with a swift motion, slide the entire piece of parchment paper with your scored baguettes onto the scorching hot baking stone (or steel). Immediately pour the ice cubes into the cast iron skillet on the bottom rack and quickly shut the oven door. This burst of steam prevents the crust from forming too quickly, allowing the baguette to achieve maximum oven spring and a glossy, thin crust. Reduce the oven temperature to 475 degrees F (245 degrees C). Bake for 25-40 minutes. Start checking at the 25-minute mark and continue baking until the crust reaches your desired deep golden-brown color. A darker crust generally indicates a more flavorful and crispier baguette.
Step 10: Cool for Optimum Flavor
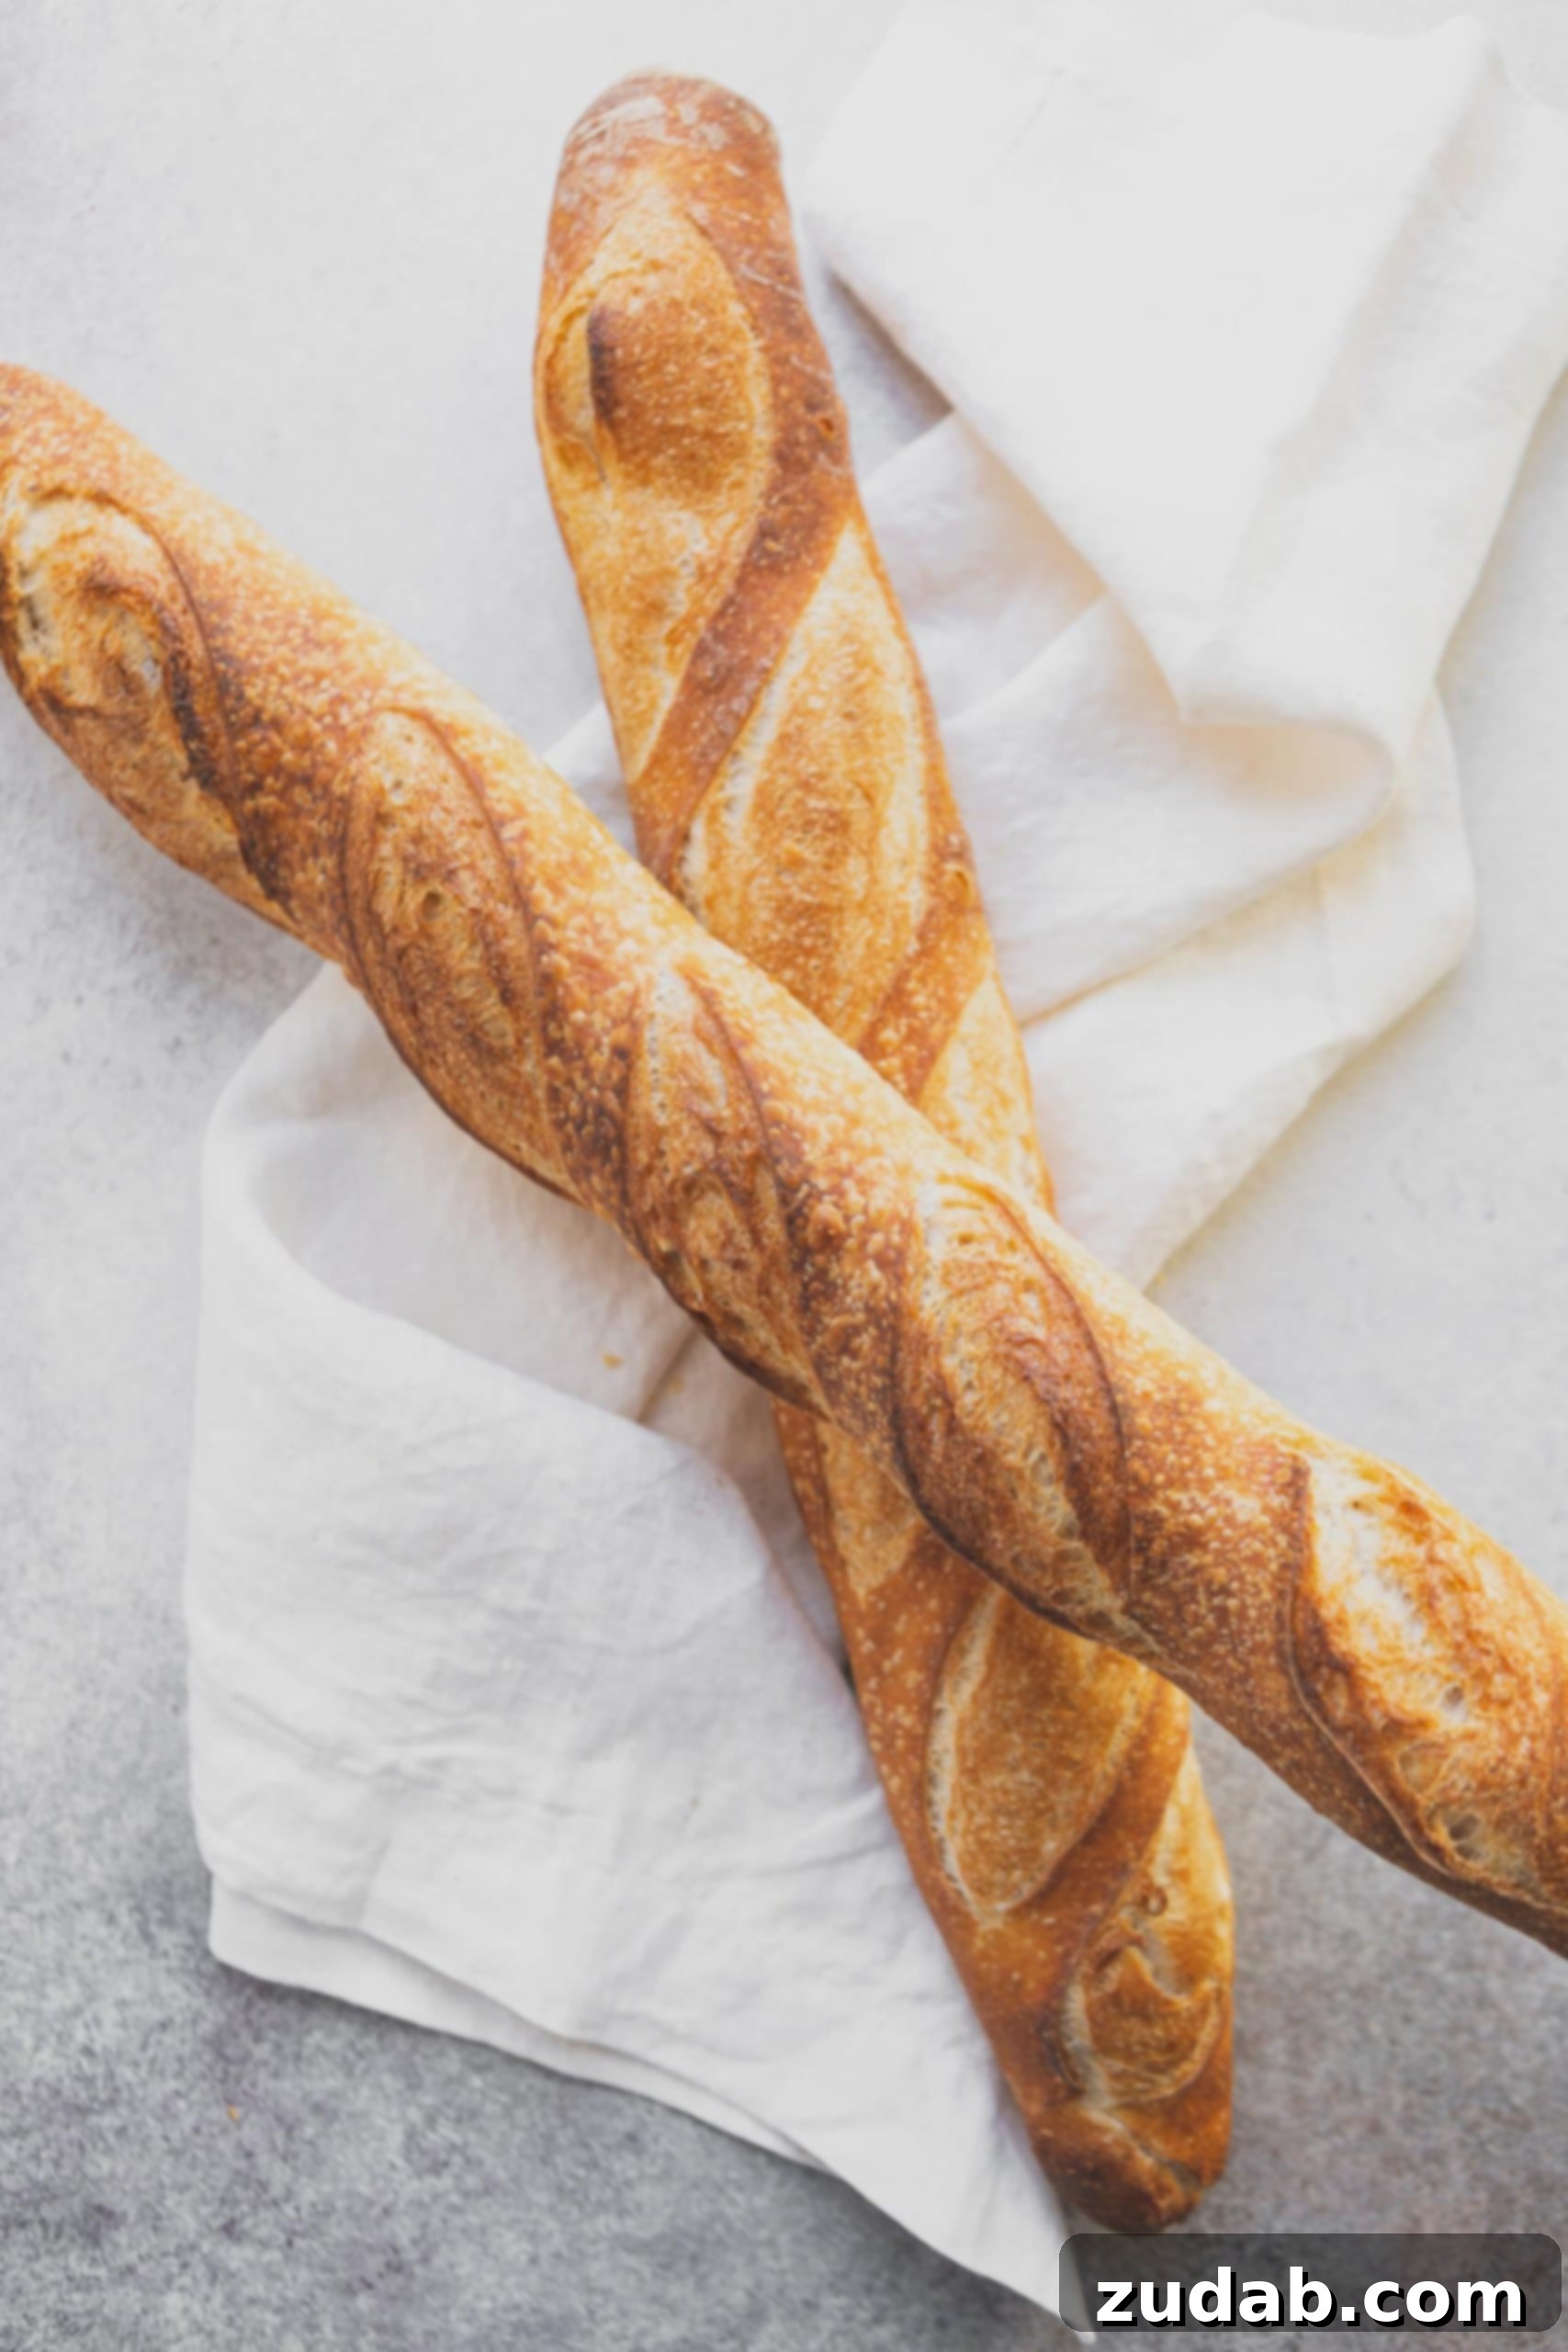
The hardest part of baking is often the waiting, and for baguettes, cooling is not an optional step. Once out of the oven, transfer your beautiful baguettes to a wire cooling rack. Allow them to cool completely before slicing and enjoying. While the temptation to tear into a warm baguette is strong, cooling allows the internal structure to set, the moisture to redistribute, and the flavors to fully develop. This ensures the best possible texture and taste. You’ve come full circle, starting with a humble poolish and ending with a magnificent, artisan-quality loaf of bread!
What to Eat with Freshly Baked Baguettes?
Let’s be honest: a warm, crusty baguette can be devoured plain, and life is simply wonderful. However, its versatility makes it an incredible companion to a myriad of dishes. Whether you use it for hearty sandwiches, as a perfect dipper for savory soups, or sliced thin for delightful dips, a homemade baguette elevates any meal. Here are a few suggestions to inspire your next culinary creation:
Delicious Baguette Sandwiches
- French Dip Sandwich: The sturdy crust and soft interior of a baguette are ideal for soaking up flavorful au jus.
- Triple Decker Club: Layered with your favorite meats, cheeses, and veggies, a baguette makes for a sophisticated and satisfying club.
- Caprese Sandwich: Fresh mozzarella, ripe tomatoes, basil, and a drizzle of balsamic glaze sing when nestled in a fresh baguette.
- Banh Mi: For a Vietnamese twist, fill with grilled pork, pickled carrots, daikon, cilantro, and a spicy mayo.
- Ham and Swiss with Dijon: A classic combination that is simple yet incredibly satisfying on a crusty baguette.
Hearty Soups to Pair with Baguettes
- Roasted Tomato Basil Soup: A comforting classic that’s perfect with a torn piece of baguette for dipping.
- Broccoli Cheddar Soup: The richness of this soup is beautifully complemented by the light texture of the bread.
- Chili: Soak up every last drop of flavorful chili with a crusty slice.
- French Onion Soup: While traditionally topped with croutons, a side of fresh baguette is a wonderful accompaniment.
- Creamy Mushroom Soup: The earthy flavors of mushroom soup are enhanced by dipping fresh baguette slices.
Irresistible Dips for Baguette Slices
- Slow Cooker Taco Dip: A crowd-pleaser, perfect for scooping with sturdy baguette slices.
- Buffalo Chicken Dip: The spicy, creamy goodness is a match made in heaven with crispy baguette.
- Homemade Hummus: A healthy and flavorful option for dipping.
- Slow Cooker Sausage Dip: Rich and cheesy, this dip is fantastic with a fresh baguette.
- Spinach Artichoke Dip: The creamy texture and savory flavors are ideal for a warm baguette.
- Bruschetta Topping: Dice baguette slices, toast them, and top with fresh tomato, garlic, and basil for a classic appetizer.
How to Store Homemade Baguettes
To keep your freshly baked baguettes at their best, allow them to cool completely. Once cooled, place them in a plastic storage bag or wrap them tightly in aluminum foil. Store them at room temperature, ideally on your countertop. This method helps maintain some of their crispness and prevents them from drying out too quickly.
How Long Will a Baguette Keep Fresh?
When stored properly using the method above, a homemade baguette will generally keep fresh for 2-3 days. While they are always best enjoyed on the day they are baked, warming them slightly in the oven can help revive their crust and aroma on subsequent days.
What is the Difference Between French Bread and a Baguette?
While often used interchangeably, there are subtle differences between “French bread” and a “baguette.”
- A baguette is typically longer and much thinner in diameter than what is generally referred to as French bread.
- Baguettes are renowned for their exceptionally crispy, often brittle crust, and a very open, airy interior (crumb) with irregular holes. French bread, while still delicious, may have a slightly softer crust and a denser crumb.
- The traditional baguette adheres to strict French baking standards regarding shape, size, and ingredients.
Now that you’re equipped with all the knowledge and detailed steps, who’s ready to conquer this authentic baguette recipe? The ingredients are simple, the process is rewarding, and the results are utterly delicious. You’ve been walked through each stage, from the foundational poolish to the final glorious bake. So, take a deep breath, gather your ingredients, and get ready to impress yourself and everyone around you with your homemade French bread baking skills. Ready. Set. Bake!
Baguette Recipe
Pin
Ingredients
Poolish
- 89 Grams Bread flour, 3/4 cup
- 89 Grams Water, 6 Tablespoons+1 teaspoon, slightly warm
- 1 Gram Instant Yeast, 1/4 teaspoon
Dough
- 240 Grams Bread flour, 2 cups
- 31 Grams All-Purpose Flour, 1/4 cup
- 163 Grams Water, 1/2 cup+3 Tablespoons, slightly warm
- 1 Gram Instant Yeast, 1/4 teaspoon
- 6 Grams Kosher Salt, Morton, 1 1/4 teaspoons
Instructions
For The Poolish
-
The night before baking, prepare the poolish.
-
In a large mixing bowl or a lidded plastic container, combine the bread flour, water, and instant yeast for the poolish. Stir until thoroughly combined with no dry spots.89 Grams Bread flour, 89 Grams Water, 1 Gram Instant Yeast
-
Cover the bowl with plastic wrap or its lid and let it stand at room temperature for at least 8 hours, and preferably 10-12 hours, until bubbly.
Combine the Dough
-
To the bowl with the active poolish, add the rest of the ingredients for the baguette dough: bread flour, all-purpose flour, water, instant yeast, and kosher salt.240 Grams Bread flour, 31 Grams All-Purpose Flour, 163 Grams Water, 1 Gram Instant Yeast, 6 Grams Kosher Salt
-
For precision, place the container on a kitchen scale, press tare, and weigh each ingredient directly into the bowl in grams.
-
Stir thoroughly with your hand, squeezing the dough until all ingredients are well combined and a cohesive dough forms. Cover the bowl and let it rest at room temperature for 30 minutes.
Stretch and Fold
-
After the initial 30-minute rest, you will perform a series of three “stretch and fold” cycles to develop the dough’s gluten.
-
A visual demonstration can be found in this helpful video.
-
With the dough remaining in the bowl, lightly dampen your hand with water to prevent sticking. Grab one side of the dough, stretch it gently upwards and outwards, then fold it down over the top of the dough.
-
Rotate the bowl 90 degrees and repeat the stretch and fold with the next side.
-
Continue this process until all four sides of the dough have been stretched and folded over themselves.
-
Cover the bowl and let the dough rest for another 30 minutes.
-
Repeat the stretch and fold process for a second round. Cover and rest for 30 minutes.
-
Perform the third and final round of stretch and folds. Cover the dough and let it rest for a final 30 minutes. This entire conditioning process, including all resting periods, will take approximately two hours from the moment the dough is mixed.
Prep the Baguettes
-
During the last 30-minute rest of the dough, prepare your baking equipment and oven.
-
Position one oven rack on the very bottom and another in the middle. Place a cast iron skillet or other heatproof pan on the bottom rack. On the middle rack, place a baking stone (our preferred method for best results), a baking steel, or a sturdy sheet pan turned upside down.
-
Preheat your oven to 500°F (260°C) with these items inside for a full hour to ensure they are thoroughly heated.
-
Lightly flour a baker’s couche or a clean linen towel, creating folds to support your shaped dough during its final rise. Finally, prepare a pizza peel or an unrimmed baking sheet by lining it with a piece of parchment paper.
Pre-Shape & Rest
-
Using a dough scraper or a sharp knife, carefully cut the rested dough into two equal pieces. Avoid tearing the dough.
-
On a very lightly floured surface, gently press one piece of dough into a rectangle. Lightly stretch the short ends. Fold each short end towards the center so they barely touch, then press down with your fingertips to seal.
-
Next, fold each long end into the center and press with your fingertips to seal, creating a distinct seam down the length of the dough. Set this piece aside and repeat the process with the second piece of dough. Cover both pre-shaped pieces loosely with plastic wrap and let them rest for 10 minutes.
Shape into Baguettes
-
With the seam side up, gently press the first piece of dough into a thin rectangle. Starting from the top left edge, fold down the dough about 1/2 inch and pinch to seal it with your fingertips, working your way across the top. Repeat this folding and sealing process to create a tight, elongated log. Once you have a thin, tight log, turn it seam side down. Using both hands, gently roll the dough on the countertop, working it into a long, slender snake shape, approximately 15-18 inches long. Carefully move the shaped dough to your prepared floured towel or baker’s couche. Scoot the towel or couche up on both sides of the baguette to create folds that will support and hold the dough’s shape like a hammock. Repeat this entire shaping process with the second piece of dough.
Let the Dough Rise
-
Cover the shaped pieces of dough on the couche loosely with plastic wrap. Let them rest and rise for 45-60 minutes at room temperature, or until they have nearly doubled in size.
Score
-
Place a small cutting board right beside one of the baguettes on the couche. Gently lift and pull up on the towel to carefully flip the baguette over onto the board. Then, gently transfer each baguette to the parchment-lined pizza peel or unrimmed baking sheet, ensuring the seam side is now facing down. Repeat with the second baguette. Using a very sharp knife or a razor blade, make 4-5 quick, confident slashes (about 1/2 inch deep) on the top of each baguette. These slashes should be at a slight angle and allow the bread to expand beautifully during baking.
Bake
-
Fill a small heatproof bowl with about 2 cups of ice cubes. Working quickly and carefully, open the preheated oven. Gently slide the entire piece of parchment paper with the baguettes onto the scorching hot baking stone (or steel). Immediately pour the ice cubes into the preheated cast iron skillet on the bottom rack and swiftly shut the oven door to trap the steam. Lower the oven temperature to 475°F (245°C). Bake for approximately 25-40 minutes, or until the baguettes develop a very dark, deeply caramelized crust – this is desirable for authentic baguettes. Begin checking for desired color at 25 minutes.
Cool
-
Once baked, transfer the baguettes to a wire cooling rack. Allow them to cool completely before slicing and serving. This cooling process is essential for the internal structure to set and for optimum flavor development.
Recipe Notes
Nutrition
Nutrition information is automatically calculated, so should only be used as an approximation.